So, after shooting the breeze with my son while wrenching, describing what I used to build when I was his age, my son decided he wanted to try and build the "ultimate bad-butt stretched up big booted chopper" :lol: I didnt have access to a welder when I was his age (still don't) but I did have access to old bike parts. So in the old school tradition, no welding, just basic hand tools, scavenging mostly old parts, imagination and creativity, Throw it all together and you get something like this;
We started with some local brand bmx 20' frame,stripped the parts, and torched,wire brushed and sanded the paint off it all.
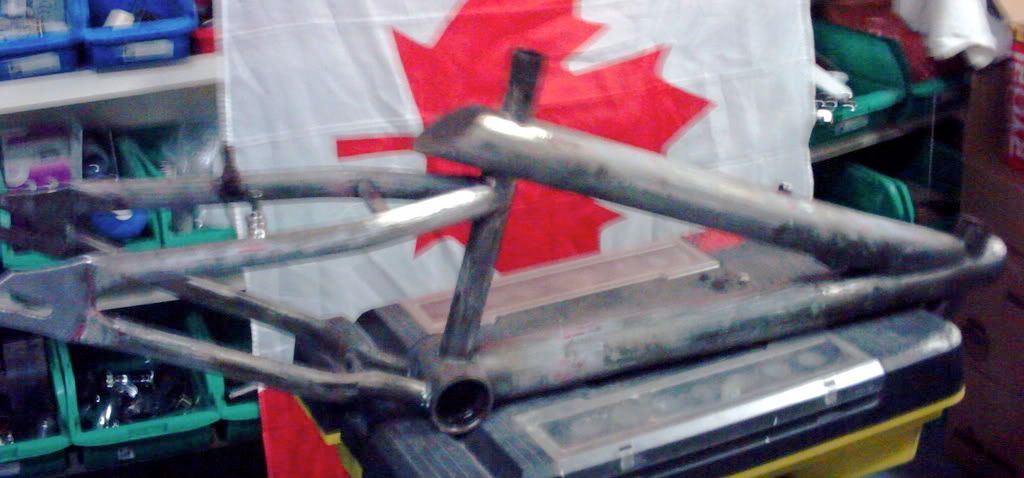
We then sprayed it (what else?) flat black.
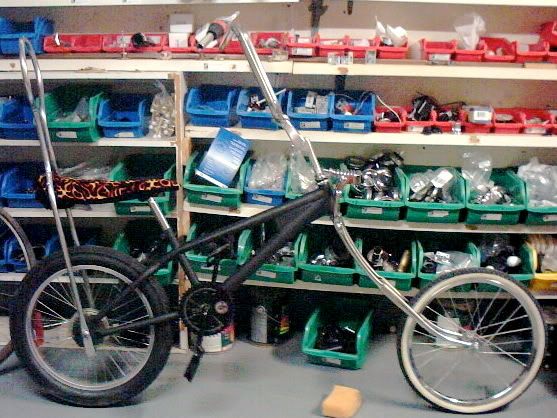
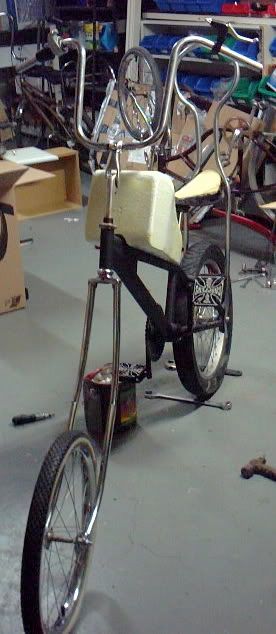
Being a building superintendant, I inherit abandoned bikes all the time, a couple of them surrendered their forks for the project, heres a mock up ( and the source for the bikes name, Forked up :mrgreen:
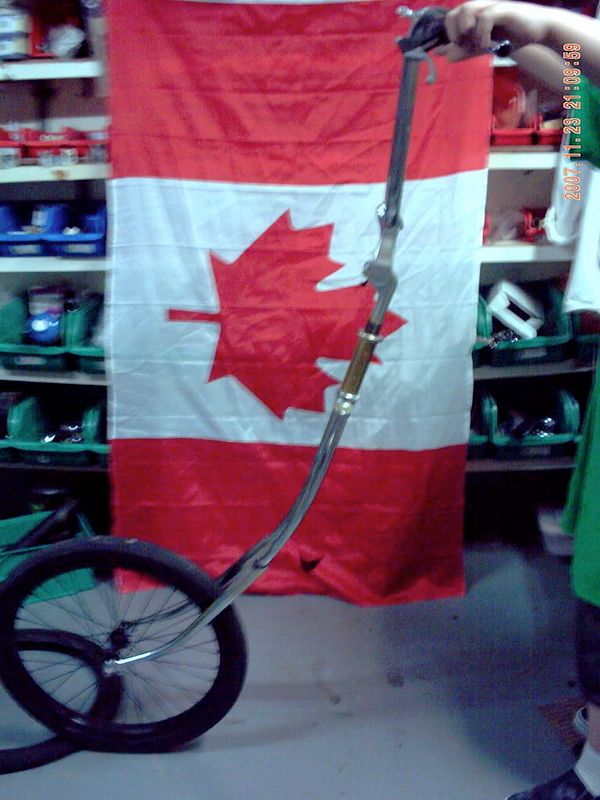
Actually, we have a cheapy springer coming, so it will be even longer, means i'm going to have to build some custom truss rods though.
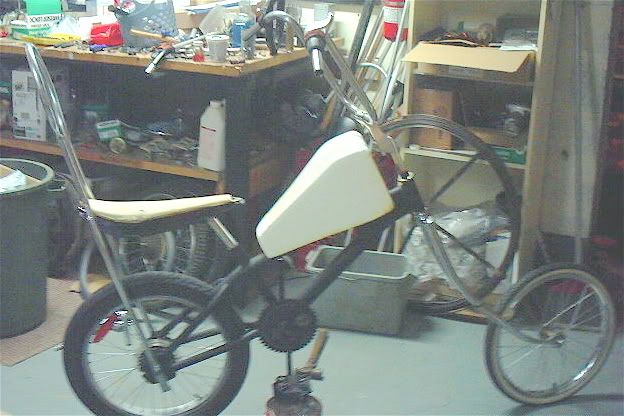
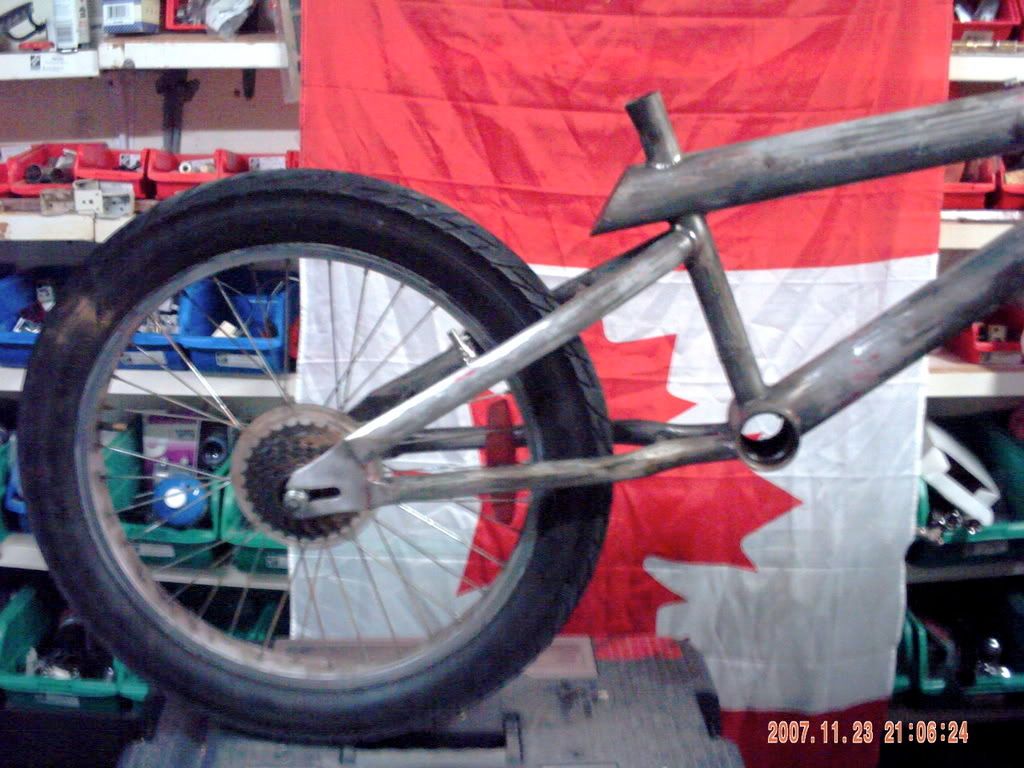
My landscaper brought me this truly ugly strawberry shortcake bike, someone had spray-painted it gold, rode it to death, and somehow snapped the handlebar in half, but it was wearing these nice big boots front and back, so its now a 5 speed chopper!!
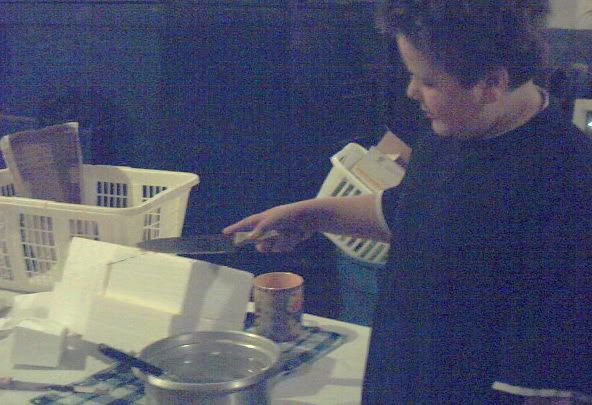
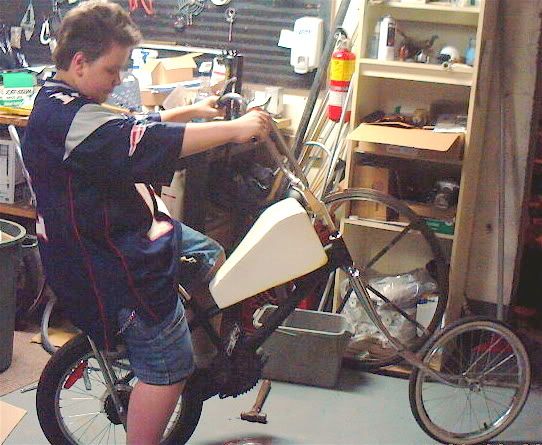
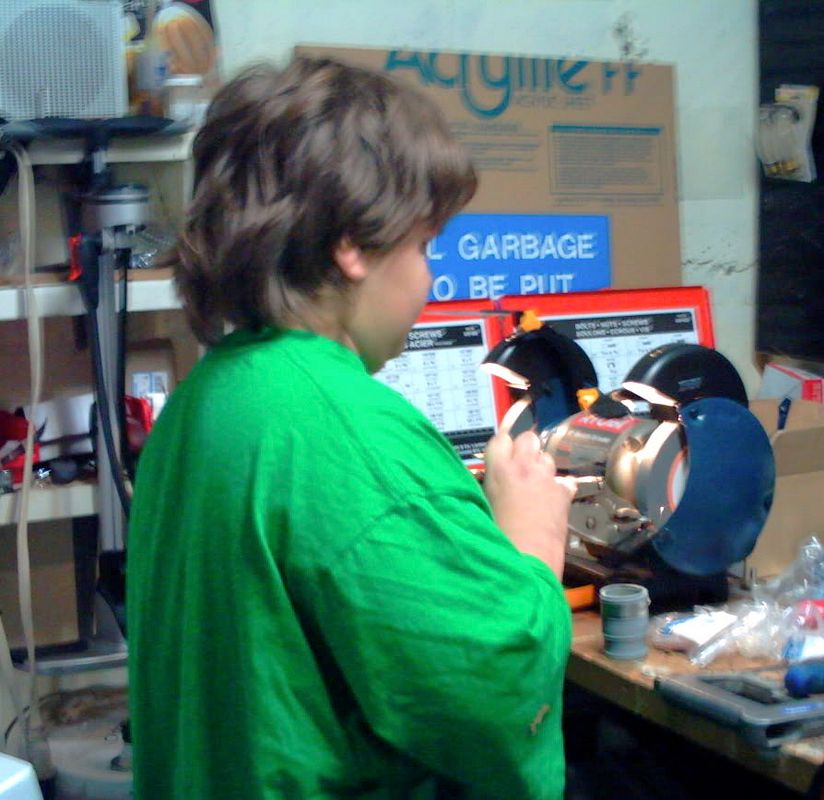
Heres a shot of the junior fabricator himself, grinding the ugly off of a bolt.
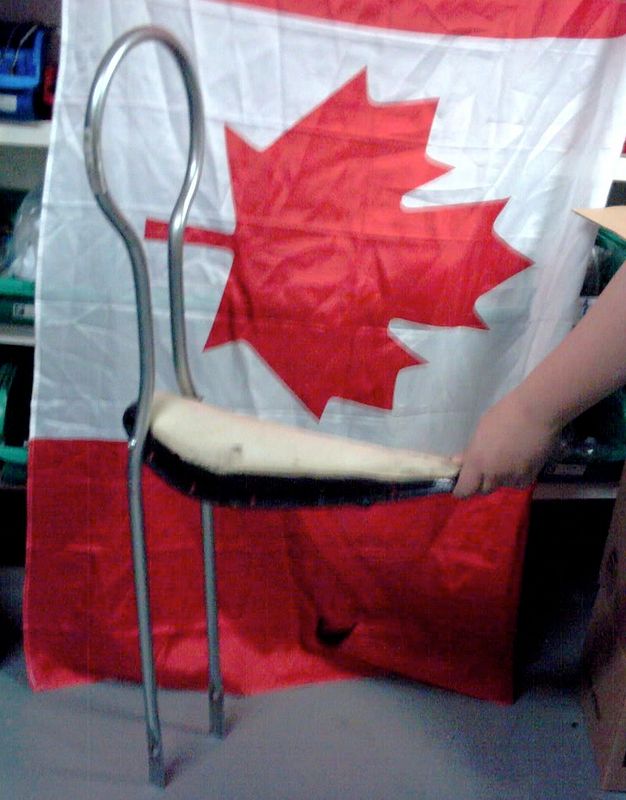
Heres the old seat, looks to be from a ccm mustang reissue. It was a little ripped and tired looking, but little man had a plan!
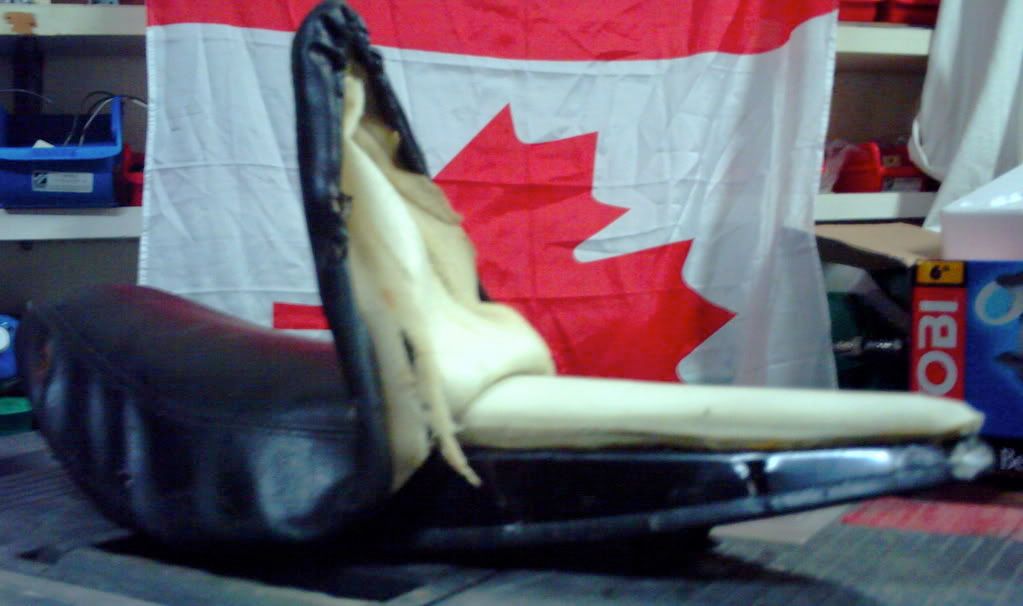
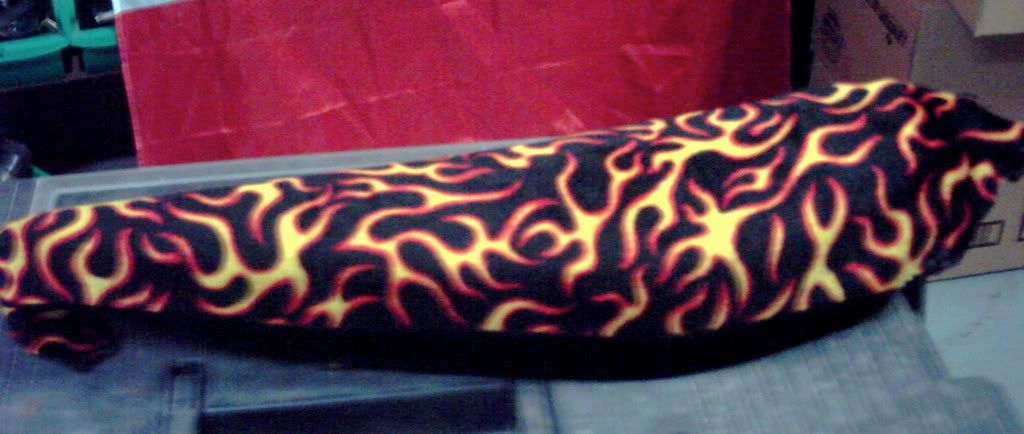
Michael had won this goofy looking oversized clown flamed tie at the local carnival. We sized it up, and guess what? Instant flamed velour seat 8)
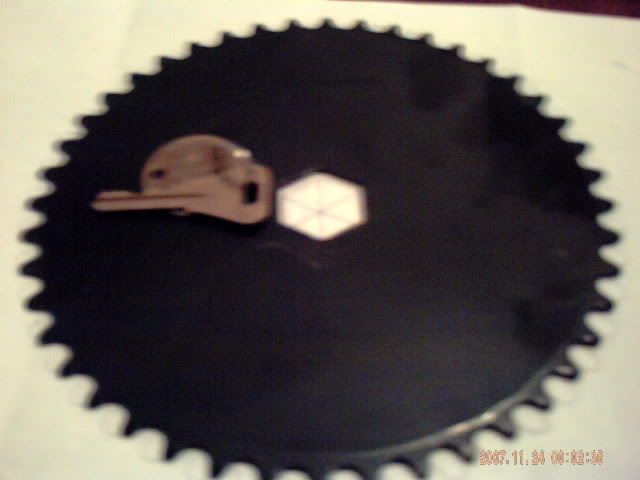
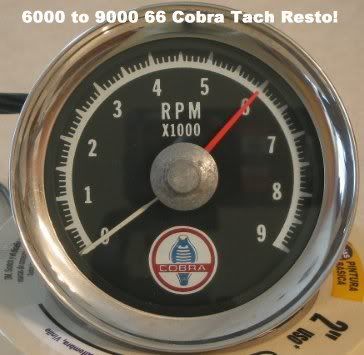
Now, this bike came with a plain-jane flat-faced sprocket, with a unique hex cut out in the middle. The crank arm is threaded for a nut to hold the sprocket in place against a shoulder. Nothing I had at hand, and nothing I could find online would work to replace it, without replacing everything. So, we bounced ideas around for a design to put on it, and decided on a tachometer. Being a classic car guy, I chose this one;
After playng around with the photo, and the settings on my printer, this is what the crank looks like. The west coast pedals were a christmas present.
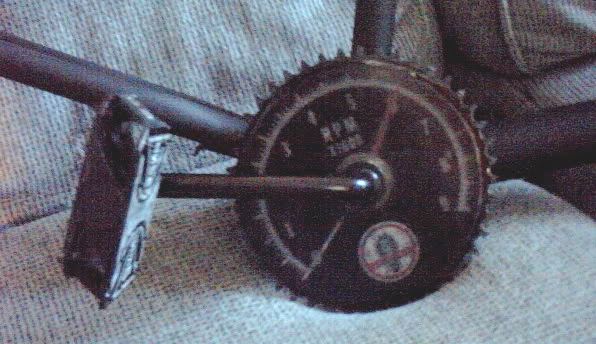
I made 2 pics of the speedo, and made the crank identical on both sides.
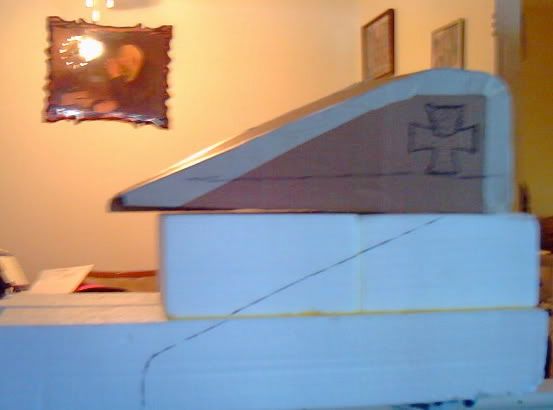
Theres still tons to do, because another idea we bounced around is a custom tank, one that he can plug his ipod video into, that has built in speakers, and maybe even some inside space for shades or whatever.
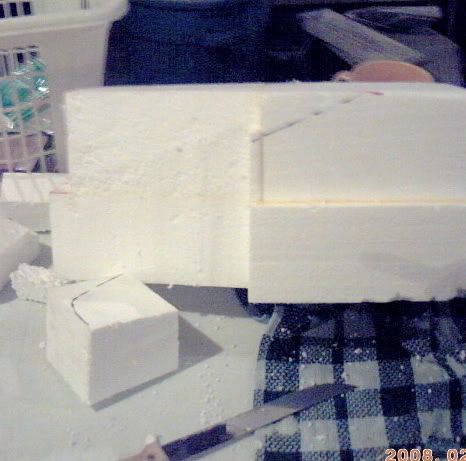
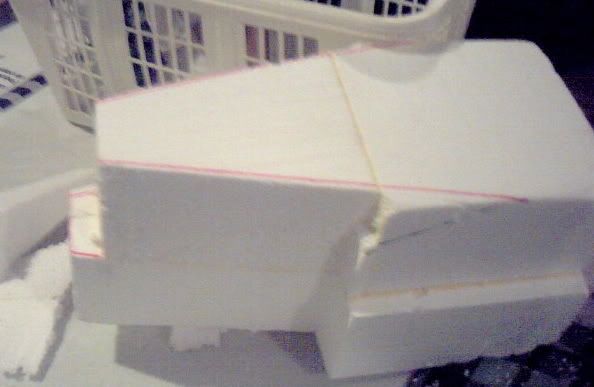
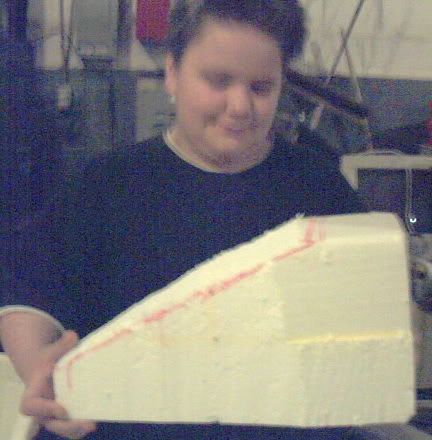
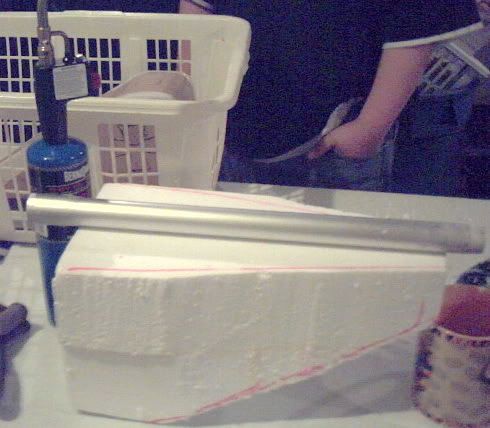
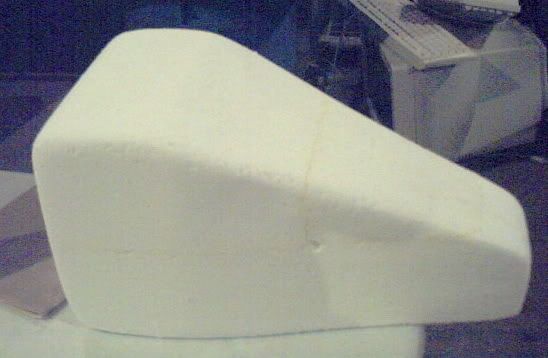
Heres what we started with for the tank;
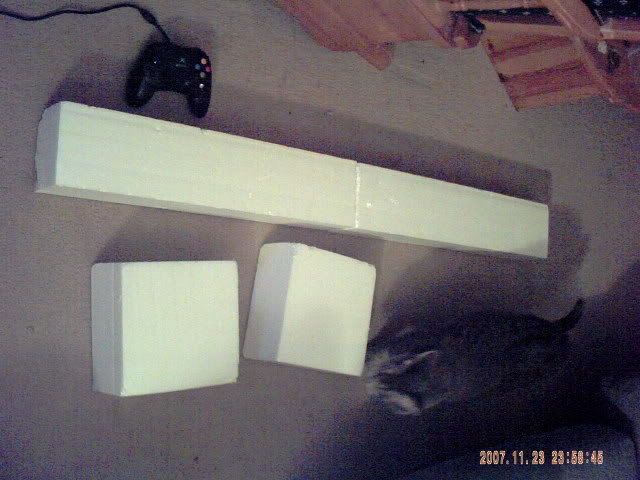
I know, I know, that don't look like a tank. Yet that is, just wait, i'm not done with the pics.
I'm getting tired though, so i'll continue the post tomorrow. Those of you that are good with computers, no peeking ahead!! And if you do, dont ruin it for anyone else :?
Rick
We started with some local brand bmx 20' frame,stripped the parts, and torched,wire brushed and sanded the paint off it all.
We then sprayed it (what else?) flat black.
Being a building superintendant, I inherit abandoned bikes all the time, a couple of them surrendered their forks for the project, heres a mock up ( and the source for the bikes name, Forked up :mrgreen:
Actually, we have a cheapy springer coming, so it will be even longer, means i'm going to have to build some custom truss rods though.
My landscaper brought me this truly ugly strawberry shortcake bike, someone had spray-painted it gold, rode it to death, and somehow snapped the handlebar in half, but it was wearing these nice big boots front and back, so its now a 5 speed chopper!!
Heres a shot of the junior fabricator himself, grinding the ugly off of a bolt.
Heres the old seat, looks to be from a ccm mustang reissue. It was a little ripped and tired looking, but little man had a plan!
Michael had won this goofy looking oversized clown flamed tie at the local carnival. We sized it up, and guess what? Instant flamed velour seat 8)
Now, this bike came with a plain-jane flat-faced sprocket, with a unique hex cut out in the middle. The crank arm is threaded for a nut to hold the sprocket in place against a shoulder. Nothing I had at hand, and nothing I could find online would work to replace it, without replacing everything. So, we bounced ideas around for a design to put on it, and decided on a tachometer. Being a classic car guy, I chose this one;
After playng around with the photo, and the settings on my printer, this is what the crank looks like. The west coast pedals were a christmas present.
I made 2 pics of the speedo, and made the crank identical on both sides.
Theres still tons to do, because another idea we bounced around is a custom tank, one that he can plug his ipod video into, that has built in speakers, and maybe even some inside space for shades or whatever.
Heres what we started with for the tank;
I know, I know, that don't look like a tank. Yet that is, just wait, i'm not done with the pics.
I'm getting tired though, so i'll continue the post tomorrow. Those of you that are good with computers, no peeking ahead!! And if you do, dont ruin it for anyone else :?
Rick