


Things are getting busy, because I have a lot going on at work and it is getting perilously close to the end of the build.
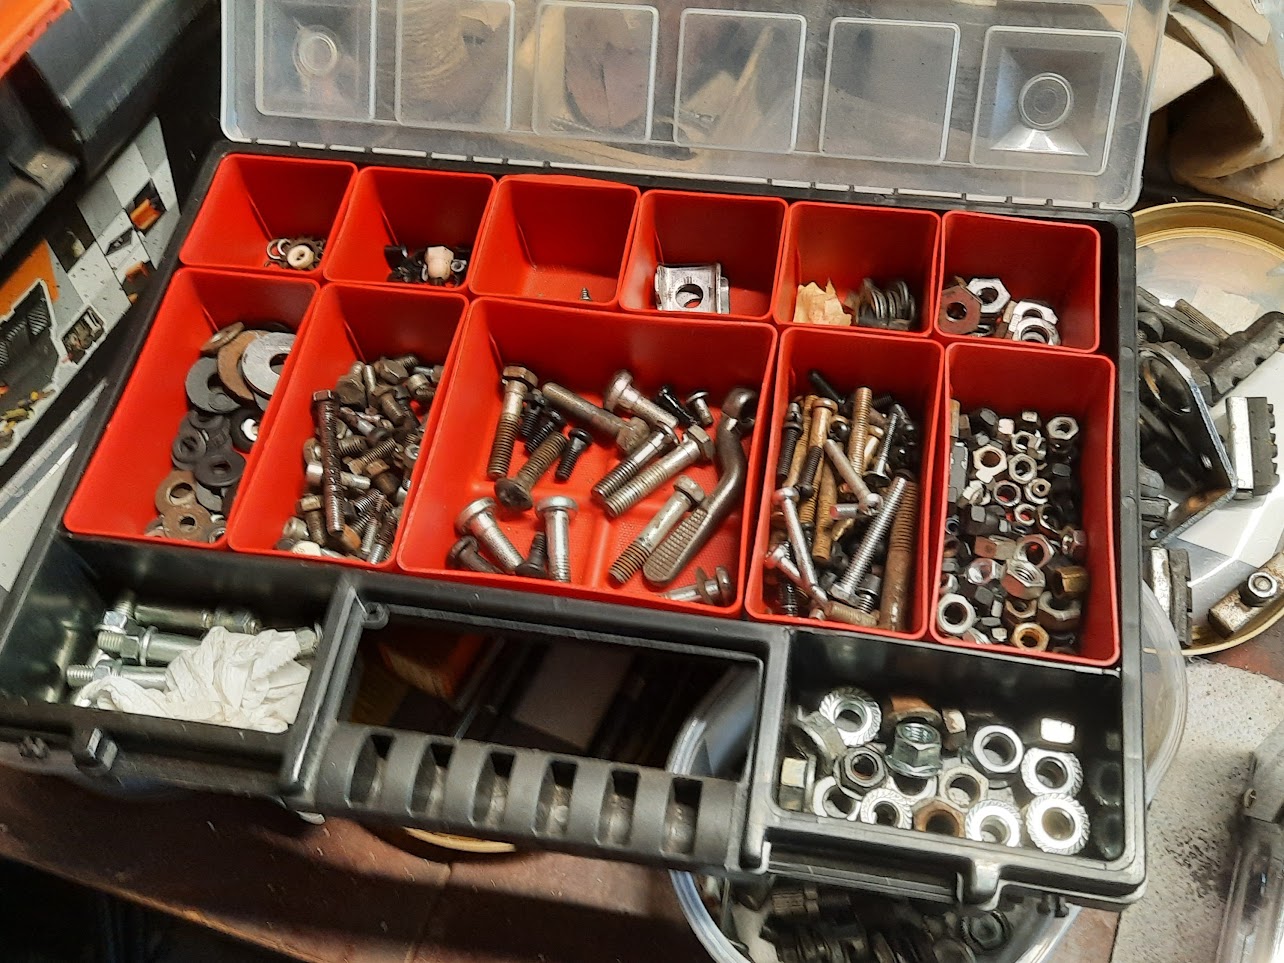
I do have some stocks of good nuts and bolts, but I also like to collect the used ones, which is especially useful when I am looking for something more used or aged. If I strip all my unused bikes down to the bare bones then I can forget where all the parts originally came from. As well as the few bikes I actually ride, the rest are simply bare frames that I store in another barn.
I finally got the parts painted and took this rear brake with reversed cable mounting points off one of my bikes that I am in the middle of altering. Usually the cheaper Romets never had a back brake, but for some reason they produced an odd one that had a 3-speed derailleur and a front sprocket and crank off one of their larger bikes - and fitted this lovely reverse-pull rear brake that I have never seen on any other Romet.
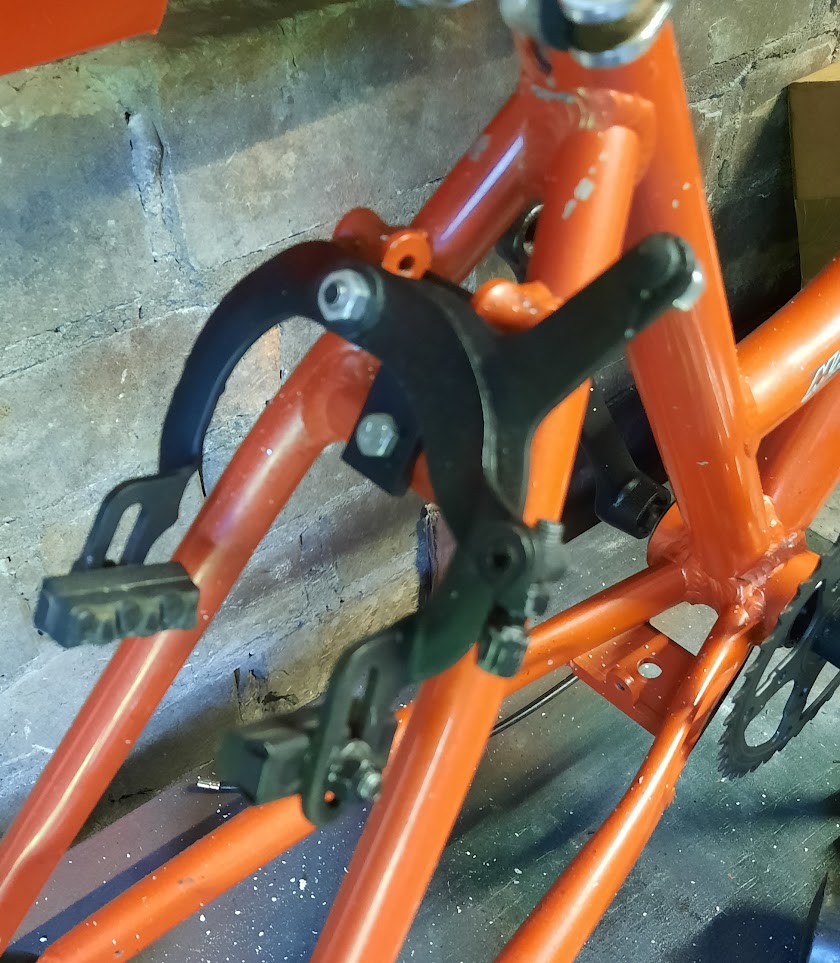
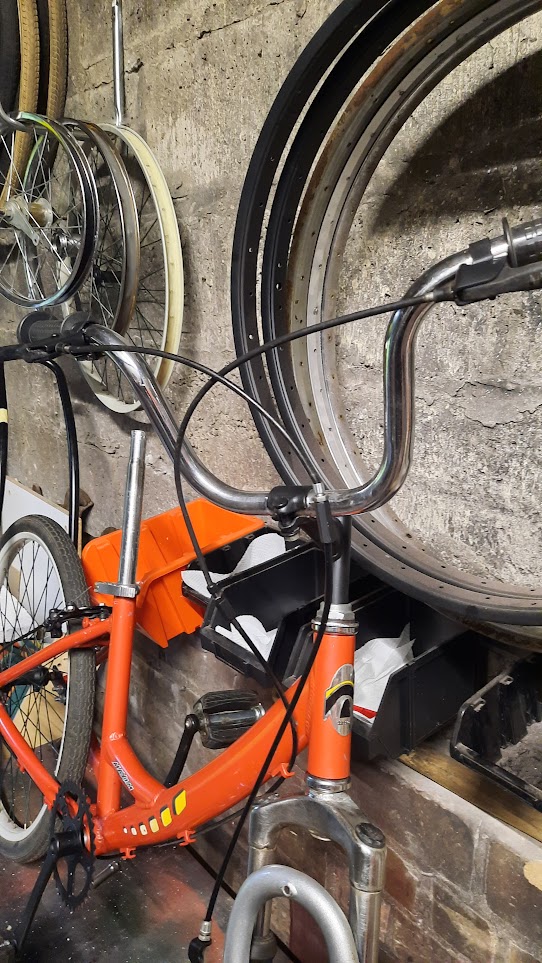
After a bit of fiddling with the brake cables, which use two outer casings joined together, I now have the brake cabled into the hand grip. I really could do with a roll of brake casing, but in the meantime this will have to do.

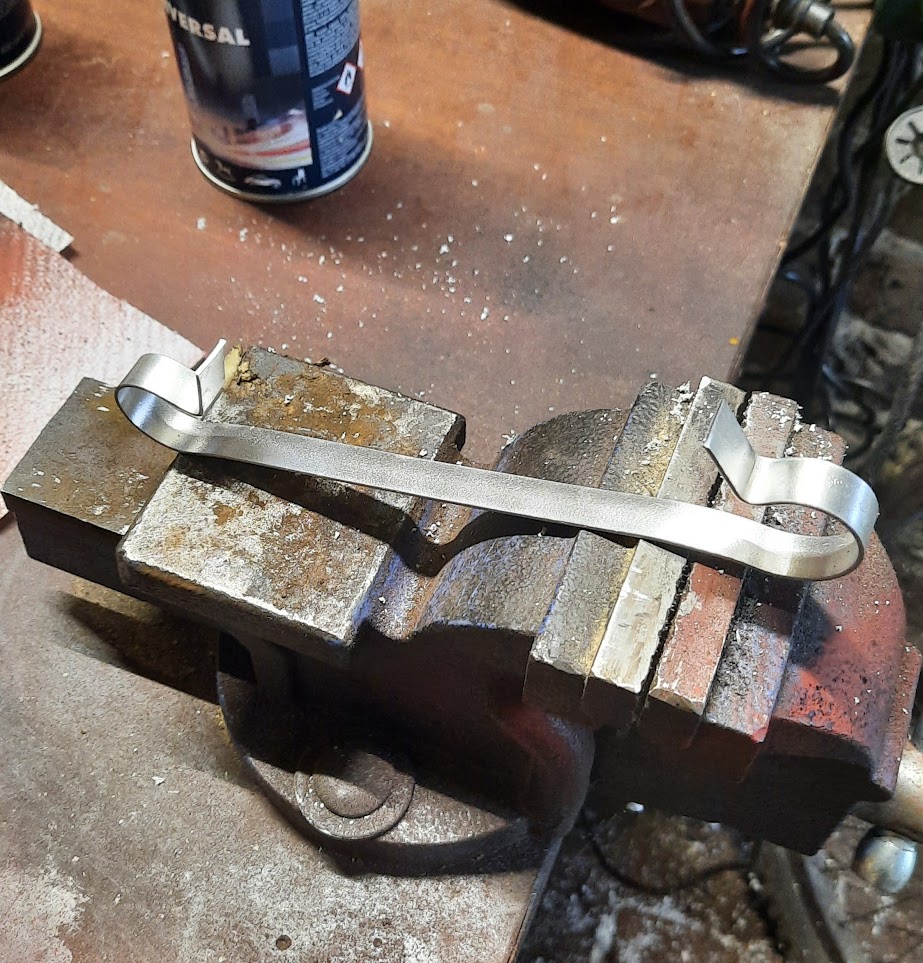
I also need to mount the rear light, and I bought a nice roll or aluminium strip some time ago that I imagine gets used for attaching power cables in buildings or something. I try to minimise the amount of stuff I buy, but this has proved very useful. Now I just need to decide where to fix it on the rear frame - at its own level or using the seat mounting points.
I really could have done with some kind of welding gear to attach the pair of washers together so that one did not ride up over the other while tightening them down. I also reversed the bolts so it looks a bit tidier.
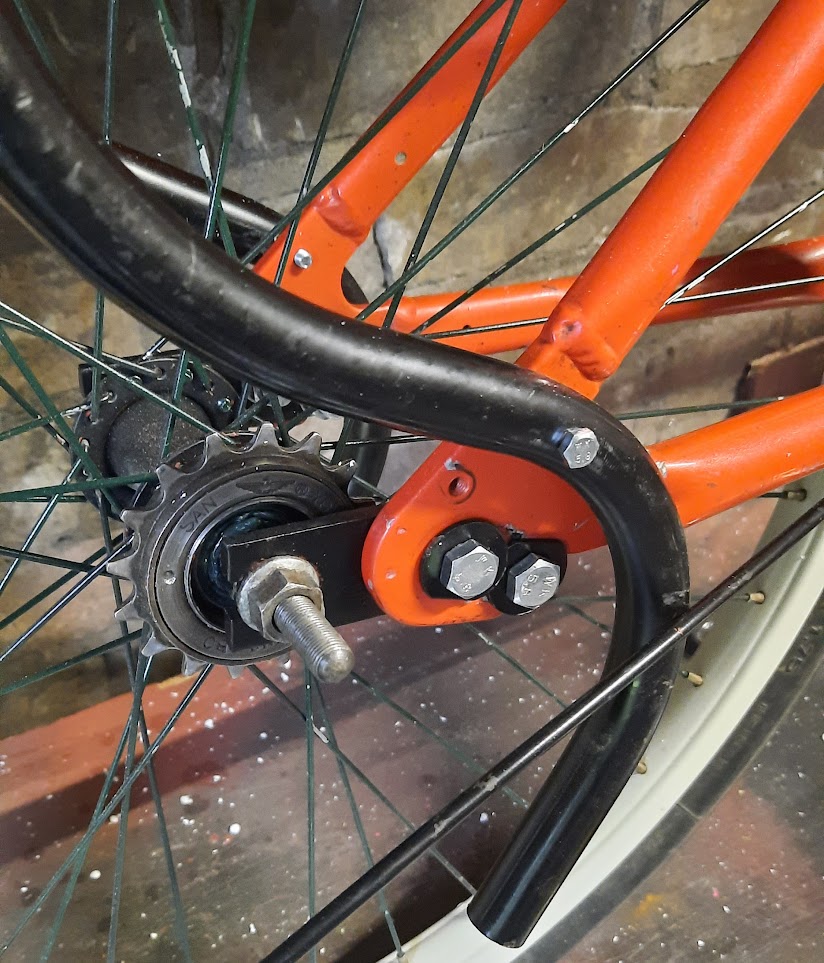
Here you can see where I have paired up two shorter outer brake cables, which works very well but would just be a lot tidier with just one-piece outer cable on each.
That is about it for now, there is just a lot of small finishing up tasks like this that need doing now.
I do have some stocks of good nuts and bolts, but I also like to collect the used ones, which is especially useful when I am looking for something more used or aged. If I strip all my unused bikes down to the bare bones then I can forget where all the parts originally came from. As well as the few bikes I actually ride, the rest are simply bare frames that I store in another barn.
I finally got the parts painted and took this rear brake with reversed cable mounting points off one of my bikes that I am in the middle of altering. Usually the cheaper Romets never had a back brake, but for some reason they produced an odd one that had a 3-speed derailleur and a front sprocket and crank off one of their larger bikes - and fitted this lovely reverse-pull rear brake that I have never seen on any other Romet.
After a bit of fiddling with the brake cables, which use two outer casings joined together, I now have the brake cabled into the hand grip. I really could do with a roll of brake casing, but in the meantime this will have to do.
I also need to mount the rear light, and I bought a nice roll or aluminium strip some time ago that I imagine gets used for attaching power cables in buildings or something. I try to minimise the amount of stuff I buy, but this has proved very useful. Now I just need to decide where to fix it on the rear frame - at its own level or using the seat mounting points.
I really could have done with some kind of welding gear to attach the pair of washers together so that one did not ride up over the other while tightening them down. I also reversed the bolts so it looks a bit tidier.
Here you can see where I have paired up two shorter outer brake cables, which works very well but would just be a lot tidier with just one-piece outer cable on each.
That is about it for now, there is just a lot of small finishing up tasks like this that need doing now.

")

