There is a lot going on. The angle of the seat stay to tank was matched almost perfectly so the flow was not interrupted. Lots of give and takes in that marriage. Look forward to the next episode!!!
- COMPETITIONS
- THE COMPETITION ARCHIVES
- RRBBO OFFICIAL COMPETITIONS
- BUILD OFF 11 (2016)
- BUILD OFF 11 BUILD JOURNALS
You are using an out of date browser. It may not display this or other websites correctly.
You should upgrade or use an alternative browser.
You should upgrade or use an alternative browser.
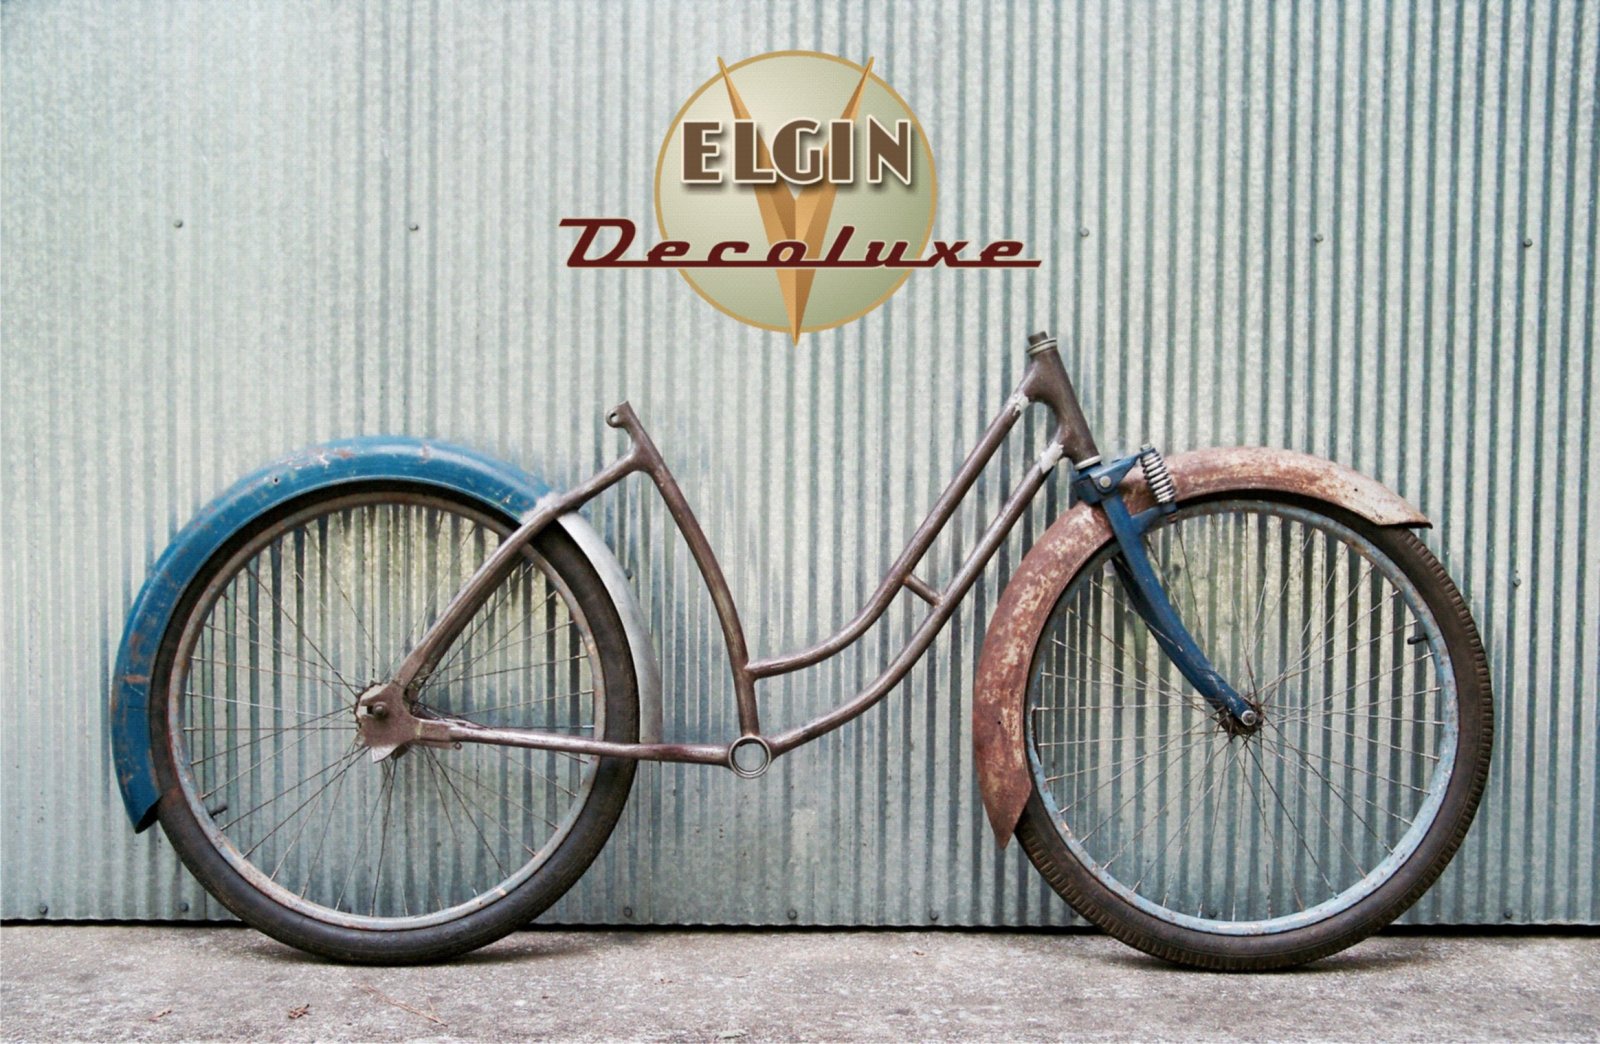
ELGIN DECOLUXE
- Thread starter The Renaissance Man
- Start date


Help Support Rat Rod Bikes Bicycle Forum:
This site may earn a commission from merchant affiliate
links, including eBay, Amazon, and others.
This bike is bad to the bone. I'm diggin the rusty blues.This photo back on May 4 was how it looked bolted up through the original center hole.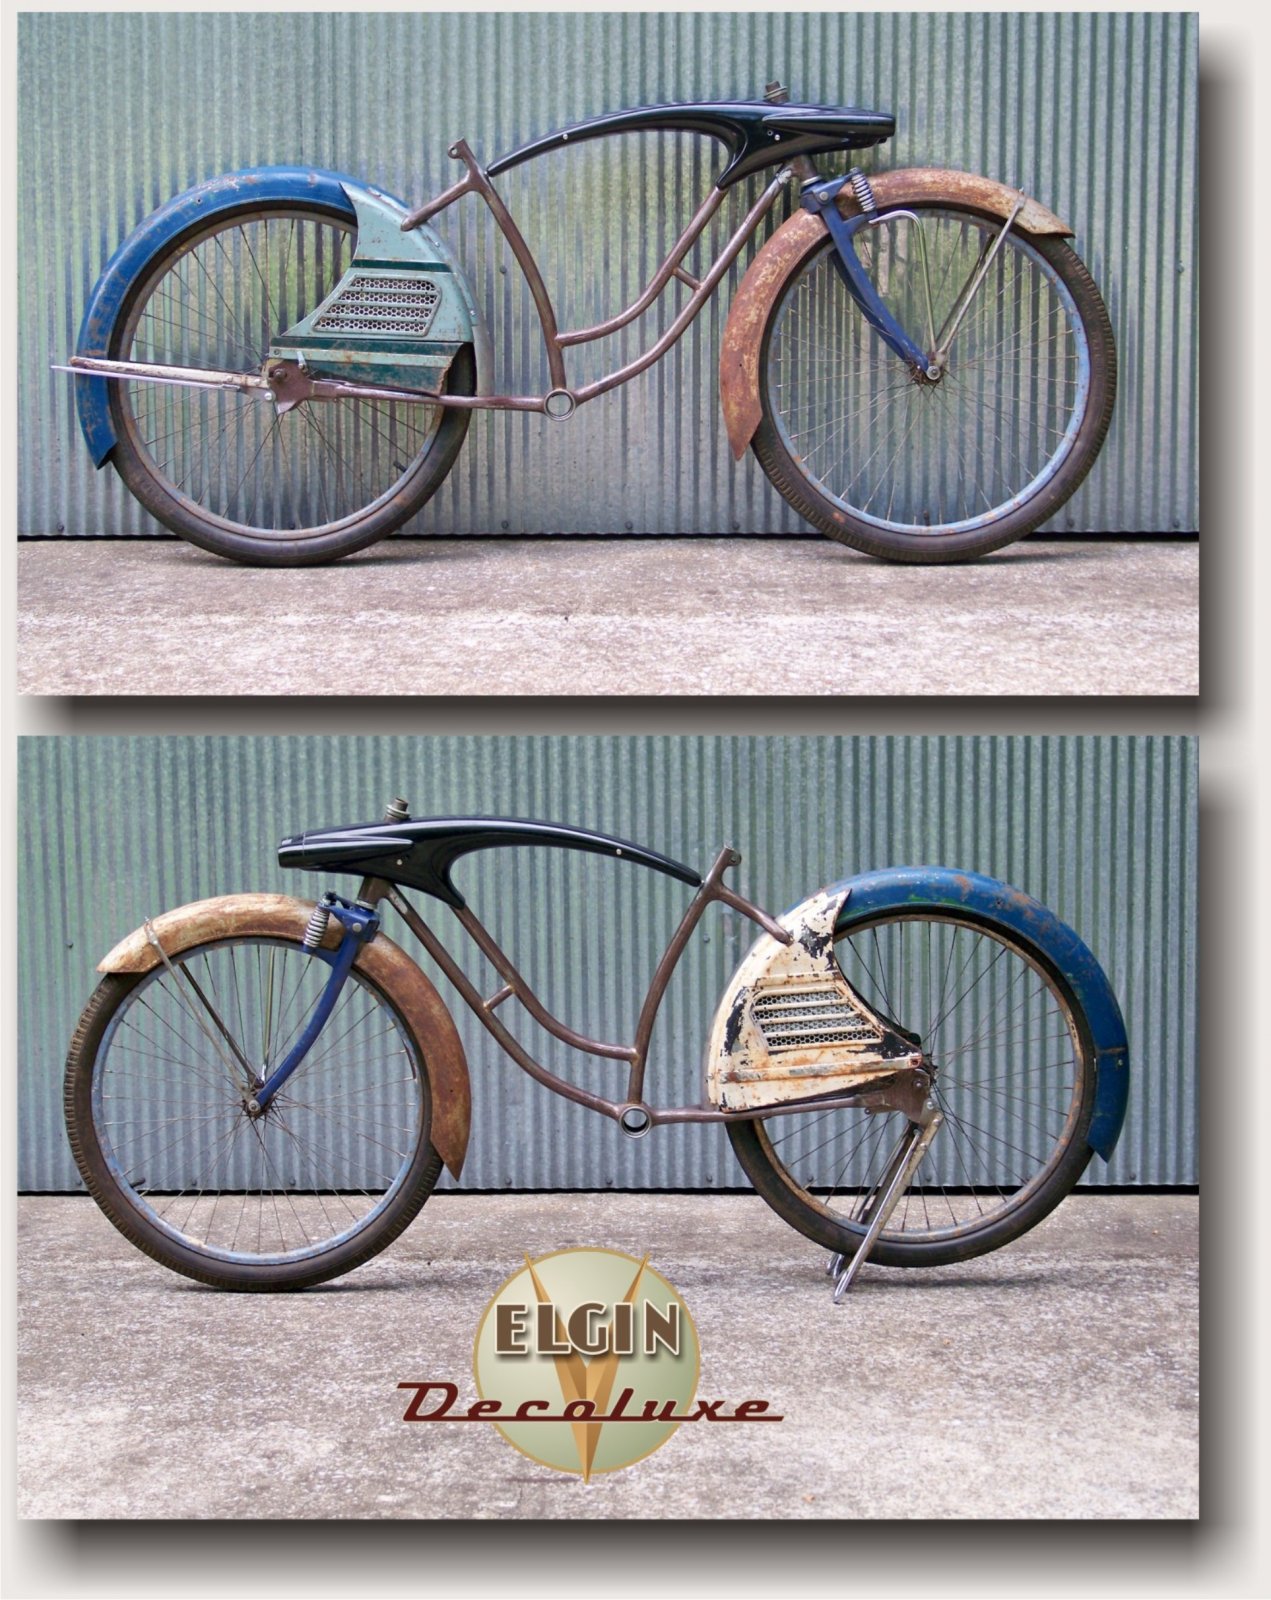
will you be adding that old patina to the new tank? ?
you bad, bruh'

American Vintage Bicycle Supply
Double Nickle

Sent from my iPhone using Tapatalk
The Renaissance Man
__CERTIFIED DIVER__ (Open Water & Open Dumpster)
Staff member
Moderator
Pro Member
That looks Really Good, do you plan on massaging the front of tank where it meets the 2'nd down tube to flow better, taking some off rear of tank and adding some to front maybe? and match the radius you put on rear, just a observation staring at your pic. don't wanna step on toes here.
There is a lot going on. The angle of the seat stay to tank was matched almost perfectly so the flow was not interrupted. Lots of give and takes in that marriage. Look forward to the next episode!!!
You're right. I had forgotten about some of that juggling act, thanks for reminding me! Two of the main factors where making the headlights parallel with the lines in the skirt guards and getting the line with the frame that you pointed out. Even though it's not that bad, the middle/top tube was the odd man out.
This bike is bad to the bone. I'm diggin the rusty blues.
will you be adding that old patina to the new tank? ?
you bad, bruh'

Thanks Franco. I do like the rusty blues also, but that is just how it happened to be. My plan from the start has been to paint it. It will be a different color and it will have some patina mixed in to give it a worn look, but not a found behind the barn look (if that makes sense).

The guru of goop strikes again. That looks excellent.
The Renaissance Man
__CERTIFIED DIVER__ (Open Water & Open Dumpster)
Staff member
Moderator
Pro Member
Because this bike is my version of a deluxe model, I've planned to add some trim pieces to accentuate the art deco feel I'm going for. Last weekend I went to a car show/ swap meet looking for the right doodads to use. Normally I'm not a fan of using car parts on a bike because the scale is usually off. However, there are smaller scale parts out there if you look for them.
I found a 62 Falcon fender ornament that has the style that I was looking for. I also found a broken piece of some type of garnish molding that would work perfectly for what I had in mind for the tank. This is why I got back to extending the tank this week, so I could make this trim fit!
With a little bit of modifications, I couldn't be much happier with the results!
top notch !
That looks incredible! Can't wait to see what else you have in store for us.
The Renaissance Man
__CERTIFIED DIVER__ (Open Water & Open Dumpster)
Staff member
Moderator
Pro Member
Thanks ya'll!
To mount the trim pieces, I started out thinking of all sorts of complicated ways to fasten them to one half of the tank so that I could get to the back side of everything while the tanks were apart. Then the most simple solution presented itself as I was test fitting the chrome trim.
Because I had to bend the trim to fit the arc of the tank, it caused the mounting tabs to angle in like the way spokes get closer together at the hub. I realized that they would not be able to back out of the holes because of this. Eureka! Problem solved by itself!
So I took the idea and applied it to the ornament by mounting studs at opposing angles with JB Weld and then marked and drilled the tank halves to match. When the two halves are tightened together, the trim is locked solid in place!
I love simple solutions!
Jaw dropped
The trim looks like it was always meant to go there.
Digging the mounting technique too!
Digging the mounting technique too!
The Renaissance Man
__CERTIFIED DIVER__ (Open Water & Open Dumpster)
Staff member
Moderator
Pro Member
Thanks guys.
The ornament was of course one piece when I got it but I cut it in two to allow for the head tube. I then just spread the two pieces apart for the opening. Naturally the bottom edge had to be shaped to match the contour of the tank, but after spreading the the pieces apart it required that the back half had to be cut even deeper. This took a lot of trial and error to get the bottom fitting against the tank and the top to be level on both parts.
These pictures show the JB Weld and studs. I also pushed the two parts together to show how much material had to be removed from the back half.

Sorry, I forgot to take a before picture. Here's one from the web.

The ornament was of course one piece when I got it but I cut it in two to allow for the head tube. I then just spread the two pieces apart for the opening. Naturally the bottom edge had to be shaped to match the contour of the tank, but after spreading the the pieces apart it required that the back half had to be cut even deeper. This took a lot of trial and error to get the bottom fitting against the tank and the top to be level on both parts.
These pictures show the JB Weld and studs. I also pushed the two parts together to show how much material had to be removed from the back half.
Sorry, I forgot to take a before picture. Here's one from the web.
That last part is a detail most folks would've missed. But you got the eye brother. This bike is THE ONE TO BEAT guys... or at least to try... sweet
Carl.
sent from my banana phone...
Carl.
sent from my banana phone...
Hmmm, that brings back memories, I drove a flat black, shaved and lowered 63 Falcon away from my wedding, same fender ornament. It's cool to see it on one of your tanks it really pops. Also, we're both using 62 Ford fender ornaments on our builds, how completely and totally random is that? And on our tanks at that, mines from a Galaxie 500 and upside down, but still, that's a pretty cool coincidence.
great thinking on the mounting studs ! 
+1 ^ !top notch !
American Vintage Bicycle Supply
Double Nickle
That doesn't suck at all! Car ornaments and trim on bikes usually looks like a car part on a bike but this actually looks really really awesome!
Sent from my iPhone using Tapatalk
Sent from my iPhone using Tapatalk
The Renaissance Man
__CERTIFIED DIVER__ (Open Water & Open Dumpster)
Staff member
Moderator
Pro Member
Thanks everyone.
@GuitarlCarl , that's the type thing that drives me nuts if it's not lined up!
@Missing Link , I had forgotten the details about your 'fin'. That's pretty crazy coincidences!
@OneHorsePower , it wasn't so much great thinking, it sort of happened on its own.
@Bike Bum , it was pure luck that I found a piece that worked out as good as it did. Even though I was looking for something along those lines, I didn't specifically have that Falcon piece in mind.
________________________________________________________
I spent some time with my rotary tool and sand paper to straighten out the line to match the straight line of the frame and it totally fixed it visually. I also rounded the ends to flow into the frame better. This is probably one of those things that will not be noticed in the end. Some things are only noticeable if they are off.
It's a little hard to see in this grainy photo (sorry, the lighting was bad), but I believe that after it's all painted it will look just right.

@GuitarlCarl , that's the type thing that drives me nuts if it's not lined up!
@Missing Link , I had forgotten the details about your 'fin'. That's pretty crazy coincidences!
@OneHorsePower , it wasn't so much great thinking, it sort of happened on its own.
@Bike Bum , it was pure luck that I found a piece that worked out as good as it did. Even though I was looking for something along those lines, I didn't specifically have that Falcon piece in mind.
________________________________________________________
Thank you for this suggestion! I wasn't sure how I was going to handle correcting that area but the indent line was the real problem.may have to massage the indent area slightly also to flow with this frame but from pics. I seen of your tanks for thickness should be enough meat to do it?
I spent some time with my rotary tool and sand paper to straighten out the line to match the straight line of the frame and it totally fixed it visually. I also rounded the ends to flow into the frame better. This is probably one of those things that will not be noticed in the end. Some things are only noticeable if they are off.
It's a little hard to see in this grainy photo (sorry, the lighting was bad), but I believe that after it's all painted it will look just right.
Latest posts
-

-

-

-

-
-

-

-

-

-
 Bike from the Dead's Freshly-Exhumed Finds (Everything I've dug up since 6/15/21)
- Latest: Bike from the Dead