Chop's House of Speed and Style...New Bars

Rat Rod Bikes Bicycle Forum

Help Support Rat Rod Bikes Bicycle Forum:

This site may earn a commission from merchant affiliate links, including eBay, Amazon, and others.
Joined
Sep 19, 2012
Messages
686
Reaction score
608
Location
Denver Colorado
Rating - 100%
4   0   0
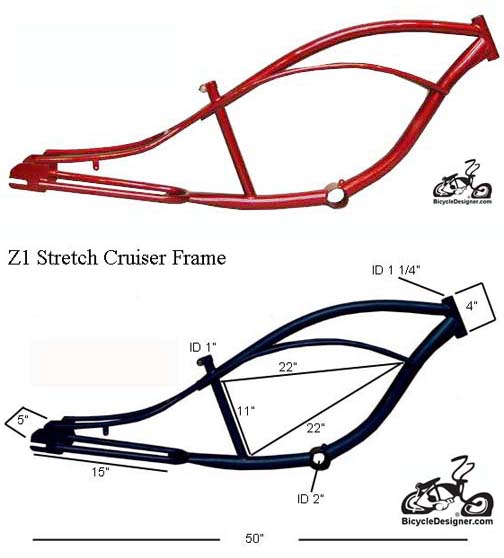
I am using this Topic to keep track of all my builds. Since I have several different projects this cant be just one build.
Here is the Bruiser. I have had it for about 10 years and it was left in the rafters of the shop for about 8. I finally pulled it down and aired up the tires when my girlfriend (now fiance) wanted to go for a bike ride. It is now getting constantly updated.
299490_4012828033688_825538357_n.jpg


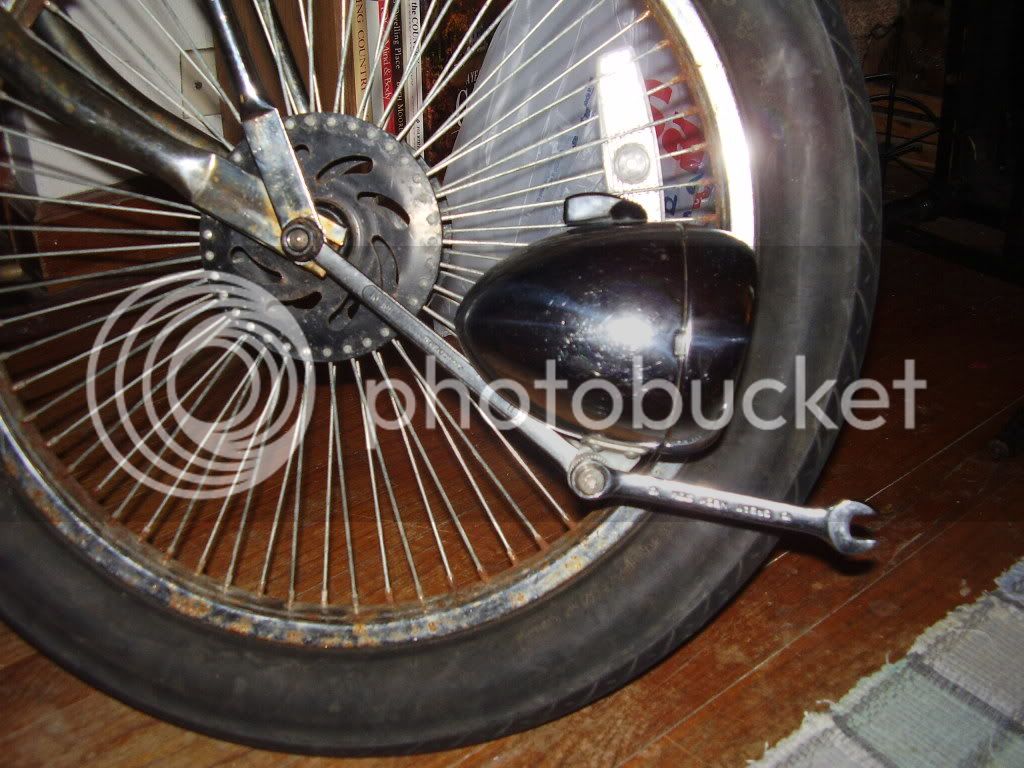
I picked this up at a garge sale for very little coin. My girl didnt think it was fair that I rode the Briuiser everywhere while she road her Trek mountain bike. The rear hub was trashed and it had about an inch of garage grime on it. Fixed the hub and lots of scrubbing and rebuilding and she looks pretty sweet.

261870_4011689525226_988137123_n.jpg


Took the rims off the Bruiser and threw them on the girls bike. Put black rims and the white walls back on the Bruiser.

375837_4124467504605_198143998_n.jpg
 
here is where things get more intersting. I had a repop headlight from some Italian scooter in a box of parts. I also had the vintage Stewart Warner Speedo. I really hate when people just bolt on speedos and other gangly things on bikes. Totally ruins the flow. So I sunk the speedo into the back of the headlight.

559180_4251348996563_578919752_n.jpg


I had some clubman bars of a BSA I had for awhile. With a fresh coat of black paint they bolted right up. Looks pretty good.

545443_4219462919431_126449228_n.jpg


I popped a few 7/16 holes in a piece of 1" x 1/8" thk steeel I had in the shop and bent it to an "L" in the vice. Bolted the headlight / speedo combo. I think it looks great. I left a hole with grommet in the bottom of the headlight behind the bracket for the speedo drive when I find it.

61620_4255901710378_2102608722_n.jpg

480865_4255902750404_794105171_n.jpg
 
I picked up a very cheap stretch cruiser frame from the LBS that someone ordered and never picked up. They kept tripping over it in the back room so needless to say they were willing to make a killer deal to see it gone. Its a very cheap frame and they didnt even plug the tubes in the chain stays. I put it on the table and decided to start cutting. After all, that is what I do.

I didnt even have this thing out of the box for an hour when I had my game plan.

1. Cut the Schwinn style mid tubes off. I prefer the open space when we are going super long and low. I cut them off at about 60 degrees right before the weld to the top tube. I quickly cut a flat patch piece for each side to fill in the tube.

248900_4251933731181_793137343_n.jpg


2. the dropouts were flat and square looking really cheap. The top tubes werent even filled. I cut the dropouts into and angle and did some creative grinding to make them more pleasent to look at. The arc and angle follows the same arc and angle of the bottom frame tube. I found some mild steel round (1/2" diameter) and cut off 2 3/4" long pieces. I pounded them into the tube, tacked them in place then ground them to the angle I wanted. I finish weld them in place and cleaned it all up.

305606_4252218658304_1998518751_n.jpg


3. things got a little more radical. I threw a chopper fork I had laying around on the frame and hated the way it looked. It was much to tall. I didnt want to cut the fork tubes (after all that would only take about three minutes) so I sliced the neck out of the frame. Since the rest of the frame was welded I couldnt use the hole saw and keep everything straight. Lots of creative grinding and test fitting later I got the neck welded back in raking the front end an additional 12 degrees give or take.

18287_4256192197640_979687867_n.jpg


tacked together.
602520_4256396162739_1720039842_n.jpg
 
i love how the cheap stretch is coming along. do you have a before pic of it though ?
great work dude!
nice clean lines :shock:
 
Nice work:cool::cool::cool:

I've always wanted to see a stretch like yours with a little more rake in the neck.

Subscribed.
 
One question, how do you keep the light from flopping to one side or the other? Being bolted on the springer bolt when you hit a bump I'd think it'd go slack and allow it to slip.
 
I have the springer bolt cranked all the way down until solid. These springer forks leave too much shifting side to side otherwise and they rub the tires in the corners. With the thick bricks the ride is more than plush anyways.
 
Ichoptop said:
I have the springer bolt cranked all the way down until solid. These springer forks leave too much shifting side to side otherwise and they rub the tires in the corners. With the thick bricks the ride is more than plush anyways.
Cool, I was wondering because I tried mounting one to the spring bolt a few years back and I ended up scraping the idea and made a new mount off the wheel bolt using a few old wrenches. :mrgreen:

P2080516.jpg
 
Loving that video! Really like the high-speed tank making portion! 8)
Wish my projects went that fast!

Seriously though, great work!

And I understand what you mean about too cold, however I am having the opposite problem, was 42 degrees Celsius in the shade here yesterday, thats 108 farenheit for you guys...

Luke.
 
great video chop!

i hear ya with the cold part. too chilly here in massachusetts. gets dark WAAAAY to early too.
cant weld or paint anything so the winter i find myself in the basement doing a bunch of mock up stuff or throwing things together with parts lying around to keep insanely sane :lol:

JONESIN' FOR SUMMER!!!
 
got some work done today since it was a balmy 62 degrees.

Did a mock up. Not sure if I like how high the front sits. I might swap the chopper fork for a springer and save the chopper fork for another build. Note that I just threw the seat on. I have a silver metallic Troxel banana seat that I willl be using for this build.
8808_4310600517814_382217060_n.jpg


Started filling in the top of the triangle...just cause I like to glue steel together with fire.
16202_465335296857039_457019483_n.jpg


Being froma hotrod building background everything needs speed holes.
534145_465368240187078_1830096252_n.jpg
 
got a little filler and sanding done today. I put a big order in last night for the rest of the parts needed for mockup before paint and powder.
29352_466297026760866_862870554_n.jpg


picked out my paint color as well. Goint to go with tangerine metal flake over black and white primer. Not sure if I am doing a fade or a design in the primer before paint but it will be something tragically cool.

559797_465888400135062_1090828557_n.jpg
 
I havent worked on the trike in a day or three. I picked up an Electra at the police auction last weekend and threw it up on the hooks from the ceiling to wait until I found out what to do with it. Yesterday I was talking to a lady at work who is a single mom. She said her boy wanted a "real" bike for Christmas instead of some little 20" junker he has had for a few years. Got off work today and hit the shop. Pulled the electra back down and disassembled. Did a quick rattle can touch up job, changed out the ratty seat. Swapped the three speed out of it for a single (nexus was having issues braking) and did a lube job. Just need a pair of grips. If I was a 12 year old kid I would be stoked to get this for Christmas.....right?

486303_467573716633197_1935660040_n.jpg
 
wicked cool bike for a 12 year old! :D
i wish i had one like that when i was 12
 
Back
Top