>> Daily Chronicles of the Shelby Rat <<Feb 5 - 98% Finis!

Rat Rod Bikes Bicycle Forum

Help Support Rat Rod Bikes Bicycle Forum:

This site may earn a commission from merchant affiliate links, including eBay, Amazon, and others.
Joined
Sep 1, 2006
Messages
2,146
Reaction score
204
Location
Simsbury, CT
Rating - 100%
38   0   1
I am gonna try something to cure the cabin fever that besets so many of us northern crew. I just received my '54 Shelby and I am going to document the daily (I hope) progress of the build. It will give you guys (and gals) a chance to watch the build, offer suggestions, make comments, and just play along (even have a little fun. Think of a name as the build progresses and at the end I will have a little prize for the name I like best. I do not really have a plan yet other than I have the wheels and tires picked out and I am going to try to use as many of the original parts in some way, shape or form as I can.

I posted the ebay pics in another post (Fresh Finds) so I will just show you what I did on Day1

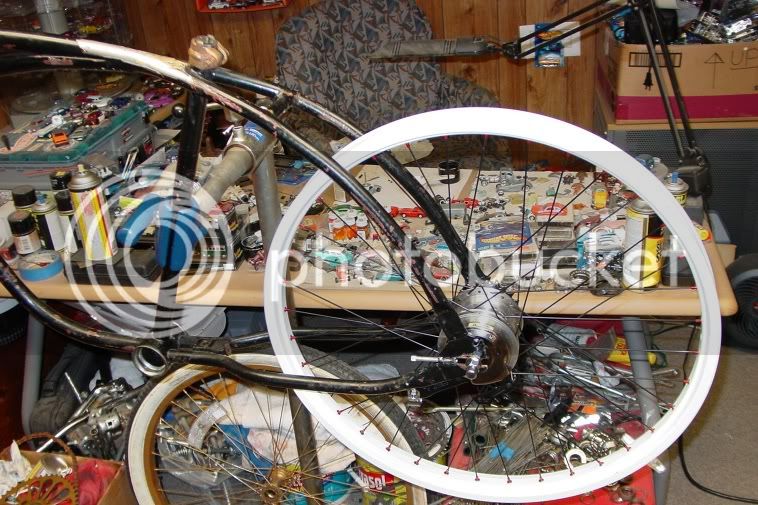
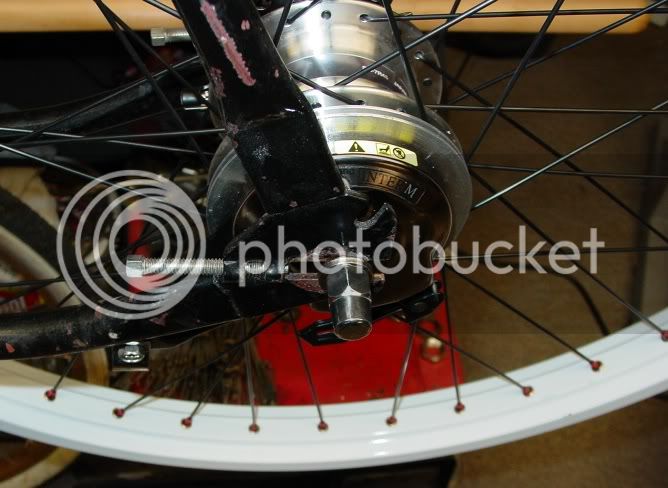
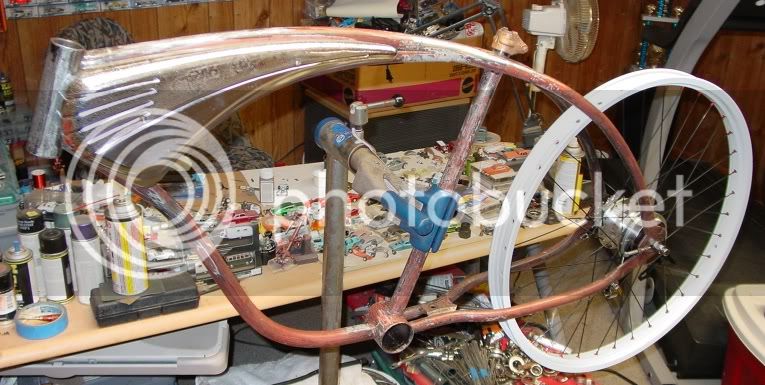
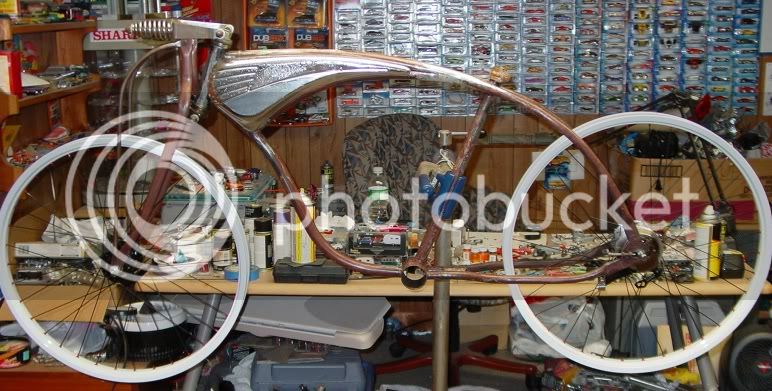
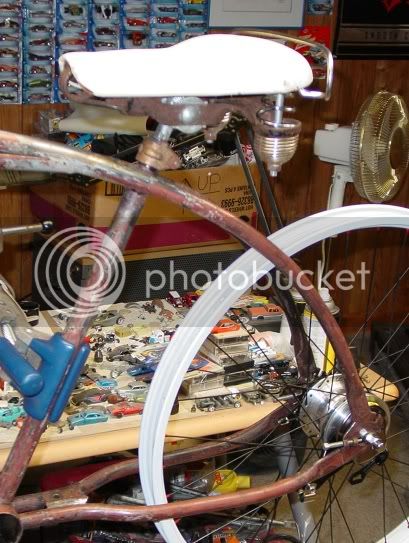
The Frame in the stand and wheels.
Day1a.jpg

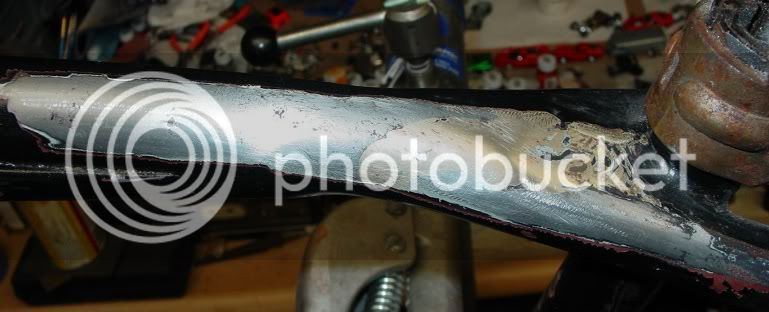
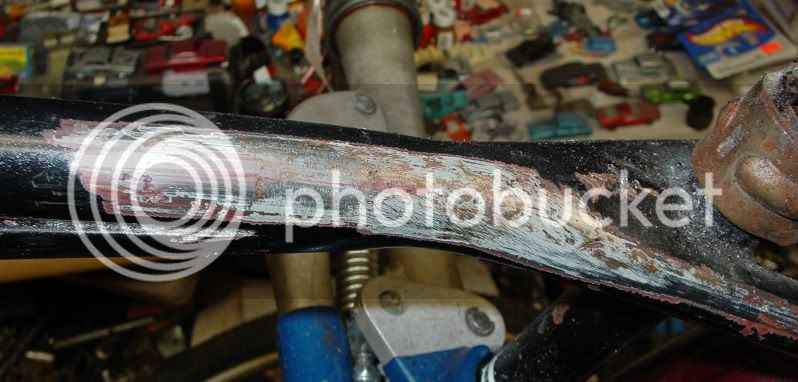
An area of the frame where I scraped the paint to see how many coats there are. We got Factory Primer, Red enamel, gray primer and black rattle can.
Day1b.jpg

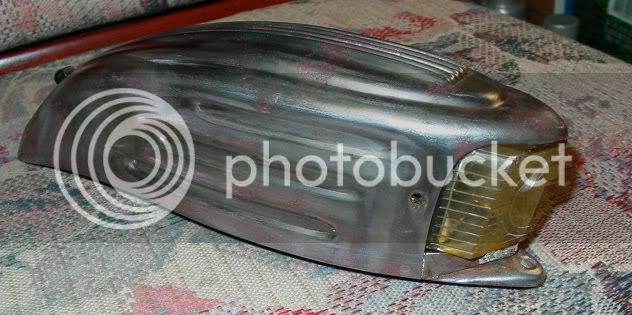
The light housing in nice shape. I took it apart, stripped the paint and setailed the lens. NO CRACKS! Just a small rub.
Day1c.jpg

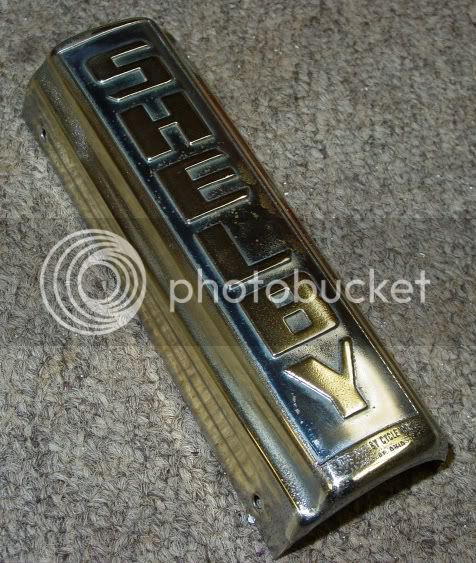
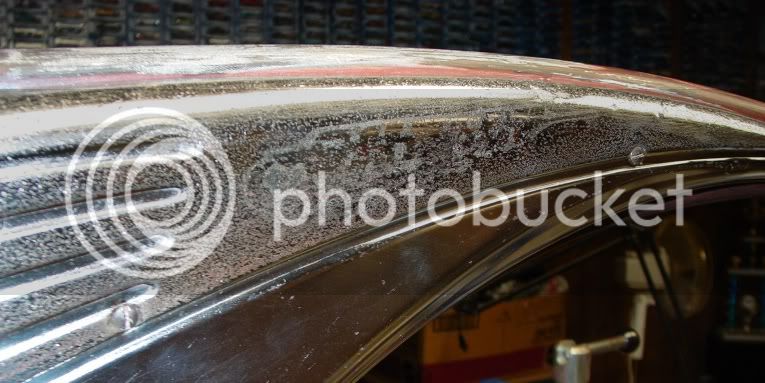
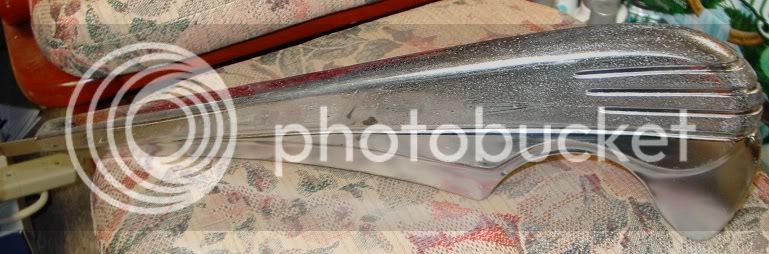
The chainguard. Nice chrome on the bottom half. Looks like the top half was originally red as the pitting was worse? or maybe the bottom half was red and thats why there was no pitting. Either way I stripped off only the primer and white from the amatuer resto.
Day1d.jpg

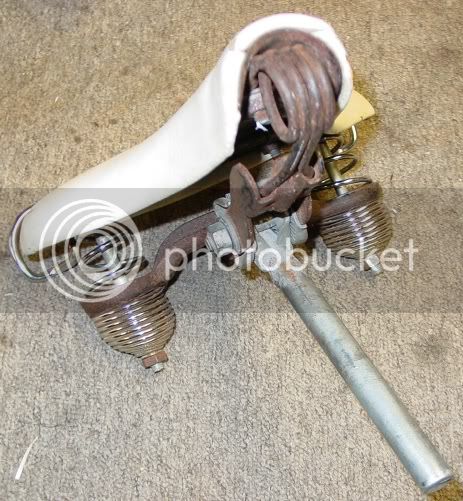
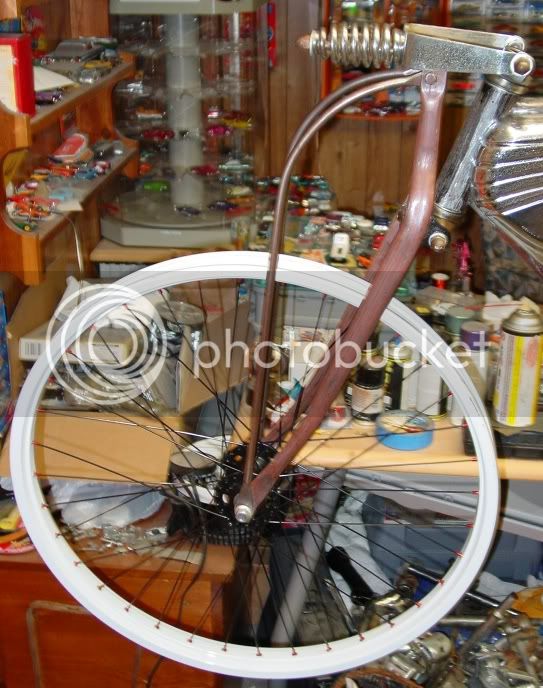
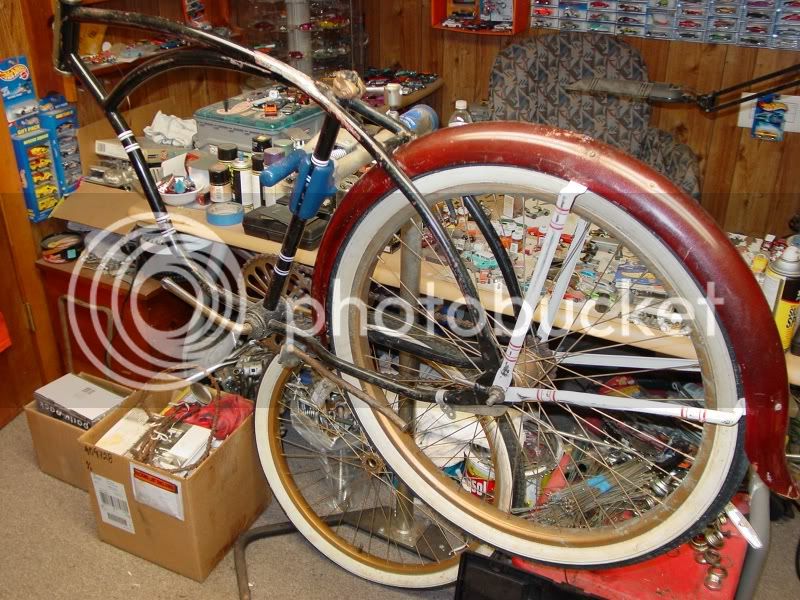
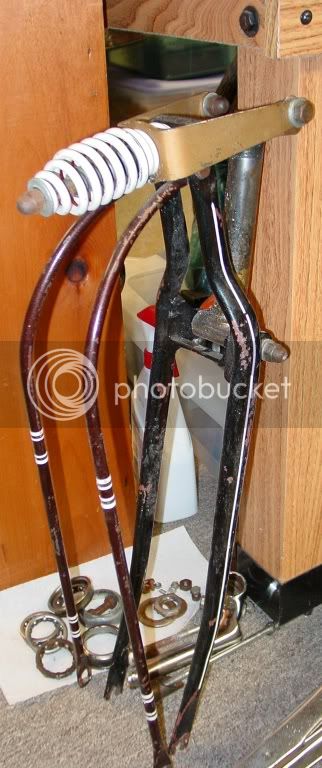
The Springernd it's psychadelic paint scheme, Yuck!
Day1e.jpg

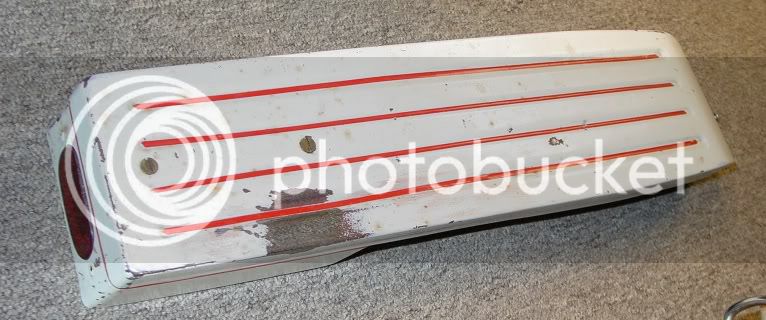
The Rack is chrome underneath and the tail light can looks pretty good. Nice lens. We will see how it looks after I strip the paint.
Day1f.jpg

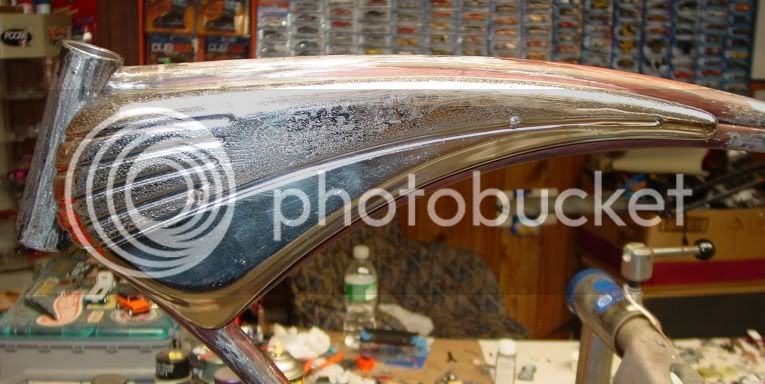
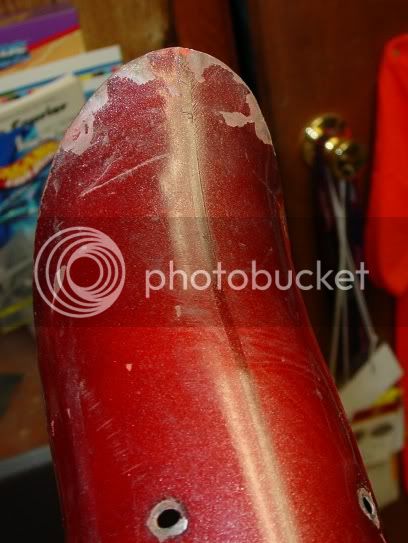
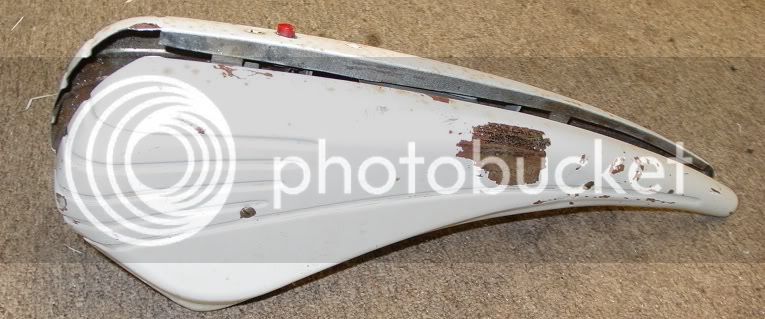
Lastly, the tank. I stripped a small spot to check on the condition of the chrome. It seems just average with a little pitting. I had to bang out a few dents in the tank and straighten out the brackets as shipping and a tight packing job took it's toll.
Day1g.jpg


More tomorrow night! Enjoy!
 
Re: >> Daily Chronicles of the Shelby Rat <<

nice bike. this will be a fun build. can't think of a name as yet, will see as you go along.

Outlaw
 
Re: >> Daily Chronicles of the Shelby Rat <<

This naming thing has been rattling around in my brain and keeping me from working so I thought I would post my rough thoughts in hopes I can get back to work.

I've been trying to work a tie in to Carroll Shelby on this. Something like: Cobra, GT350, GT40, etc. What I seem to have settled on for now is Shelby GT54. Sort of tying in the year, manufacturer, and then just adding GT to tie it to Shelby motors.

thoughts?
 
Re: >> Daily Chronicles of the Shelby Rat <<

Joe I like this one. Lots of neat details everywhere I look.
 
Re: >> Daily Chronicles of the Shelby Rat <<

I'd name it "Another Awesome Joe Job".. :? ...or GT350...I'll just have to watch closely and spend too much time trying to be clever...Dang it Joe! :wink:
 
Re: >> Daily Chronicles of the Shelby Rat <<

This will be fun to see.

Rat Rod said:
How are you stripping all of the paint off?
Me too as I see you have the only carpeted workshop.
 
Re: >> Daily Chronicles of the Shelby Rat << Day 2

this will be cool!! Thanks :mrgreen: :mrgreen: :mrgreen:
 
Re: >> Daily Chronicles of the Shelby Rat << Day 2

Day 2 Pics

I got the headbadge off and polished it up. A little trick i figured out to get a really good cleaning and wet sand is to use 600 grit wet sand sandpaper and PB Blaster as a lubricant. Won't scratch the metal and acts as a polish at the same time.

Day2a.jpg


Again the seat cleaned up with a little Wesleys whitewall cleaner. I then took the seat springs off and took an SOS pad to them and to the rest of the frame to get all the crus off it. The sprigns came out pretty good. A few nicks in the seat cover, but otherwise very presentable.

Day2b.jpg


Day2c.jpg

Sprocket problem. As I alluded to on Day 1, FedEx did not treat this package nicely and it was packed well, too well. There were no handles in the box to pick it up by and was thrown off the truck several times. Once it probably landed on the bottom and with enough force to bend the sprocket around 3/8 of an inch. This one is no good. Thats save me the trouble of stripping the paint.

Day2d.jpg

The Serial number which indicates this is really a '53. That is good to know!
Day2e.jpg

I sanded the frame down to see what condition the original metal was in and it looks like it will be really nice with no heavy pitting.
Day2f.jpg


I had to spread the rear drop outs apart about 1/2 inch to get the NExus hbu in the there. Simply laid it on the ground and pulled up a little, flipped the frame over and repeated the process until it fit. Rim runs sooooo straight!
Day2g.jpg


Day2h.jpg


Thats it for today!
 
Re: >> Daily Chronicles of the Shelby Rat << Day 2

Are you using the anti-rotation washers on the hub. I think it is silver and white for track dropouts.
 
Re: >> Daily Chronicles of the Shelby Rat << Day 2

when ive got a sprocket bent THAT bad, i put in the vise and torque on it carefully with a cresent wrench, turning it all the time to even it all out. worked great on this ole' stingray crank my buddy had. he tried to throw it out 'cuz it was so bent. i took it and put in the vise and bent it back with a cresent wrench. looked good as new. he hated me for it. lol :lol:
 
Re: >> Daily Chronicles of the Shelby Rat << Weekend Update

Took in a little football this afternoon after three indoor soccer games and got the frame stripped of the crappy repaint. I simply used a small flat blade screwdrived and scraped it all off. i still have to wet sand it but thats another day. I stripped half the tank with Rock-Miracle paint stripper. Same thing as the chainguard - bottom half chrome is nice, but the top half shows weathering and pitting. You can see from the close ups that the original decal can still be seen where it protected the tank from weathering, at least for a short time. Hard to see in the pic but the tank says SHELBY in script. Thats it for tnight.

Day3a.jpg


Day3b.jpg


Day3c.jpg
 
Re: >> Daily Chronicles of the Shelby Rat << Weekend Update

Joe I could swear I heard you say something to the effect of "I'm all done building bikes with Nexus hubs..." once. But that might'a been after a few beers. ahem.
 
Re: >> Daily Chronicles of the Shelby Rat << Weekend Update

Ian,

I did not say I was done building them, just spending the money on buying them. I have had these built for a couple of months and I have had this hub since last winter. I still have two more sets of 24" wheels that are built with the Sturmey internal 5 speeds that need to find a home, but no more buying them after these. Skip tooth or regular chain and single speed.

My plan is to ride the 50 miler next summer on this bike - no way to go single speed and accomplish that :shock: LOL

Joe

ifitsfreeitsforme said:
Joe I could swear I heard you say something to the effect of "I'm all done building bikes with Nexus hubs..." once. But that might'a been after a few beers. ahem.
 
Re: >> Daily Chronicles of the Shelby Rat << Weekend Update

ok, ok. ooo, 50 miles, ouch. I'll do that ride wich'ya.
 
Re: >> Daily Chronicles of the Shelby Rat << Monday, Day3

Took a couple of hours to get off all the paint and I still have the spring pieces sitting in stripper.

Day4a.jpg
 
Re: >> Daily Chronicles of the Shelby Rat << Tuesday, Day5

Finished the fork tonight and reassembled it. Came out pretty good for a RAT!@ and certainly much better than that 70's resto glow! Mounted it up and stuck the front wheel on it to be sure everything fit. Threw the seat on to check for ergo fit. For my frame I think I will need a lucky 7 seatpost. I stuck the rear rack up on it to see how it was gonna look and I don't think it fits my end result. Also, the funky fender stays don't look right. Yeah, they are Shelby original but it makes the lines of the bike look like it has braces on buck teeth! :shock: I spent about an hour banging out the small dents and fender edges with some body work tools (yeah right!) - I used a round brass cylinder and a carpenters finishing mallet. For the flat stuff I just put it down on the carpet and gently tapped it back into shape. I guess thats the high umm low tech way of doing it. Until the next installment!

Day5a.jpg


Day5b.jpg


Day5c.jpg


Day5d.jpg
 
Re: >> Daily Chronicles of the Shelby Rat << Tuesday, Day5

This is my favorite thing I've seen.EVER.I LOVE IT.
 
Re: >> Daily Chronicles of the Shelby Rat << Tuesday, Day5

I always thought that Shelby made the best looking springer forks...
 
Back
Top