Edgy Elgin Rat

Rat Rod Bikes Bicycle Forum

Help Support Rat Rod Bikes Bicycle Forum:

This site may earn a commission from merchant affiliate links, including eBay, Amazon, and others.
Did you try placing the battery pack on top of the stem, behind the handlebars?
Sent from my iPad using Tapatalk

I have the Elgin wing mounted on top of the stem. The battery tube is 2.5" Dia X 6.5" long. I can do it in the tank void space but it ends up looking tight. It doesn't seem to look right hanging on the lower top tube. I did another bike with one mounted on the seat tube, but the wiring is a longer run.
3c4f9eb1bf36f2d9f87a4cd9a959c9b3.jpg


Sent from my iPad using Tapatalk
 
Last edited:
What about mounting above the top tube? Would need a stronger mount to keep it upright, but I think it could look very cool!

That would work, I had thought about it. That might give it a little European flair in the form of a nutcracker.


Sent from my iPhone using Tapatalk
 
Or, maybe on top of the Trussrod bars sideways? I like that BB conversion style...have to try one of those..

Probably going to hang it from bottom cross tube. Might find a tank some day...sure.
This is the third one of the bottom bracket conversions I've used, they seem too work fine and retain some of the OG technology.
I cut down a couple of #4 screws for the headbadge.


Sent from my iPad using Tapatalk
 
I bent and beat 4 angle brackets to match radius of the battery tube for the mating with the hanging brackets.
41882cc8af082fa57e82217ea12934ce.jpg

00bc6ac6baabc0b36b787bee24e8cba1.jpg

I ended up bolting it together as the pop rivets wouldn't firm up.
928d1d16232b6be8e20e680c316adfd6.jpg


Sent from my iPhone using Tapatalk
 
At the present I have the battery pack hanging from bottom tube.
181f95f67b61a11806194367c1615b54.jpg

The bars are turned sideways since the bike is indoors.
0ee7b4e55eba233289fb3e036dac9a20.jpg

39464feadf2893c14405d1a1e58a015e.jpg

Beagle is checking things out. I still need to do finished wiring.


Sent from my iPhone using Tapatalk
 
Reminds me of an old school stanley flashlight.

Pastry or cookie press was the original intended use for the battery case. The light shows up in prewar Sears and Roebuck Elgin advertisements for accessories.
I picked up the light and starting point bike at a vintage John Deere tractor show and swap meet. Farm auctions sometimes yield old bikes and parts as well.


Sent from my iPhone using Tapatalk
 
Last edited:
Looks like your puppy is growing up. Still interested in bikes though, so that's a good sign!

Yes she is. She was a year old on Christmas Eve, our Christmas baby. She still won't stay in the dog trailer though, so no bike rides. Very curious.
a3dad2911ec7d98199d0148f6cdb24b5.jpg


Sent from my iPad using Tapatalk
 
I had made a "Parts List" sometime after I started working on this bike.
Today I tried to make a "To Do List" in order to put this one behind me, other things on the horizon.

Here are the lists:

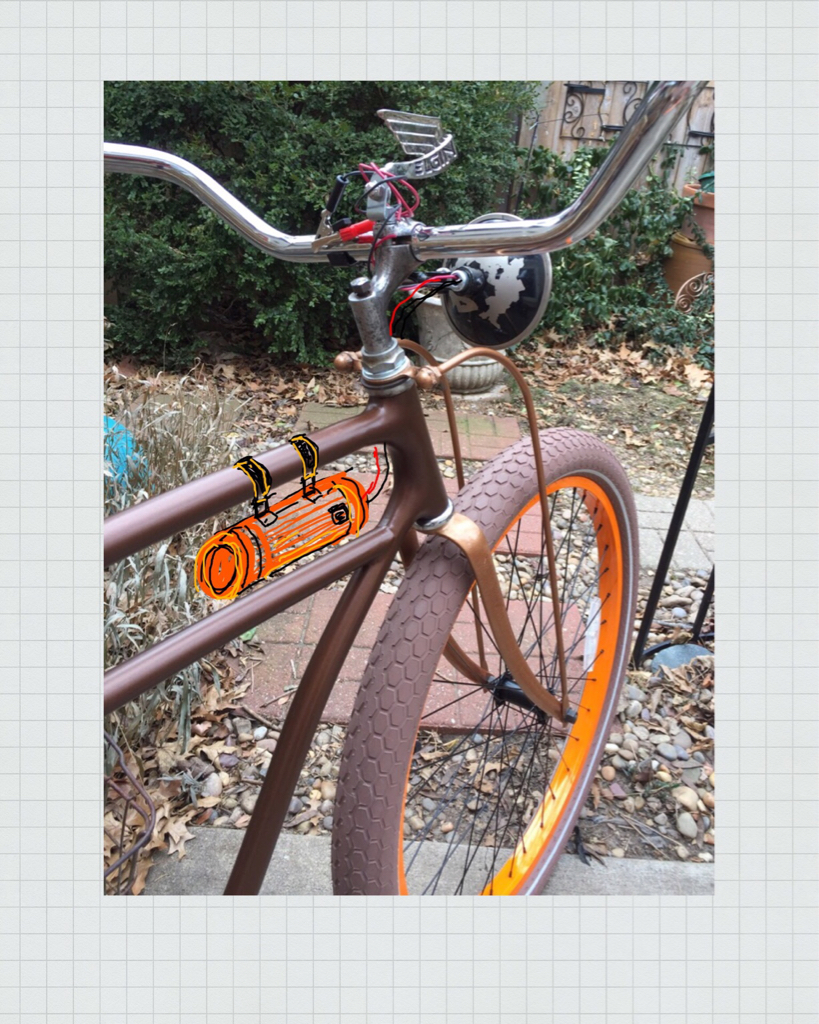
1941 Elgin Rescue Bike From Poppin Johnies Show
Bike taken apart, frame and fork media blasted by Soft Strip
Wheel set from HBBC, orange rims, SS coaster
Custom Elgin stem emblem
Handle bars from Tom Sawyer Bicycle Shop
MKS retro pedals 9/16"
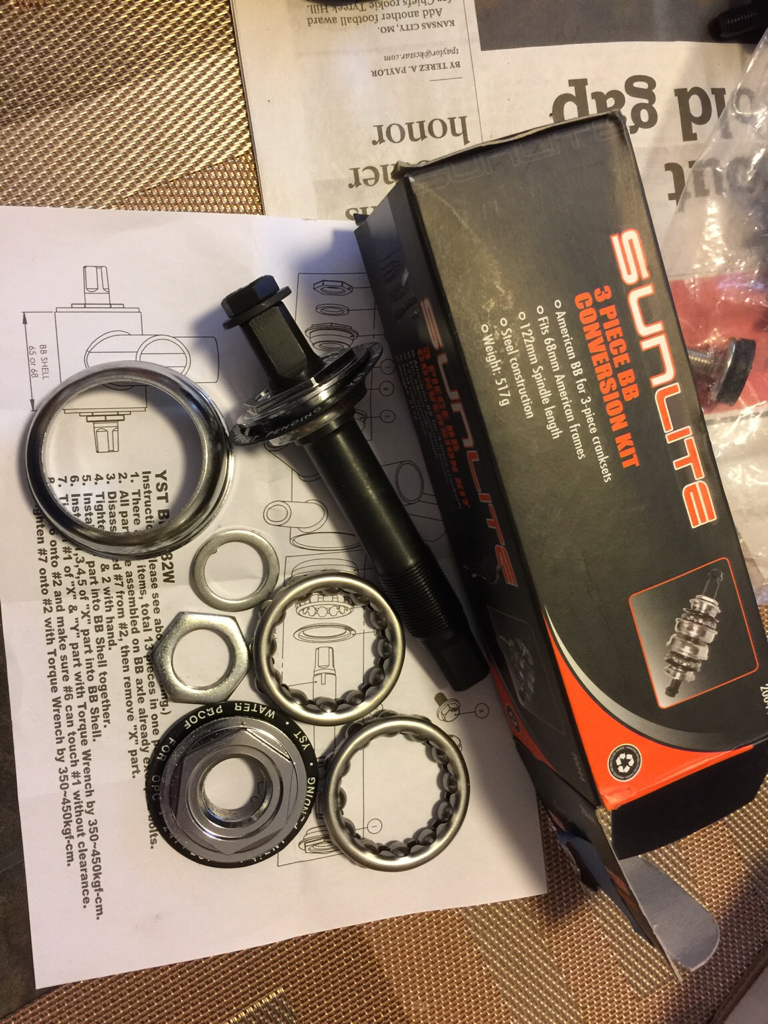
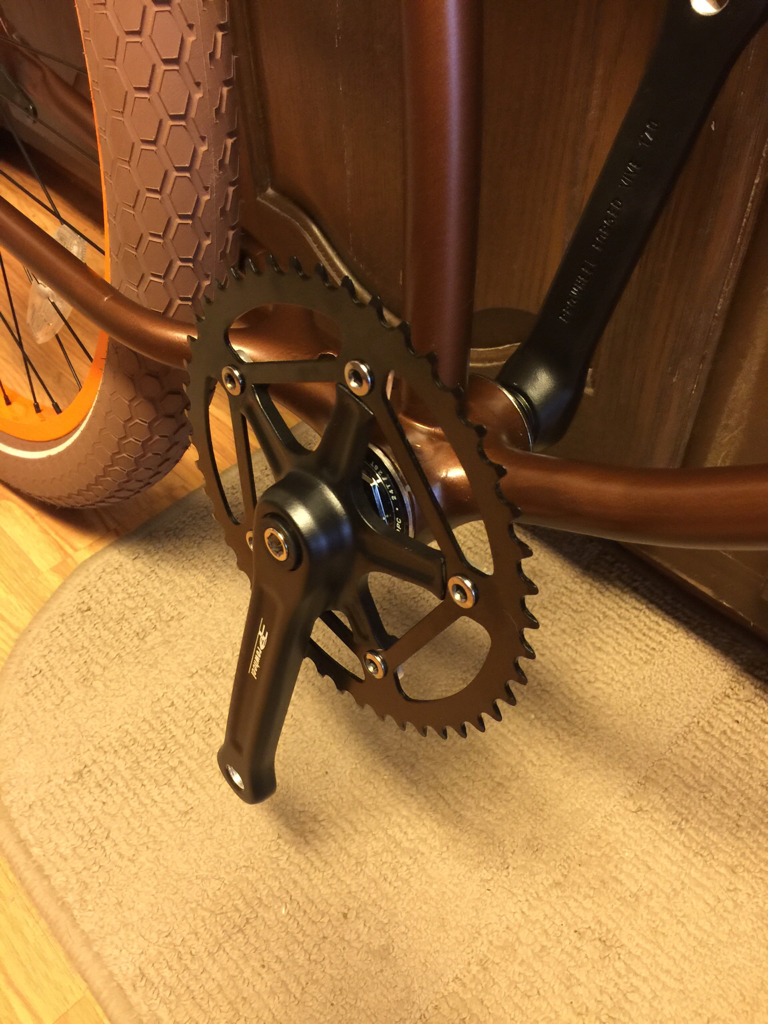
BMX style three piece crank
Bell SS 1/2" chain
Bottom bracket adapter
Continental Retro Ride tires - 26 x 2.2, BikeTiresDirect.com
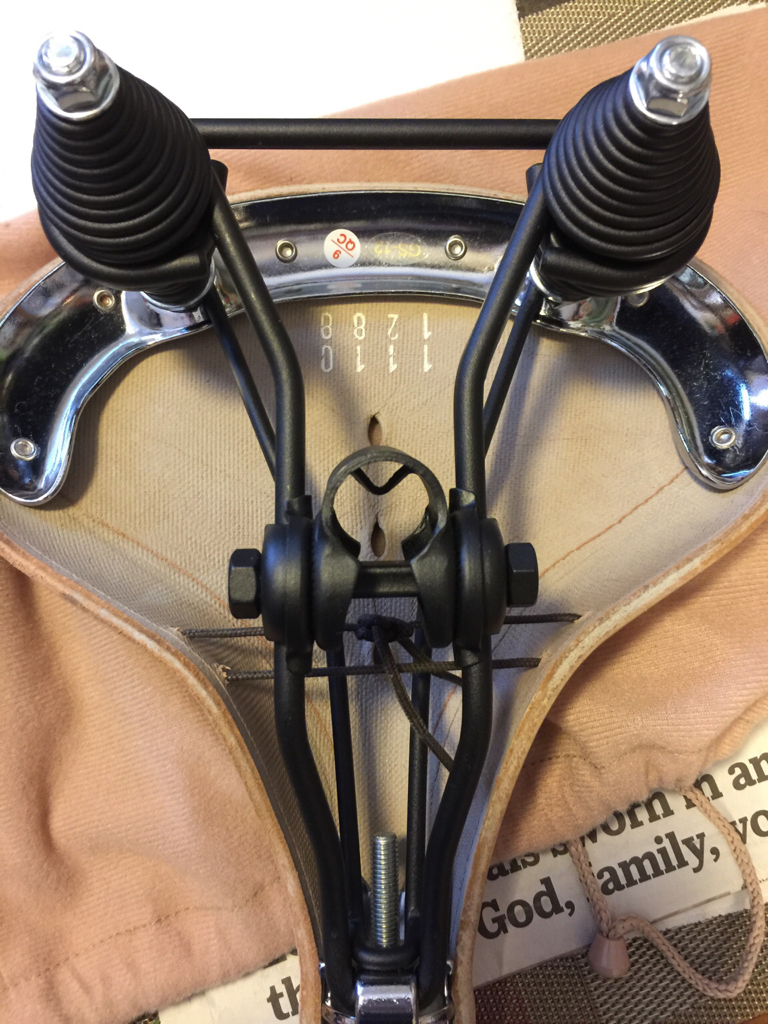
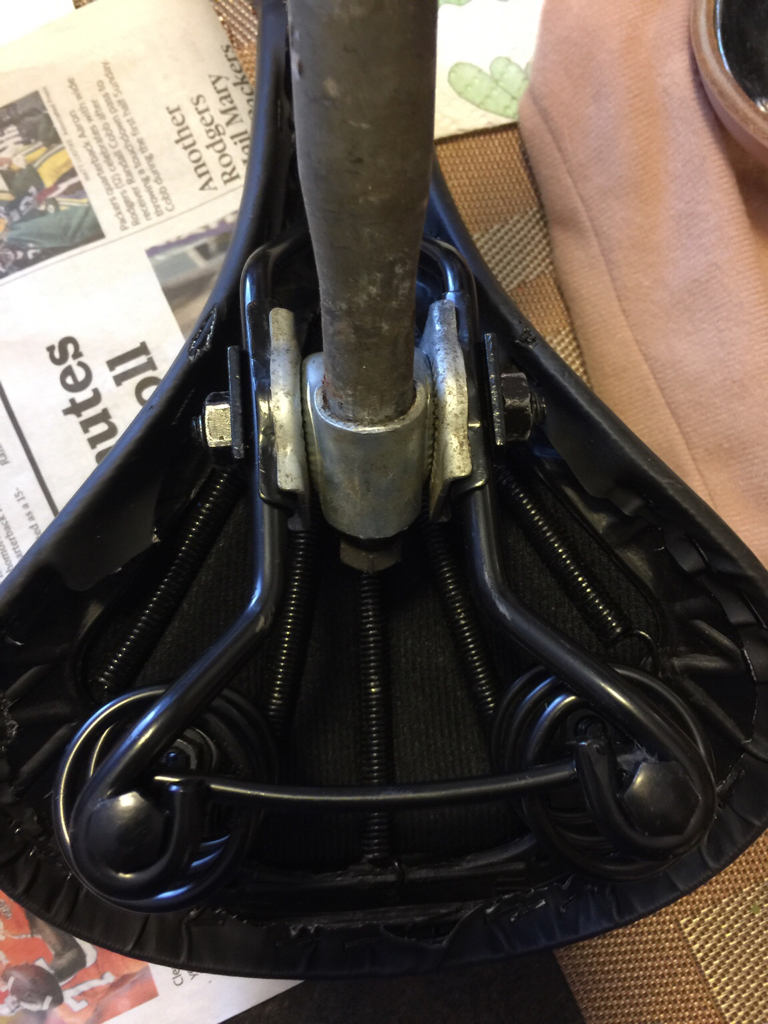
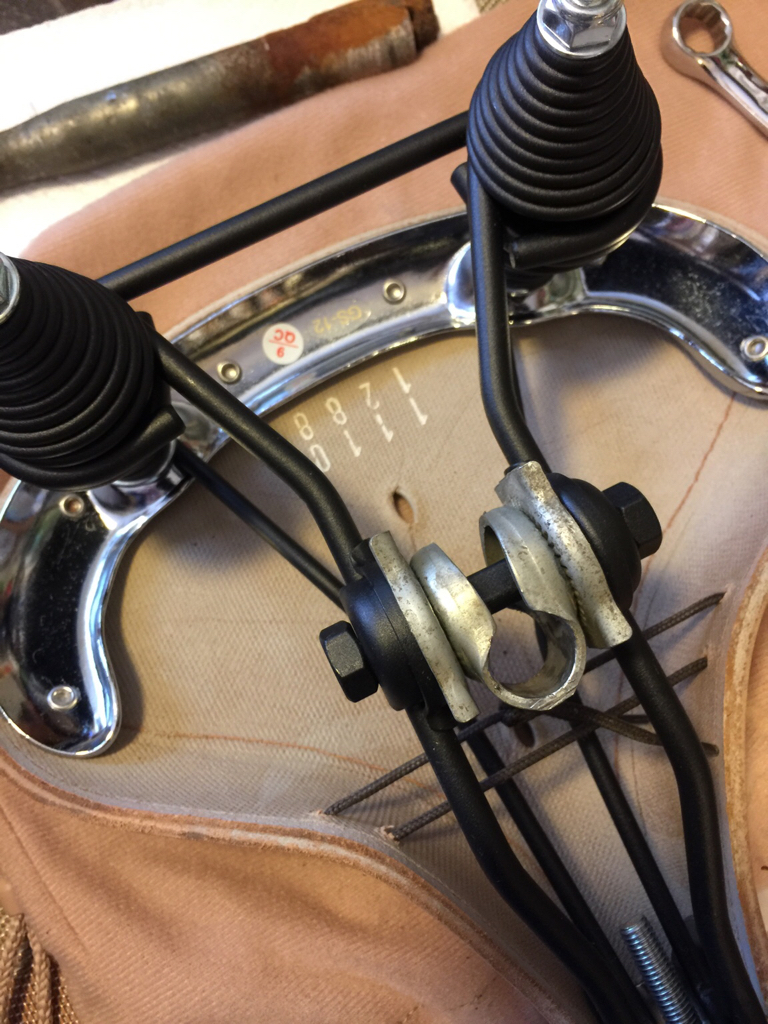
Saddle?
Grips?
Reproduction headbadge from Jones and Sons Headbadges
Banjo style wheel adjusters
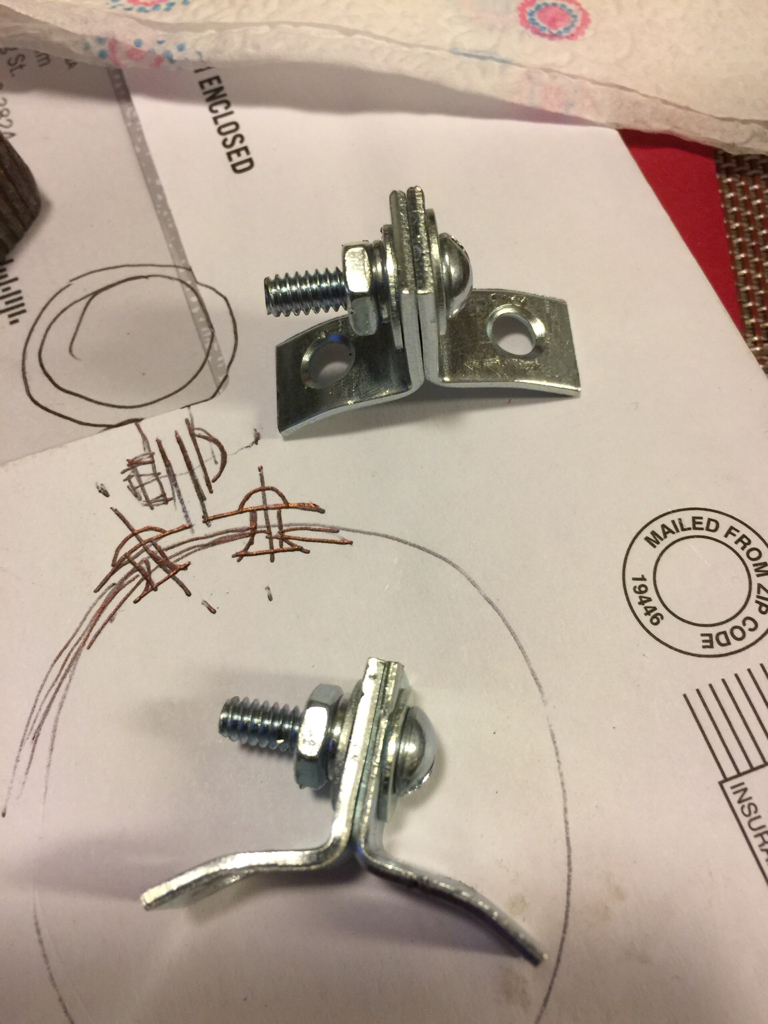
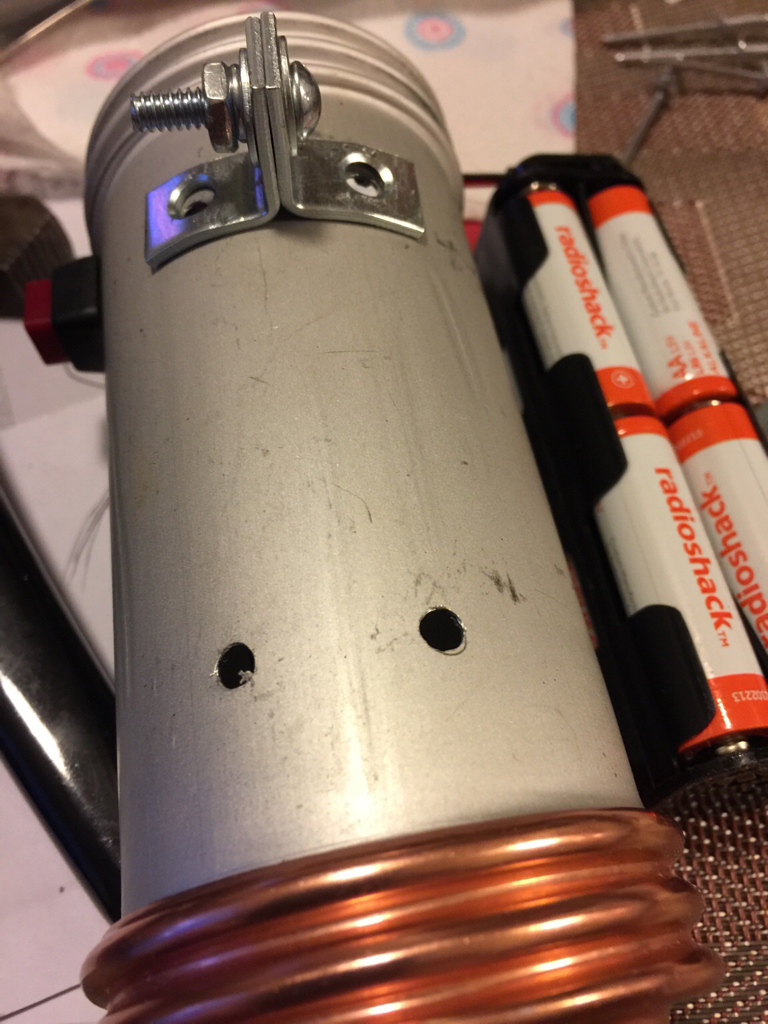
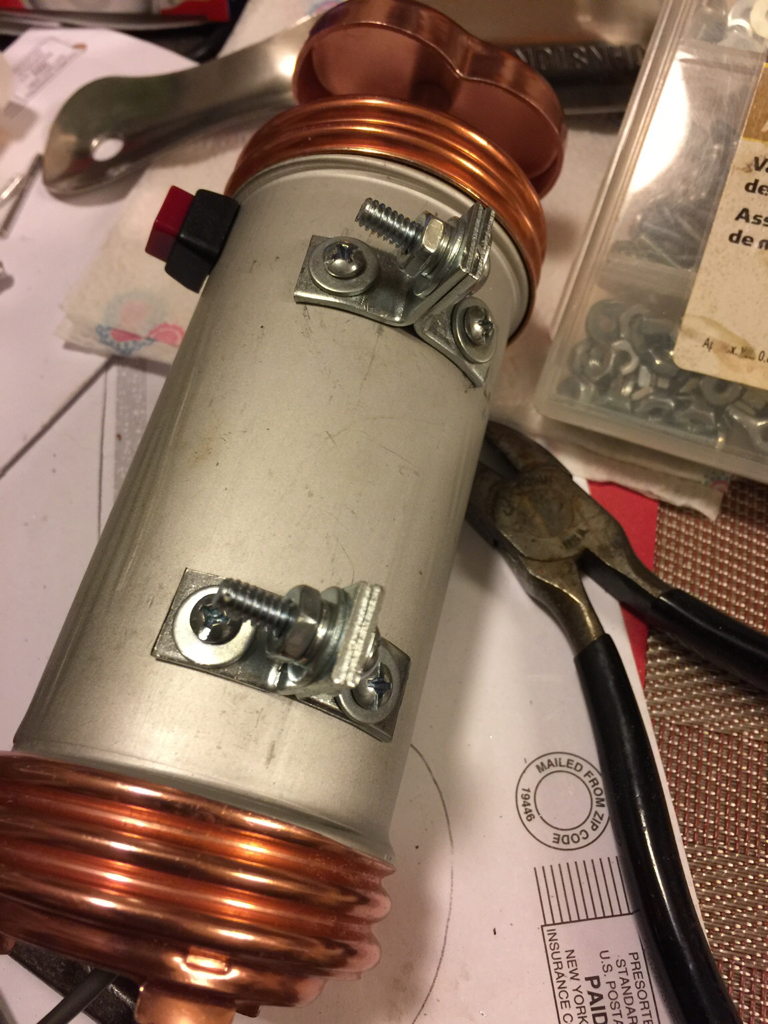
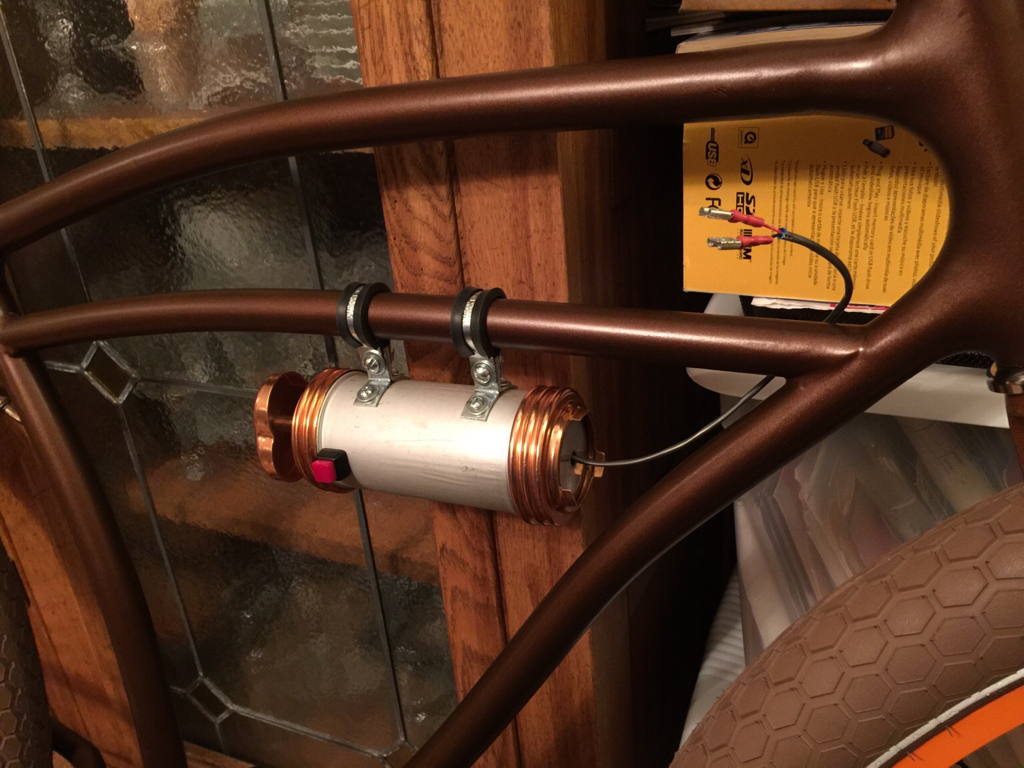
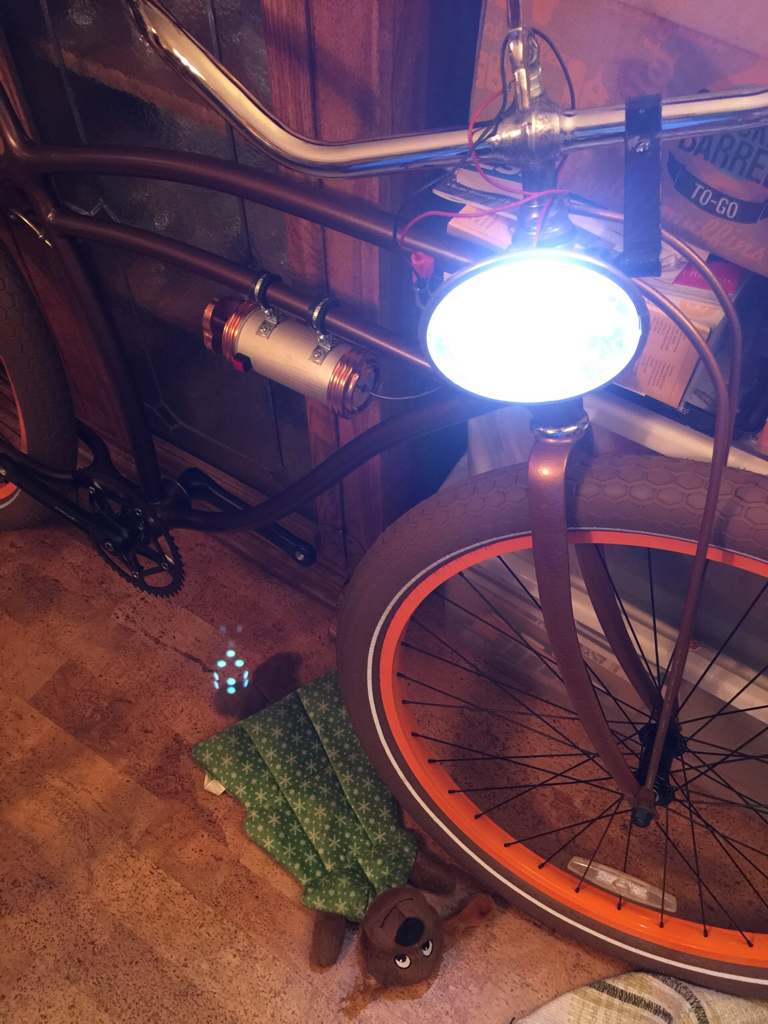
Vintage spot light adaptation to LED
Paint hammered copper or aged rust.
////////////////////////////////////////////////////////////////////////////////////////////
To Do:
Tighten headbadge screws shorten if required.
Grease bottom bracket - Adjust bearings
Install crank arms, grease contact surfaces -Torque tightness.
Add pedals, grease threads - Torque tightness.
Touch up, repainted truss rods, house cure, install.
Grease and adjust headset.
Grease and install stem - Tighten and center.
Tighten and adjust bars.
Add grips - Cork or Rubber?
Fab seat post shim or use 5/8" Dia bracket.
Clean seat post or fab new one from 5/8" CRS.
Install seat post and Gyes seat.
Finalize light wiring and connections.
Install (verify type and color) chain and chain banjo adjusters.
Fine tune everything and test ride.
Chain Guard to use or not to use???


Sent from my iPad using Tapatalk
 
very nice work. thanks for the inspiration to get my build running.
Thanks, ready to see your build progress.

Liking the battery tube off the bottom bar, looks good!
Thanks Luke, I saw a few photos of older bikes with the battery tube mounted on lower tubes so that sold me on the idea.

Great color combo nice work as always buddy.
Sent from my LGMS330 using Tapatalk
Thanks x3, you do some nice work also.


Sent from my iPhone using Tapatalk
 
I cleaned up the 5/8" seatpost today and changed out a couple of seat clamps to get the new saddle set up. Going from 7/8" to 5/8".
8fe493e2ed1721f7053ce60539d8cefb.jpg
6e57911a5b10a5a38e9c670b5efd07d0.jpg
51939213ee332b55a9beae83c5e4e342.jpg

Ready to install on Elgin, but need to get some grease, I'm out.


Sent from my iPhone using Tapatalk
 
Did some "indoor" final mockup today to check fit of parts. 15 degrees F outdoors. I installed the bottom bracket and bearing cups, loose fit cranks.
16804057c9884652a4def4fef5c1a238.jpg

58904ebbb55afd735076b72576efea5a.jpg

622014f7202930d4663de79c9ce6b560.jpg


Sent from my iPhone using Tapatalk

Where did you find this bottom bracket conversion?? I need one for my Hot Rod Spaceliner!!


Sent from my iPhone using Tapatalk
 

Latest posts

Back
Top