


American Vintage Bicycle Supply
Double Nickle
I would like to show the members of Bmxmuseum how to build a show bike display at low cost...
Please note, I used my display for bmx bikes but this can be done with Cruisers and Rat bikes also!
Here we go!
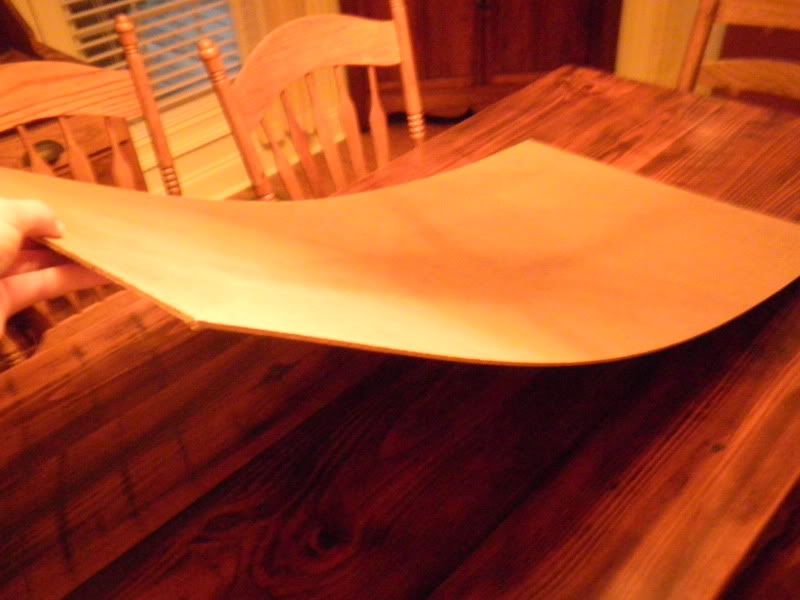
1st. Go to your local building supply store and pick up a sheet of Tempered hardboard (Masonite). The best size to use for a 20" bike is a 2x4x1/8 sheet. Home depot already has them cut to that size. For a 24" + bike a bigger sheet will be needed. For this "How To" I will be using the 2x4x1/8 sheet.
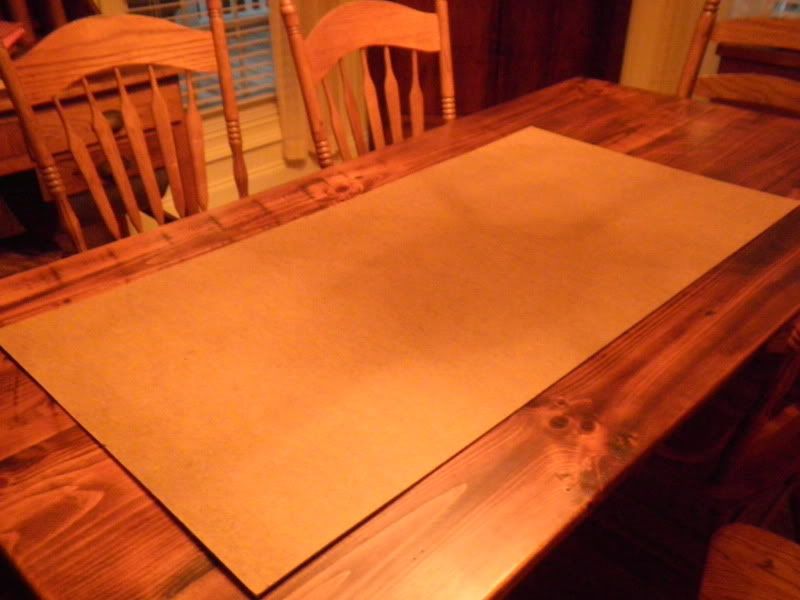
Masonite is somewhat flexible and will not warp easily.
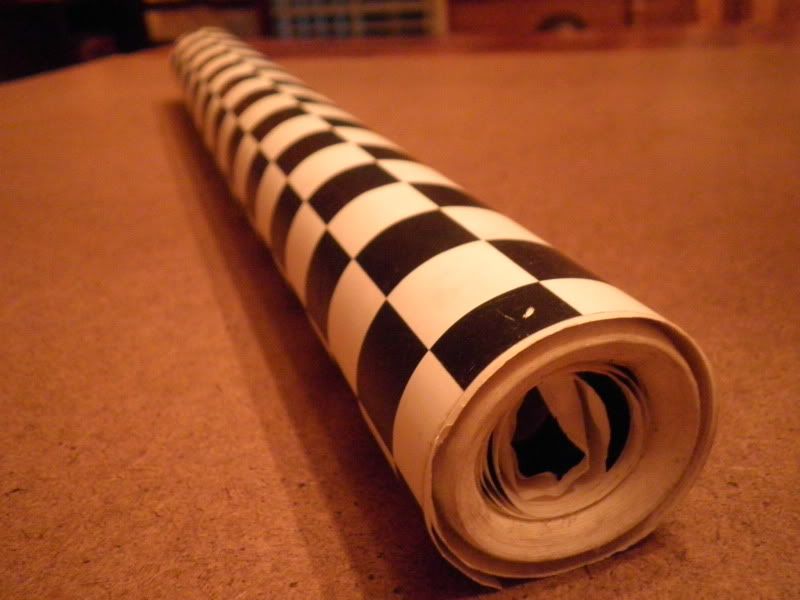
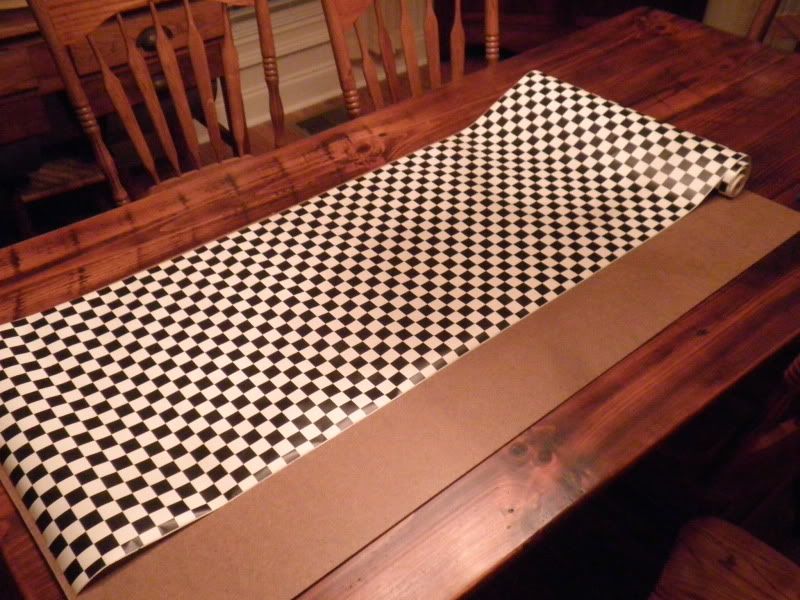
2. There are two routes you can take in building this display. One is covering the board with Contact paper. I picked up a roll of checker board paper at my local pawn shop for $1.
Cover the board with the contact paper. Depending on the size of paper you may need to over lap the sheets to cover the board.
Smooth bubbles for a sleek finish
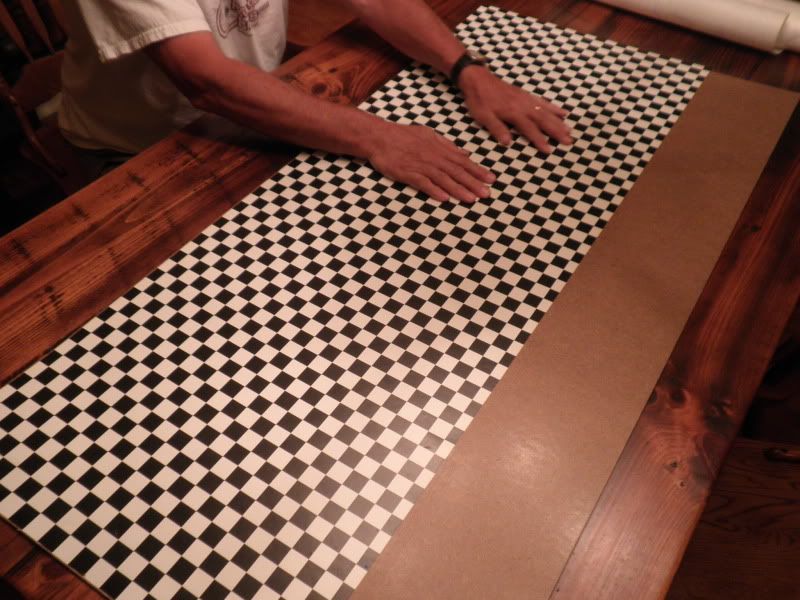
Match up pattern to blend both sheets.
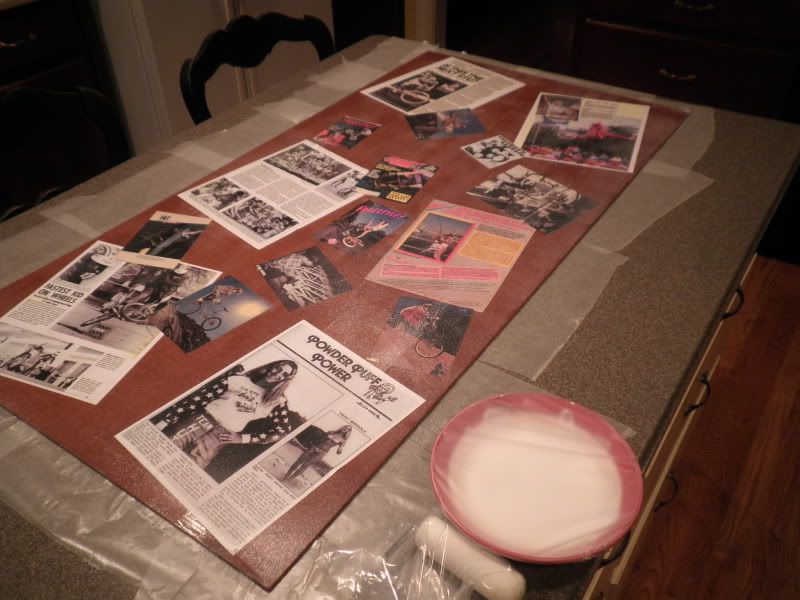
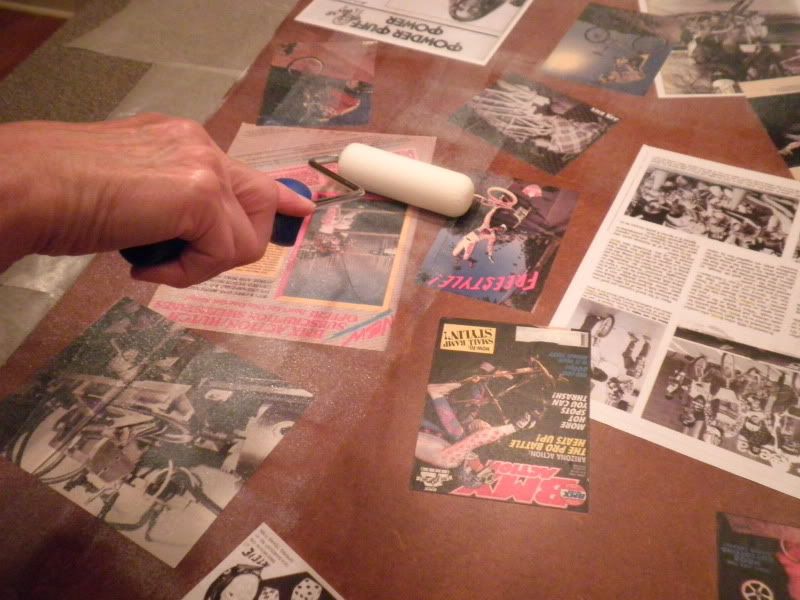
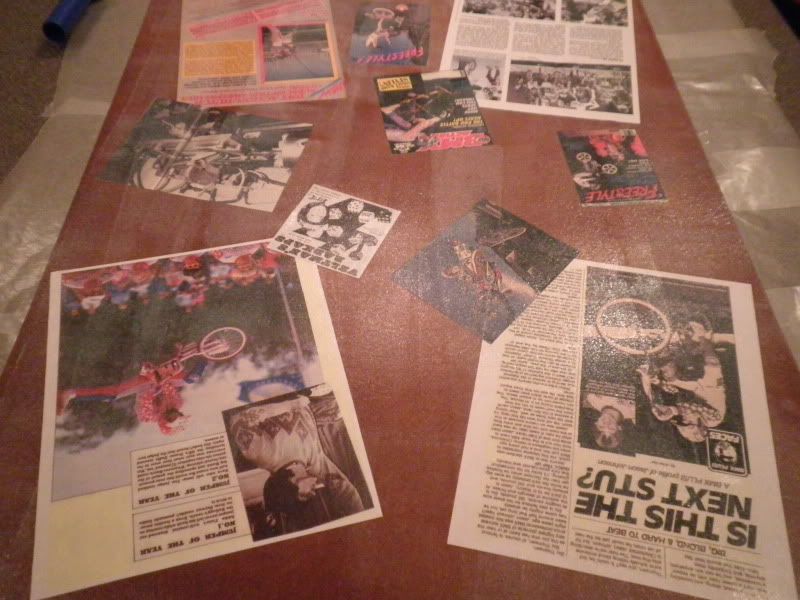
3. The second route you could take would be to make a collage on your board. I cut out pictures that I printed from the internet of vintage Hutch magazine covers/ articles/ and ads. You could also use build progress pictures to achieve the same look.
4. To glue the sheets to the board we will be using Mod Podge. You can pick this up at your local craft store. Paste pictures to board then let dry. After all pictures are glued and dried, cover the board with layers of the Mod Podge. Read directions on bottle to get the best finish you would like. By doing this, it will seal your pictures onto the board and leave a durable finish.
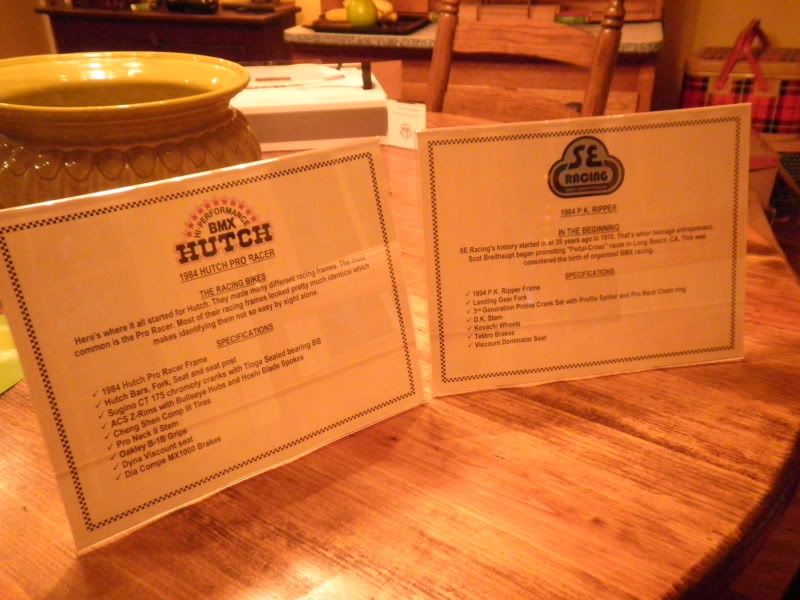
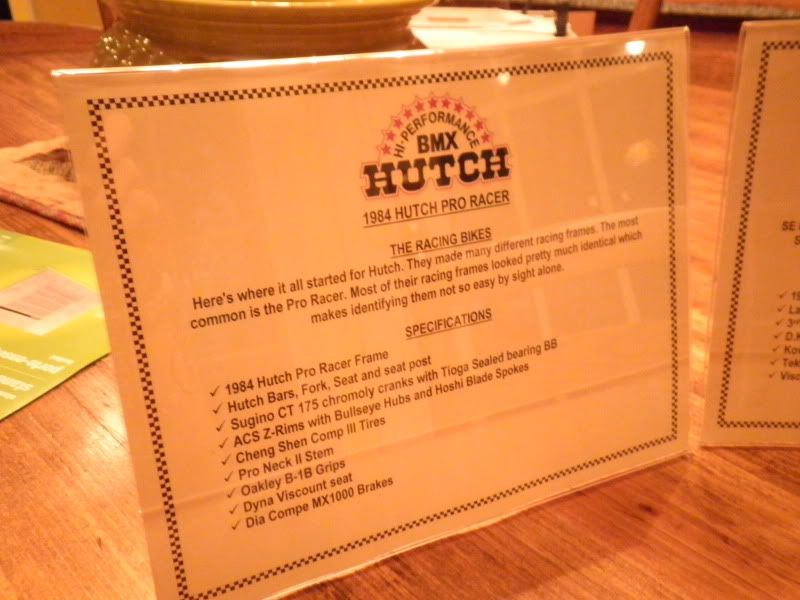
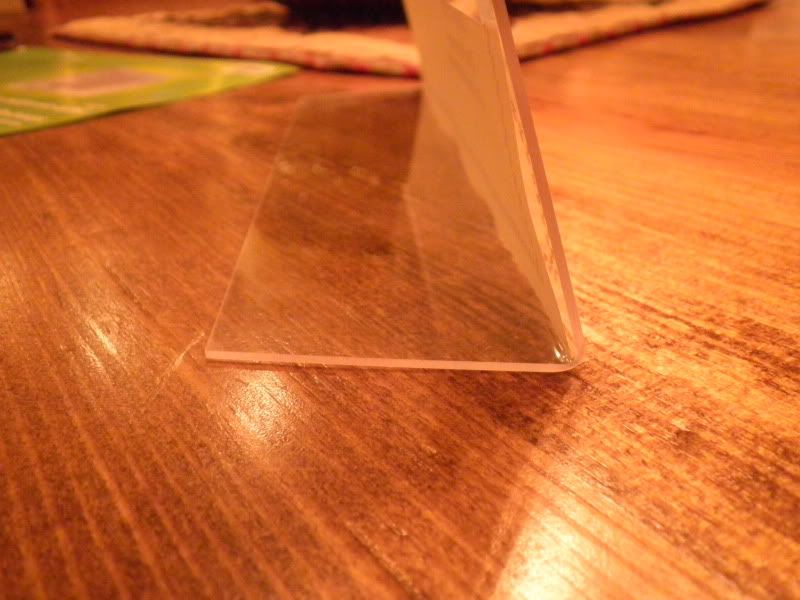
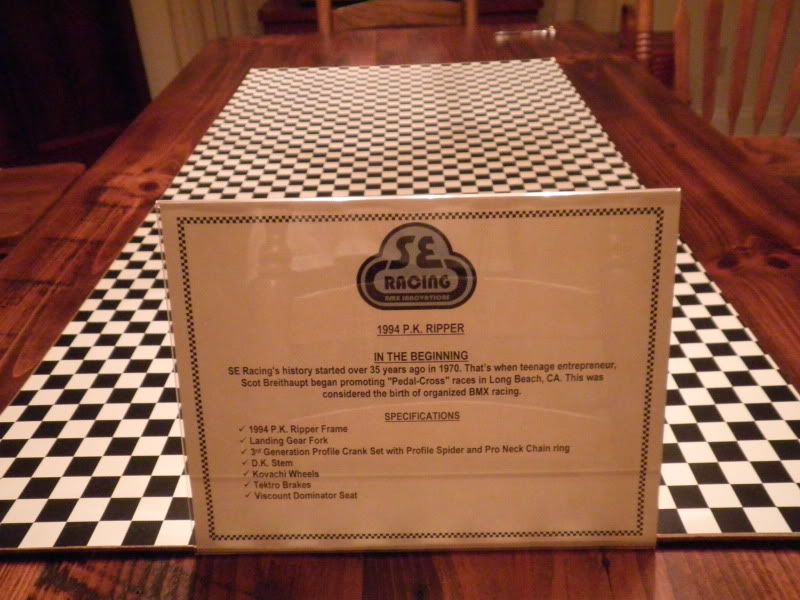
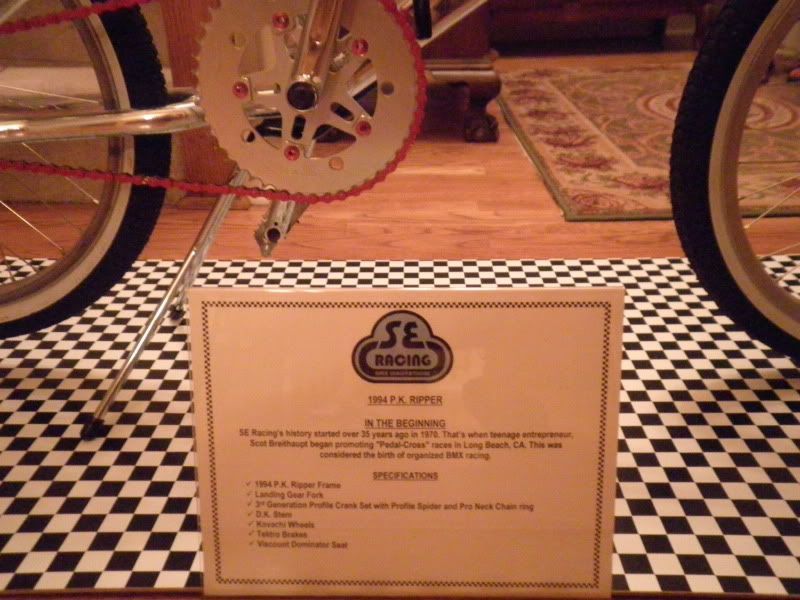
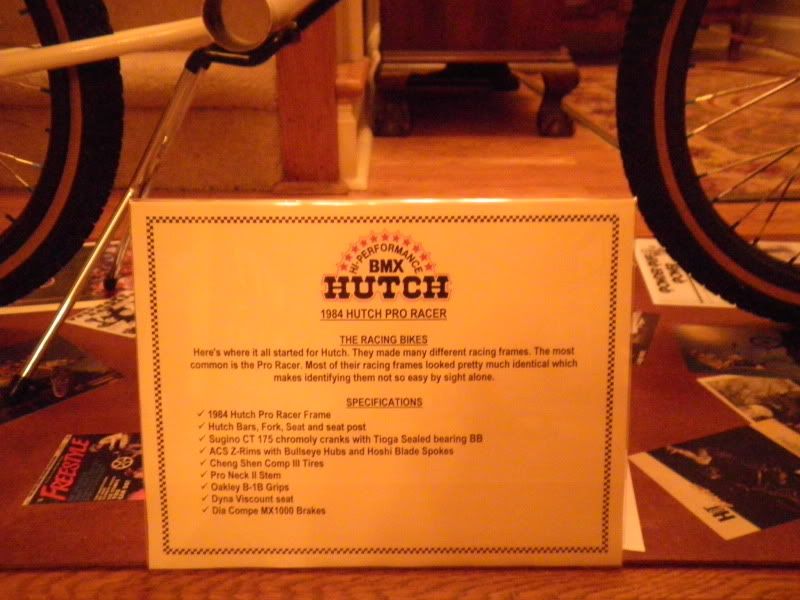
5. Now, onto the description plaques. I picked up some clear stand up sign holders from my local office supply. These will allow you to slide the backs under your display. By doing this it will make them sturdy.
6. Use a portable bicycle stand to mount the bike on top of the display. I bought mine from Niagra Cycle Works. The stand Is very cheap on does its job well.
7. Now put all your creation into one!
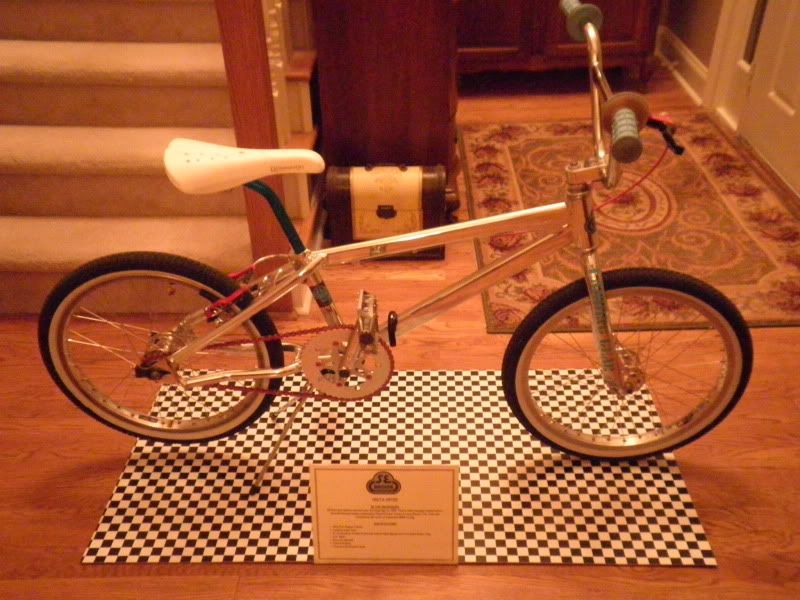
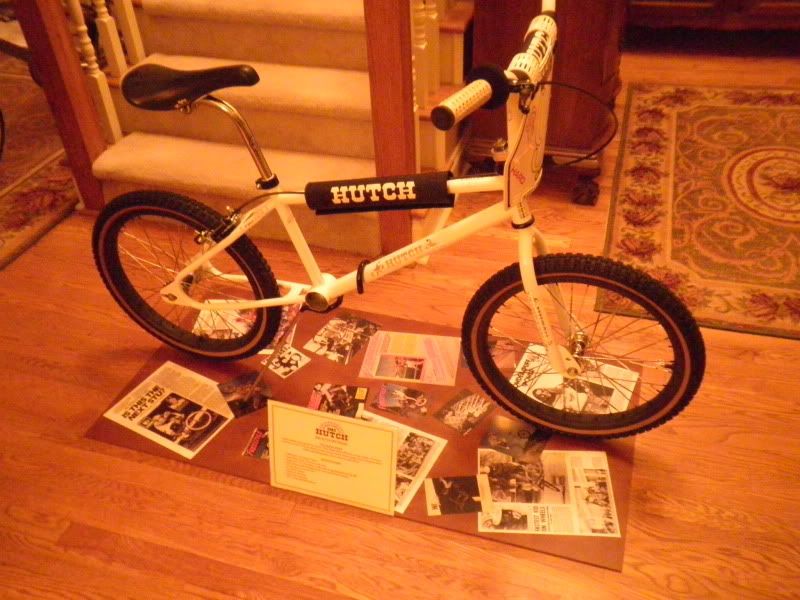
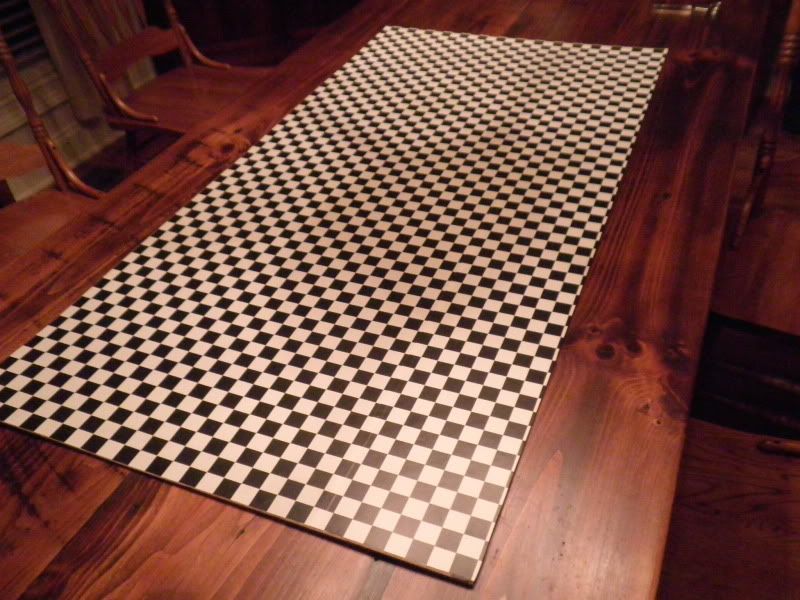
I have found that a checkered pattern works best with Chrome frames and the collage with painted frames.
I hope this might help you in some way. Between the two displays I have about $25 in each. This Is the best looking and durable display I have ever owned and plan to take them to many shows in the future!
Thanks,
Tyler
Please note, I used my display for bmx bikes but this can be done with Cruisers and Rat bikes also!
Here we go!
1st. Go to your local building supply store and pick up a sheet of Tempered hardboard (Masonite). The best size to use for a 20" bike is a 2x4x1/8 sheet. Home depot already has them cut to that size. For a 24" + bike a bigger sheet will be needed. For this "How To" I will be using the 2x4x1/8 sheet.
Masonite is somewhat flexible and will not warp easily.
2. There are two routes you can take in building this display. One is covering the board with Contact paper. I picked up a roll of checker board paper at my local pawn shop for $1.
Cover the board with the contact paper. Depending on the size of paper you may need to over lap the sheets to cover the board.
Smooth bubbles for a sleek finish
Match up pattern to blend both sheets.
3. The second route you could take would be to make a collage on your board. I cut out pictures that I printed from the internet of vintage Hutch magazine covers/ articles/ and ads. You could also use build progress pictures to achieve the same look.
4. To glue the sheets to the board we will be using Mod Podge. You can pick this up at your local craft store. Paste pictures to board then let dry. After all pictures are glued and dried, cover the board with layers of the Mod Podge. Read directions on bottle to get the best finish you would like. By doing this, it will seal your pictures onto the board and leave a durable finish.
5. Now, onto the description plaques. I picked up some clear stand up sign holders from my local office supply. These will allow you to slide the backs under your display. By doing this it will make them sturdy.
6. Use a portable bicycle stand to mount the bike on top of the display. I bought mine from Niagra Cycle Works. The stand Is very cheap on does its job well.
7. Now put all your creation into one!
I have found that a checkered pattern works best with Chrome frames and the collage with painted frames.
I hope this might help you in some way. Between the two displays I have about $25 in each. This Is the best looking and durable display I have ever owned and plan to take them to many shows in the future!
Thanks,
Tyler
 Thanks for the tip :wink: