Lil' Rocket

Rat Rod Bikes Bicycle Forum

Help Support Rat Rod Bikes Bicycle Forum:

This site may earn a commission from merchant affiliate links, including eBay, Amazon, and others.
Was actually hoping to be the first finished, then a day before i get done I see yours posted! Now i think i want to do another, but be the last finished, i think i saw something about a really cool wrench being given away for last to finish

Sent from my SM-G550T1 using Tapatalk
 
I'm kind of notorious around here for being first to the Finished line...:21:

OCD OJ they call me.

Yes, and not only is that wrench really cool...it comes from the other side of the globe; down under!
 
So, shortly after piecing it together, posting the finished thread, and unveiling the finished build to our little dude, we noticed something bad. The top tube above the front shock mount is cracked.

db28e965c8269d65193bc7b758b074ad.jpg


4b206ade7d985d7a0fdb33817c48c036.jpg


Bummer.

So we have not told the little guy the bad news, and the jump parks are closed so he isnt itching to go ride it yet. Last Saturday I emailed Transition Bikes with the serial # and photos of the damage, plus a link to the build here on RRB for the full story as to the build. I actually received a response yesterday from David at Transition letting me know he will look and see what he had. Our hopes were not up as this is about a 10yr old design and the chances of them having a front triangle laying around weren't likely...

Well, I just received an email from them letting me know they found one sitting in a box on the top shelf in the shadowy depths of their warehouse! :)

c6f485123d23460c98f385520e13c1c8.jpg


c35a8947a80ab25c17c6369b6f717a54.jpg


It is being packed up as I type this, and should be here Friday, hopefully. Again, much thanks to David at Transition for hooking us up!

I wonder, and am asking, if i should pull the finished thread as it is not actually finished now? I can edit the thread and replace the pics with the new front triangle this weekend if it shows up soon enough. And pics of the triangle swap will be posted here.
 
Last edited:
Awesome that they had one for you!
I wonder, and am asking, if i should pull the finished thread as it is not actually finished now? I can edit the thread and replace the pics with the new front triangle this weekend if it shows up soon enough. And pics of the triangle swap will be posted here.
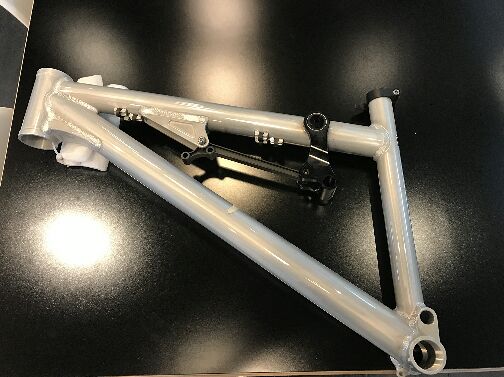
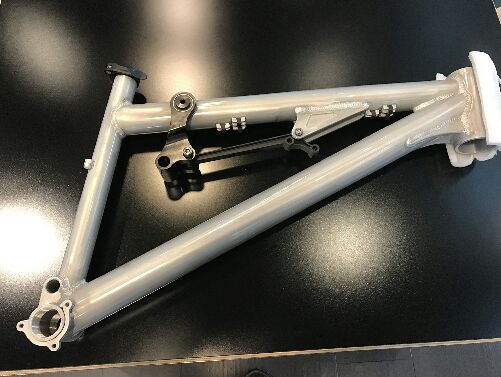
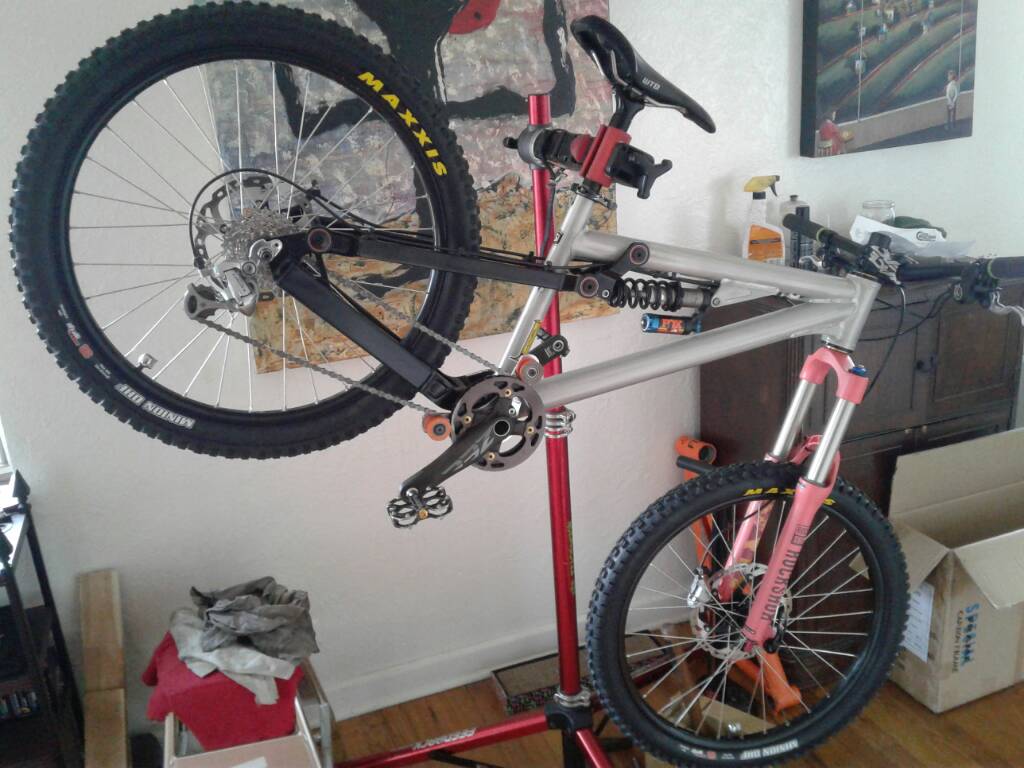
Up to you, either way works provided it is done by the finish date. :thumbsup:
 
Frame did not show up yesterday :( so its on the back burner until Monday. I did head over to Barnum park to do some riding yesterday afternoon, met a friend, then we went to Ruby Hill to clear some snow. Weather is supposed to be up in the 50 to 60 degree range over the next few days and we want to ride, anything we can do to belp it dry out!

Barnum:
63b2a5ef4830fafbbf947efbc3dde35e.jpg


Clearing snow at Ruby:
1d3b32dcaa3581f79a52e95bc4d4747c.jpg


Unfortunately Ruby Hill was built on a hill with northern exposure, so it does not get much sun. All the landings are covered in snow, and the dirt jumps are in the trees. We cleared the medium and large lines on the slopestyle course which is more exposed and friendlier to the 26" wheels. Another bummer was people attempting to ride, and letting their dogs run around on them, when wet. We filled in a few ruts, and multiple paw prints. Gotta get the jumps ready to ride!

More progress on Lil' Rocket in the next few days...
 
Hey squirreldh, what part of Denver is this in? Looks to be south and slightly west of downtown. My grand-girl and her boyfriend are in Cherry Creek, and he would have a gas at this park....
 
Barnum is just on the west side by 6th/Federal, and Ruby Hill is south of downtown, Platte River Dr and Jewell Ave.

Are they into vintage cruisers as well? We have a good group of local guys into the vintage/rat rods. Old Bikes Club in Denver, Blu Martinez is the leader/organizer, meet third sunday of every month for bluz cruz down by confluence park.

Sent from my SM-G550T1 using Tapatalk
 
Its out of the box and in the stand, loving the raw aluminum finish with clear coat, reminds me of my first GT LTS back in the day.

19c08d3e4969e764eb86628553f79334.jpg


7d50e6be80ffd5006267773a621b98be.jpg


Got the rear linkages and shock installed.

c9523eaeeb5d53a5b692e67283616610.jpg


Thats as far as we are going today, just ordered a different part for it that is pretty special, and need it before final assembly :)
 
Part came in! :)

b8affce12ba3683900e841b598874fc4.jpg


Opened it up and found more boxes...

f0f9d6449ef90285f94dd1eef907051f.jpg


And a really cute note from the manufacturer on the rubber band holding it all together :)

2ca7e1432c6c377435852cde719a96eb.jpg


It is a Cane Creek AngleSet. A headset that has three different upper cups to allow for head tube angle adjustment. You can run it stock with the 0* cup, .5* slacker or steeper with the 0.5* cup, or 1* slacker or steeper with the 1* cup. What allows this to happen is the offset bearing seat in each cup, and a gold conical washer/bearing seat that allows for the offset angle.

344f7493f754acbb3a084e93d5266cf3.jpg


318a6411cd6e4822b49c005e014fe6a2.jpg


We are planning on using the 1* cup to slacken the head angle from 67* to 66* to handle the steeper sections better, shorten the top tube slightly, and make it a little more stable at speed. Gotta go into the shop to borrow their headset press, should have it all finished very soon!
 
Just got back from the headset install at the shop. Went in fairly smoothly. I wanted to ensure proper installation and alignment so i pressed them in one at a time. The lower one, the one that creates the angle offset went in first. It has laser etched markings and notches 180* from each other to ensure proper alignment with the centerline of the frame. I used the stationary portion of the press on the cup to prevent it from rotating the cup while pressing it in.

aad1169b0c0336369e5fa10b23deee5c.jpg


393abeaa24518dd5e6834015e89d4614.jpg


Next was the upper cup

21f017e9e71d92aa1d82af5ff9b6d8ed.jpg


All installed and mocked up, i wanted to trim a little of the steerer because it is a bit longer than we needed it

59b9b9064537e784258d618c6e2c3b57.jpg


Trimmed it just above the recessed star nut, used park tools star nut setter to get it back to the proper depth while maintaining alignment

48b38b41d4e8522981d8779a5484c153.jpg


Final install complete and ready for final assembly!

8414860e9f70a9c6c6262bae5790d27e.jpg
 
Brought it back home for final reassembly... i hope :) 
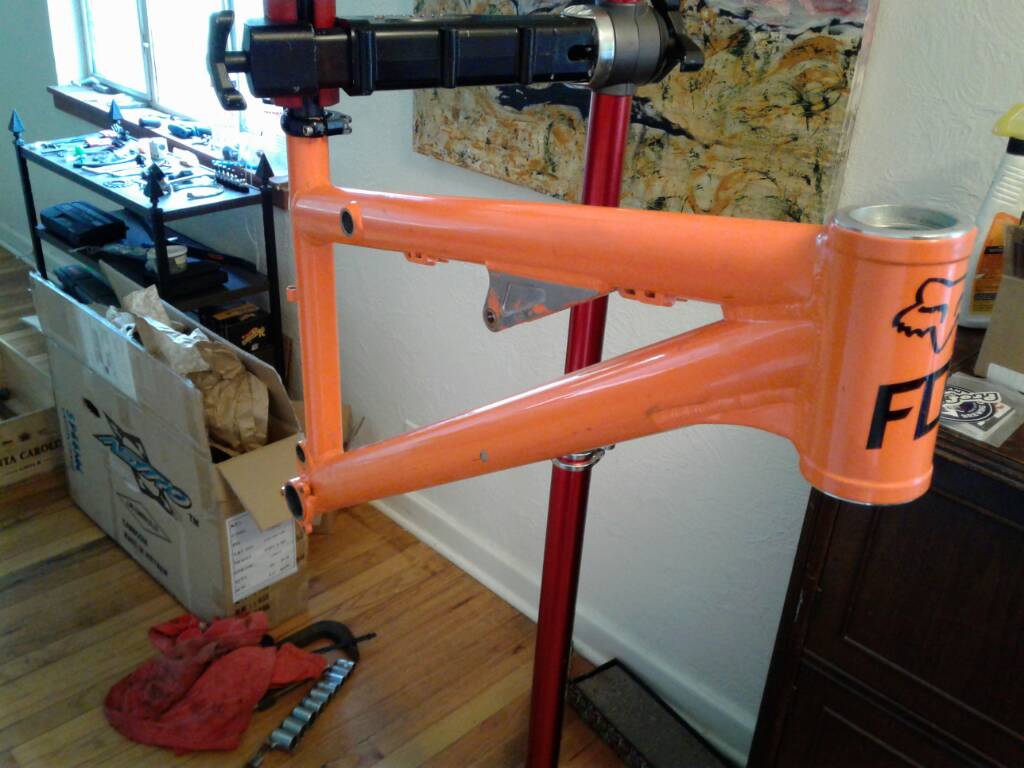
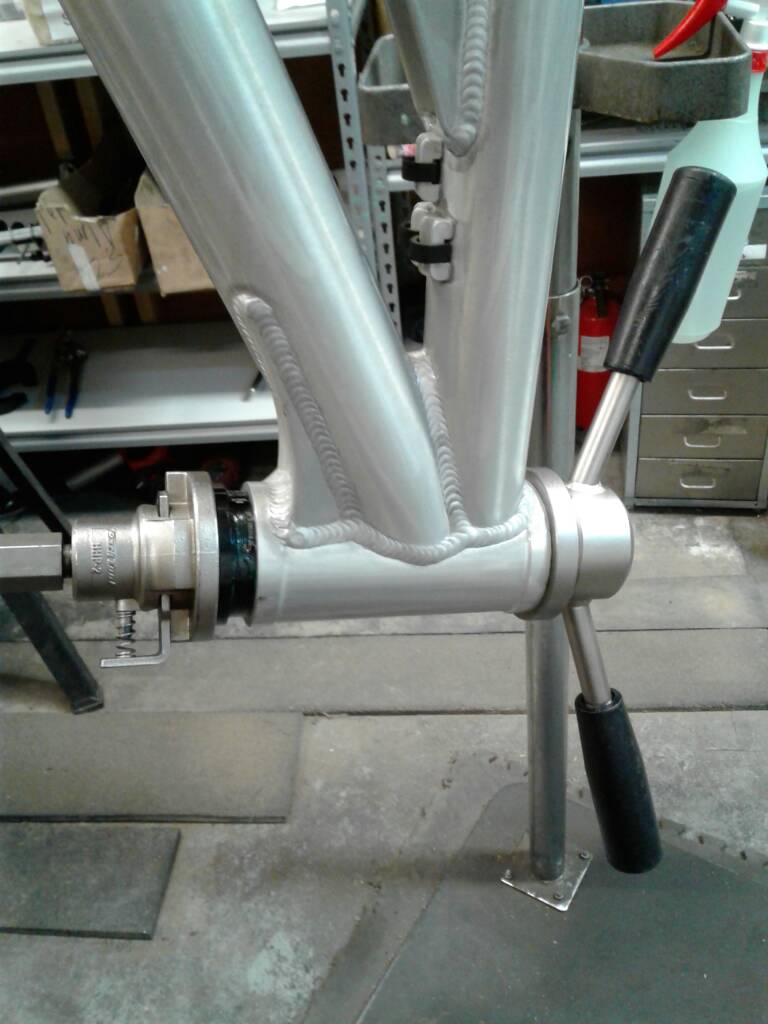
i had disassembled it as little as possible, well as little as you can when swapping out the main triangle.

Installed the bars, with brake and shifting systems attached

4e828d0ffc7183d00ba9fc8c355710b3.jpg


Removed the rear shock and upper pivot hardware


246723b1e7d796ec20b60b59b90713f8.jpg


Installed the rear caliper and derailleur, routed the lines where needed above the rear shock

5f2b61882f1712155adc25717dcc6546.jpg


Reinstalled shock and hardware, secured cables

ae6c6ca8981a42fbb8f8da67ba2604f3.jpg


Installed BB/Crank/Chainguide and then the chain

13b6c6ada446dddbfcf6f6a321d51b0c.jpg


Tossed the wheels in, double checked shifting and braking adjustments, as well as stem alignment

32fcdc1979bc0605b4ae6900de19d323.jpg


And its done! Again...
Time for a photo shoot and update pics in finshed bikes thread...
 
My girlfriend has been playing with a vinyl cutter at a friends, so I asked her to make a custom Lil Ripper decal so the little guy could look pro with his nickname on the top tube. He chose the color and font, and even applied it himself!

8ecc70d96f7010dd3c7e4e473b9259d9.jpg
 
At a friends making some items for the business and decided to play with the 3d printer and make something for the Lil' Rocket. Will be finished before I leave I hope so I can install it tonight...

e4827a94c5e8e55a4eb499d6feaecc2e.jpg
 
Back
Top