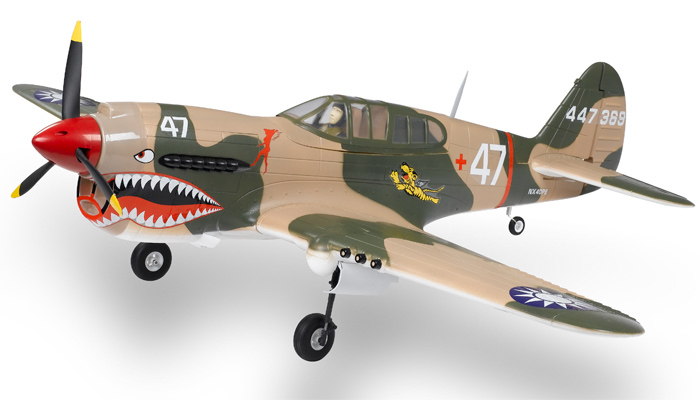
The AVG (American Volunteer Group or "Flying Tigers") were three squadrons: heck's Angels, Panda, and Adam & Eve. They became numbered squadrons once the USAAF absorbed them. Don't know if that's helpful or not, but I'm kind of a nerd with this stuff, so I'm being nerdy.
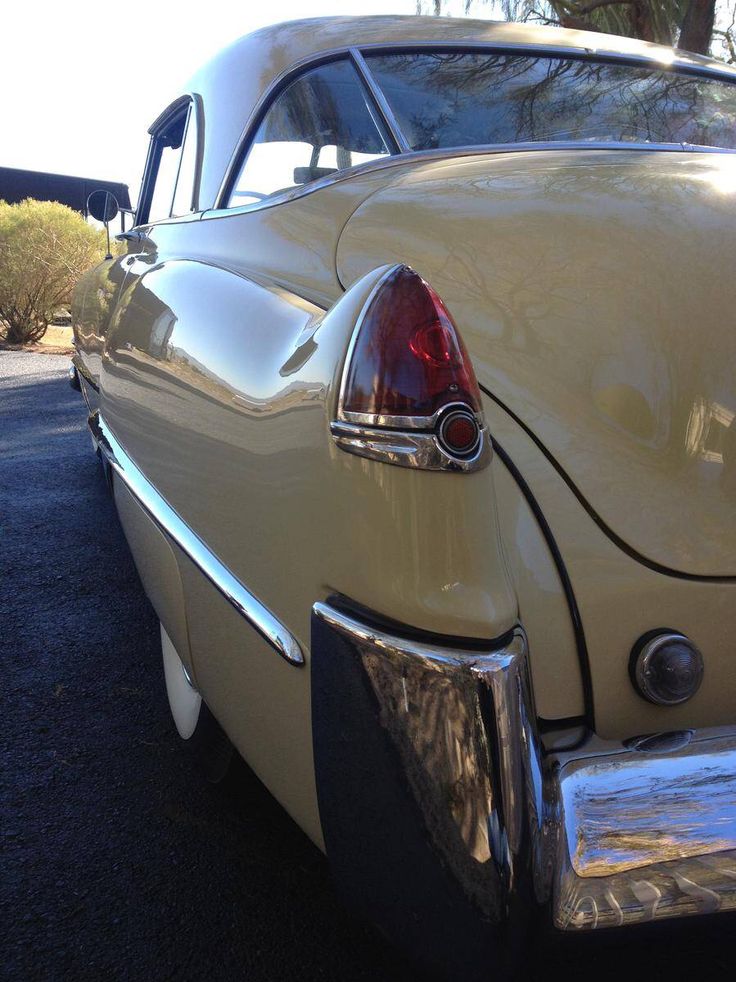
If you're looking for bullet tail lights, there are always reproduction 1959 Cadillac lights, though the bullet tail lights I'm using on Interrobang are LED beehive cab clearance lights.
You can also find some decals at the site below. The Panda squadron insignia, Chinese wing/fuselage emblem, and even the blood chit they gave pilots who had to bail out are on different pages somewhere, but they have them:
http://www.military-graphics.com/badges3.html
As an interesting note, the tiger logo was designed by Disney.