REMIX

Rat Rod Bikes Bicycle Forum

Help Support Rat Rod Bikes Bicycle Forum:

This site may earn a commission from merchant affiliate links, including eBay, Amazon, and others.
Re:

fordsnake said:
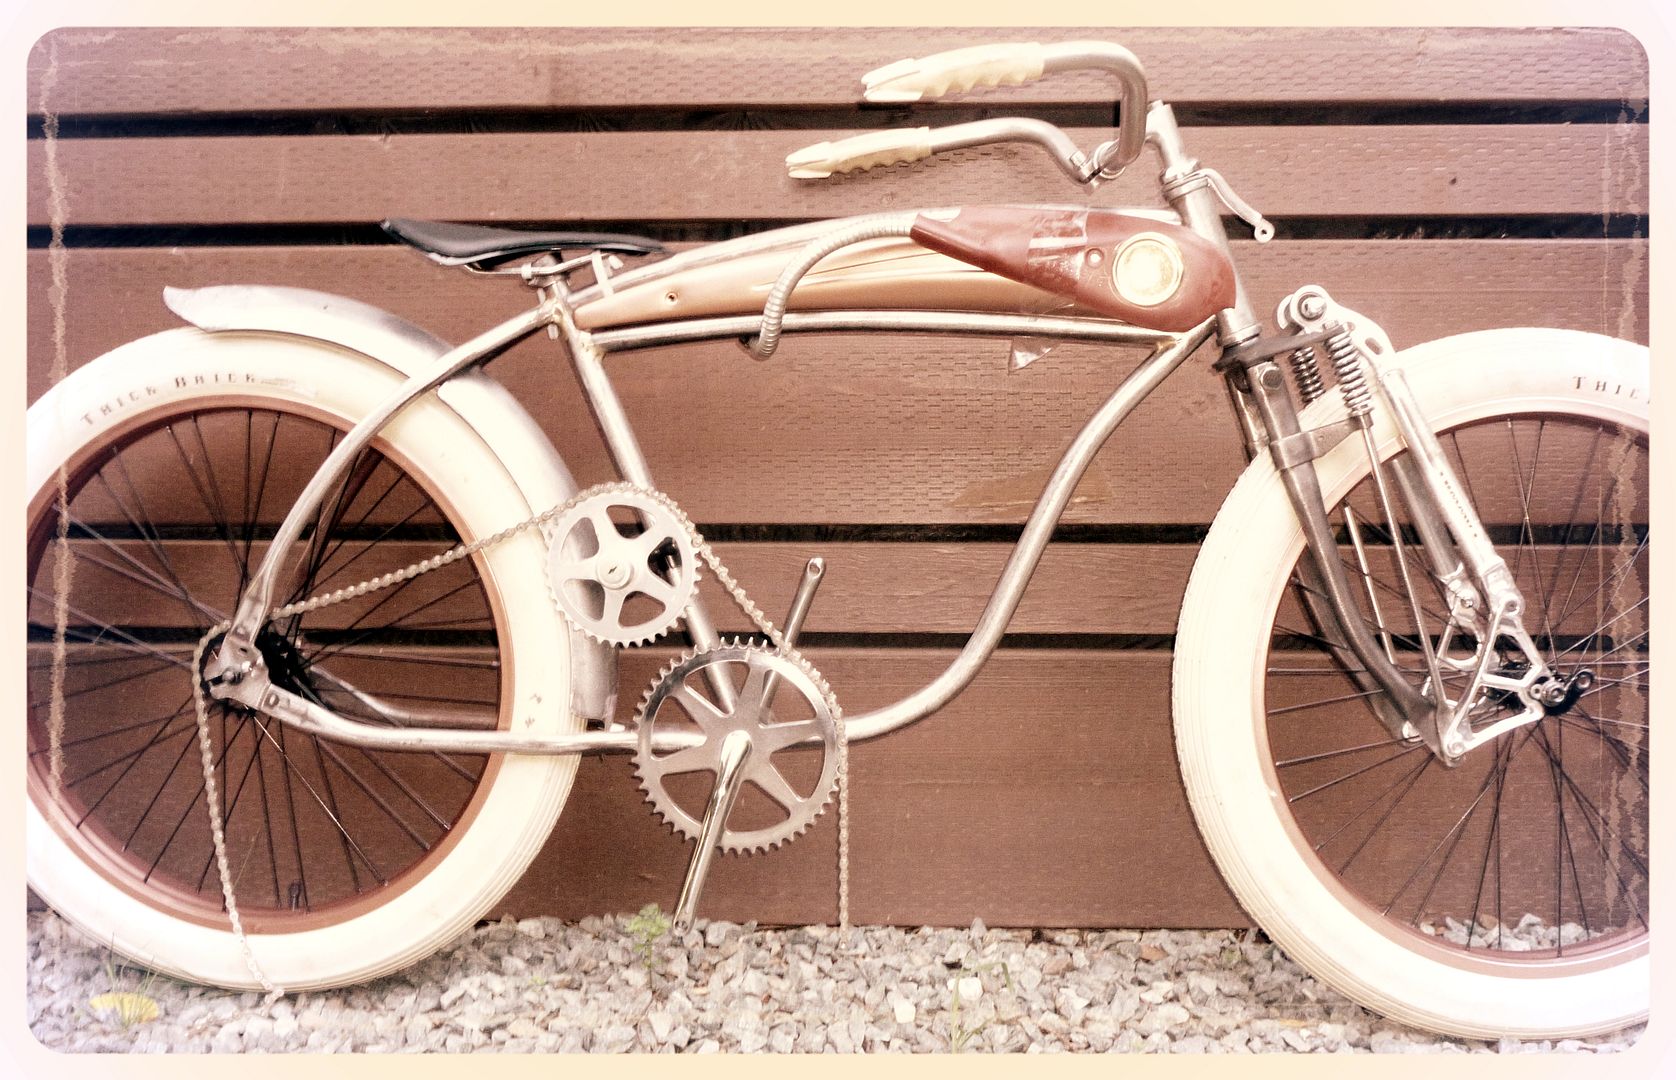
Here's a preliminary mock up of Remix before I crashed my computer.


Well, this a faux pas...it was brought to my attention that this photo perhaps was taken prior to May 1st...because my computer had crashed on May 2nd! I'm sorry guys, but the photo was indeed taken on May 11th! I have evidence of the date posted on my loaner computer then my upload to Photobucket.

I was just happy yesterday to get my computer back; that drilling through applications and data and uploading them on to the new computer...I just wasn't paying attention.

This image was posted in my Photobucket file on May 11th, I just made an honest mistake assuming the image was taken prior to my computer crashing! Sorry guys!
 
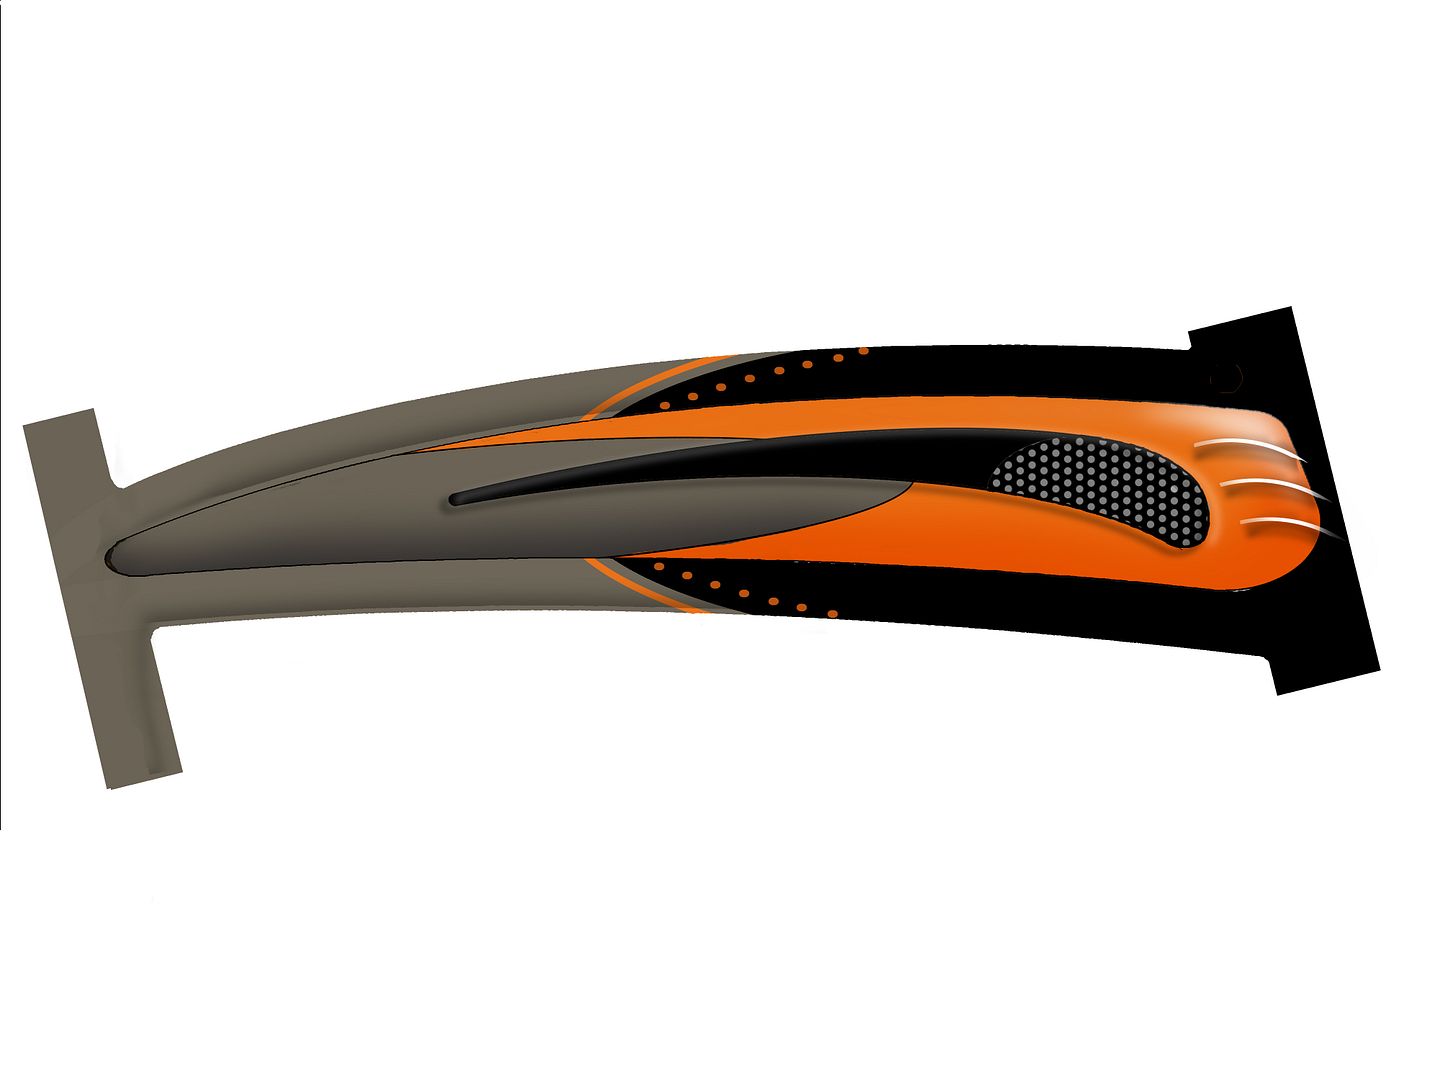
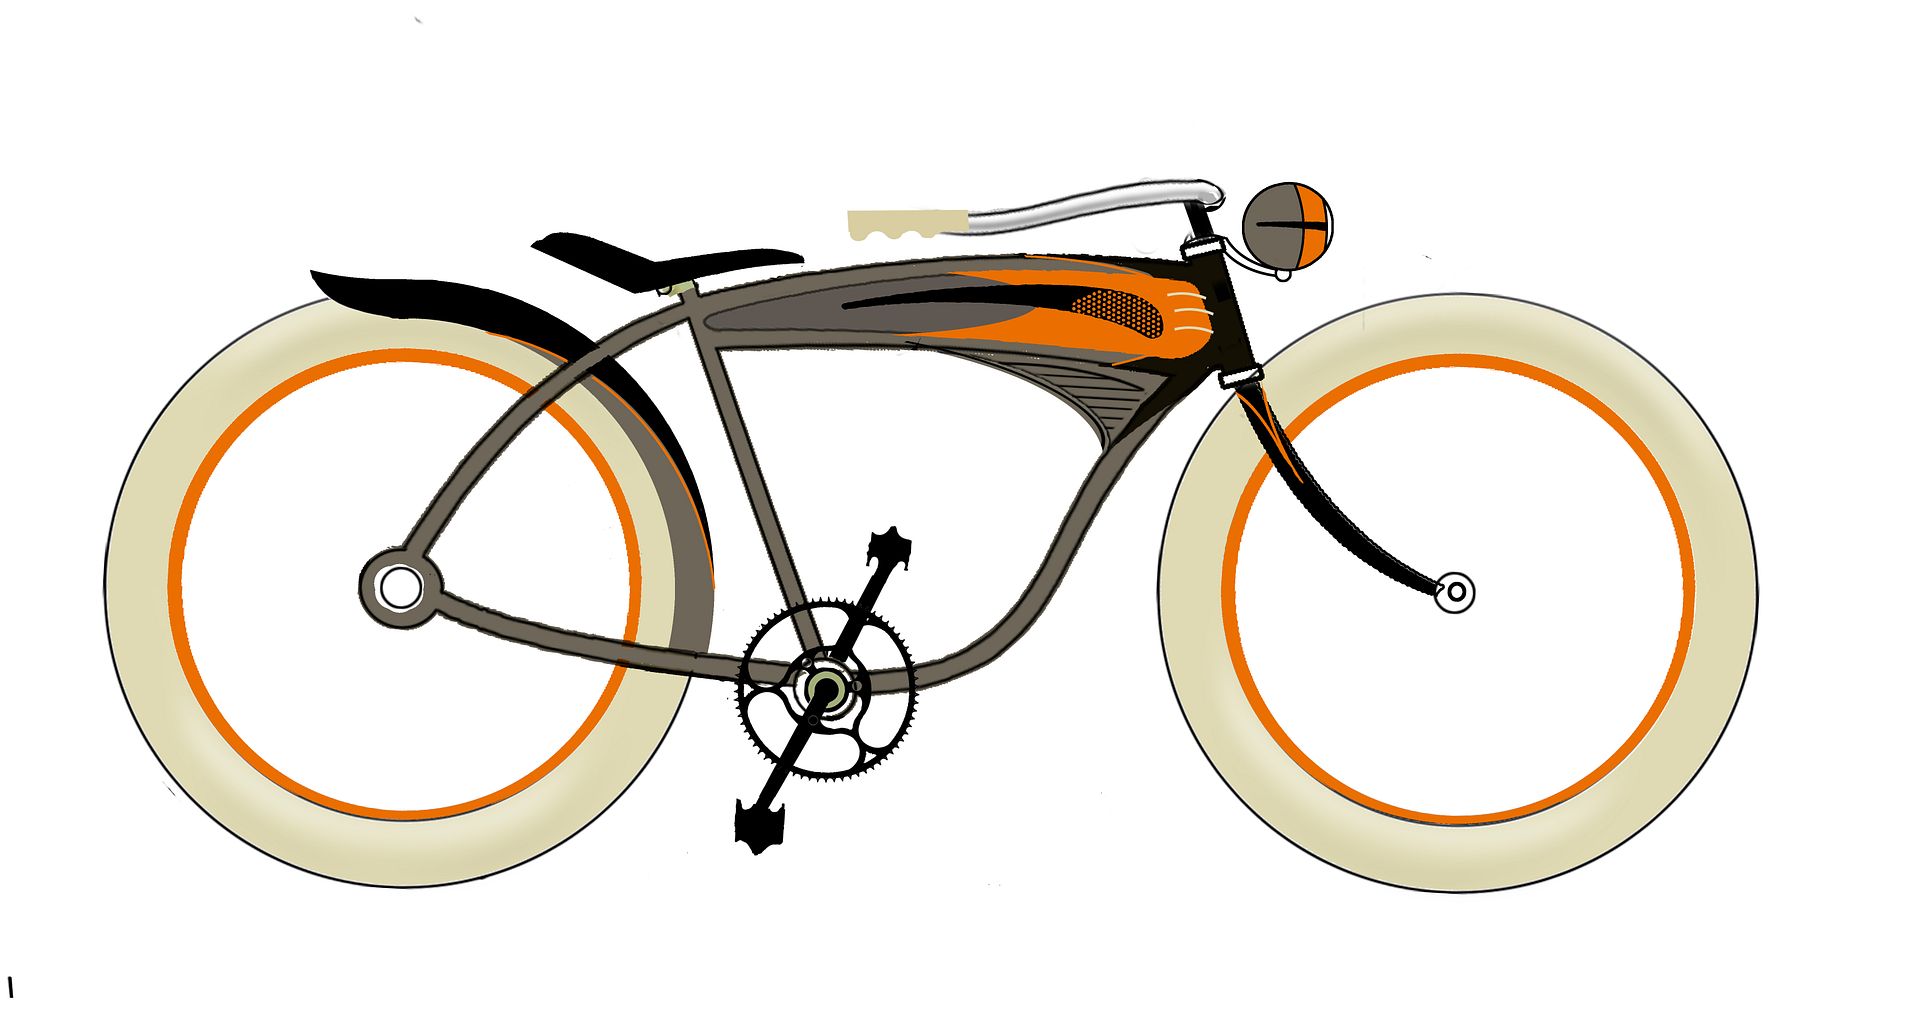
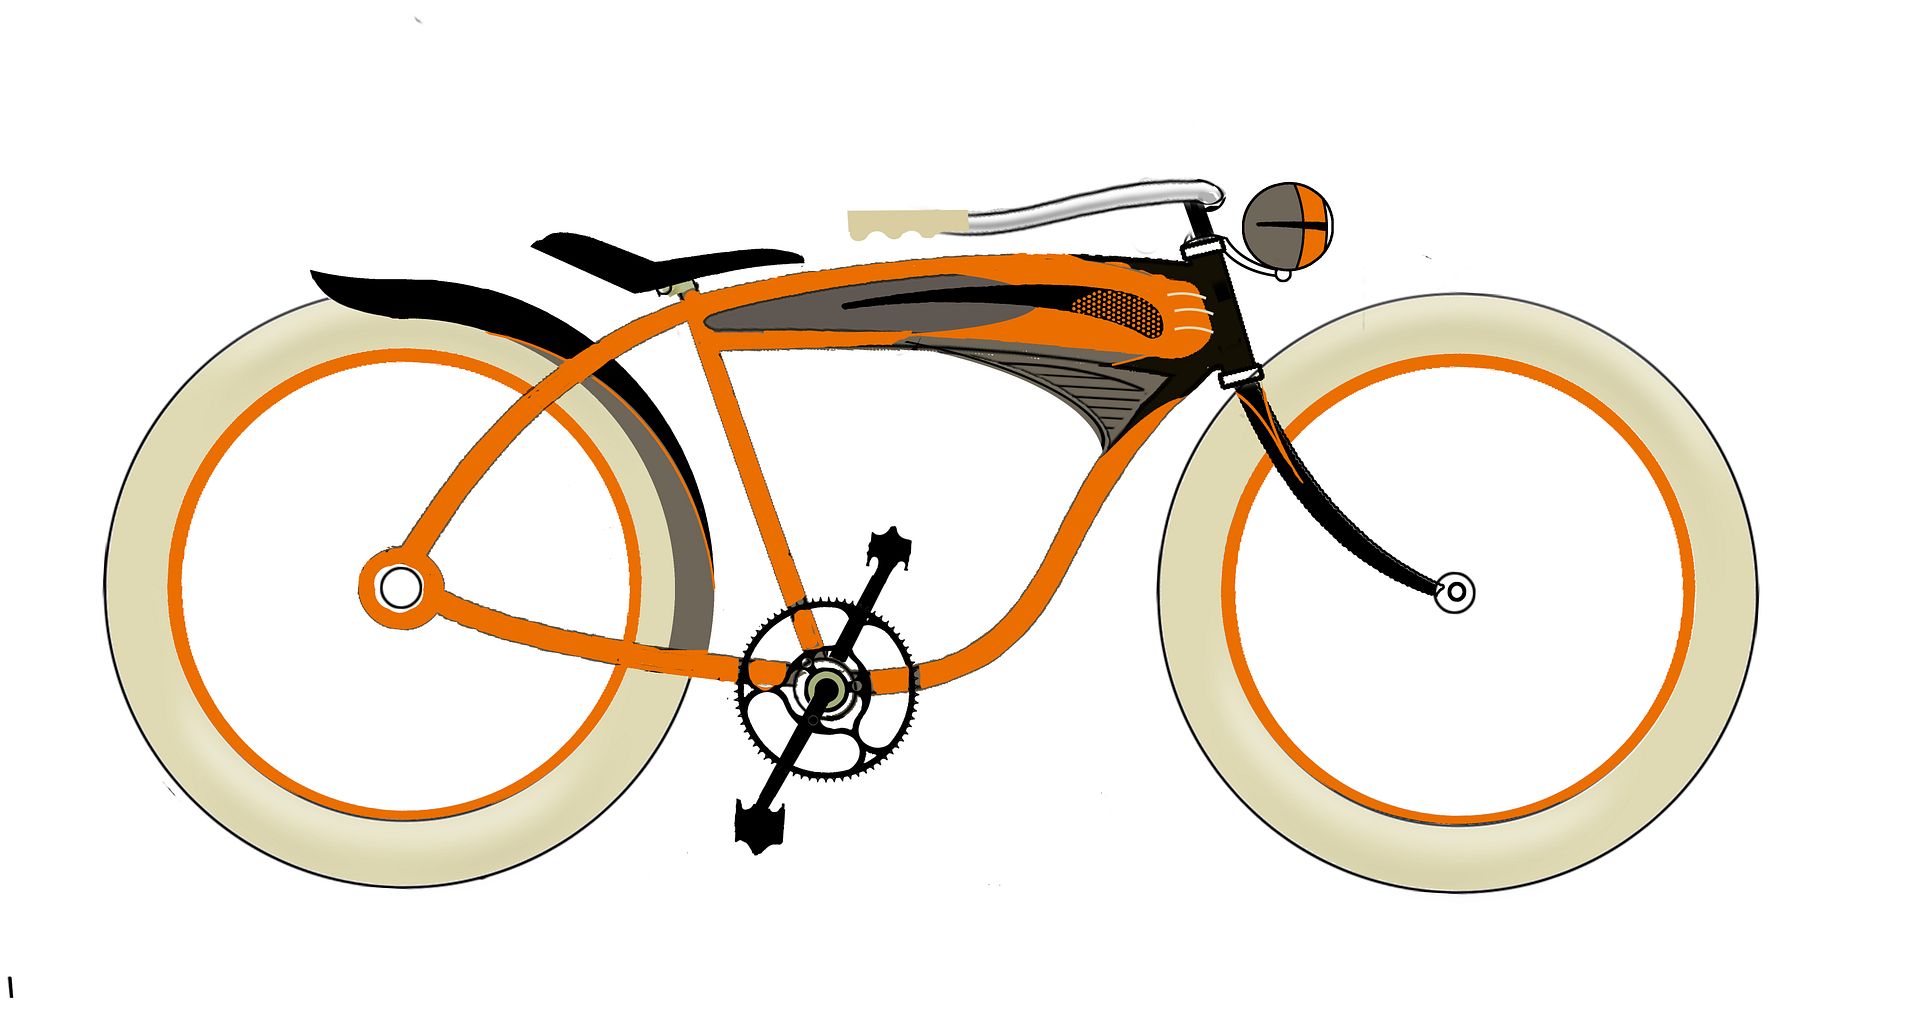
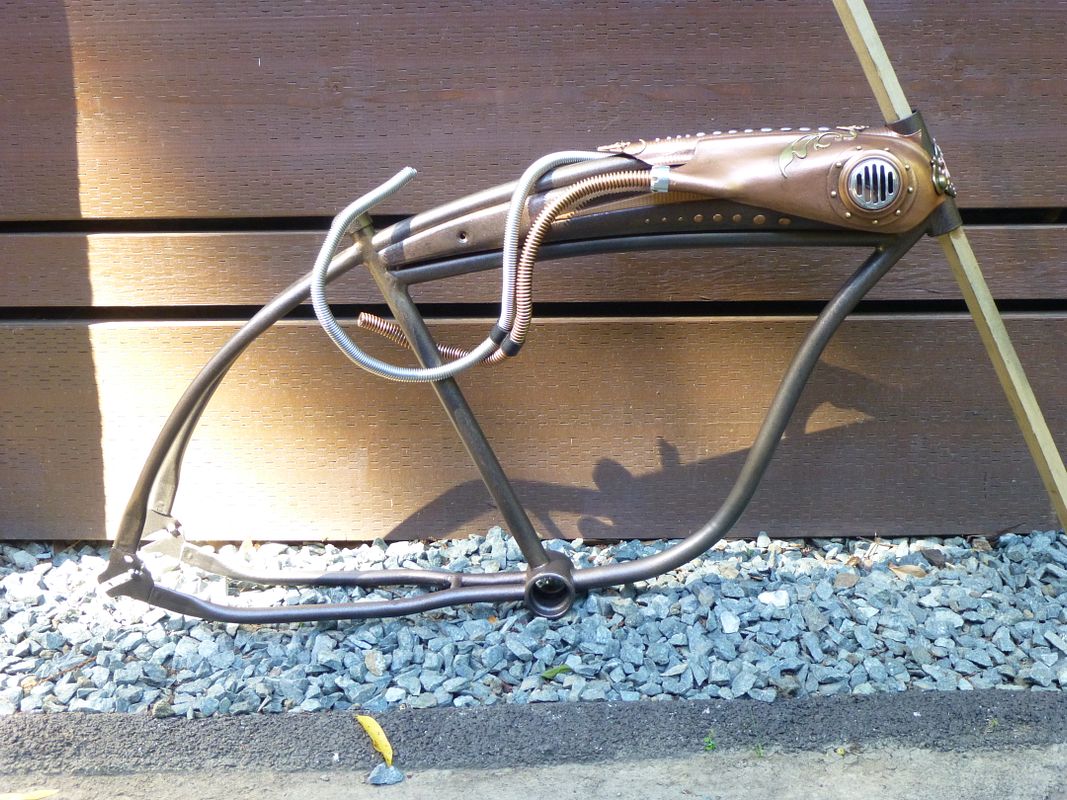
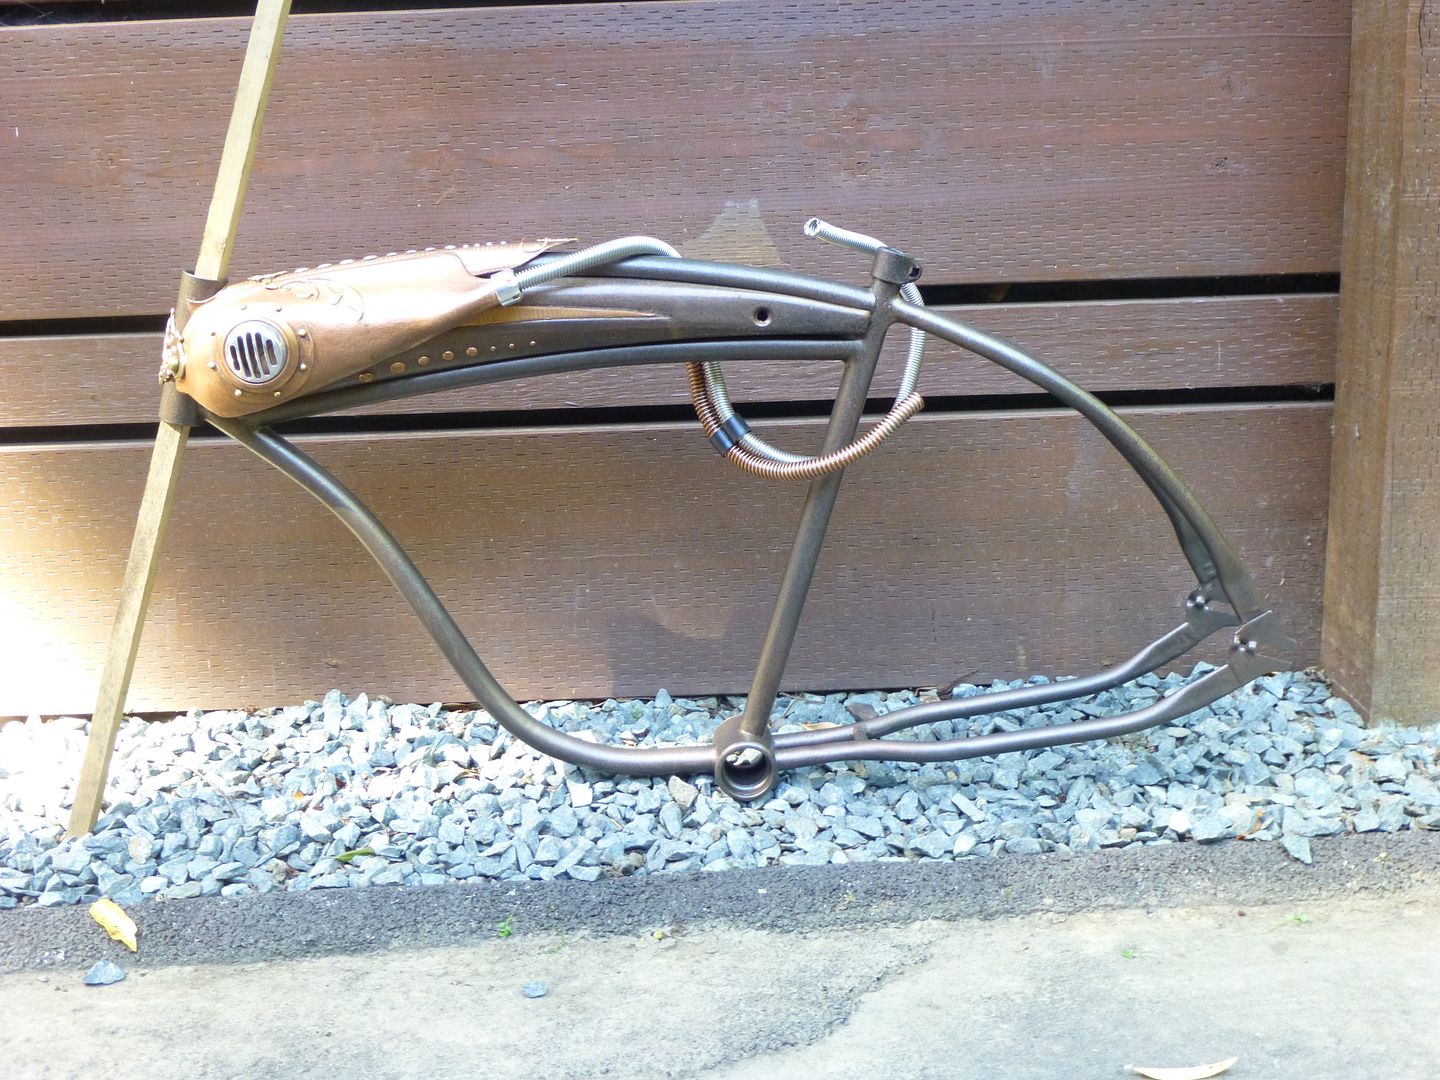
From day one, I was adamant I wasn't going to build a Steampunk bike! I had a very clear direction on what I wanted to build; Remix was going to be futuristic, but contemporary with clean lines. Funny how things change when you lose your crutch (my computer)? Here are my original rough renderings done before the computer crash.


My comments from Day 2, " I want to create something that feels like it's a futuristic transporter vehicle made with copper and brass piping, interwoven into a dark ominous body of black steel ( not steampunk!)"

WOW...I said, "No Steampunk" and yet I sit here today with a direction that is very Steampunk influenced! Funny, how the creative process leads you...it's very visceral and impulsive and will take you where it wants to take you! I guess not having a computer was a good thing because I surely would have been influenced by the bike in my rendering and not by the comments of R-Man and the others suggesting I was building a Steampunk bike. :) :) :) I guess all I can say is thanks guys for your comments and for leading me in a good direction.
 
Re: Watch Me Now!

menzorro said:
That's some great patination that you have been using on your builds. What would the chances be of your doing a tutorial in "How To" after the builds are over ?

Since I've painted my tank and now my frame...I thought I'd share my technique on how to create the matching patina for the fender.

Initially I was going to paint Remix an all copper color with brown hues.

It wasn't until I made that leather pod...boy, did everything go awry with my color decision after that. Initially, I wanted the pod to be a deep mahogany brown over the top of the copper tank?

But I could never achieve the right color brown I had in my head...after several attempts I just conceded and painted the pod "copper." Talk about a serendipitous moment...! now love the copper shroud but when placed over the tank it looked banal. Thus provoking me to choose another compatible but yet contrasting color for the tank; antique bronze, brass or aluminum?

Yes, I thought about black...but in my mind it altered the end result I wanted to achieve. Once I conceded to persue the Steampunk direction I noticed that the colors for this theme are pleasurable, warm and earth tones contrasted with distressed metal objects.

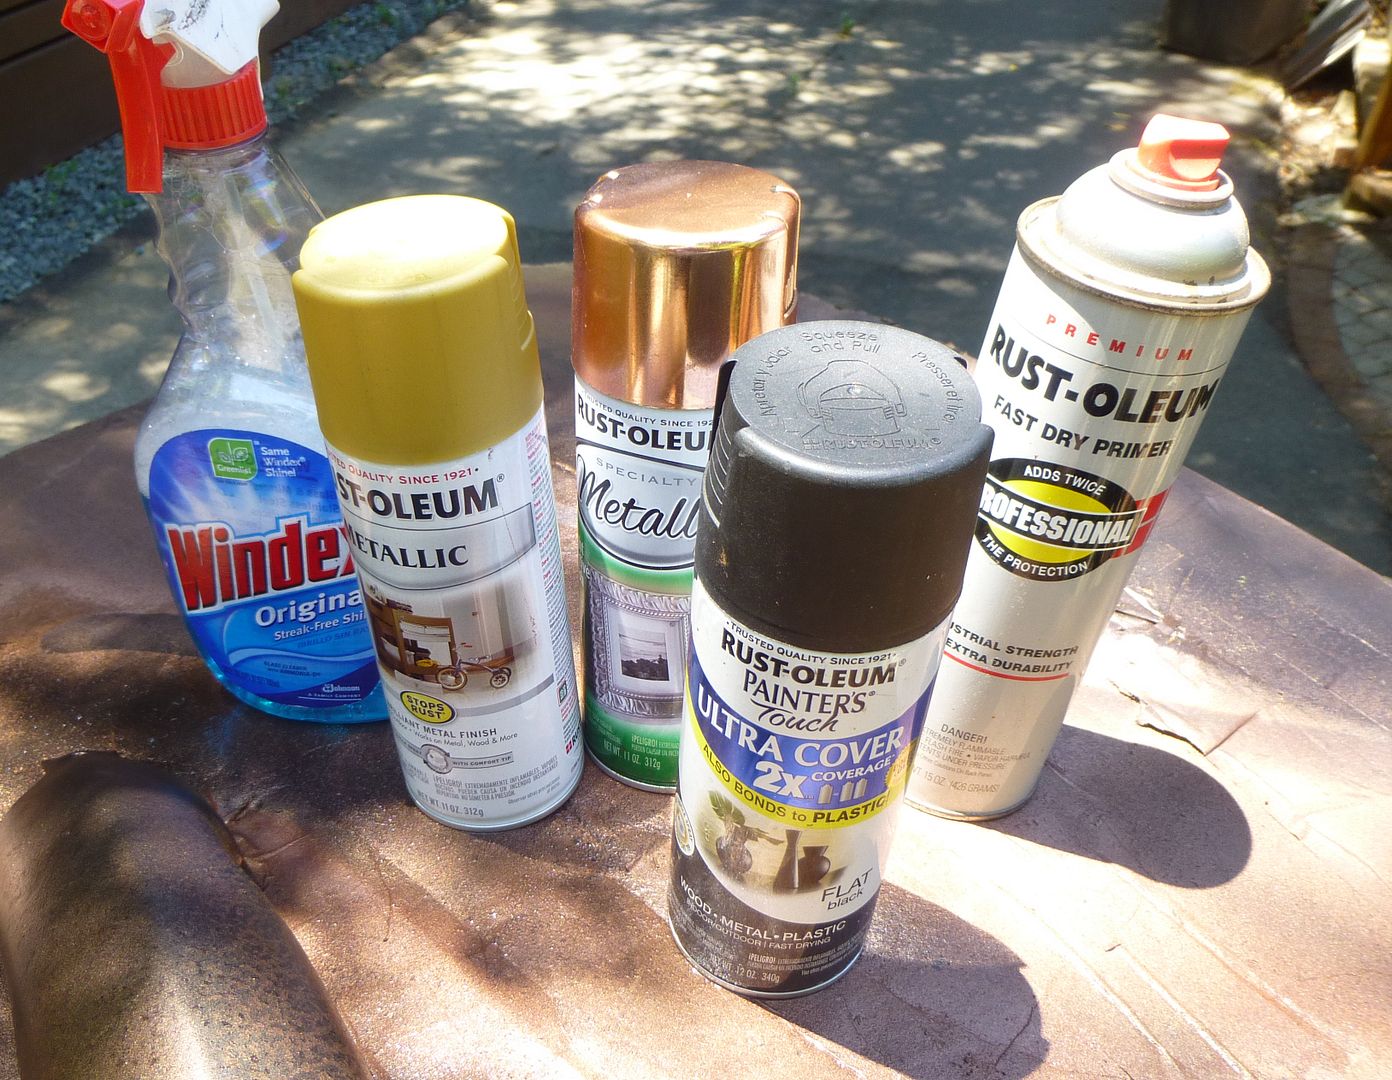
So I stepped back and decided to separate the tank from the copper pod with a bronze color! The only thing there's no bronze color in spray paint...sure there's metallic bronze but antique bronze is multi color...it just depends on the amount of pigments added to achieve the desire color.

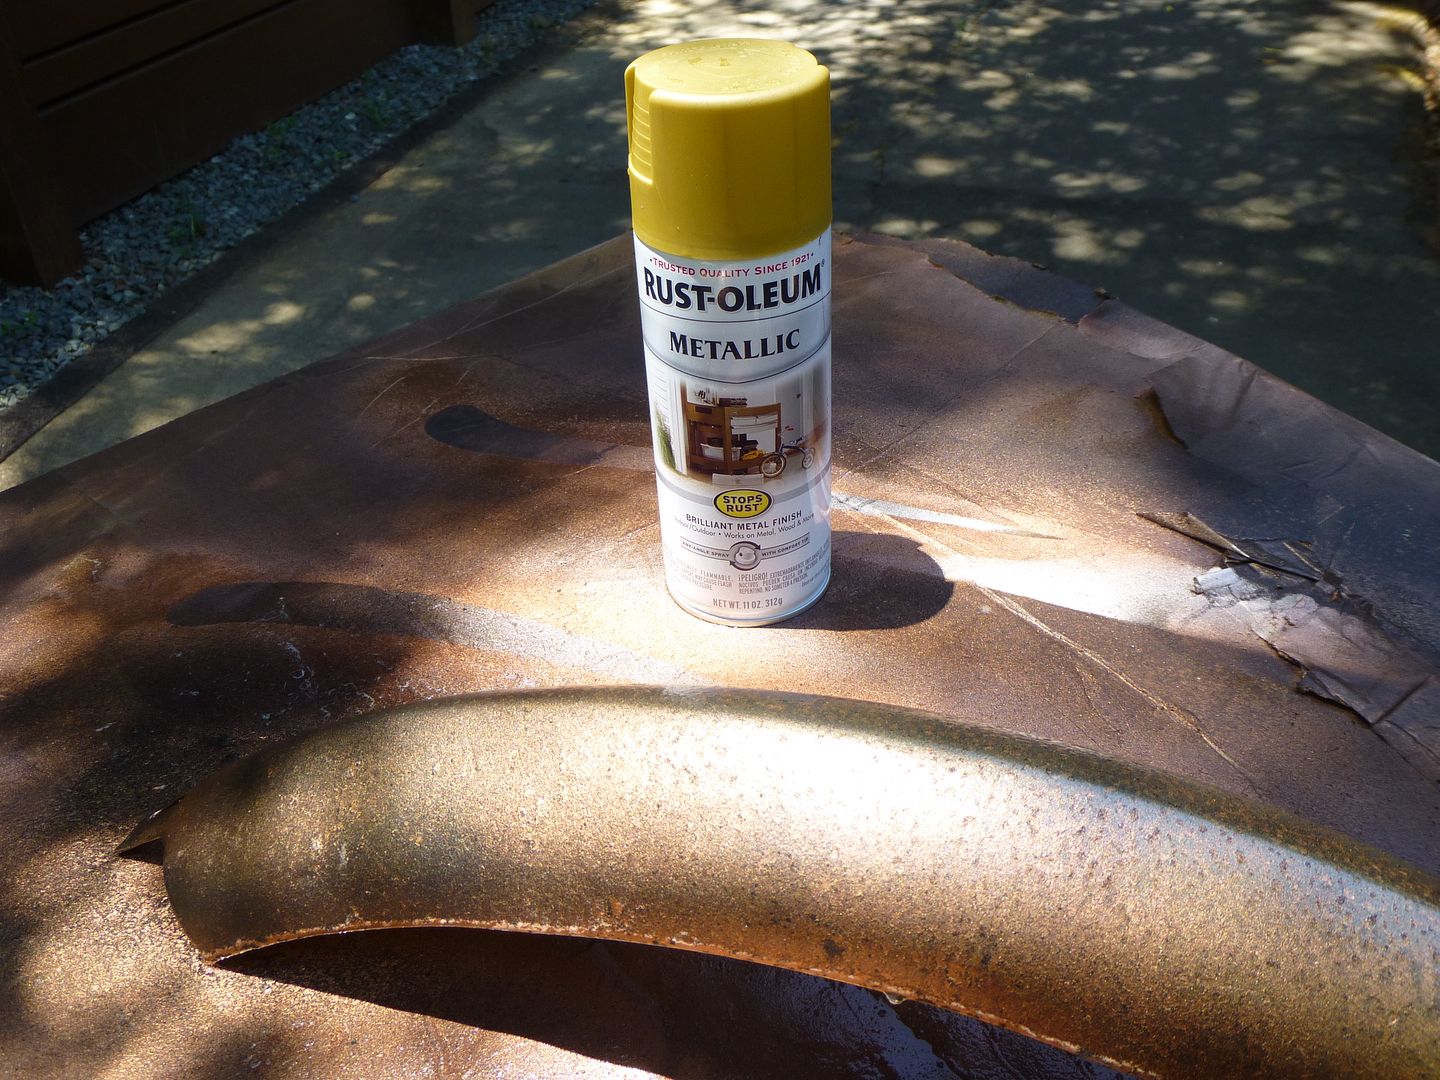
For my bronze patina: I used several colors:


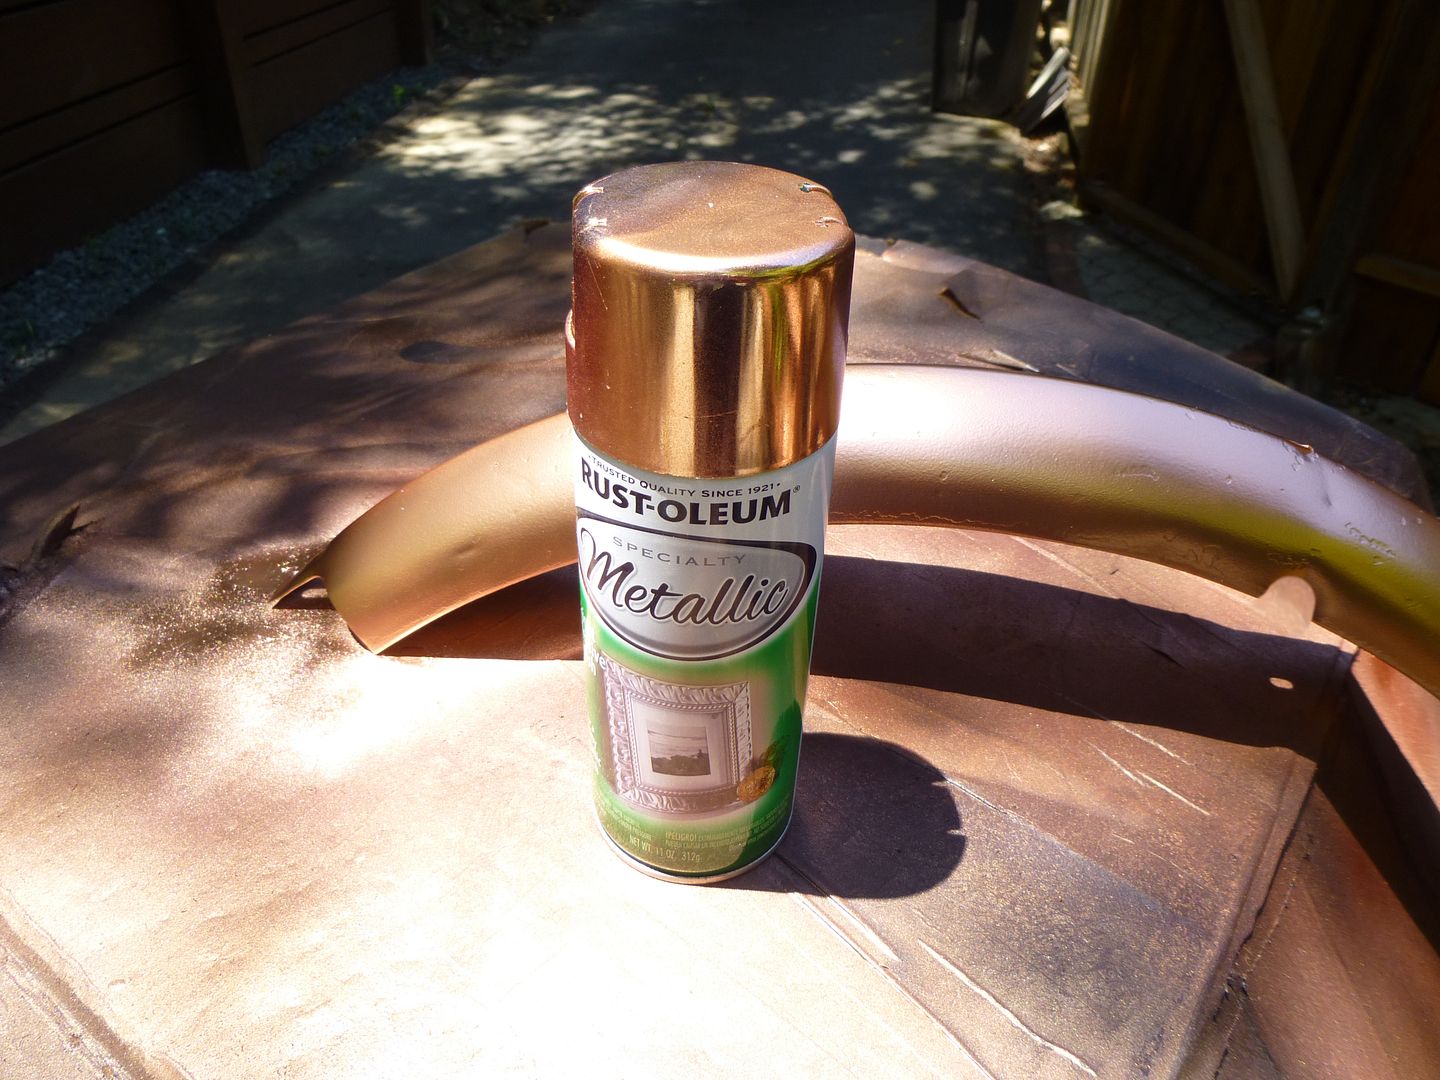
First I paint copper over a primer:


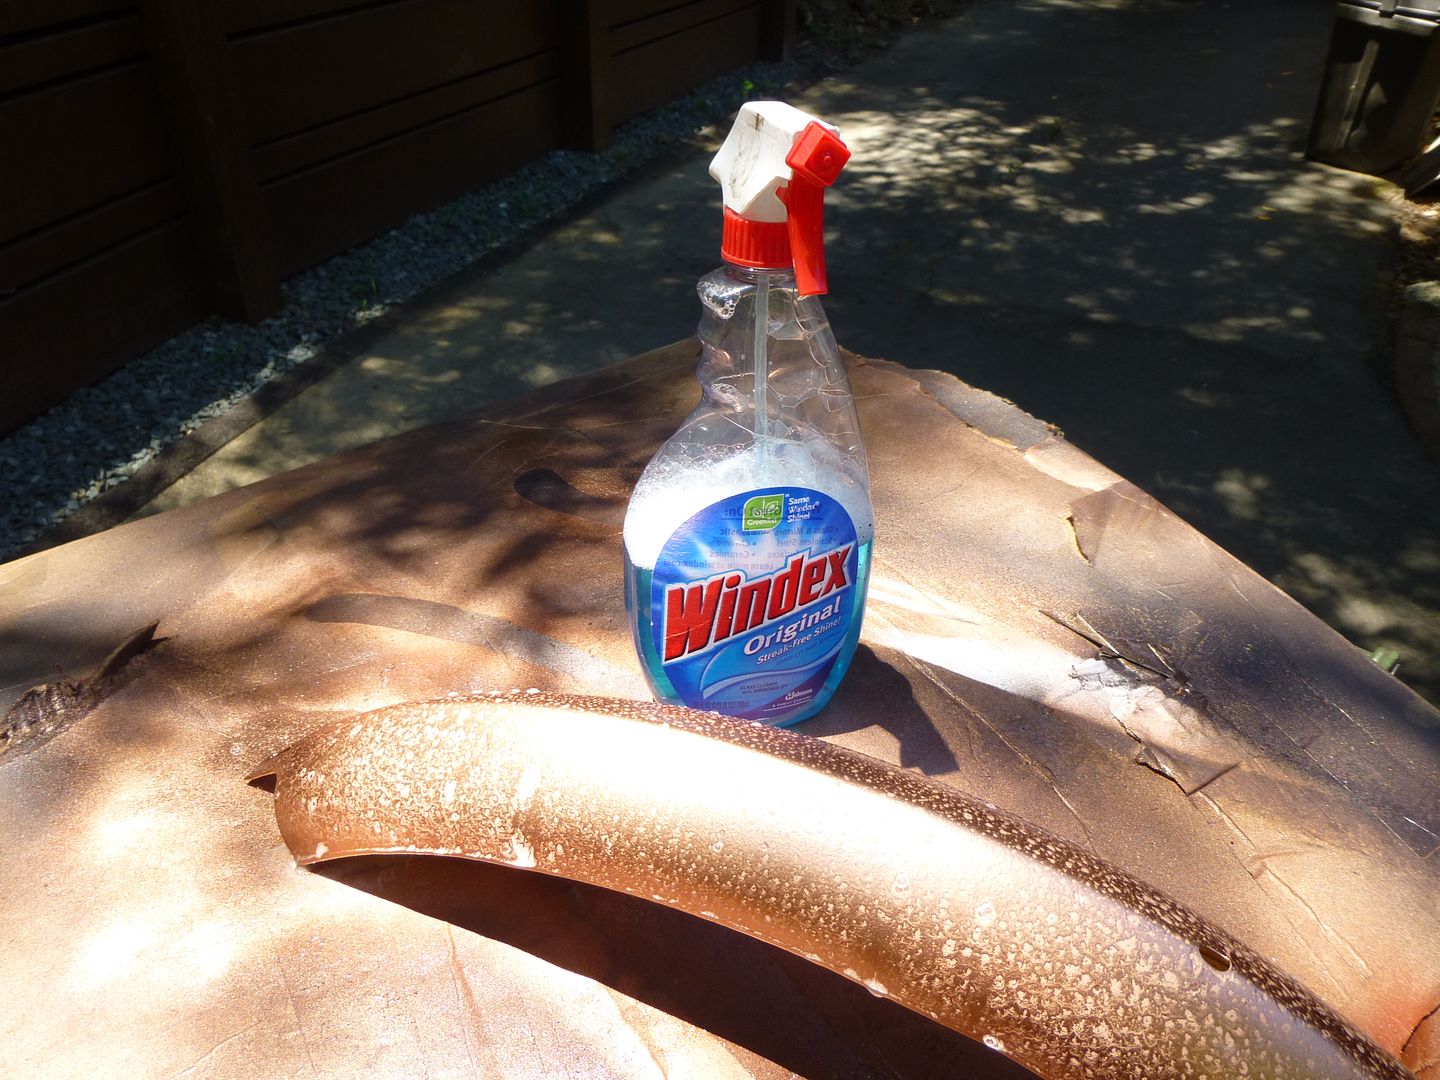
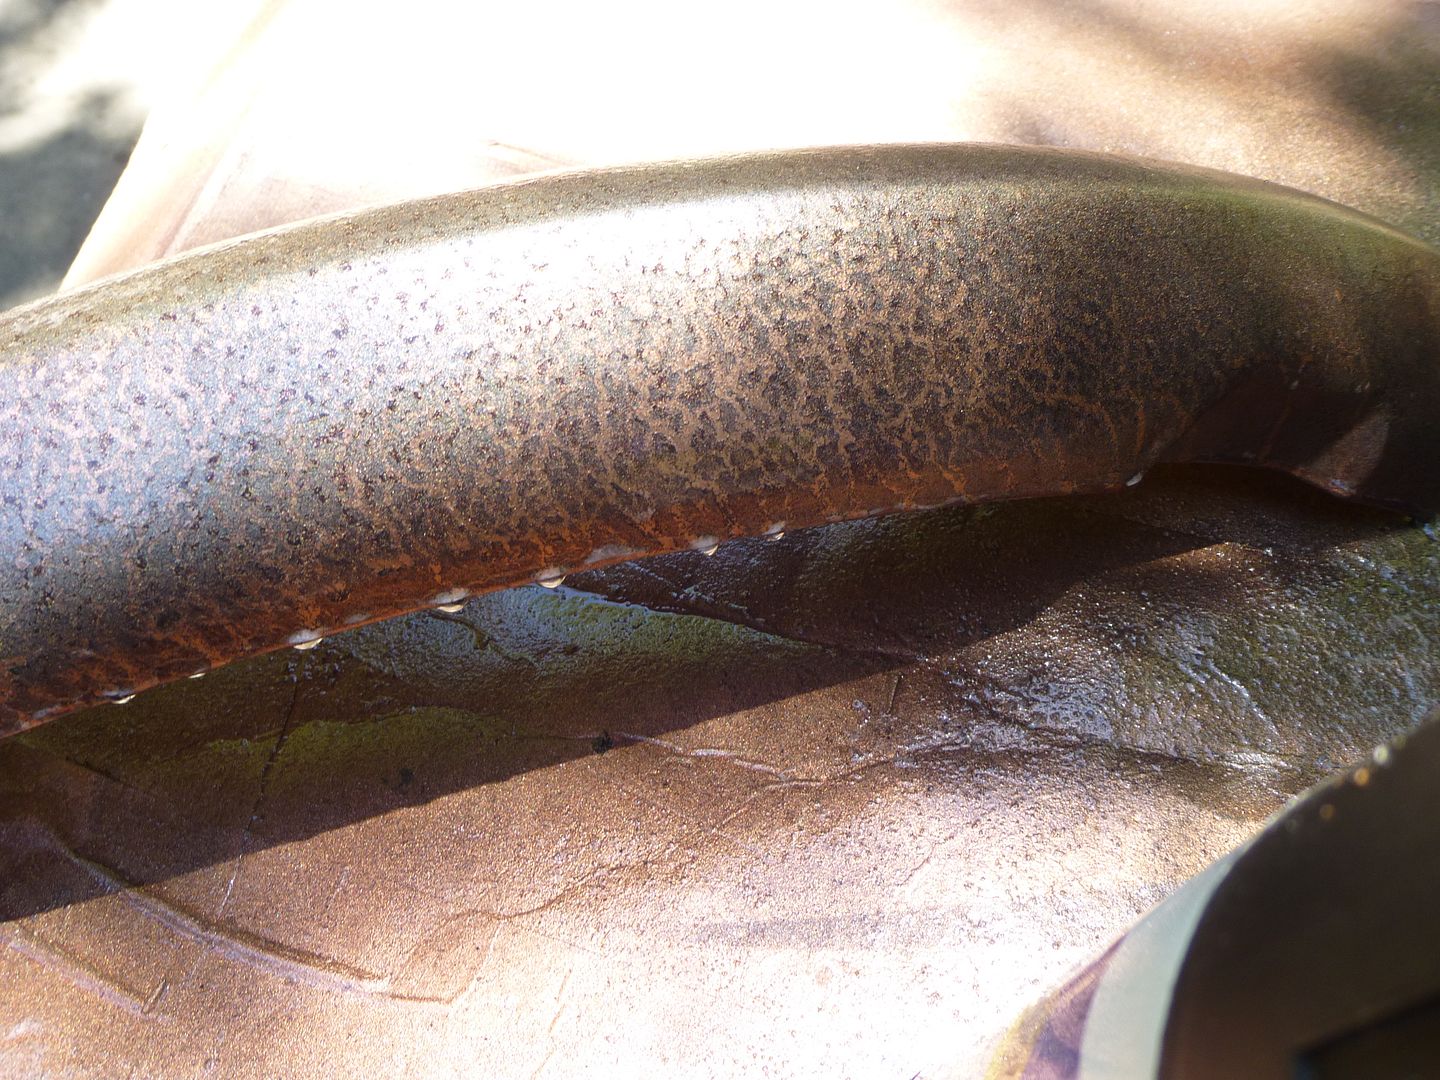
Next, I use my secret solution over the copper before it dries:


I then spray a flat black lightly over the Windex...the top color will vein because it has nothing to adhere to, creating a nice patina effect.


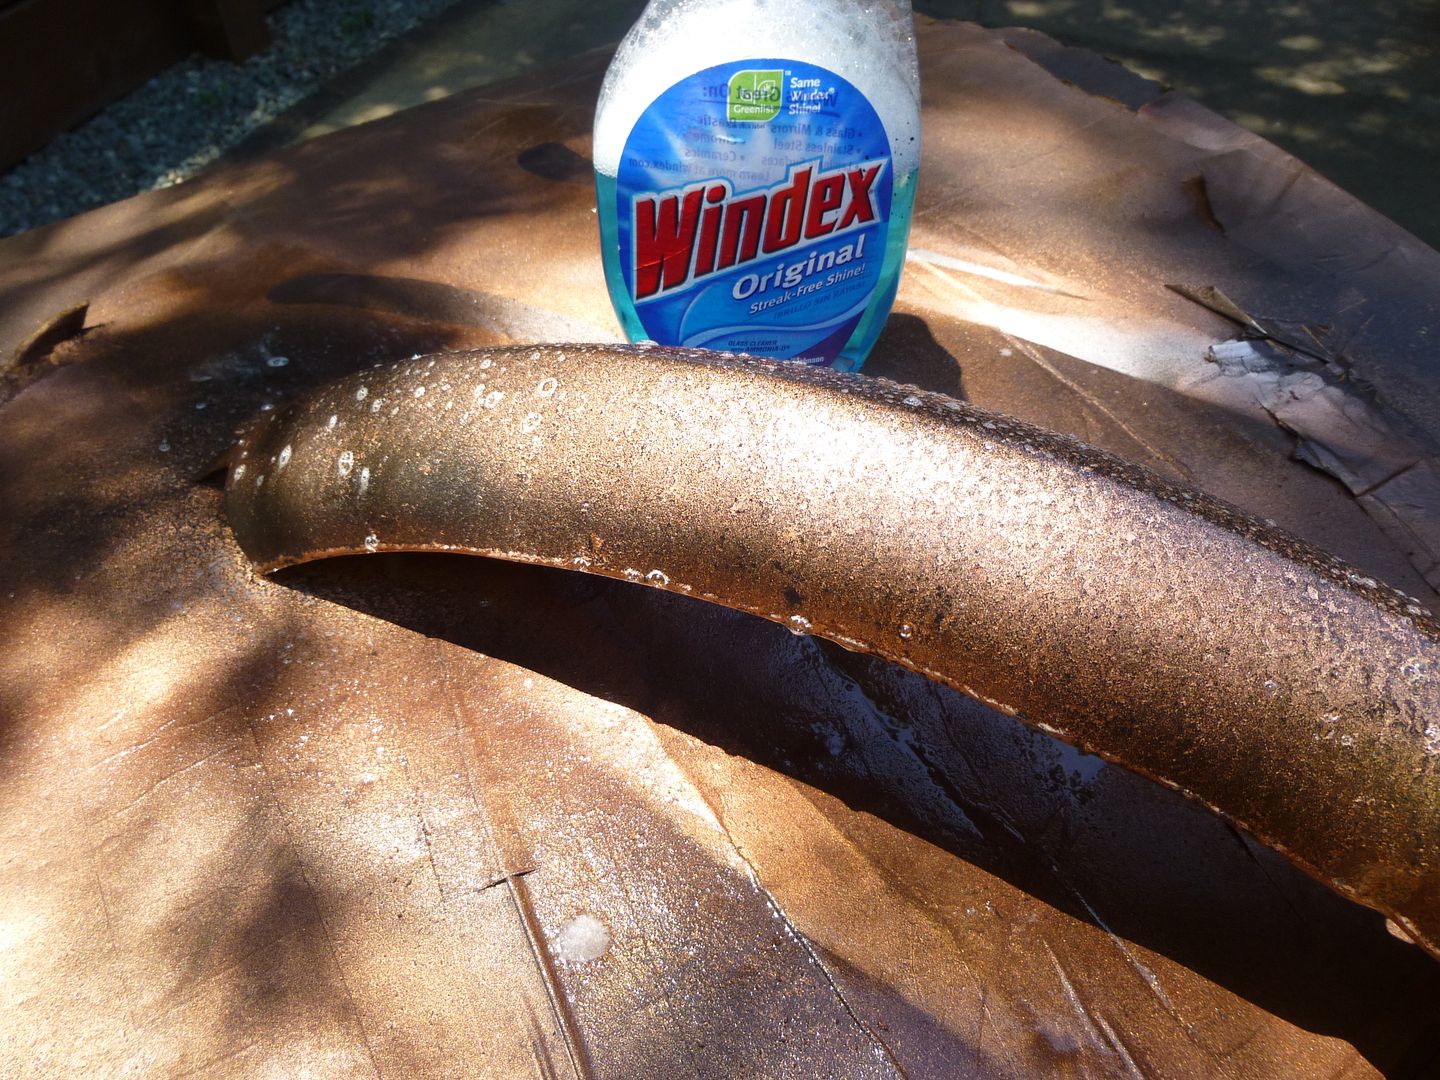
Next, I spray a fine mist of metallic brass...and rinse the paint again with Windex.


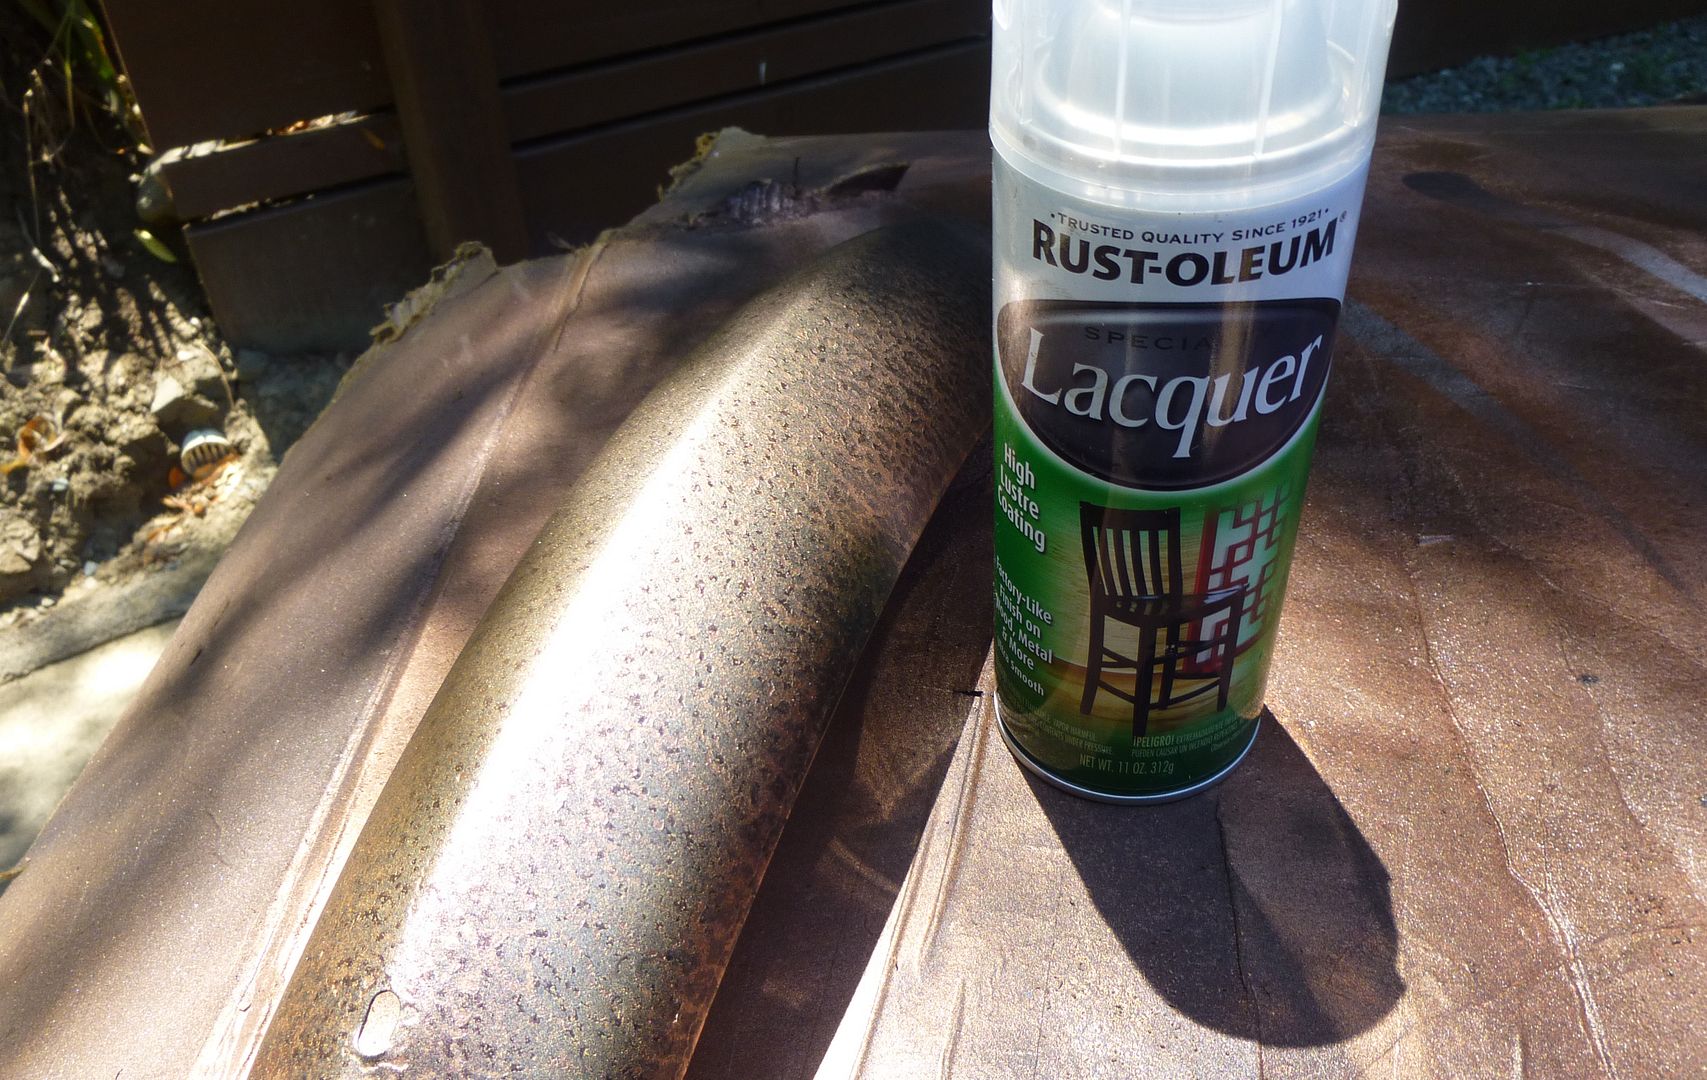
Then finally I hit it one last time with another fine mist of black and rinse again with Windex.

Voila!!! If you like you can seal it now.


I usually wait a few days and I then add another aging technique to it...I'll share that with you when this fender has completely dried...stay tuned.
 
dracothered said:
That is mind twisting as I would never of thought of hitting it with a cleaning agent before slinging more paint on it. It just doesn't seem logical to do that. So how long do you wait before you spray the Windex on it and about how much do you spray of the Windex?


It depends on the weather...today it's about 80 degrees outside, so it took me about 6 minutes to paint this fender. I'm always looking at the paint...YOU DON"T WANT IT TO DRY! Keep it wet...you technically can move the paint embedded in the Windex... it will flow in the direction you want it to go.
 
menzorro said:
Thanks fordsnake for the tutorial. That's pretty generous for you to give away your secrets.
you're welcome...I shared the process last year on the MoFaux build when I accidentally discovered it in my attempt to create a "craquelure" finish...that pattern of dense "cracking" often seen in the Old Masters oil paintings. Its also seen on old furniture where its been painted with a heavy varnish, or repainted with thick house paint, or on old derelict painted cars. There are several products on the market today you can buy to replicate a faux "craquelure" finish...and although my results are not a true "craquelure" I'm rather happy the patina finish. :D
 
You know, for me the creative process isn’t a linear approach…it’s more visceral and impulsive! I spend almost all of my waken day staring at this project. I literally take the frame with me to almost every room in the house. It often stands a few feet from where I’ll sit or sleep… I just stare at it, some times for hours…just soaking it in and imagining the creative possibilities of what I can do? My wife thinks I’m crazy…but tolerates my indulgences.

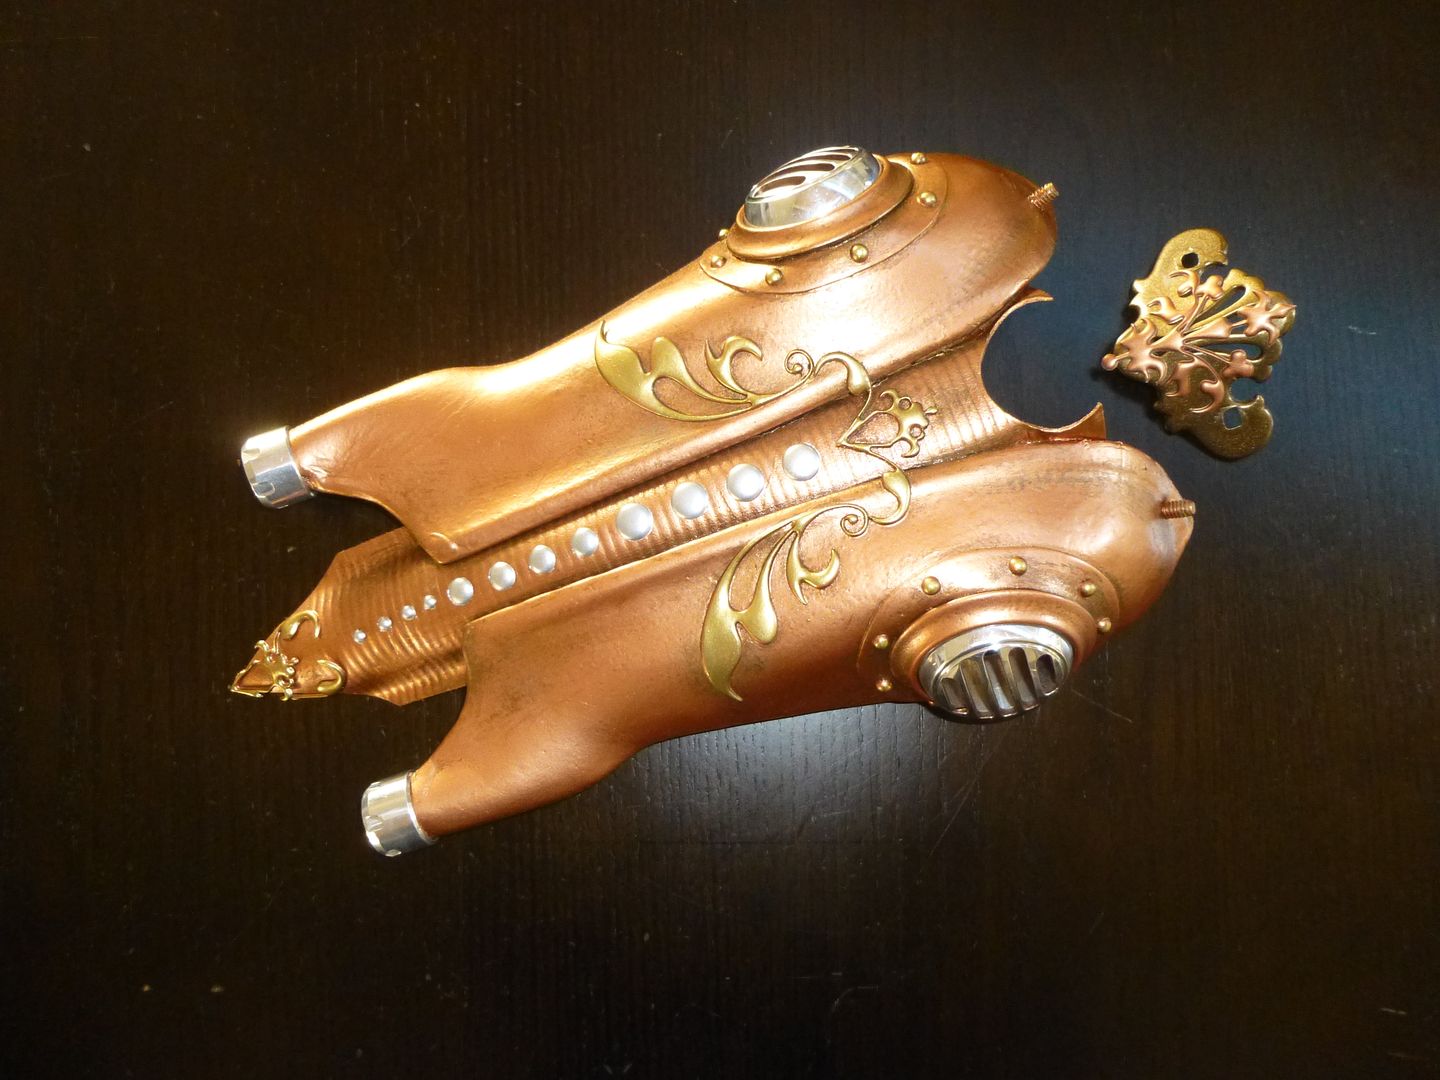
The other day my neighbor (she’s a jeweler) stuck her head over the fence and inquired as to what I was doing… I shared with her the bikes direction…she was so fascinated by the copper shroud and wanted to know how I created the gold & silver embellishments on it? “Are they made of brass, bronze, a lost wax mold…what's your technique?”

Would anyone care to guess the technique?
 
You stole it from the future in a Rat Rod Time Machine?

image-139.jpg
 
fordsnake said:
You know, for me the creative process isn’t a linear approach…it’s more visceral and impulsive! I spend almost all of my waken day staring at this project. I literally take the frame with me to almost every room in the house. It often stands a few feet from where I’ll sit or sleep… I just stare at it, some times for hours…just soaking it in and imagining the creative possibilities of what I can do? My wife thinks I’m crazy…but tolerates my indulgences.

The other day my neighbor (she’s a jeweler) stuck her head over the fence and inquired as to what I was doing… I shared with her the bikes direction…she was so fascinated by the copper shroud and wanted to know how I created the gold & silver embellishments on it? “Are they made of brass, bronze, a lost wax mold…what's your technique?”

Would anyone care to guess the technique?

Is it that 3d dimensional paint? Like this...

http://www.jacquardproducts.com/lumiere-3d.html
 
SSG said:
The bike looks awesome so far. It would be cool if your secondary sprocket turned an old scrub generator to power your headlight.

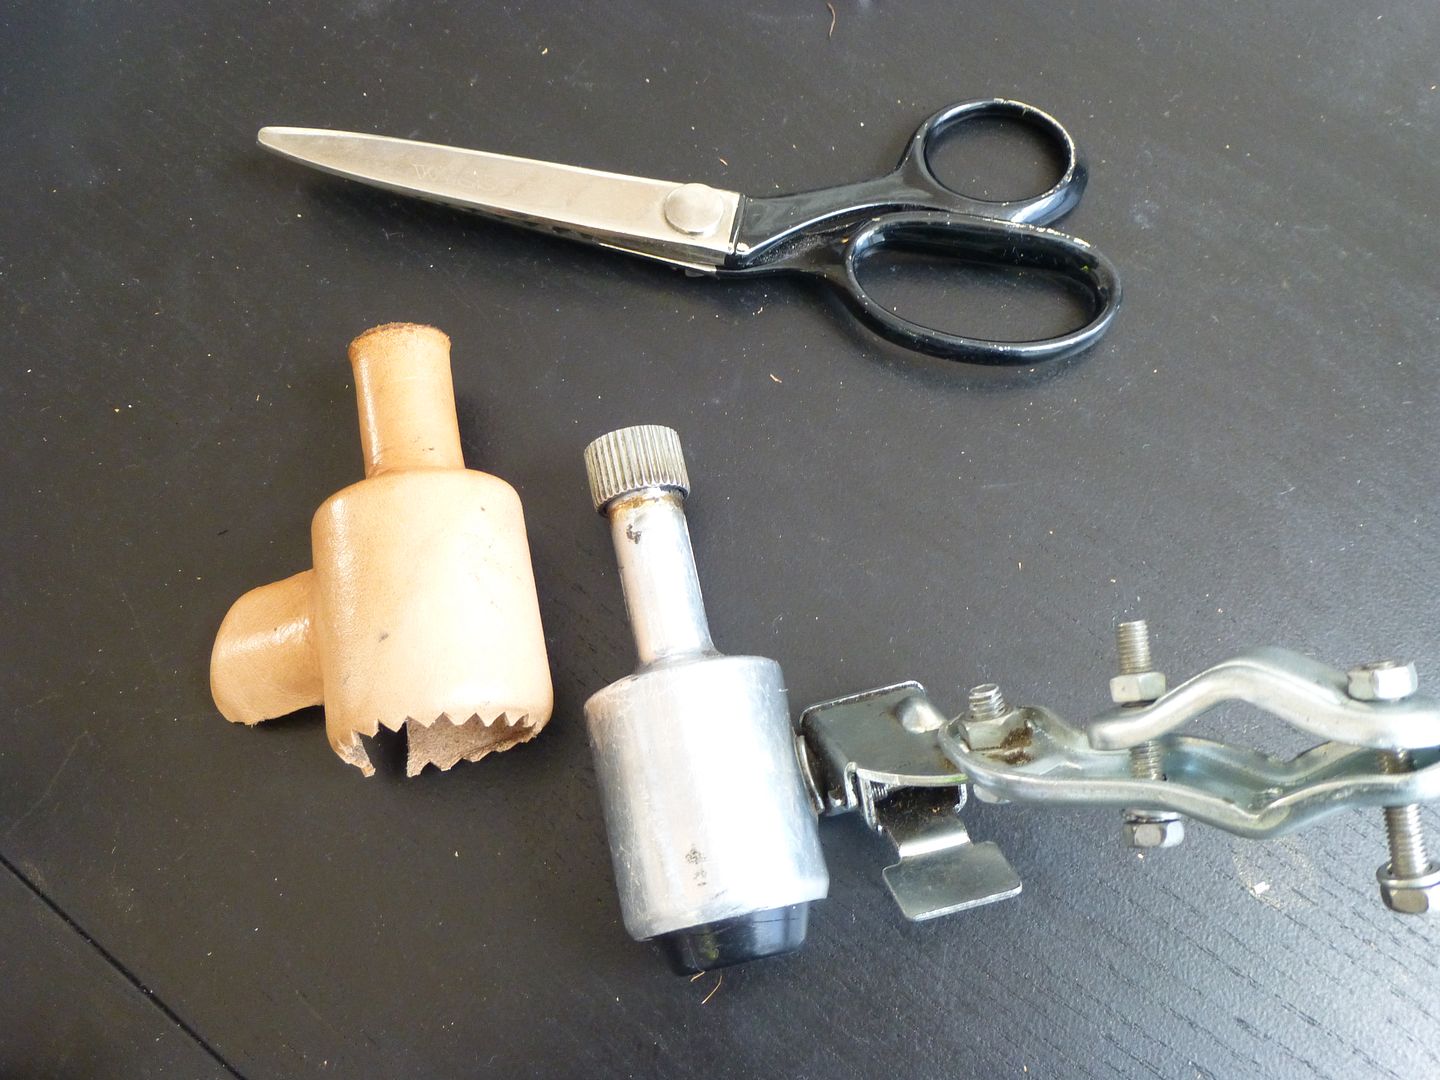
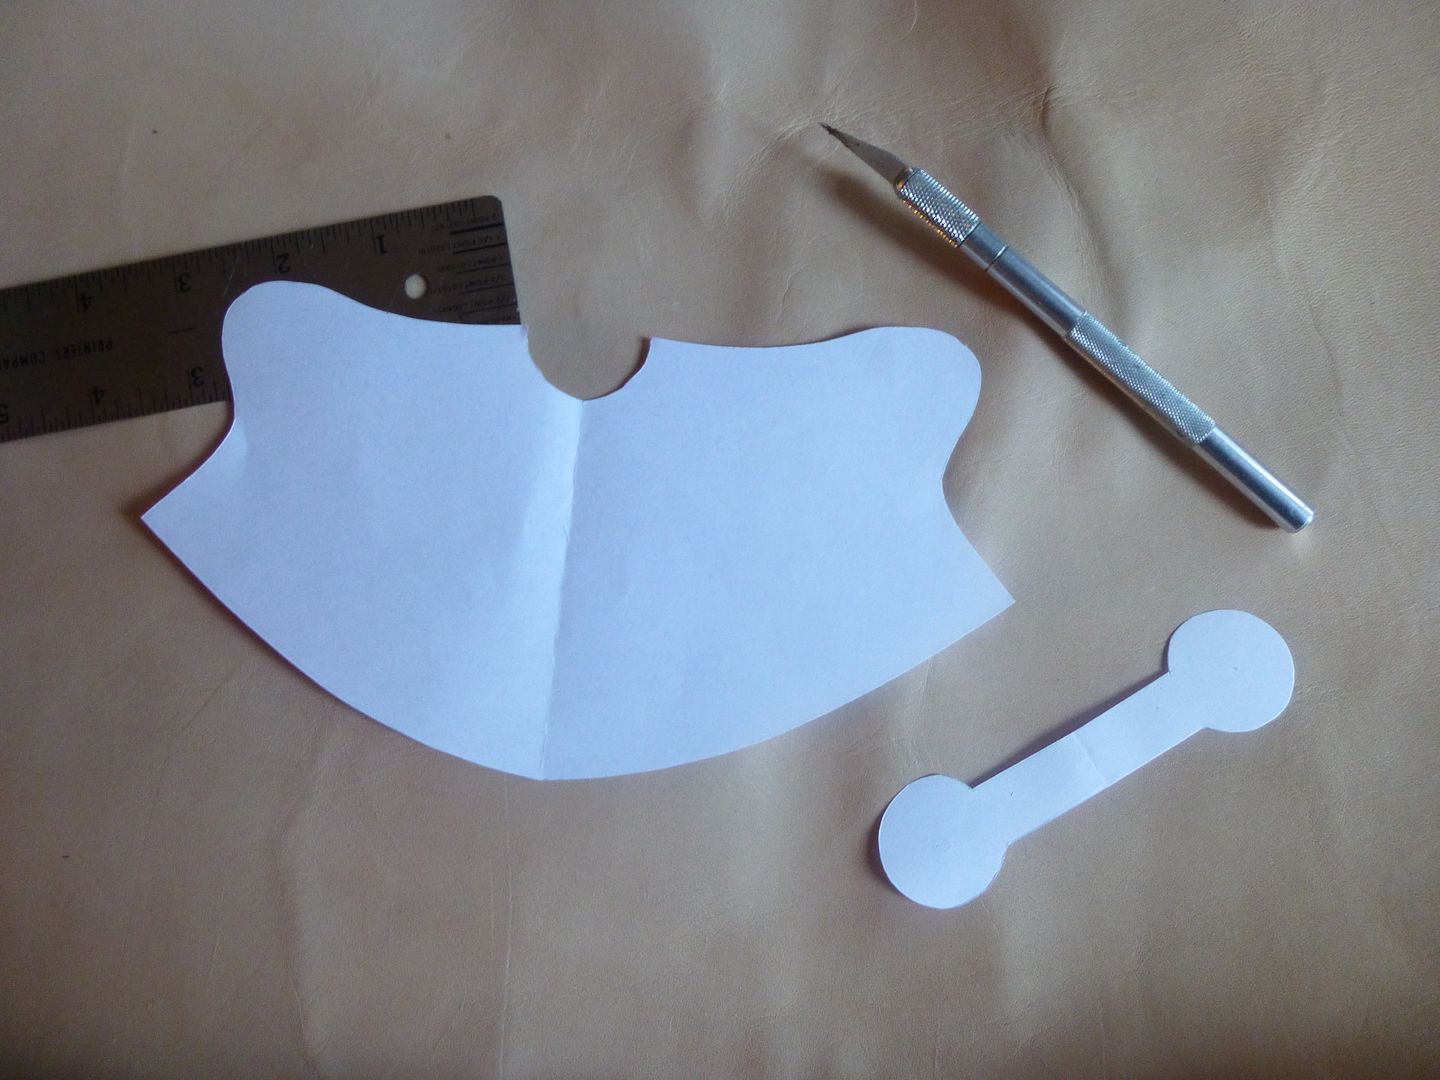
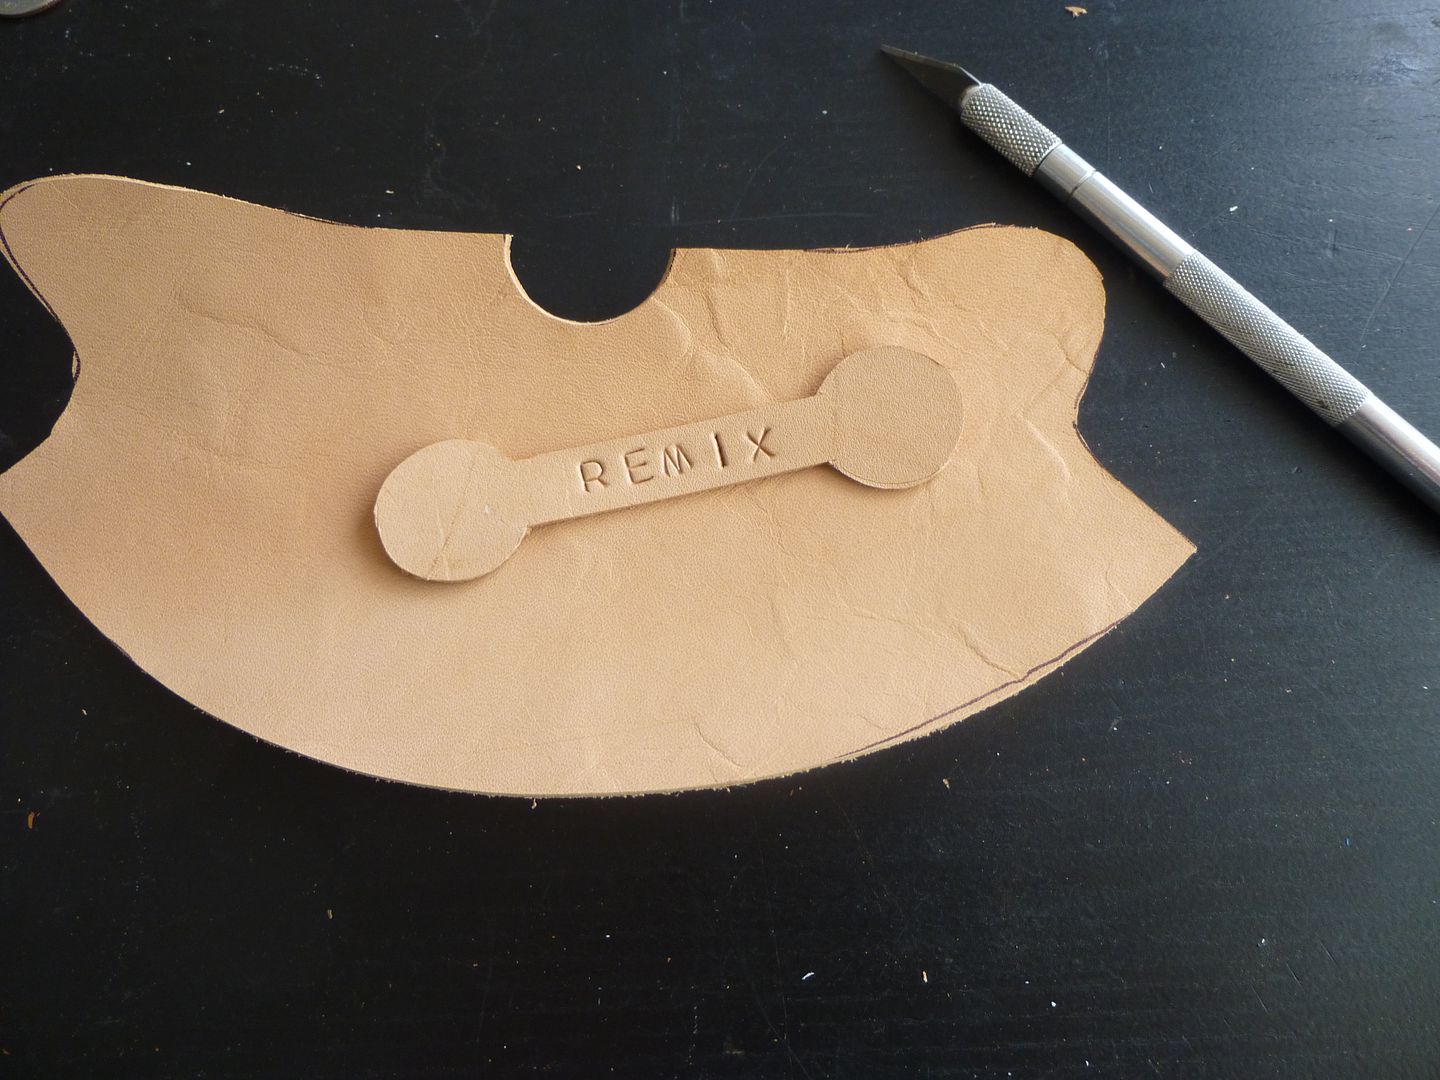
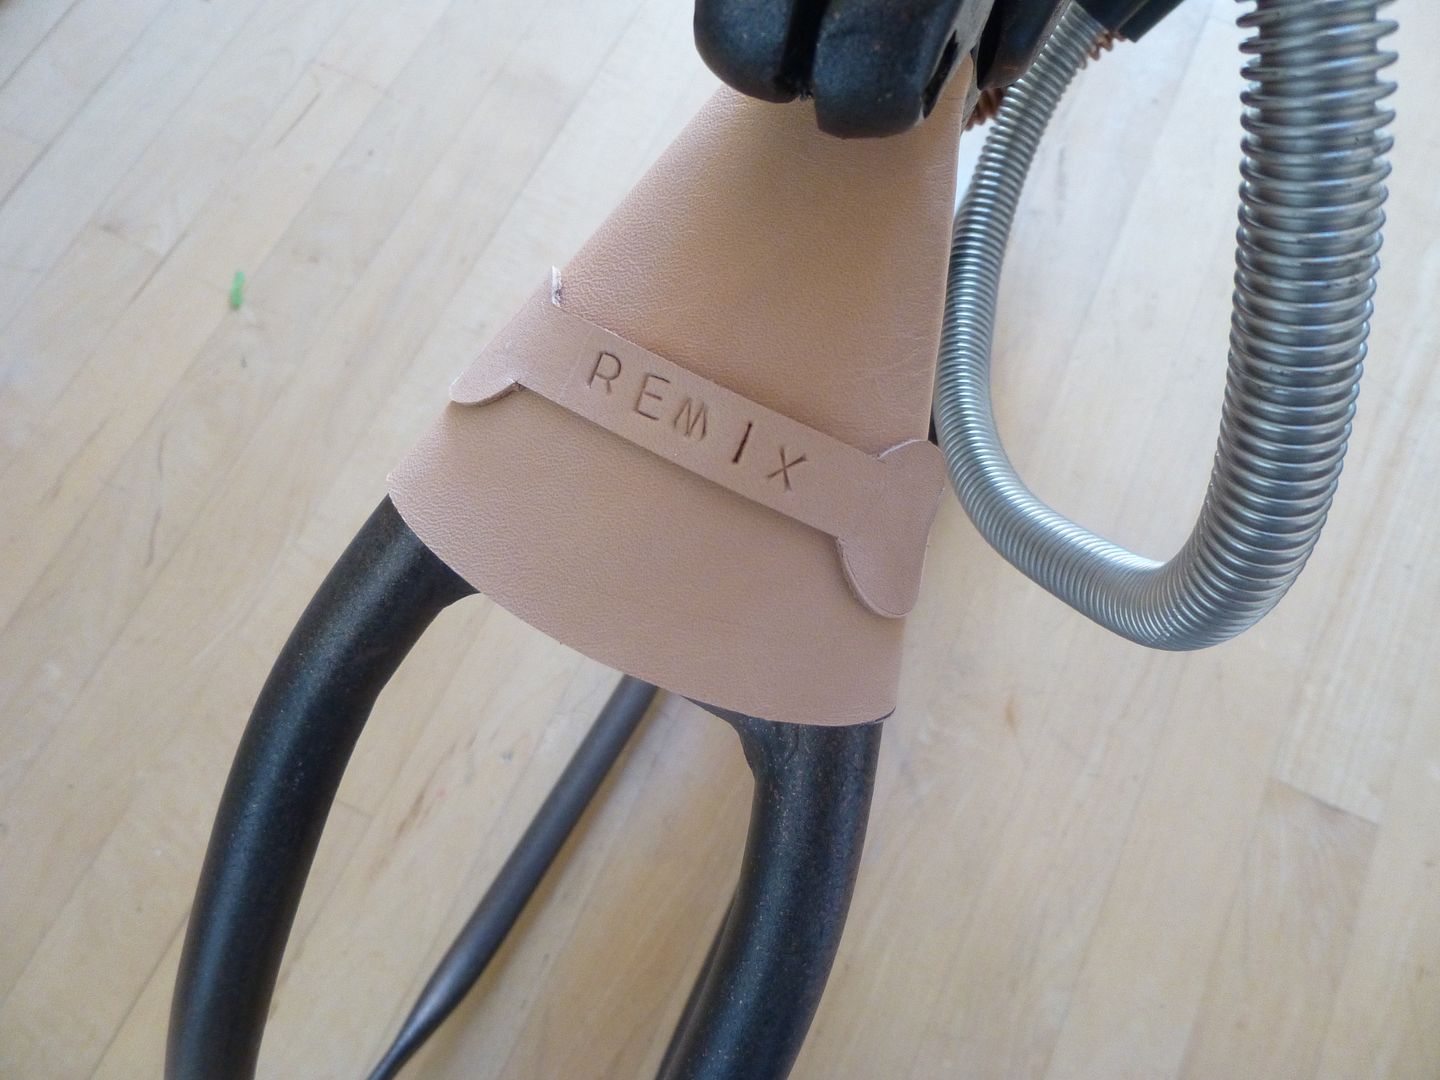
I don't know if this is what you had in mind for the generator? But I really like the idea of having a generator for the light...thanks for the idea!!! I picked up this used one a few days ago and made a nice leather shroud for it.
 
fordsnake said:
SSG said:
The bike looks awesome so far. It would be cool if your secondary sprocket turned an old scrub generator to power your headlight.

I don't know if this is what you had in mind for the generator? But I really like the idea of having a generator for the light...thanks for the idea!!! I picked up this used one a few days ago and made a nice leather shroud for it.
:shock:
 
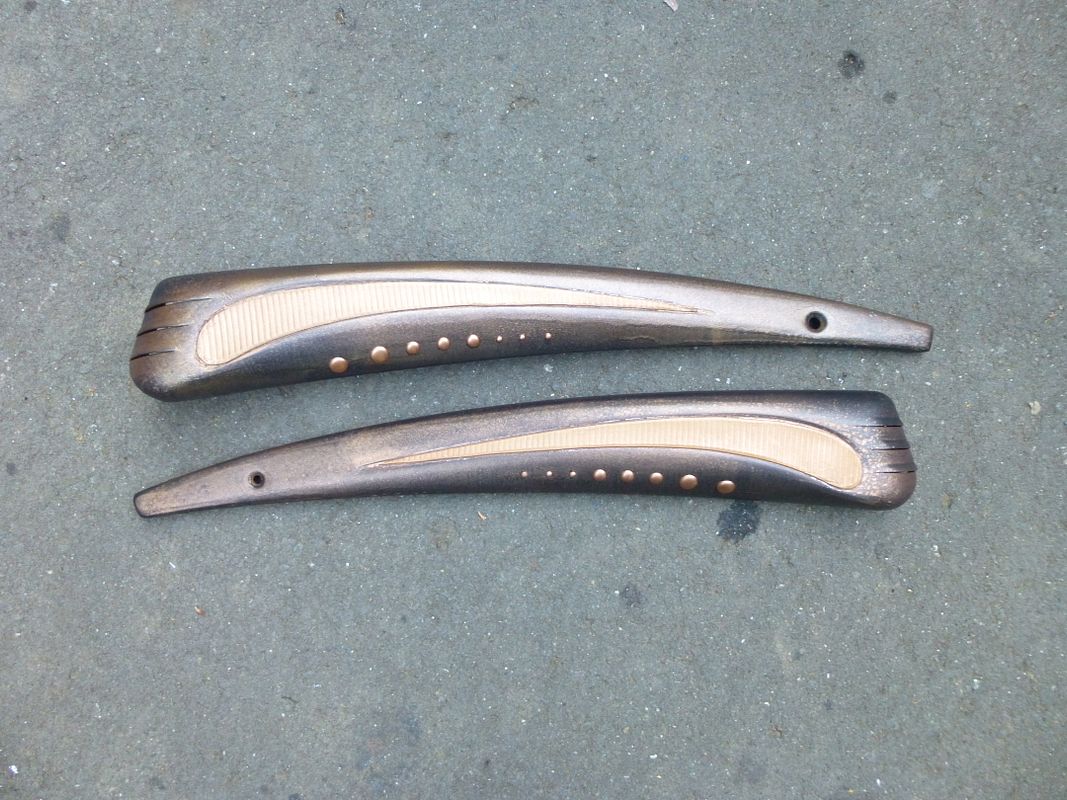
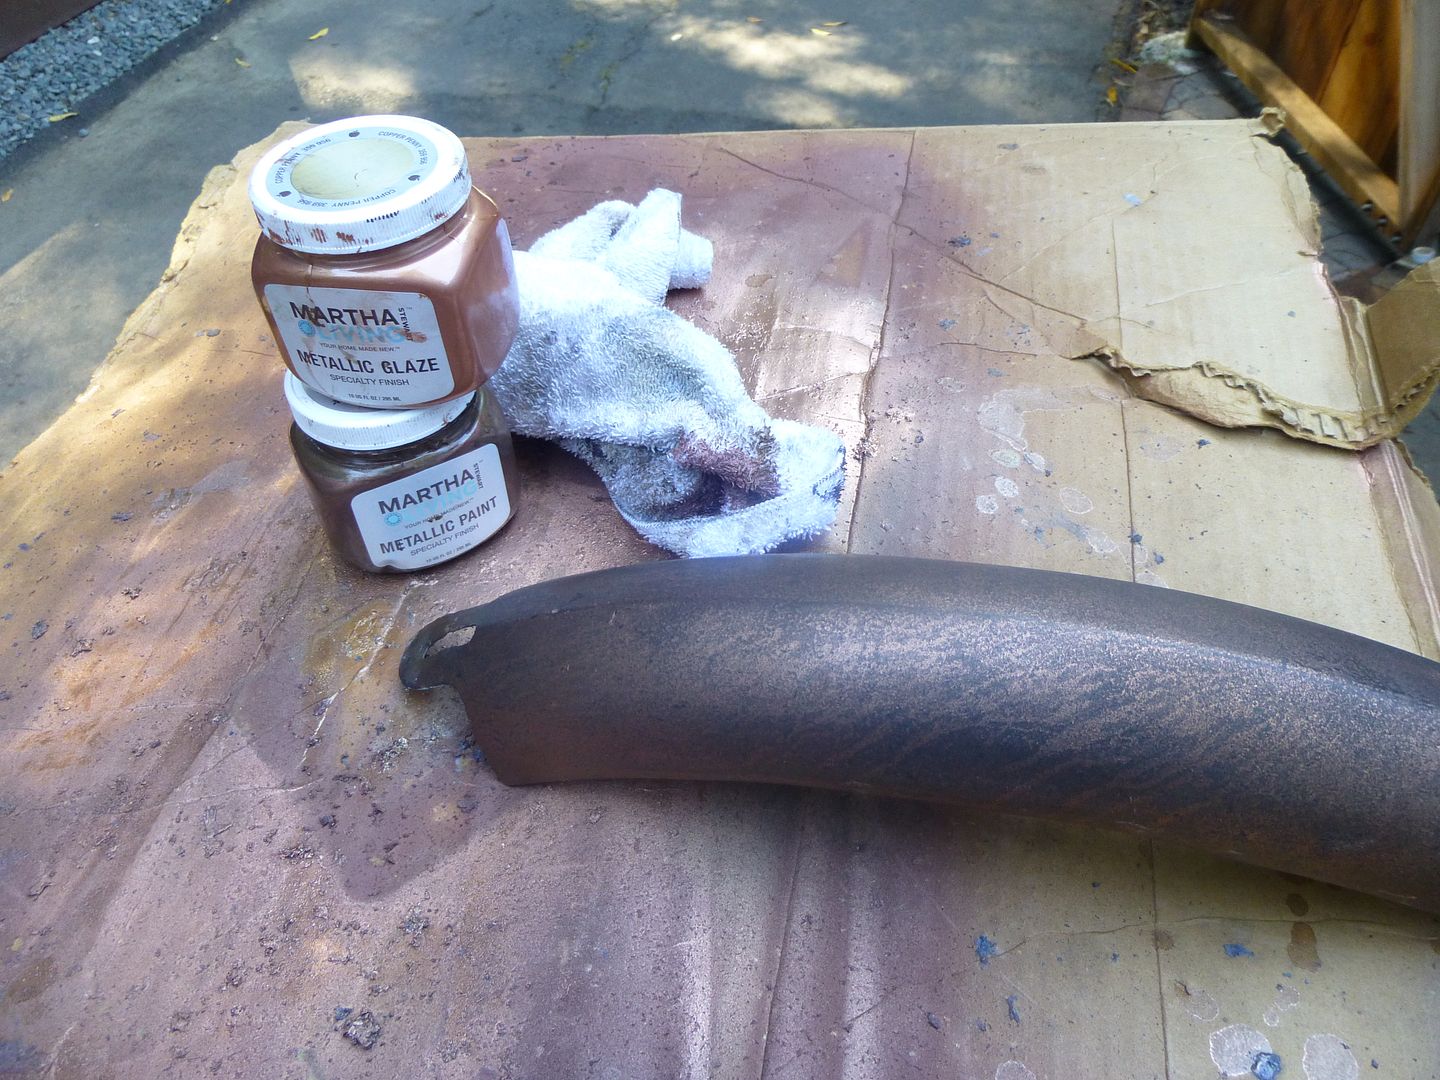
What a difference a day makes...yesterday it was so hot and this morning it's at least 20 degrees cooler and windy! Anyway the heat did a nice job of quickly drying my fender. So I was able to add my aging process this morning, which is a water base glaze (Martha Stewards). I just apply it to strategic areas that I want darken, like the edges. I rub it on then I wipe it off with a moist tip rag.


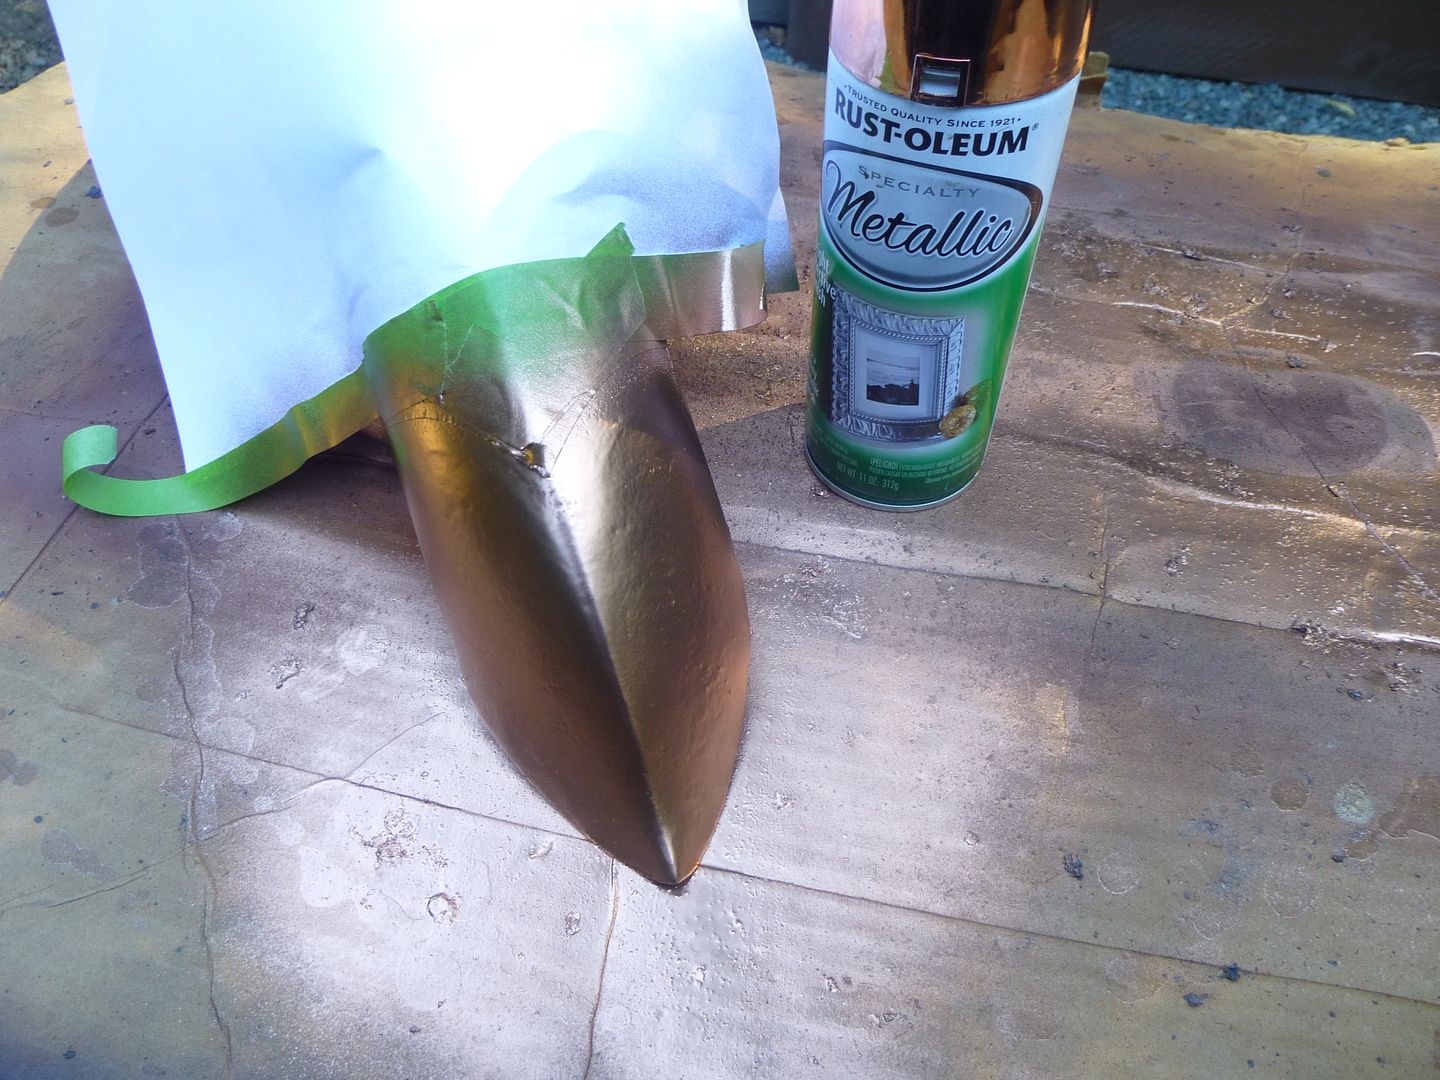
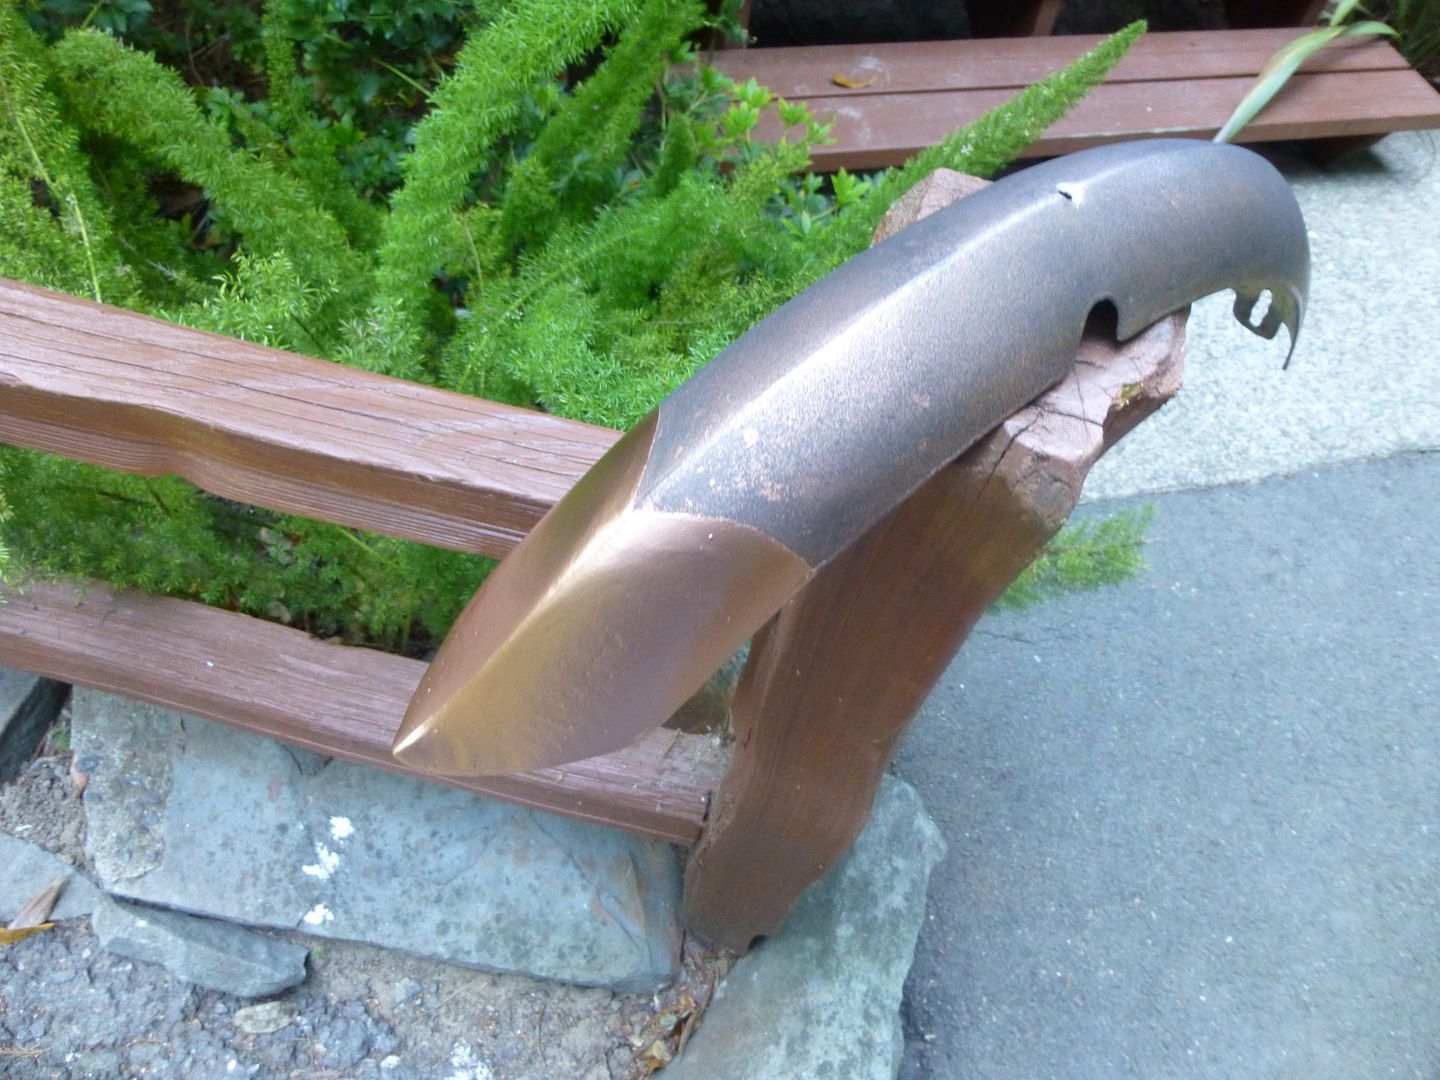
I was able to add a copper dart to the fender tip. I guess I should have masked this area off first before painting with the Windex? Notice the textured paint underneath...c'est la vie!

 
Today, I decided to make a badge. Since the front real estate is take over by the clasp, the question; where to place the badge? I decided over the rear fender was a good place as any? I wanted something that would contrast with all the ornate adornments on the tank.


Back
Top