Stick a fork in it, cause ***Forked Up *** is DONE

Rat Rod Bikes Bicycle Forum

Help Support Rat Rod Bikes Bicycle Forum:

This site may earn a commission from merchant affiliate links, including eBay, Amazon, and others.
Joined
Dec 7, 2007
Messages
276
Reaction score
8
Location
Ottawa, Ontario, Canada
So, after shooting the breeze with my son while wrenching, describing what I used to build when I was his age, my son decided he wanted to try and build the "ultimate bad-butt stretched up big booted chopper" :lol: I didnt have access to a welder when I was his age (still don't) but I did have access to old bike parts. So in the old school tradition, no welding, just basic hand tools, scavenging mostly old parts, imagination and creativity, Throw it all together and you get something like this;
We started with some local brand bmx 20' frame,stripped the parts, and torched,wire brushed and sanded the paint off it all.
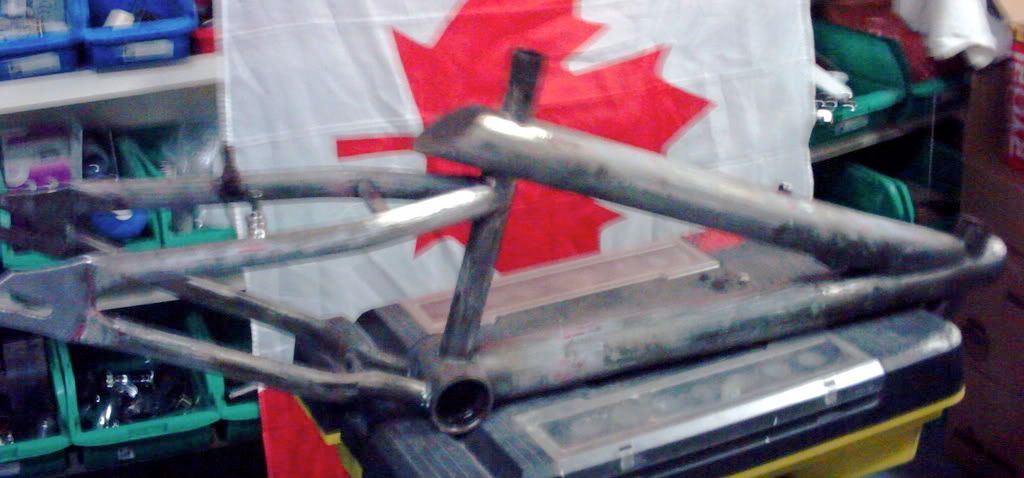
bareframe.jpg

We then sprayed it (what else?) flat black.
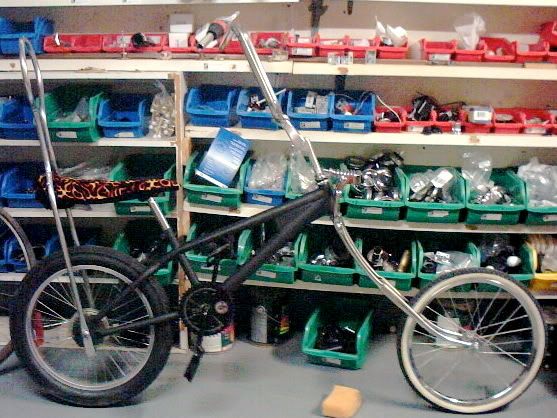
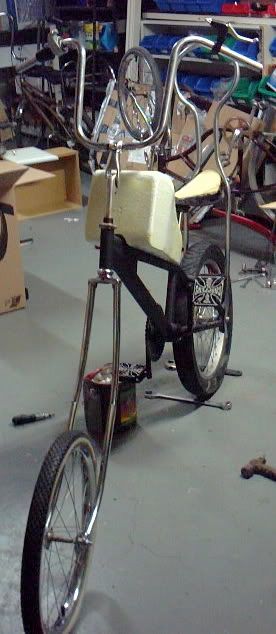
Being a building superintendant, I inherit abandoned bikes all the time, a couple of them surrendered their forks for the project, heres a mock up ( and the source for the bikes name, Forked up :mrgreen:
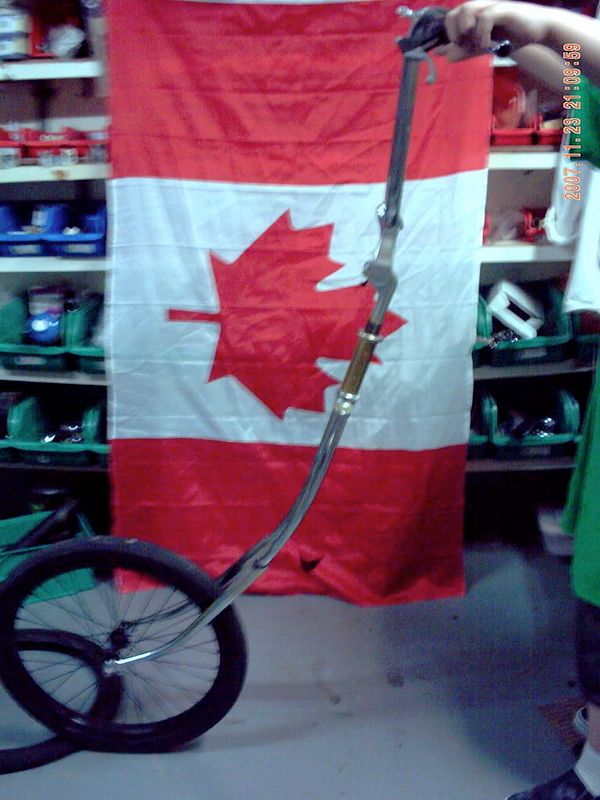
frontend.jpg

Actually, we have a cheapy springer coming, so it will be even longer, means i'm going to have to build some custom truss rods though.
My landscaper brought me this truly ugly strawberry shortcake bike, someone had spray-painted it gold, rode it to death, and somehow snapped the handlebar in half, but it was wearing these nice big boots front and back, so its now a 5 speed chopper!!
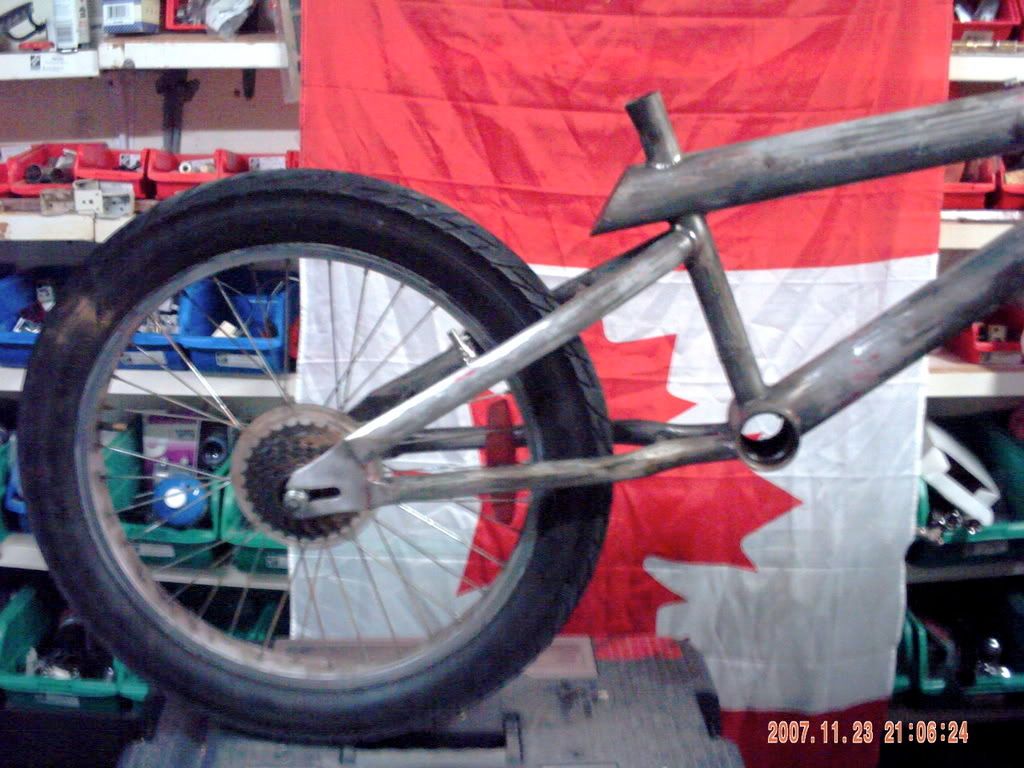
bigboot.jpg

Heres a shot of the junior fabricator himself, grinding the ugly off of a bolt.
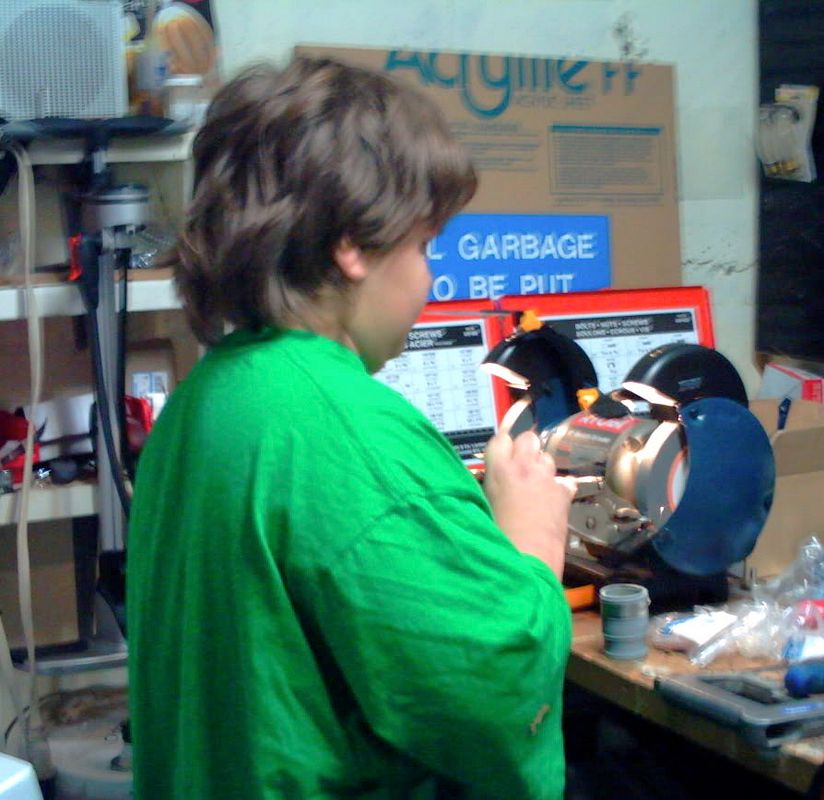
grinditout.jpg

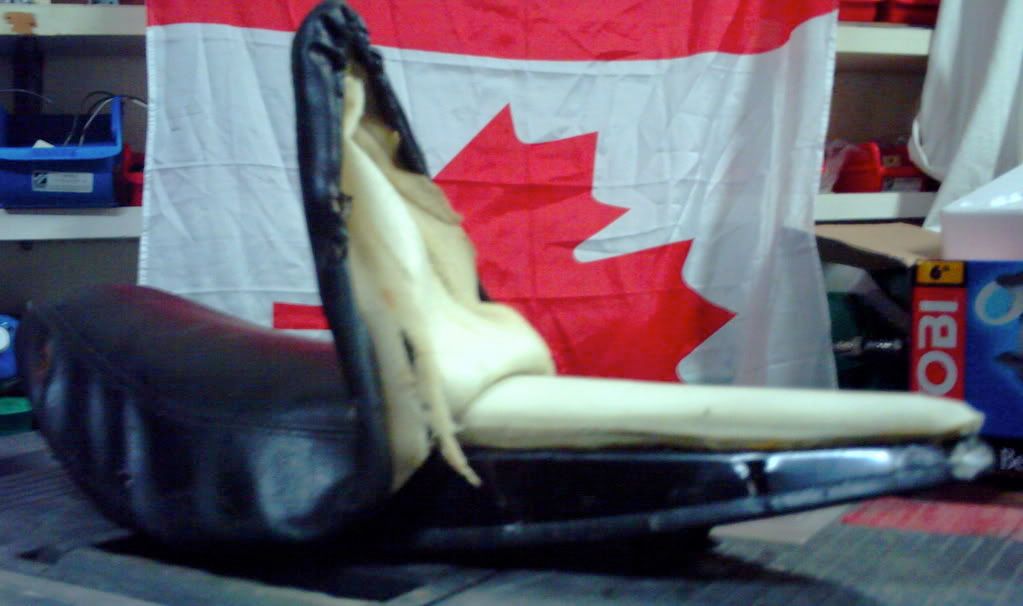
Heres the old seat, looks to be from a ccm mustang reissue. It was a little ripped and tired looking, but little man had a plan!
oldseat.jpg

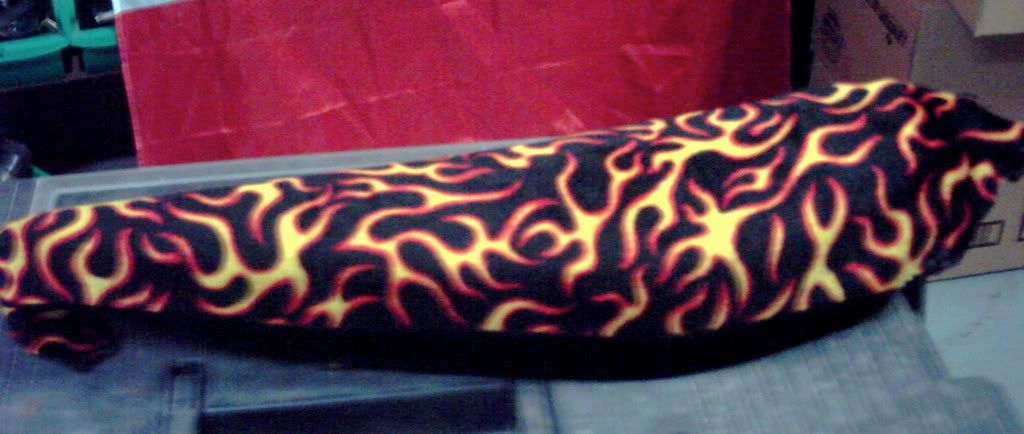
Michael had won this goofy looking oversized clown flamed tie at the local carnival. We sized it up, and guess what? Instant flamed velour seat 8)
nuseattestfit.jpg

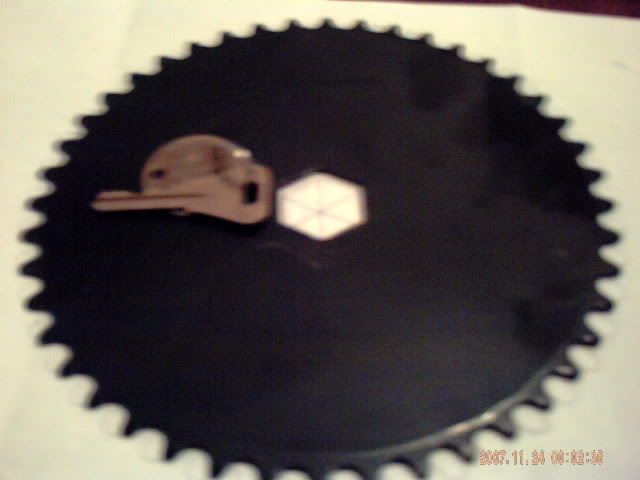
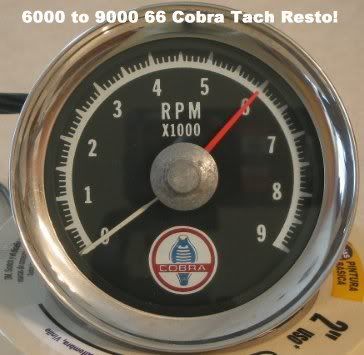
Now, this bike came with a plain-jane flat-faced sprocket, with a unique hex cut out in the middle. The crank arm is threaded for a nut to hold the sprocket in place against a shoulder. Nothing I had at hand, and nothing I could find online would work to replace it, without replacing everything. So, we bounced ideas around for a design to put on it, and decided on a tachometer. Being a classic car guy, I chose this one;
66cobra9.jpg

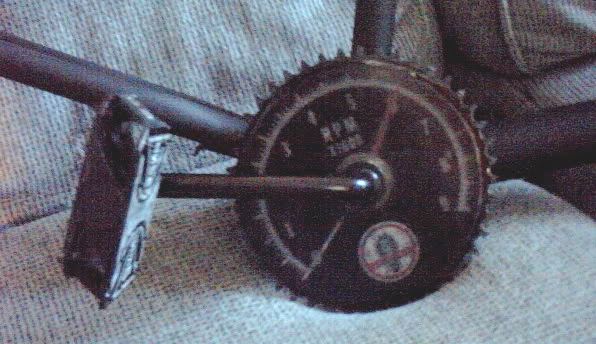
After playng around with the photo, and the settings on my printer, this is what the crank looks like. The west coast pedals were a christmas present.
crank1.jpg

I made 2 pics of the speedo, and made the crank identical on both sides.
Theres still tons to do, because another idea we bounced around is a custom tank, one that he can plug his ipod video into, that has built in speakers, and maybe even some inside space for shades or whatever.
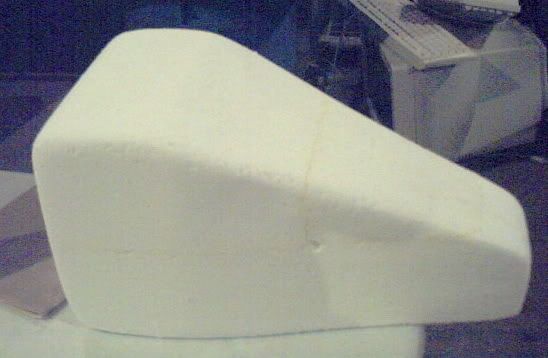
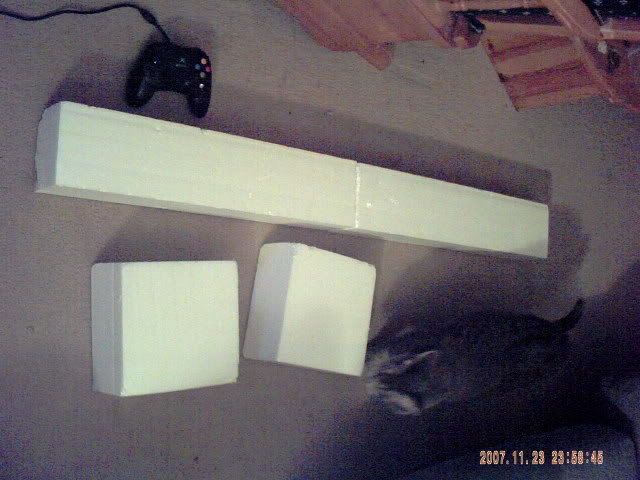
Heres what we started with for the tank;
tankrawstyrofoam.jpg

I know, I know, that don't look like a tank. Yet that is, just wait, i'm not done with the pics.
I'm getting tired though, so i'll continue the post tomorrow. Those of you that are good with computers, no peeking ahead!! And if you do, dont ruin it for anyone else :?
Rick
 
Re: Our entry, title, ***Forked Up ***

The seat and the crank..........one word..WOW!!
 
Re: Our entry, title, ***Forked Up ***

Yea, WOW is a good word for that.
 
Re: Our entry, title, ***Forked Up ***

Great ideas. i like the tach. How cool would that be to hook one up to a wheel instead of a speedo. The styrophoam is a great idea for the tank and I don't think I have seen before.
 
Re: Our entry, title, ***Forked Up ***

Thanks for the props guys !
Locojoe, I just used regular paper and clearcoat, trying to keep it all low buck in the rat rod tradition. Regular paper does "fuzz out" the image slightly once the clearcoat soaks through it though, so I wouldn't recommend it for a really detailed photo.
Dingo, your guess is as good as mine. The tach either comes from a Mustang, or an actual Shelby Cobra. I did a google image search for tach pics, and chose it because it was 1 of the coolest, and it was fairly hi-resolution.
Heres what the sprocket looked like before;
frontcrankbare.jpg

Cman, the foam is easy to work with, but it also has it's drawbacks, as I learned. I had never tried this until now.
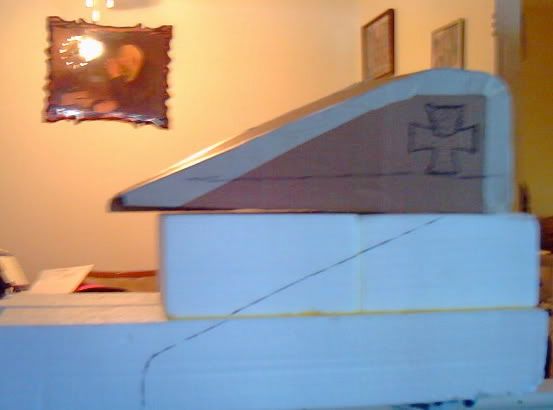
I started by making a cardboard mock-up/template to give me an idea of the tanks overall dimentions. It needed to be large enough to house 2 speakers, a battery pack, and sound boxes. The speaker set up comes from one of those binders that you can plug an ipod into.(forgot to take a pic of it) The plan is to build a cradle/dock right into the top of the tank.
foamtankandcardboardtemplate.jpg

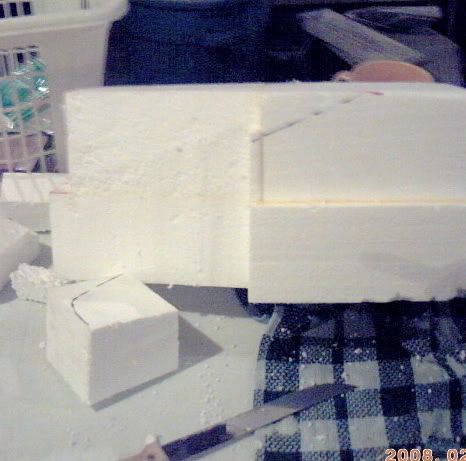
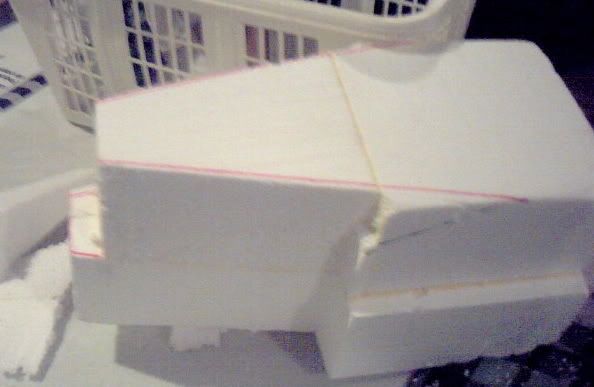
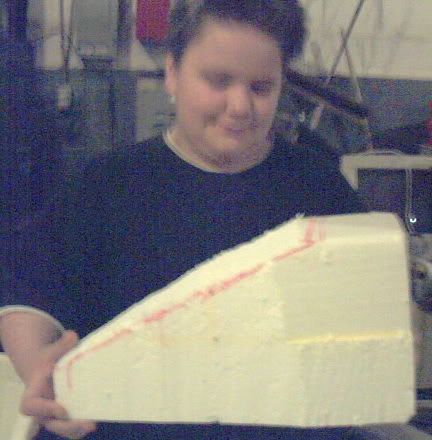
I used carpenters wood glue to bond the chunks of foam together. I then traced the pattern out onto the foam, and we started carving it up.
1stcuttank.jpg

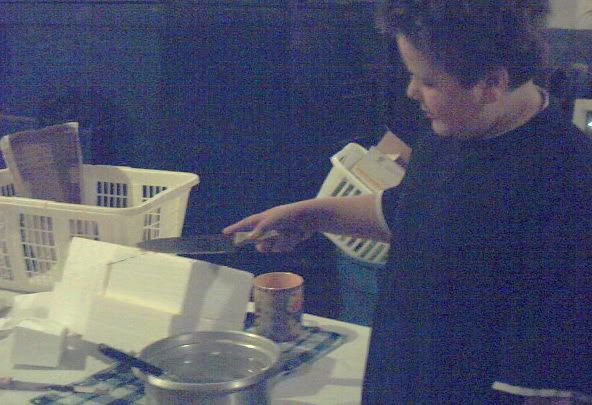
Tanksurgery.jpg

morecuts.jpg

lookingtankish.jpg

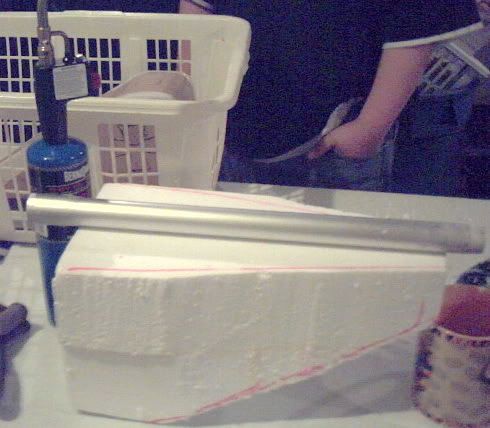
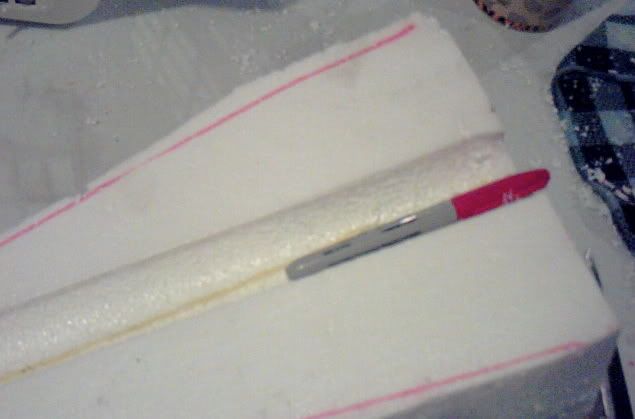
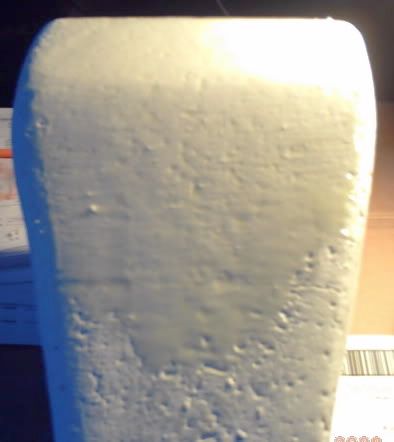
When we got to the point where it was time to cut the channel for the tank to rest on the frame, I was going to use a drum sanding tool in my drill, then inspiration struck. I scrounged a piece of pipe with the same o.d. as the bike frame, and heated it up slightly with the torch. Instant groove!
makeframegroove.jpg

aftergrooving.jpg

Foam really takes a light hand to sand, so shaping it took a little longer than I thought, just because I was paranoid about ripping a chunk off :lol:
sandedsmooth.jpg

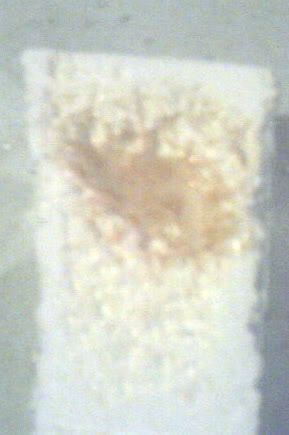
Then, we ran into snafu #1.My plan was to cover it all with fiberglass cloth and resin. Luckily, I decided to try a test piece first. This was the result;
xperiment1fail.jpg

The resin is just too caustic/hot, it melted itself into the test foam. So, we tried putting a few coats of paint on to seal the foam. Test piece #2 did better, but there was still deformation of the foam. Then I tried a layer of bondo on piece #3, it looked like the 1st piece, all eaten up. :oops:
Things were starting to look grim, when I had another idea. I mixed up some 2 part epoxy and spread it out on another test piece.
Bingo, no melt!! I then tried bondo on top of that, and it worked. Tried another piece with epoxy, then the fiberglass resin, and it survived also!! Hooraaa!!
So, the tank is back in business, i'm now coating the whole thing in a couple of layers of epoxy.
epoxycoating.jpg

More to come,
Rick
 
Re: Our entry, title, ***Forked Up ***

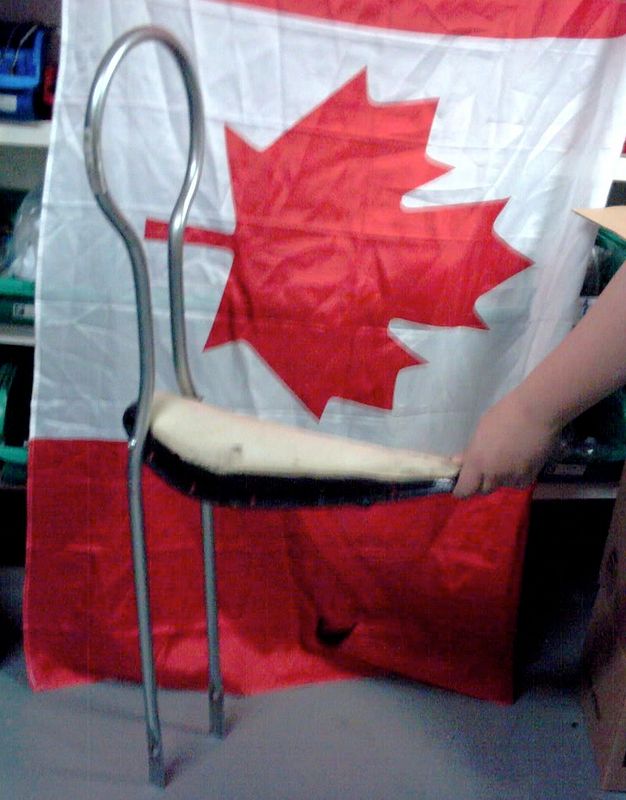
Thanks Kota, I had an old sissybar kicking around, but when itook a good look at it after removing the paint that was covering it, I found a crack at the seat mounting hole.
So, out came the old manual pipe bender and some conduit :D
The bender I have can't make a really tight radius, so we worked with it as best we could.
Michael thinks it came out looking like the punisher's skull logo, or maybe an alien head.
I might end up making a plexi-glass backing for it, painted like one of those 2 ideas (probably the punisher)
handmadebar.jpg

After settling on the shape, out came the hammer and drill. We flattened the ends of the bars and drilled them for an axle mount set up. We then mocked up the tire, bar, and seat, to determine where to drill the holes for the seat mounting bolts.
Once all the fab work was done, it came upstairs to the house, for a few nights worth of hand polishing. If you take your time, you can polish up conduit pretty good, while its not quite chrome plate, its not too far from it!
Rick
KOTA said:
The seat and the crank..........one word..WOW!!
 
Re: Our entry, title, ***Forked Up ***

just a suggestion..............since the tank is going to be a speaker box.....why not just use 3/4' mdf like you would for a regular box? if you wanted a radius you could always just mud it and shape.(just me wondering thats all not trying to be a jerk or anything) i really like the forks.....would have never thought of that myself :mrgreen:
 
Re: Our entry, title, ***Forked Up ***

Hey Sensor, you know, at first, I was going to use wood, but when I put the pieces in a box to carry them down to the shop, I noticed they were fairly heavy.(without adding glue,nails,screws, mud,...) Seeing as the tank is going to be mounted on a bike that is going to have some serious front end on it, I was worried that mounting that much mass that high up would lead to some ugly crash potential
I know from riding bikes like this in the past that the handling is, well, kinda squirrelly. It doesnt take a whole lot of foot pressure to wheelie, even less if your weights leaning back on the sissy bar.
Put a kid on there with zero big chopper experience, and its a recipie for a smack-down asphalt style. :shock:
Thats what lead me to try the foam idea, the speakers themselves aren't much larger in diameter than a silver dollar, and don't have a real cone in them either, they depend on vibration through a separate sound box to throw the sound. That's why the tank needs to be big, to hold the sound boxes.
You mean to say you never cut off fork legs and pounded them onto another set of forks to stretch a front end ? Maybe it's just a redneck Canadian thing then! :D :lol:

sensor said:
just a suggestion..............since the tank is going to be a speaker box.....why not just use 3/4' mdf like you would for a regular box? if you wanted a radius you could always just mud it and shape.(just me wondering thats all not trying to be a jerk or anything) i really like the forks.....would have never thought of that myself :mrgreen:
 
Re: Our entry, title, ***Forked Up ***

i understand now........yeah you gotta make it safe for the boy! and nope ive never seen the cut forks into another set........but ive led a sheltered life :wink: however i had a friend that made a set of 8 or 9 foot forks out of tubing(with apes :shock: ) but i never could get it more than afew feet from where id start
 
Re: Our entry, title, ***Forked Up ***

Heres what we started with for the tank; [img said:
http://i222.photobucket.com/albums/dd132/rick74304/mikes%20chopper/tankrawstyrofoam.jpg[/img]
You are going to make a tank out of a CAT?
I'm sorry i couldn't resist :oops:
 
Re: Our entry, title, ***Forked Up ***

Been fairly busy this week, we haven't made a ton of progress so far, but the springer came in the mail, so you know we had to see how it would fit! :D
springermockup.jpg

This springer's off the walmart krate, the problem was our gooseneck was too large for the neck, so we fired up the old bench grinder again, it fits just fine now, but if I choose to use another one of those, i'll be sure to buy the neck and bars too.
Heres what it looks like with the front we were going to use before the springer.
plainforkmockup.jpg

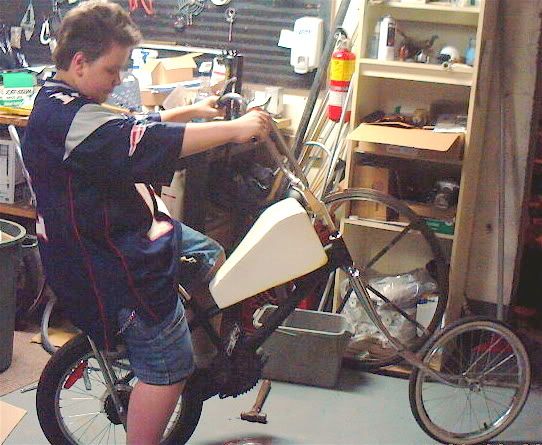
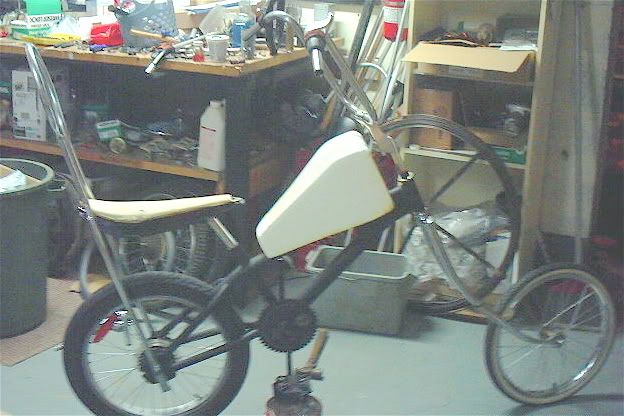
And a few with the tank perched on the frame(just about finished with the epoxy coating, then is fiberglass time) After it gets glassed, i'll have to saw it in half to fit it for the speakers, ipod cradle, and mounting bracket.
1stfullmockuptank.jpg

betterangles.jpg

The look of this bike is all about the angles I think. Ideally, the angle of the sissy bar needs to match the seat-post angle and the handlebar angle for the lines to look "right"
Also need to fab up the new 27 inch truss rods for the front end. More conduit to the rescue! :lol:
Thanks for all the kind words so far guys,
R. & M.
 

Latest posts

Back
Top