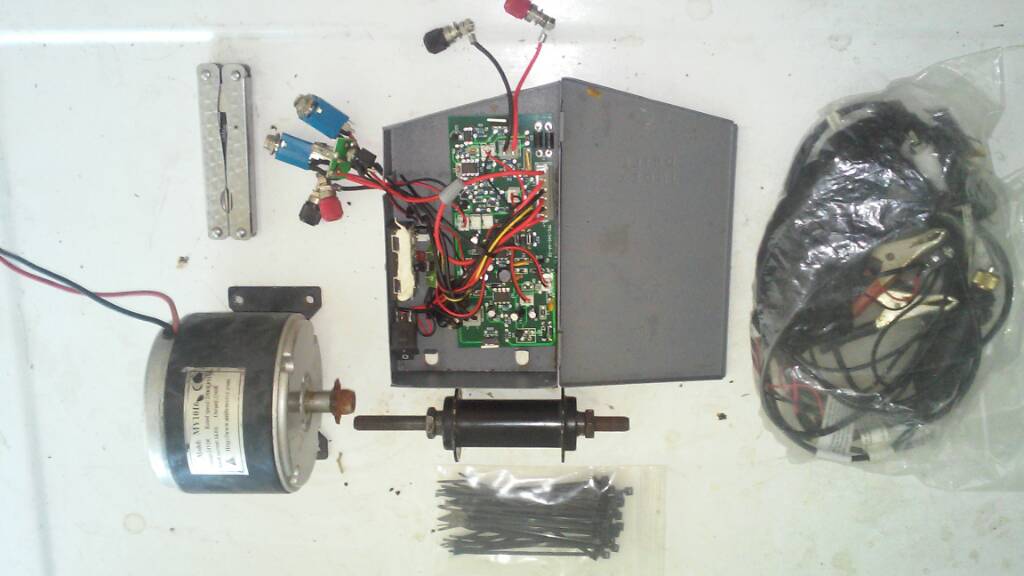
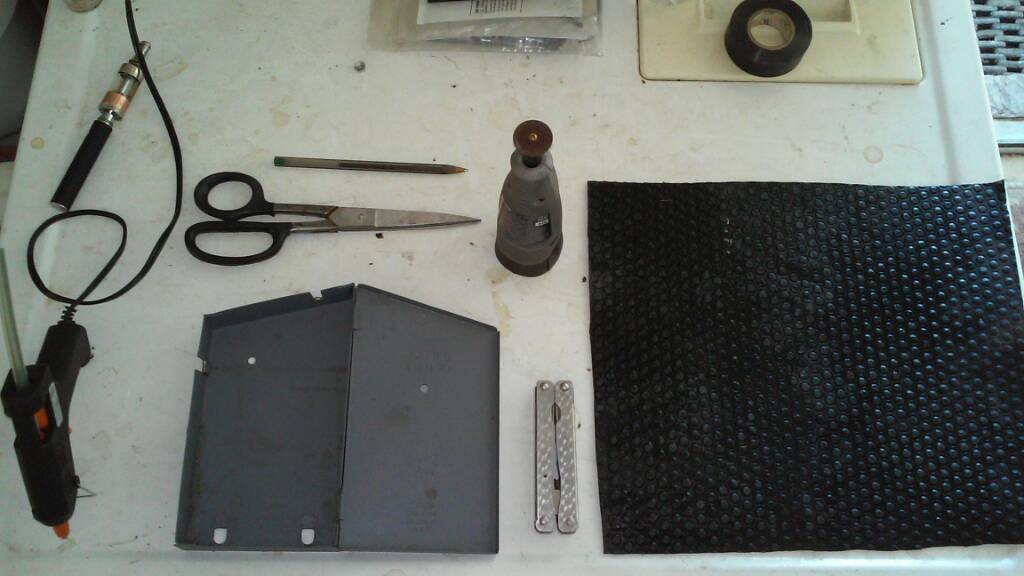
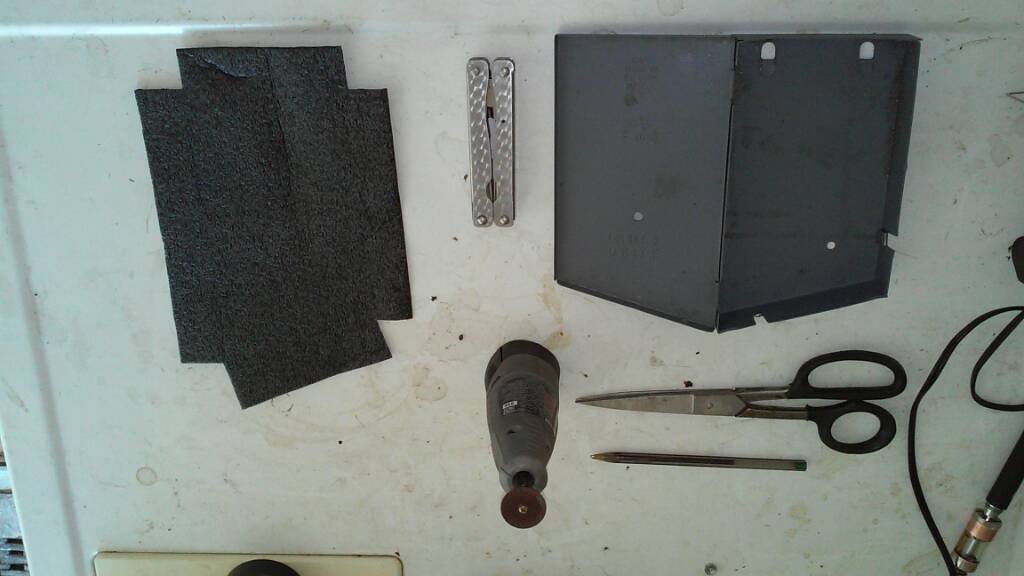
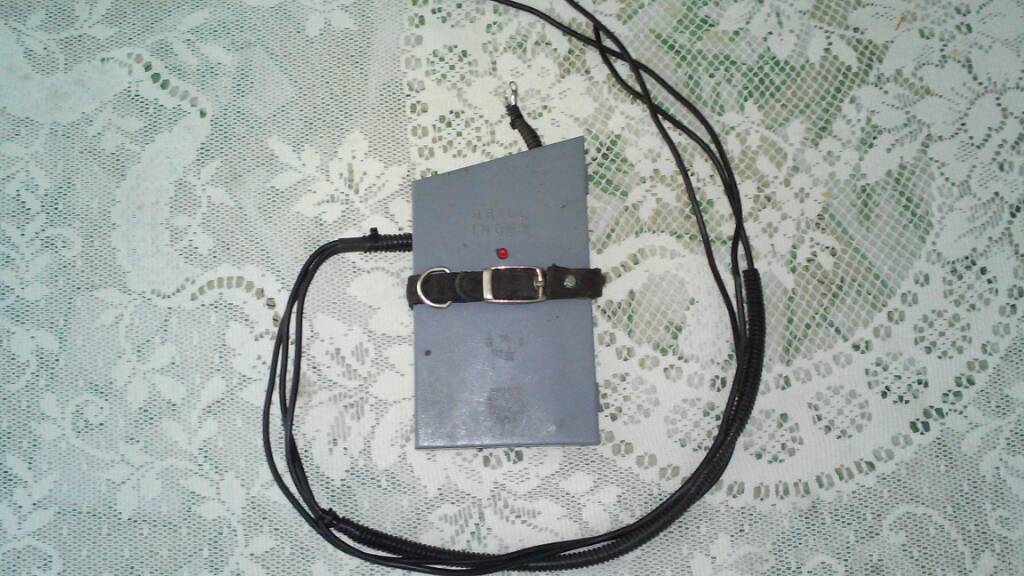
I woke up last night from a dead sleep after hours of research on how to build a DC to DC trickle charging system, to realize i have an unused harbor freight solar distribution hub at my disposal. Without loosing a minute i had seperated the aluminium casing, exposing the board i began looking for a suitable housing and found a spare drill index.
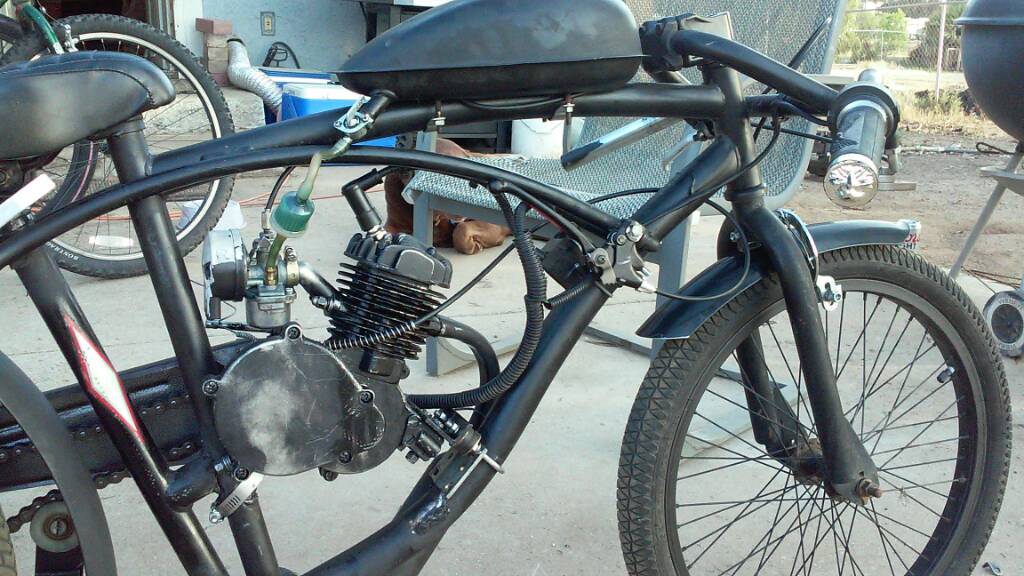
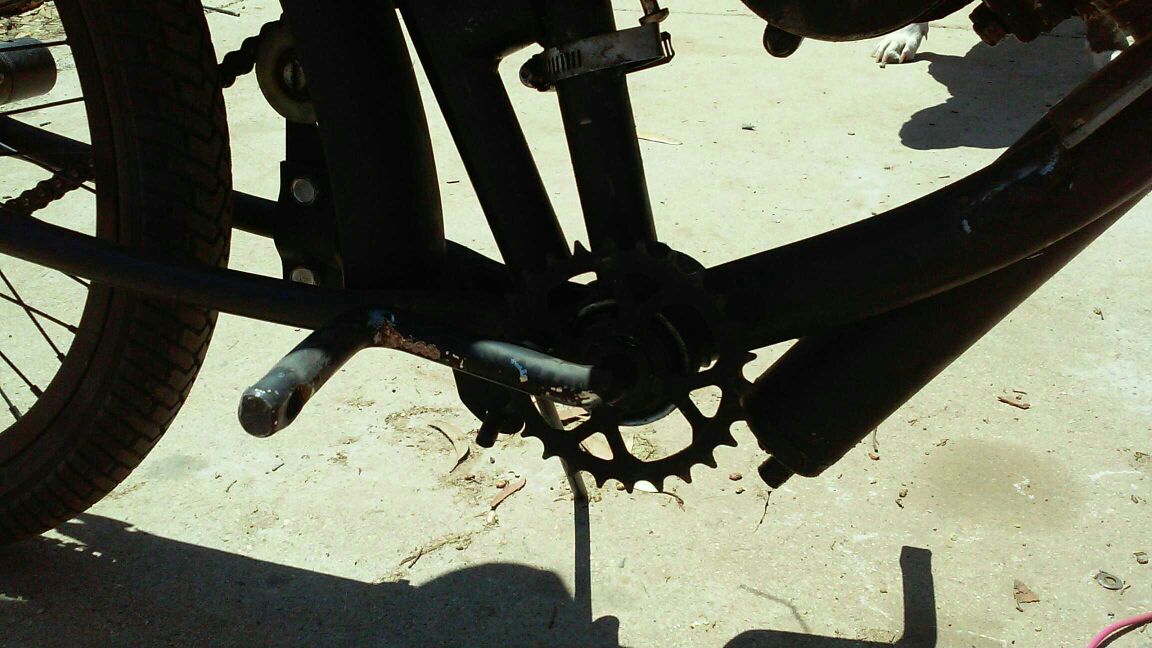
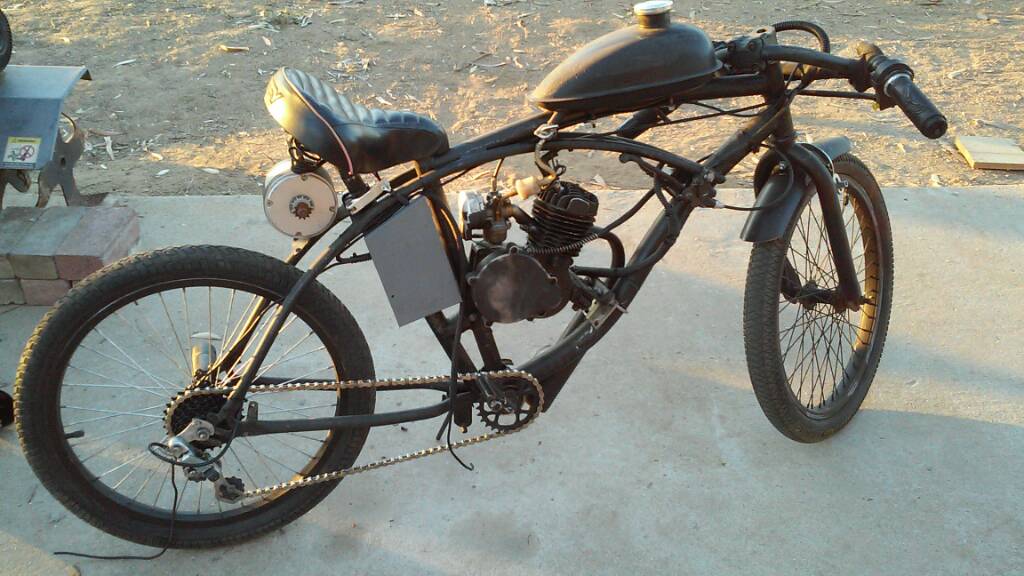
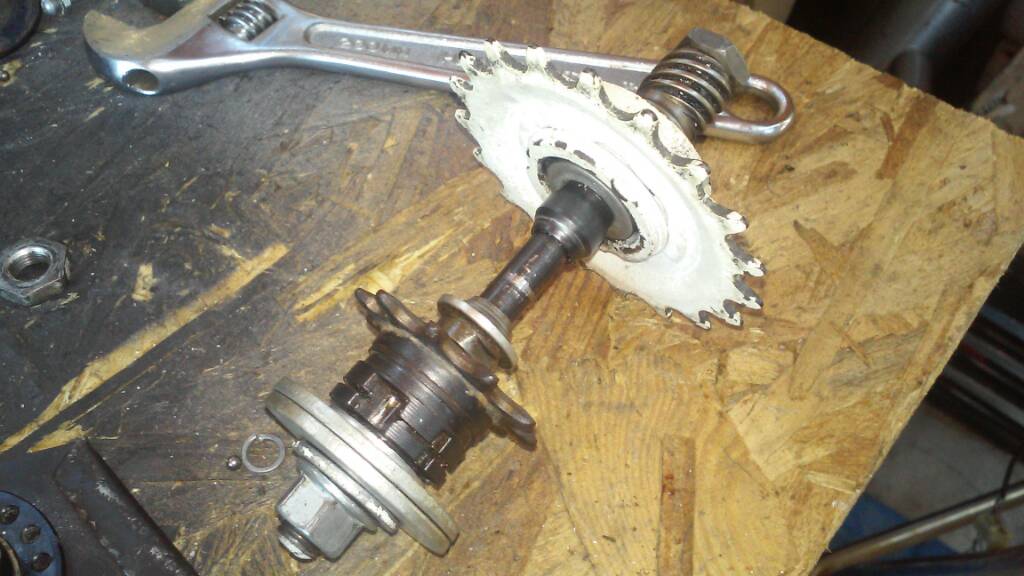
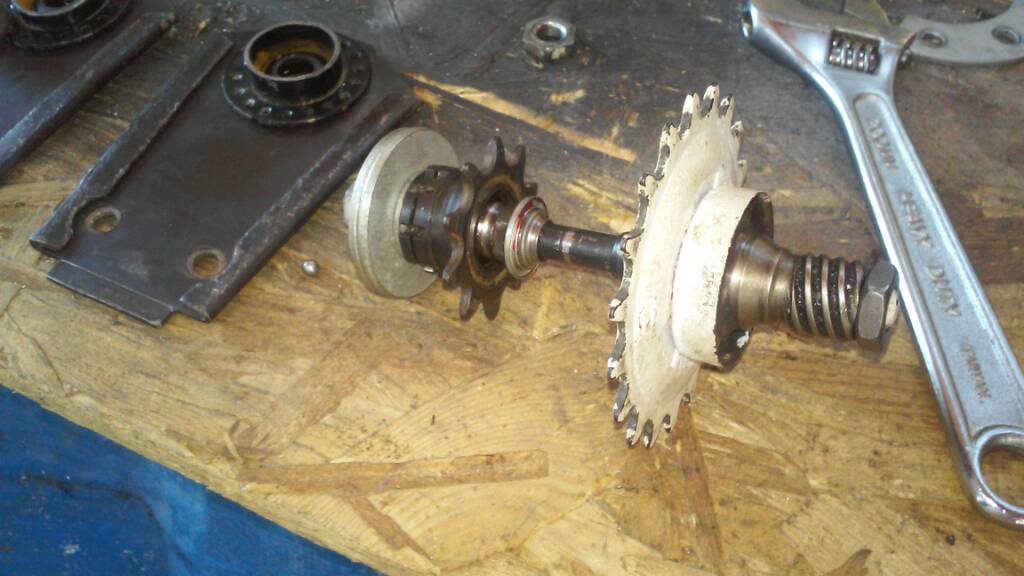
It will have to come out more to the right in order to fit the jackshaft gears.
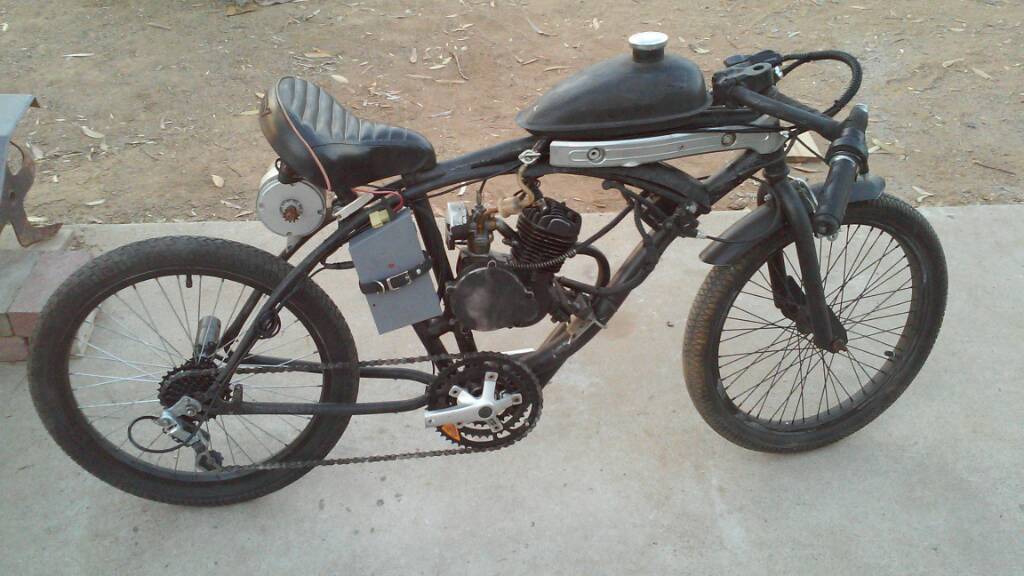
I need to find a suitable battery and some head lamps. Speaking of lamps i am running two 12v, a 9v and a 5v usb for power sources.


 AWESOME!