


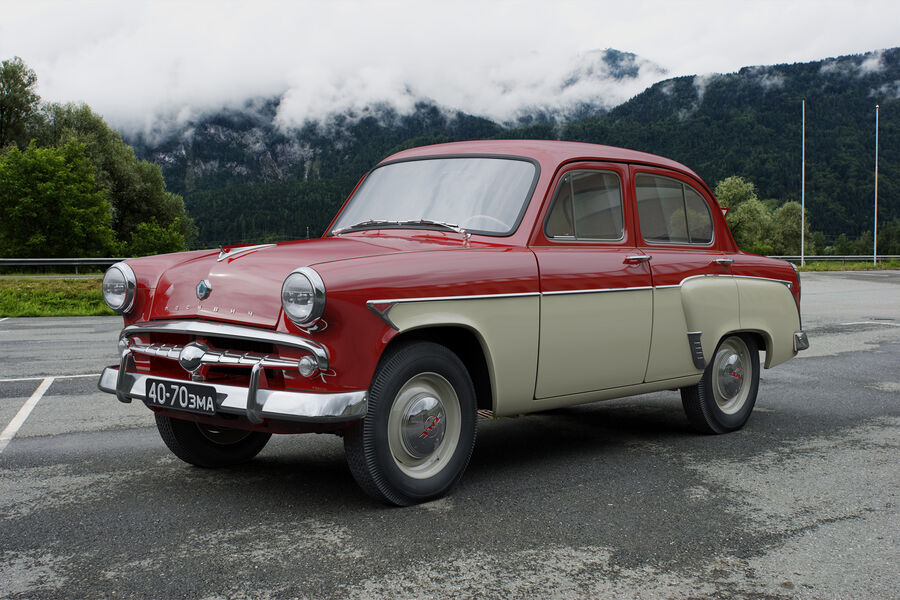
Your lights are from АЗЛК Москвич 407.
Their next model is my favorite though, stunningly beautiful design.
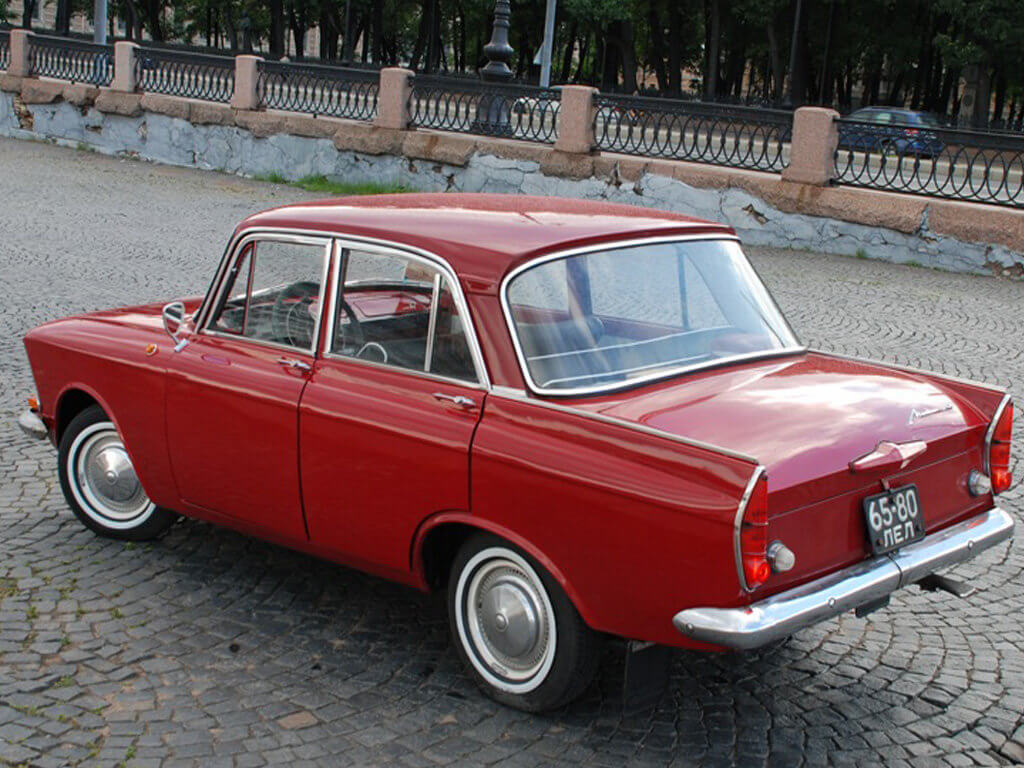
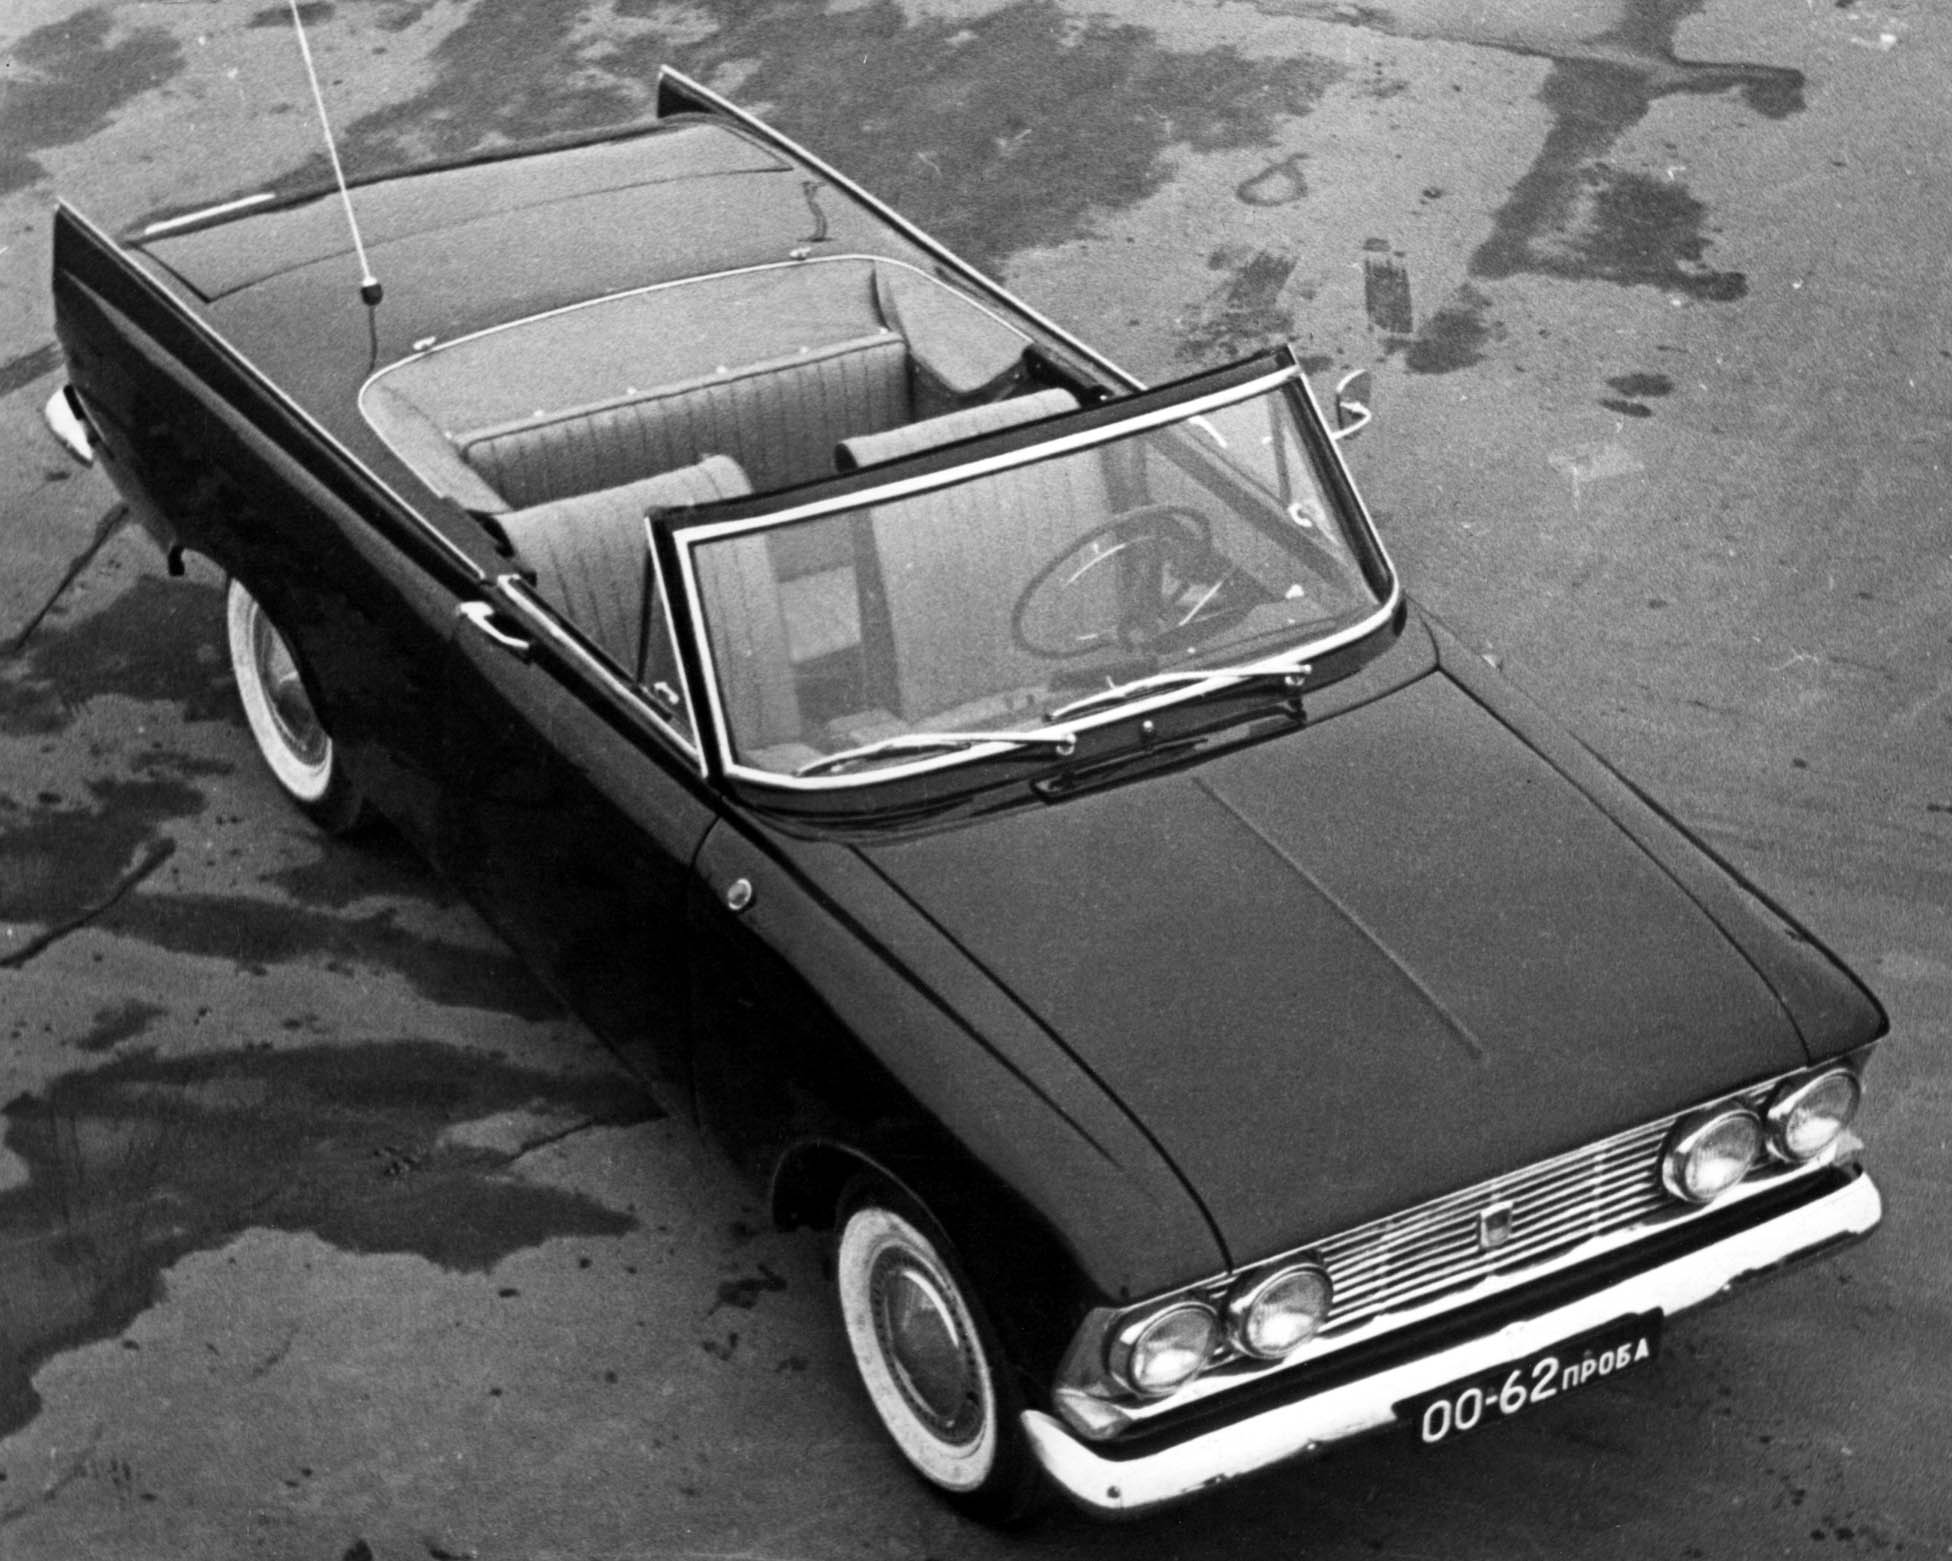
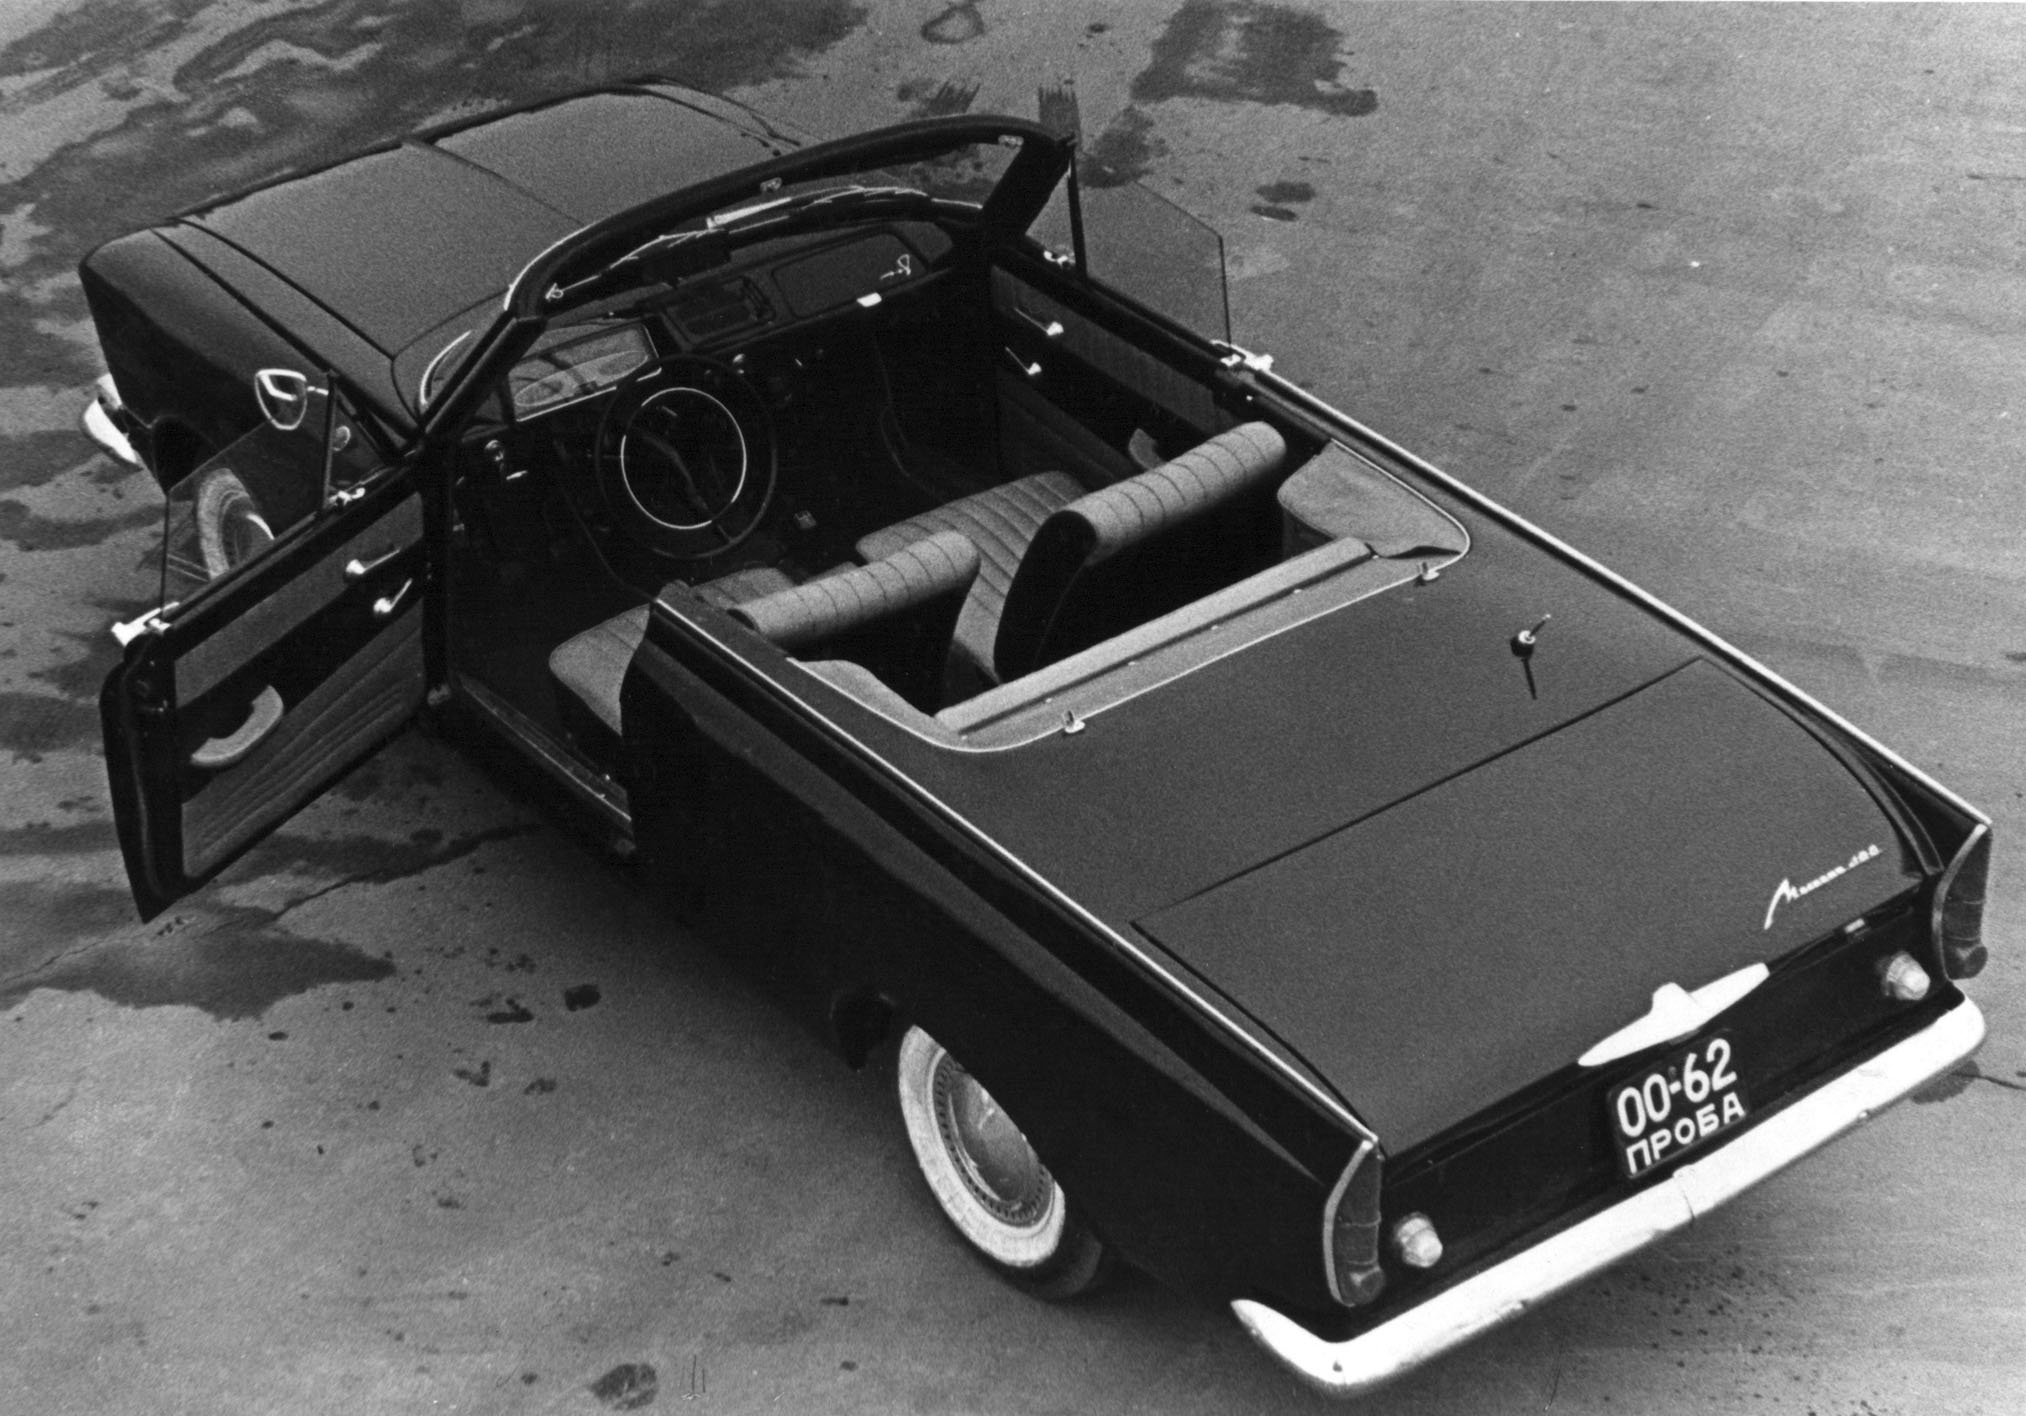
Sadly the cabrio version never left the prototype stage, as it often happened in soviet times.
Their next model is my favorite though, stunningly beautiful design.
Sadly the cabrio version never left the prototype stage, as it often happened in soviet times.

")


(1).jpg")


