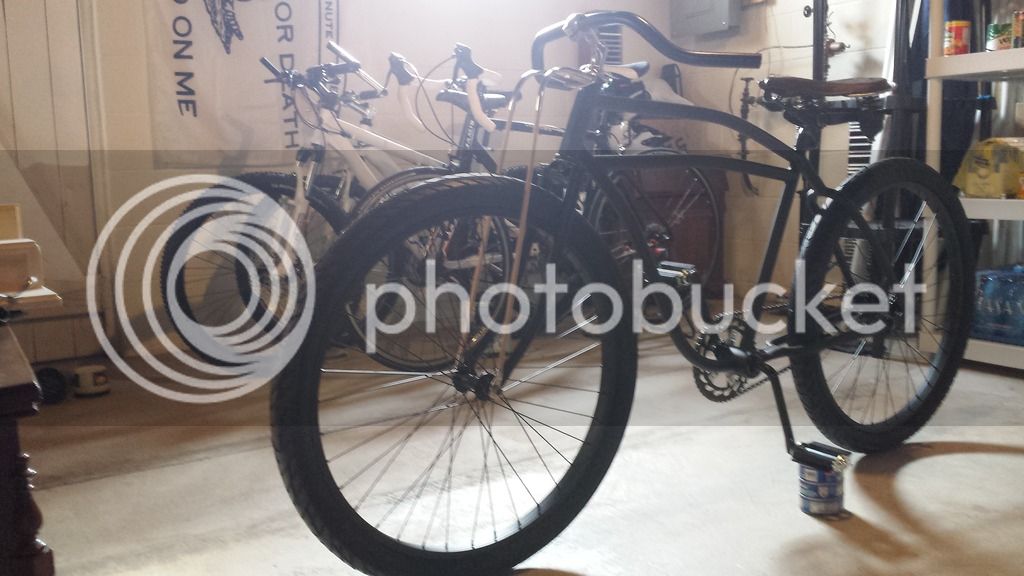
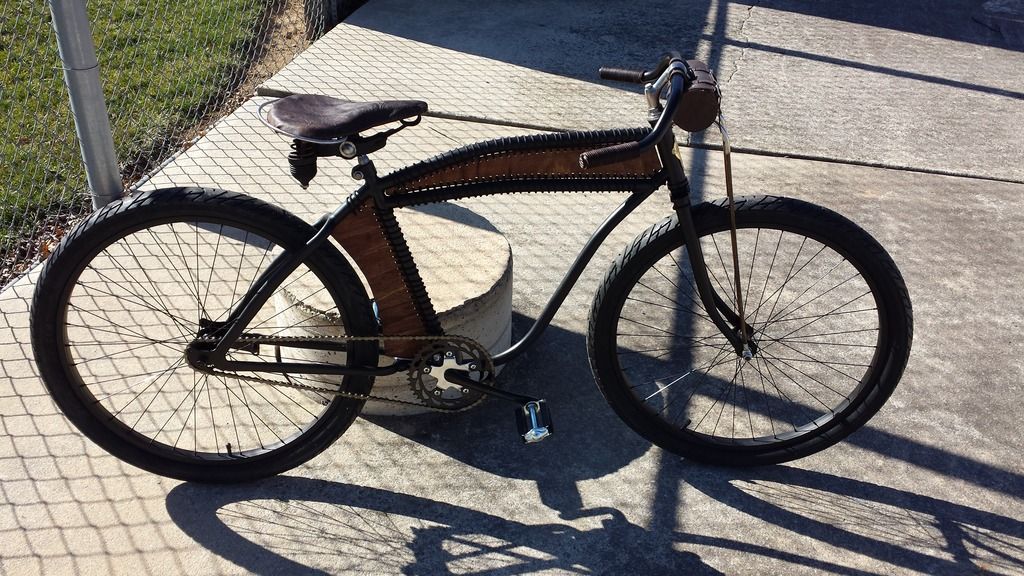
1952 Western Flyer

Rat Rod Bikes Bicycle Forum

Help Support Rat Rod Bikes Bicycle Forum:

This site may earn a commission from merchant affiliate links, including eBay, Amazon, and others.
Joined
Dec 12, 2016
Messages
14
Reaction score
55
Location
Berks County Pennsylvania
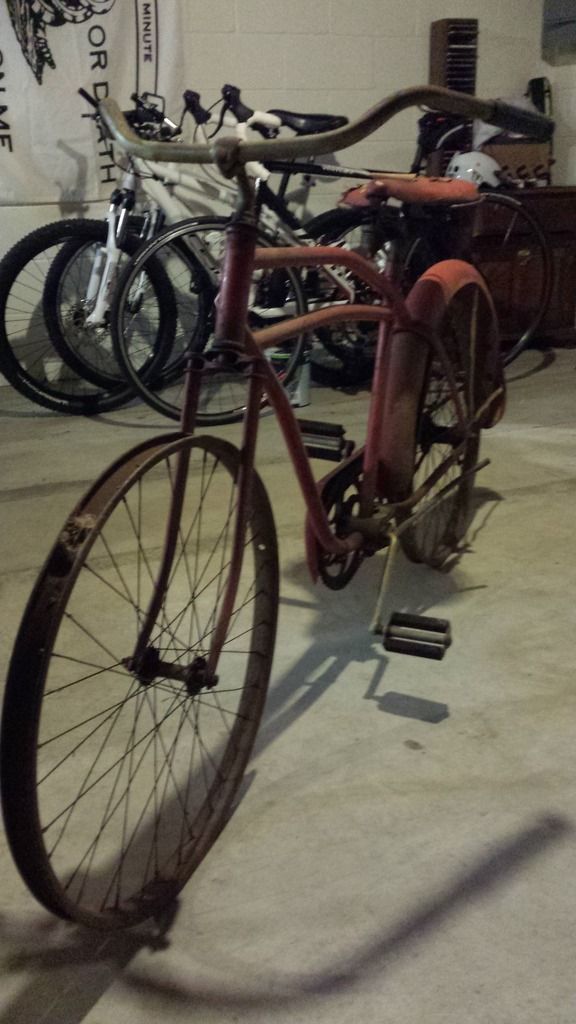
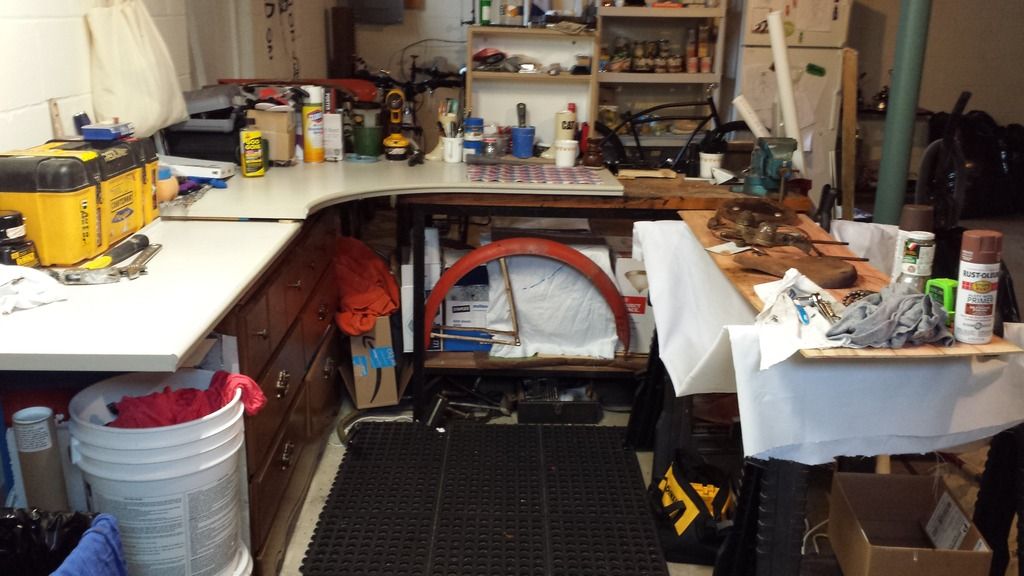
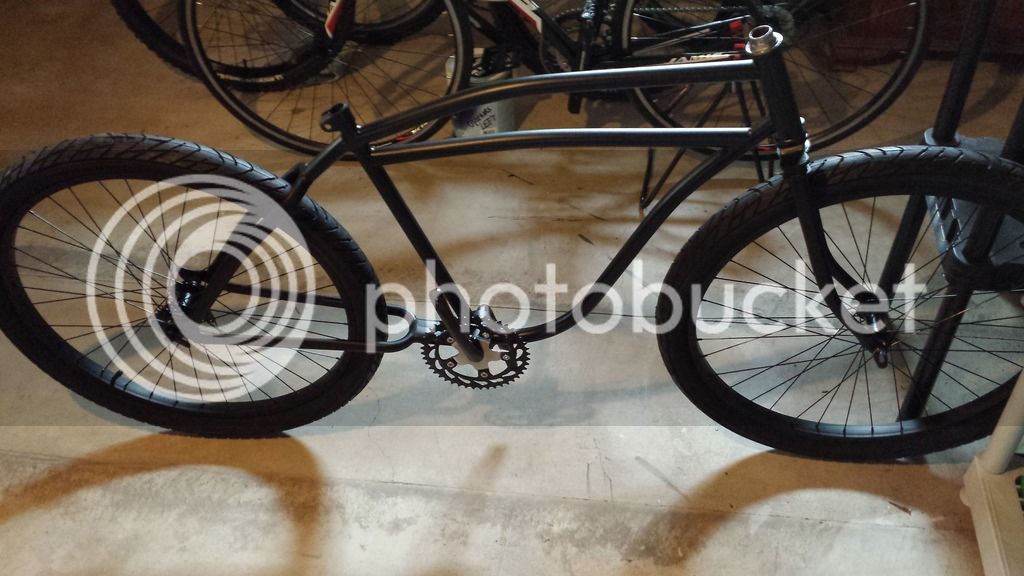
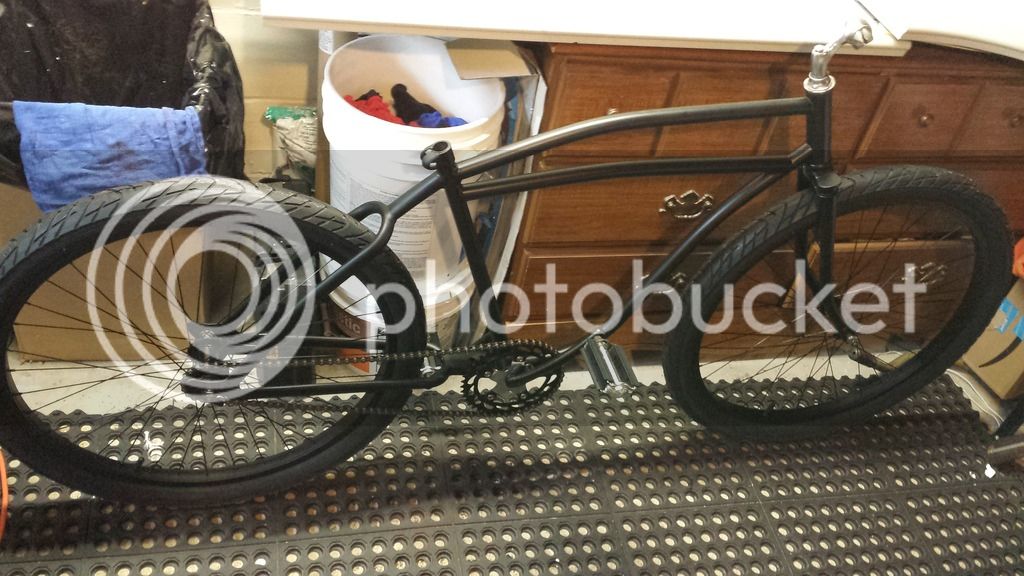
Good morning all. I purchased a '52 Western Flyer (monarch built) bike off CL. I didn't know there was even a "build-off" until I saw a post on Facebook so I decided to post a few pics of the progress. Im keeping as many original parts as possible. Some however will be replaced for safety or because It just didn't have when I bought. This piece was kind of salvaged before I got it.


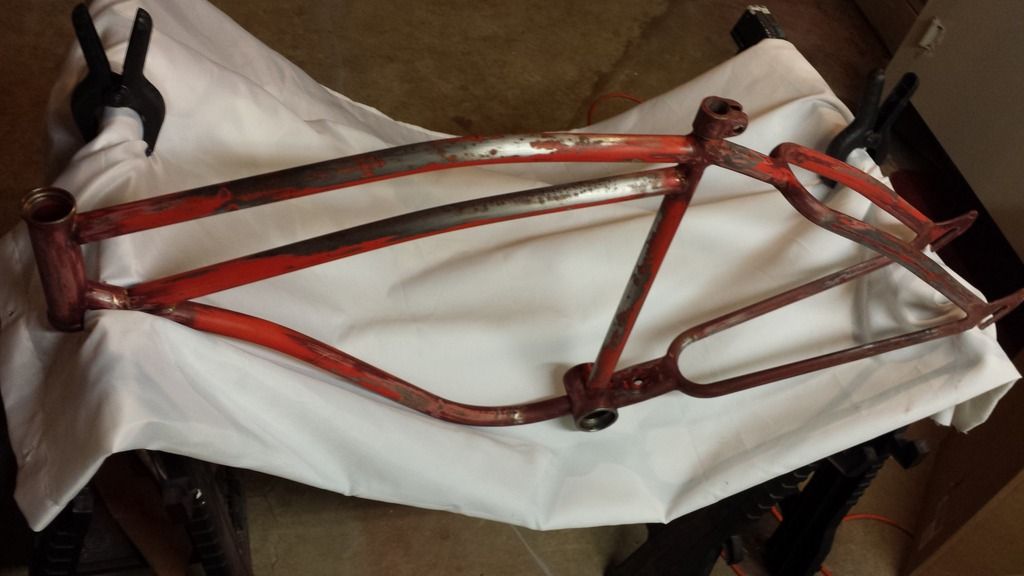
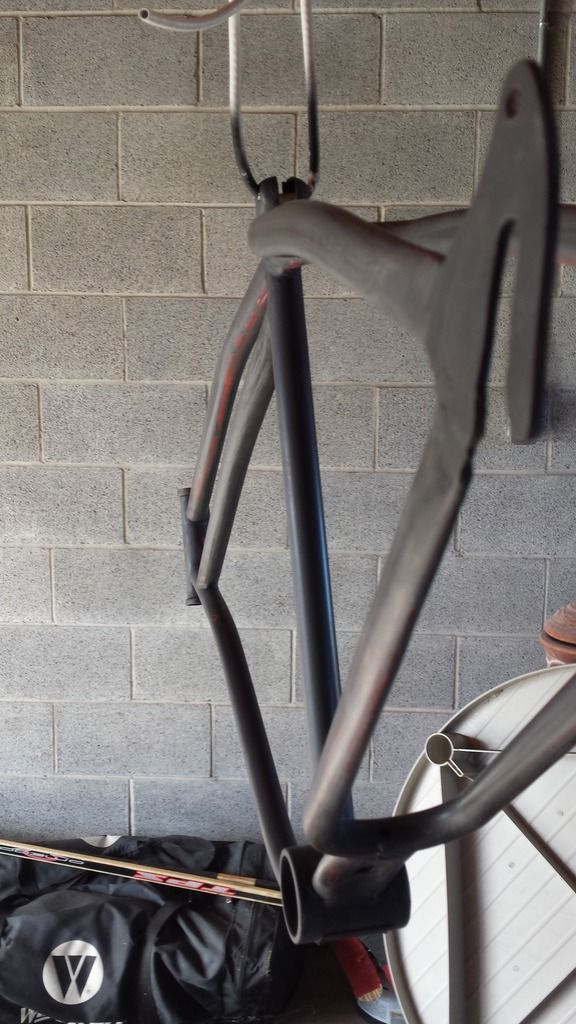
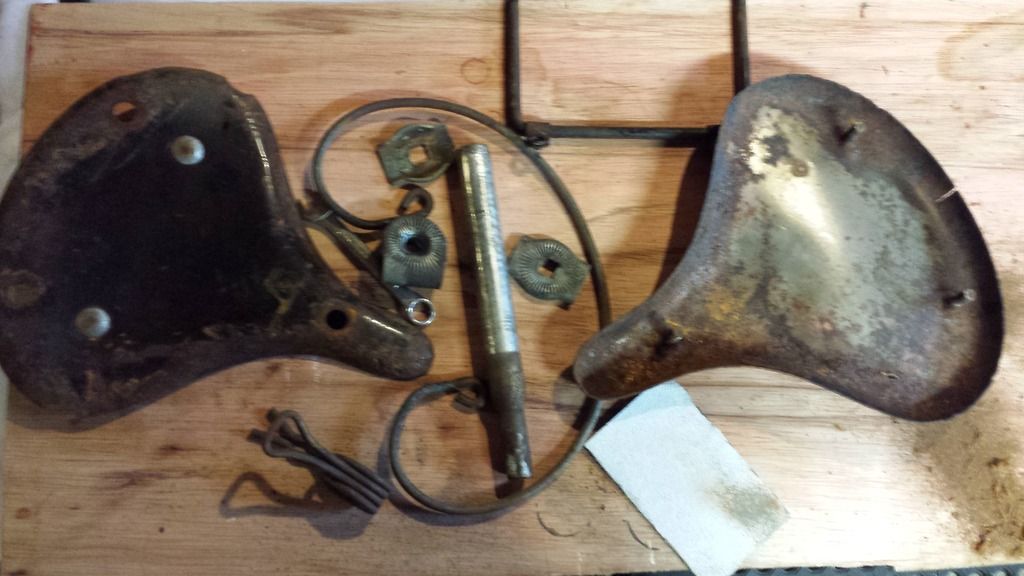
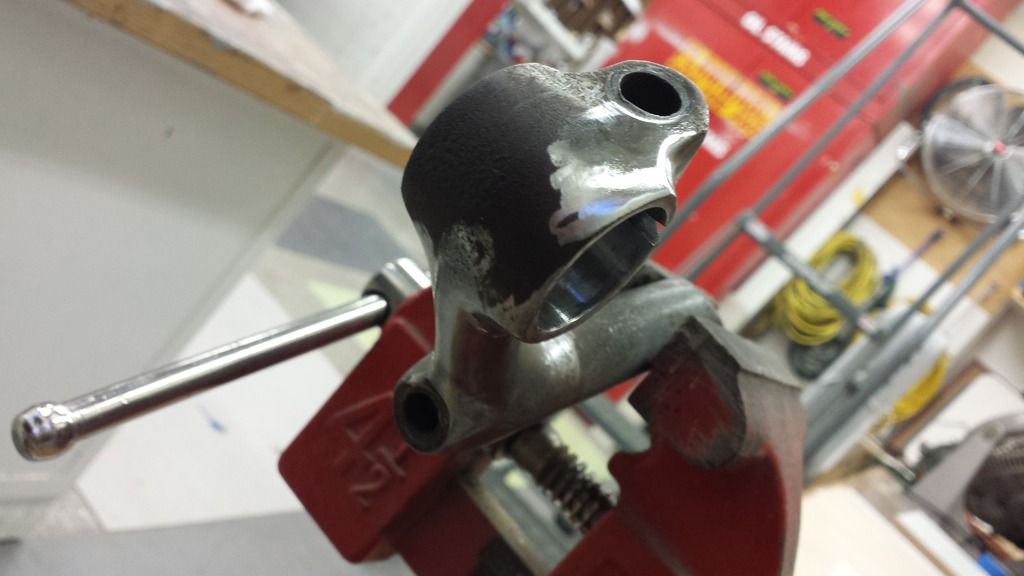
Im not really familiar with forums like this so ill do the best I can. I have created an album to track progress. So far the frame has been completely stripped to assess what parts are salvageable. Basically the drive train wheels/tires have all since been replaced. I also replaced the BB and headset bearings. Currently working on the seat with some custom leather to replace the original cloth which was quite deteriorated. I would say I have an idea about where Im going with this but Id like to mimic a cafe/board racer look. This has all been done on a budget of under 200$. My goal is to not go over that. I was able to use bonus credit card points for parts :) so my cost so far is around 70$. I will continue to update as I move along. Thanks!
 
Last edited:
index.php

Welcome to RRB. :cool2:
 
Welcome to the build-off.
Good bones to start with,hope you have some fun with this project.
 
Welcome aboard the build off train! Looks like you've made good progress so far. Nice combination of old and new. And your budget of $200 is about (pun intended) right on the money...

I have found with some use of take off parts from other bikes, paying a reasonable amount for the new stuff, and getting a decent deal on the frame, somewhere between $2 - 300 can get you the form and function of a cool rat rod bike.

RaT oN! :thumbsup:
 
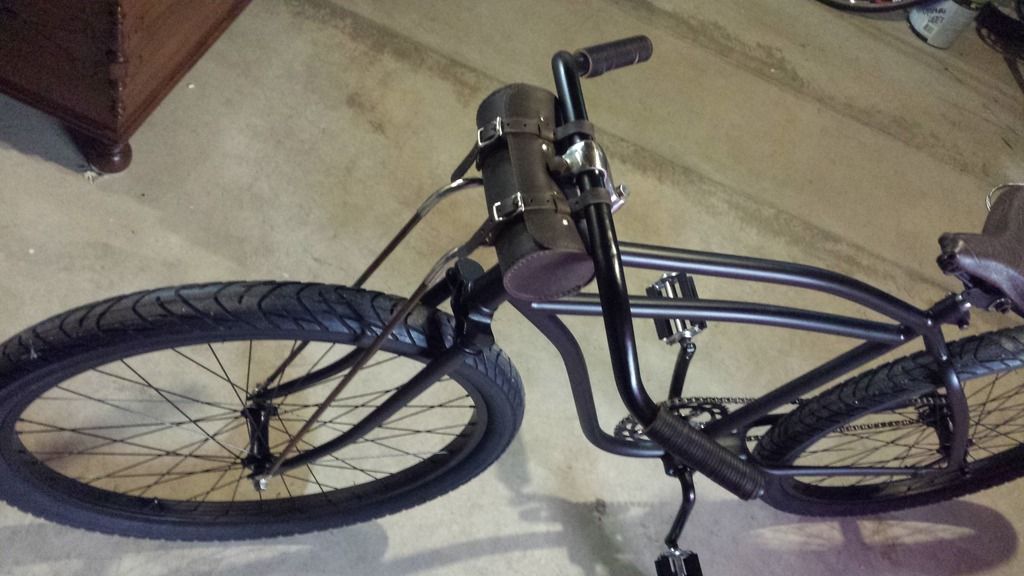
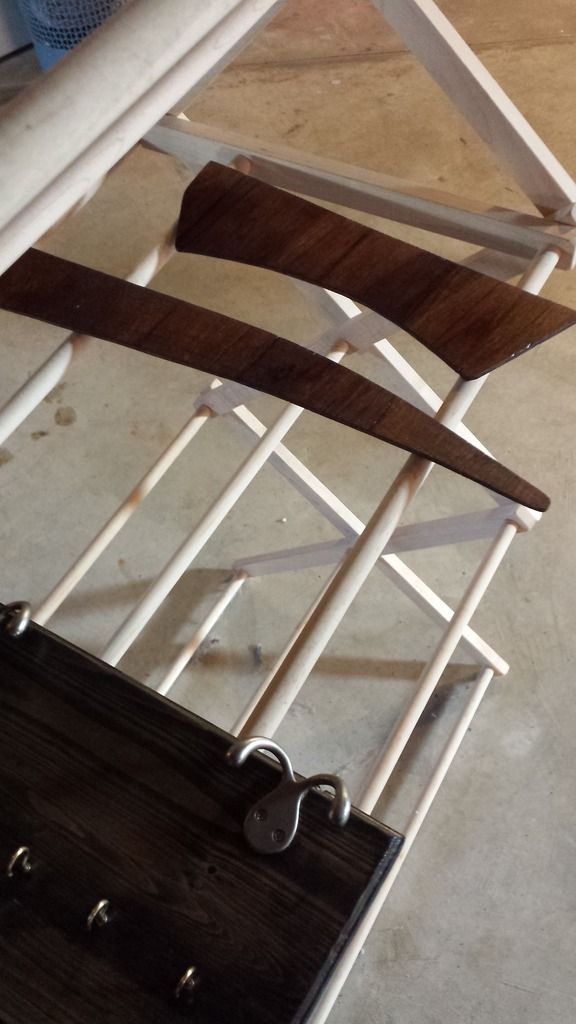
Good morning :emo: I finally got through some trial and error with the next stage of this build. At the beginning of this project I wanted that cafe/board track racer look. Now that I have worked on this, I realized its taking a different look than I originally thought. Not that I mind, I never drew up any plans anyway. Im really digging how this is starting to turn out. All I have been doing is just adding things I like from what Ive seen on TV or the internet and letting it just come together. First is the truss rods. I saw a picture on here somewhere and fell in love with the wood look. I still have to stain them, but I have some more wood to add to the bike yet, so Ill do that all at once. Basically pictures speak for themselves.

20170122_092106_zps0fvo3fsp.jpg

20170122_122235_zpsccy7zjaq.jpg

20170128_102417_zpsciljunmv.jpg


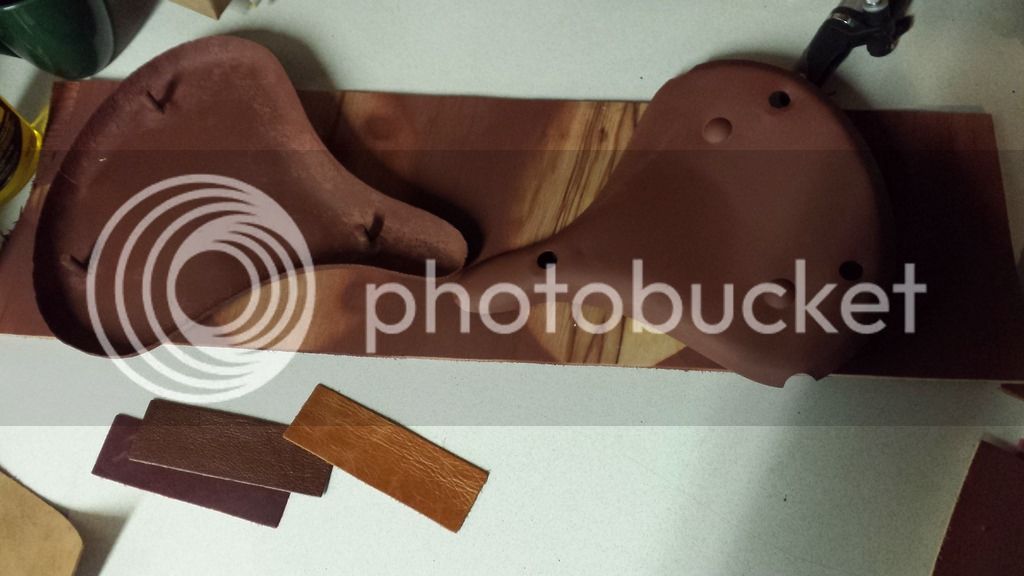
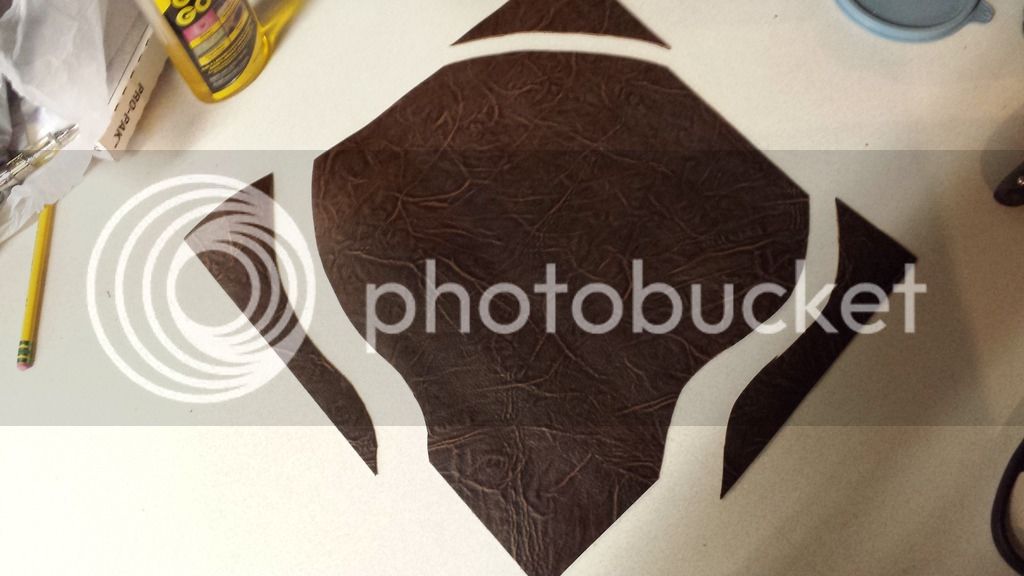
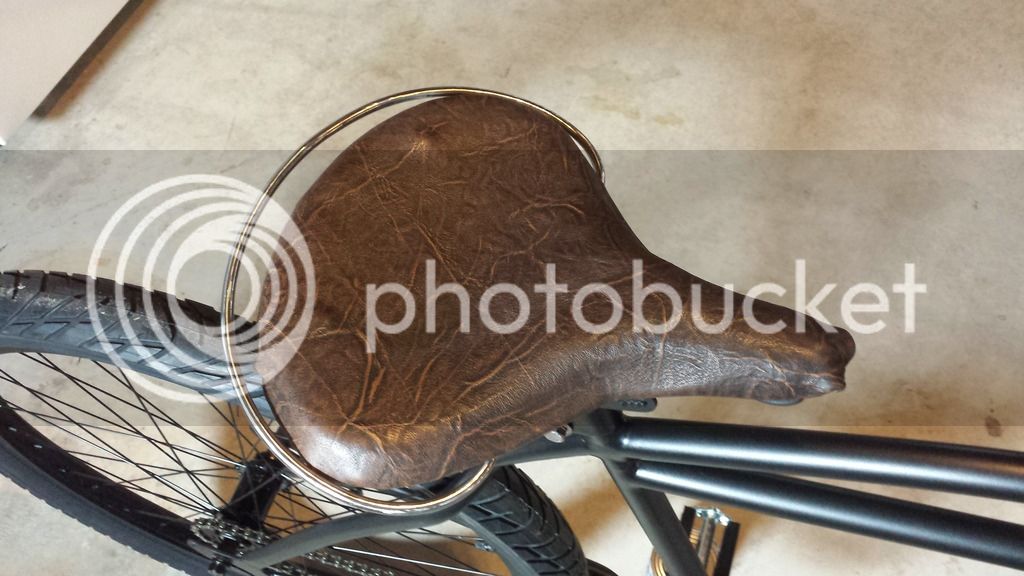
Next was the seat. Its all original except for the leather which I purchased off eBay. I didnt put any padding in for a few reasons. The main being I like this look. I used contact cement to bond the metal and leather, then pinched the sides down and bolted it all together.

20170122_092142_zps17r0stxm.jpg

20170122_105830_zpsnm7bt0jl.jpg

20170129_105425_zps5qsyz5ig.jpg


Its not perfect, but its not going in a museum either.

Ive been having a lot of fun and have already contributed some blood and tears. The climate is very nice in my basement, so no sweat yet.

I still have to make some adjustments, but I was successful in the first ride attempt in my basement, and its solid. Rides very smooth so far.

The handlebars were also trimmed.

My cards are close to my chest on the next stage, but some more wood will be added and a few little extras. I don't have a ton of money to throw at this project and im still well within my 200$ budget. I don't own a welder and have limited tools. Being a painter though there are some perks to the job. Ive really enjoyed watching and reading about everyone elses builds too. The timing was perfect for this. I have three other bikes but no cruisers. So this will not be one that sits.

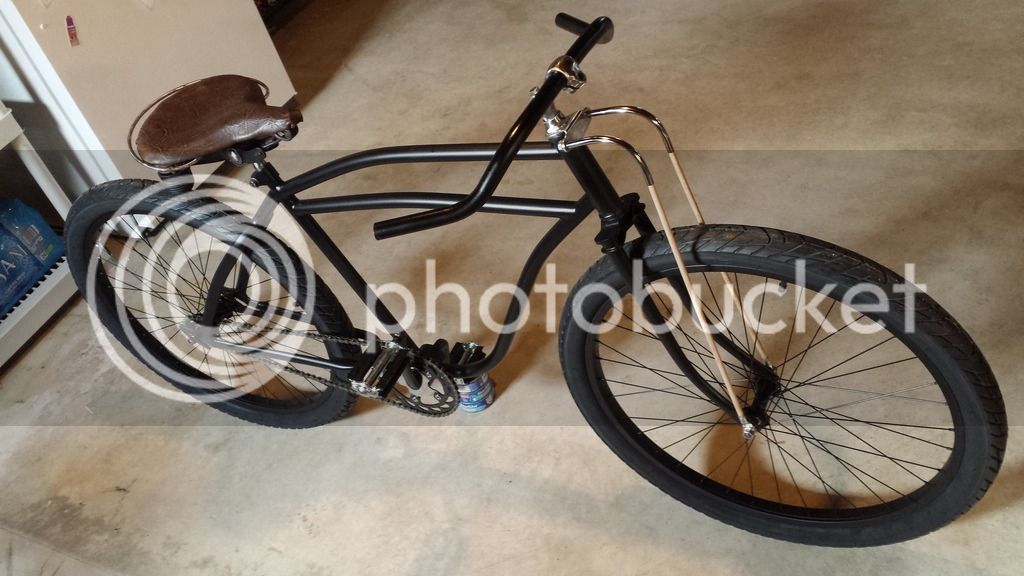
Here is what it looks like currently.

20170129_105329_zpsh0nujyrx.jpg

20170129_105502_zpsh2l8b9fn.jpg
 
Last edited:
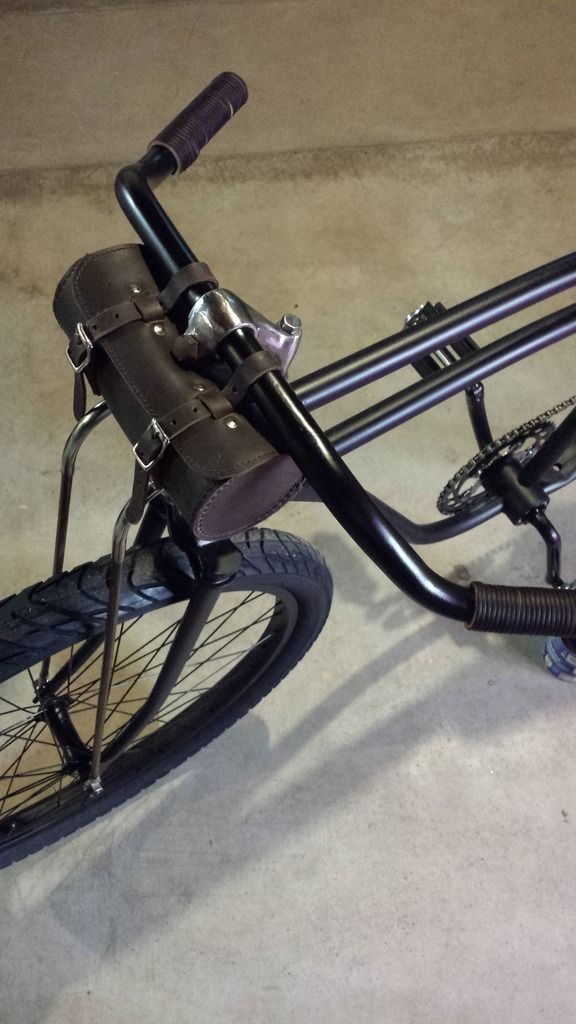
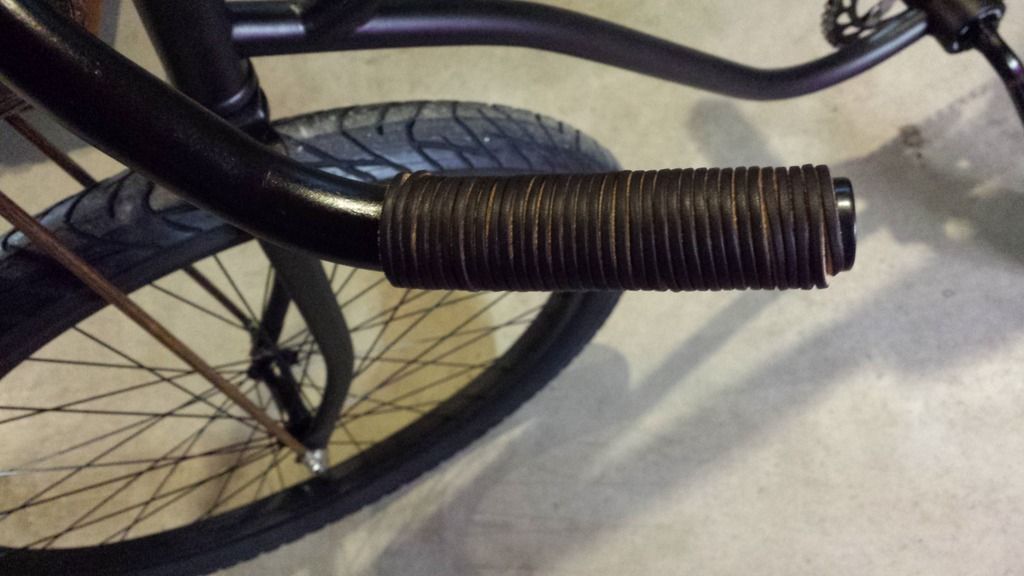
So I stained the wooden truss bars and added a leather pouch. The handle grips are just leather bootlaces. I wrapped them like my road bike bars just in reverse so the handlebar plugs keep it together.

There is two pieces left to complete this bike. Im going to add some more stained wood. I think it coming together nicely.
20170225_155237_zpsxc7ps59l.jpg

20170225_155200_zps6vvxdx3e.jpg

20170225_154053_zpskjhuvhsm.jpg


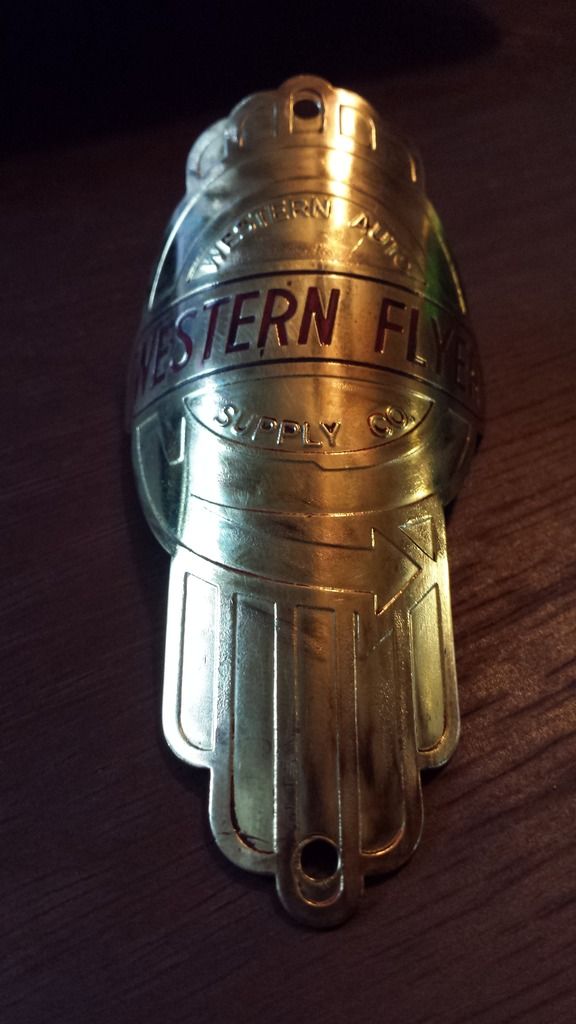
Oh I forgot, I picked up this little gem on eBay.
20170225_162110_zpswl0b9osq.jpg
 
Last edited:
Good morning :emo: I finally got through some trial and error with the next stage of this build. At the beginning of this project I wanted that cafe/board track racer look. Now that I have worked on this, I realized its taking a different look than I originally thought. Not that I mind, I never drew up any plans anyway. Im really digging how this is starting to turn out. All I have been doing is just adding things I like from what Ive seen on TV or the internet and letting it just come together. First is the truss rods. I saw a picture on here somewhere and fell in love with the wood look. I still have to stain them, but I have some more wood to add to the bike yet, so Ill do that all at once. Basically pictures speak for themselves.
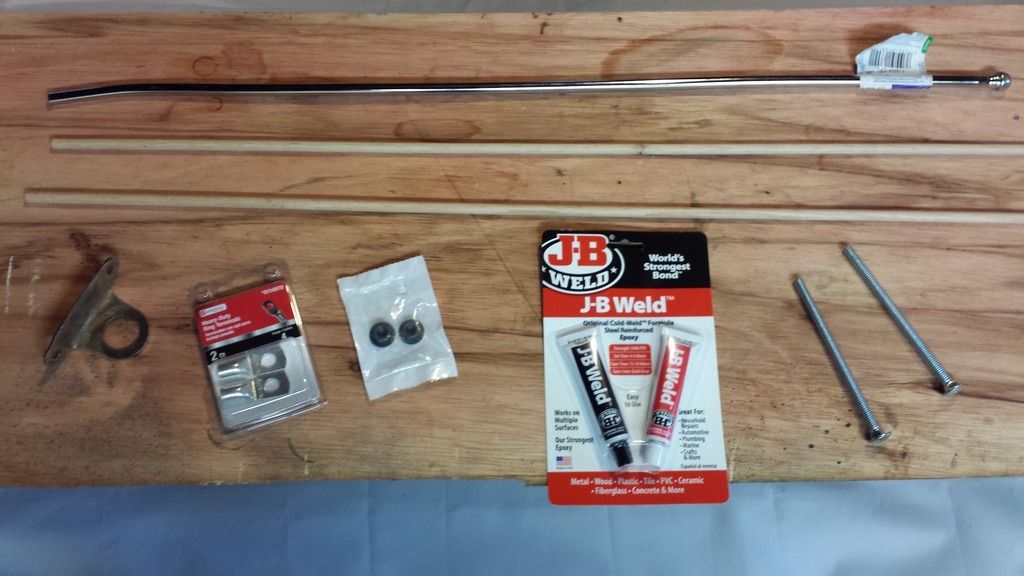
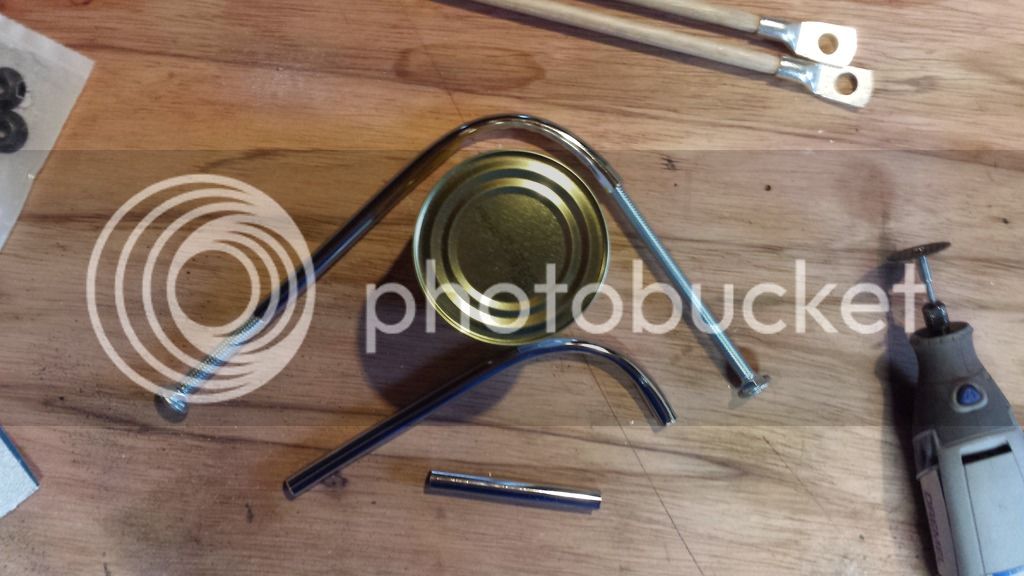
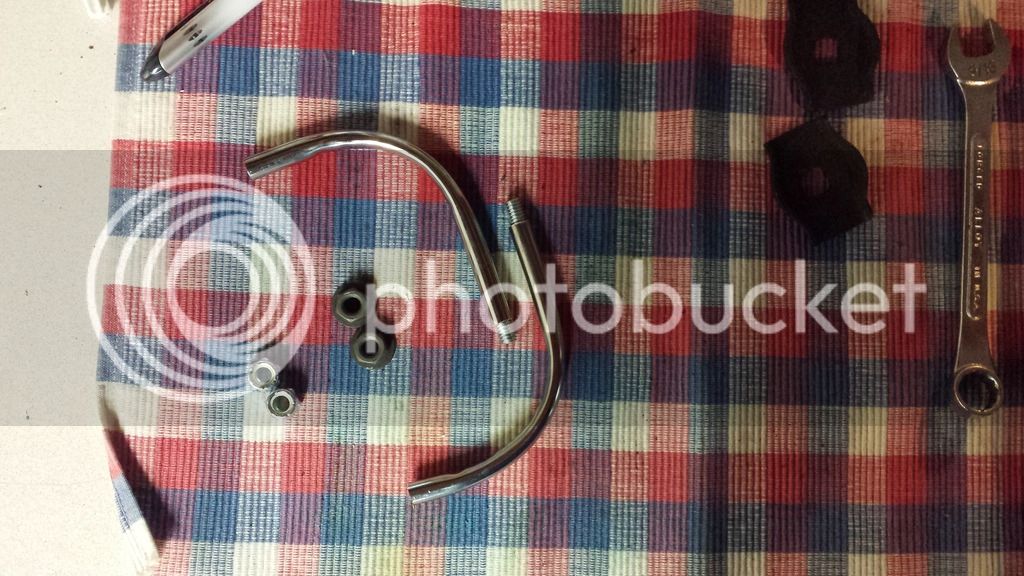
20170122_092106_zps0fvo3fsp.jpg

20170122_122235_zpsccy7zjaq.jpg

20170128_102417_zpsciljunmv.jpg


Next was the seat. Its all original except for the leather which I purchased off eBay. I didnt put any padding in for a few reasons. The main being I like this look. I used contact cement to bond the metal and leather, then pinched the sides down and bolted it all together.

20170122_092142_zps17r0stxm.jpg

20170122_105830_zpsnm7bt0jl.jpg

20170129_105425_zps5qsyz5ig.jpg


Its not perfect, but its not going in a museum either.

Ive been having a lot of fun and have already contributed some blood and tears. The climate is very nice in my basement, so no sweat yet.

I still have to make some adjustments, but I was successful in the first ride attempt in my basement, and its solid. Rides very smooth so far.

The handlebars were also trimmed.

My cards are close to my chest on the next stage, but some more wood will be added and a few little extras. I don't have a ton of money to throw at this project and im still well within my 200$ budget. I don't own a welder and have limited tools. Being a painter though there are some perks to the job. Ive really enjoyed watching and reading about everyone elses builds too. The timing was perfect for this. I have three other bikes but no cruisers. So this will not be one that sits.

Here is what it looks like currently.

20170129_105329_zpsh0nujyrx.jpg

20170129_105502_zpsh2l8b9fn.jpg
I like how simple you made recovering a seat look. I have a few in need if this process and it looks great. Your bike turned out great too. Im going to have to borrow a few of your ideas for future builds
 
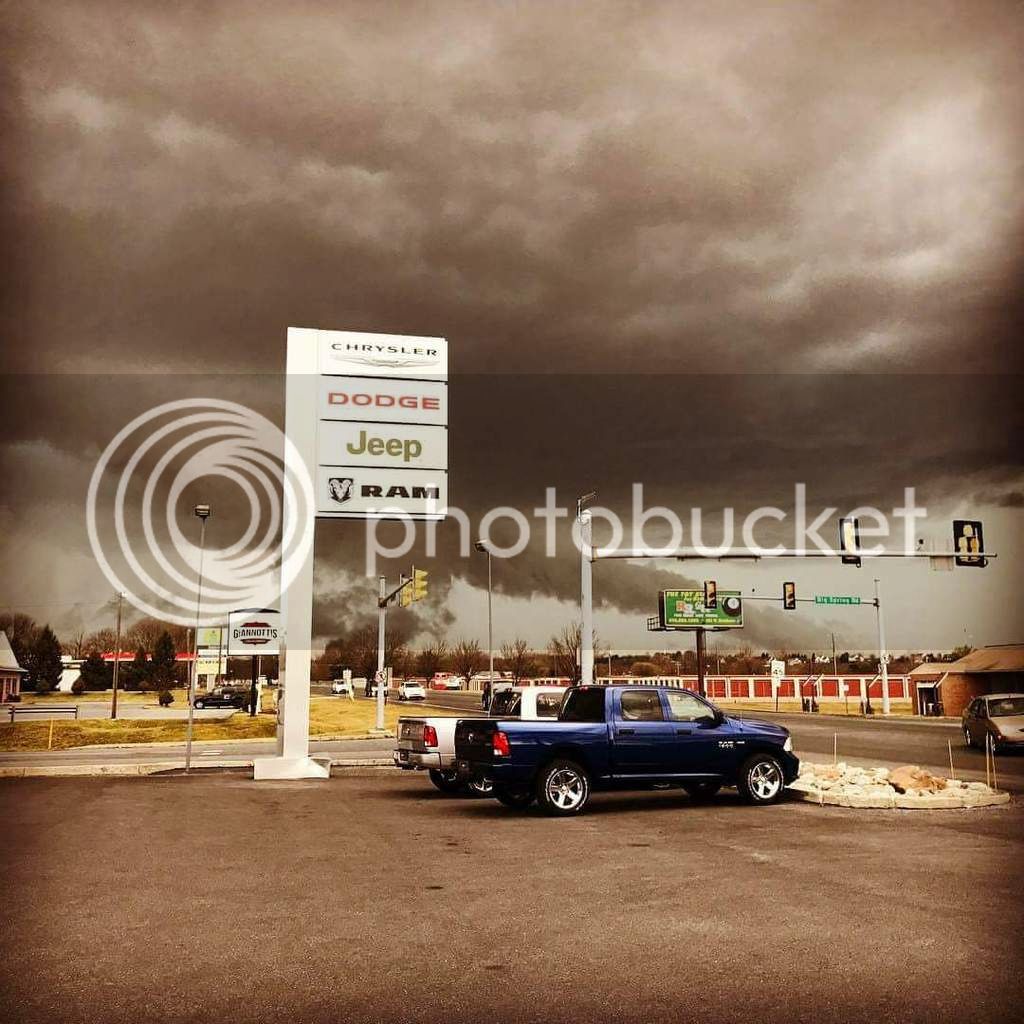
Sheesh, the last couple days here in Eastern Pennsylvania have been crazy to say the least. We have had 70+ degree weather, rain, snow flurries and last night this happend! Pea to dime sized hail and some sort of funnel cloud. We were right under this bad boy. There was random damage all over the county last night. We are fine but the green sky was pretty freaky. Nobody was hurt as far as I know.

FB_IMG_1488118490068_zpsewtyoq6l.jpg


So while I was in the basement I managed to get further. I made a prototype of a tank plate and ..well i don't know what to call the rear piece. Toolbox plate? It goes in the open area below the seat. Everything went pretty easy with cardboard so grabbed random pieces of plywood, cut and stained them. I'm not sure how I want to attach these yet.
20170226_111228_zpskfyi07jz.jpg
 
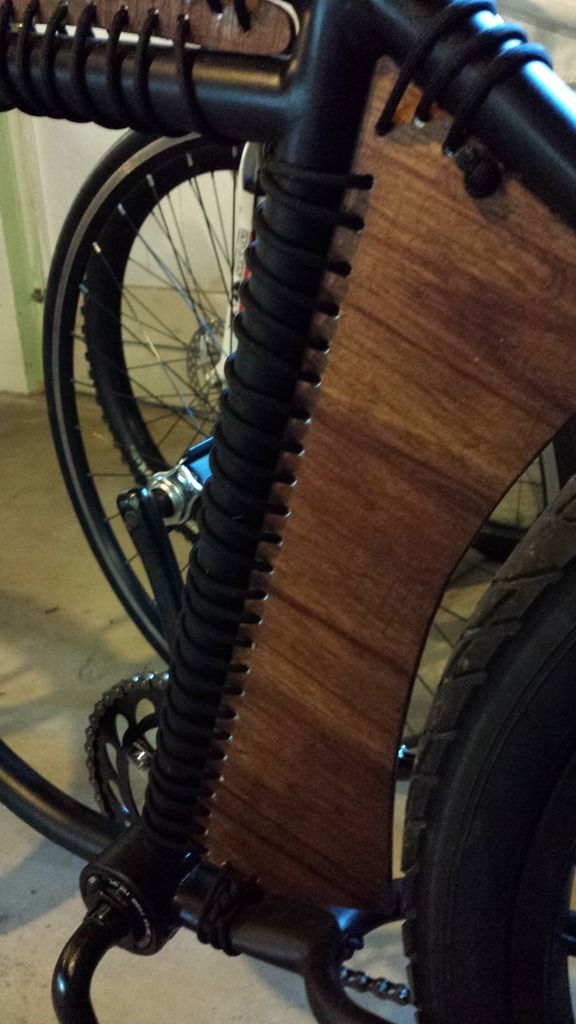
I finished up this weekend by adding a tank plate and rear toolbox plate. Made from wood. I just simply used cardboard for the template, and used a scrap piece of plywood. I attached by using paracord.

20170305_145756_zpsd8iactrt.jpg


I spent about $145 total (including frame) on this using random items I already had and some box-store shopping. The rims and tires were a freebie thanks to credit card reward points and the drive train was an eBay special.

If I were to change anything it would be the chainring. Im running 44/18 I think. I could use a little more bottom end but its not too terrible. I was able to sit and ride for a 30 minute tool-around-town. Rides nice and smooth.

20170305_143859_zps4msntawg.jpg
 
Awsome ! that lacing thing looks real good! :41:
Yea I wasn't sure at first, but its growing on me. Besides, the guys that use plates typically attach them with a clamp ring of some sort. Thought id try something a little different. I also had the para cord here, so one less item to purchase. I appreciate the feedback!
 
Back
Top