1967 Schwinn Fastback (Class 1): Completed

Rat Rod Bikes Bicycle Forum

Help Support Rat Rod Bikes Bicycle Forum:

This site may earn a commission from merchant affiliate links, including eBay, Amazon, and others.
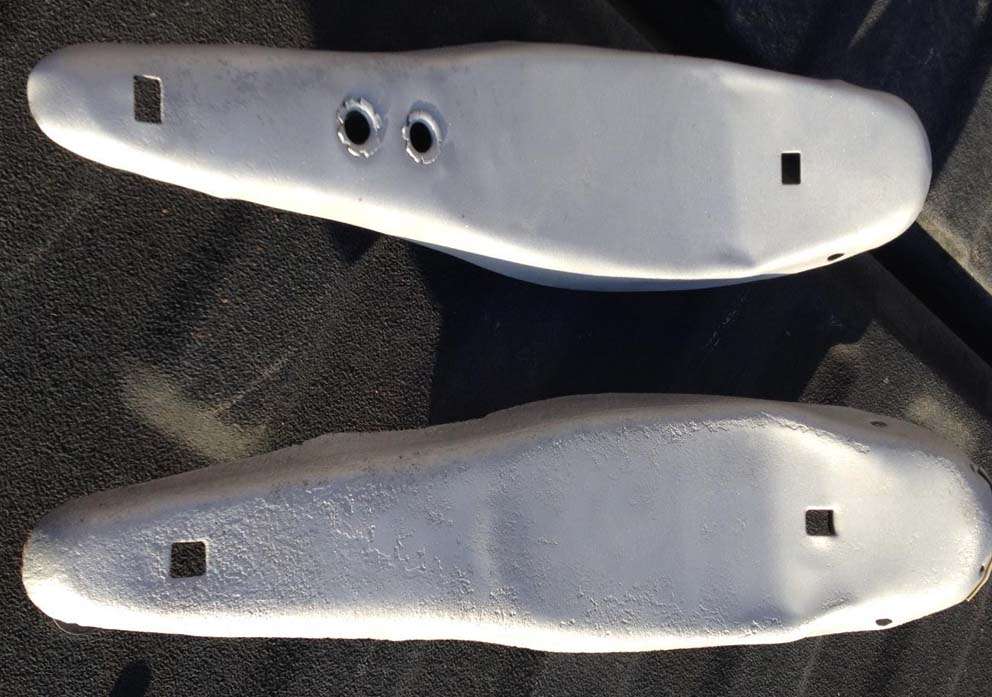
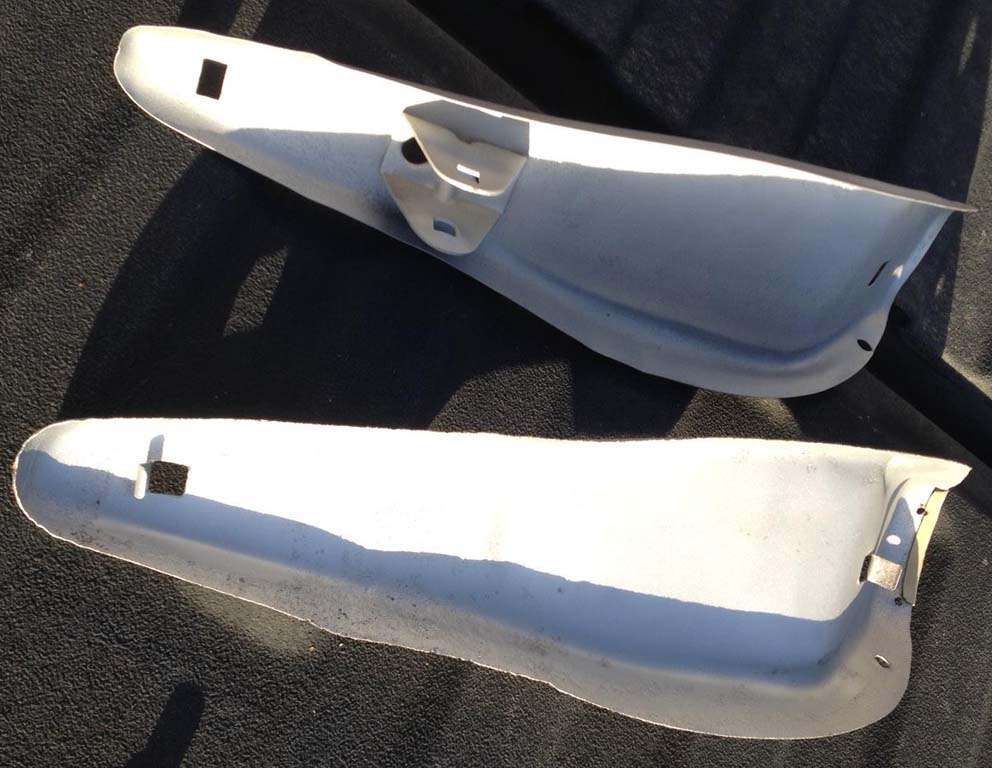
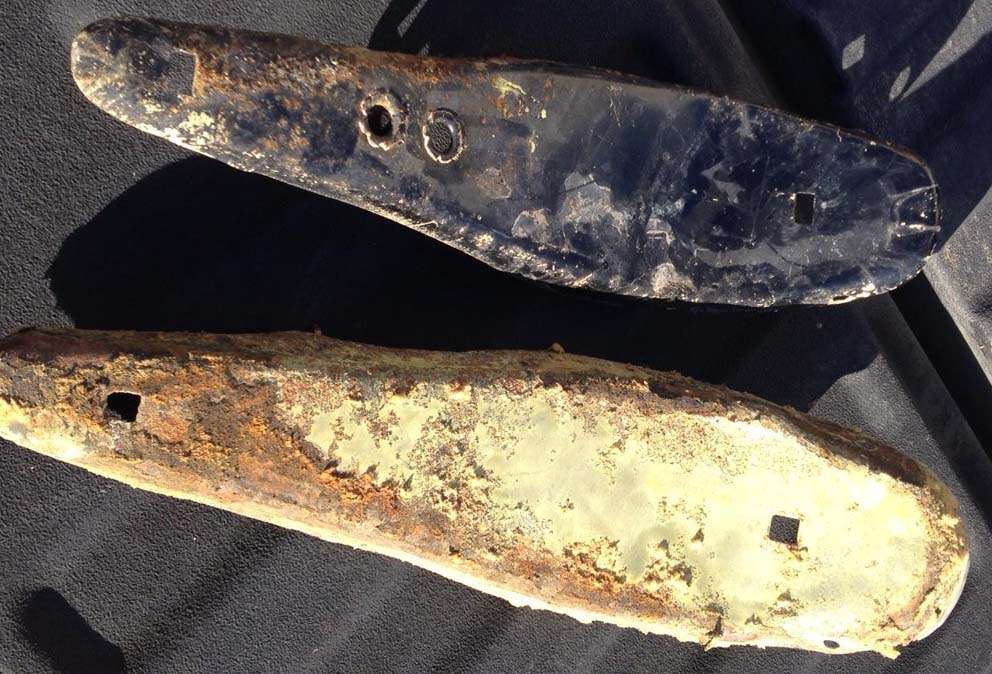
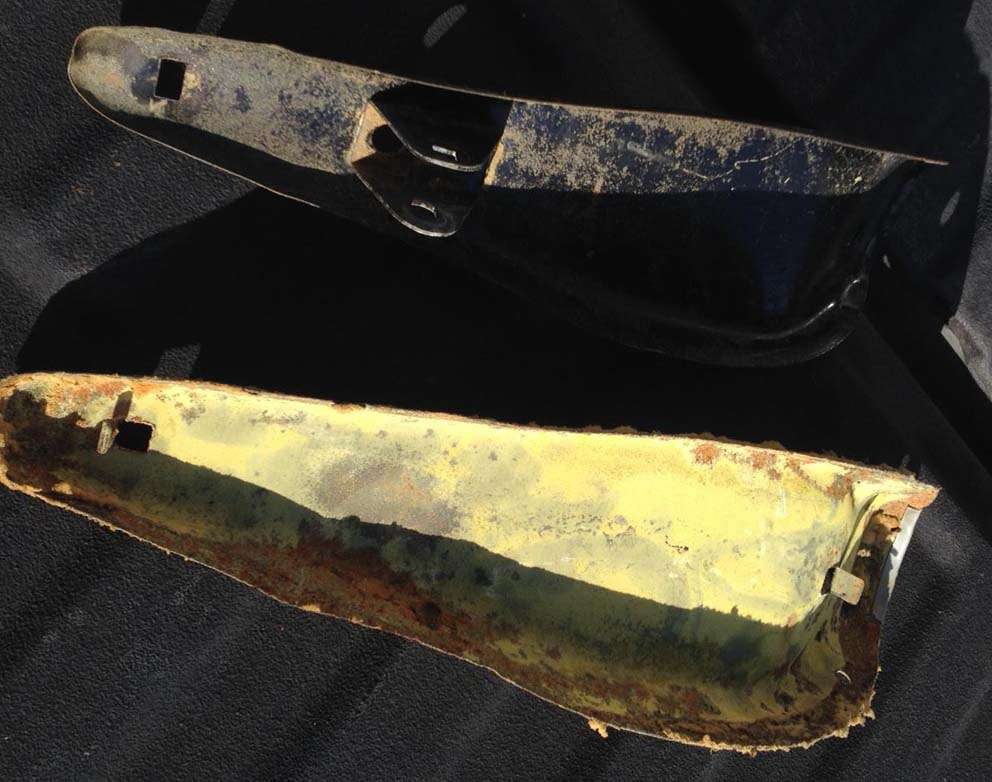
I soaked the pans in oxalic acid, but it's been out for a while sitting. So, I think the acid has lost it's strength. I pulled the pans out after 24 hours and none of the rust was busted. It just left a green film. So, I took a chisel and I scraped as much of the foam padding off as I could. Then I took the trek back out to the naval base so I could use the sand blaster.
rCCQHK.jpg

X0LZyR.jpg


Zjttck.jpg

Ij6DYH.jpg


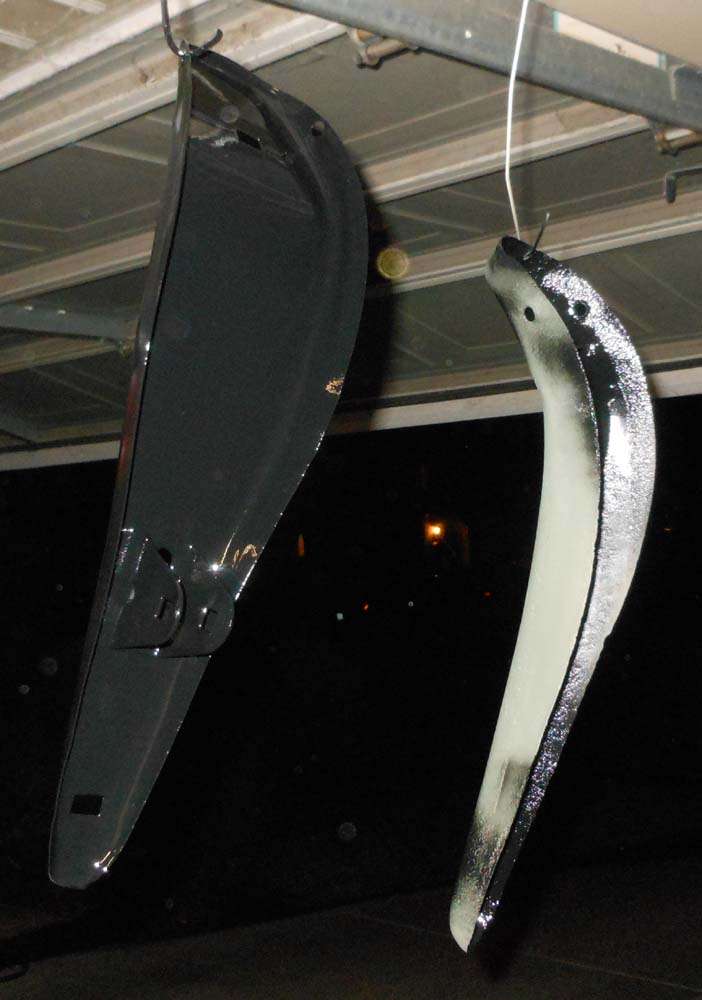
The blasting revealed that the inner pan has been beat down with corrosion over the years. I would venture to guess that a lot of the seats that show corrosion on the outside, have a good bit inside. Turns out that the inner pan wasn't painted or protected, so it makes sense. I'm going to, of course, protect the inner pan, even though it will never be seen again.

Etch primer is next.
 
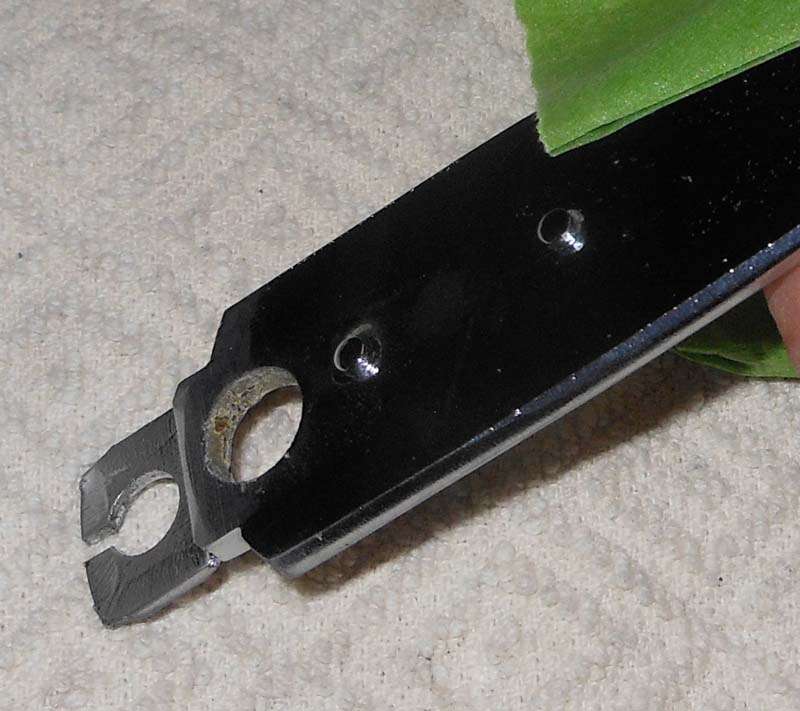
I sanded down the shift ball and sprayed a couple coats of black on it. Something was on it, so it spidered a very small spot. So, I'm going to let it dry, sand it again, and shoot it again. I'll wait a couple days, then set up the stencil and shoot the '5' on the top. Between now and then I have to try to figure out which was is forward. I totally forgot to mark it before I sanded off the old 5 impression. ugh.

h5yhZY.jpg
 
I really wanted to understand how the original padding looked, so I could emulate it as much as possible, but it's pretty complicated. I think persons had their pads made with variable thicknesses. Not something I'm going to be able to recreate.

Those old pads look like they vary in thickness but I think that's just how the foam was stretched and compressed over time. When you wrap the foam in thins out in certain areas.

Glue the foam on first and do some practice wraps with the cover before you glue it on there. You can also gently heat it to help stretch it. I have gotten away without glueing the cover but it has to fit tight between the pans.

Great job on the freewheel..did you have all the little balls out of there? Haven't torn one of those down since I was a kid.
 
Those old pads look like they vary in thickness but I think that's just how the foam was stretched and compressed over time. When you wrap the foam in thins out in certain areas.

Glue the foam on first and do some practice wraps with the cover before you glue it on there. You can also gently heat it to help stretch it. I have gotten away without glueing the cover but it has to fit tight between the pans.
Thanks for the tips. I still have to get some foam, but I'll have it by the time the pans are ready. I still have to figure out the glue. @RailRider used a hot glue gun in his video, but my wife laughed at me when I told her that. However, I don't think she understands the second pan, and how it will hold it all together. I've seen someone say 3M spray, but I tried that on a seat fix years ago and it didn't hold well. Any glue tips?
 
Last edited:
Thanks for the tips. I still have to get some foam, but I'll have it by the time the pans are ready. I still have to figure out the glue. @RailRider used a hot glue gun in his video, but my wife laughed at me when I told her that. However, I don't think she understands the second pan, and how it will hold it all together. I've seen someone say 3M spray, but I tried that on a seat fix years ago and it didn't hold well. Any glue tips?
I'm a bit impatient so I use hot glue to speed up the assembly. I use 3M trim adhesive for the seat foam. It's instant glue. Once the bottom pan is on it holds it together. With hot glue you have to rush because it needs to be smashed down as you go or it dries too thick. It's a bit if an art and there are many ways to get it done.

Sent from my Z963VL using Tapatalk
 
I still have to figure out the glue. @RailRider used a hot glue gun in his video, but my wife laughed at me when I told her that.

Is that the Polo seat vid? Did the hot glue on the first few I did. You really gotta squeeze it quick....and it's HOT..:eek:

Spray adhesive is a bit easier I think. If you get the cover warm and stretch it and get it clamped it will kind of start to hold it's shape depending how stiff it is.

Get the stretching/folding/clamping figured out before you whip out the glue/adhesive.
 
After some research, I discovered there are many "flavors" of 3M spray adhesive, some more suited to fabrics than others. Super #77 is the most common, but I'm told #90 is stronger by orders of magnitude. Don't expect to re-position anything affixed with it. When using a double seat pan, I doubt adhesive is really that important. If it holds only long enough to complete the assembly, it's fine.
 
Is that the Polo seat vid? Did the hot glue on the first few I did. You really gotta squeeze it quick....and it's HOT..:eek:

Spray adhesive is a bit easier I think. If you get the cover warm and stretch it and get it clamped it will kind of start to hold it's shape depending how stiff it is.

Get the stretching/folding/clamping figured out before you whip out the glue/adhesive.
How did you warm it prior to install?
 
After some research, I discovered there are many "flavors" of 3M spray adhesive, some more suited to fabrics than others. Super #77 is the most common, but I'm told #90 is stronger by orders of magnitude. Don't expect to re-position anything affixed with it. When using a double seat pan, I doubt adhesive is really that important. If it holds only long enough to complete the assembly, it's fine.
I think #77 is what I have. It's an old can, so that may have been a factor. I'll go after some #90. Any idea where I can buy it?
 
Use spray glue for this, hot glue isn't the way to go. Joe4407 uses spray glue, 3M I believe, but I'm not sure which kind.

To heat the material he just uses a hair dryer. If the material is older or thicker, he uses a heat gun. Be careful because the material gets hot!
 
I'm guessing Lowes, Home Depot, Ace Hardware...probably some craft stores, too. I'd be surprised if it can be delivered to your house because of aerosol and flammability concerns. Again, I don't think strong spray glue is essential in this application, thanks to the pan-pinch.
 
One more thing...for the shifter arm, the two buttons on the bottom of the arm are toward the frame on the bike. So those buttons would be on the left when you're looking at it to spray the 5 on top.

I hope that makes sense...
 
Taking a break from brake polishing. Just found out that the original brake levers are Weinmann 'Red Dot', but the dot's rad has been worn off. $10 to replace and make them red again? hmmmm...

These are the details that kill me. I'm too OCD to not replace them, but I'm too cheap to want to replace them.

ugh
 
Great job on the freewheel..did you have all the little balls out of there? Haven't torn one of those down since I was a kid.
No, I've never torn apart the actual freewheel before. I actually haven't tried to figure out how. What I've done before, and in this case, is that I work degreaser through it over and over again. I just keep spinning it, adding more, spinning, repeat. Then I let it run out. I'll use my freewheel removal tool and hold it against my wire wheel. It spins it super fast and works out the degreaser. Then I'll start pouring silicone lube in there and start working it in the same way. I'll fill the body with the lube. You can really hear the sound change, and feel the difference in the action.
 
One more thing...for the shifter arm, the two buttons on the bottom of the arm are toward the frame on the bike. So those buttons would be on the left when you're looking at it to spray the 5 on top.

I hope that makes sense...
So, these two buttons go frame in, or, if you're sitting on the bike looking down at the shifter, they'll be on the left.

6UZ8av.jpg


So, THIS represents looking at it as if you were on the bike. Correct?

T9oK6p.jpg
 

Latest posts

Back
Top