FINALLY SUMMER BREAK!
I'm so excited to get back working on the bike! I ditched all my school stuff and put my building goggles on!
Here's a little about what happened in the last three months :
-Finished off the concept build for the airride
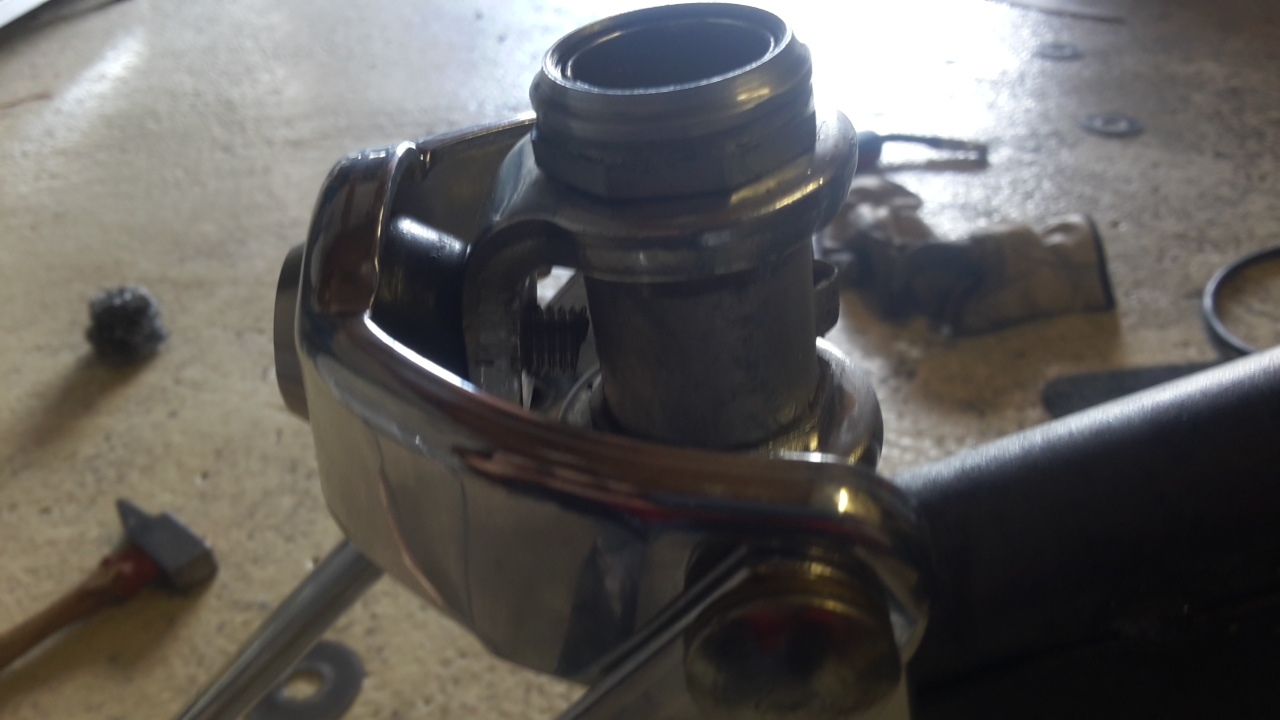
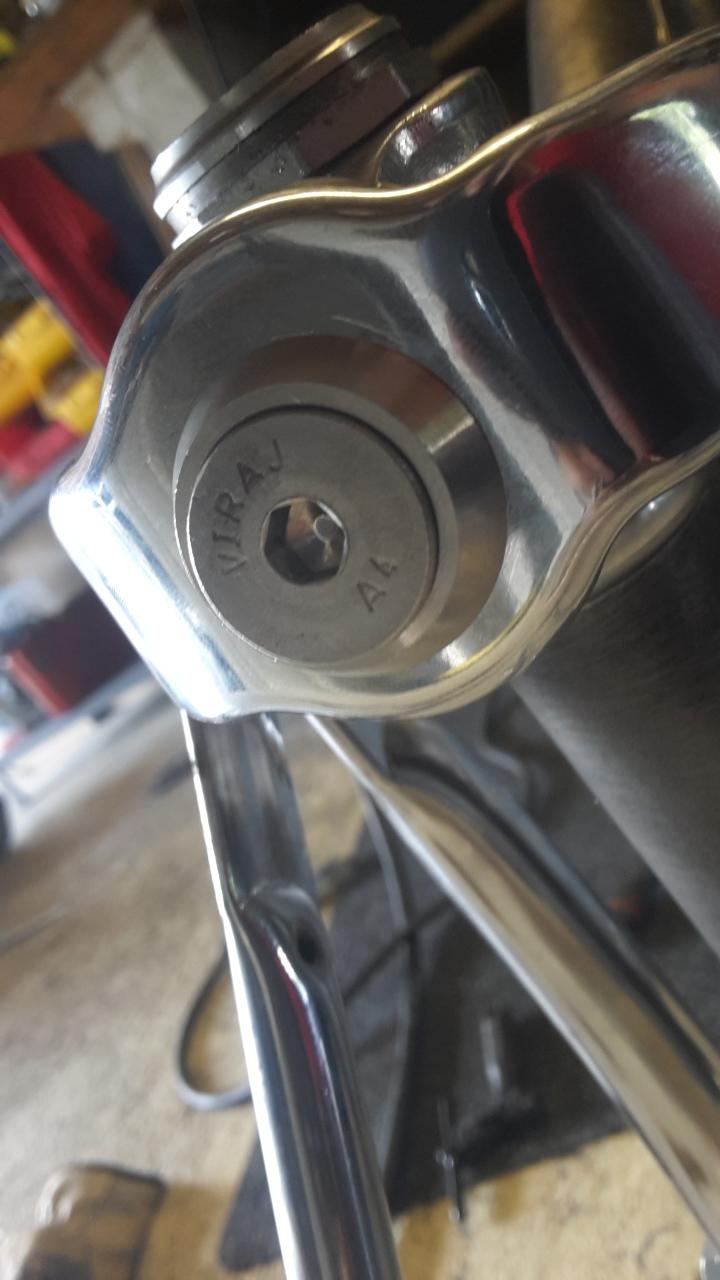
-Drew an extended crown for the piston
-Contacted local artist about the airbrush I want done on the frame
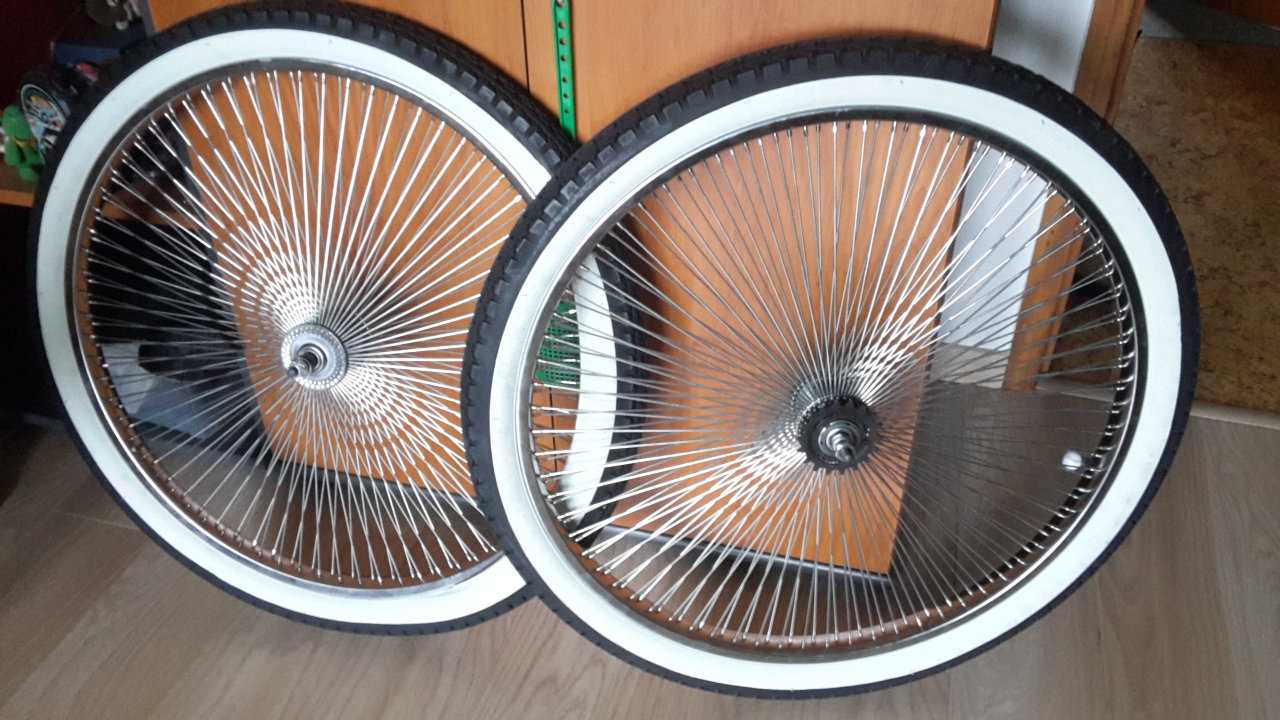
-Lot of thought about future parts!
Todays work!
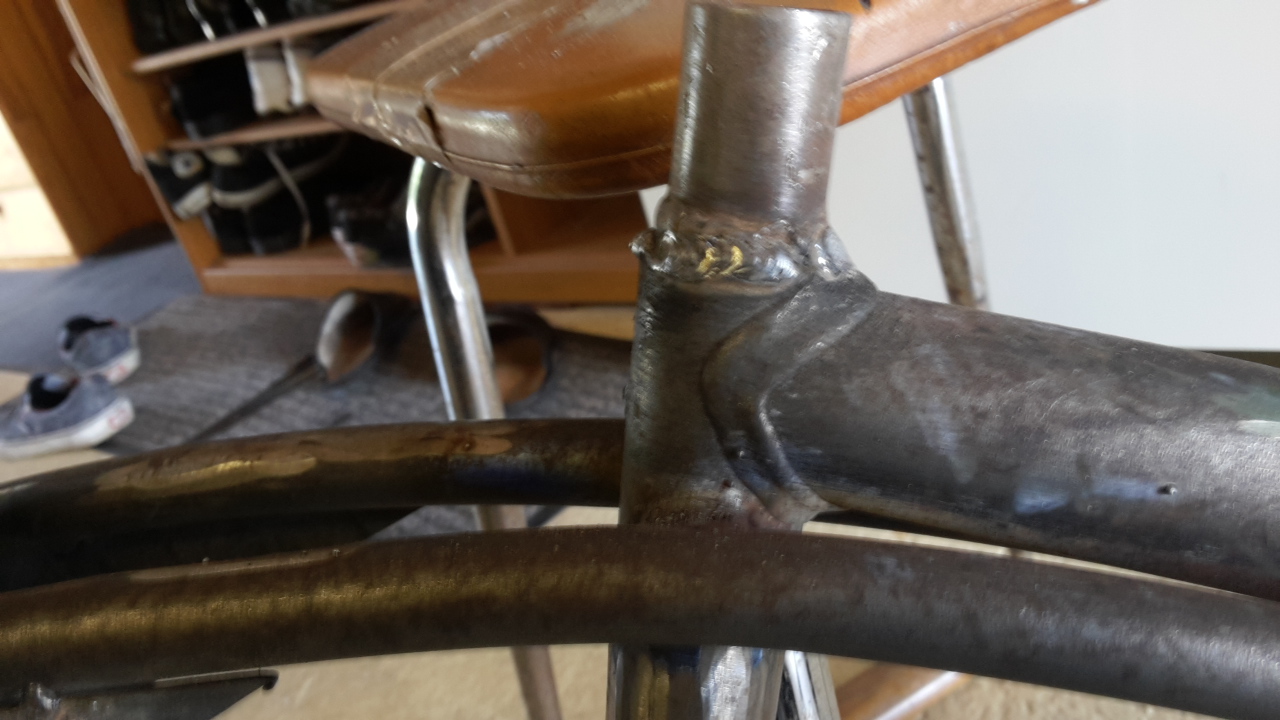
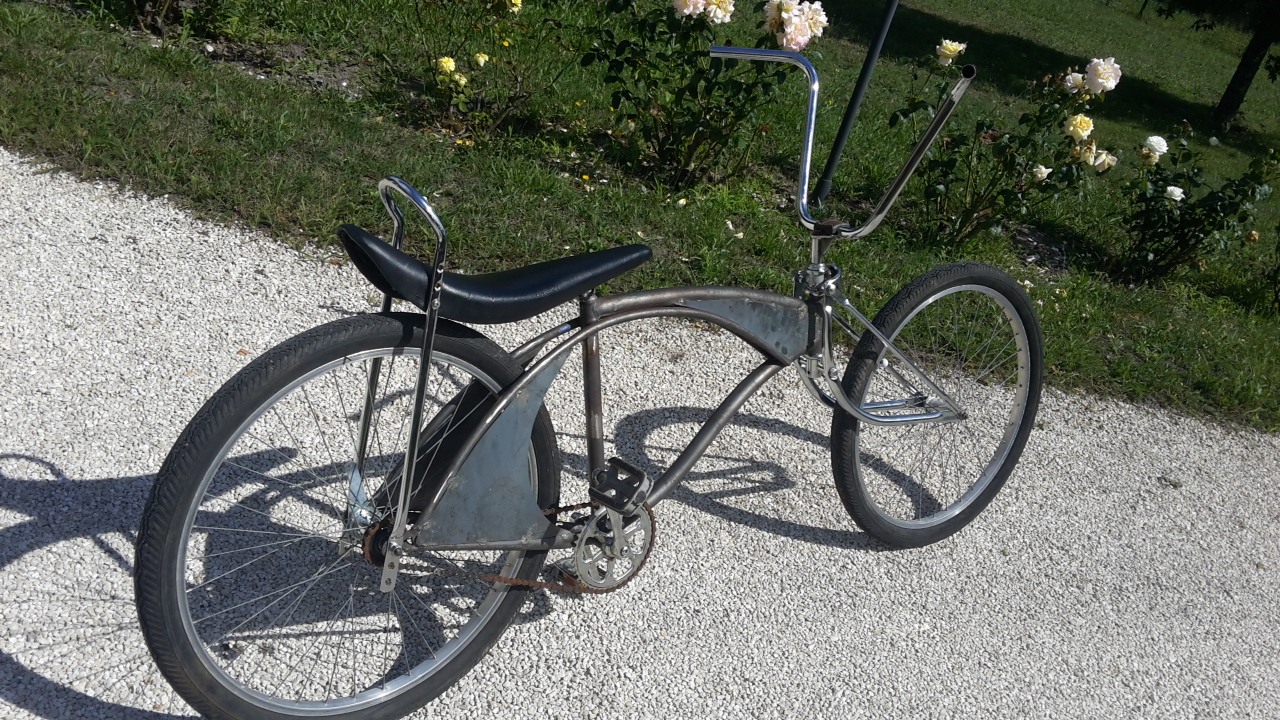
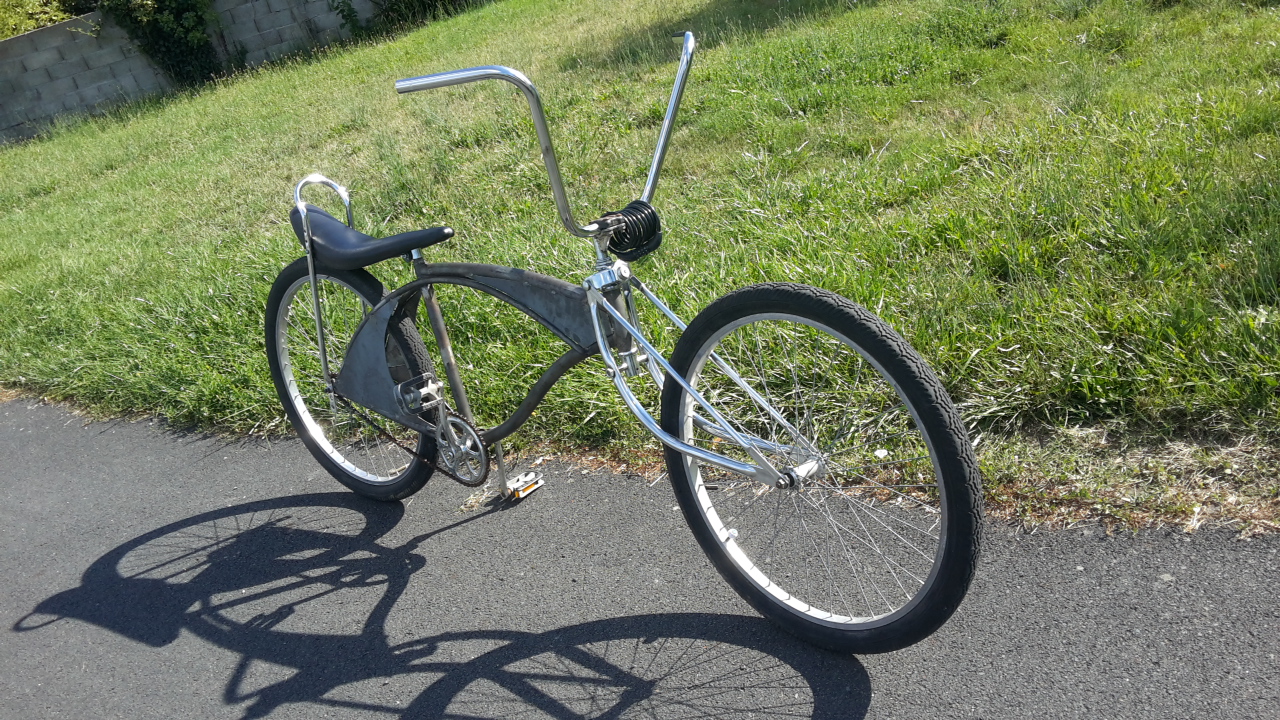
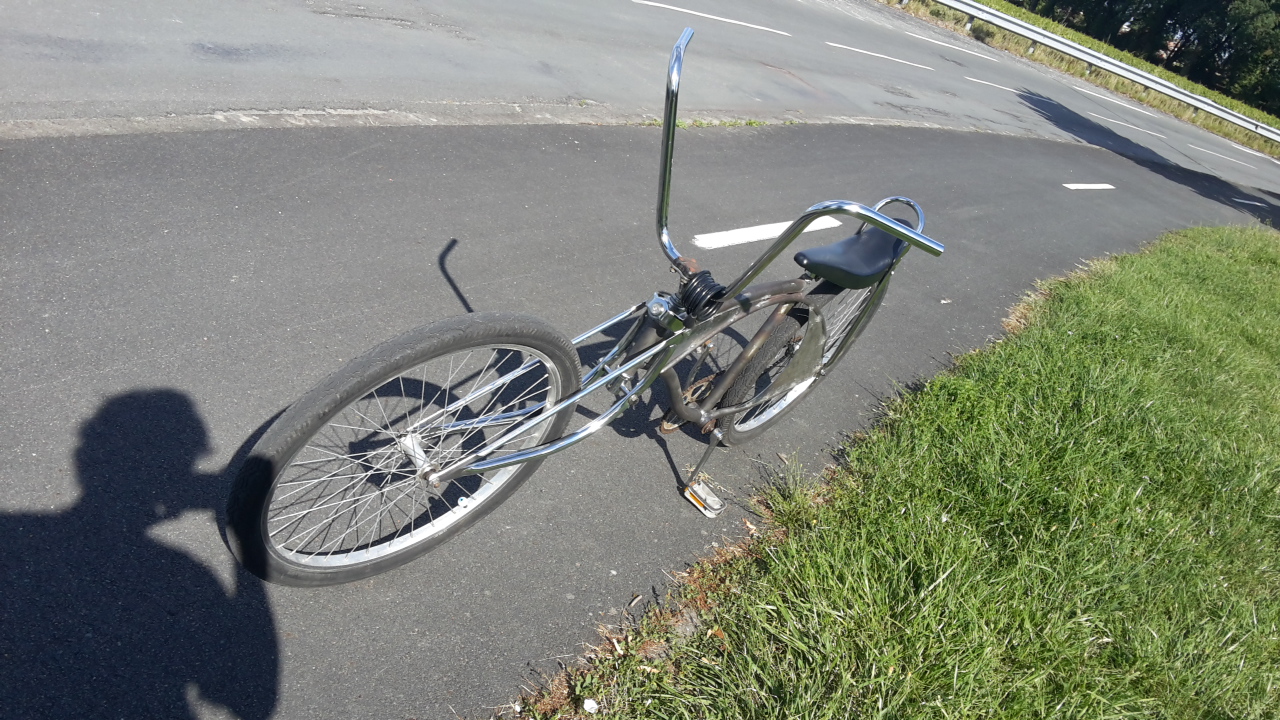
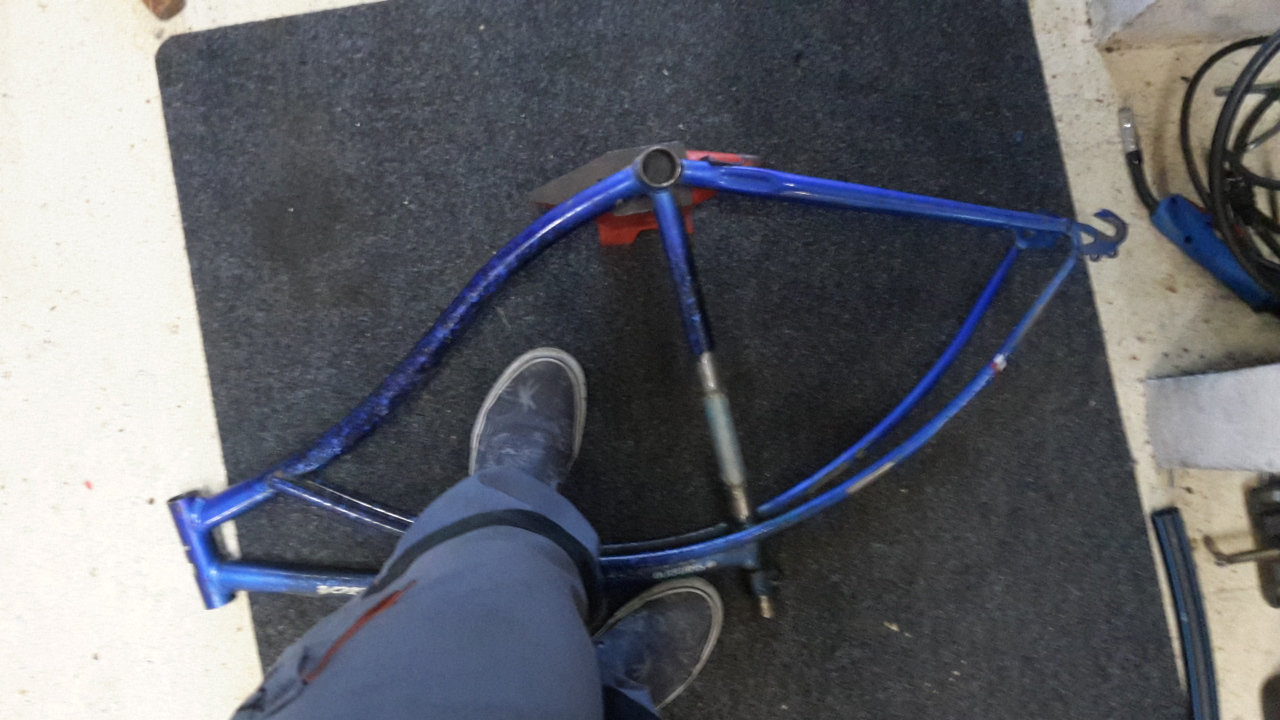
Finally got the frame stripped up after testing different crown lenghts. I discovered a bend in one of the cantilevers tube, but that can easily be fixed.
Bending back the faulty tube. My technique is quite barbaric but it worked great.
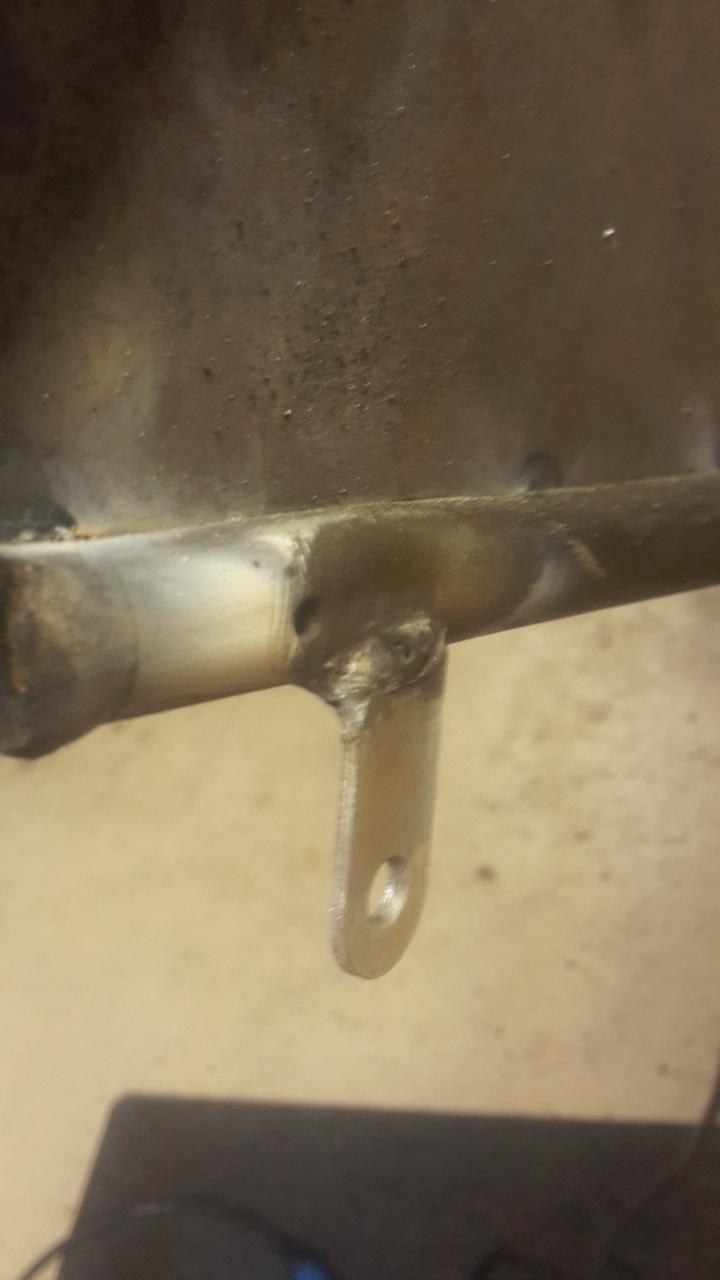
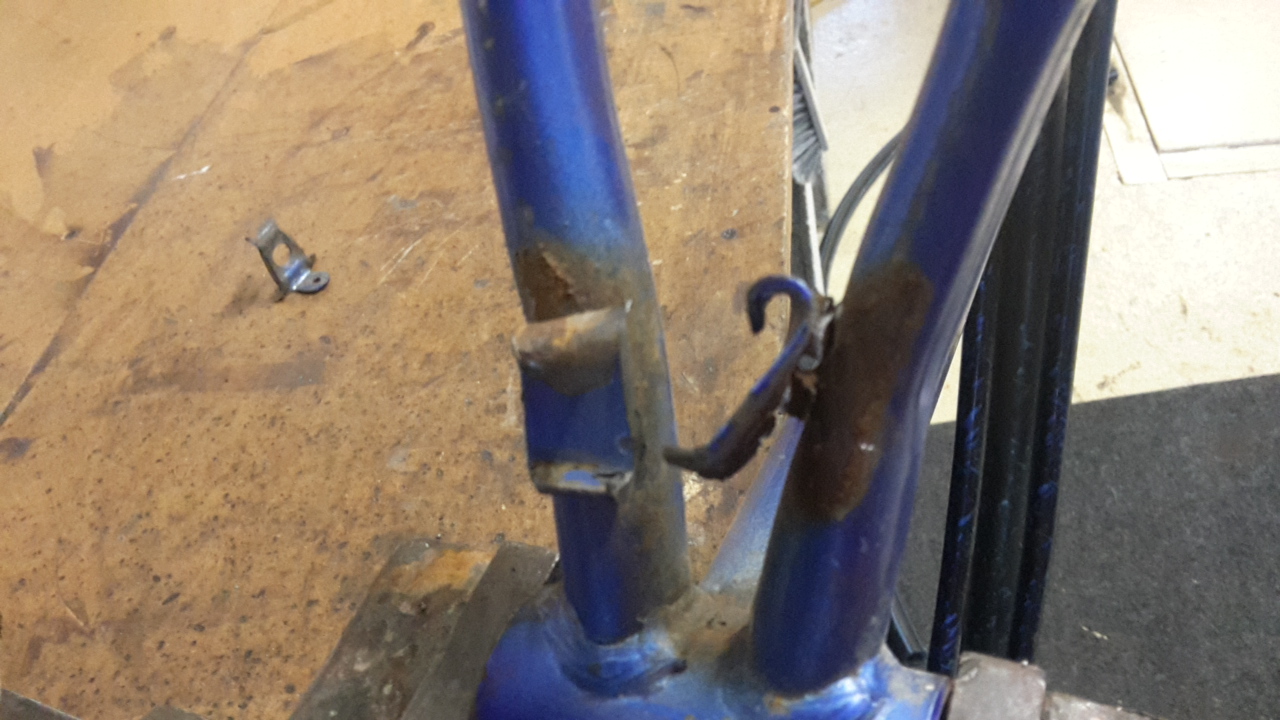
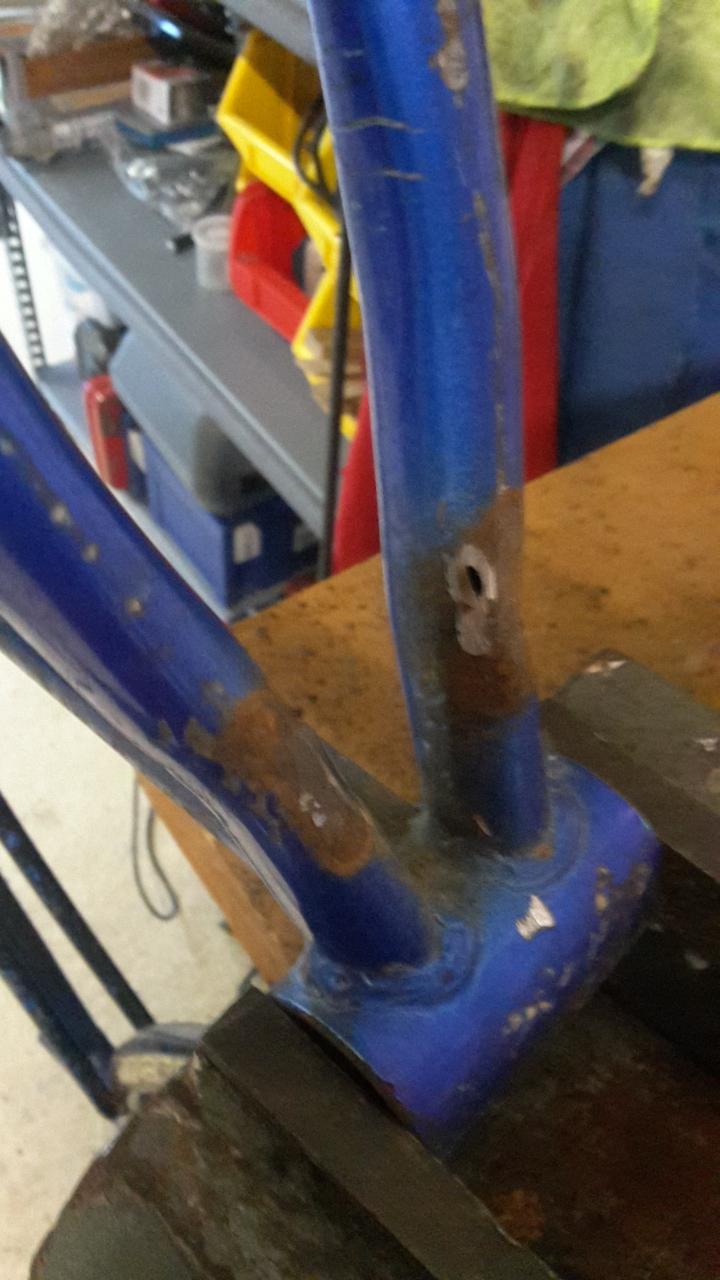
I then started removing the ugly kickstand plate, I plan on fabricating a better plate to mount the fender onto.
I went a little bit too harsh and ripped a little hole. That'll get fixed later

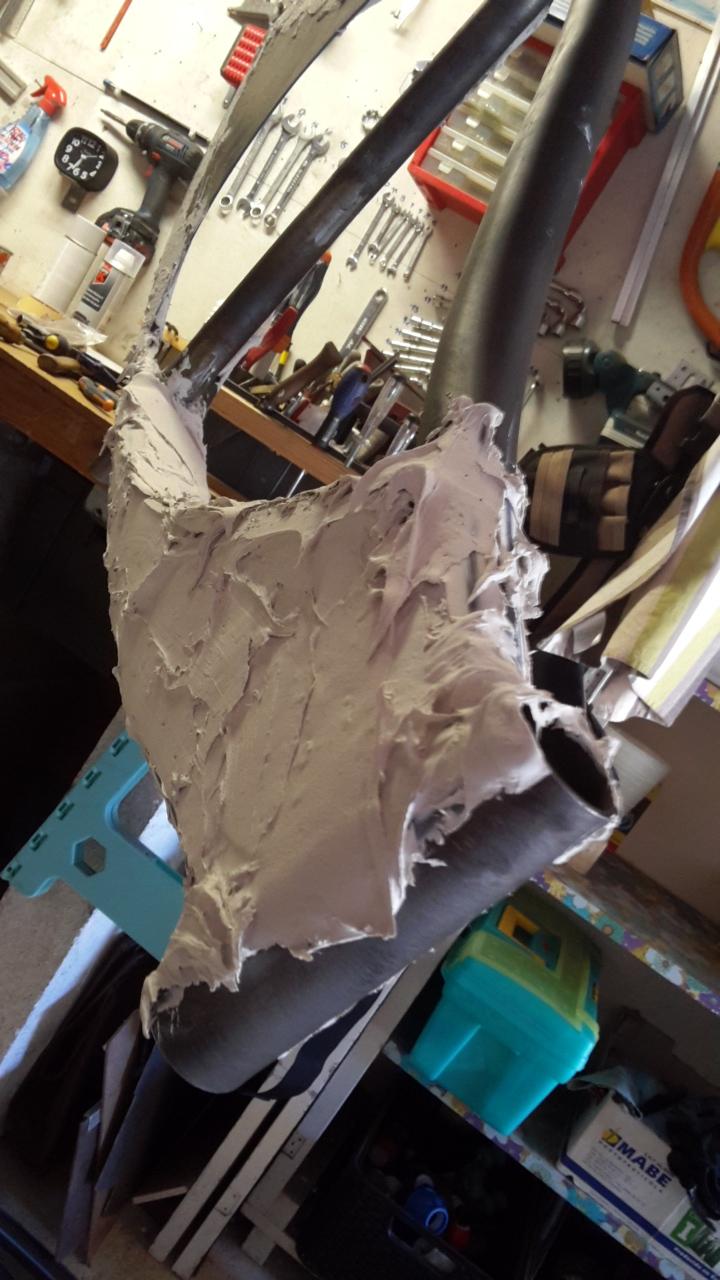
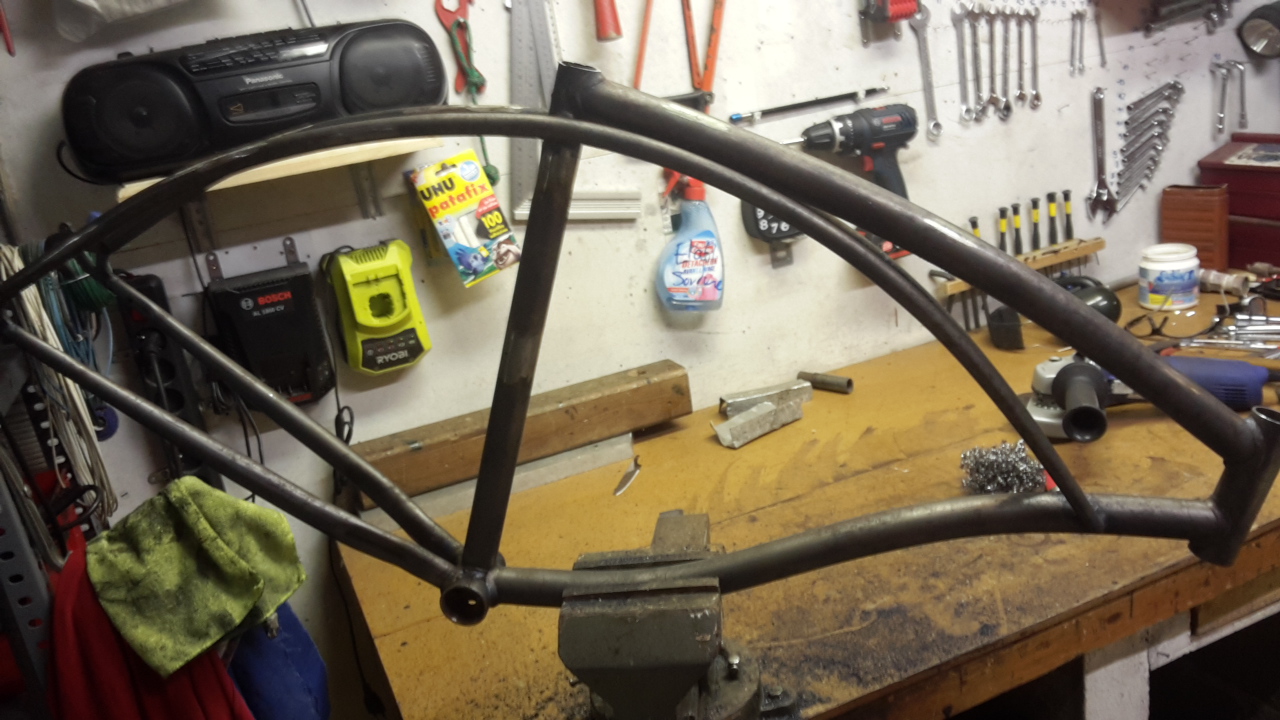
It was finally time to get rid of the paint. I use a flamethrower (Don't know the english word

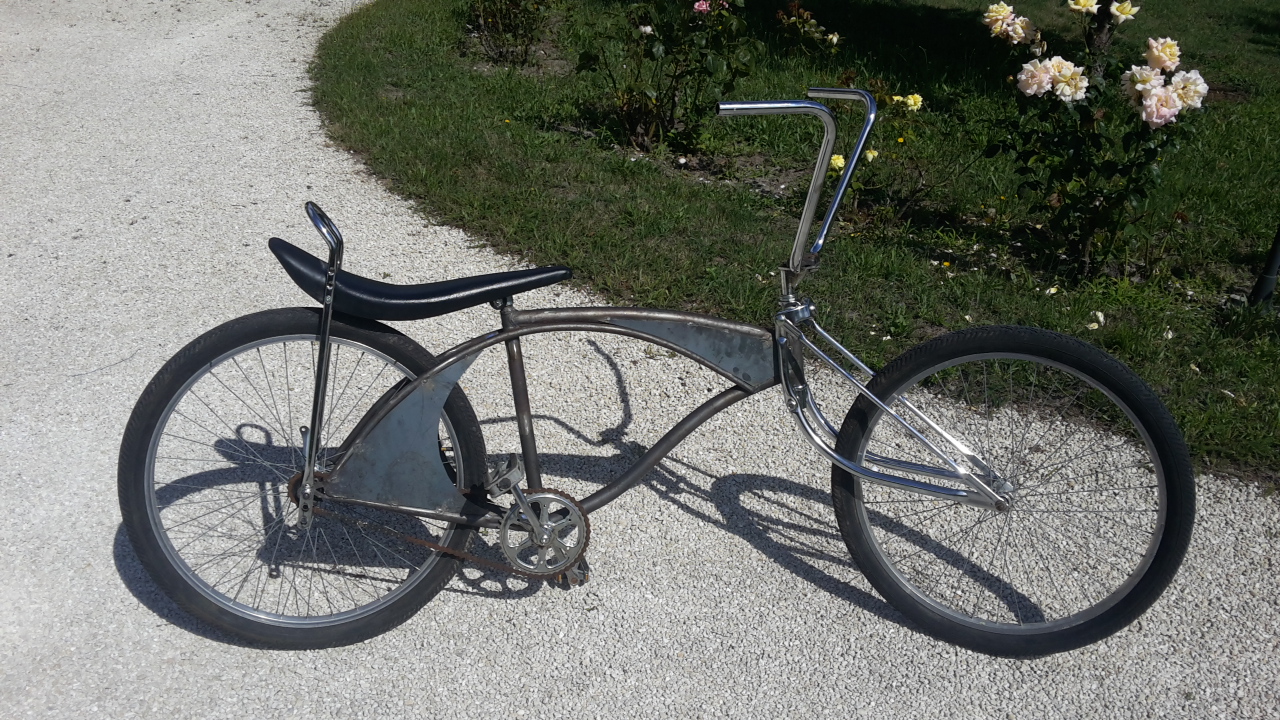
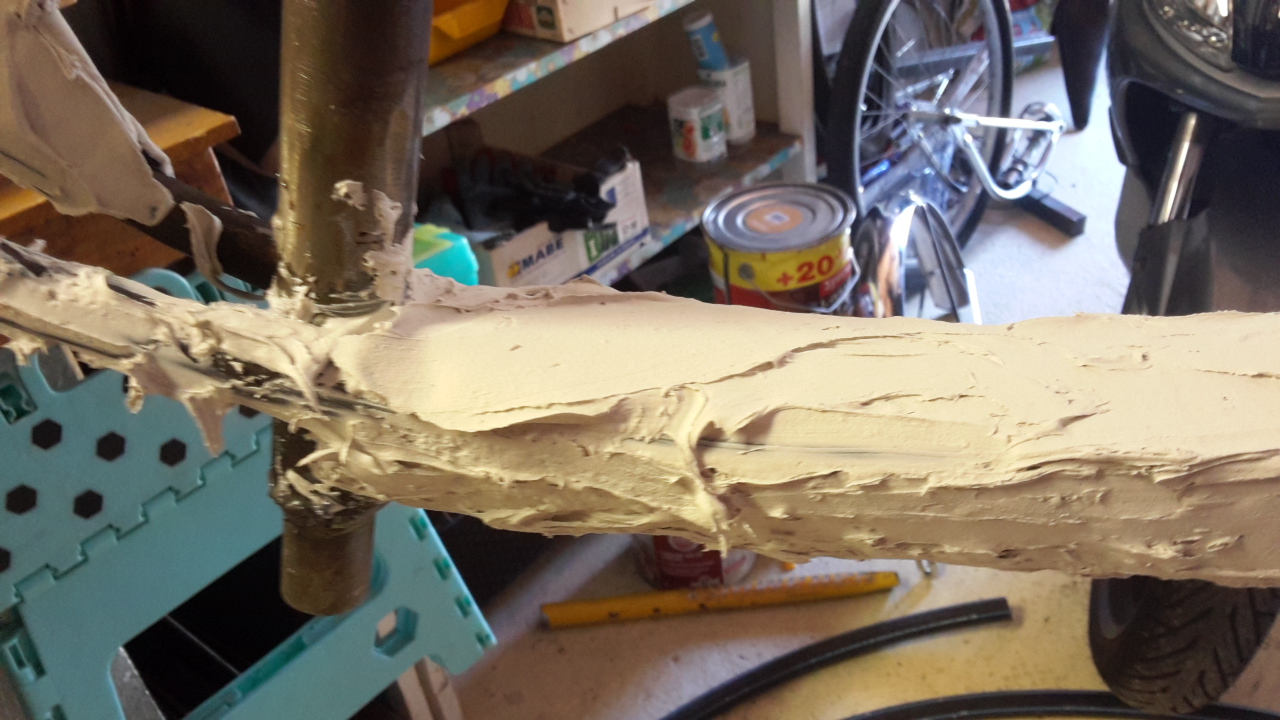
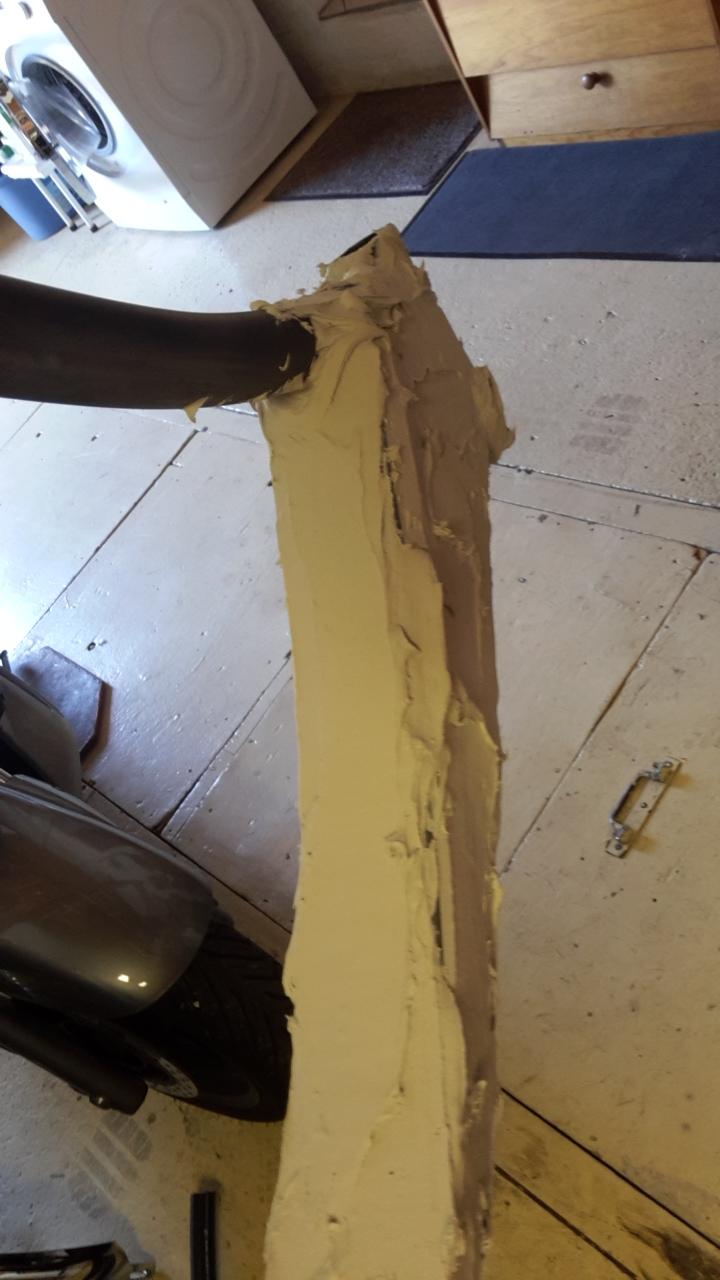
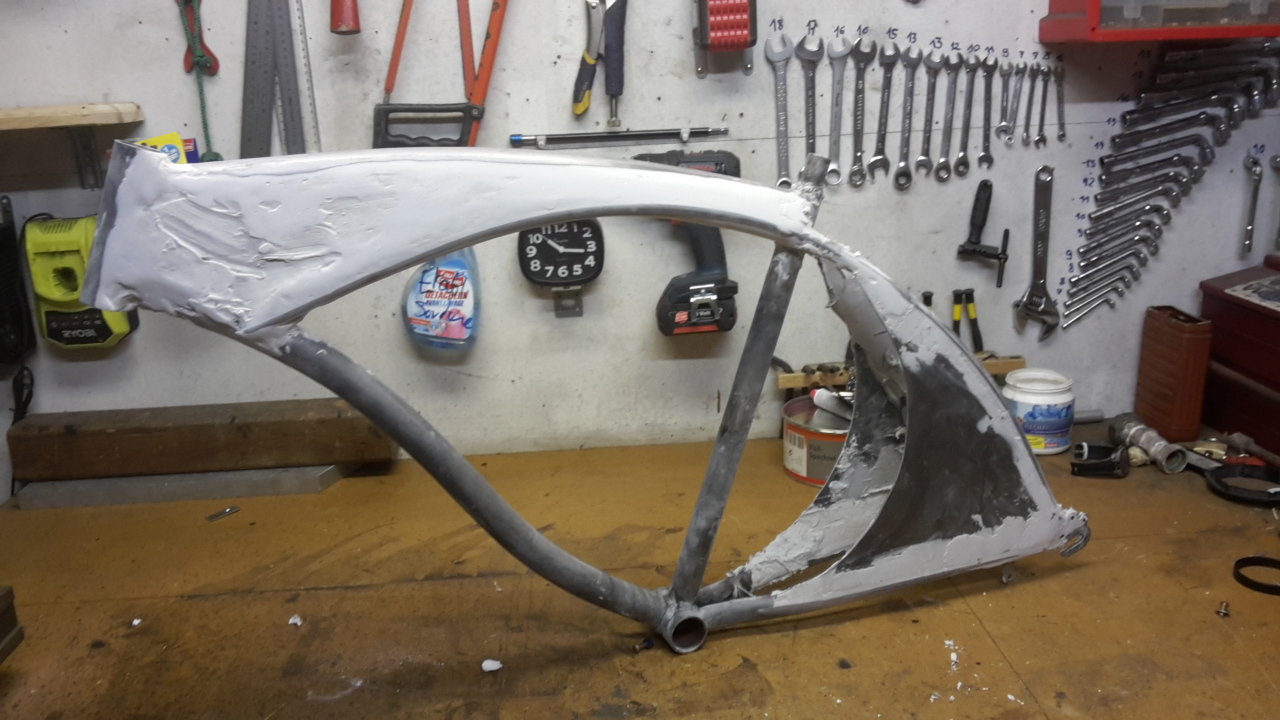
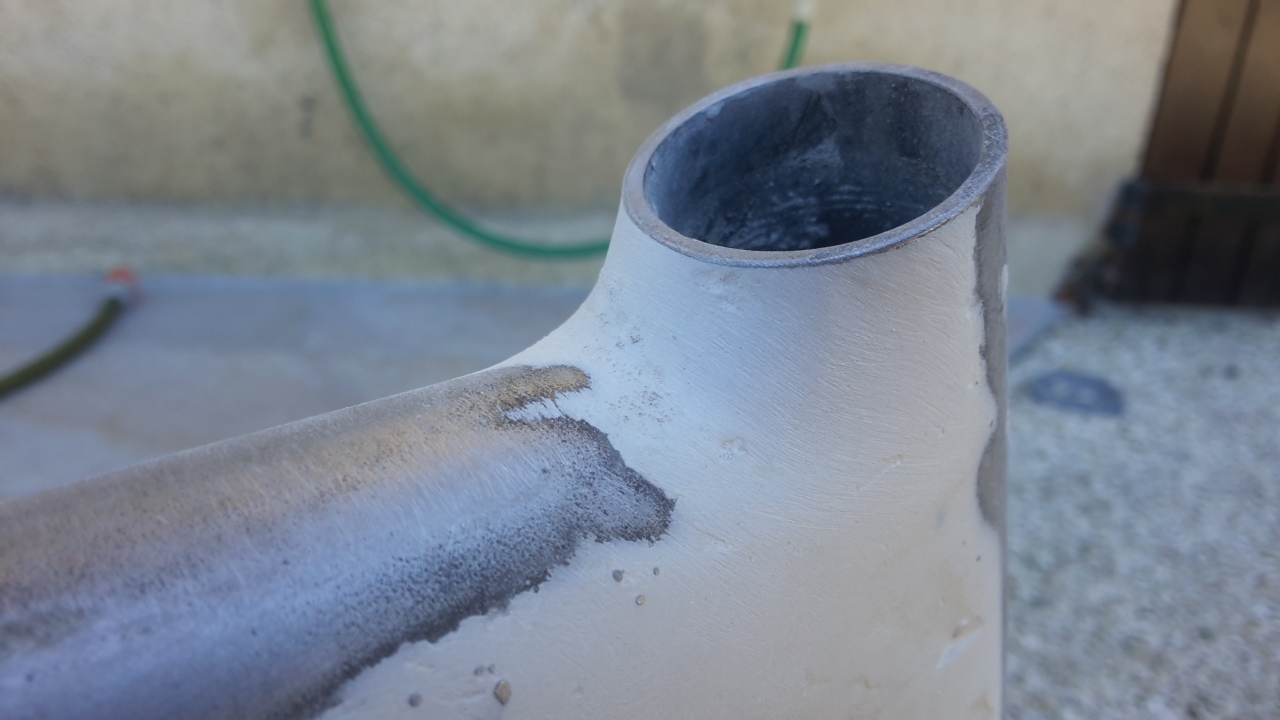
) to burn off the paint then scrape it with a hard wire brush. Unfortunately what I feared the most happened : the frame is riddled with rust. The original paint was so thin a small layer of rust started developping under it. This is the frame after hitting it with a light sandpaper. Overall not too many defaults, but some part will really need a good layer of body filler.
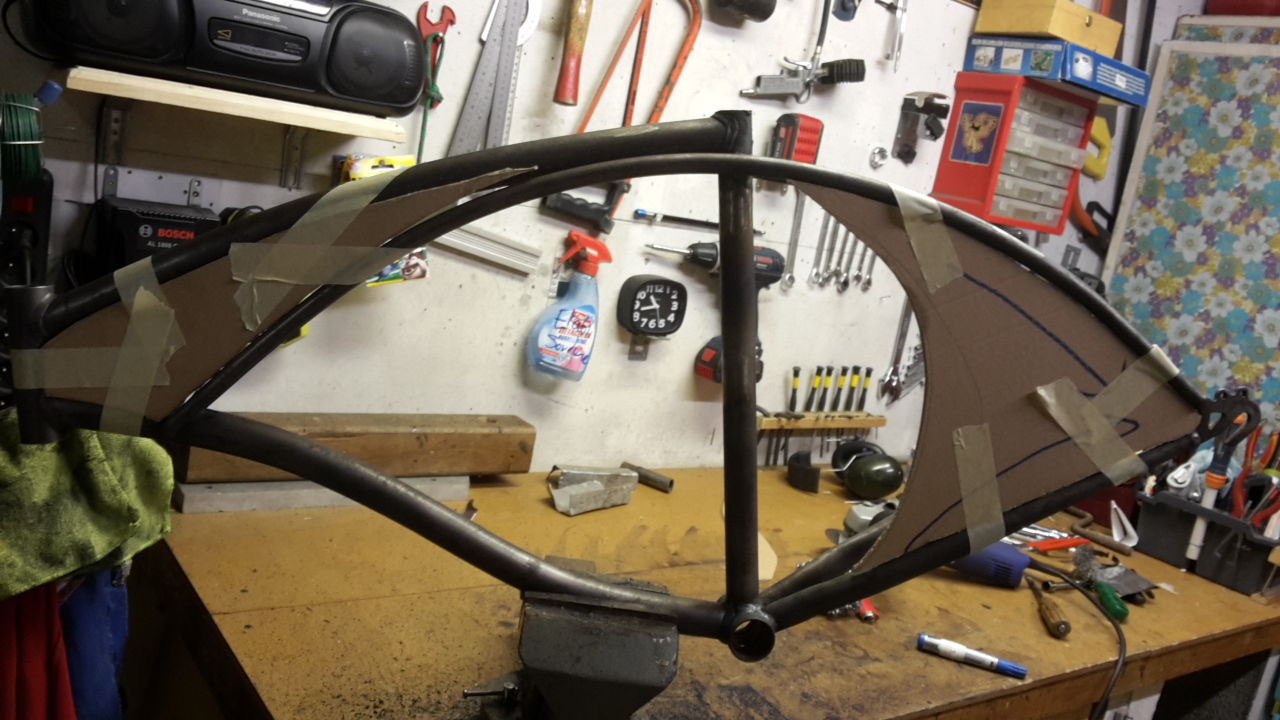
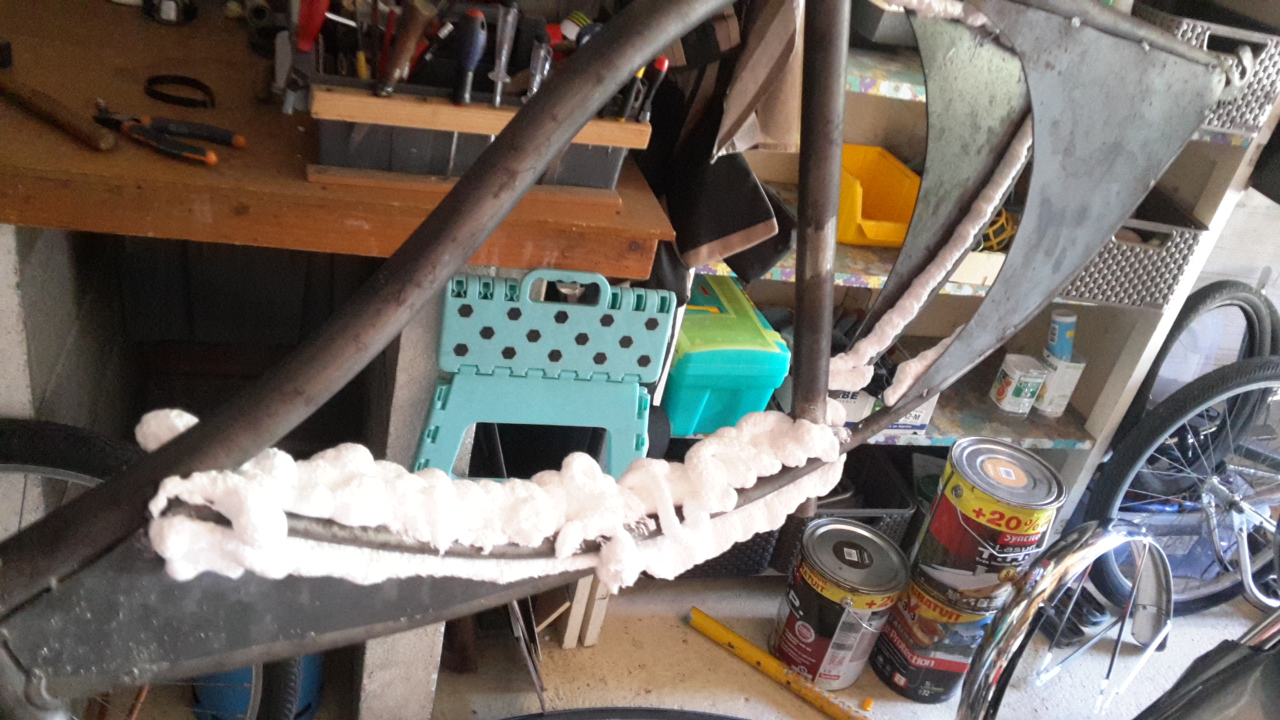
Got the biggest piece of cardboard to do the sheet metal planning. Thanks dad.
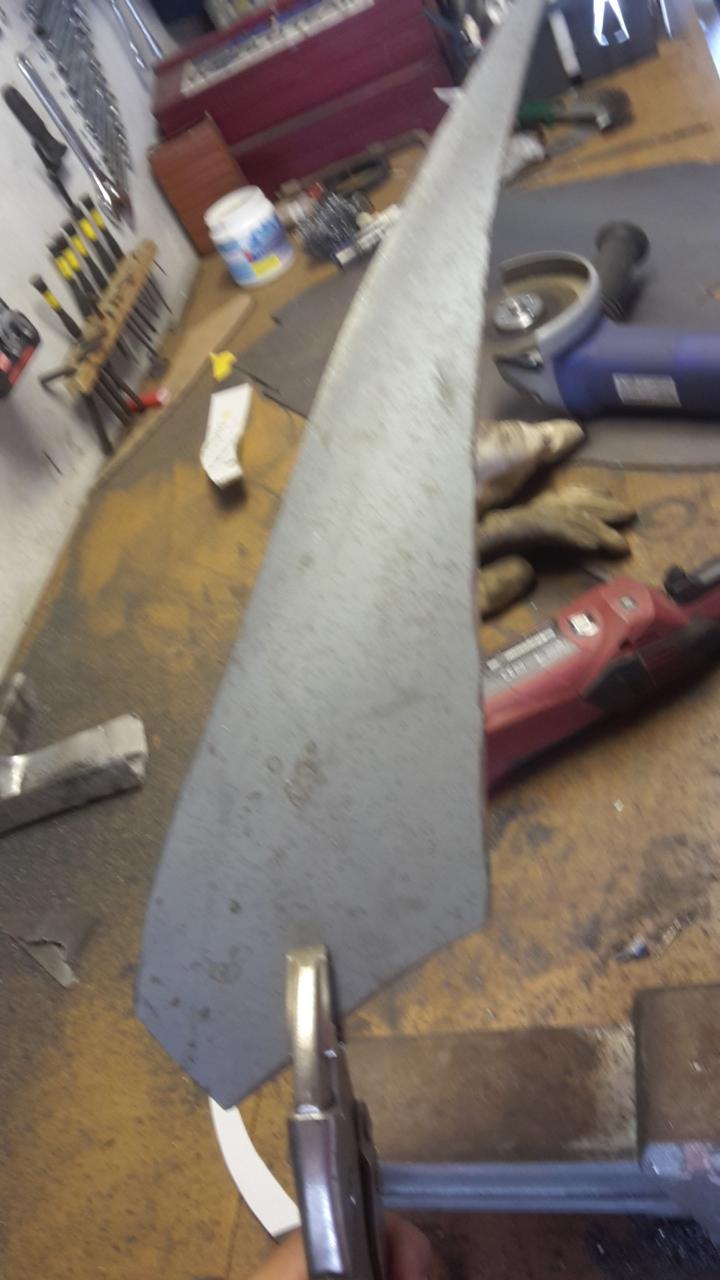
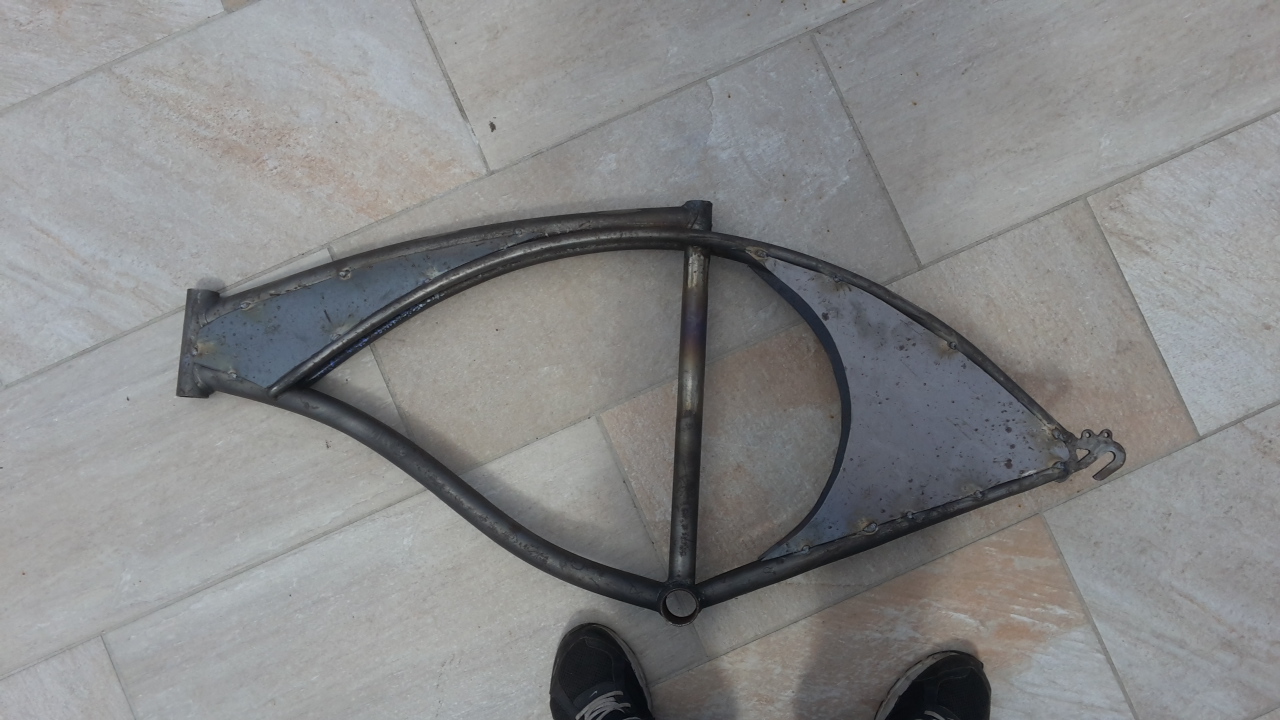
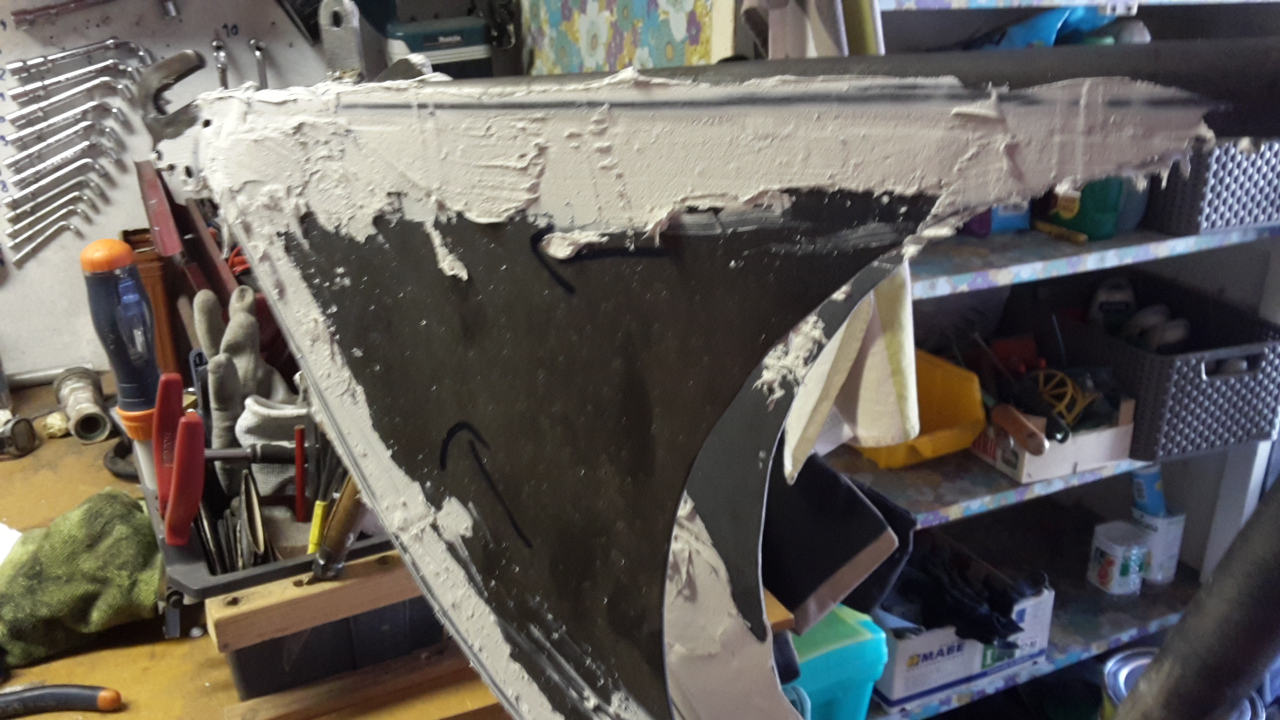
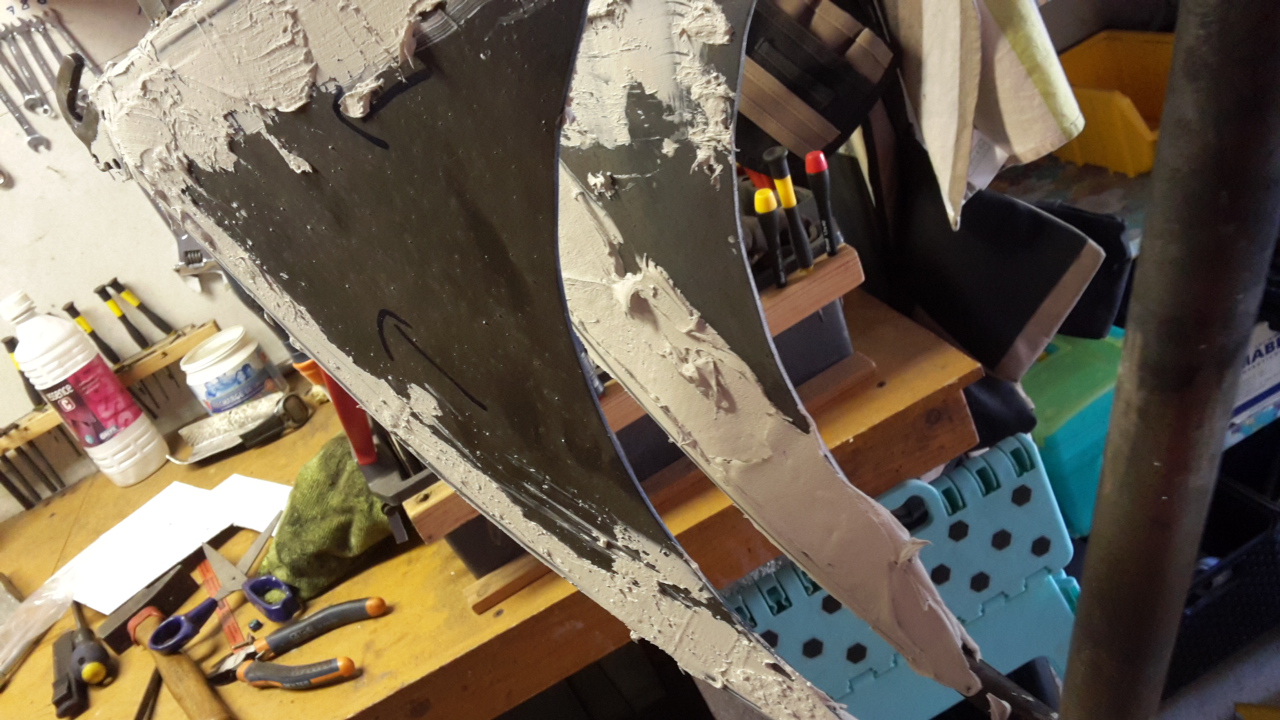
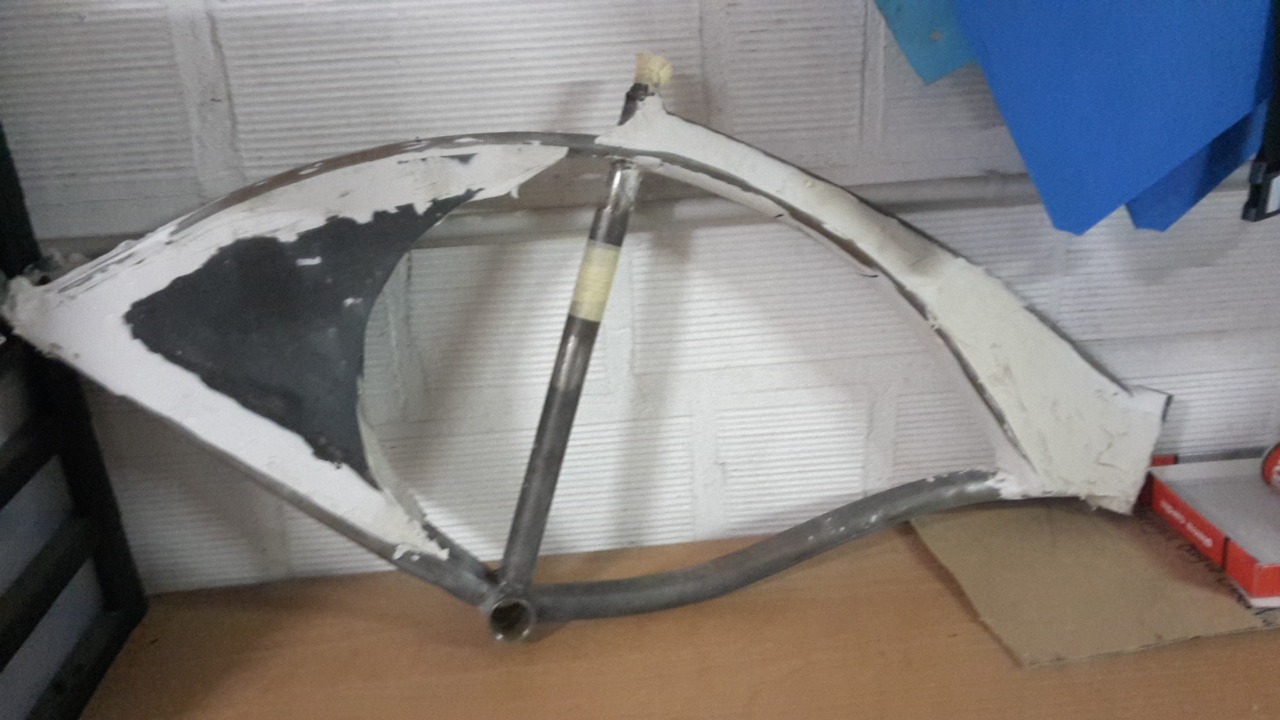
After a lot of trimming and fitting this is the best result I've got. I started tracing on my sheet metal but ran out of time for the day. I'll tackweld everything but tommorow is the National Day here so the auto shop will be closed, that means no body filler.
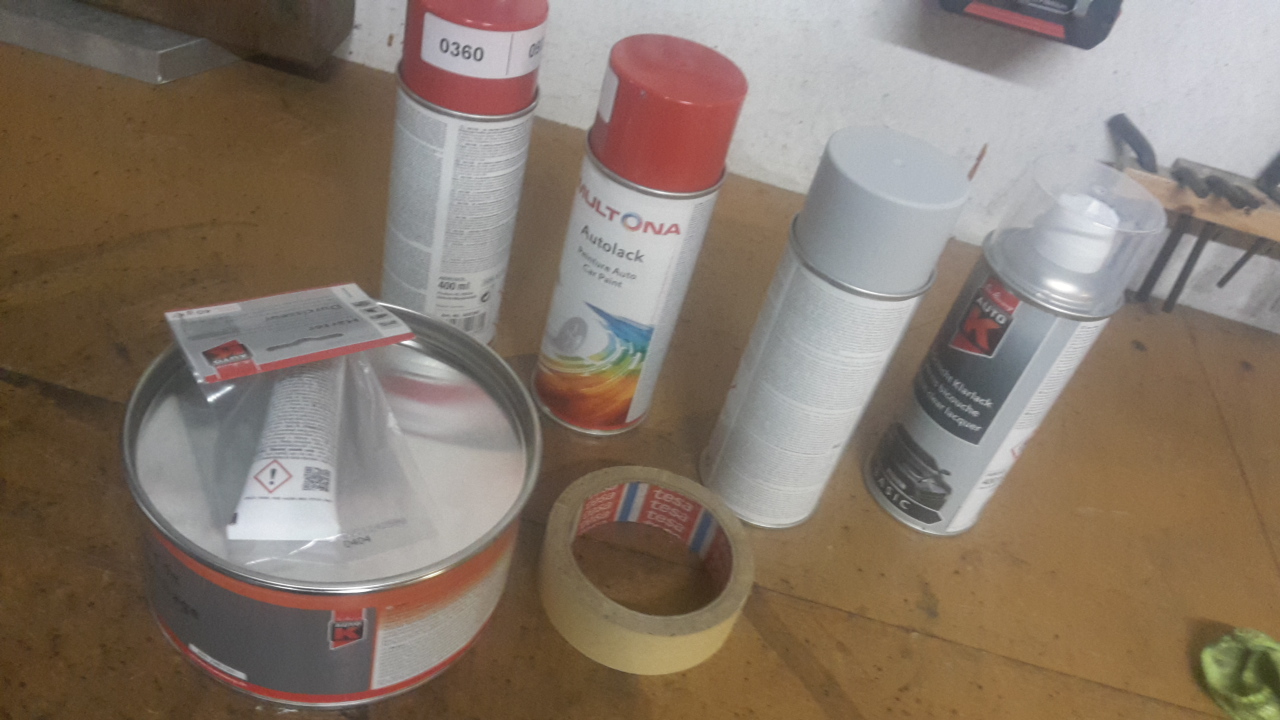
My plan for the end of the week is to get the bodywork all done and if I have time prime the frame for paint.
I also wanted to thank everyone of you who read this post, commented or gave me advice, you rock!


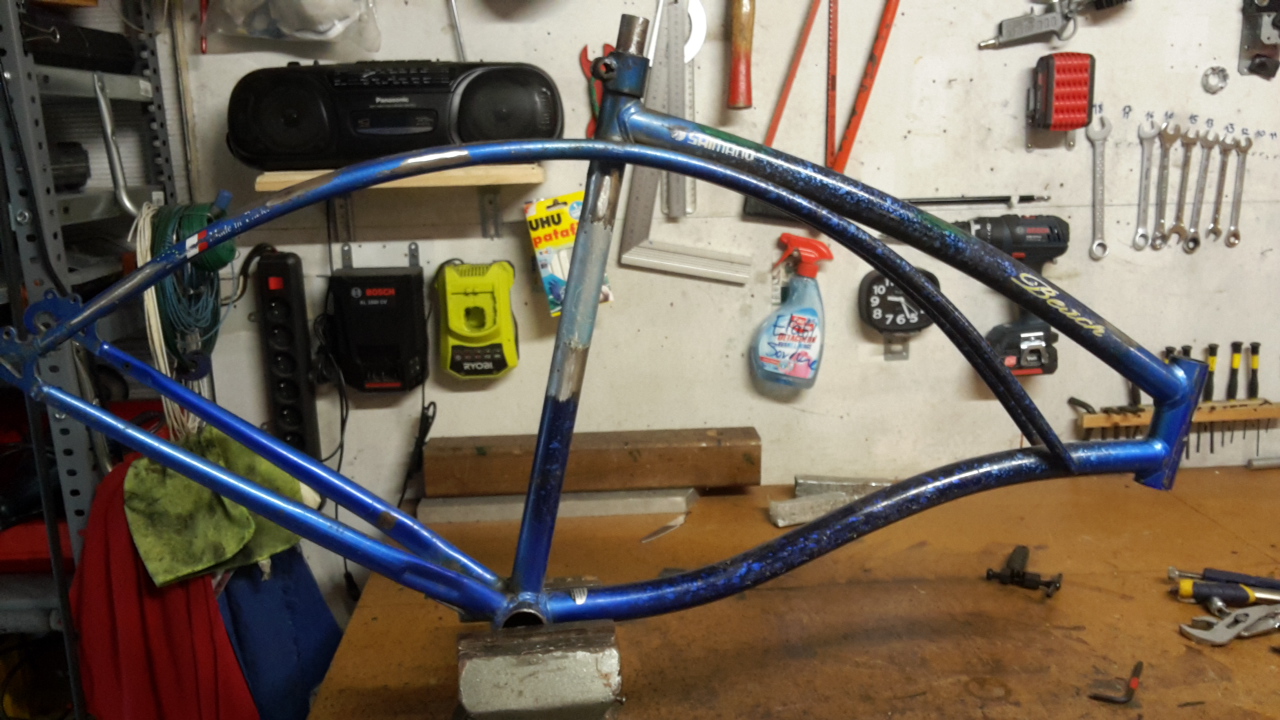

 ) to burn off the paint then scrape it with a hard wire brush. Unfortunately what I feared the most happened : the frame is riddled with rust. The original paint was so thin a small layer of rust started developping under it. This is the frame after hitting it with a light sandpaper. Overall not too many defaults, but some part will really need a good layer of body filler.