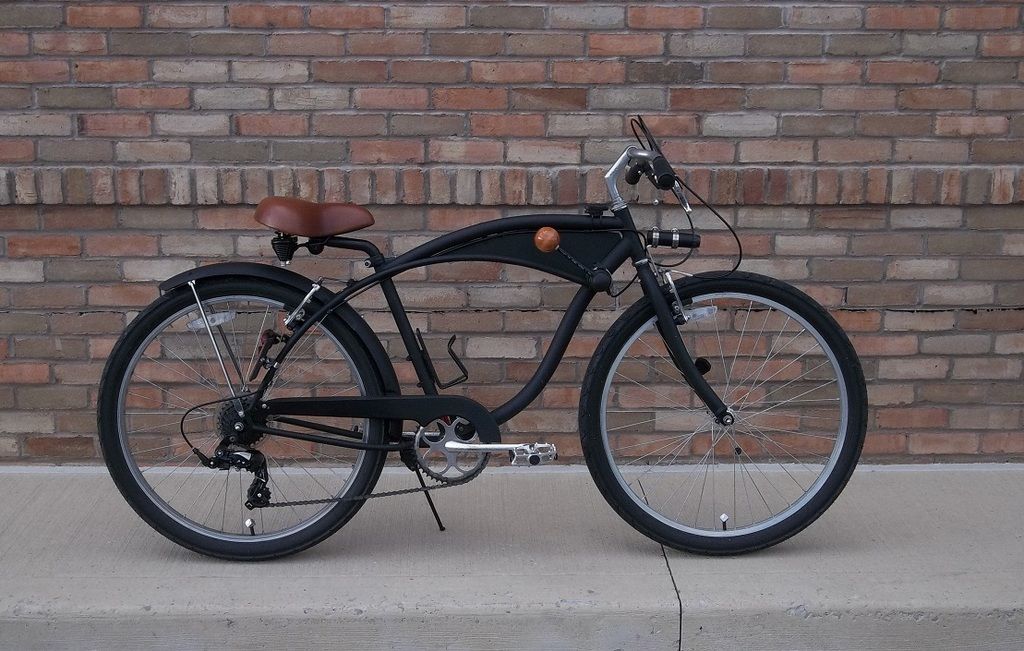
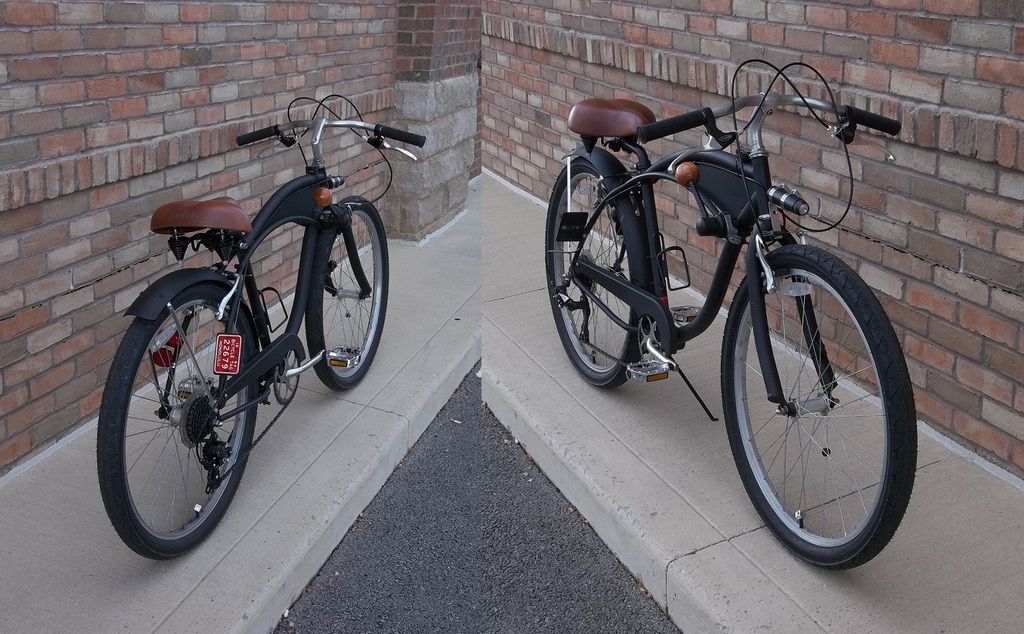
I really didn't take a lot of pictures when I started this project, because "who really wants to see a build thread on a modern cruiser from Walmart?" (I actually bought it from craigslist, but I'm sure the previous owner got it at a big box store somewhere when it was new.)
When I FIRST got it, it looked a lot like this:
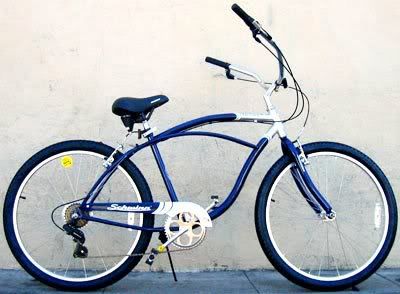
(I have some of my own "original" pictures somewhere, but apparently not on this hard drive. )
)
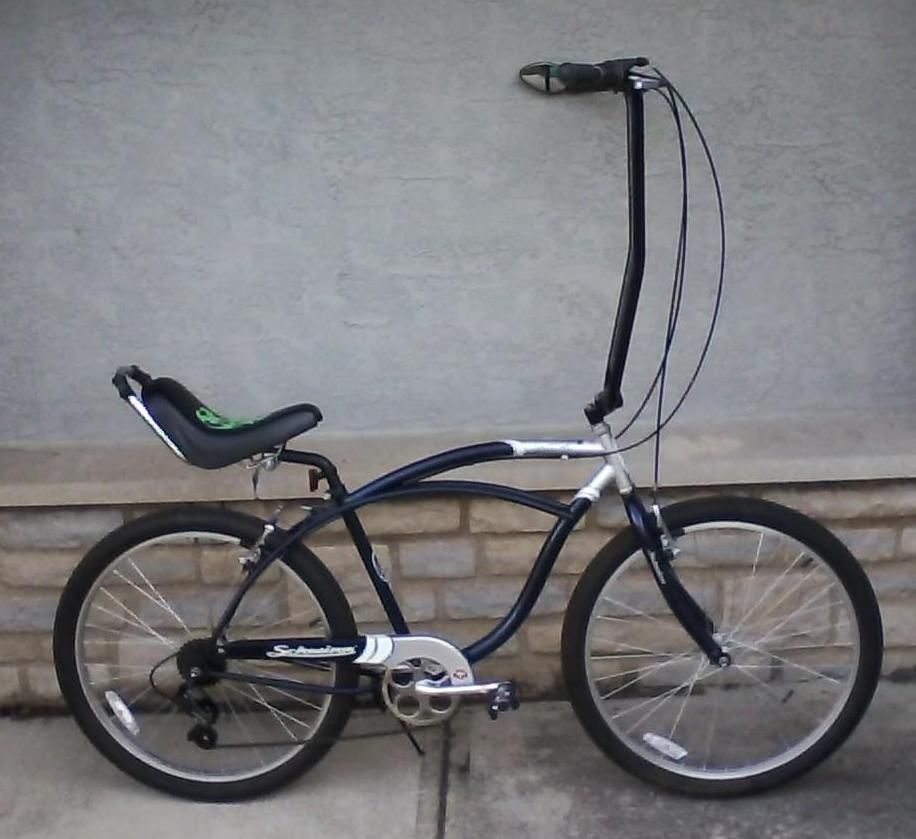
One of the first things I did was put a layback seatpost on it, and a Schwinn Stingray seat. Despite the fact that the saddle LOOKS like it's about to fall off the bike, it's actually most comfortable at that angle. I rode it around for a week or so with some lower, more normal apehangers and with these 25" tall bars:
After I painted it flat black (with "rattle can" spray paint), I started getting more of a feel for what I thought I wanted the finished bike to look like:
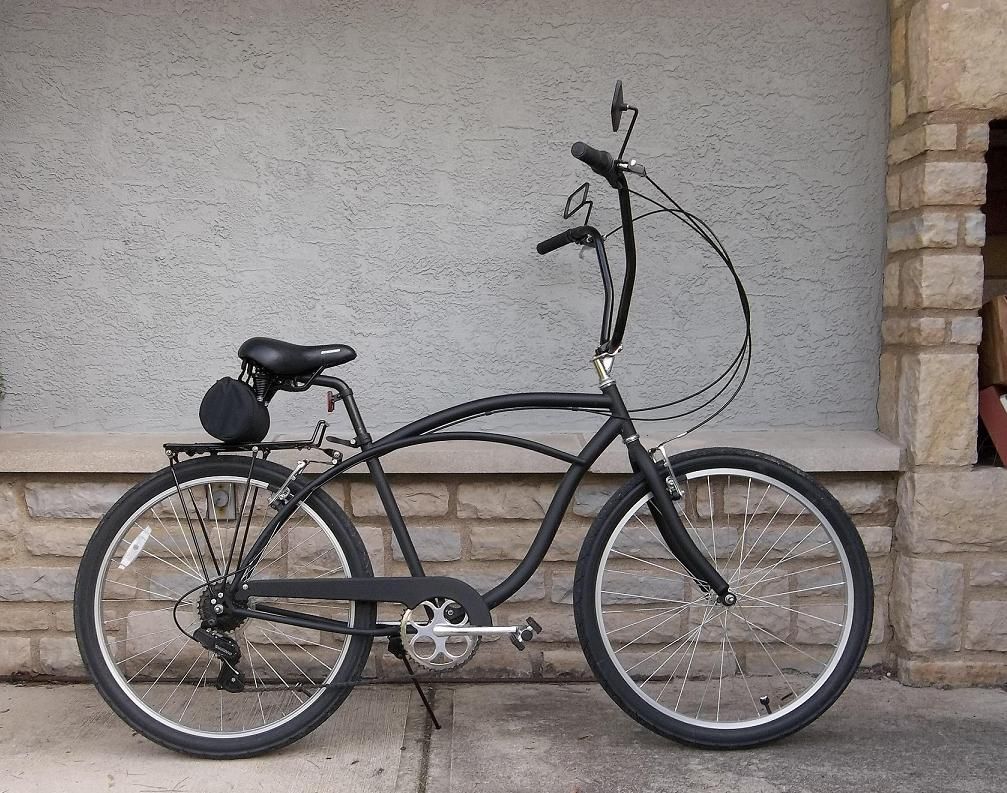
The rack didn't stay on there long, but at least I was getting back to a normal-looking seat.
I built a "suicide stick shifter" out of a Grip Shift, chronicled in this thread [ http://ratrodbikes.com/forum/index.php?threads/stick-shift-from-grip-shift.84900/ ] and inspired by this thread by Bigcam59: http://ratrodbikes.com/forum/index....hifter-mount-and-stickshift-conversion.66386/
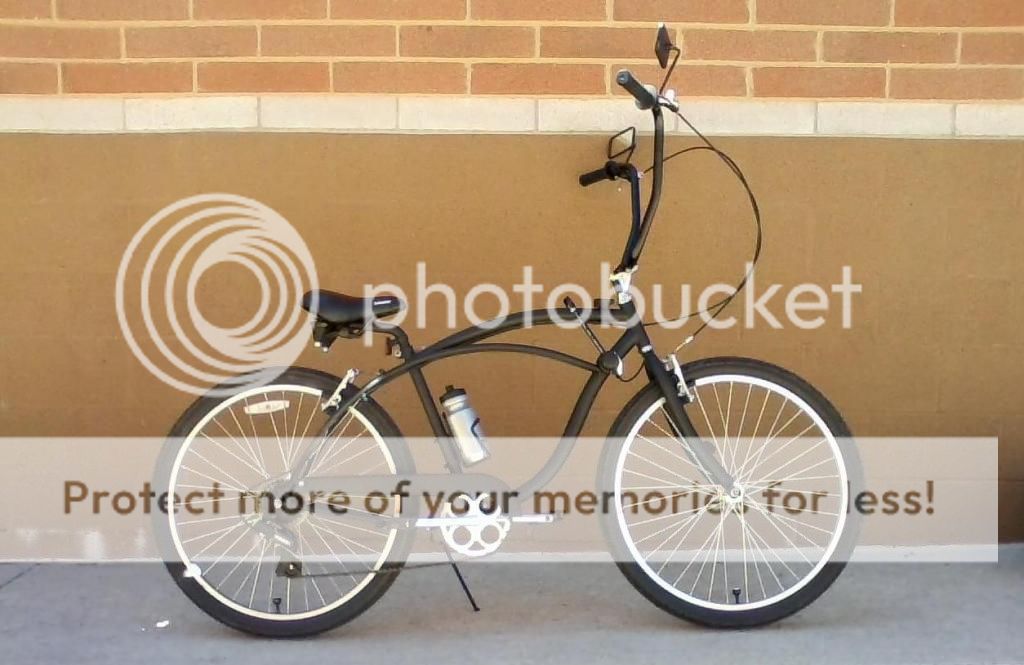
I left the brake cables extra long, so I could still put the super tall apehangers on there from time to time, but they're not as efficient for long rides, and they started to overshadow the rest of the things I've done to the bike.
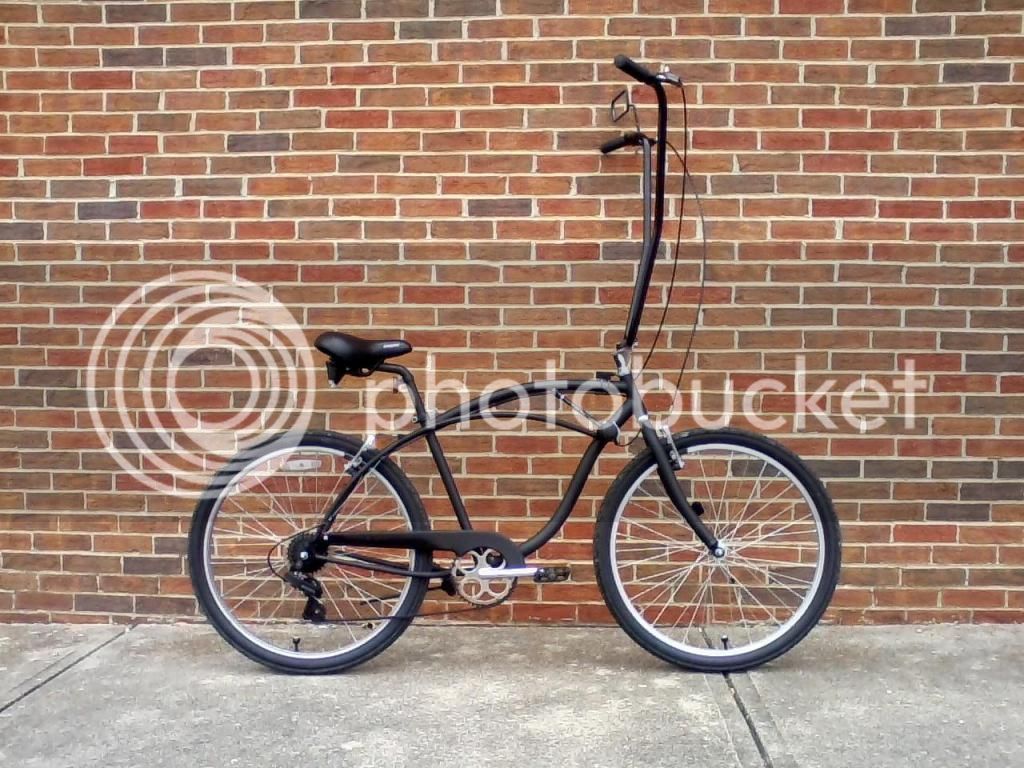
At some point, I put a piece of wood in the frame to give it that "tank look."
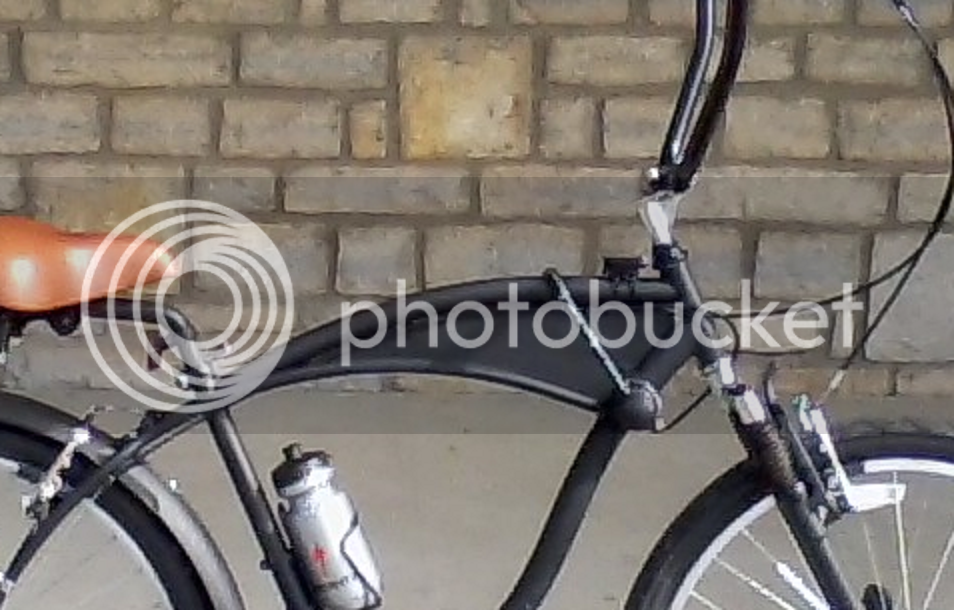
I also installed a brand new Raleigh fender, but cut it down to give the bike a "bobber" look. One of the last things I did last fall was to install a suspension fork from a cheap Next brand "curb find," only because I thought it would look cool. (It's a CRUISER, and with that seatpost I estimate that at least 80% of my body weight is on the rear wheel. It doesn't NEED a suspension fork, let alone a cheap one that bounces when I stand on the pedals. With an extra long solid steel seatpost from slowriderz that probably weighs four pounds, this isn't a high performance bike and another extra pound or two can't hurt it much. )
)
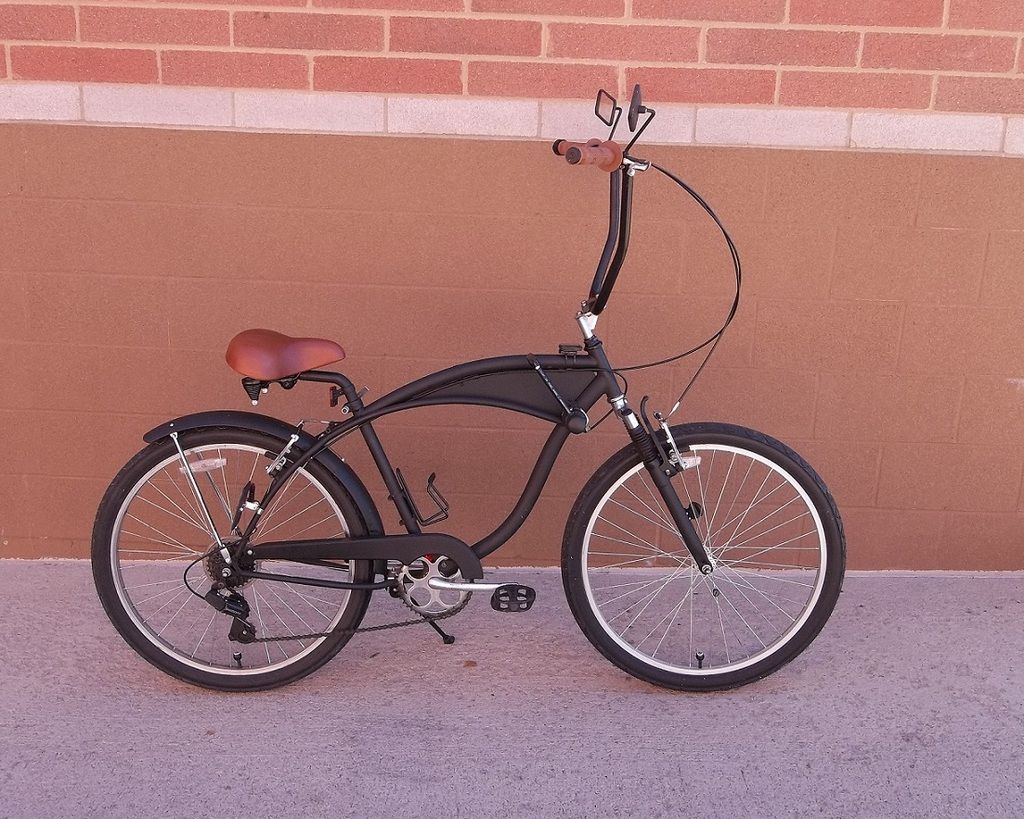
Last fall and over the winter, I found a new Torker seat, stained and clearcoated a wooden shift knob, and FINALLY found some grips that were about the same "honey" shade as the shift knob and almost as dark as the seat.
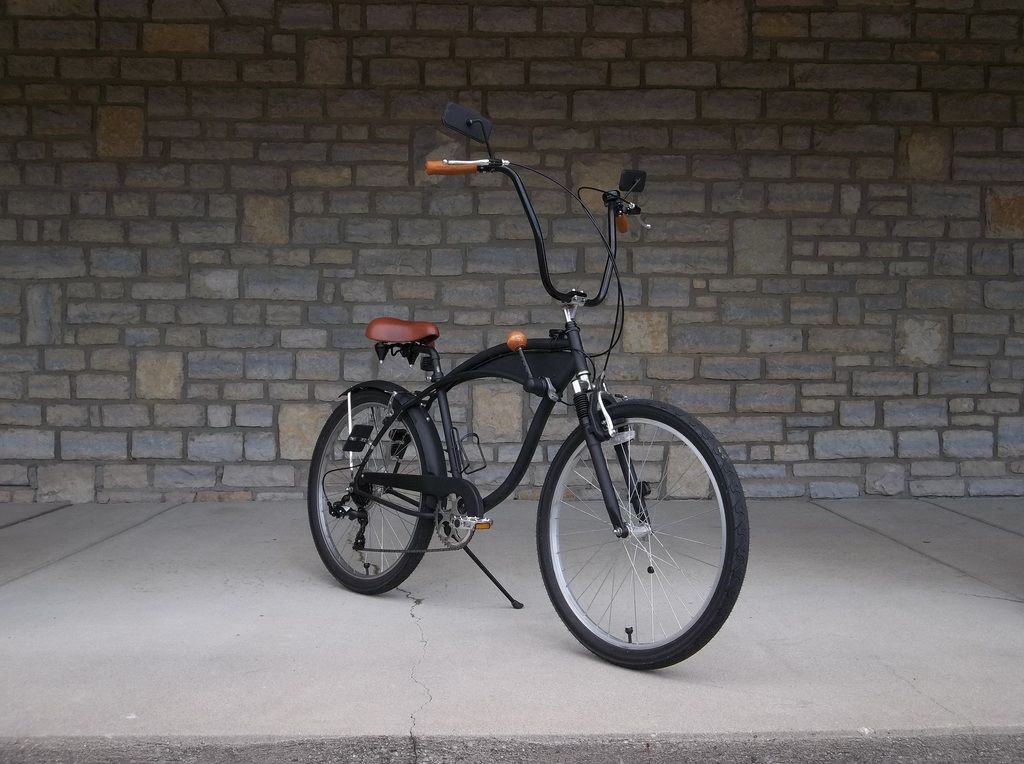
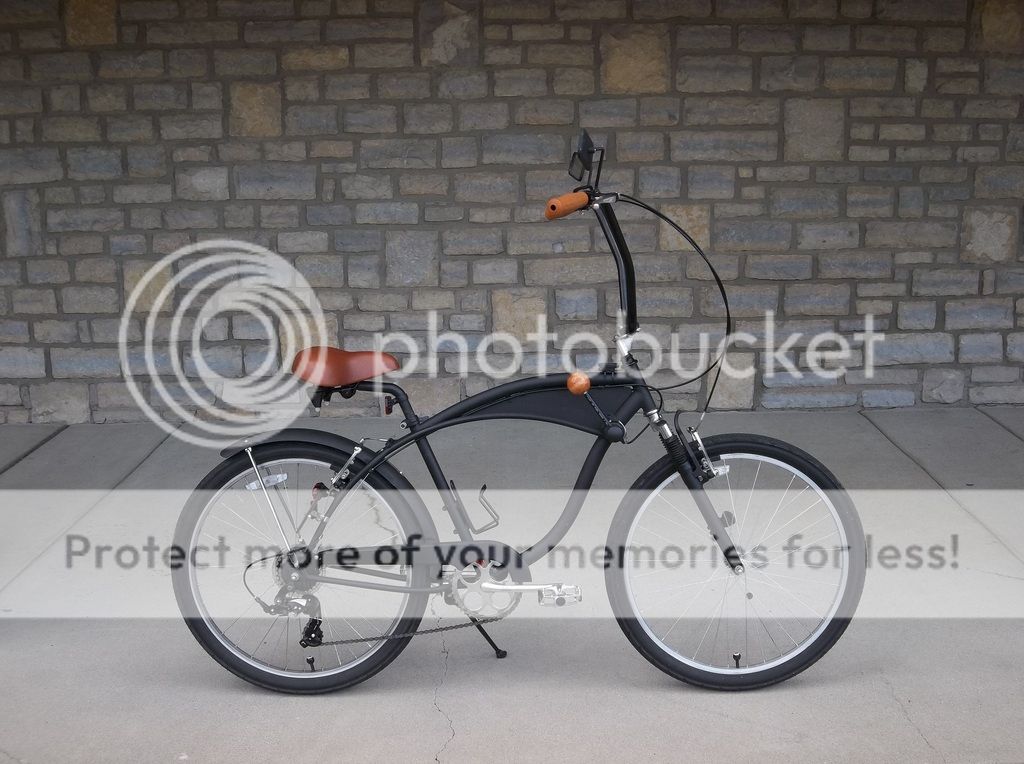
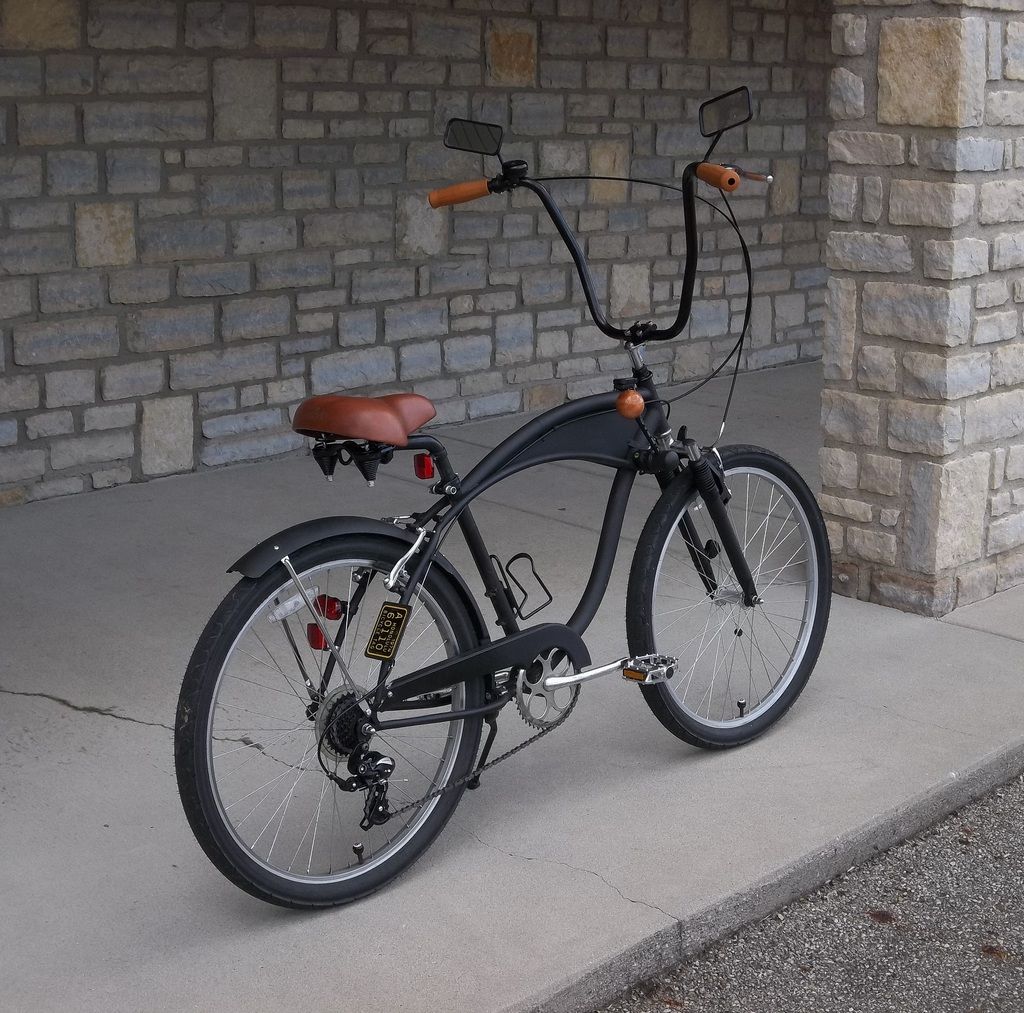
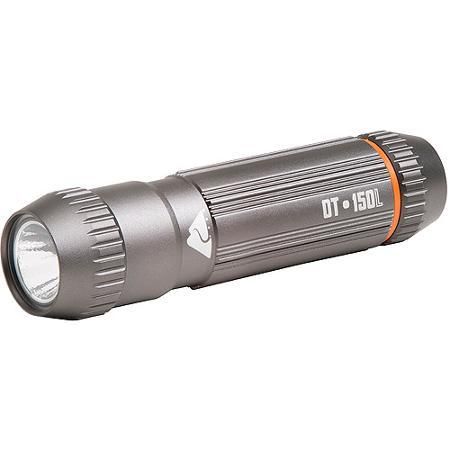
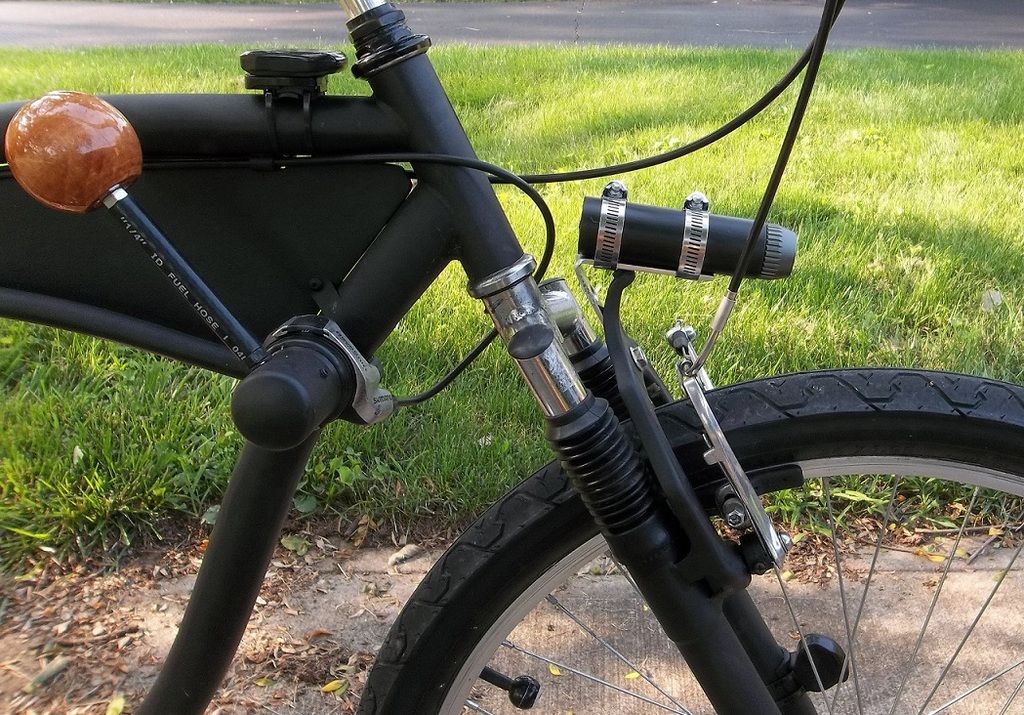
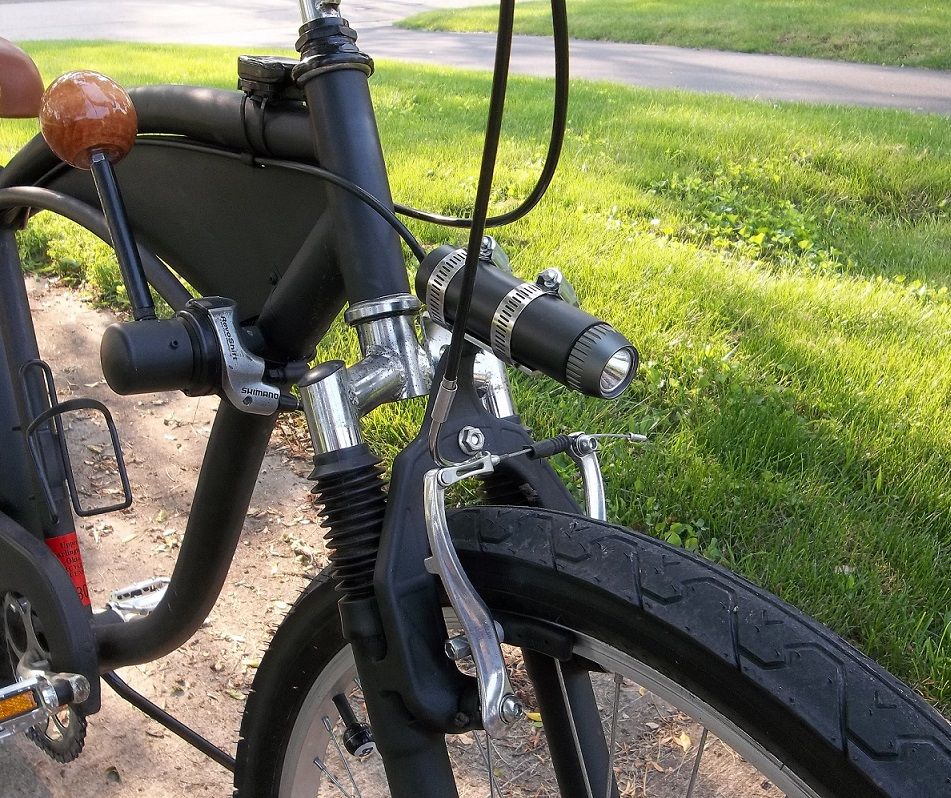
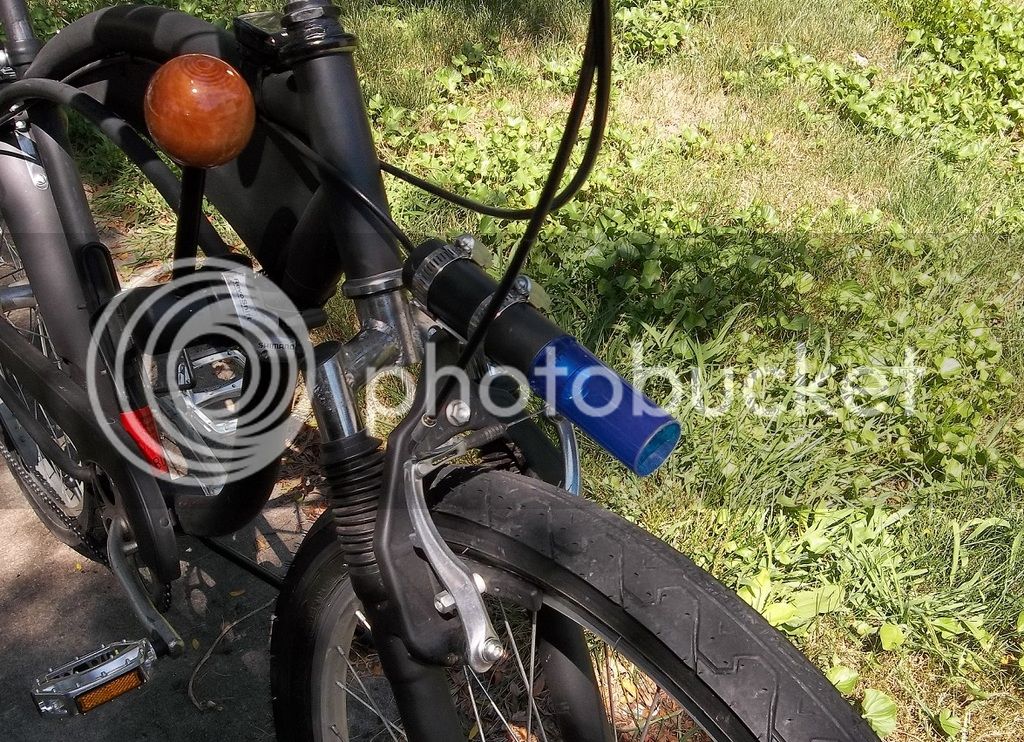
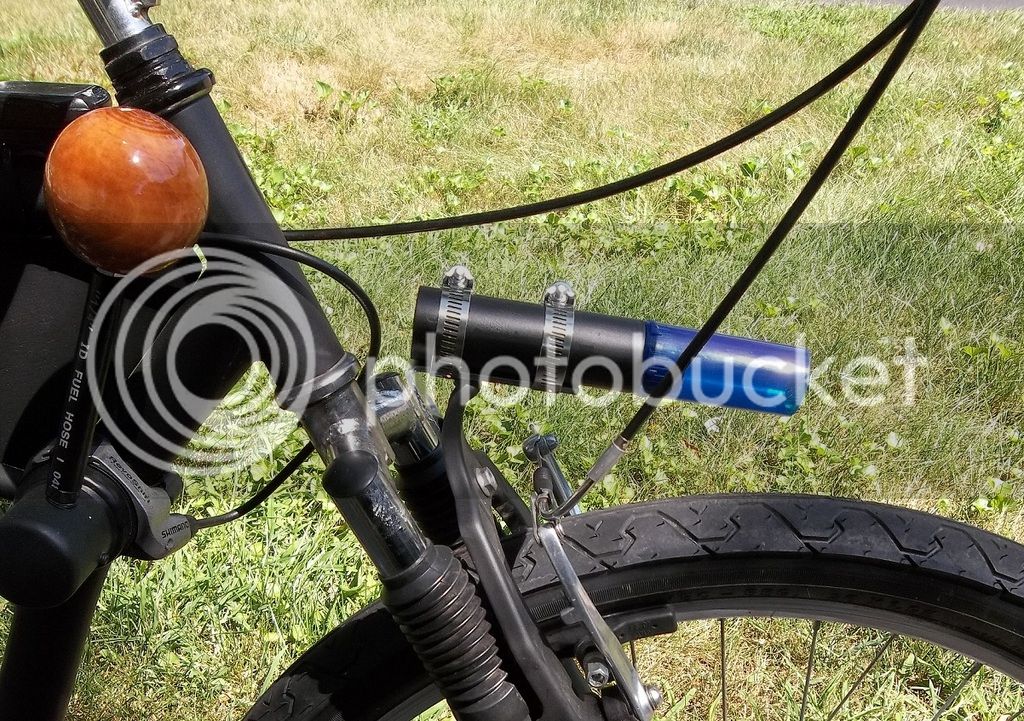
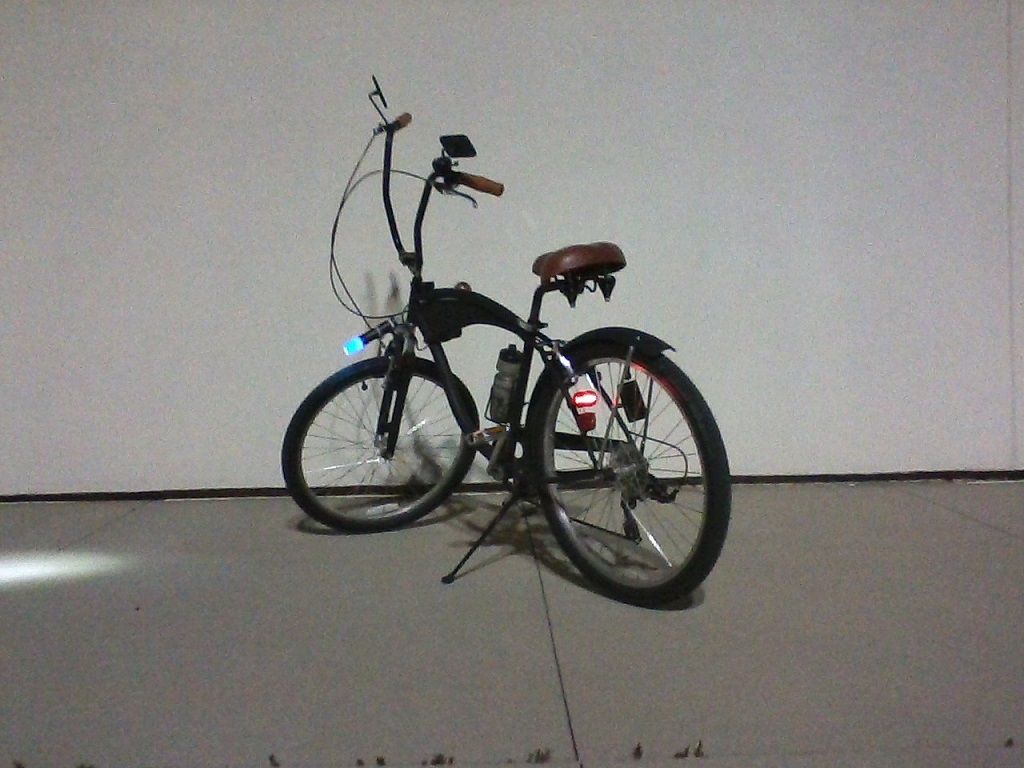
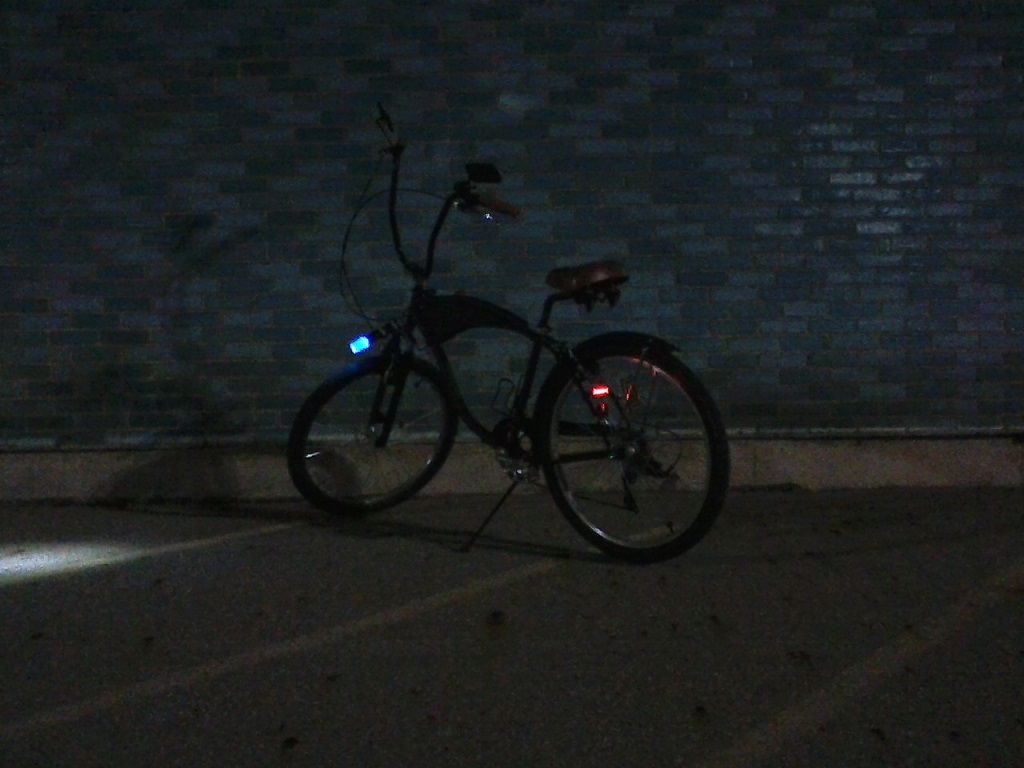
I built a custom mount for the rear seatstay to hold my vintage "Hawaii" bicycle license plate, along with another one for a reflector (and a light!) on the other rear seatstay. I do ride this at night occasionally (with the addition of custom lightbar on the handlebars) and the stock reflector on the seatpost was hard to see if I didn't have the seat raised up. (I plan to take the reflector off the seatpost and keep forgetting.) I also made a "performance" modification by upgrading the bent, cheap, stock derailleur!
I really think I'm done with this build, though I'm still toying with ideas for the "tank." Buzzrocker13 gave me the idea of another thin piece of plywood stained to match the seat and grips, but I think the black tank really makes the shifter stand out. I'm also toying with the idea of using a sheet of brushed or hammered aluminum, which might look cool but also might take away from the shifter. No matter which of the three ways I go with the tank, I'm half-tempted to get some custom vinyl lettering to put on there, but don't know what I want it to say. Maybe I'll just put some RRB stickers on there instead?
I DO like having a mirror on my bikes, and like the twin mirrors for this bike, so I'm still occasionally looking at eBay for some inexpensive motorcycle mirrors. The classic rectangle bike mirrors aren't bad, but I REALLY should have roughed up the chrome-plated plastic before painting them.
Outside of those last, minor details, I'm quite happy with the way this all came together, and how much fun it is to ride it around town! It definitely gets attention -- during my last photo shoot people came up to me twice to say "cool bike!" and to ask "what kind of bike IS it?"
When I FIRST got it, it looked a lot like this:

(I have some of my own "original" pictures somewhere, but apparently not on this hard drive.
One of the first things I did was put a layback seatpost on it, and a Schwinn Stingray seat. Despite the fact that the saddle LOOKS like it's about to fall off the bike, it's actually most comfortable at that angle. I rode it around for a week or so with some lower, more normal apehangers and with these 25" tall bars:

After I painted it flat black (with "rattle can" spray paint), I started getting more of a feel for what I thought I wanted the finished bike to look like:

The rack didn't stay on there long, but at least I was getting back to a normal-looking seat.
I built a "suicide stick shifter" out of a Grip Shift, chronicled in this thread [ http://ratrodbikes.com/forum/index.php?threads/stick-shift-from-grip-shift.84900/ ] and inspired by this thread by Bigcam59: http://ratrodbikes.com/forum/index....hifter-mount-and-stickshift-conversion.66386/

I left the brake cables extra long, so I could still put the super tall apehangers on there from time to time, but they're not as efficient for long rides, and they started to overshadow the rest of the things I've done to the bike.

At some point, I put a piece of wood in the frame to give it that "tank look."

I also installed a brand new Raleigh fender, but cut it down to give the bike a "bobber" look. One of the last things I did last fall was to install a suspension fork from a cheap Next brand "curb find," only because I thought it would look cool. (It's a CRUISER, and with that seatpost I estimate that at least 80% of my body weight is on the rear wheel. It doesn't NEED a suspension fork, let alone a cheap one that bounces when I stand on the pedals. With an extra long solid steel seatpost from slowriderz that probably weighs four pounds, this isn't a high performance bike and another extra pound or two can't hurt it much.

Last fall and over the winter, I found a new Torker seat, stained and clearcoated a wooden shift knob, and FINALLY found some grips that were about the same "honey" shade as the shift knob and almost as dark as the seat.


I built a custom mount for the rear seatstay to hold my vintage "Hawaii" bicycle license plate, along with another one for a reflector (and a light!) on the other rear seatstay. I do ride this at night occasionally (with the addition of custom lightbar on the handlebars) and the stock reflector on the seatpost was hard to see if I didn't have the seat raised up. (I plan to take the reflector off the seatpost and keep forgetting.) I also made a "performance" modification by upgrading the bent, cheap, stock derailleur!
I really think I'm done with this build, though I'm still toying with ideas for the "tank." Buzzrocker13 gave me the idea of another thin piece of plywood stained to match the seat and grips, but I think the black tank really makes the shifter stand out. I'm also toying with the idea of using a sheet of brushed or hammered aluminum, which might look cool but also might take away from the shifter. No matter which of the three ways I go with the tank, I'm half-tempted to get some custom vinyl lettering to put on there, but don't know what I want it to say. Maybe I'll just put some RRB stickers on there instead?
I DO like having a mirror on my bikes, and like the twin mirrors for this bike, so I'm still occasionally looking at eBay for some inexpensive motorcycle mirrors. The classic rectangle bike mirrors aren't bad, but I REALLY should have roughed up the chrome-plated plastic before painting them.
Outside of those last, minor details, I'm quite happy with the way this all came together, and how much fun it is to ride it around town! It definitely gets attention -- during my last photo shoot people came up to me twice to say "cool bike!" and to ask "what kind of bike IS it?"


