3-Star Delusion - finally an actual ride...

Rat Rod Bikes Bicycle Forum

Help Support Rat Rod Bikes Bicycle Forum:

This site may earn a commission from merchant affiliate links, including eBay, Amazon, and others.
Re: 3-Star Delusion - final assembly

:shock:

I think if Evel Knievel built a Ratbike it might look something like this!

I LOVE it!!

I think you nailed it dude! :mrgreen:
 
Re: 3-Star Delusion - final assembly

Man, that's killer! So many cool details and it all just works.
Columbia Three Stars ROCK!! :wink:
 
Re: 3-Star Delusion - final assembly

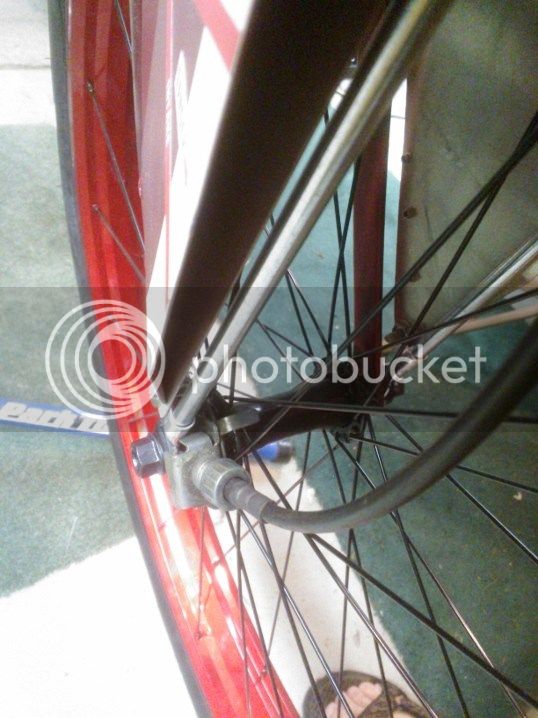
Hey, thanks guys. I tried to come up with something unique and custom without overdoing it with farkles. You can easily get carried away with that... So, yesterday I made a little more progress. I started off by installing the speedo drive and cable.

WP_001605_zps2ad4a6e1.jpg

WP_001609_zps4da6f758.jpg


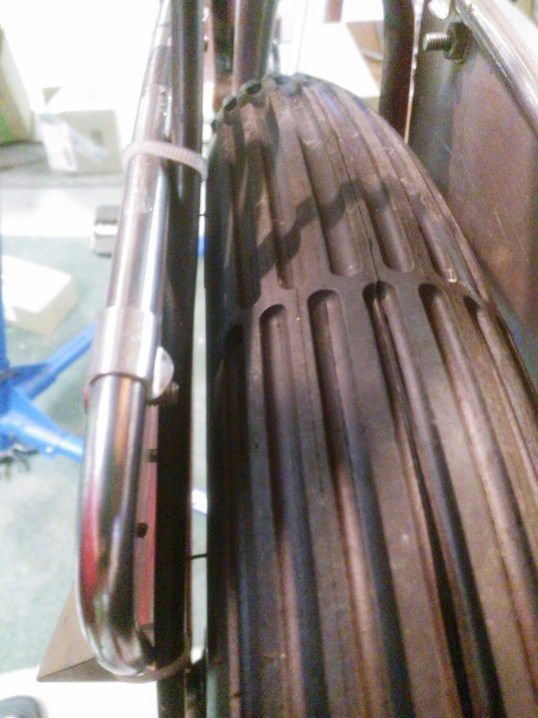
The cable routing is close to the tire, but cable ties hold it away. It's better this than running the cable outside of the scoop panel. As it is, there's barely enough cable length to reach the speedo head. It doesn't help that the truss rods limit the angle that I can mount the cable drive, so I can't point it in the direction that it needs to run. I loose a bit of effective length in bending it back in the right direction. But it just makes it, so it's all good.

Next step was painting all of the exposed hardware so that it doesn't stand out. One can argue that a bunch of bright screw heads gives it a neat look, but in this case I wanted it to have a more integrated appearance. So all of the exposed stainless heads that were shown above are now painted (for however long that'll last). While I was at it, I repainted part of the lower bar frame darts, which had been covered over with grey paint. I'm not sure how much will be visible, but it's better than nothing. Along the same lines, I painted the dart segment onto the P-clamp that attaches the downtube gusset panel as well, to help blend it into the paint work.

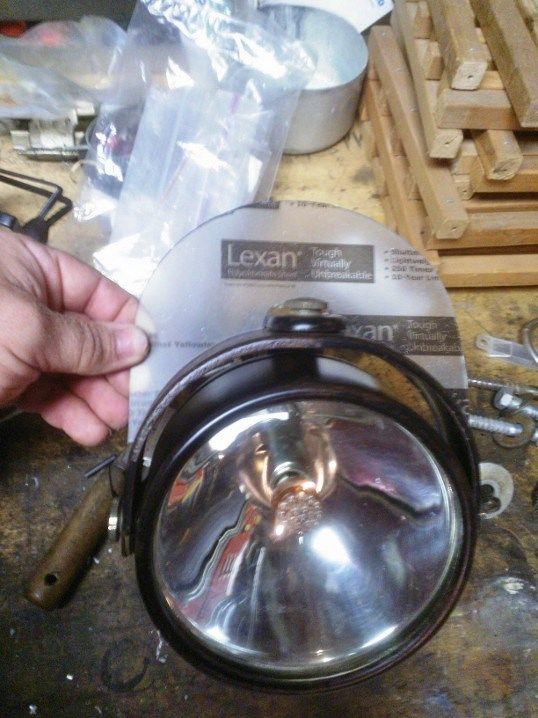
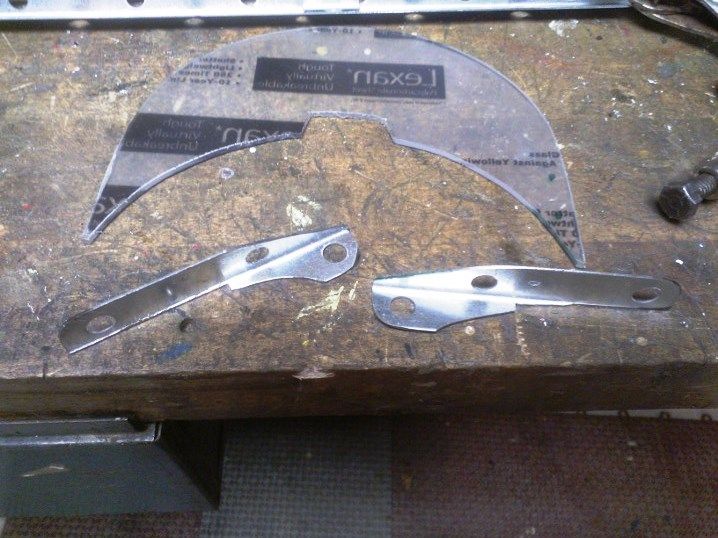
Also, I found a scrap of lexan sheet, left over from making BonniRocket's windscreen last year. It was just enough to reprise that role for the 3-Star.
WP_001611_zps166b8458.jpg

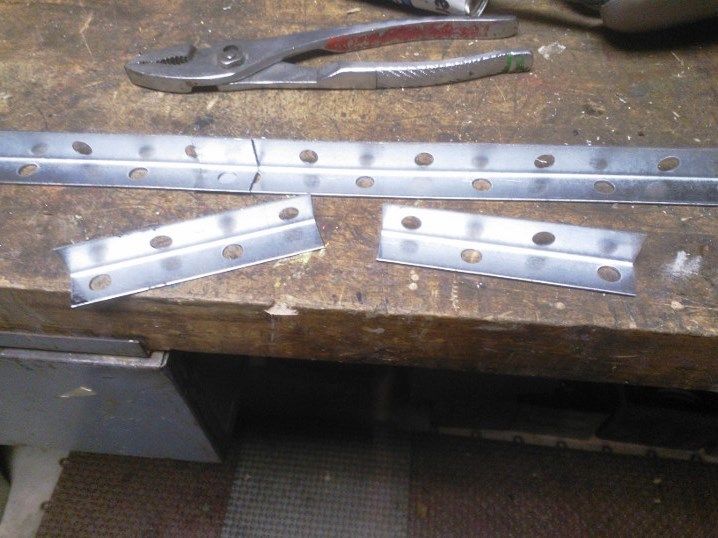
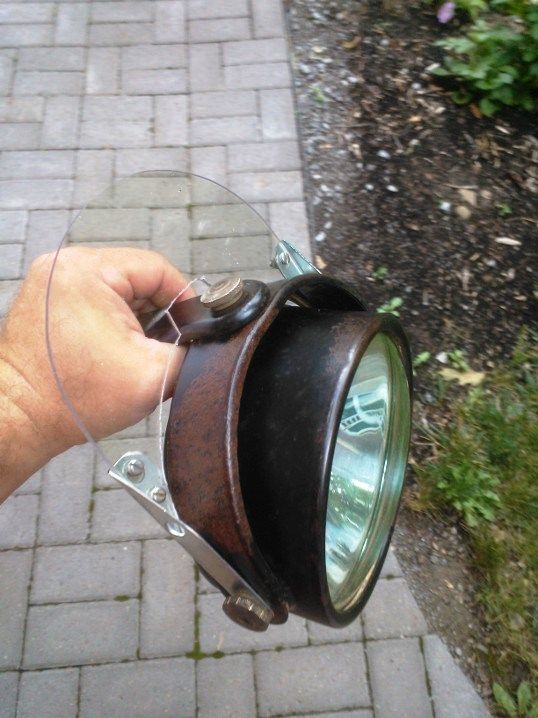
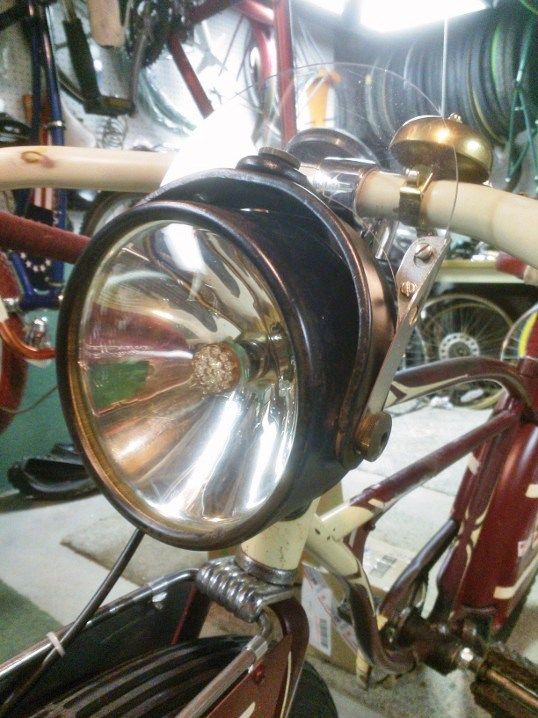
I made this simple little fly screen to attach to the headlight assembly. I dug up some plated steel angle stock and whipped up mount brackets.
WP_001613_zps8e5b59d9.jpg

WP_001614_zps62a0d015.jpg


And the final product:
WP_001615_zps9caf8475.jpg

WP_001616_zps339a3c8a.jpg


It's kind of tough to photograph, being that its very clear. Obviously, it is a small little windshield and that makes it tough to spot, reduces its visual impact. I have to try to get it with a glare reflecting off it a bit just to see it.
 
Re: 3-Star Delusion - final assembly

WP_001618_zps6b771610.jpg


WP_0016191_zps5012e47d.jpg


At this point, everything is in place except the wiring for the lights. That's a fairly simple project for the last minute... I might be able to work on that tonight. I was toying with the idea of still trying different saddles, but this one really seems to match well. The old, weathered Brooks I was going to try would look good on it, as likely with the black and white Troxel I was considering. But this red & white Mesinger really seems to work well. I might take some photos of the others and let the group weigh in. I think, at this point, I can rule out the banana seat that I was originally considering. I just don't think it suits the nature of the bike...
 
Re: 3-Star Delusion - final assembly

Great windshield! Lot's of cool stuff coming together. :D

You might need to vent the back side of the intake vents. Judging by how fast this thing looks, trapping all of that air could make the steering unstable! :p :mrgreen:

WP_001605_zps2ad4a6e1.jpg
 
Re: 3-Star Delusion - final assembly

The Renaissance Man said:
You might need to vent the back side of the intake vents. Judging by how fast this thing looks, trapping all of that air could make the steering unstable! :p :mrgreen:

LOL. We'll see, if Vmax seems to limited by steering issues, I'll just lower the pressure in these super fat tires and create more drag. :lol: These tires barely need any air in them to hold the bike (and rider) up...

I did ride it around the neighborhood a little last night. I realized that there's a problem with the speedometer. The needle twitches around but doesn't read a speed. After playing with it a bit to ensure I actually had cable engagement and that the gage really did work, I figured out that I'm driving it backwards. Unlike the Schwinn/Huret drive gears that are reversible, this one only spins one direction and has to be mounted on the left fork leg. I, of course, put it on the right. Murphy's Law? Hopefully I can stretch the cable over to the left. If not, I'll have to switch my speedo and bell...
 
Re: 3-Star Delusion - final assembly

This a super cool build. If it would have worked with your color scheme I would have sent a couple little NASA stickers for it. Does your front fork have reflective tape on it? Was that a common thing? The Meteor Flite i just got has it.
 
Re: 3-Star Delusion - final assembly

kim_dude said:
This a super cool build. If it would have worked with your color scheme I would have sent a couple little NASA stickers for it.
Thanks. I have several related decals - ejection seat triangles, "RESCUE" arrows, stars/bars of various sizes that I thought about using. But my idea was jet-inspired, but not military, so I decided what I had was enough. But NASA might've worked.

kim_dude said:
Does your front fork have reflective tape on it? Was that a common thing? The Meteor Flite i just got has it.
Several bikes I've got have reflective tape on the forks, sometimes the fenders too. It must've been common. The stuff is a bugger to remove and it seemed to be neatly applied and consistant, so I decided to leave it. It sort of makes up for not having wheel reflectors from a safety point of view, and isn't out of place color wise.
 
Re: 3-Star Delusion - "everything works" edition

This is one of the nicer builds this year and will definitely be getting high votes........ (I just hope it isn't the highest ranking 3 Star... :p :mrgreen: )
BRAVO buddy!!

WP_0016191_zps5012e47d.jpg
 
Re: 3-Star Delusion - "everything works" edition

It turned out that there was just enough speedo cable length to reach the other side of the front hub. I did minorly rebend the sheet metal housing for the drive gear to allow me to angle it farther upwards, I think that made the difference. So now the speedometer works. It's a bit noisy; I took it back off and sprayed some graphite lube inside and it quieted it some. So that part's done.

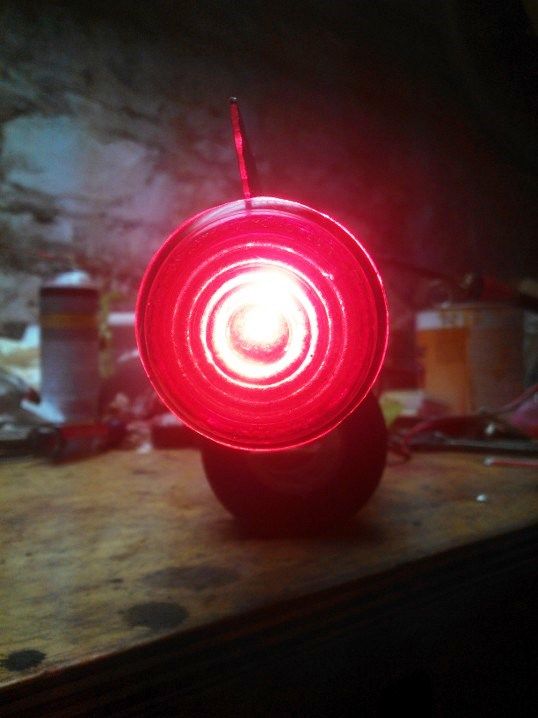
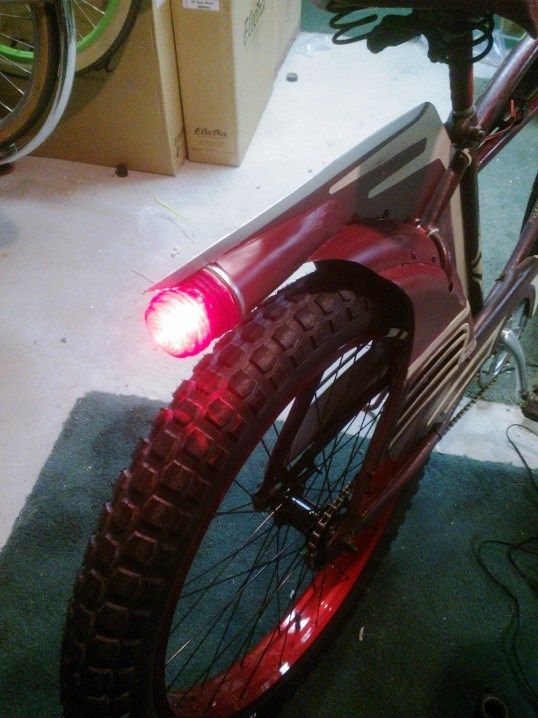
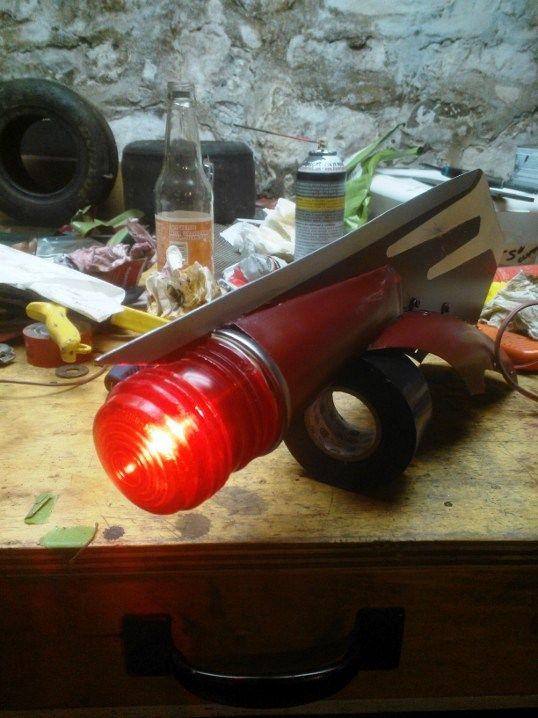
So, moving on to the lighting, I installed an E10-base 1-watt, 6V LED in the tail light assembly when I put it together. The positive wire was already in place coming out under the fender, but the lamp was designed to ground through the handle back to the lantern battery box. So, by default, my light was grounded to the tail fin since it was through bolted to it. So, I ran ground wire from the lower front corner of the fin into the tank, along with an extension soldered onto the positive wire. I didn't take a picture of the wire routing. However, once I have the wiring attached to the fin/fender assembly, I was able to bench test it by lighting it off of a 9V battery that I pirated out of my smoke detector (note to self - put the battery back).
WP_001639_zps455d86c8.jpg

WP_001641_zps47945821.jpg


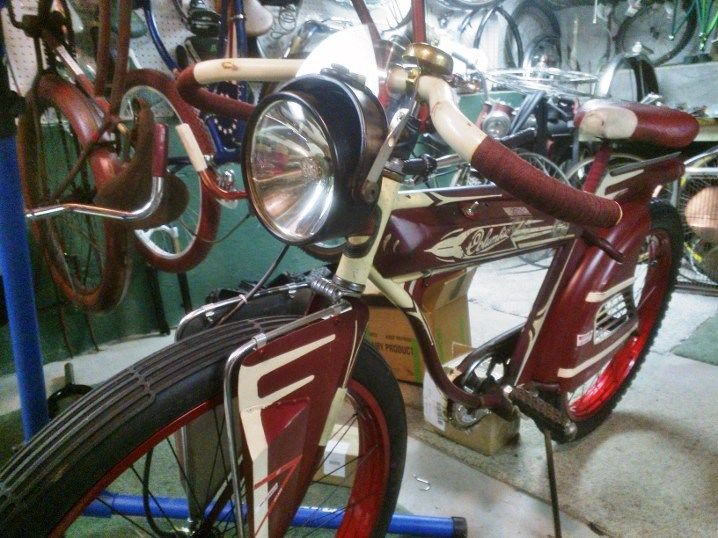
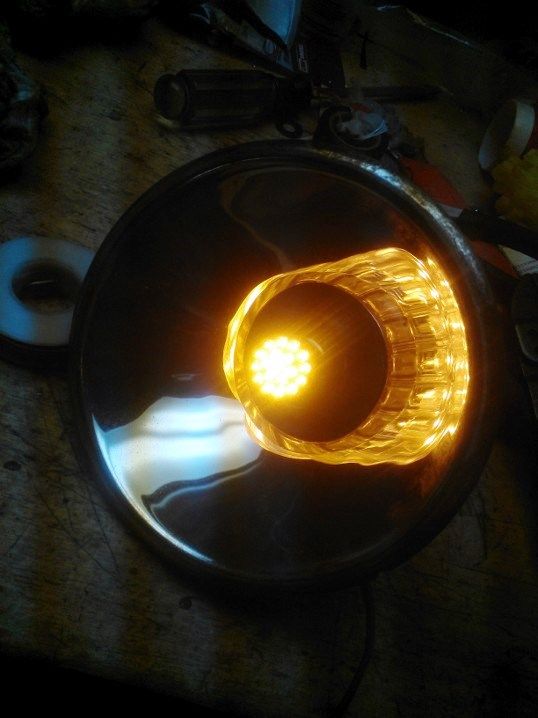
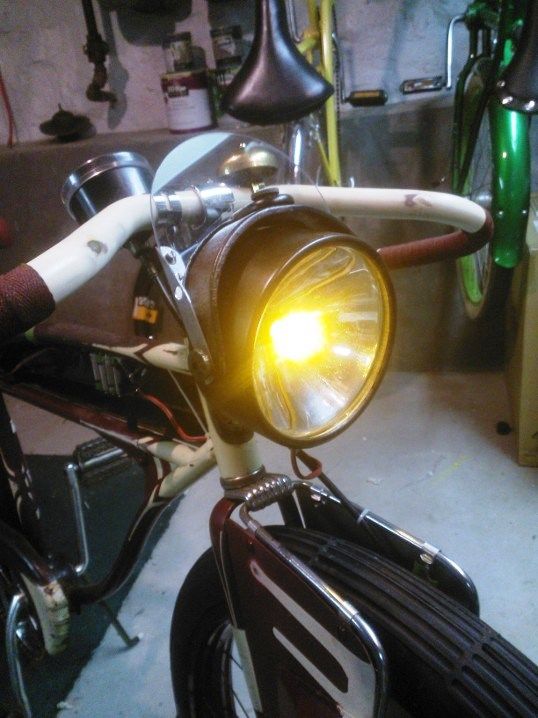
Next, the headlight needed some modification to make it work. I had to replace the ancient cloth-shrouded wiring, which definitely looked vintage, but was unreliable. I soldered on a new positive wire, and attached a new ground to the terminal contact. The contacts themselves had to be rebent and slightly trimmed to contact the bulb in the correct places (see previous post regarding 1-pin vs 2-pin). This turned out to be simpler than I thought, but I had to be careful to assemble it so that there was no internal contact that would cause a short circuit - there's no insulation on the contacts anywhere. Again, once done, I bench tested the lamp using the 9V:
WP_001642_zpsadf80a24.jpg


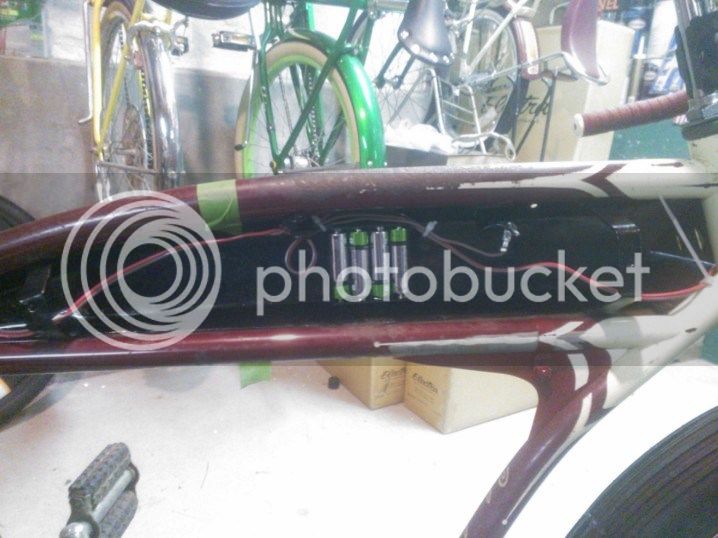
With the lights wired up, I reinstalled them on the bike and ran the wires into the tank. I mounted a 4-AA battery holder to the side and the on/off switch in the horn button hole (that's why I have a brass bell now). The leads were soldered together and connected to the switch.
WP_001643_zpsb507b51d.jpg

And with that, the lights were tested off the AA pack for the first time:
WP_001645_zps2d93ab96.jpg

WP_001646_zpsf5b114b5.jpg


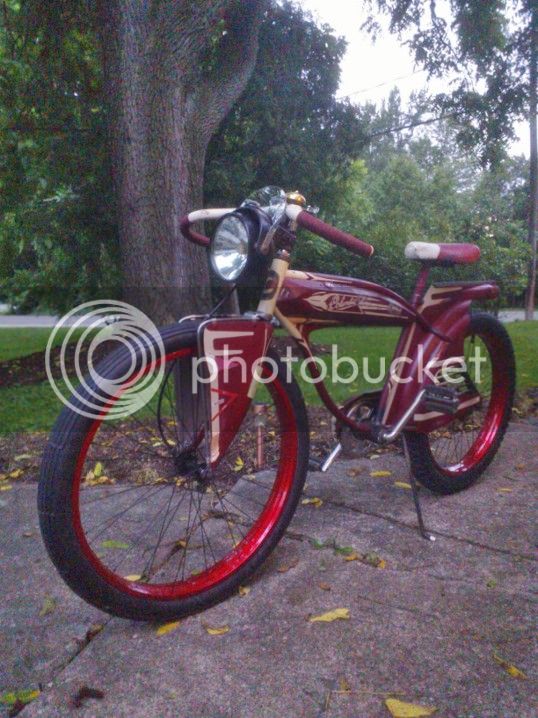
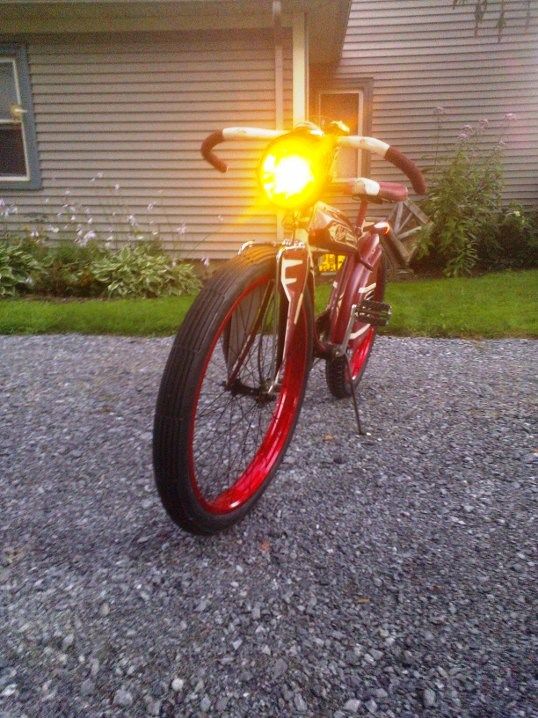
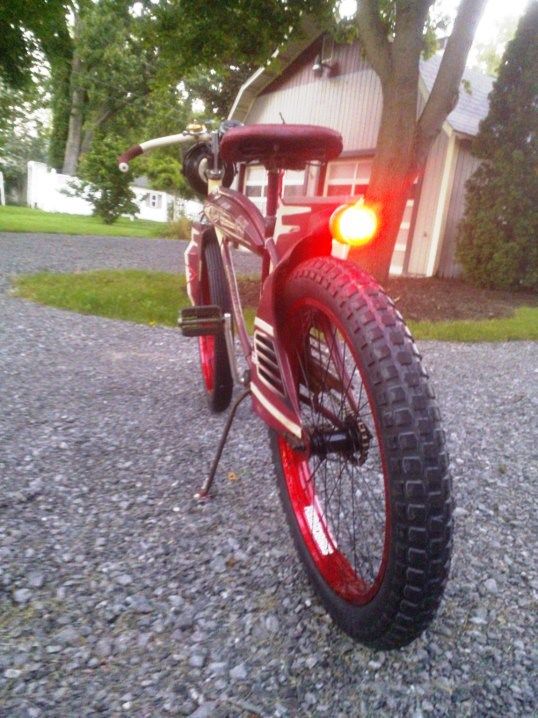
Everything was then buttoned up and taken outside for photos. The timing worked well, as it was just dusk.
WP_001649_zps4057a8cf.jpg

WP_001648_zpsa311a13c.jpg


OF course, once I took a few pics, I had to ride it around the block...
 
Re: 3-Star Delusion - "everything works" edition

kingfish254 said:
This is one of the nicer builds this year and will definitely be getting high votes........ (I just hope it isn't the highest ranking 3 Star... :p :mrgreen: )
BRAVO buddy!!

Thanks! If past results are any indication, I imagine I'll get 3 to 4 votes. 8)
 
Re: 3-Star Delusion - "everything works" edition

expjawa said:
kingfish254 said:
This is one of the nicer builds this year and will definitely be getting high votes........ (I just hope it isn't the highest ranking 3 Star... :p :mrgreen: )
BRAVO buddy!!

Thanks! If past results are any indication, I imagine I'll get 3 to 4 votes. 8)

You never know where the votes will shake out, but IMHO this is easily a Top Ten or higher build.
 
Re: 3-Star Delusion - "everything works" edition

Vell, vee shall see, ja?

Digression time - I've wondered about that some in the past - how much of the voting is the build and how much is simply exposure? There are sometimes well-built bikes that have relatively fewer views and voting reflects that. Last year, I recall seeing several posts regarding my BonniRocket to the effect of "this bike is cool, how'd I miss it during the build?". When voting time comes, there are so many to look at that I'd imagine its hard to appreciate the work and detail in a majority of the builds that one hasn't followed closely, so the voters are left with choosing based on the single photo shown in the voting thread. A single photo that might not best capture its essence. It's like voting for a political office based one a single newspaper article regarding the campaign issues. Consequently, maybe bikes with more posts get more votes, just from familiarity. With all that said, I really haven't spent as much time thinking about it as this posting suggests (honest!). At the end of the day, I've actually built a bike that I think is cool, so that's the key... :mrgreen:
 
Back
Top