- COMPETITIONS
- THE COMPETITION ARCHIVES
- RRBBO OFFICIAL COMPETITIONS
- BUILD OFF 8 - (2013)
- BUILD OFF 8 - TRADITIONAL BIKES
You are using an out of date browser. It may not display this or other websites correctly.
You should upgrade or use an alternative browser.
You should upgrade or use an alternative browser.
50'S MONARK MUSCLE
- Thread starter nito900rr
- Start date

Help Support Rat Rod Bikes Bicycle Forum:
This site may earn a commission from merchant affiliate
links, including eBay, Amazon, and others.
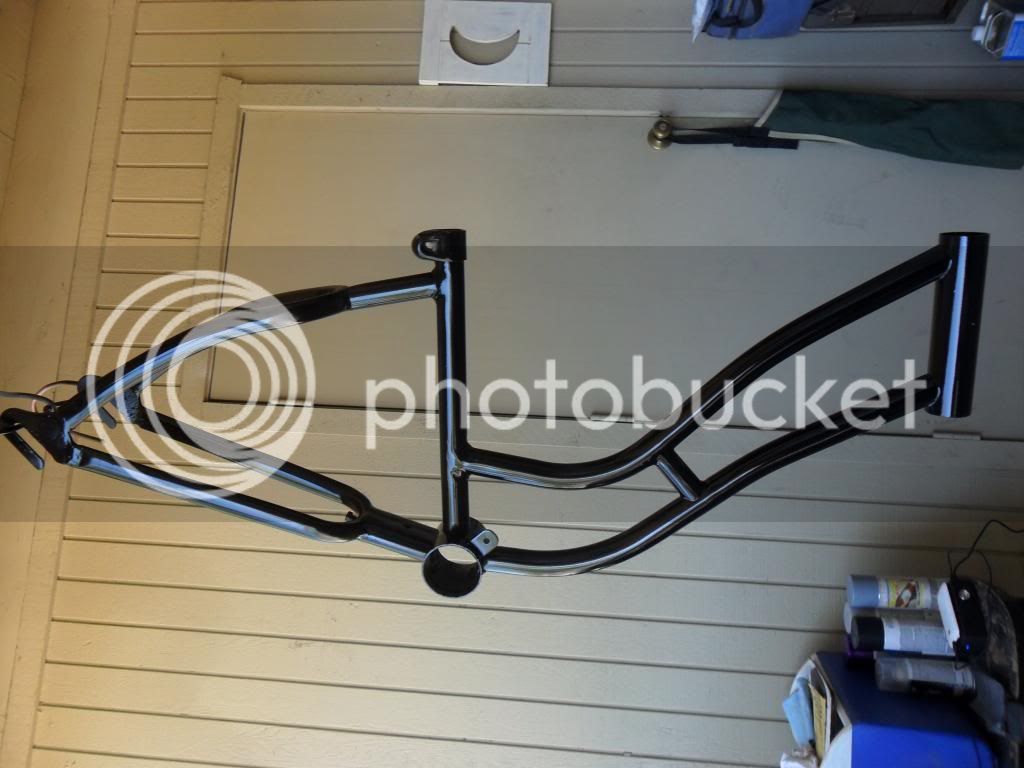
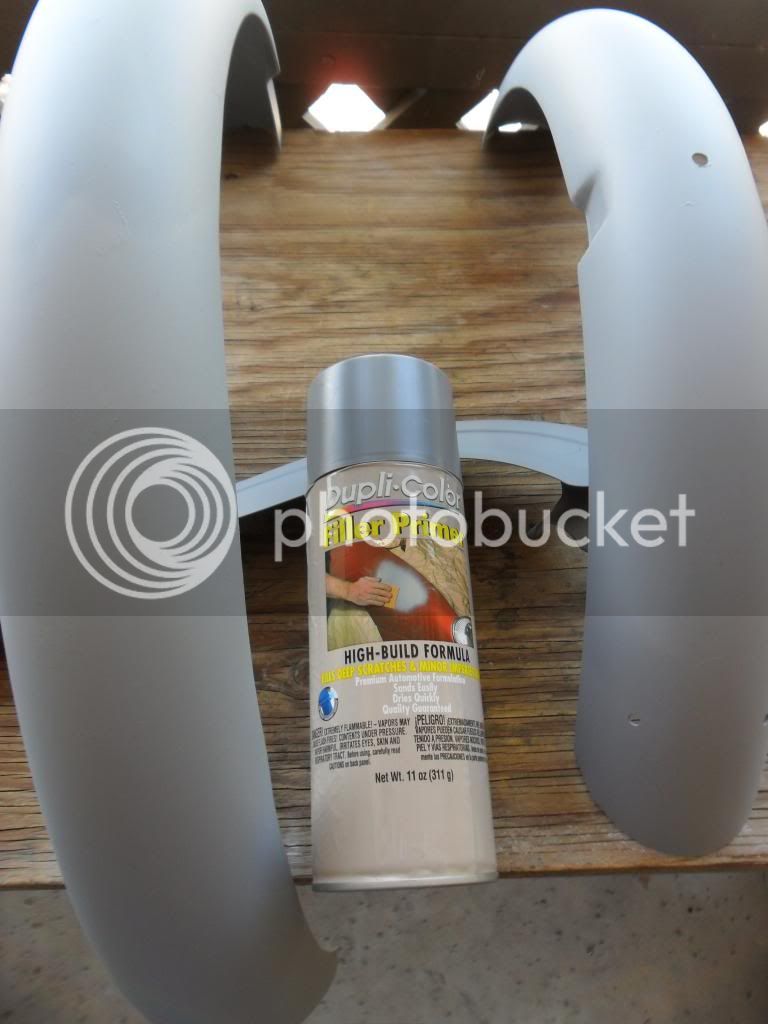
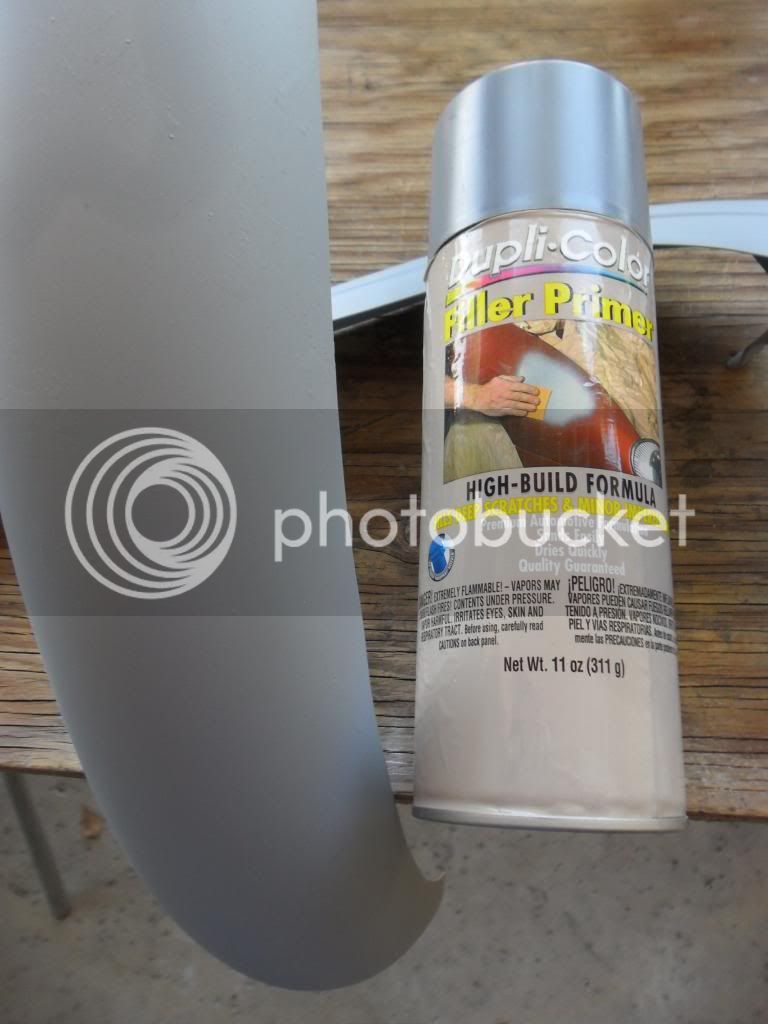
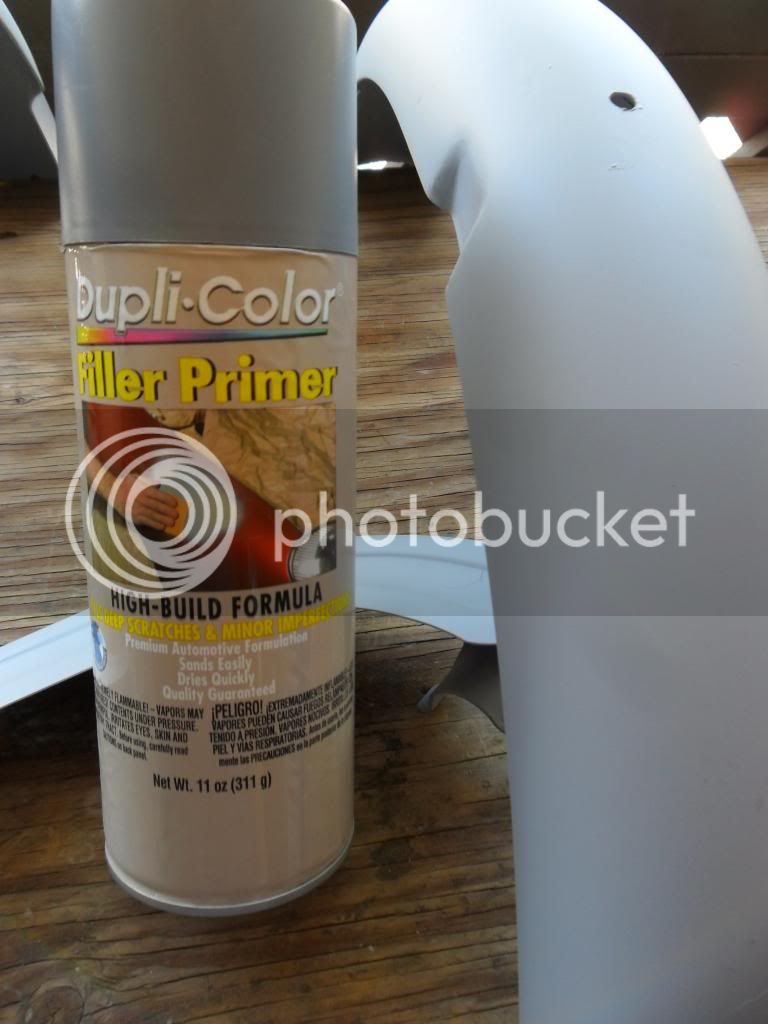
THE most important part of any paint job is the prep work! I cannot stress this enough! Whether or not its bare metal or body filler, the surface has to be cleaned first otherwise you end up pushing the contaminates into your substrate. I used an automotive paint prep/wax and grease remover. On all bare metal and body filler, I made sure it was sanded with 320 so the primer will have a mechanical bond. After cleaning with the wax and grease remover, I used an etching primer on all bare metal areas. This ensures a good chemical bond. After the etch primer was fully cured (72 hrs), I cleaned it again and scuffed it with red scotch brite. At this point I sprayed everything with 3 coats of high build primmer, letting it flash dry for 5 mins. between coats. Use more if you are not confidant with the body work. After 72 hours I sprayed a VERY, VERY, light coat of flat black so use as a guide. I let the guide coat dry for a few hours before wet sanding with 400. The black guide coat will remain in the low spots and show you where further sanding is needed. *NOTE- the "high build" rattle can primer is very thin and 400 was to aggressive. So I ended up wet sanding with 600.


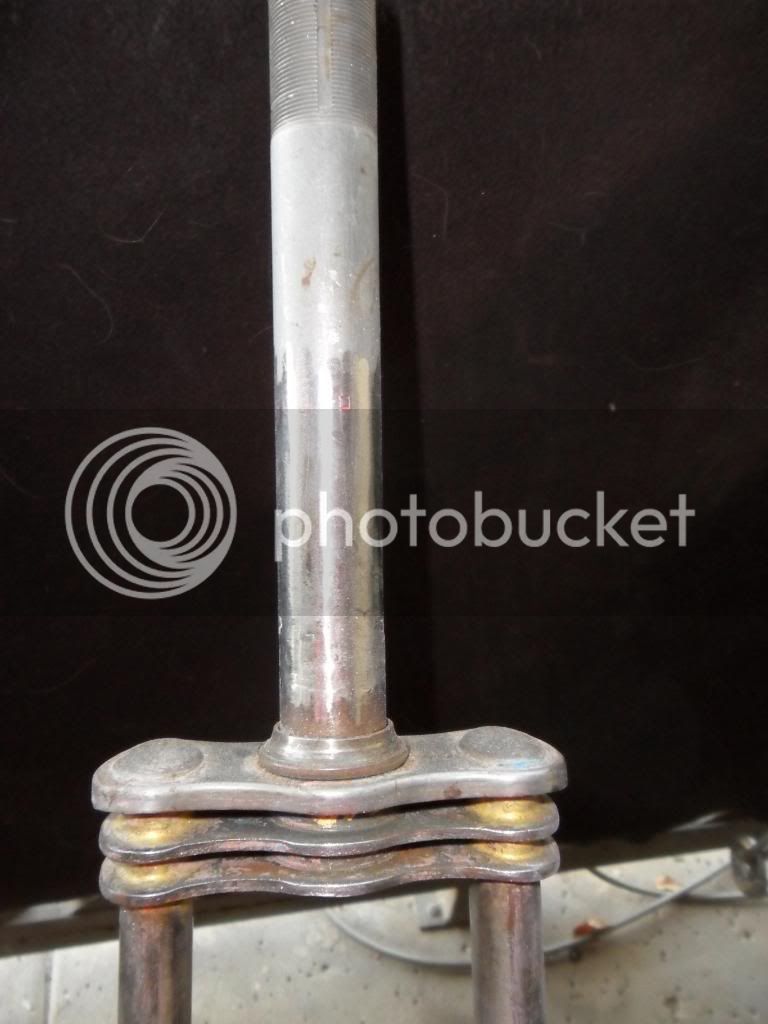
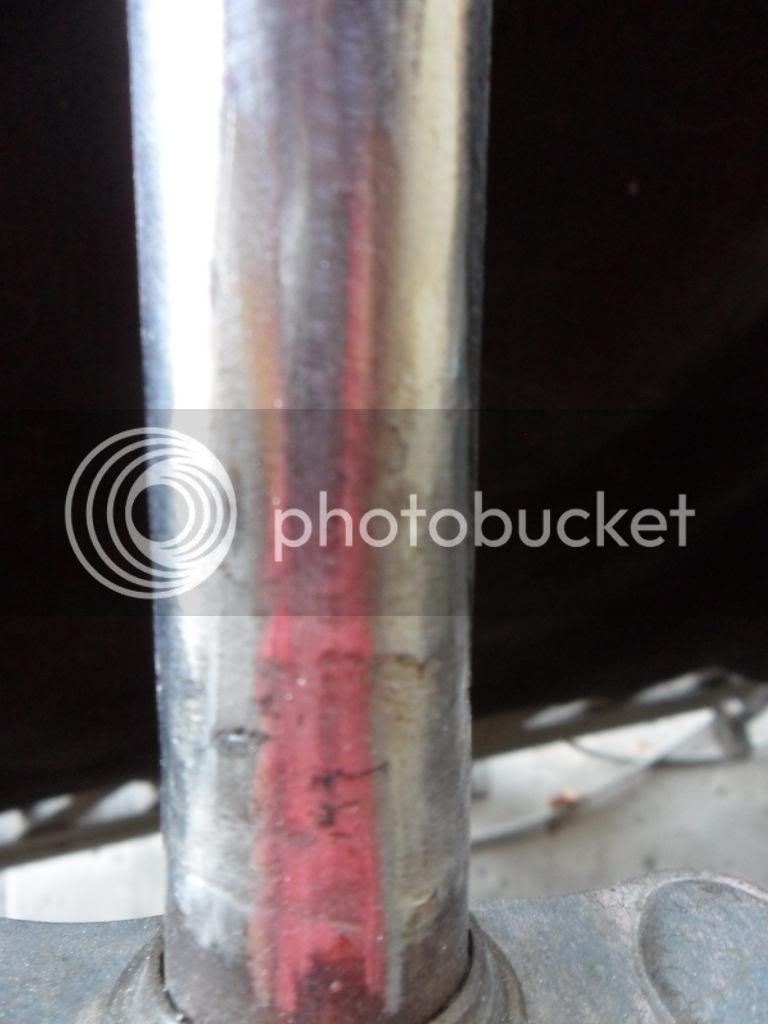
looking great love the fork repair!!!!
Troy
Troy
Hey! Everybody already knows how lazy I am with my build-off entries. No need to emphasize the point. :lol: :wink:
Good job!
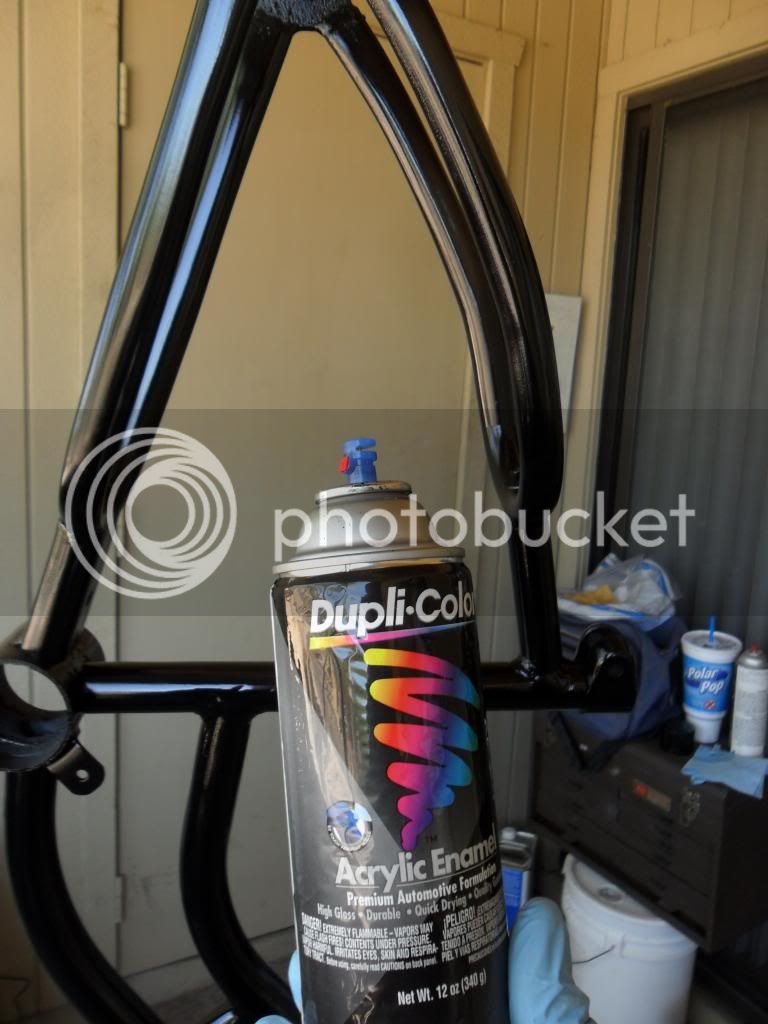
Ok......so originally I was not going to post ANY pics of paint until " 50's Monark Muscle " was completely done. But I'm very proud of this paint job and can't help myself! Let me first say, spray bombs have come a long way since I used to "play" around with them in my high school days! lol The range of colors and effects offered by Dupli Color are very impressive. The durability is slightly better then the norm, which still leaves a lot to be desired. But this was expected as well as the "die back" , or loss of gloss, that happens with all enamel paints and clears as they dry. For this reason I used a catalyzed urethane clear sprayed thru my Sata mini jet spray gun. Their durability gloss is outstanding!!! I understand not everyone is comfortable using a paint gun. It takes a lot of skill and practice. But if you can use a rattle can your in luck! U-POL now sells a 2 part(catalyzed) urethane clear in a spray can! I saw them available at my local auto paint supply as well as on line. They have a small separate container on the bottom that when pierced, mixes the hardener with the already reduced clear inside the can. It also comes with the same type of adjustable fan nozzle as Dupli Color uses. They were priced at $25 a can so its more expensive then using a gun. But you could probably do 2 complete bikes with 1 can!!!

$19.99
Electra Glide Wall Decal 2ft Long Sport Harley Davidson Bike Motorcylce Sticker Man Cave Garage Boys Room Decor
FatCat Wall Graphics

$249.40
$289.67
Kulana Lakona Tide Adult Beach Cruiser Bike, 26-Inch Wheels, 7-Speed, Silver
Amazon.com
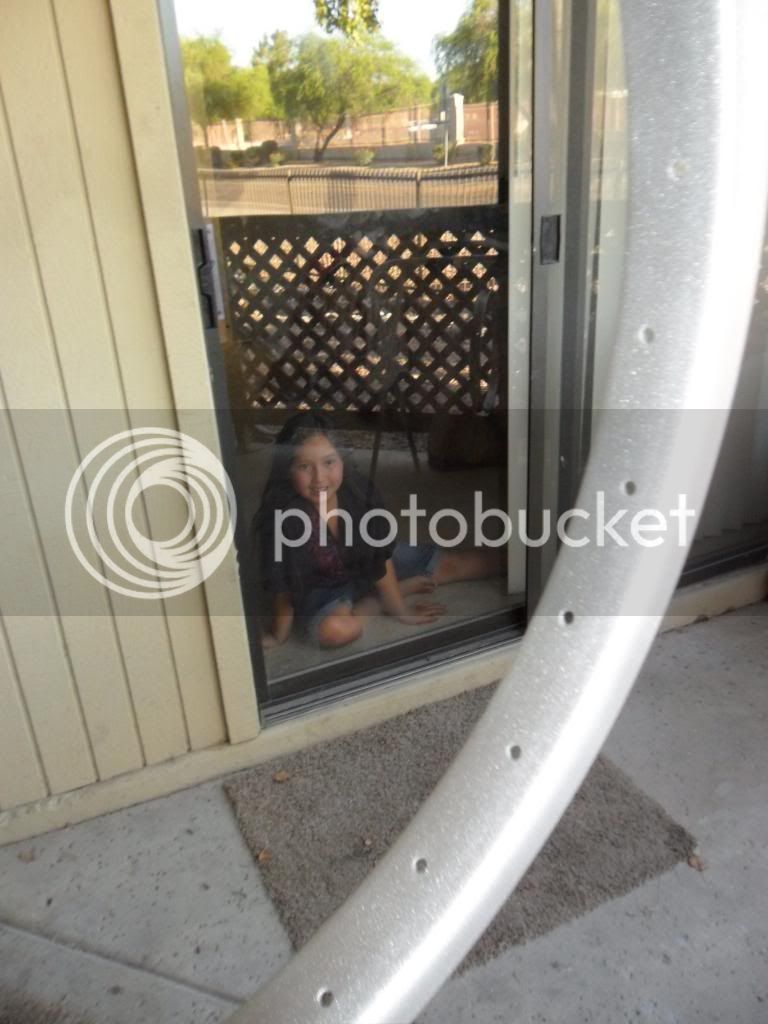
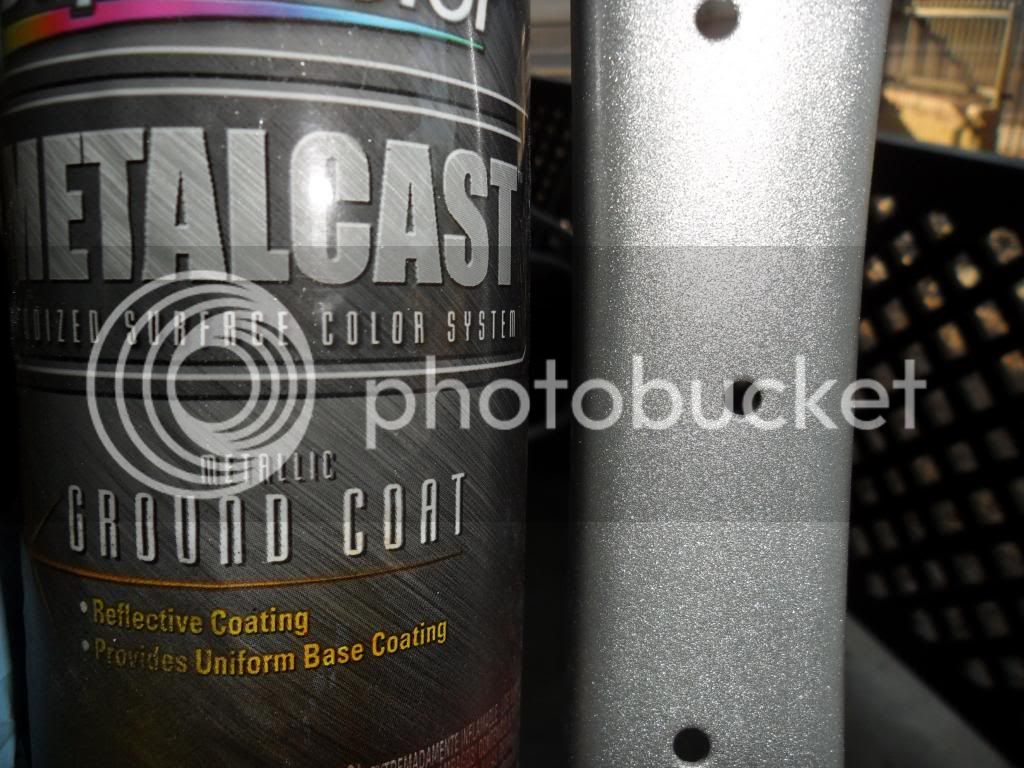
The rims were shot with 2 coats of the silver metalcast ground coat followed by the recommended 3 light coats of purple anodized metalcast. I must give credit were credit is due. In the first pic is my daughter for whom this bike is being built for. She is the one that came up with the color combo's!
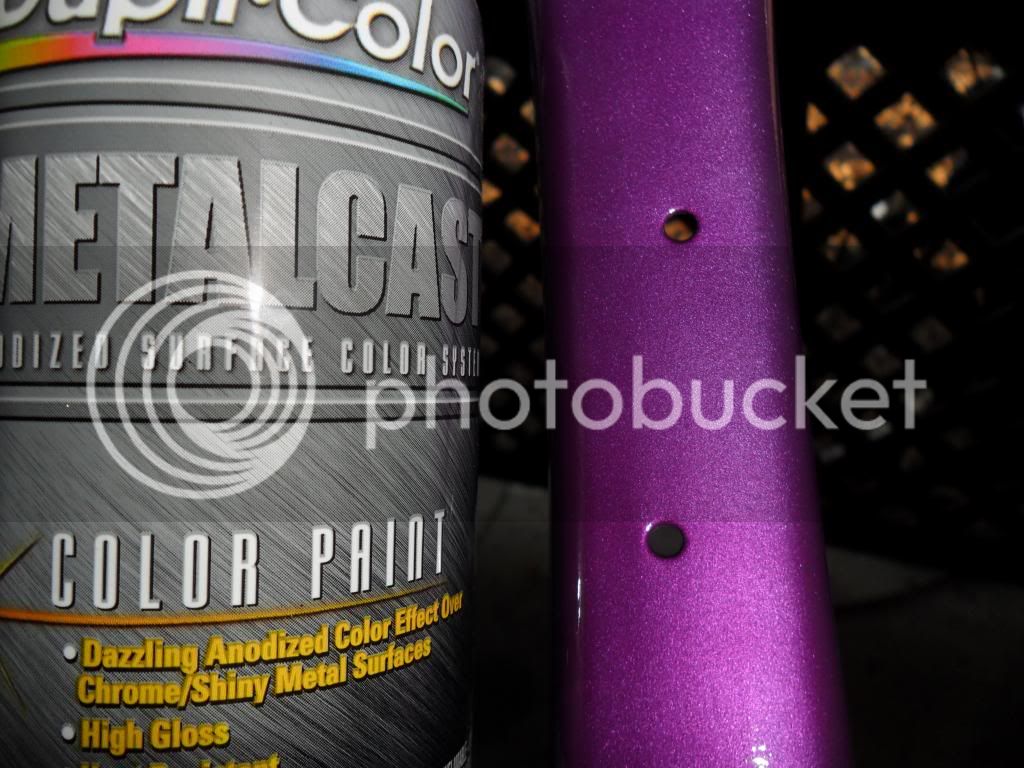


I used some of the Metalcast in BO7. Cool stuff. I really like how the wheels turned out.


The Renaissance Man
__CERTIFIED DIVER__ (Open Water & Open Dumpster)
Staff member
Moderator
Pro Member
Nice paint!
Thx kingfish!kingfish254 said:I used some of the Metalcast in BO7. Cool stuff. I really like how the wheels turned out.

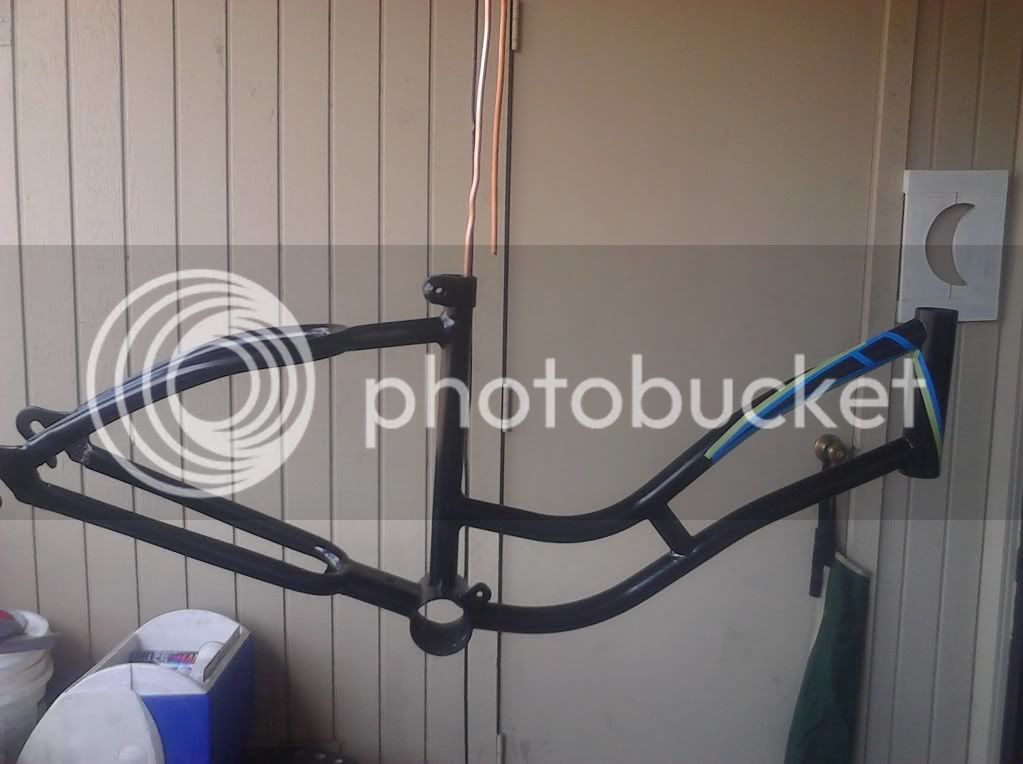
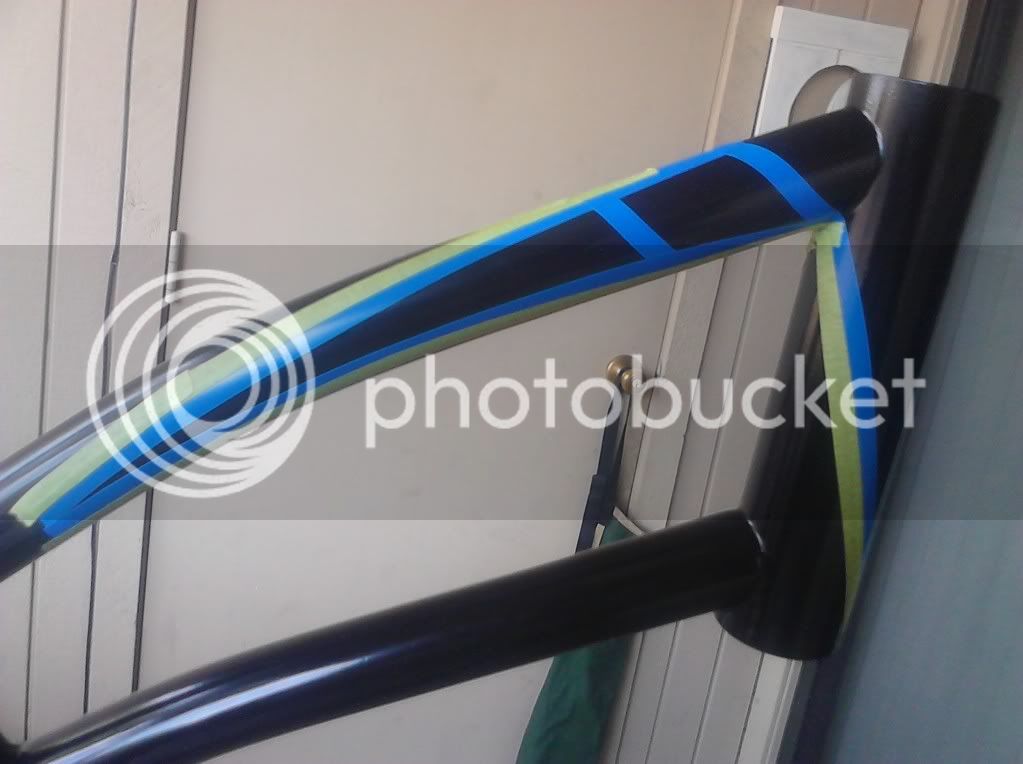
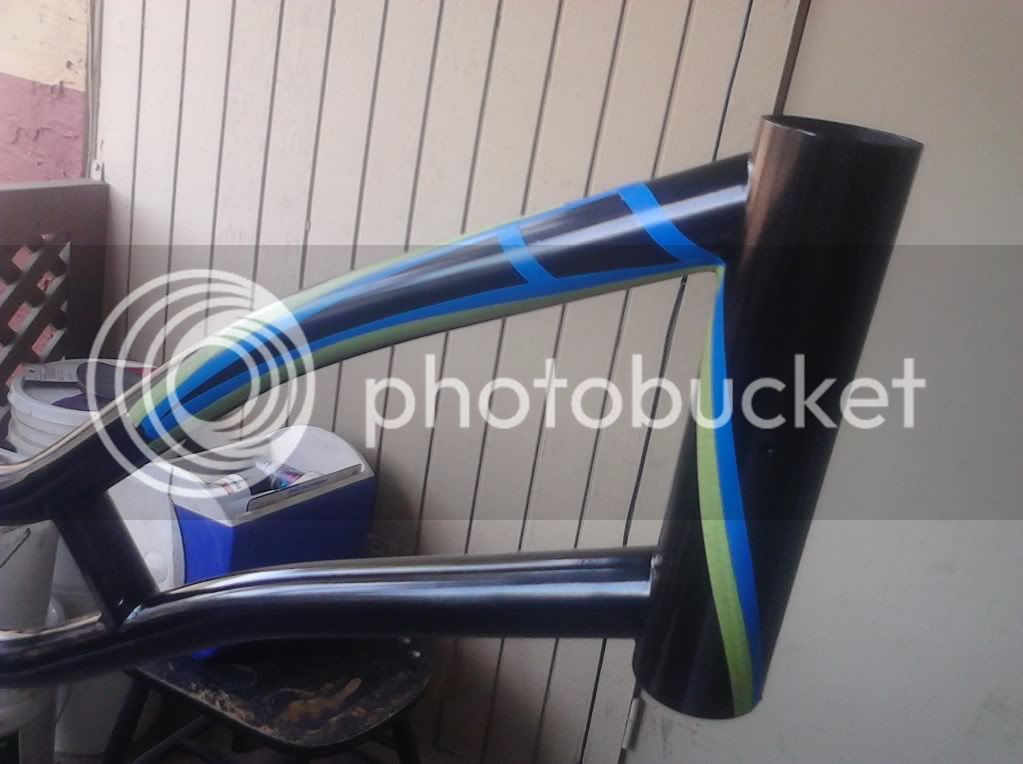
I used the same silver metalcast ground coat and anodized purple as I painted the rims with. After taping of the graphics I cleaned the inside of my tape lines then scuffed it with grey scotch brite to give the metalcast something to stick to. Then cleaned again, tacked, then shot 2 coats of metalcast followed by 3 coats of anodized purple. After letting that dry for 24 hours I laid down 2 medium wet coats of dupli color effect. It is an enamel clear with a rainbow metallic.
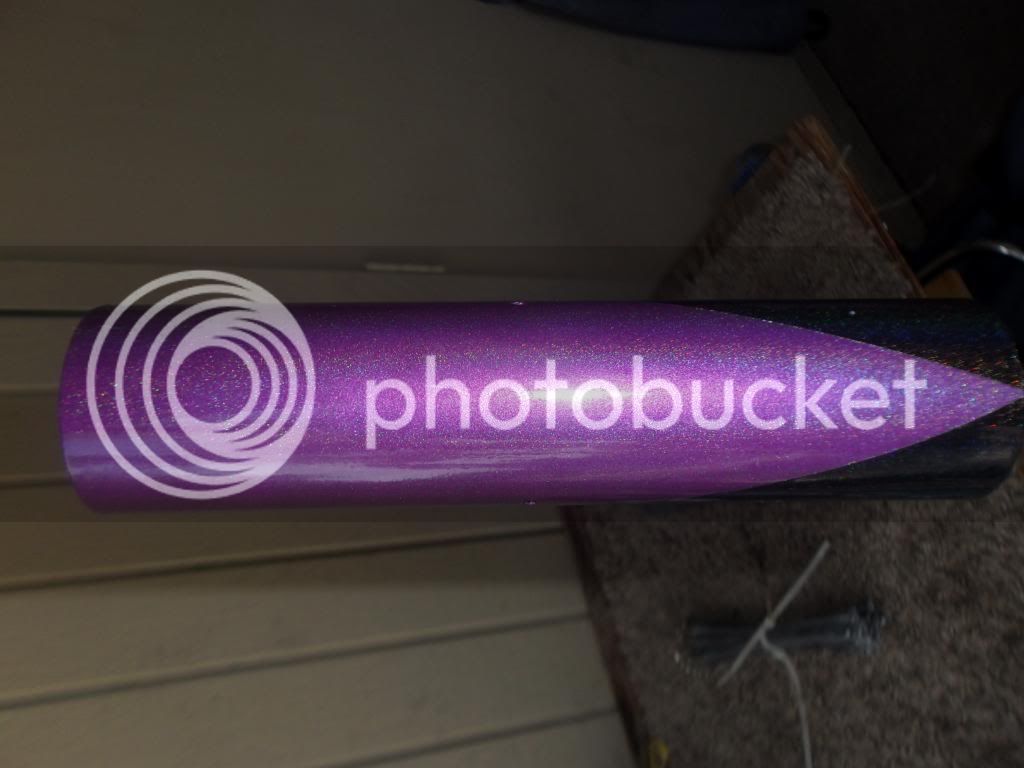
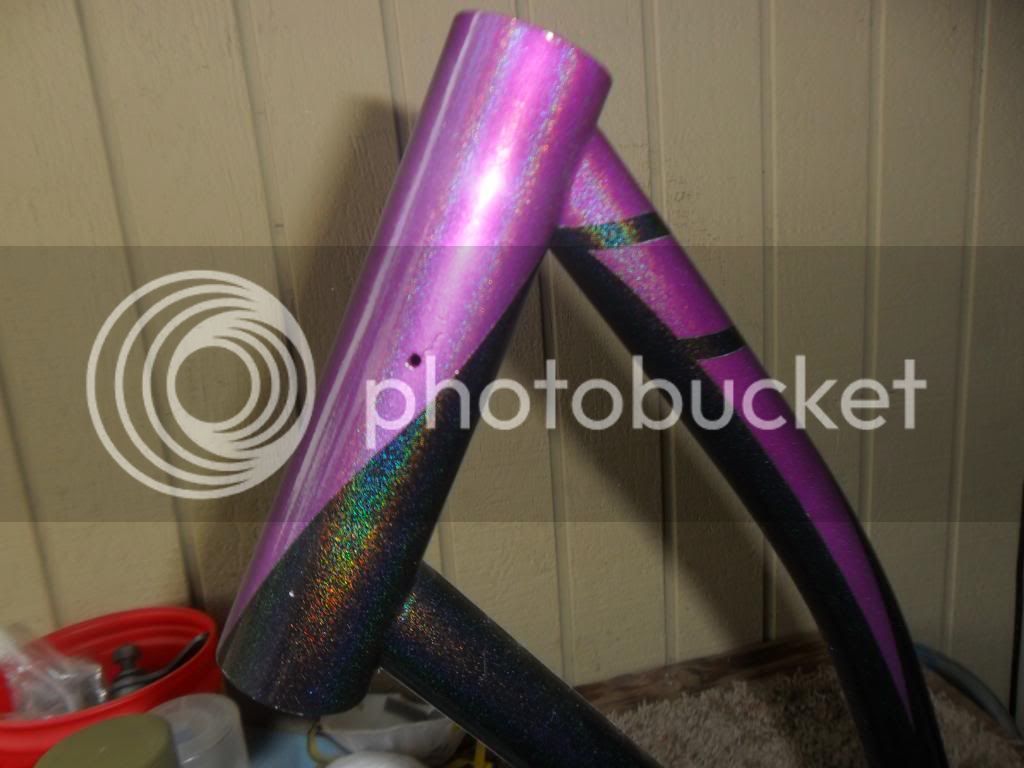
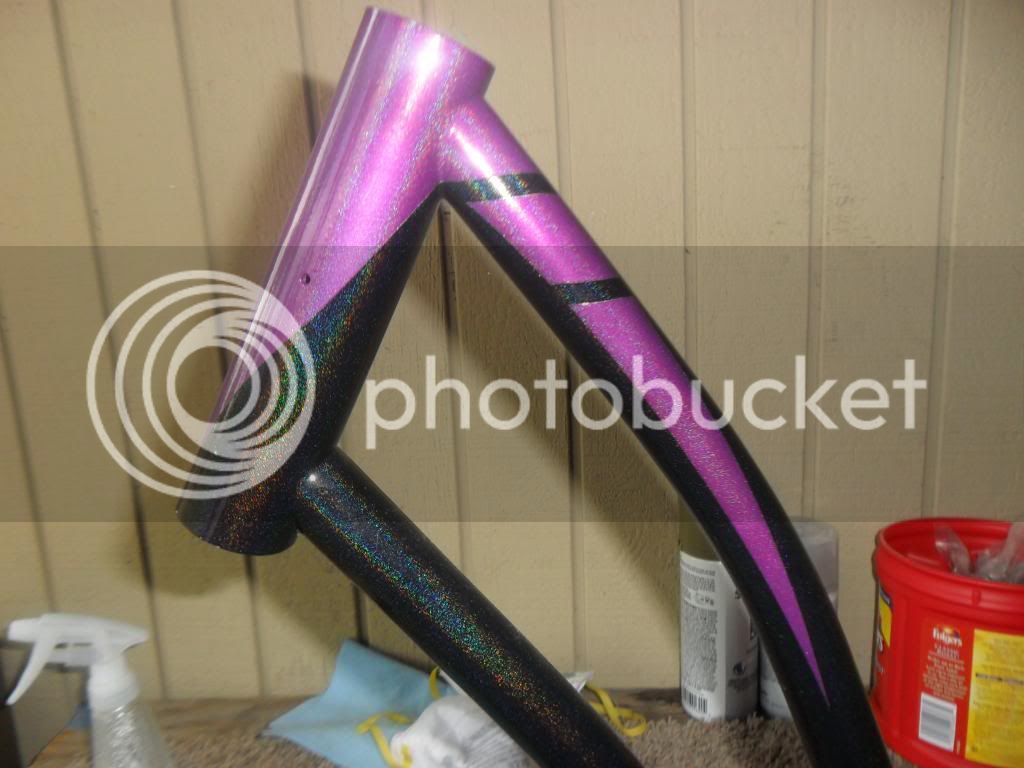
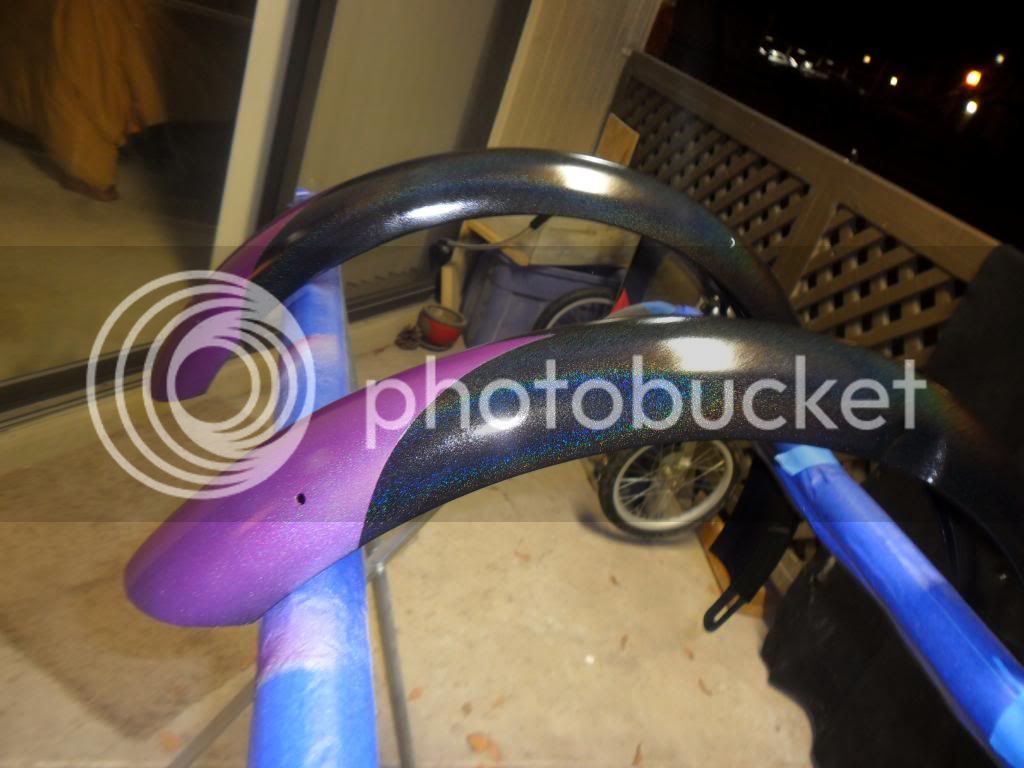
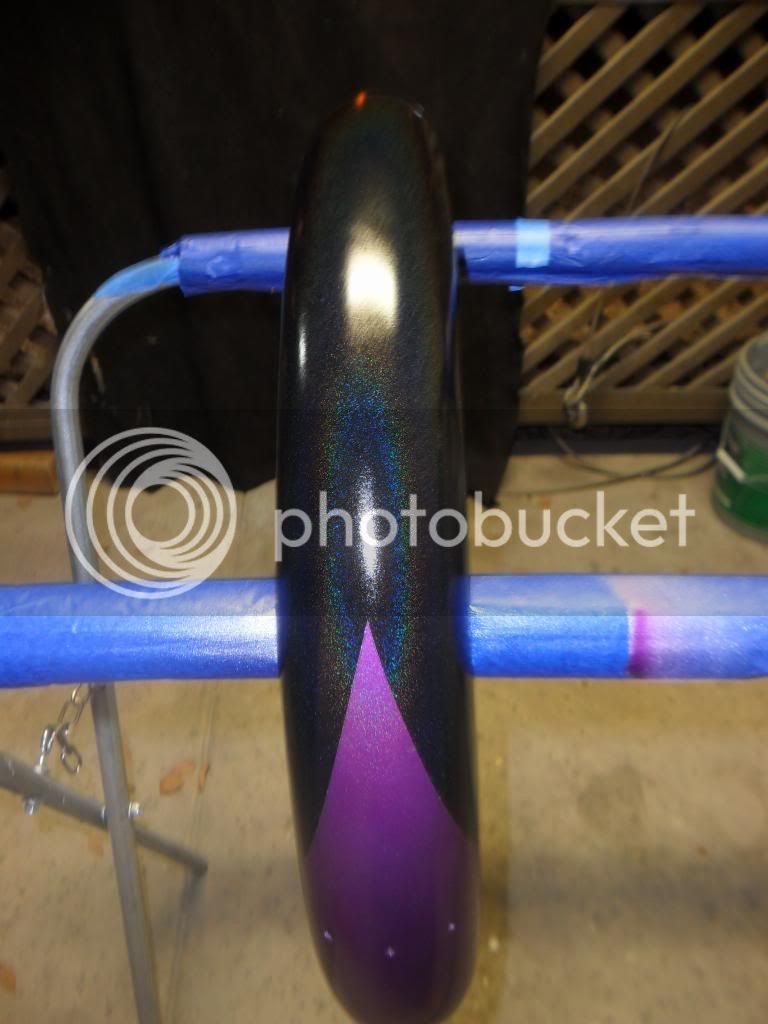
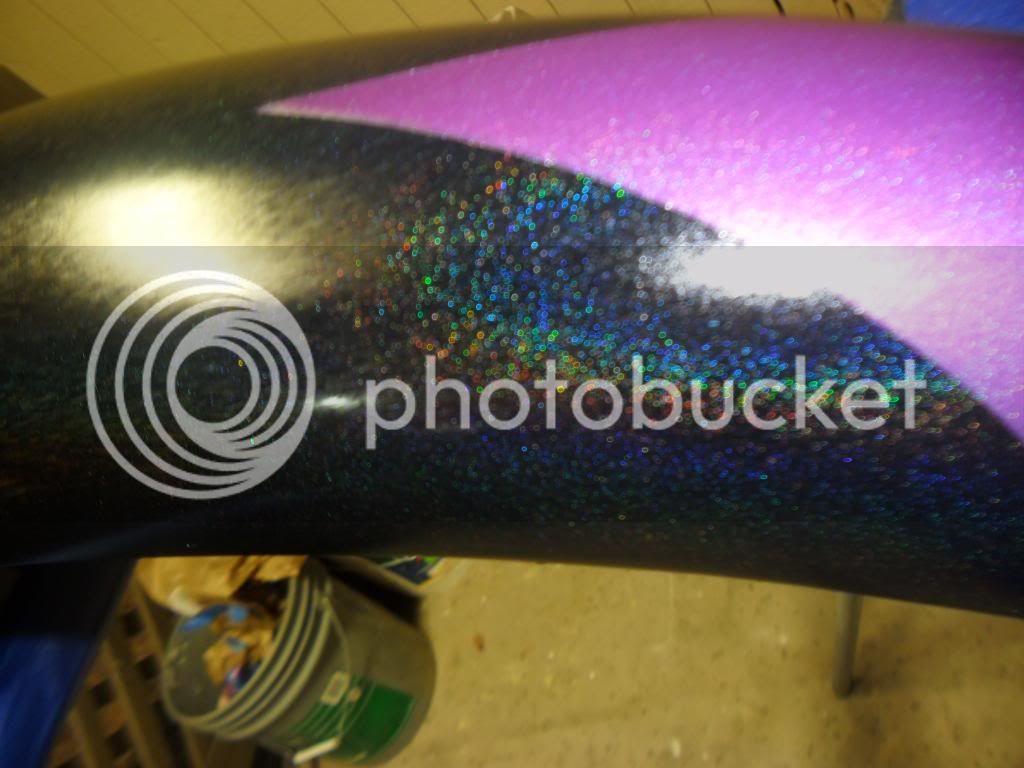


Paint will be completed this weekend then on to assembly. The tires and a couple other little things will be here on Wednesday. I can't wait to see it on the pavement!!!!
Hey the ladies arent the only ones that like sparkly things. Im diggin it
Hi all! My first build off is almost in the history books! I just finished up lacing and truing my first set of rims. It was'nt as bad as I thought....luckily! Lol
Tires came in wednesday & I just mounted them as a matter of fact. The bars & grips were put on wednesday also. I'll finish assembly tomorrow morning then post finished entry pics in the afternoon. Down to the wire but thats how I like it!
Tires came in wednesday & I just mounted them as a matter of fact. The bars & grips were put on wednesday also. I'll finish assembly tomorrow morning then post finished entry pics in the afternoon. Down to the wire but thats how I like it!
Go! Go! Go!


