


- Joined
- Apr 11, 2012
- Messages
- 27
- Reaction score
- 1
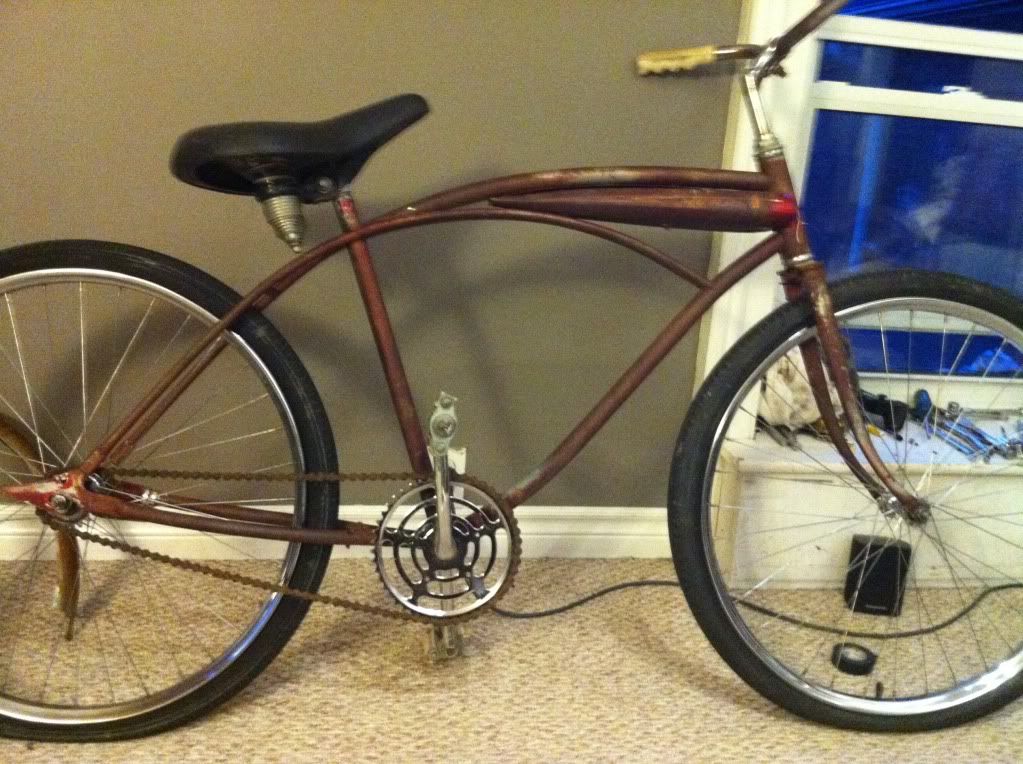
For the past week and a half I've devoted a lot of time into building this bike. I'm happy with the way things are moving forward, and I'd like to hear what the veteran RRB enthusiasts have to say. So here she is, from where it started to where it sits now, the bike was purchased for 125$ from the local antique shop that recently opened up.
http://www.ratrodbikes.com/forum/viewtopic.php?f=16&t=55605
This fresh find post explains the outrageous reasoning of my purchase price ect. ect.
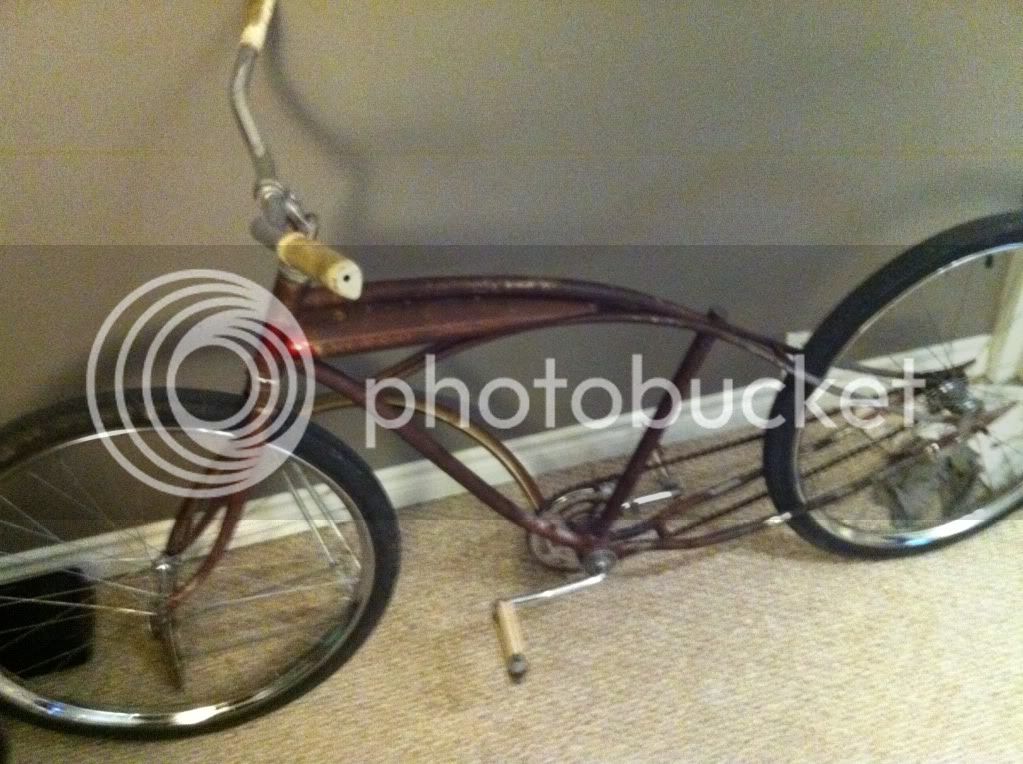
Once again This is how I rode it home,

A little banged up, but in decent shape, the ONLY one around my area, nothing like it.. Perfect! 8)

I live in a small town in Ontario, Canada. Grew up in the country, been riding bikes, well since I could ride a bike")
I can never leave the things I own "original" or "stock"
This, so far, is what came of my OCD for customization.
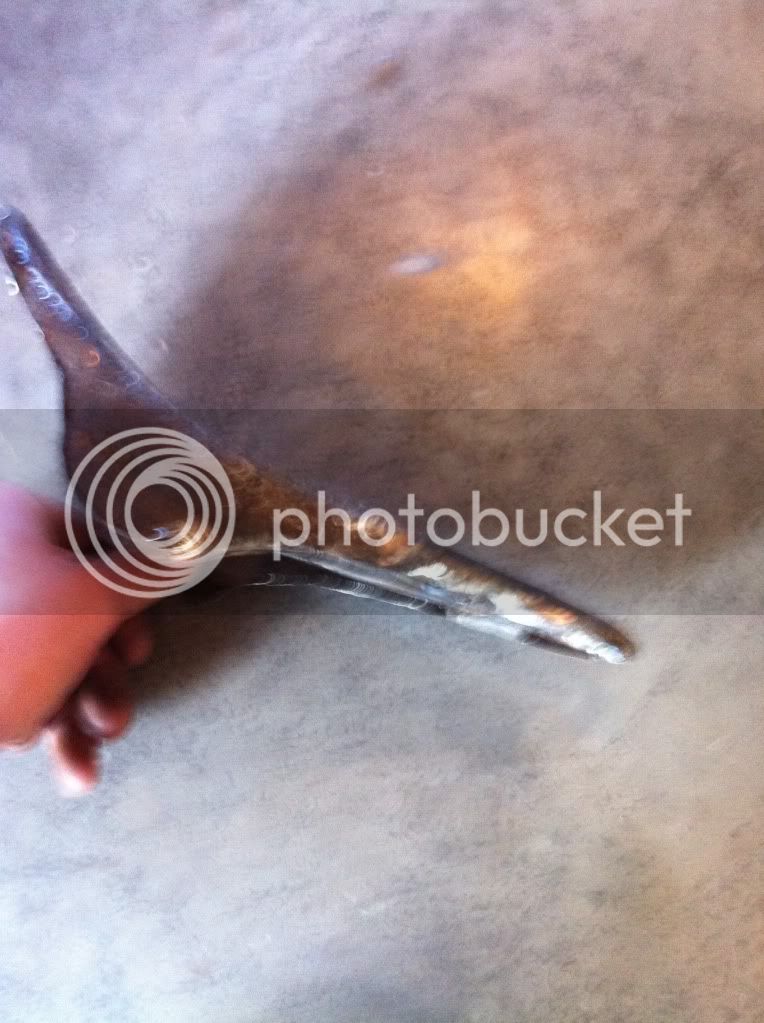
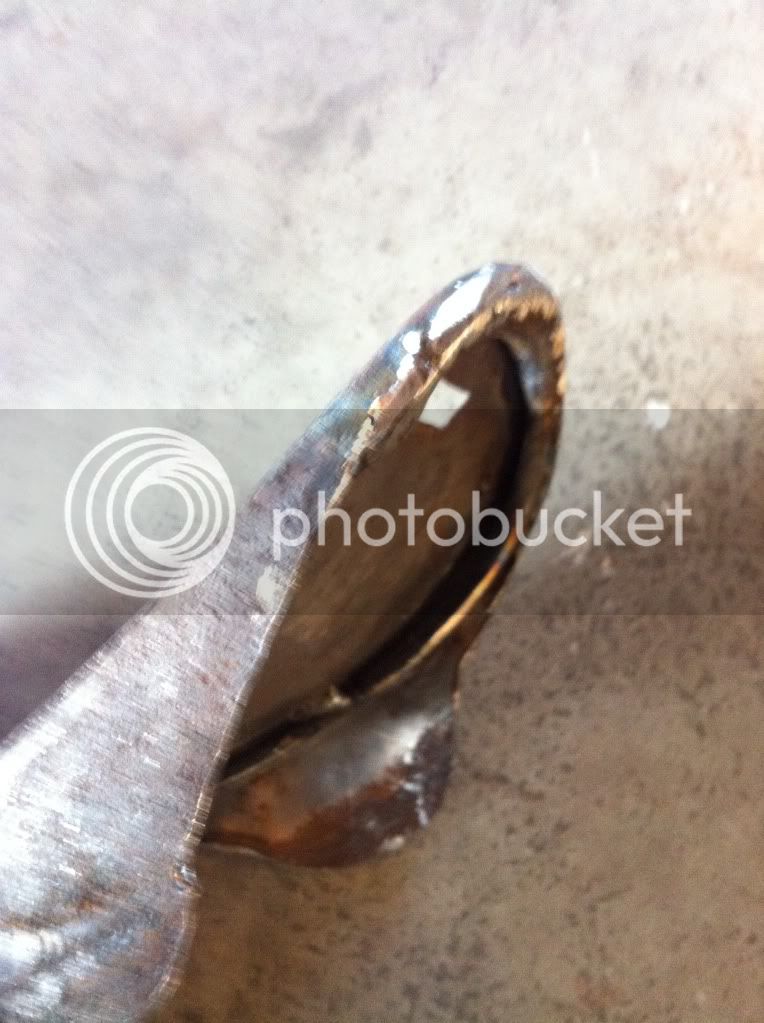
I started this project, staring at the bike, what most caught my eye were the drop-outs, nicely joining the frame together with such style. With my eyes continuously drawn to them, I based a lot of the design of my frame on this and began to draw..

As you can see it had been erased and re-drawn a few times, and several variations of how the frame would flow were considered. This took some time but in between designs, and daily routine I started at what I could. Getting the bike cleaned up as I tried to track down a shop to do some fab work in..
The title should really say "bedroom bike build", considering this is where I've done most my work on the bike, for the lack of shed/garage/overhang/basement or what have you, I do not possess. It's really been quite an experience!
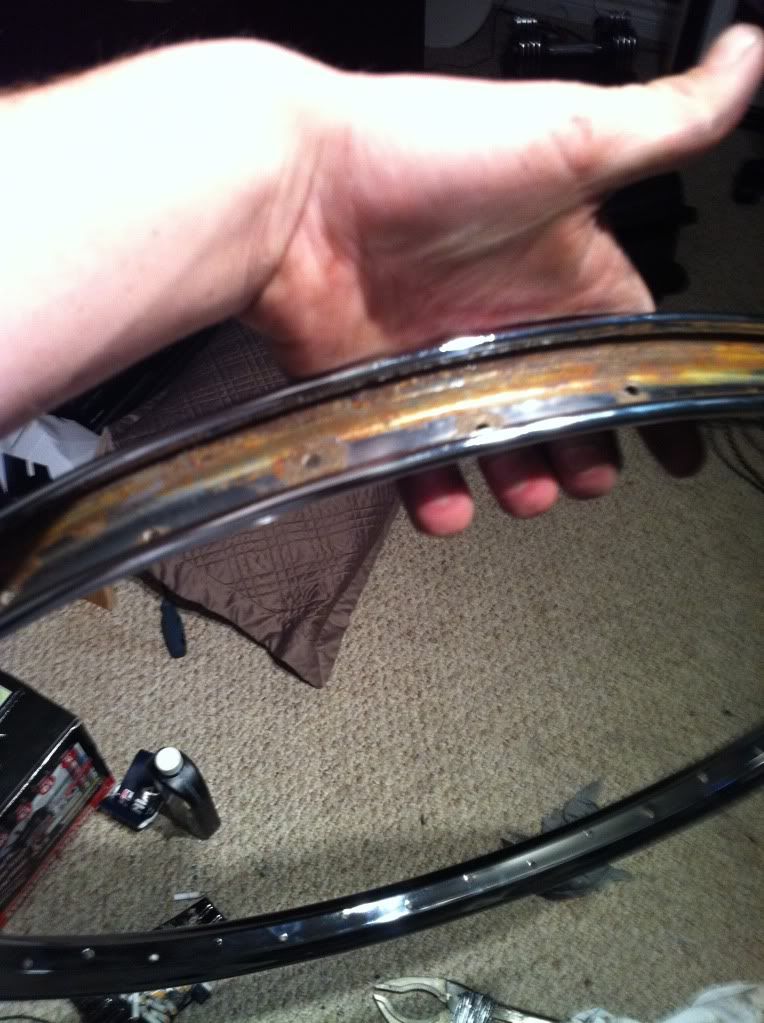
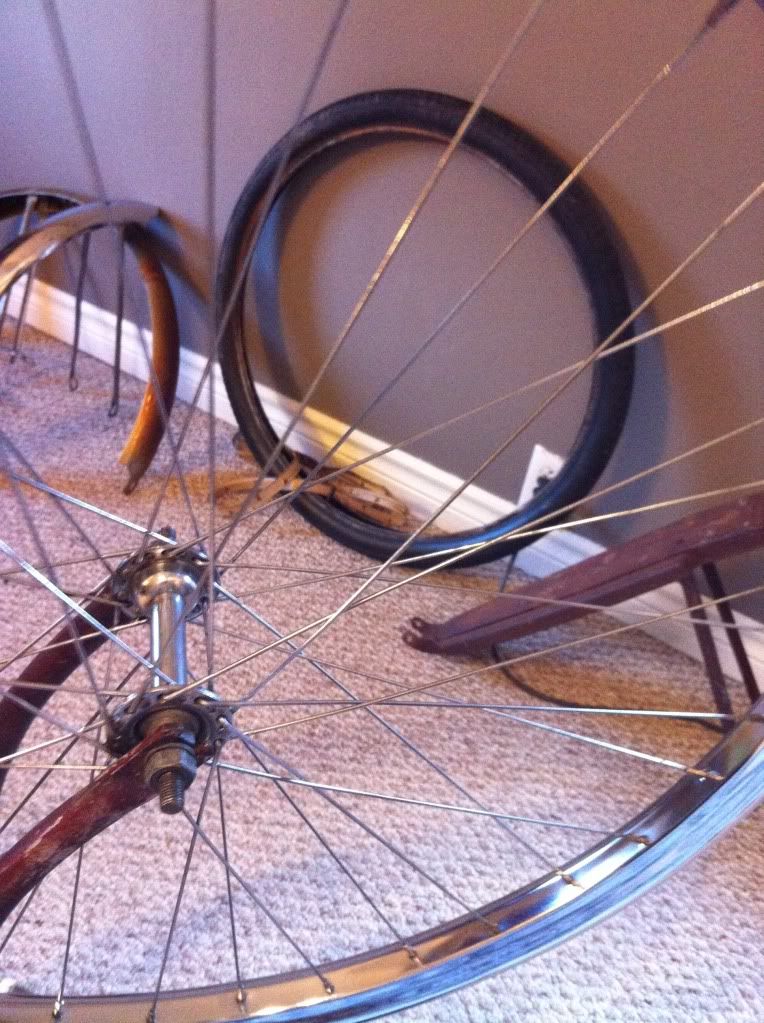
Off I went, grabbing some Autosol, some 0000 fine steel wool, a rag and made swift work of shining up the wheels.. chrome!
As you can see their was a little work to be done.
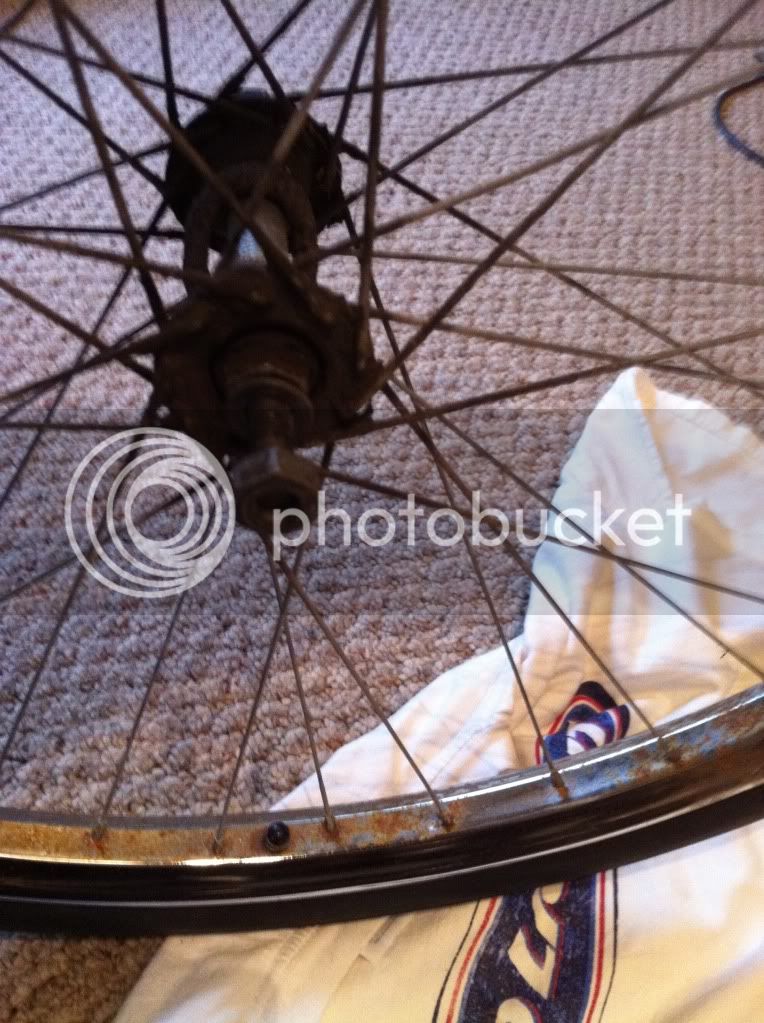
Disassembled the wheels, spokes were looking pretty nasty.
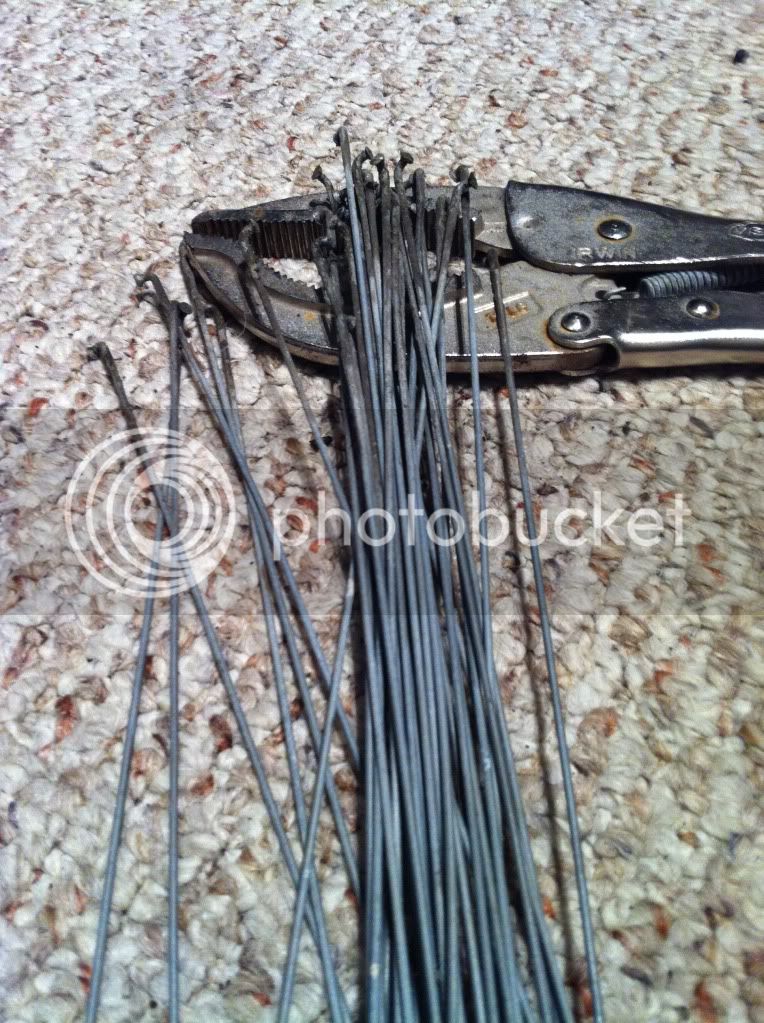
Found some Tarn-X under the cupboard, and soaked the spokes, didn't accomplish much. And really made more of a mess than anything..
After Tarn-X and a rinse:
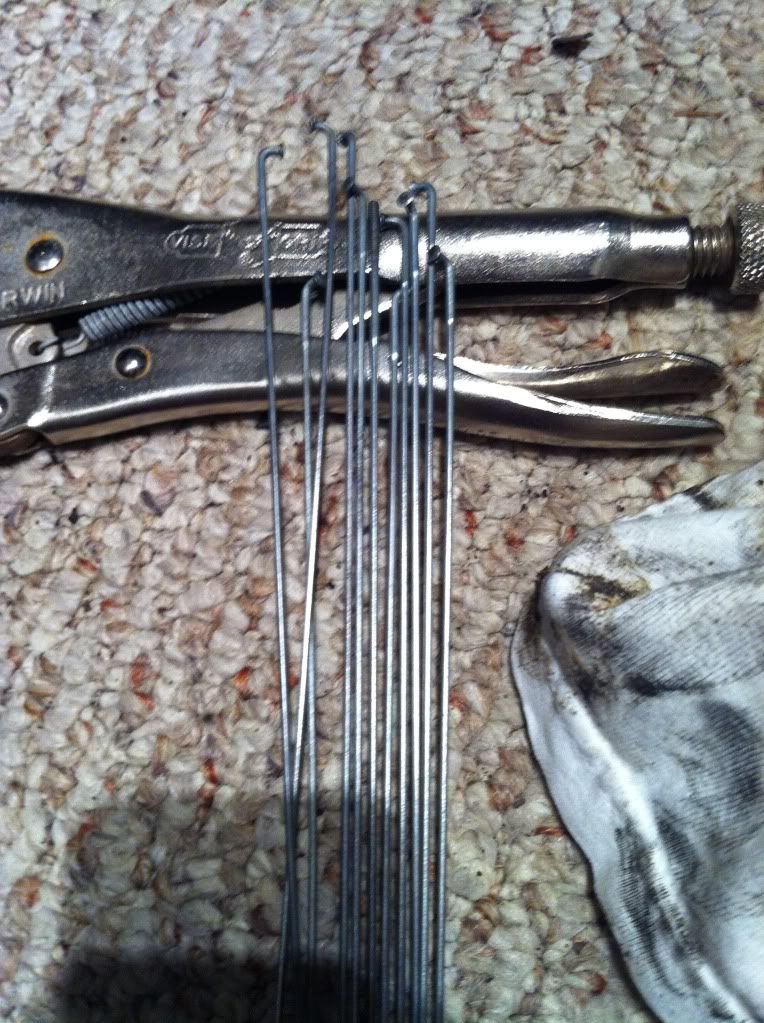
Getting serious about the shone of my wheels, I began to individually run over each spoke with Autosol, and steel wool. Then polish with a rag, removing any leftover gunk..
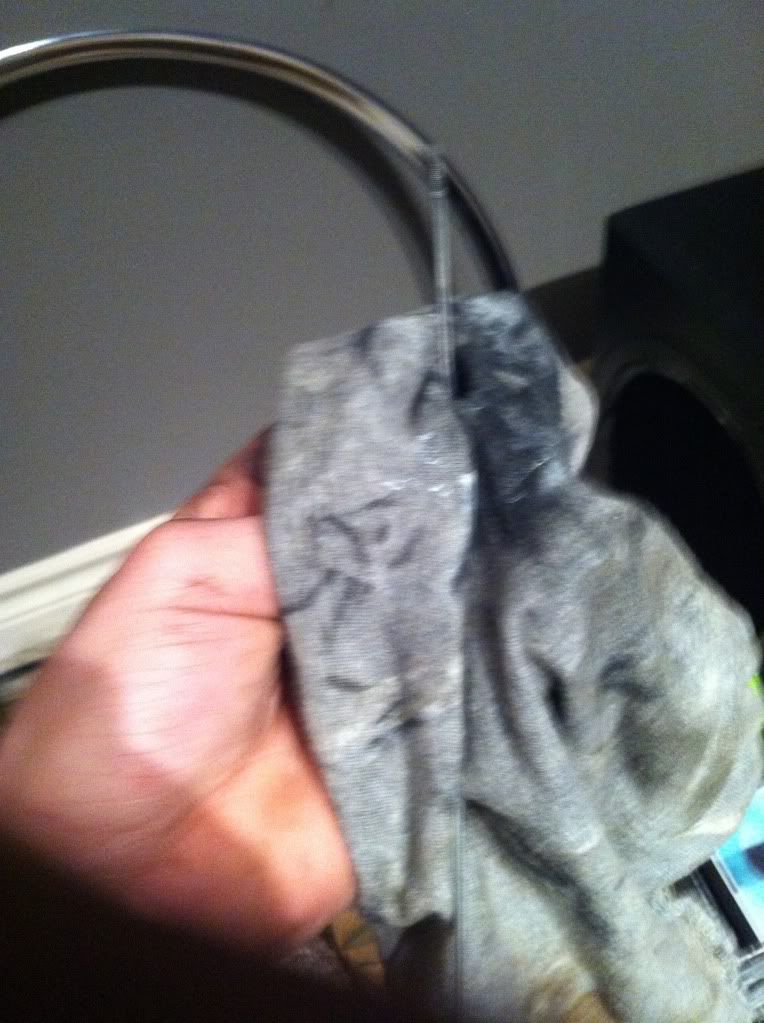
Let me tell you! Tedious work! :| But worth the outcome I think
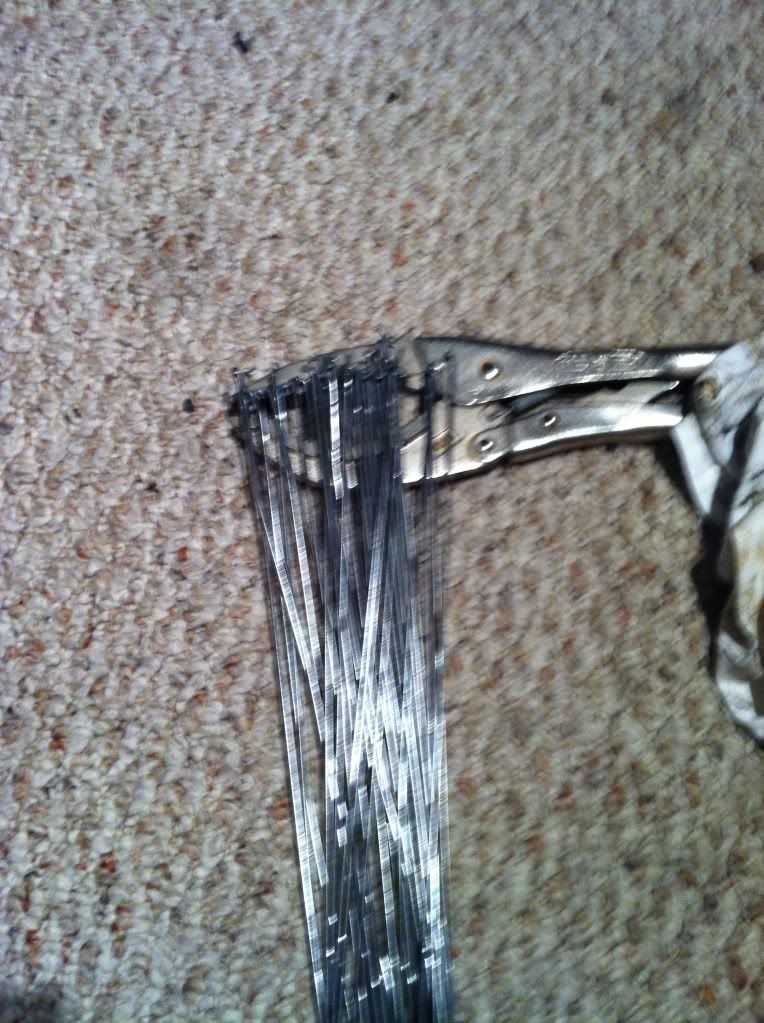
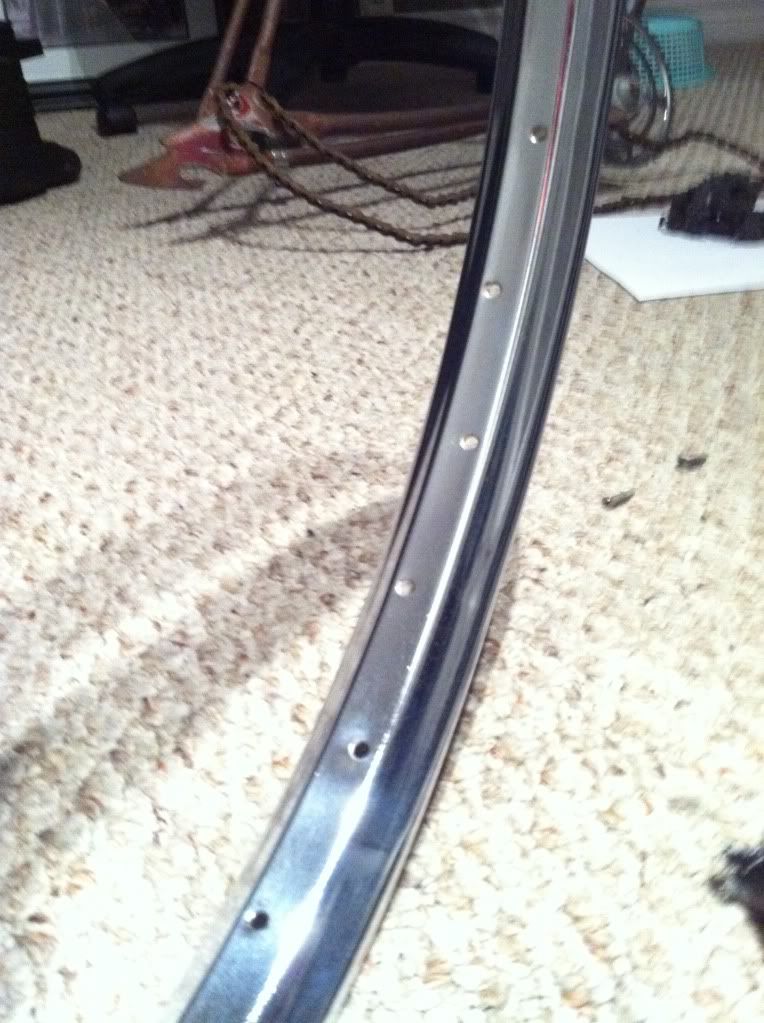
A significant difference from before.
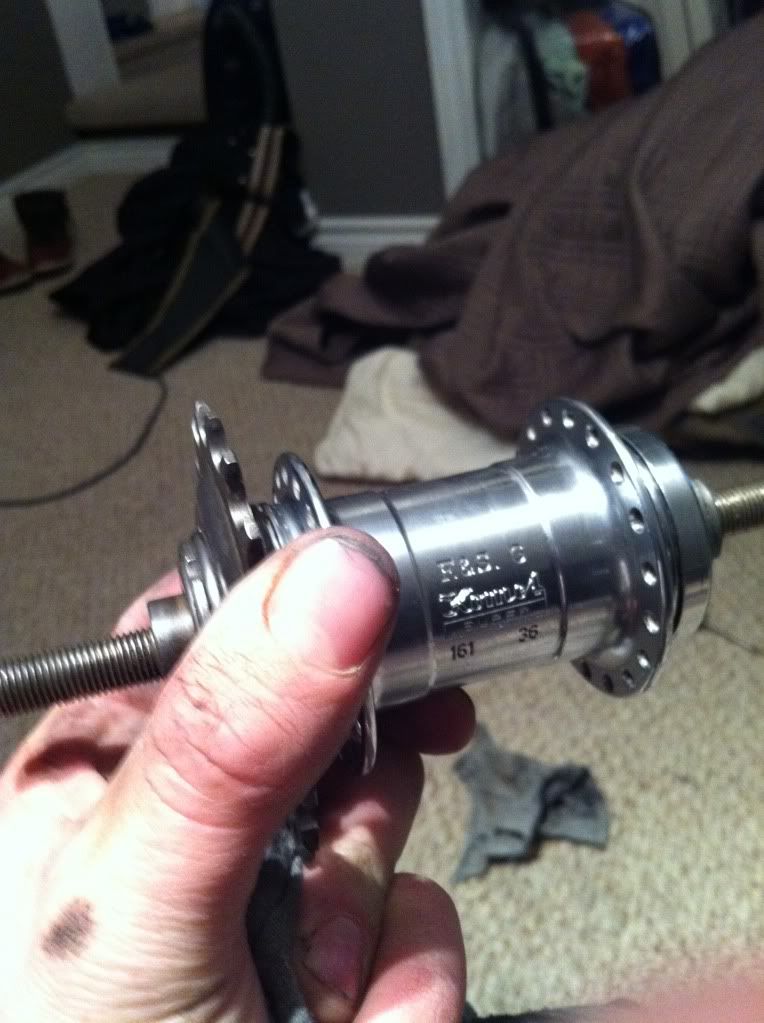
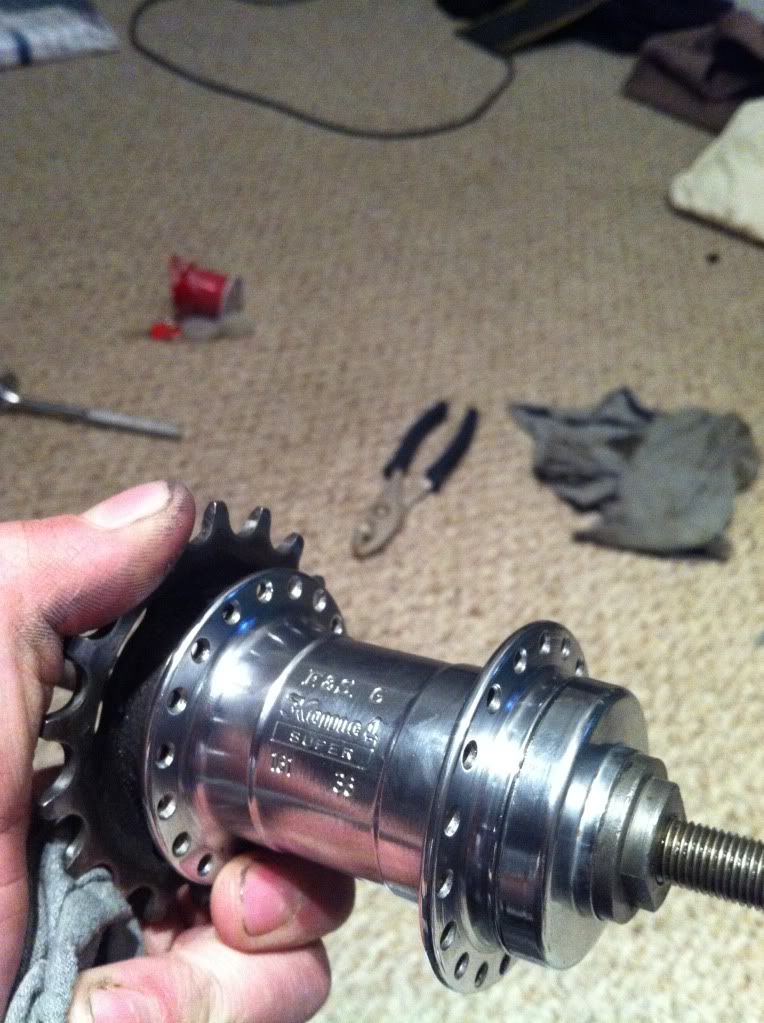
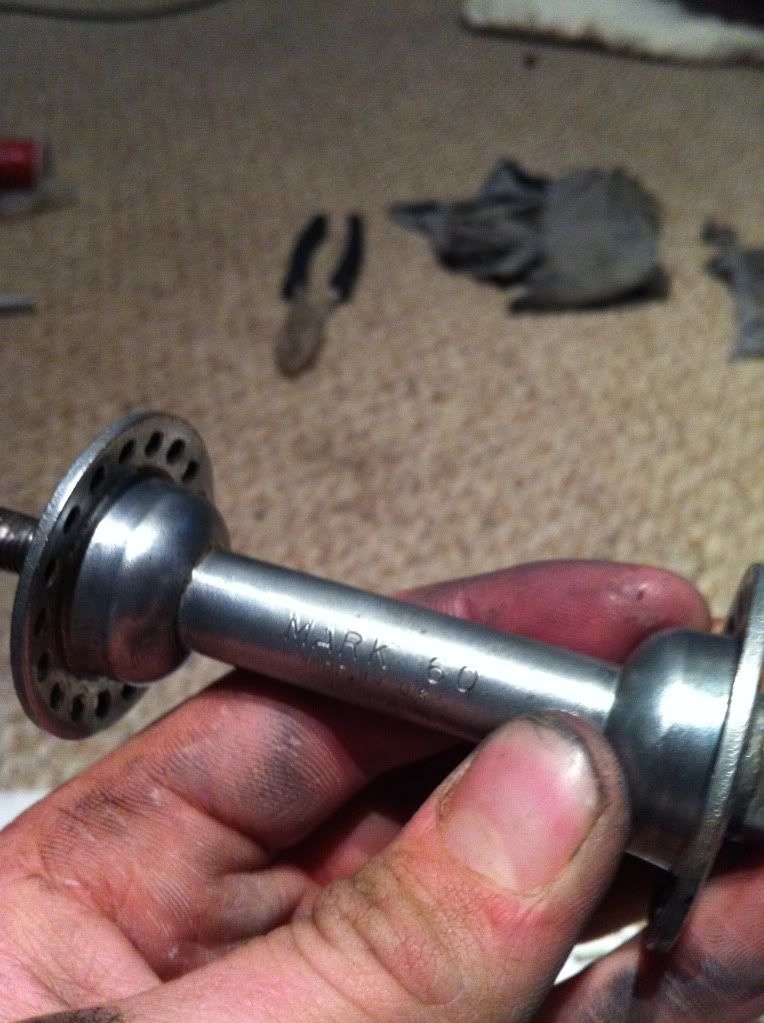
Eager to put the wheels back together, I moved onto shining up the hubs and hoops
Before:

After:
Hoops:
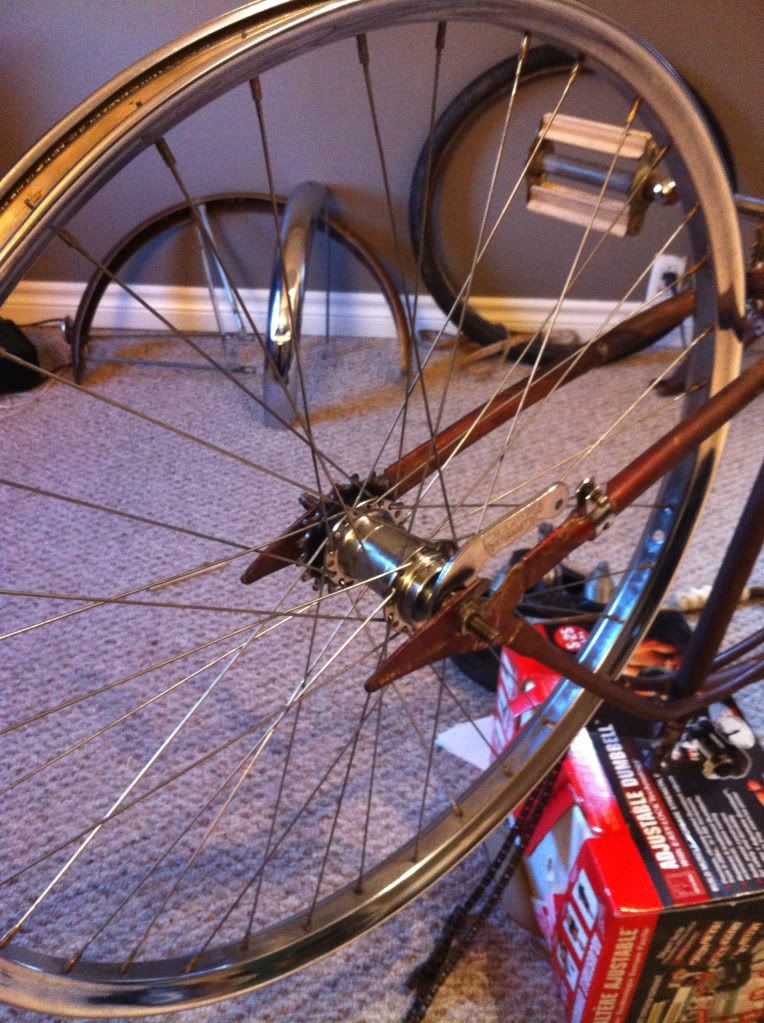
I was pumped, so time to lace! This took an excruciating amount of time, realizing afterward being disassembled, the spokes were stretched beyond all recognition. SoO bad, that by the time the wheels had been true'd, I had been cutting my own thread with the nipples, almost a half inch!!! :| Anyway I thought I had the lacing pattern wrong, trying to configure different ways to lace the wheel, wondering why the standard 2 lead 2 trail pattern wouldn't work any more?! After all that work shining each spoke..
I resulted in grinding the excess spoke coming past the nipple seat, keeping the standard lacing, and crossing my fingers..
So far the wheels have stayed true, and haven't had any issues with punctured tubes. I've managed to ride this bike throughout the whole process of the build, I REALLY like this bike!
Like I said, Bedroom build guys.. Hurtin' for a shop!! :?
You can faintly see the amount of spoke poking passed where it should..
Onward..
SOOO after an "extra measure" round of electrical tape underneath the rim band, slapped the tube & treads on. Hike'd er down to the local carwash, filled em' up and went showboatin' to my polishing specialist friend to show him my dedicated work had paid off. He also hadn't seen the bike, or heard my plans for the project.. After chumming for some time, over a couple cigarettes, and a timmies run! He was excited to offer the use of his garage and his roomate's Lincoln Mig!
When I got home I had to take a picture of it. :roll:
Later that week I was finally able to get into the shop to do some serious "Frankenstein-ing "
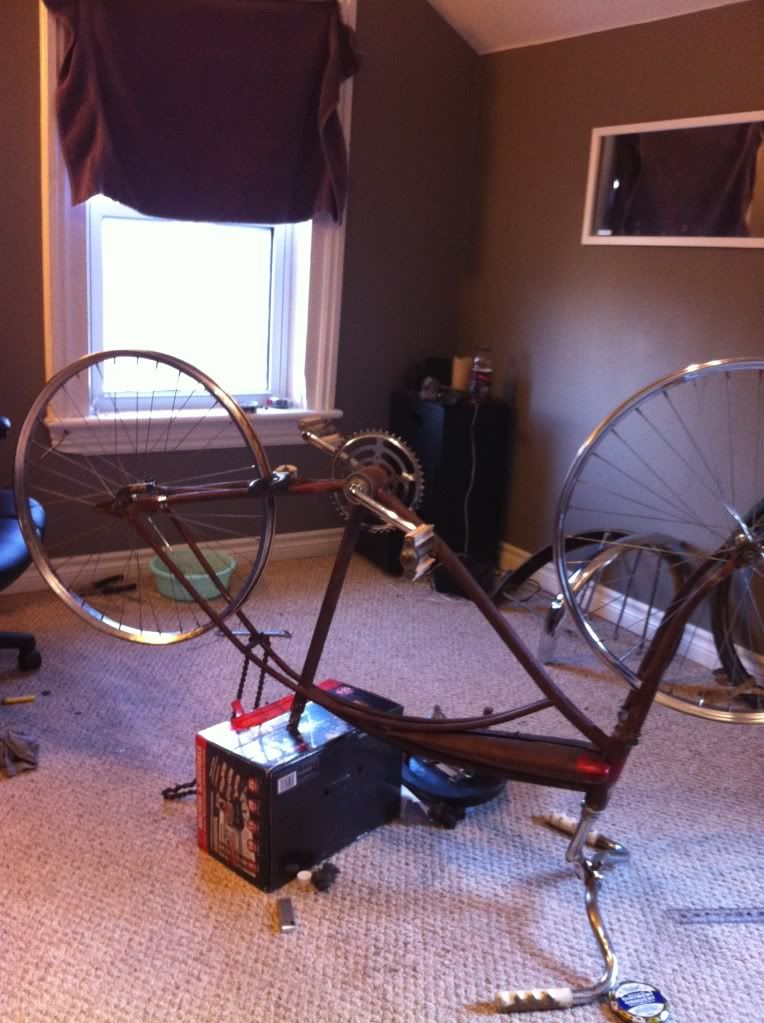
As you can see I was anticipating the posting of my project to the site, And took a picture that morning before the work began.

I was cruising around with my Monster Clarity Bluetooth speaker taped under my lazy-boy of a bike seat, waking up the neighbourhood 8) hah!
With a zip of a grinder the frame was in 3 pieces, Disappointing almost.. I didn't get very many pictures, I was in locomotive mode.
I harvested some frame tubing from a friendly hoarder, that was roughly measured, with a horrible plastic body dial vernir. :roll:
It looked close, that being my first mistake...
The frame was cut, I had no donor frames at the shop, contemplated cutting up another project I have waiting on this one to be completed, but I couldn't bare having two slaughtered frames lay before me at once.
I'm also unsure of the year and model of my next project, but I'll get to that in a later post.. make do with what I had rummaged for earlier in the week, and possibly fill in with a bondo-fibreglass mix... :?:
The difference is noticeable, and quite bothersome by my standards. I wish I would have taken more time finding the right materials, but it's "doctorable"
In each section of extended frame, I've added smaller tubing, fitting snug of the inside diameter of the original frame, ground down to match the I.D. of the extension tube.
Slots were cut in 1/2" parallel with the frame to create a "plug weld" if you will for the smaller tubing.
6 1/2" extensions..
Again, out of eagerness, I have like no in process pictures of the frame and the ways I shaped everything, but if your actually reading this!! I can explain. :wink:
The use of my buddies shop, was great! It lacked in which I needed dearly to make this frame shape up the way I wanted.. Oxy Acetaline torch.. This being way out of the budget for myself, and the shop owner. Opt for second best.. A small propane torch purchased from home hardware for 16$ or so. Crude but effective :lol:
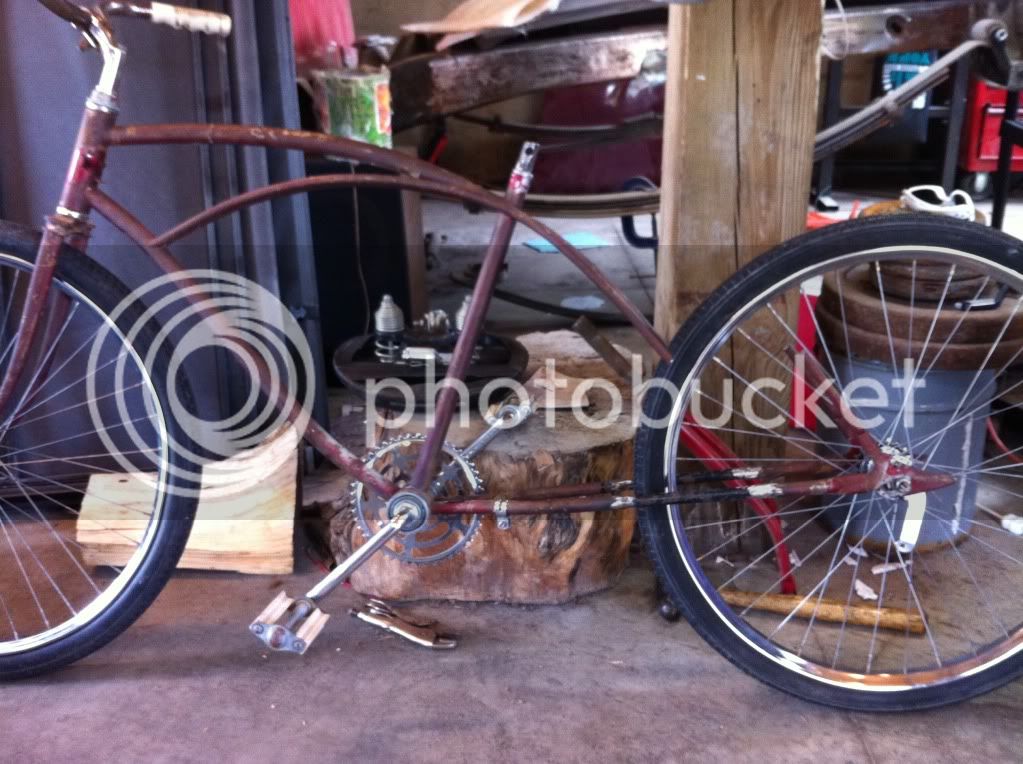
Alot of my time was spent getting the bike to sit at the height I was looking for, originally planned for 5" from the bottom of the BB to the ground.. This being with bent forks, aswell as the drop of the rear frame. It's sitting Just Under 7" where it stands today, forks staying as original.
11 hours later...

here, you can see the solid tempered steel surveying stake pounded into the frame that I wasn't able to get out. :x
Riding this bike at this point was impossible, the crank hit if you rode the bike upright properly. If you pedalled swaying back and forth like the last 500 meters of tour de france, it was manageable to ride, but this had to change. The bike really brought the term "scraper" to an indefinite reality, throwing sparks at night if you dragged the pedals on the asphalt 8) (I wish I had a picture here to show everyone) haha.. it was pretty hilarious bombing down a hill, throwing sparks on a bicycle.
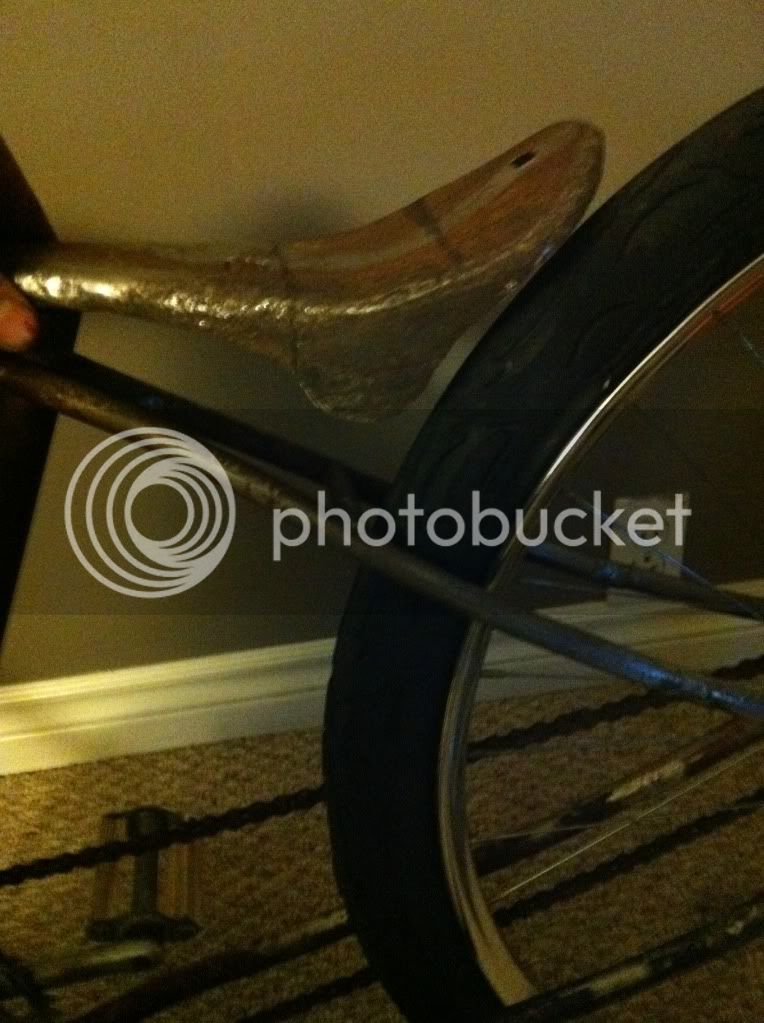
Here's a seat I tin whacked out of an old banana after a couple brews and some mammoth hamburgers
The seat:
The BURGGS :shock:
lol...
Cutting through that seatpost turned something like I've never seen, destroyed two saws-all blade, and threw a couple sparks of its own!
We had no good cut-off disc's at this point...
I took it over to another friends place to give him a look at what I'd been busy with, This friend originally inspiring me with the idea from a poorly made chopper he pieced together from a kids frame, cut up front shocks, slipped over what looked to be older CCM forks. Greasy.
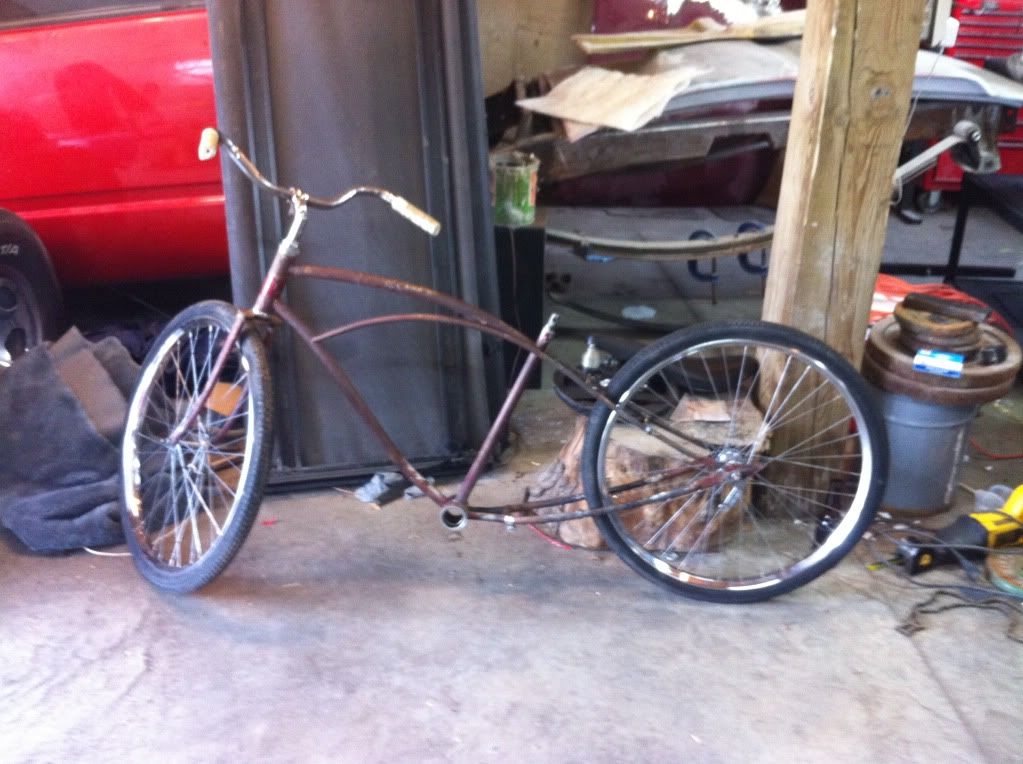
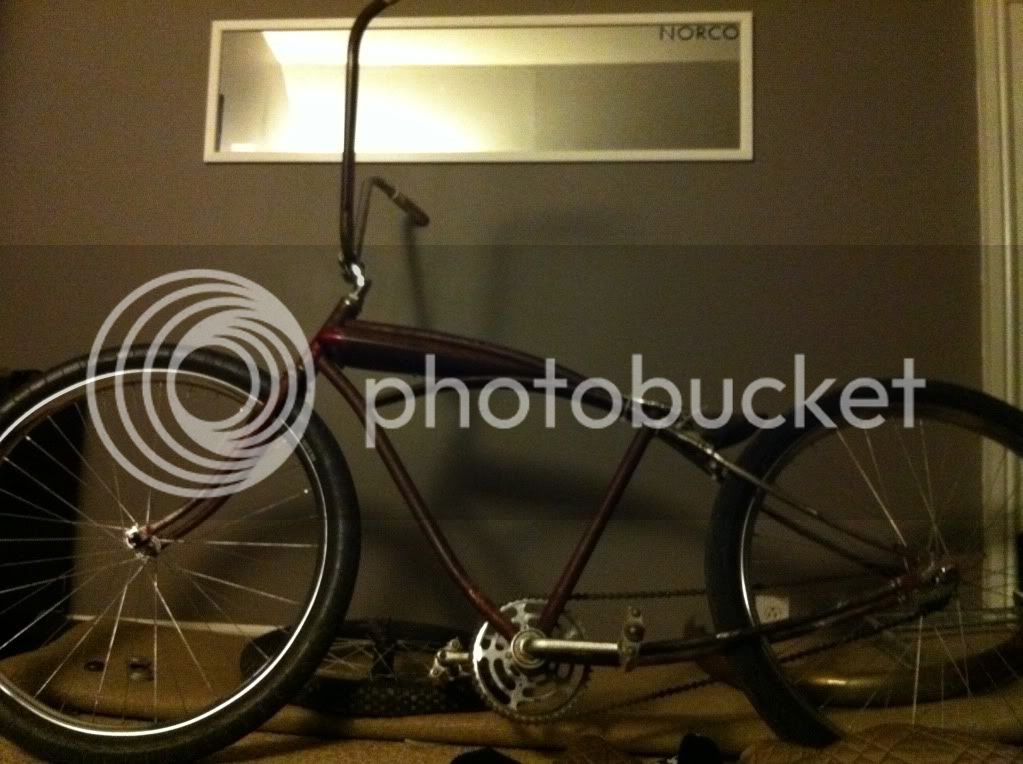
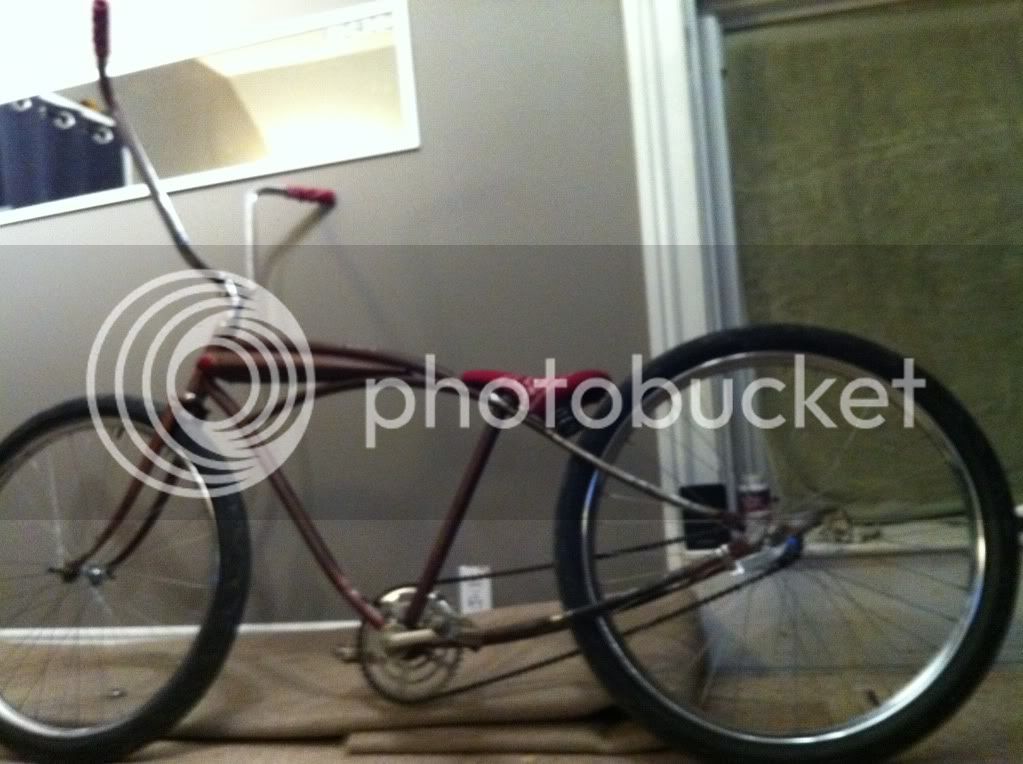
He had these bars kickin' around so I thought I'd see what they'd look like.
Post cut & test fit the different set of bars:
I kinda liked em set forward..
Took it home, salvaged a shorter crank off another bike, temporary, but ride-able.
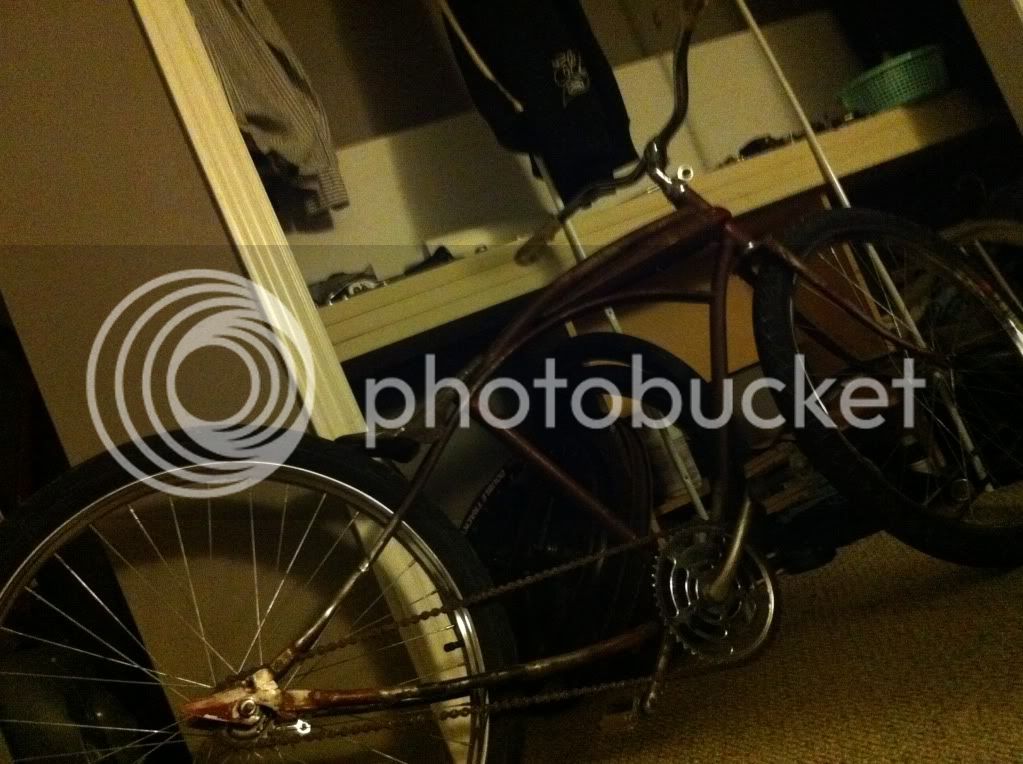
Swapped out the origional tread for some "balloony" Kenda Flames, I'm not in love with them but they'll do.
This is a bad picture but gives you an idea, upsized a touch. And shows my makeshift workbench/closet :lol:
Also kiboshed the first seat I did, and worked on this one. You can also see it above just resting in place.
Ever so crude, but in the long run has turned out really nice.
No anvil.. instead? you ask! Sadly I used a jackstand, and a body hammer for this one, no dollies, no nothing..
Maybe "ghetto-fab-ulous" should have been topic title..
Old lawnmower throttle bar bent up for support, salvaged again from the friendly hoarder. :lol:
An idea of where I wanted it to sit
I ended up riding around a few times to get supplies, and get a little community feed back, with the seat ziptied on more fore show than anything close to functional.
Oh and I thought I'd see how apes felt on it, I liked the look of the drag style granny bars, but they were crowding the feel of the way the bike rode. It's low and slow, not meant for speed anyhow
After a couple humiliating experiences with it falling off in the middle of streets and sidewalks, I needed to work on a seat post/ seat fastening design. Pondering which way I wanted to go with the seat, whether it should be sleek or springy, I came up with this.
Ground the seat post down flush with the frame. And fastened a couple old drop-outs laying around my friends shop, with a quick tack.
The seat that came on the bike when I bought it, was big bulky and looked like something off an exercise bike, but I liked the idea of having some spring in my seat.
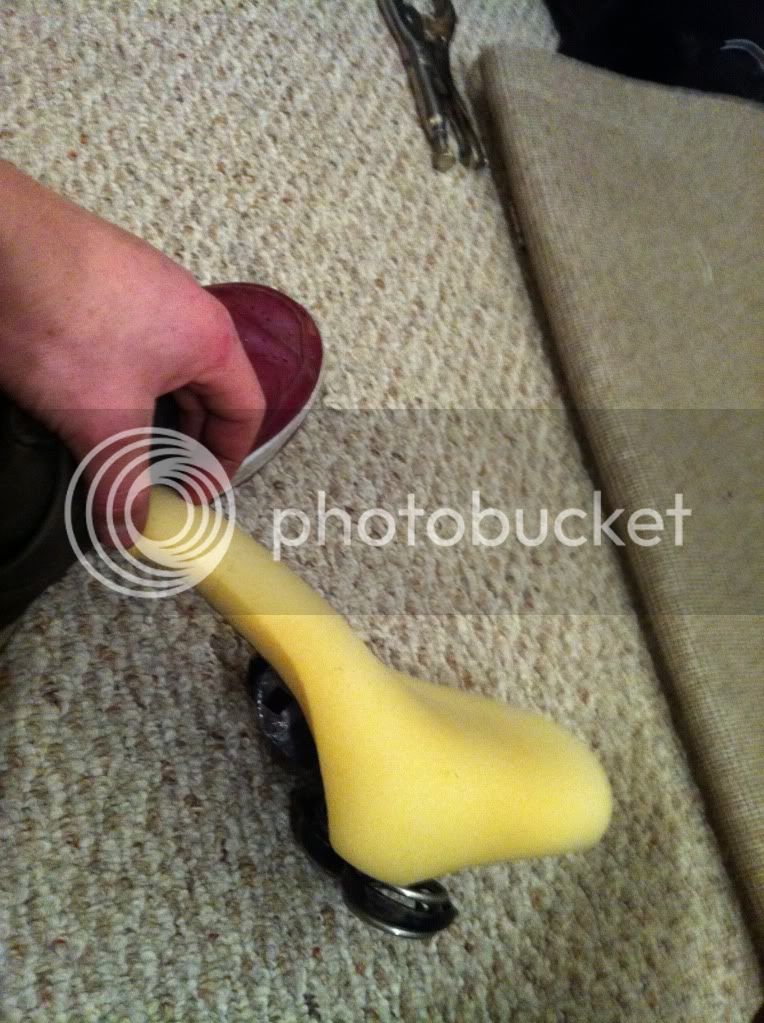
I basically mimicked what was had on the original seat, but tightened up for the seat I had hammered out. Drilled two holes, couple carriage bolts, a little modification to the springs. Slammed it together quickly, as it was getting late. I'm not 100% happy with the outcome but, I forged ahead and covered the seat with foam and finally covered it with the second half of my inspiration on the build of this bike.

A little cushion for the, tushin'

Side view, a bit of a peak at springers & hinge point
I had some Pres-Tite Heavy Duty spray adhesive laying around from a fibreglass sub-woofer enclosure I embarked on creating for my old Bonneville. Used this to hold down the foam and the bandanna to wrap the seat. This stuff works awesome, let me tell you. Spray it, let it sit for 1 minute to stiffen up, lay it down. Just make sure you got it right the first time
Spraying too much, or jumping the gun on things will result in the glue soaking through, in which happened to me in one spot on the seat where too much glue was applied..
Pulled taught around the edges and trimmed up I think it turned out pretty good!
So gangsta 8)
Turned out so well I thought I'd experiment a little :mrgreen:
All in all it's been a good first project, learned a lot of different thing's I'll be doing differently next time for better finishes, and functionality. I'm happy with what I have so far, aside from some tweaks here and there, getting a light back on it.. and some paint :shock:
I have a paint scheme in mind, nothing crazy, similar to original...
I'll keep you's posted!!
What's your thoughts?
This is me

http://www.ratrodbikes.com/forum/viewtopic.php?f=16&t=55605
This fresh find post explains the outrageous reasoning of my purchase price ect. ect.
Once again This is how I rode it home,
A little banged up, but in decent shape, the ONLY one around my area, nothing like it.. Perfect! 8)
I live in a small town in Ontario, Canada. Grew up in the country, been riding bikes, well since I could ride a bike
I can never leave the things I own "original" or "stock"
This, so far, is what came of my OCD for customization.
I started this project, staring at the bike, what most caught my eye were the drop-outs, nicely joining the frame together with such style. With my eyes continuously drawn to them, I based a lot of the design of my frame on this and began to draw..
As you can see it had been erased and re-drawn a few times, and several variations of how the frame would flow were considered. This took some time but in between designs, and daily routine I started at what I could. Getting the bike cleaned up as I tried to track down a shop to do some fab work in..
The title should really say "bedroom bike build", considering this is where I've done most my work on the bike, for the lack of shed/garage/overhang/basement or what have you, I do not possess. It's really been quite an experience!
Off I went, grabbing some Autosol, some 0000 fine steel wool, a rag and made swift work of shining up the wheels.. chrome!
As you can see their was a little work to be done.
Disassembled the wheels, spokes were looking pretty nasty.
Found some Tarn-X under the cupboard, and soaked the spokes, didn't accomplish much. And really made more of a mess than anything..
After Tarn-X and a rinse:
Getting serious about the shone of my wheels, I began to individually run over each spoke with Autosol, and steel wool. Then polish with a rag, removing any leftover gunk..
Let me tell you! Tedious work! :| But worth the outcome I think
A significant difference from before.
Eager to put the wheels back together, I moved onto shining up the hubs and hoops
Before:
After:
Hoops:
I was pumped, so time to lace! This took an excruciating amount of time, realizing afterward being disassembled, the spokes were stretched beyond all recognition. SoO bad, that by the time the wheels had been true'd, I had been cutting my own thread with the nipples, almost a half inch!!! :| Anyway I thought I had the lacing pattern wrong, trying to configure different ways to lace the wheel, wondering why the standard 2 lead 2 trail pattern wouldn't work any more?! After all that work shining each spoke..
I resulted in grinding the excess spoke coming past the nipple seat, keeping the standard lacing, and crossing my fingers..
So far the wheels have stayed true, and haven't had any issues with punctured tubes. I've managed to ride this bike throughout the whole process of the build, I REALLY like this bike!
Like I said, Bedroom build guys.. Hurtin' for a shop!!
:?
You can faintly see the amount of spoke poking passed where it should..
Onward..
SOOO after an "extra measure" round of electrical tape underneath the rim band, slapped the tube & treads on. Hike'd er down to the local carwash, filled em' up and went showboatin' to my polishing specialist friend to show him my dedicated work had paid off. He also hadn't seen the bike, or heard my plans for the project.. After chumming for some time, over a couple cigarettes, and a timmies run! He was excited to offer the use of his garage and his roomate's Lincoln Mig!
When I got home I had to take a picture of it. :roll:
Later that week I was finally able to get into the shop to do some serious "Frankenstein-ing "
As you can see I was anticipating the posting of my project to the site, And took a picture that morning before the work began.
I was cruising around with my Monster Clarity Bluetooth speaker taped under my lazy-boy of a bike seat, waking up the neighbourhood 8) hah!
With a zip of a grinder the frame was in 3 pieces, Disappointing almost.. I didn't get very many pictures, I was in locomotive mode.
I harvested some frame tubing from a friendly hoarder, that was roughly measured, with a horrible plastic body dial vernir. :roll:
It looked close, that being my first mistake...
The frame was cut, I had no donor frames at the shop, contemplated cutting up another project I have waiting on this one to be completed, but I couldn't bare having two slaughtered frames lay before me at once.
I'm also unsure of the year and model of my next project, but I'll get to that in a later post.. make do with what I had rummaged for earlier in the week, and possibly fill in with a bondo-fibreglass mix... :?:
The difference is noticeable, and quite bothersome by my standards. I wish I would have taken more time finding the right materials, but it's "doctorable"
In each section of extended frame, I've added smaller tubing, fitting snug of the inside diameter of the original frame, ground down to match the I.D. of the extension tube.
Slots were cut in 1/2" parallel with the frame to create a "plug weld" if you will for the smaller tubing.
6 1/2" extensions..
Again, out of eagerness, I have like no in process pictures of the frame and the ways I shaped everything, but if your actually reading this!! I can explain. :wink:
The use of my buddies shop, was great! It lacked in which I needed dearly to make this frame shape up the way I wanted.. Oxy Acetaline torch.. This being way out of the budget for myself, and the shop owner. Opt for second best.. A small propane torch purchased from home hardware for 16$ or so. Crude but effective :lol:
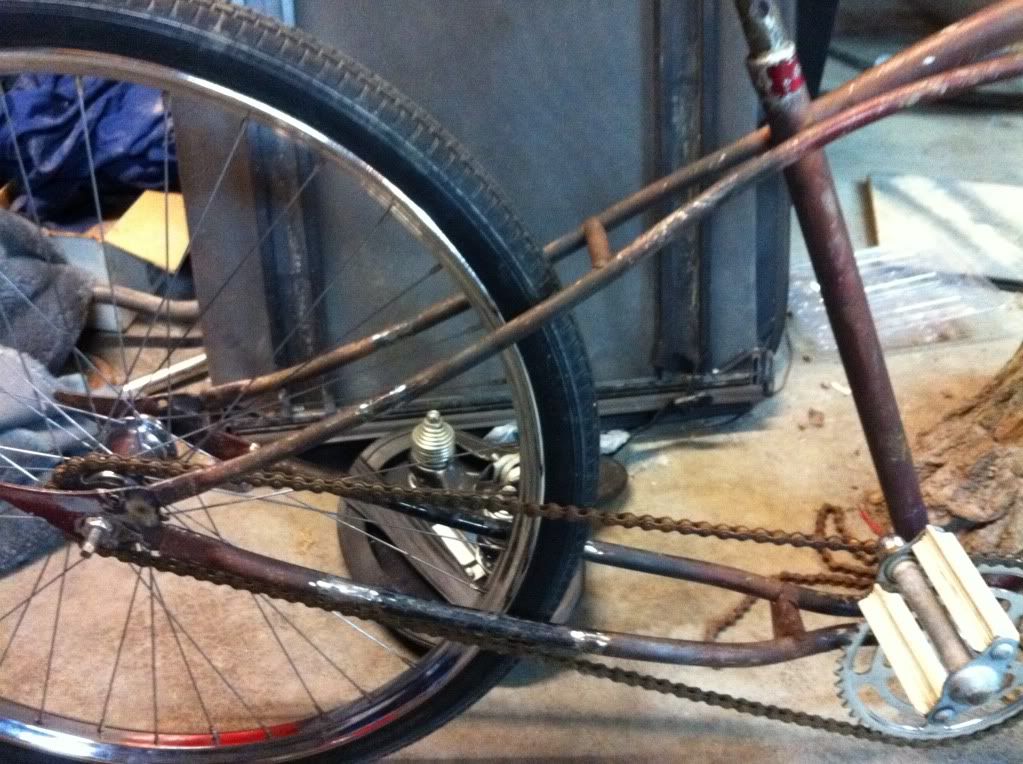
Alot of my time was spent getting the bike to sit at the height I was looking for, originally planned for 5" from the bottom of the BB to the ground.. This being with bent forks, aswell as the drop of the rear frame. It's sitting Just Under 7" where it stands today, forks staying as original.
11 hours later...
here, you can see the solid tempered steel surveying stake pounded into the frame that I wasn't able to get out. :x
Riding this bike at this point was impossible, the crank hit if you rode the bike upright properly. If you pedalled swaying back and forth like the last 500 meters of tour de france, it was manageable to ride, but this had to change. The bike really brought the term "scraper" to an indefinite reality, throwing sparks at night if you dragged the pedals on the asphalt 8) (I wish I had a picture here to show everyone) haha.. it was pretty hilarious bombing down a hill, throwing sparks on a bicycle.
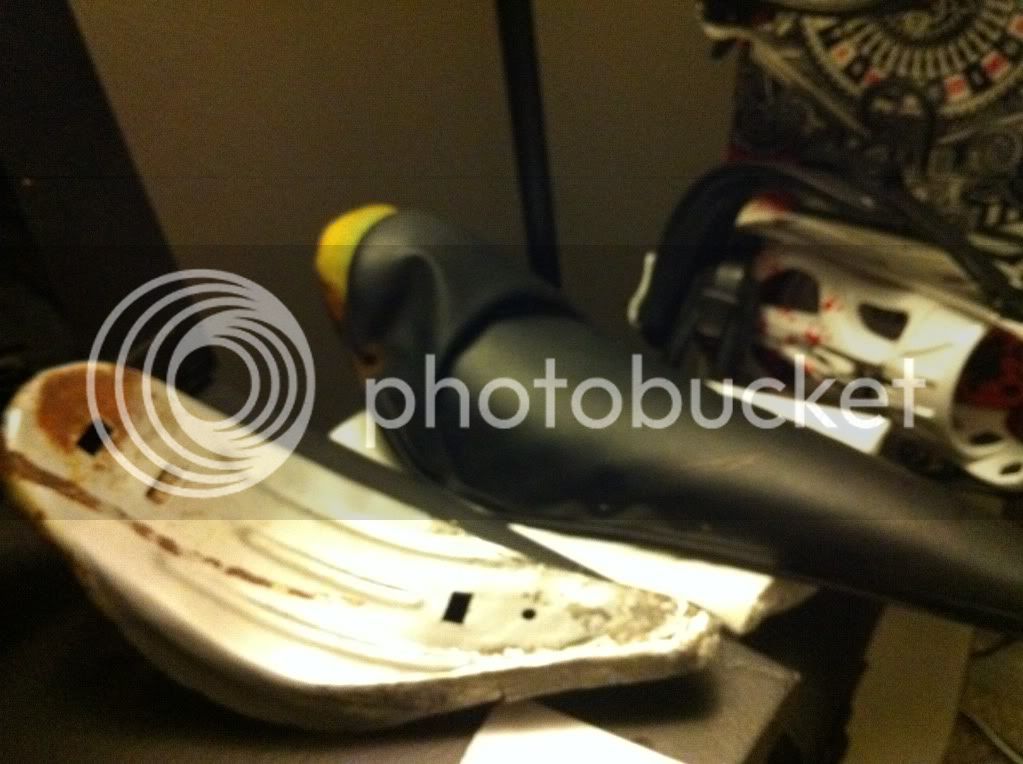
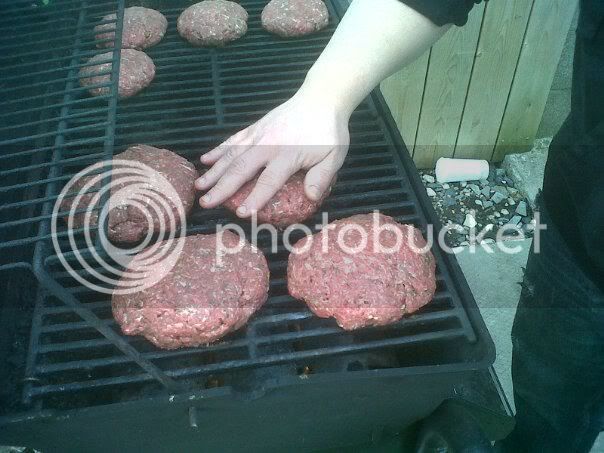
Here's a seat I tin whacked out of an old banana after a couple brews and some mammoth hamburgers
The seat:
The BURGGS :shock:
lol...
Cutting through that seatpost turned something like I've never seen, destroyed two saws-all blade, and threw a couple sparks of its own!
We had no good cut-off disc's at this point...
I took it over to another friends place to give him a look at what I'd been busy with, This friend originally inspiring me with the idea from a poorly made chopper he pieced together from a kids frame, cut up front shocks, slipped over what looked to be older CCM forks. Greasy.
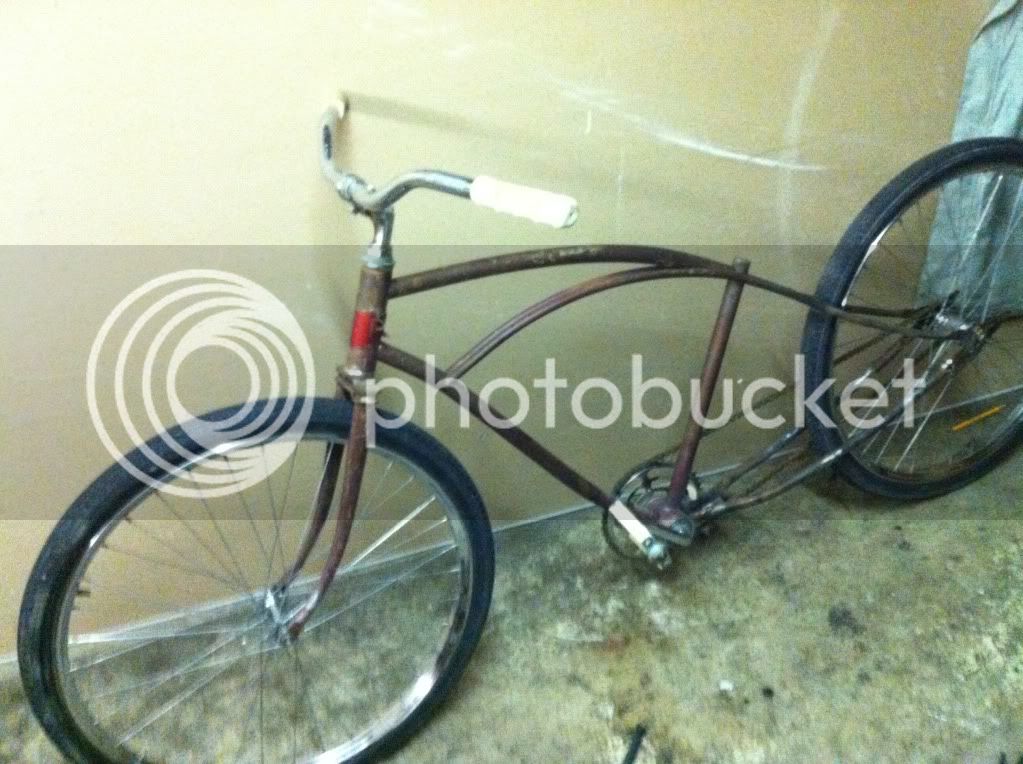
He had these bars kickin' around so I thought I'd see what they'd look like.
Post cut & test fit the different set of bars:
I kinda liked em set forward..
Took it home, salvaged a shorter crank off another bike, temporary, but ride-able.
Swapped out the origional tread for some "balloony" Kenda Flames, I'm not in love with them but they'll do.
This is a bad picture but gives you an idea, upsized a touch. And shows my makeshift workbench/closet :lol:
Also kiboshed the first seat I did, and worked on this one. You can also see it above just resting in place.
Ever so crude, but in the long run has turned out really nice.
No anvil.. instead? you ask! Sadly I used a jackstand, and a body hammer for this one, no dollies, no nothing..
Maybe "ghetto-fab-ulous" should have been topic title..
Old lawnmower throttle bar bent up for support, salvaged again from the friendly hoarder. :lol:
An idea of where I wanted it to sit
I ended up riding around a few times to get supplies, and get a little community feed back, with the seat ziptied on more fore show than anything close to functional.
Oh and I thought I'd see how apes felt on it, I liked the look of the drag style granny bars, but they were crowding the feel of the way the bike rode. It's low and slow, not meant for speed anyhow
After a couple humiliating experiences with it falling off in the middle of streets and sidewalks, I needed to work on a seat post/ seat fastening design. Pondering which way I wanted to go with the seat, whether it should be sleek or springy, I came up with this.
Ground the seat post down flush with the frame. And fastened a couple old drop-outs laying around my friends shop, with a quick tack.
The seat that came on the bike when I bought it, was big bulky and looked like something off an exercise bike, but I liked the idea of having some spring in my seat.
I basically mimicked what was had on the original seat, but tightened up for the seat I had hammered out. Drilled two holes, couple carriage bolts, a little modification to the springs. Slammed it together quickly, as it was getting late. I'm not 100% happy with the outcome but, I forged ahead and covered the seat with foam and finally covered it with the second half of my inspiration on the build of this bike.
A little cushion for the, tushin'
Side view, a bit of a peak at springers & hinge point
I had some Pres-Tite Heavy Duty spray adhesive laying around from a fibreglass sub-woofer enclosure I embarked on creating for my old Bonneville. Used this to hold down the foam and the bandanna to wrap the seat. This stuff works awesome, let me tell you. Spray it, let it sit for 1 minute to stiffen up, lay it down. Just make sure you got it right the first time
Spraying too much, or jumping the gun on things will result in the glue soaking through, in which happened to me in one spot on the seat where too much glue was applied..
Pulled taught around the edges and trimmed up I think it turned out pretty good!
So gangsta 8)
Turned out so well I thought I'd experiment a little :mrgreen:
All in all it's been a good first project, learned a lot of different thing's I'll be doing differently next time for better finishes, and functionality. I'm happy with what I have so far, aside from some tweaks here and there, getting a light back on it.. and some paint :shock:
I have a paint scheme in mind, nothing crazy, similar to original...
I'll keep you's posted!!
What's your thoughts?
This is me


