- Joined
- Nov 17, 2012
- Messages
- 5
- Reaction score
- 15
Hey everyone,
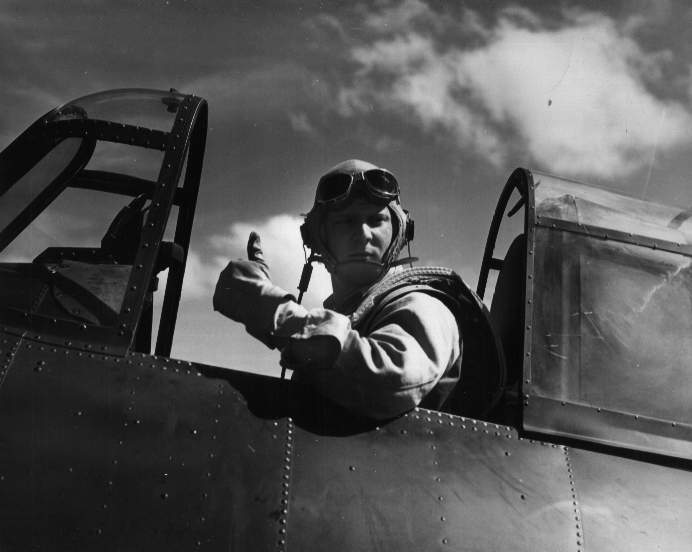
A few weeks ago I submitted a post about wanting to build a board track inspired cruiser with a WWII fighter plane tribute theme (complete with shark mouth on the faux tank ala the Flying Tigers) and a "fauxtina" weathered finish. I have since started the project, and wanted to post some updates along the way in case anyone is interested in following it. I love working on this "rat rod" bike because anything goes, and it doesn't have to be pretty >
Vintage board-tracker motorcycle reference photo:

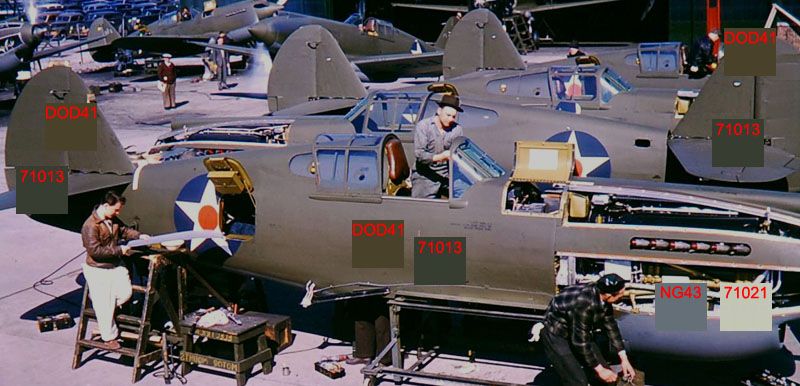
Flying Tigers P-40 Warhawk reference photo:

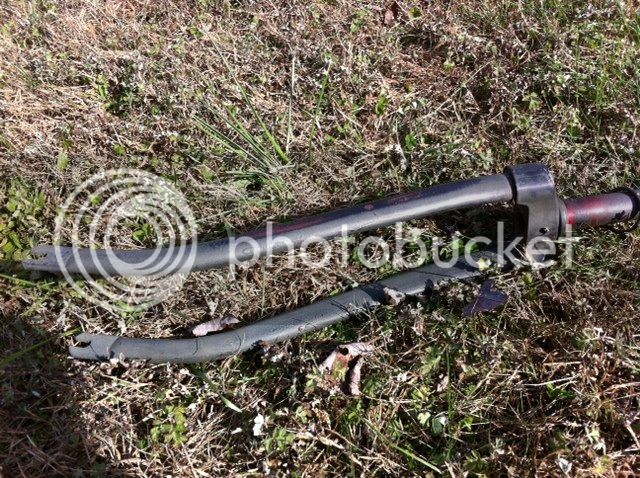
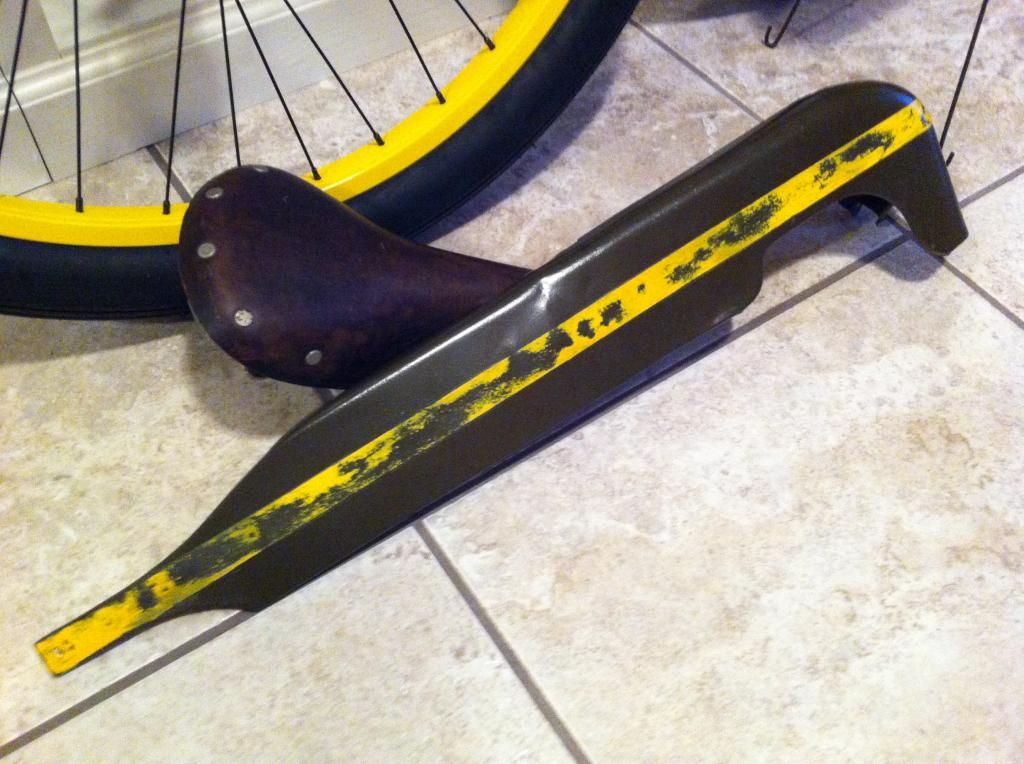
I started with a 1950's Firestone Deluxe Cruiser, made in Germany, that I purchased on Ebay. The bike has a nice straight frame, bent/damaged front fork and serviceable chain guard, fenders, 3-piece crank, rusty pedals, handlebars, stem and seat post. I plan on retaining most of these parts, except for the fenders, seat post and stem.

Extra parts I am purchasing for this build will include:
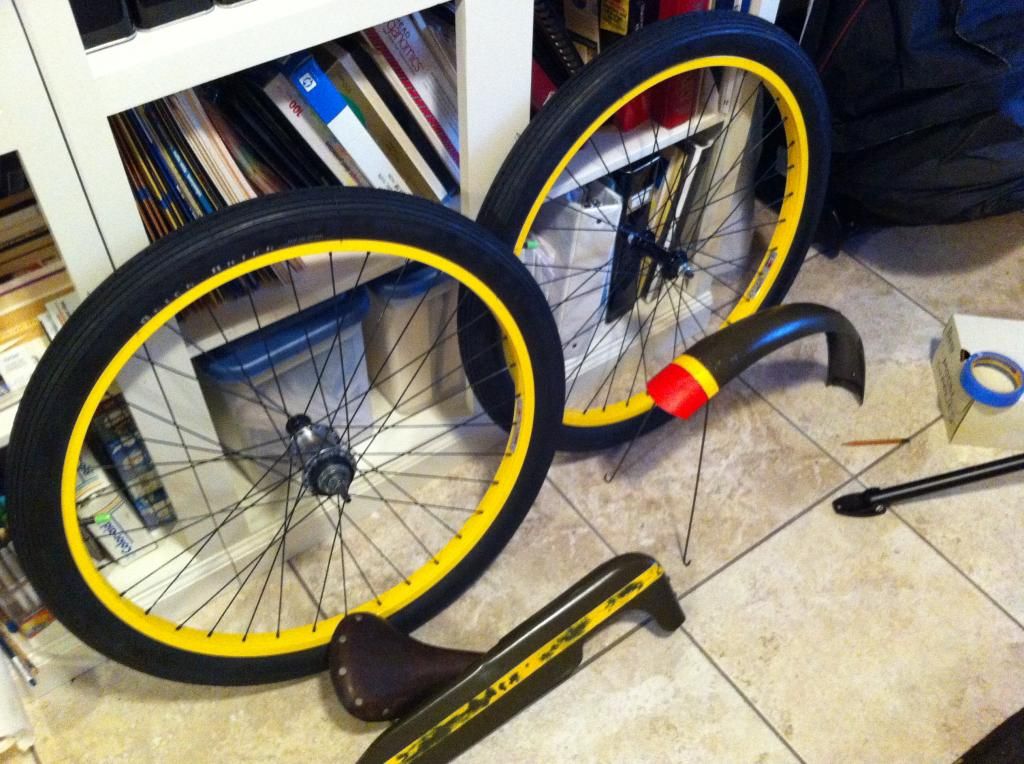
- Set of wheels equipped with the Shimano Nexus 3-speed internal hub and Sturmey Archer shifter compatible with the Nexus
- Rubber grips (vintage or repro)
- Felt half rear fender
- Felt Quick Brick tires and tubes
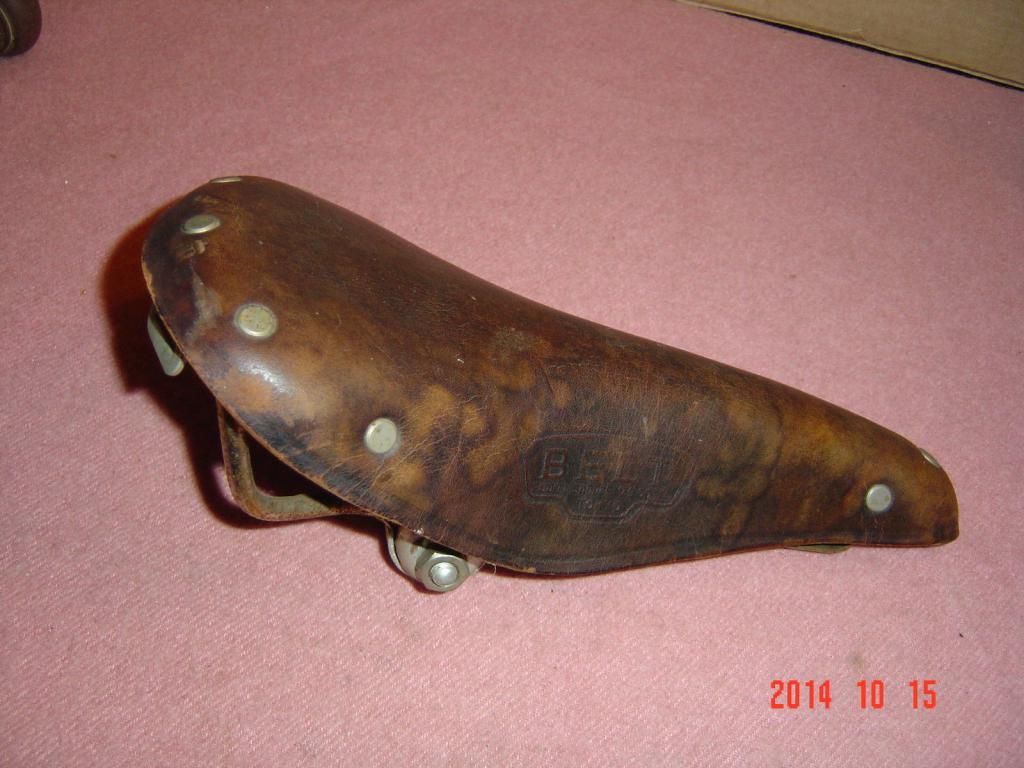
- Fujita Belt Co. Saddle (vintage mfg in Tokyo, Japan)
- Lean back seat post (as sold on Chubby's)
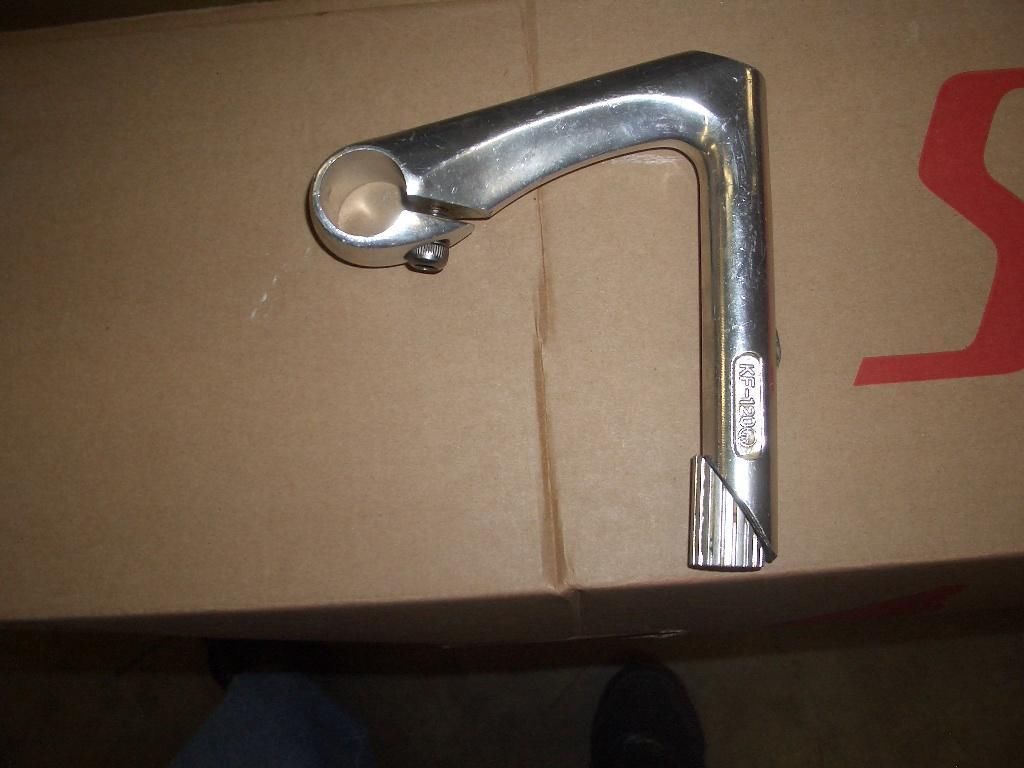
- Vintage spare road bike stem (will flip the handlebars and put them out front for a more "aggressive" riding posture)
- Reproduction Schwinn Springer Front Fork
So far the most time consuming part of the project has been the design and fabrication of an Indian motorcycle/aircraft fuselage inspired faux tank to fit the frame. Here are my overall steps so far:
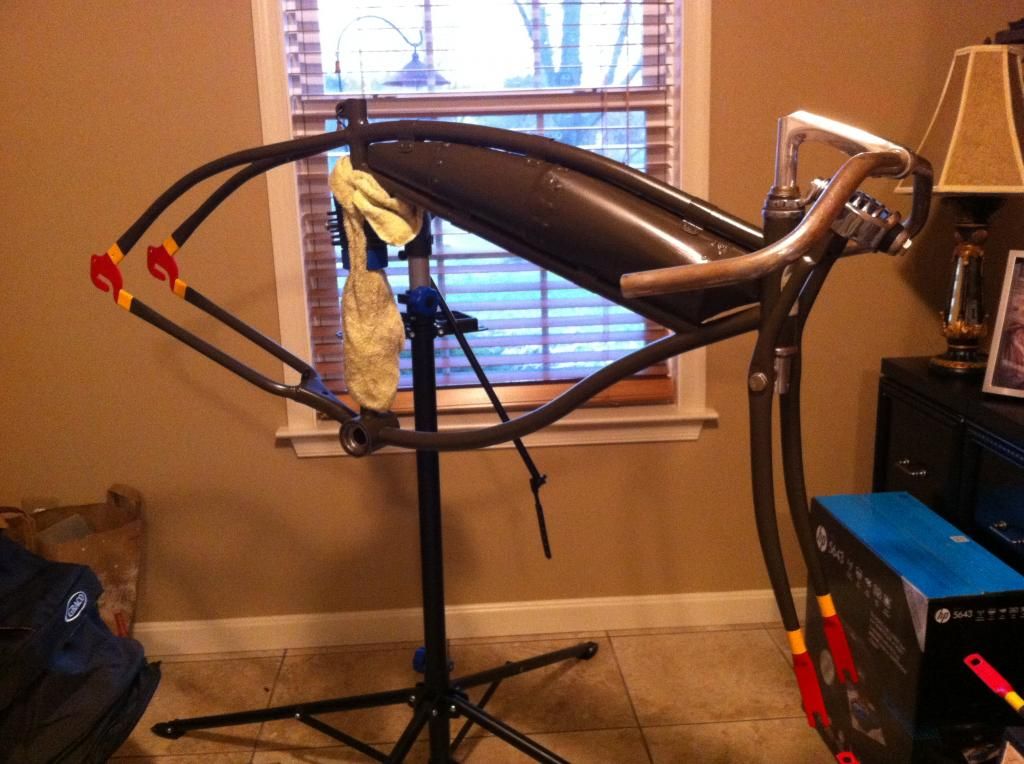
1) Build the faux board tracker/aircraft fuselage inspired faux tank: I designed the tank based on the shape of the old Indian gas tanks, but wanted to give it the riveted look of an aircraft fuselage. After tracing the inner shape of the frame where the tank will go, I copied the stencil onto some 3/4" thick plywood and cut out a hollowed frame with a jigsaw. I then used poster board to design templates for the sheet metal construction. Using the poster board templates stuck with double faced tape to a big sheet of duct metal (sold at Lowes for $10) I pre-drilled all of the holes to be used for riveting and then cut the shapes out with tin snips. I then used sheet metal (self-drilling) to attach the sheet metal panels to the wooden frame. My pre-drilling idea was sort of misguided and I had to use the self-drilling screws to create more holes. Once the metal was wrapped around the frame appropriately, I pre-drilled the metal and used a hand-riveter to affix the pieces together (1/8" rivets). Once the tank was together (took a lot of time and frustration) it did not fit the frame because of the heads of the screws - I should have made the wooden frame even smaller. So, one by one I replaced each screw with a flat headed nail. Once complete, I used Bondo Ultimate (only filler to stick to galvanized metal) to fill in the gaps and then brushed on three coats of KILZ 2 primer. This is the only primer that is guaranteed to stick to galvanized metal from what I read.


2) Prepare Frame: The 1950's bike frame was previously sloppily hand painted with bright red and white paint. Using Citrus Paint Stripper and a mask, I cleaned all of the paint off of everything I intend on using from the project bike purchase. The metal underneath had a nice rusty patina and I seriously considered just stopping with that….but the Fighter Bike must be realized so I pressed on…
3) Prepare the Repro Springer Fork and New Half Fender: Disassembled the springer fork and scuffed up the new paint in preparation for painting along with the half-fender. I think this half-fender will be reminiscent of the old board tracker motorcycles, and keeps me guilt-free from ruining 60 year old fenders...
4) Primer Spray Bomb Everything: Once the tank was fabricated and the frame was ready for painting, I sprayed everything with rust/red primer by Krylon. It doesn't really matter what color it is - my plan at this point is to give it a faux-tina finish…more on that later.
5) Install Faux Tank to Frame: Now the gut wrenching part….using a rubber mallet and hammer to force the faux tank into its space on the frame. It was tight, but after a few minutes of careful and not so careful tapping I managed to squeeze the tank into place. As I feared, some hairline fractures appeared in the Bondo Ultimate along seams. This stuff is supposed to have awesome grip so I'm hoping the rest will last…the paint job should fill in those hairline cracks. The way I look at it…I was beating the tank with a hammer….it shouldn't take that sort of direct abuse in the future.

6) Fabricating and installing Tank braces: Tonight I used some of the remaining sheet metal to create five braces that I riveted to the tank so that it is firmly attached to the frame. No permanent alterations to the frame, which is awesome. Everything is really coming together!
Future Plans: My next steps will be to prime those galvanized braces, and start the painting process for everything. I'm leaning towards coating with black, then primer brown, then dark olive drab then using sand paper to artificially weather it and give it a nice fake patina. Not there yet though….maybe this weekend or early next week weather permitting.
Here's a sneak peak of what the shark mouth will look like…drew it using Adobe Illustrator based on original photos of Flying Tigers P-40 Warhawks… At this point I'll probably hand paint it on using stencils that I'll need to cut out with an X-acto blade….still undecided.
Thanks for reading!
Patrick

A few weeks ago I submitted a post about wanting to build a board track inspired cruiser with a WWII fighter plane tribute theme (complete with shark mouth on the faux tank ala the Flying Tigers) and a "fauxtina" weathered finish. I have since started the project, and wanted to post some updates along the way in case anyone is interested in following it. I love working on this "rat rod" bike because anything goes, and it doesn't have to be pretty >
Vintage board-tracker motorcycle reference photo:

Flying Tigers P-40 Warhawk reference photo:

I started with a 1950's Firestone Deluxe Cruiser, made in Germany, that I purchased on Ebay. The bike has a nice straight frame, bent/damaged front fork and serviceable chain guard, fenders, 3-piece crank, rusty pedals, handlebars, stem and seat post. I plan on retaining most of these parts, except for the fenders, seat post and stem.

Extra parts I am purchasing for this build will include:
- Set of wheels equipped with the Shimano Nexus 3-speed internal hub and Sturmey Archer shifter compatible with the Nexus
- Rubber grips (vintage or repro)
- Felt half rear fender
- Felt Quick Brick tires and tubes
- Fujita Belt Co. Saddle (vintage mfg in Tokyo, Japan)
- Lean back seat post (as sold on Chubby's)
- Vintage spare road bike stem (will flip the handlebars and put them out front for a more "aggressive" riding posture)
- Reproduction Schwinn Springer Front Fork
So far the most time consuming part of the project has been the design and fabrication of an Indian motorcycle/aircraft fuselage inspired faux tank to fit the frame. Here are my overall steps so far:
1) Build the faux board tracker/aircraft fuselage inspired faux tank: I designed the tank based on the shape of the old Indian gas tanks, but wanted to give it the riveted look of an aircraft fuselage. After tracing the inner shape of the frame where the tank will go, I copied the stencil onto some 3/4" thick plywood and cut out a hollowed frame with a jigsaw. I then used poster board to design templates for the sheet metal construction. Using the poster board templates stuck with double faced tape to a big sheet of duct metal (sold at Lowes for $10) I pre-drilled all of the holes to be used for riveting and then cut the shapes out with tin snips. I then used sheet metal (self-drilling) to attach the sheet metal panels to the wooden frame. My pre-drilling idea was sort of misguided and I had to use the self-drilling screws to create more holes. Once the metal was wrapped around the frame appropriately, I pre-drilled the metal and used a hand-riveter to affix the pieces together (1/8" rivets). Once the tank was together (took a lot of time and frustration) it did not fit the frame because of the heads of the screws - I should have made the wooden frame even smaller. So, one by one I replaced each screw with a flat headed nail. Once complete, I used Bondo Ultimate (only filler to stick to galvanized metal) to fill in the gaps and then brushed on three coats of KILZ 2 primer. This is the only primer that is guaranteed to stick to galvanized metal from what I read.


2) Prepare Frame: The 1950's bike frame was previously sloppily hand painted with bright red and white paint. Using Citrus Paint Stripper and a mask, I cleaned all of the paint off of everything I intend on using from the project bike purchase. The metal underneath had a nice rusty patina and I seriously considered just stopping with that….but the Fighter Bike must be realized so I pressed on…
3) Prepare the Repro Springer Fork and New Half Fender: Disassembled the springer fork and scuffed up the new paint in preparation for painting along with the half-fender. I think this half-fender will be reminiscent of the old board tracker motorcycles, and keeps me guilt-free from ruining 60 year old fenders...
4) Primer Spray Bomb Everything: Once the tank was fabricated and the frame was ready for painting, I sprayed everything with rust/red primer by Krylon. It doesn't really matter what color it is - my plan at this point is to give it a faux-tina finish…more on that later.
5) Install Faux Tank to Frame: Now the gut wrenching part….using a rubber mallet and hammer to force the faux tank into its space on the frame. It was tight, but after a few minutes of careful and not so careful tapping I managed to squeeze the tank into place. As I feared, some hairline fractures appeared in the Bondo Ultimate along seams. This stuff is supposed to have awesome grip so I'm hoping the rest will last…the paint job should fill in those hairline cracks. The way I look at it…I was beating the tank with a hammer….it shouldn't take that sort of direct abuse in the future.

6) Fabricating and installing Tank braces: Tonight I used some of the remaining sheet metal to create five braces that I riveted to the tank so that it is firmly attached to the frame. No permanent alterations to the frame, which is awesome. Everything is really coming together!
Future Plans: My next steps will be to prime those galvanized braces, and start the painting process for everything. I'm leaning towards coating with black, then primer brown, then dark olive drab then using sand paper to artificially weather it and give it a nice fake patina. Not there yet though….maybe this weekend or early next week weather permitting.
Here's a sneak peak of what the shark mouth will look like…drew it using Adobe Illustrator based on original photos of Flying Tigers P-40 Warhawks… At this point I'll probably hand paint it on using stencils that I'll need to cut out with an X-acto blade….still undecided.
Thanks for reading!
Patrick


