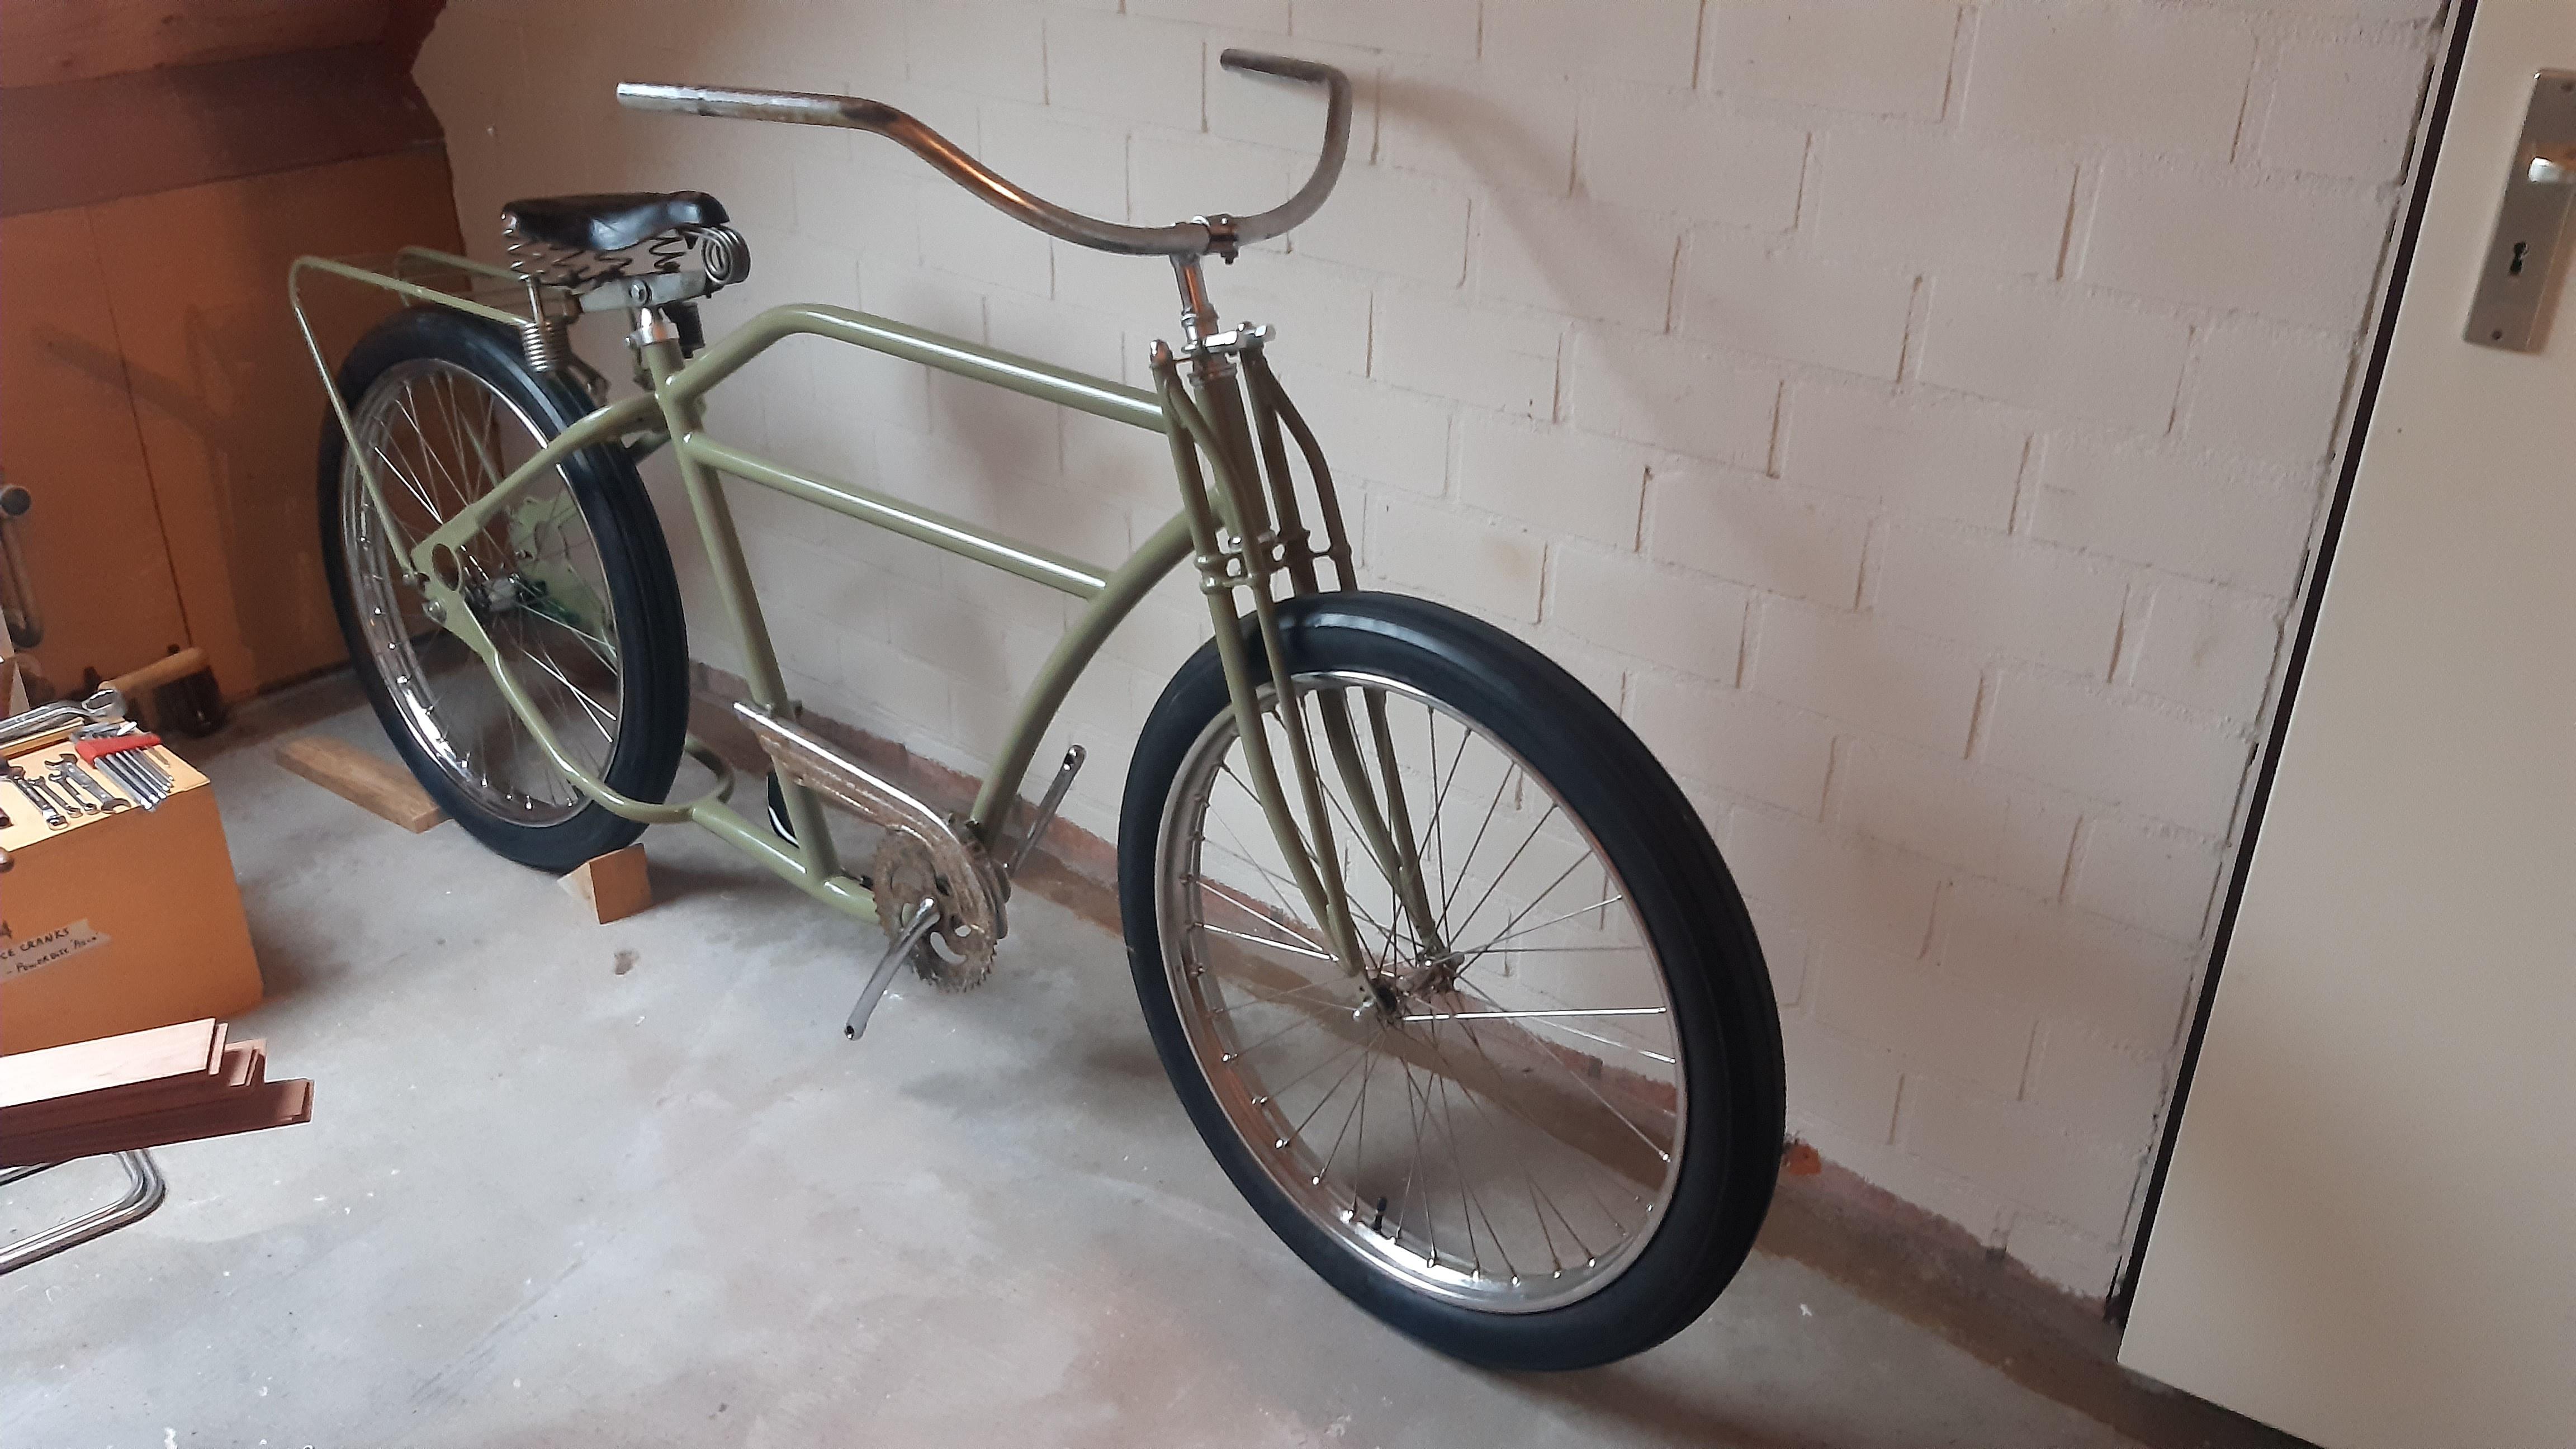
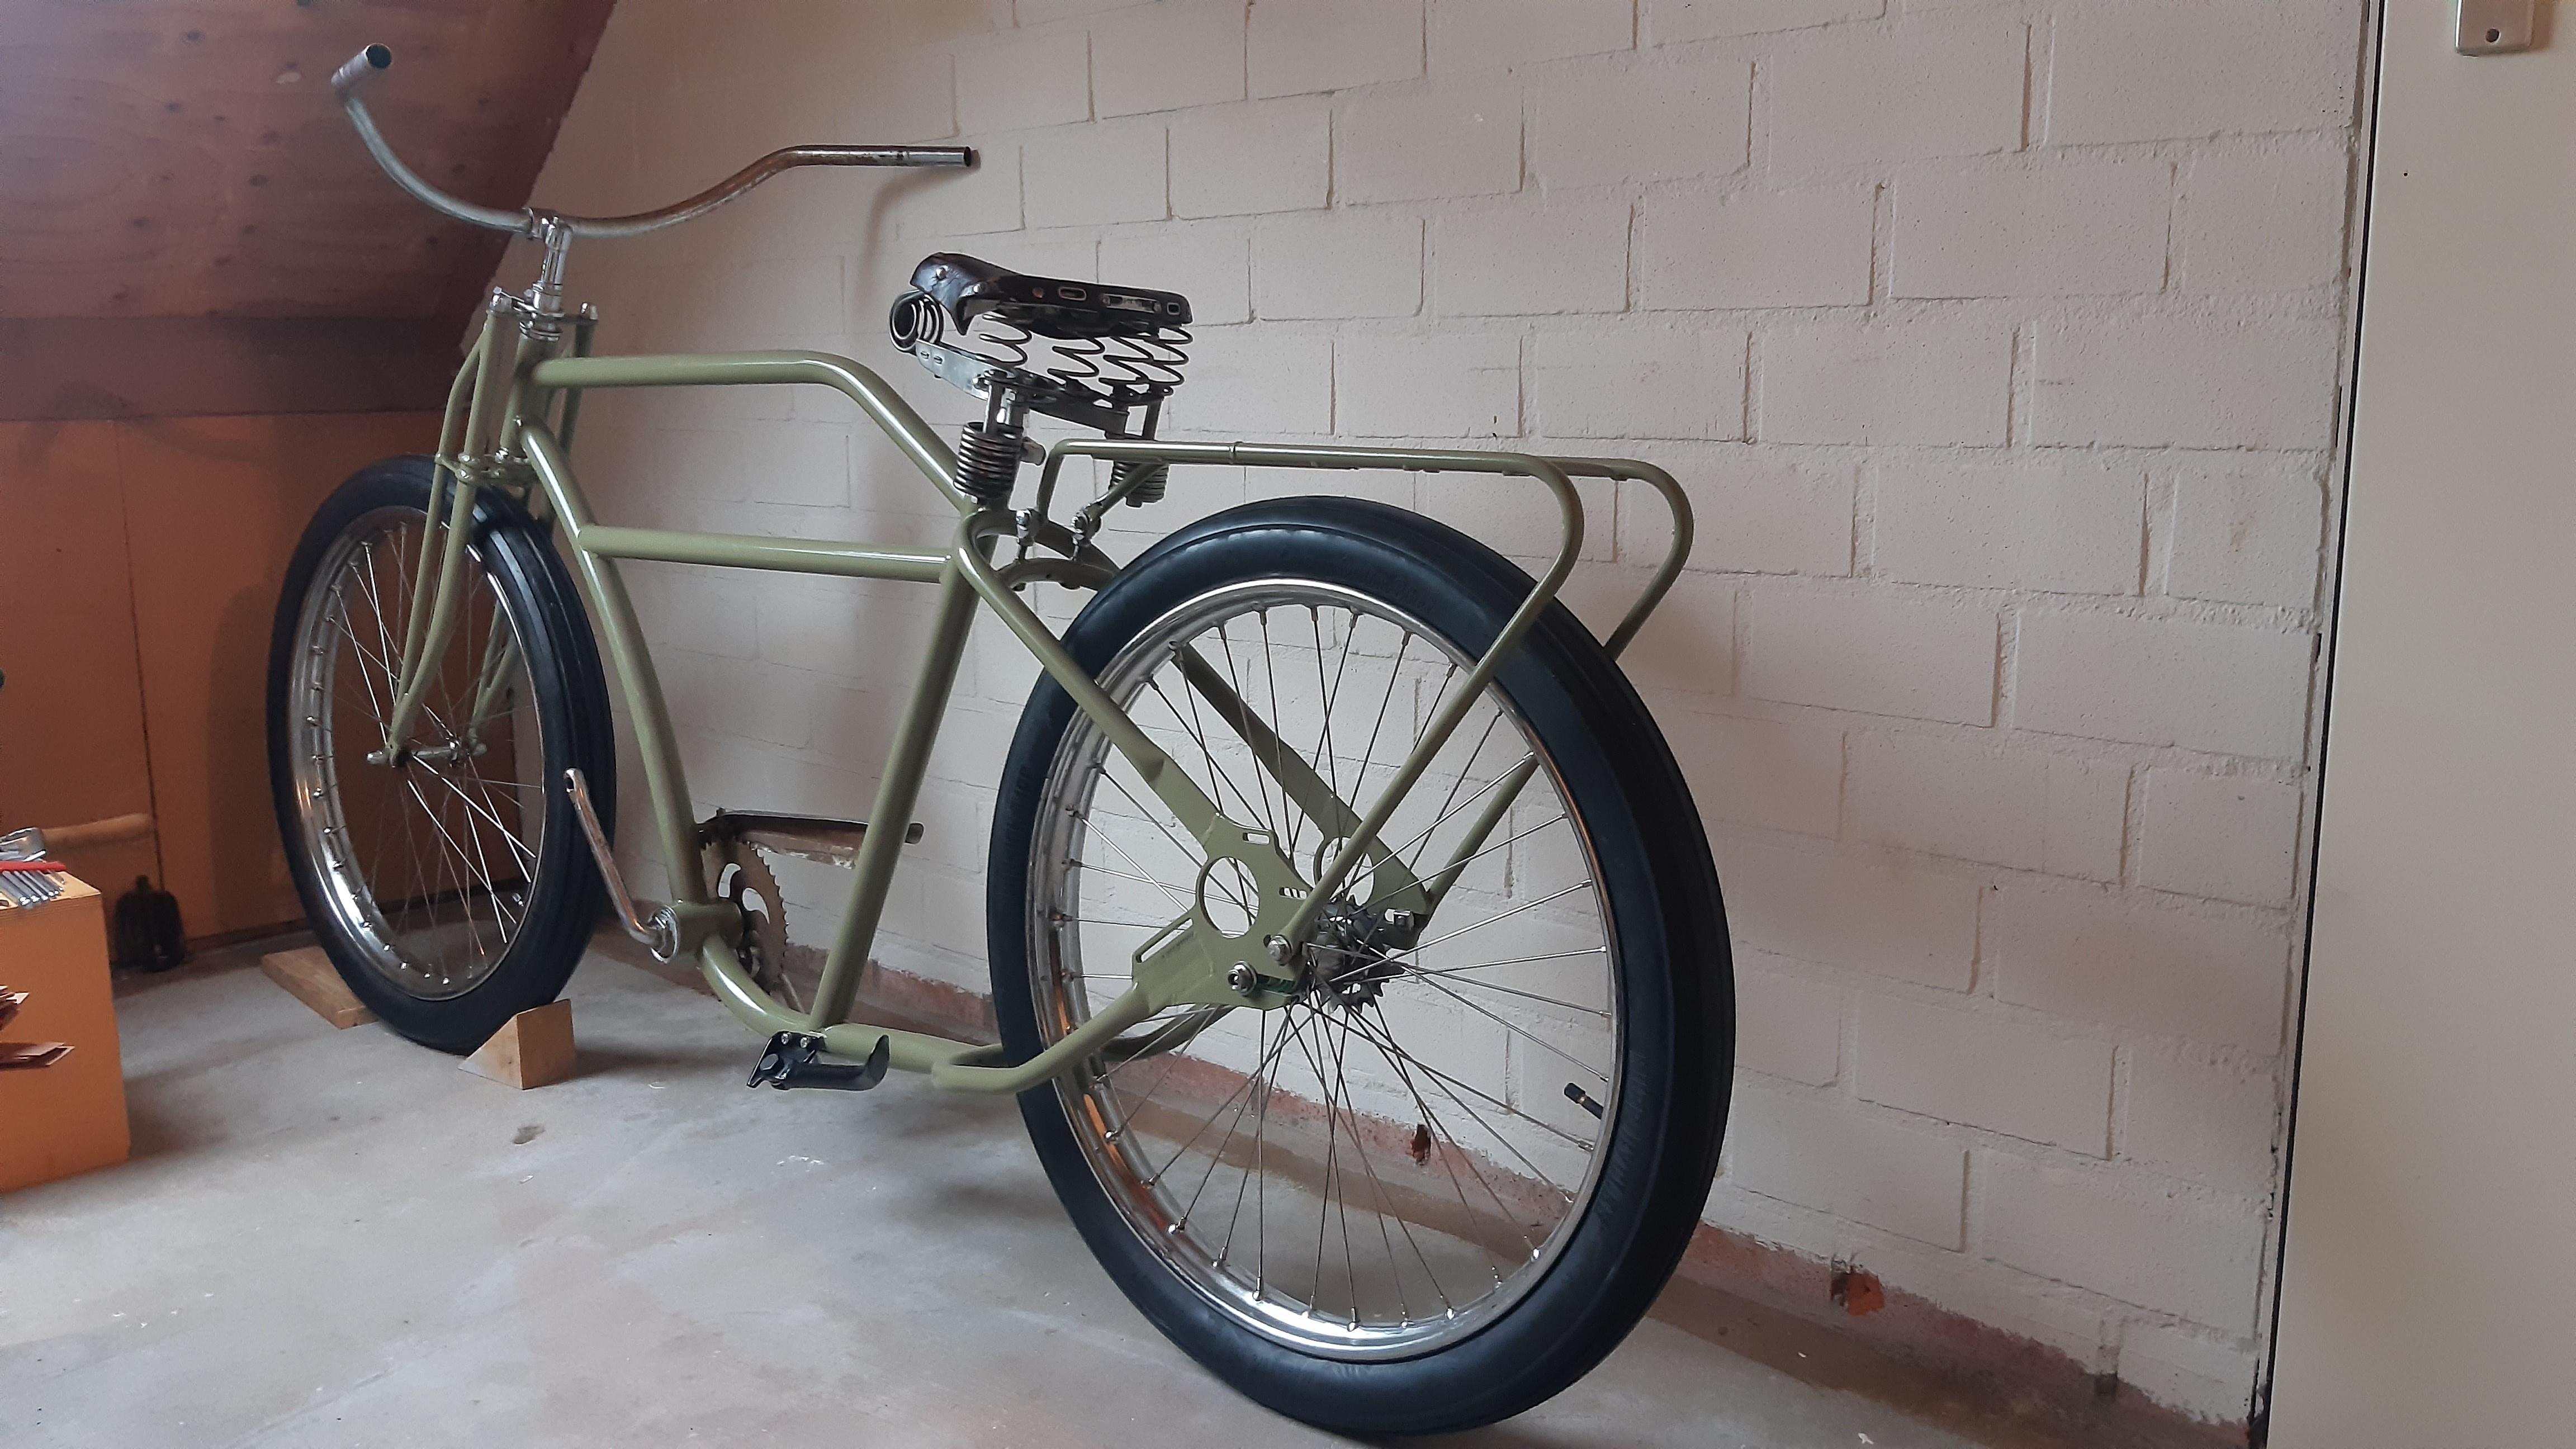
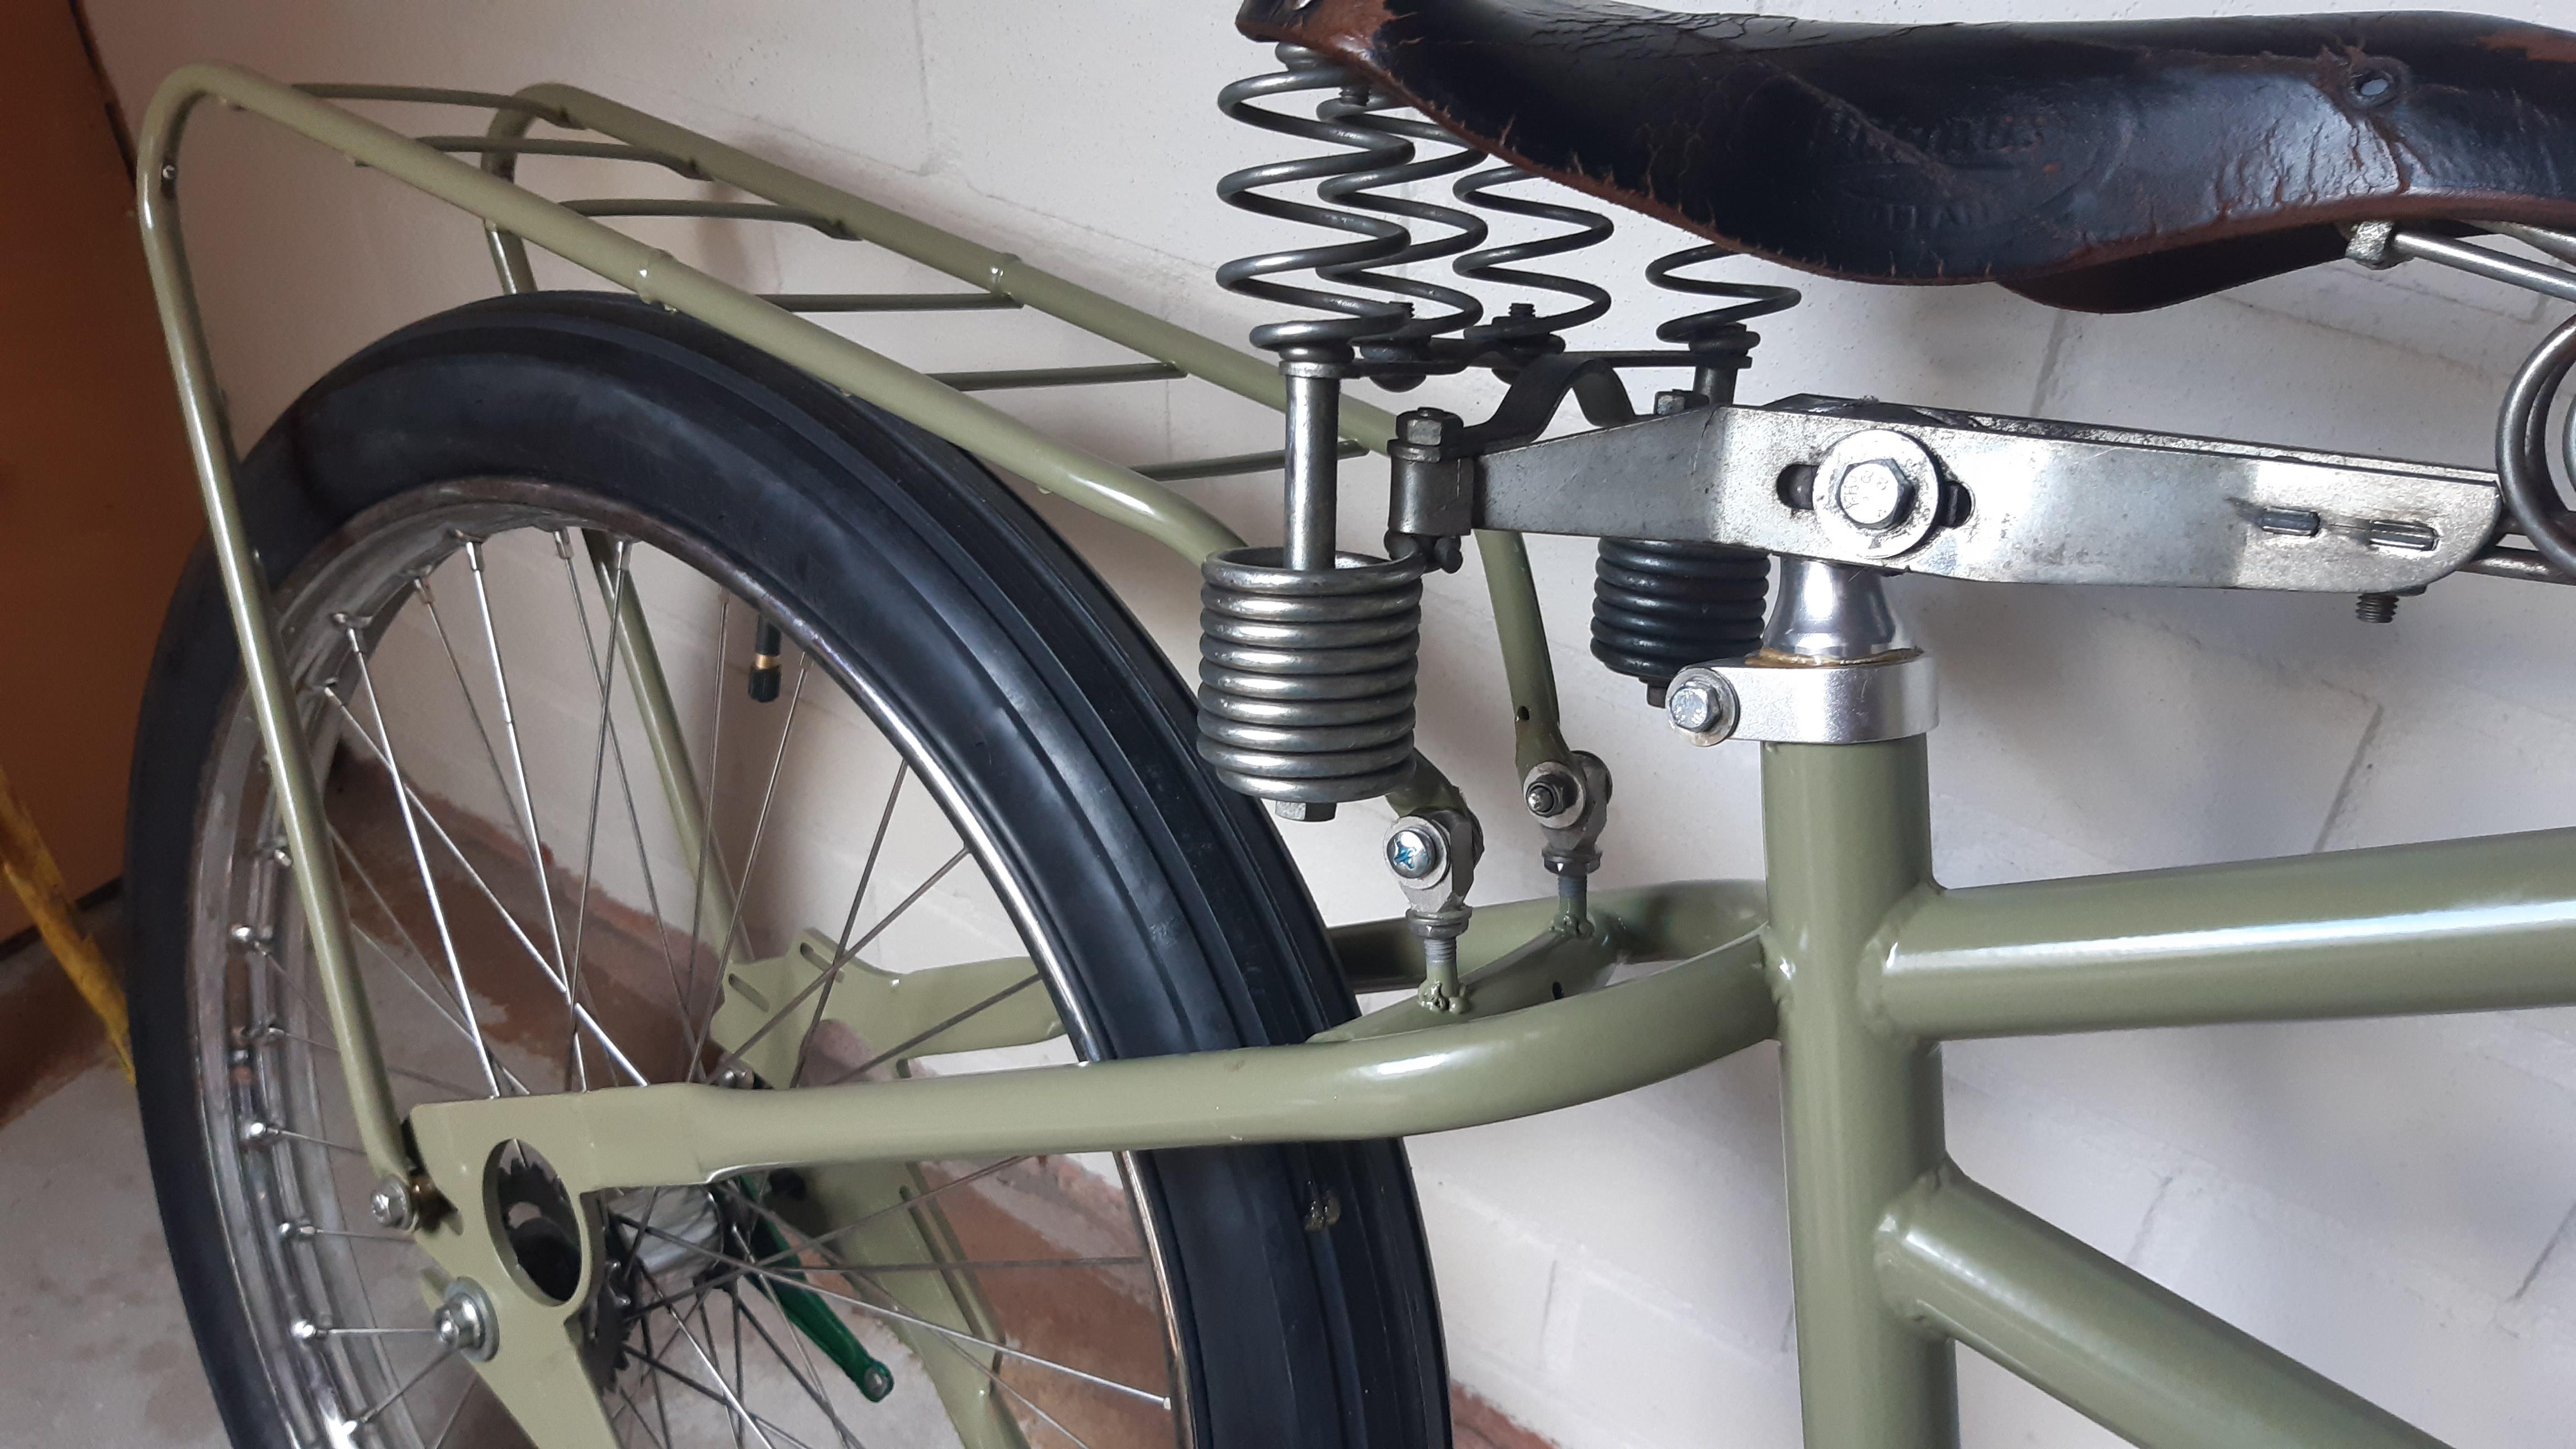
Boardtracker / Antique motorcycle style bicycle build

Rat Rod Bikes Bicycle Forum

Help Support Rat Rod Bikes Bicycle Forum:

This site may earn a commission from merchant affiliate links, including eBay, Amazon, and others.
Bart,
Excellent vintage lamp choice. Will really compliment your build.
Just a couple of weeks back I retro-fitted one of the vintage bicycle lamps from my collection with a rechargeable LED lamp. Everything self-contained within the lamp itself, so no wiring involved. As luck would have it, the new lamp's plastic housing was a snug interference-fit into this particular Powell & Hanmer lamp's shell - so no additional fixings required. Conveniently, the LED lamp's on/off switch is accessible via the flip-up hinged red lens on the lamp's left side. (Yep, stars were aligned for this conversion...). Perhaps if using other vintage lamps, it would be a cinch to stick the LED lamp to the reflector lens inside the back of the lamp using double-sided adhesive tape. The LED lamp is easily removed for charging via its supplied USB cable. Only modification I had to do was to snip off and file flush the LED lamp casing's pair of moulded-on hooks for the rubber securing band. Cheapest and quickest conversion ever. Took no more than 15 minutes tops. Dadcat's little helper gives it the thumbs-up!
LED Lamp cost UK£4 online, and features multiple light modes. Bargain in anyone's language. I've done a couple of vintage to LED lamp conversions in the past but this is by far the simplest and best method in my experience. I plan on adapting all my vintage carbide/kerosene/petroleum lamps using this method because it requires no 'butchering' of the original lamp's shell, nor any additional wiring.

DSCN4041.JPGDSCN4040 (2).JPGDSCN4035.JPG
 
@PeteMcP Awesome lamps and great solution without damaging the old original lamps. Thanks again for your advice.

Update:

The bike is almost ready for a powdercoat. I clamped the final brackets on the frame (chaincover and rear carrier), so I can weld them.
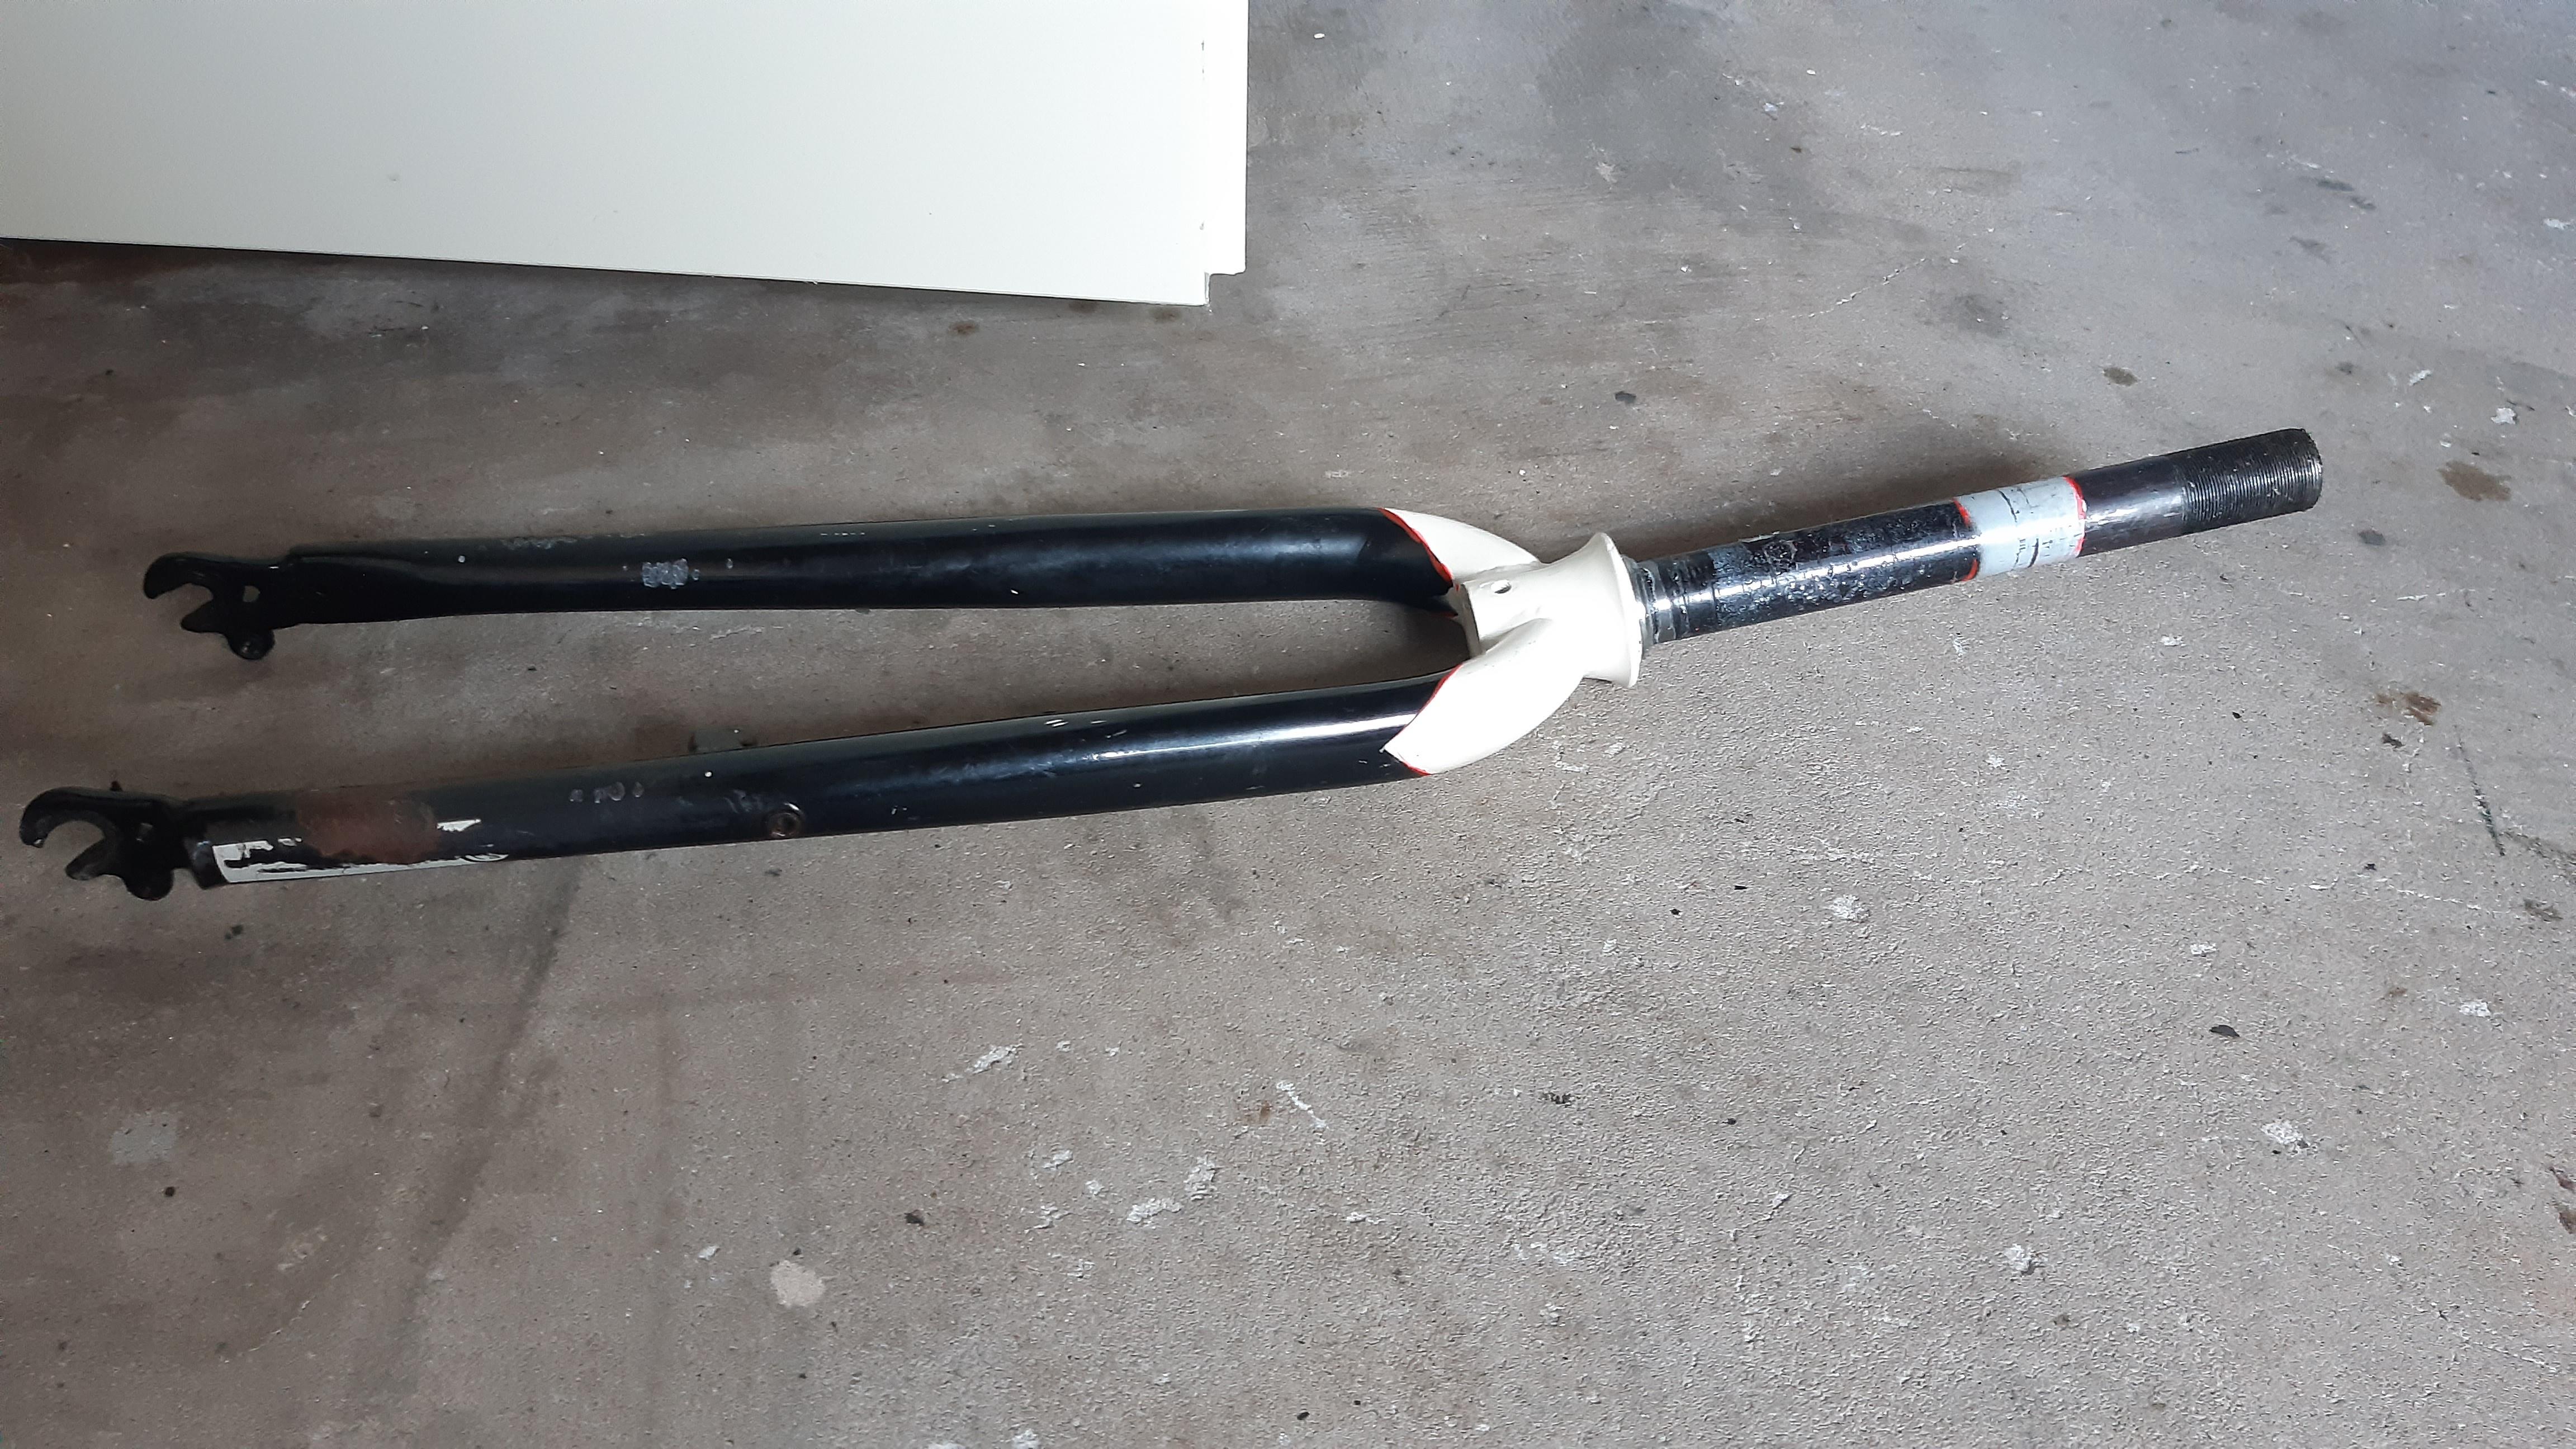
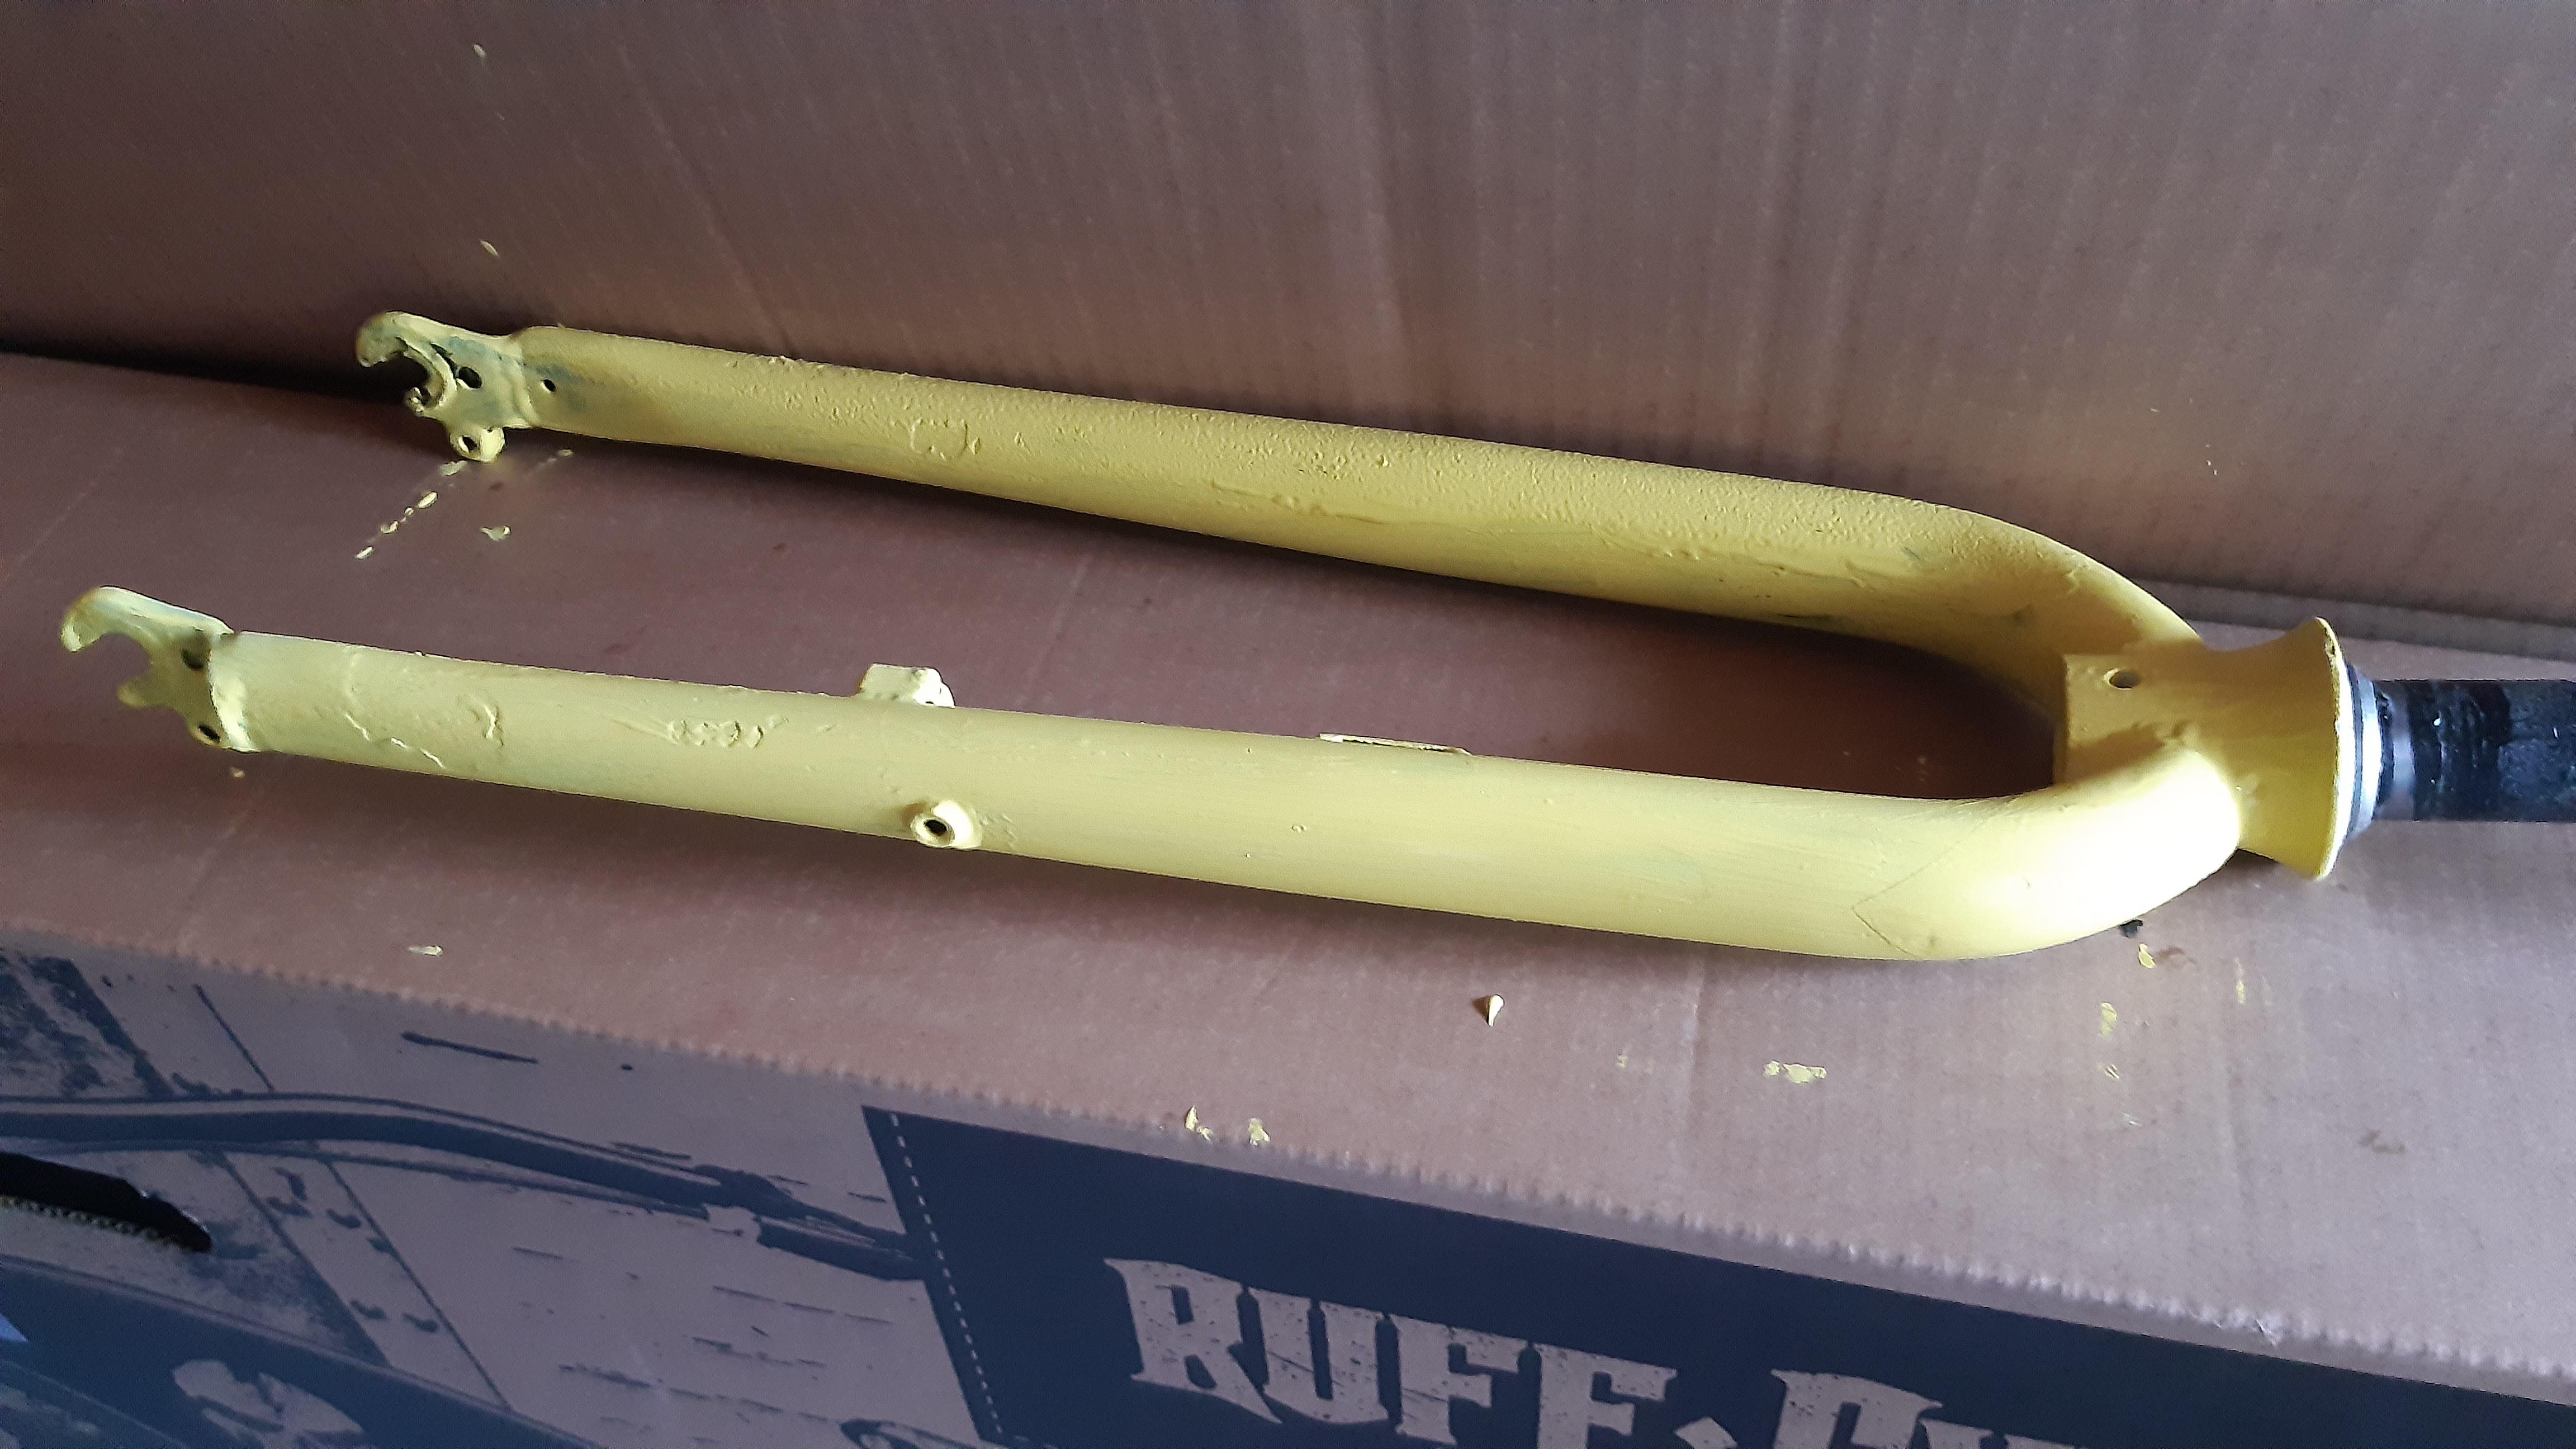
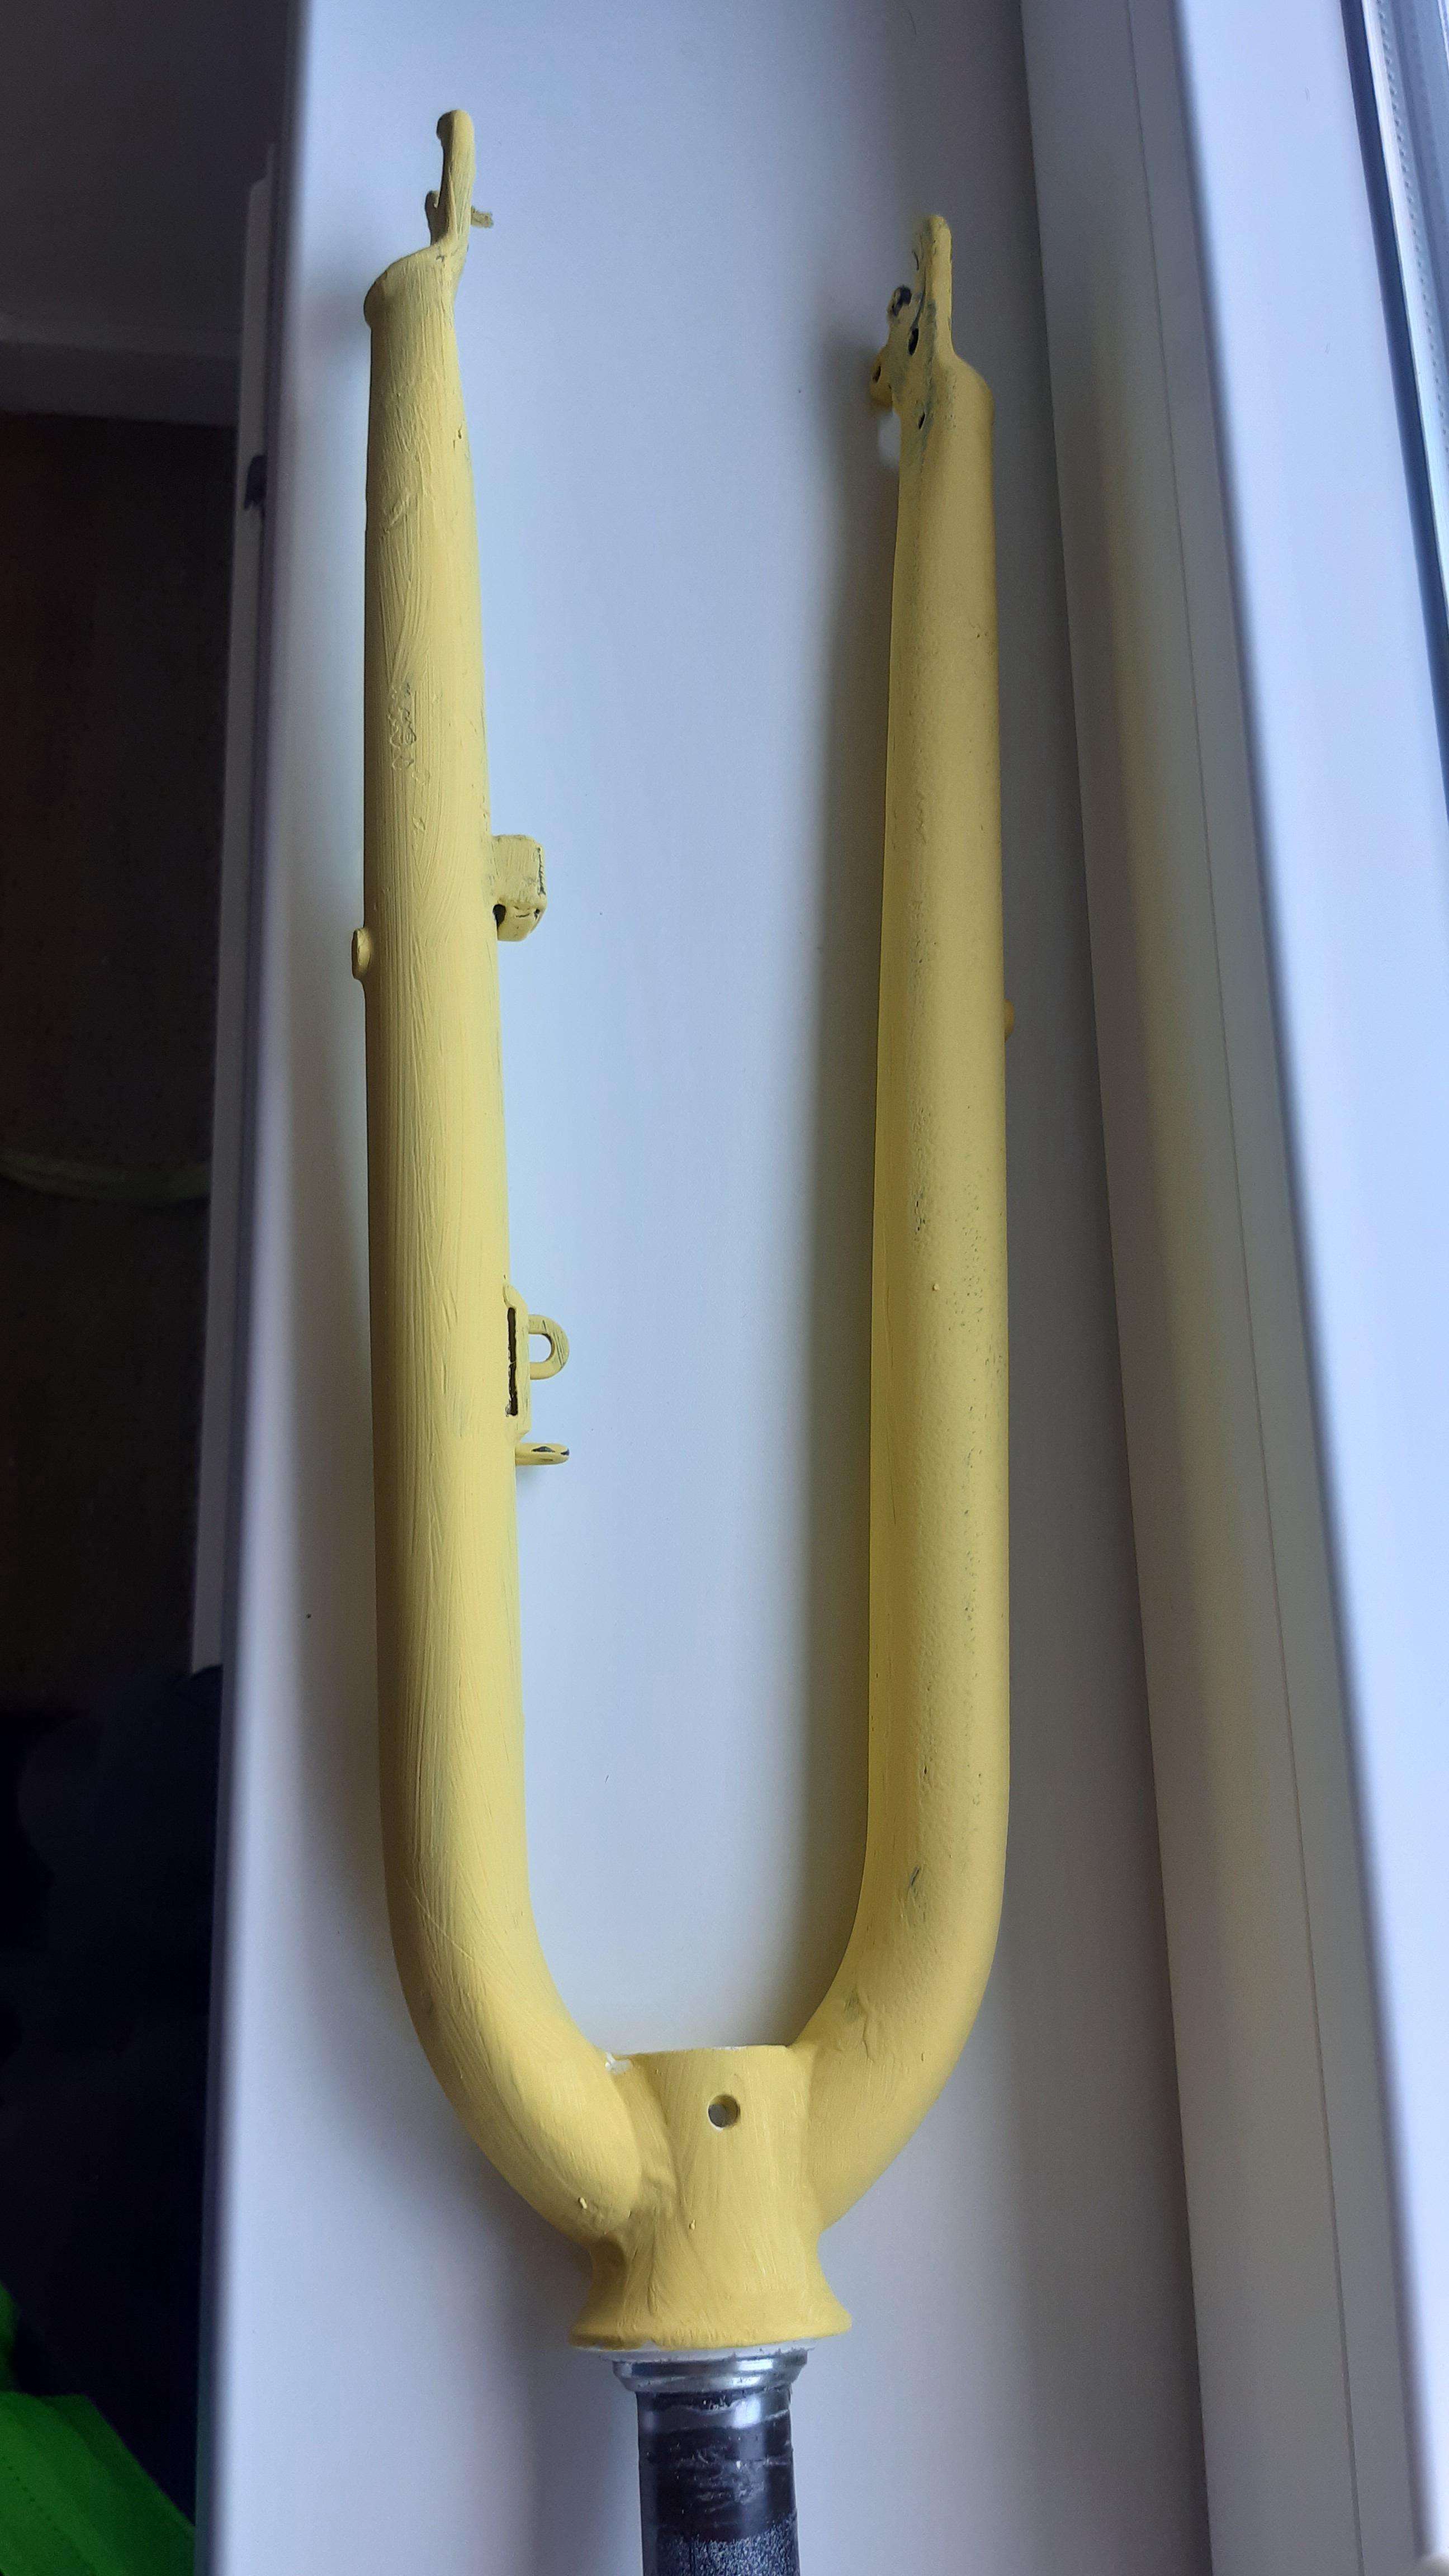
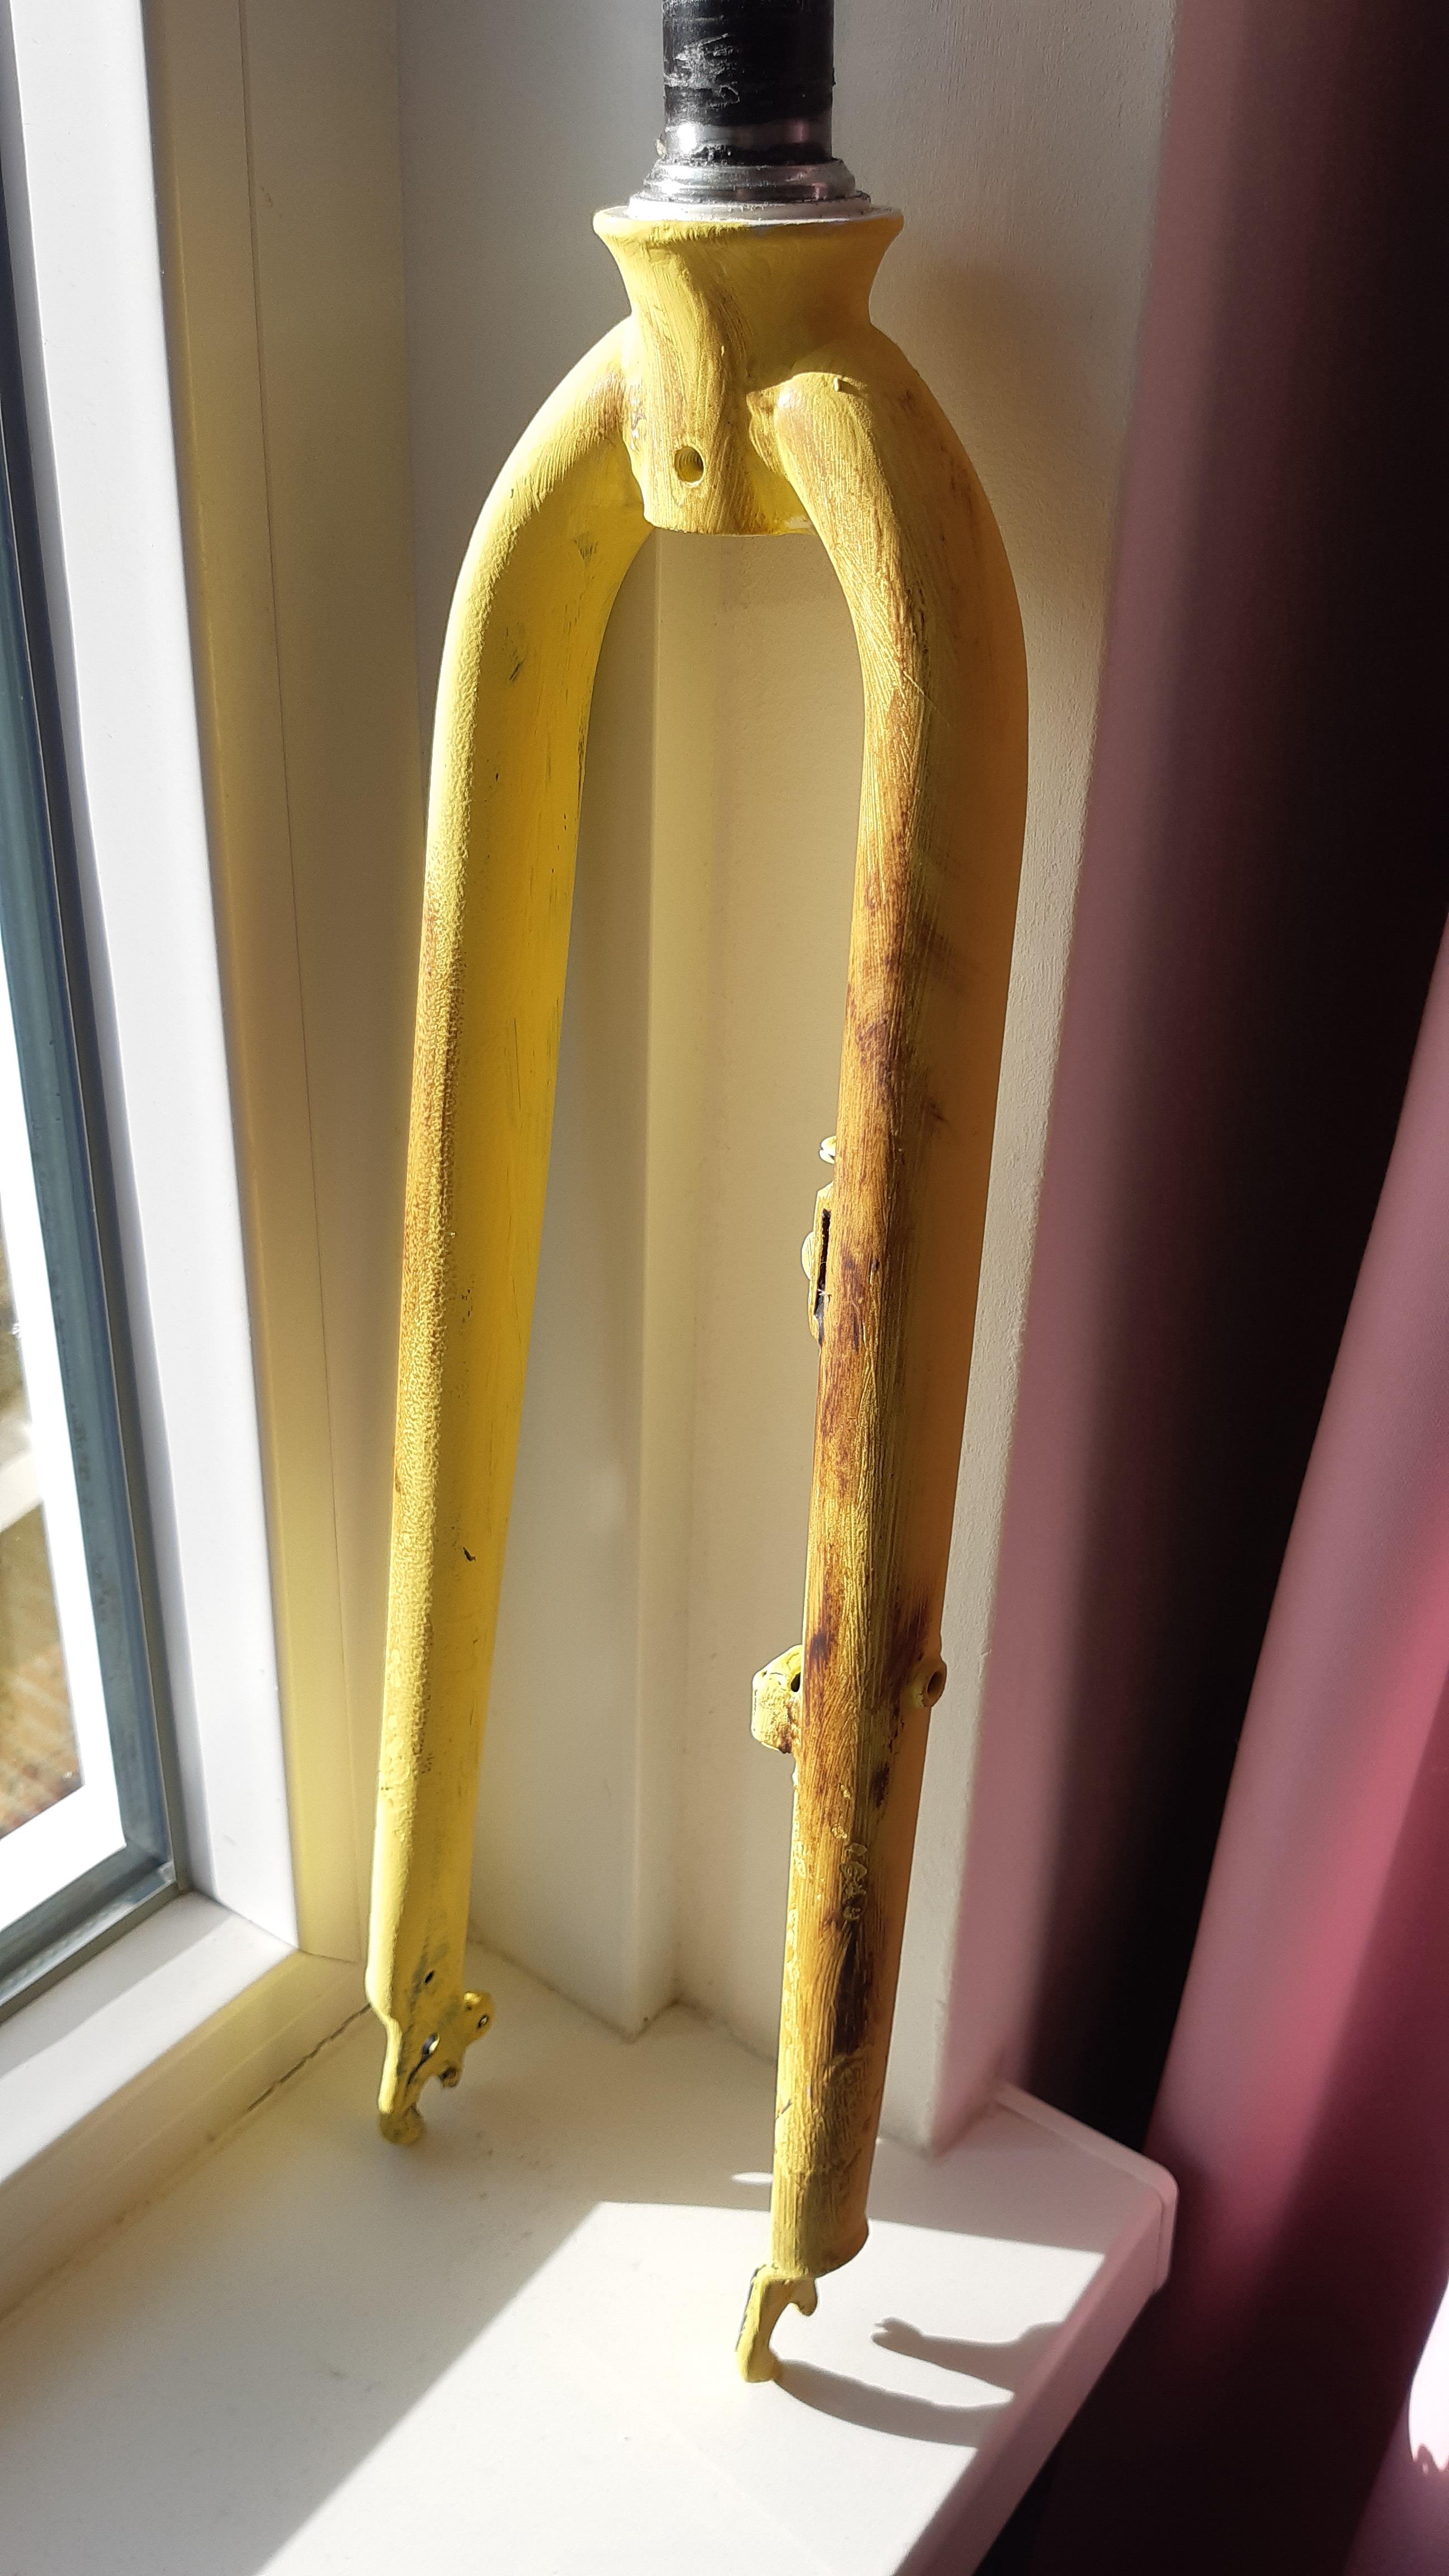
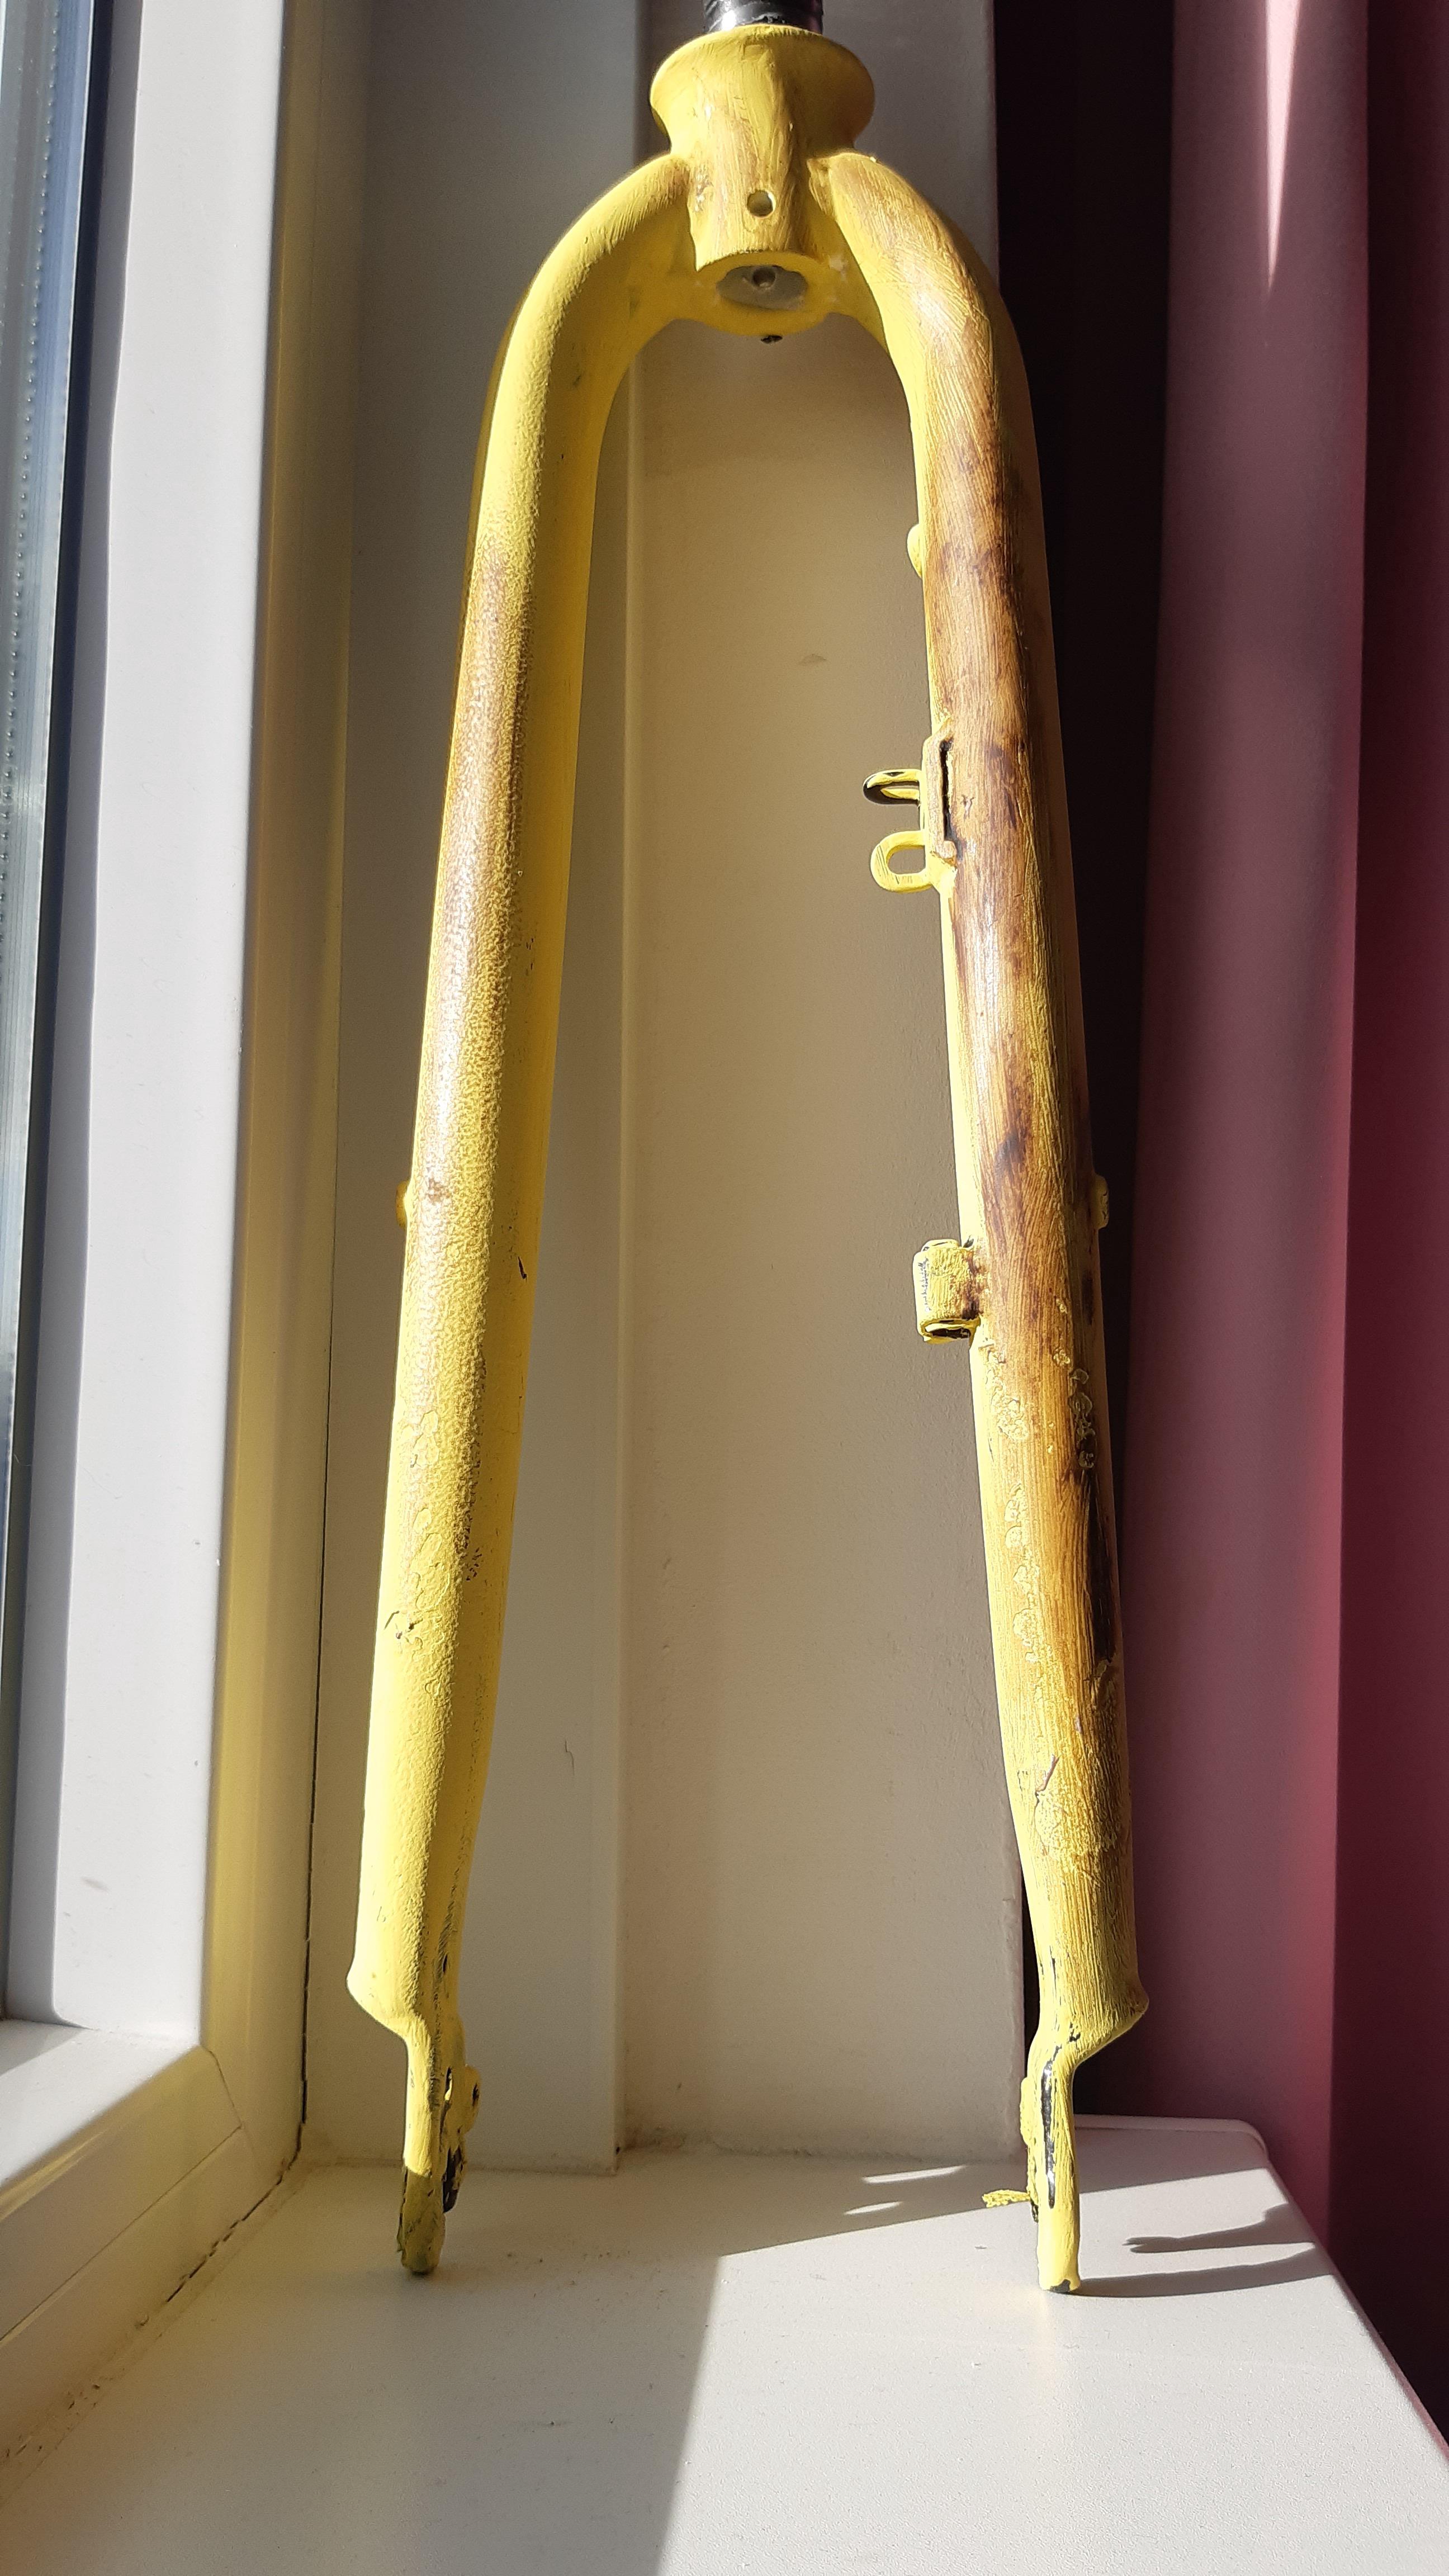
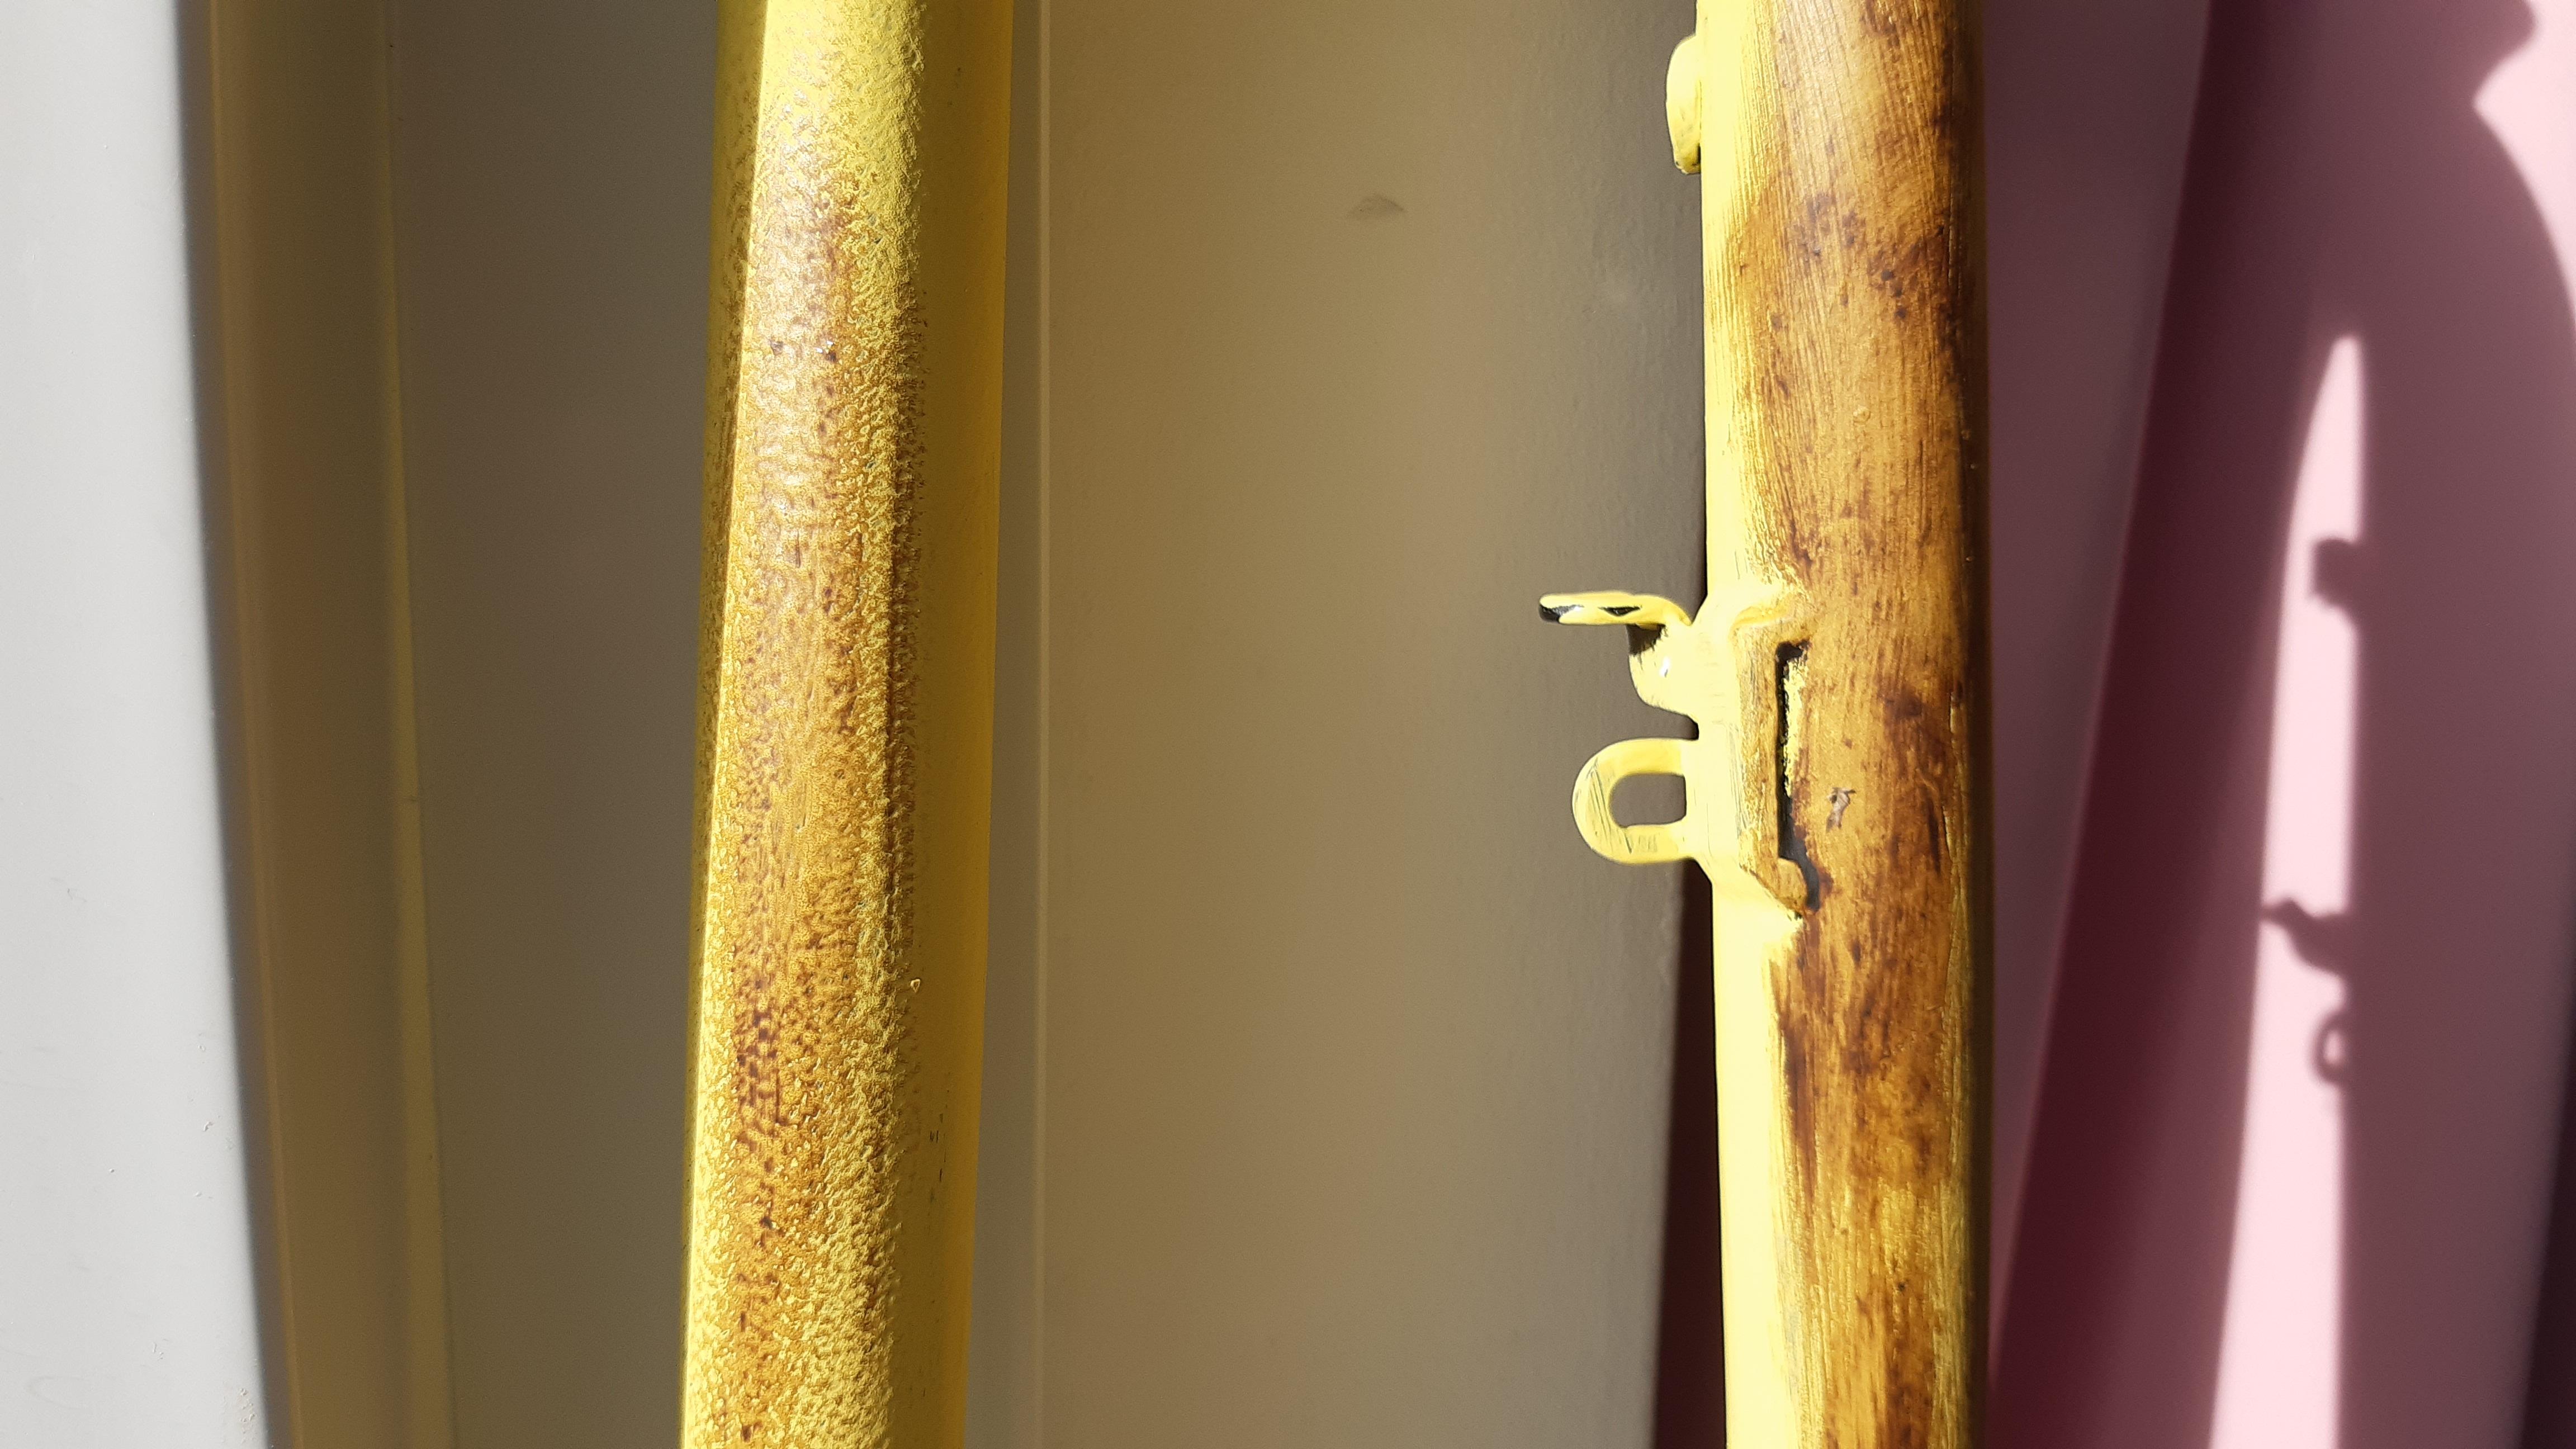
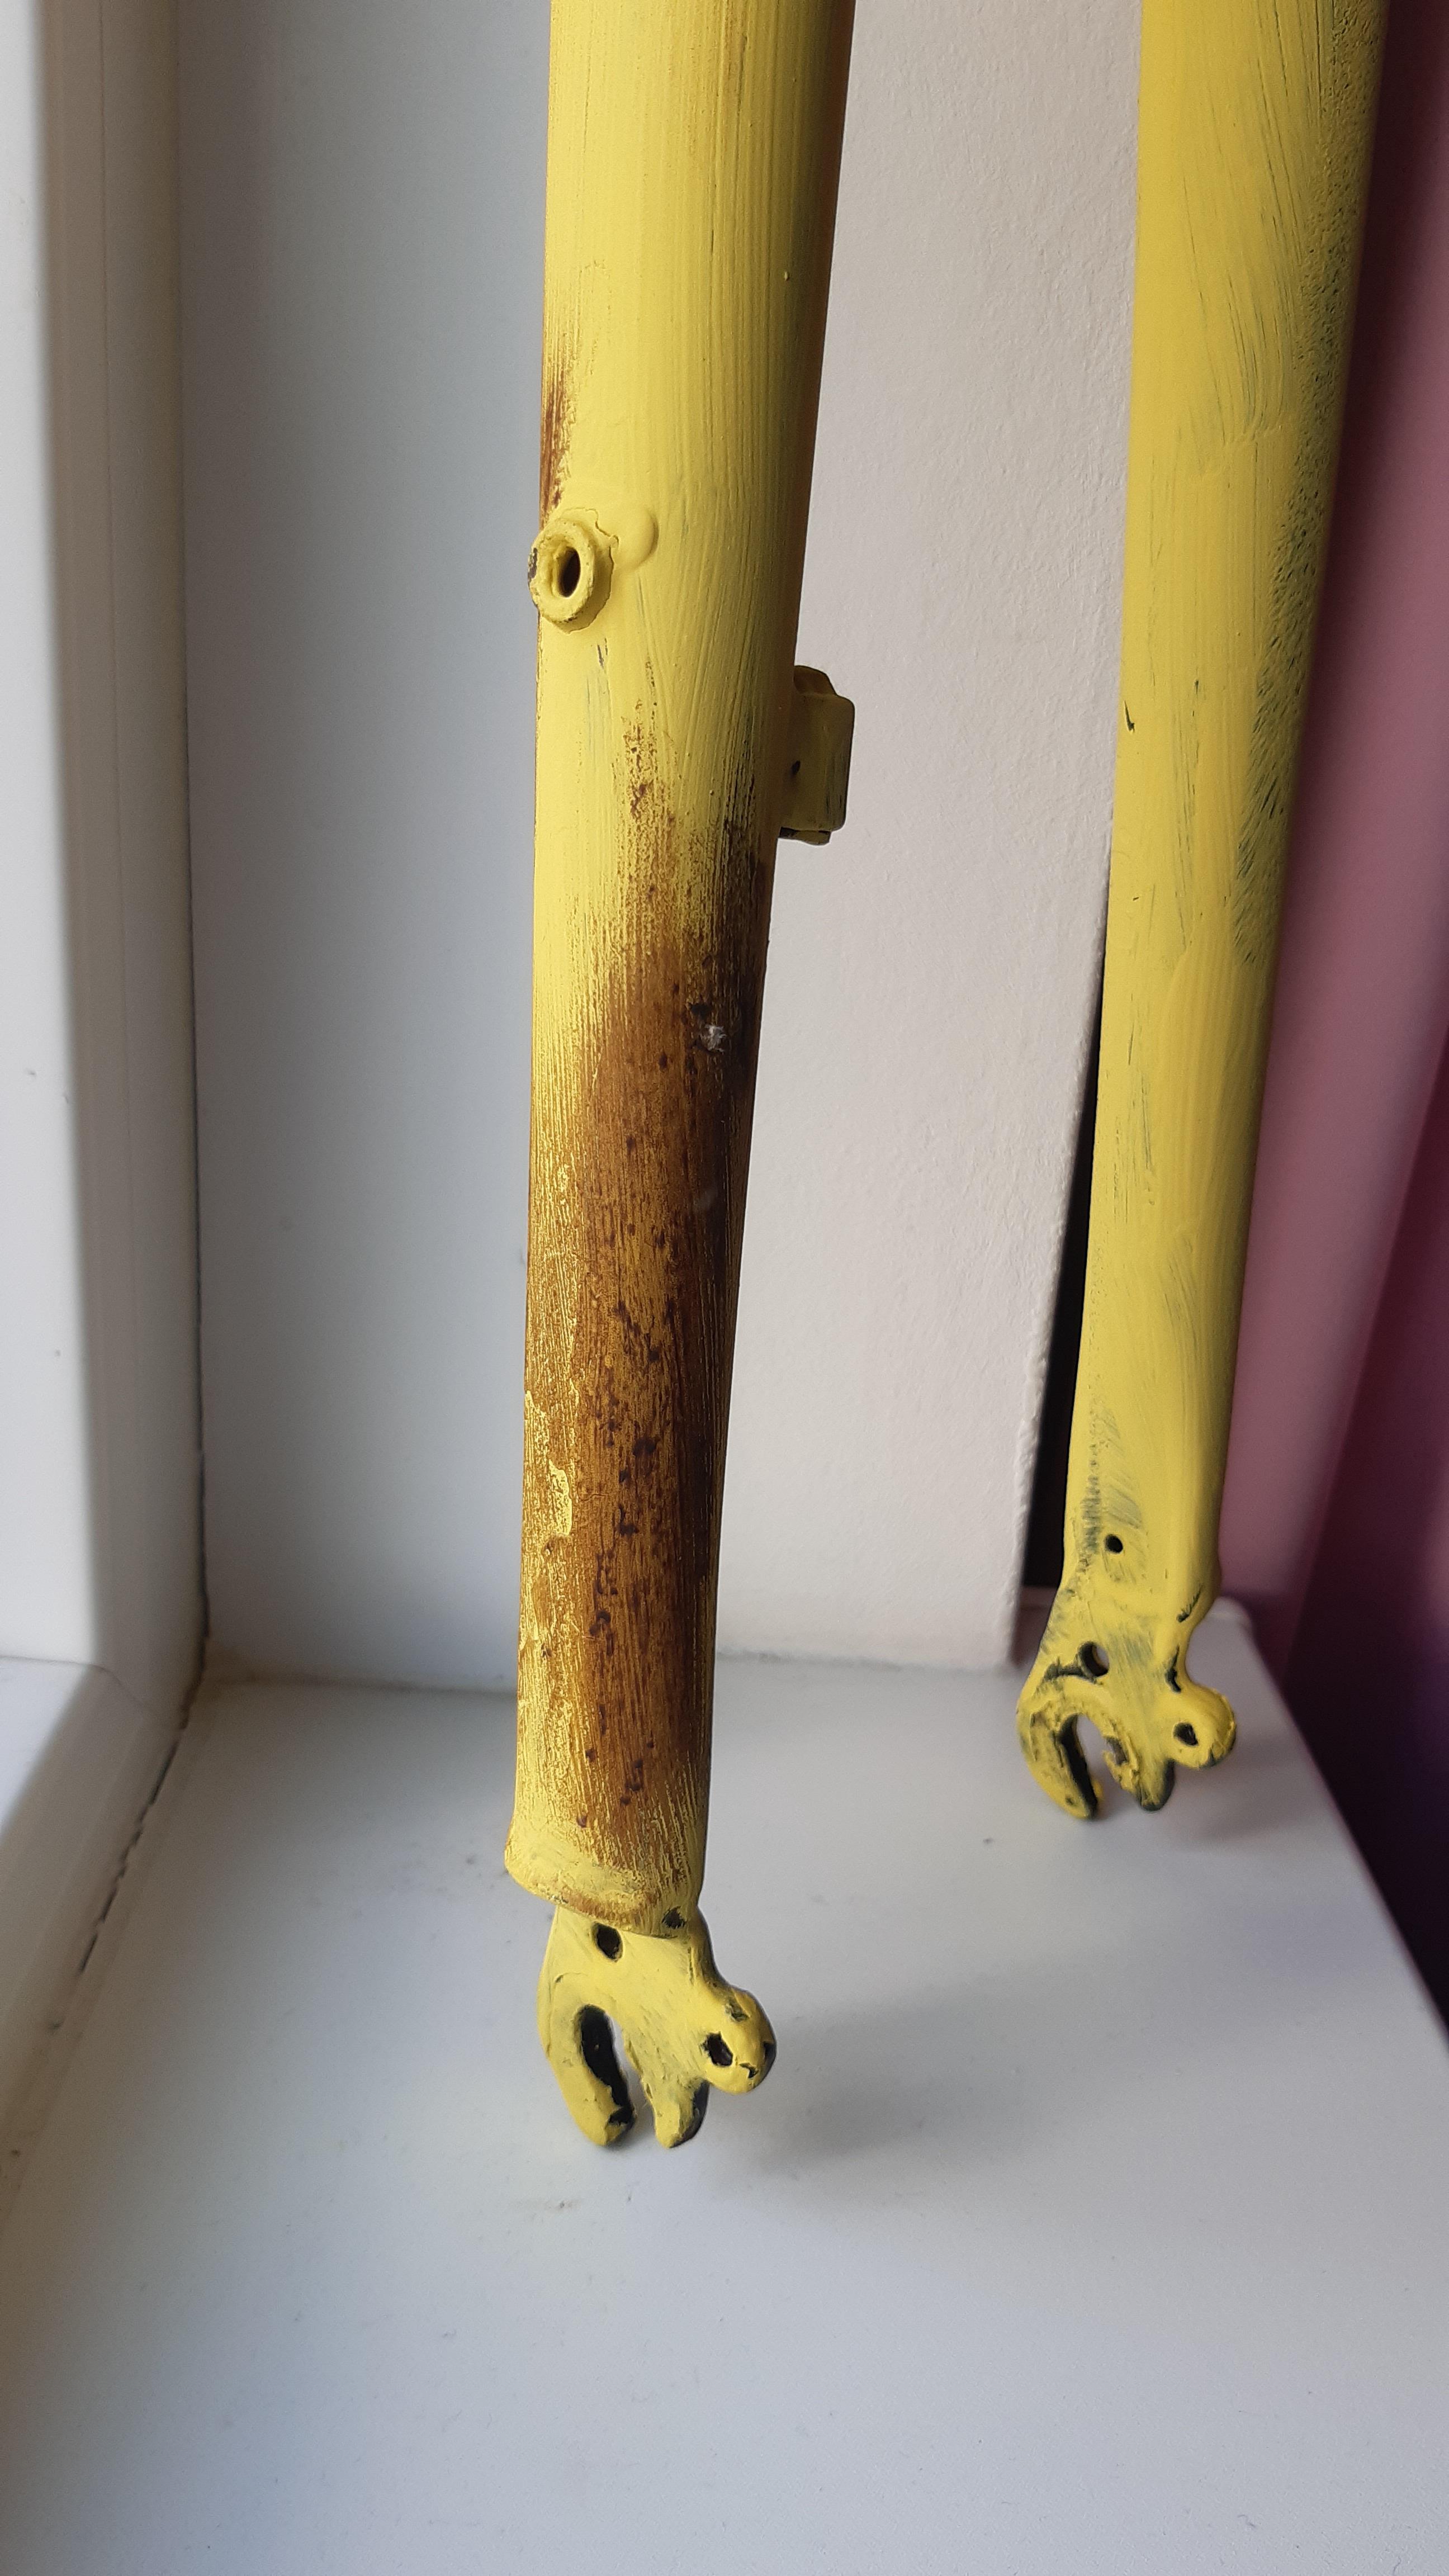
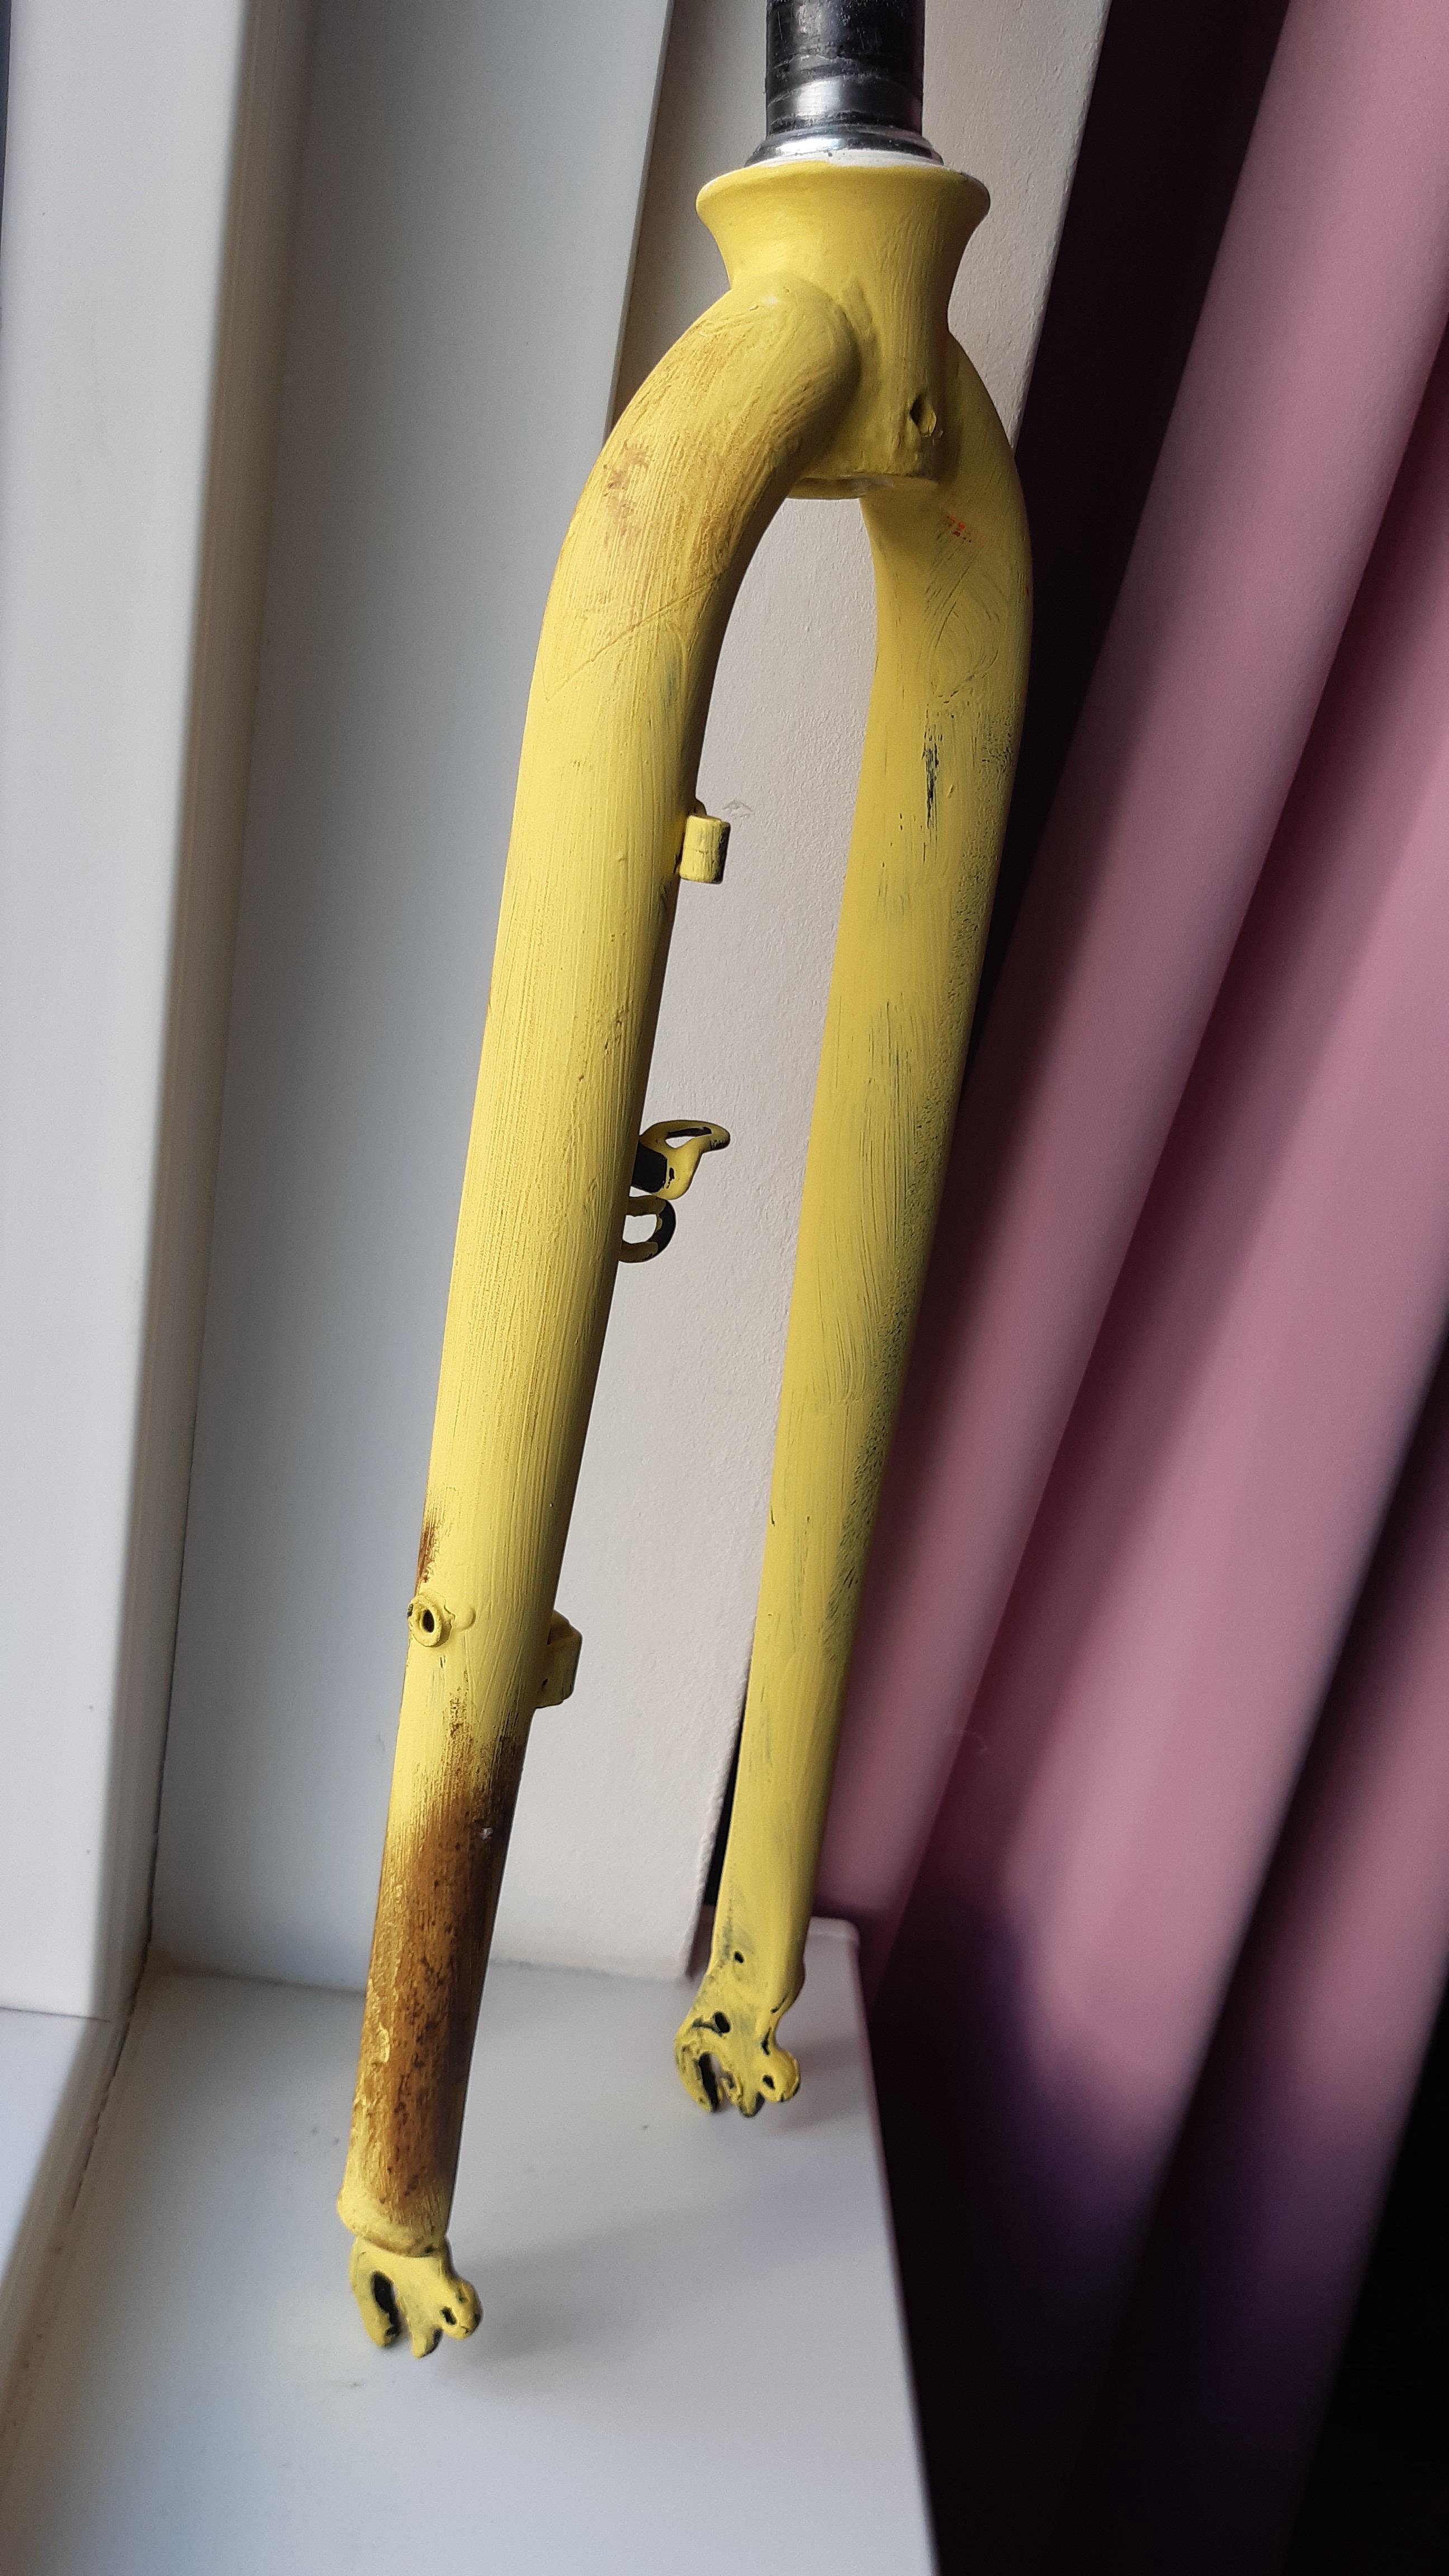
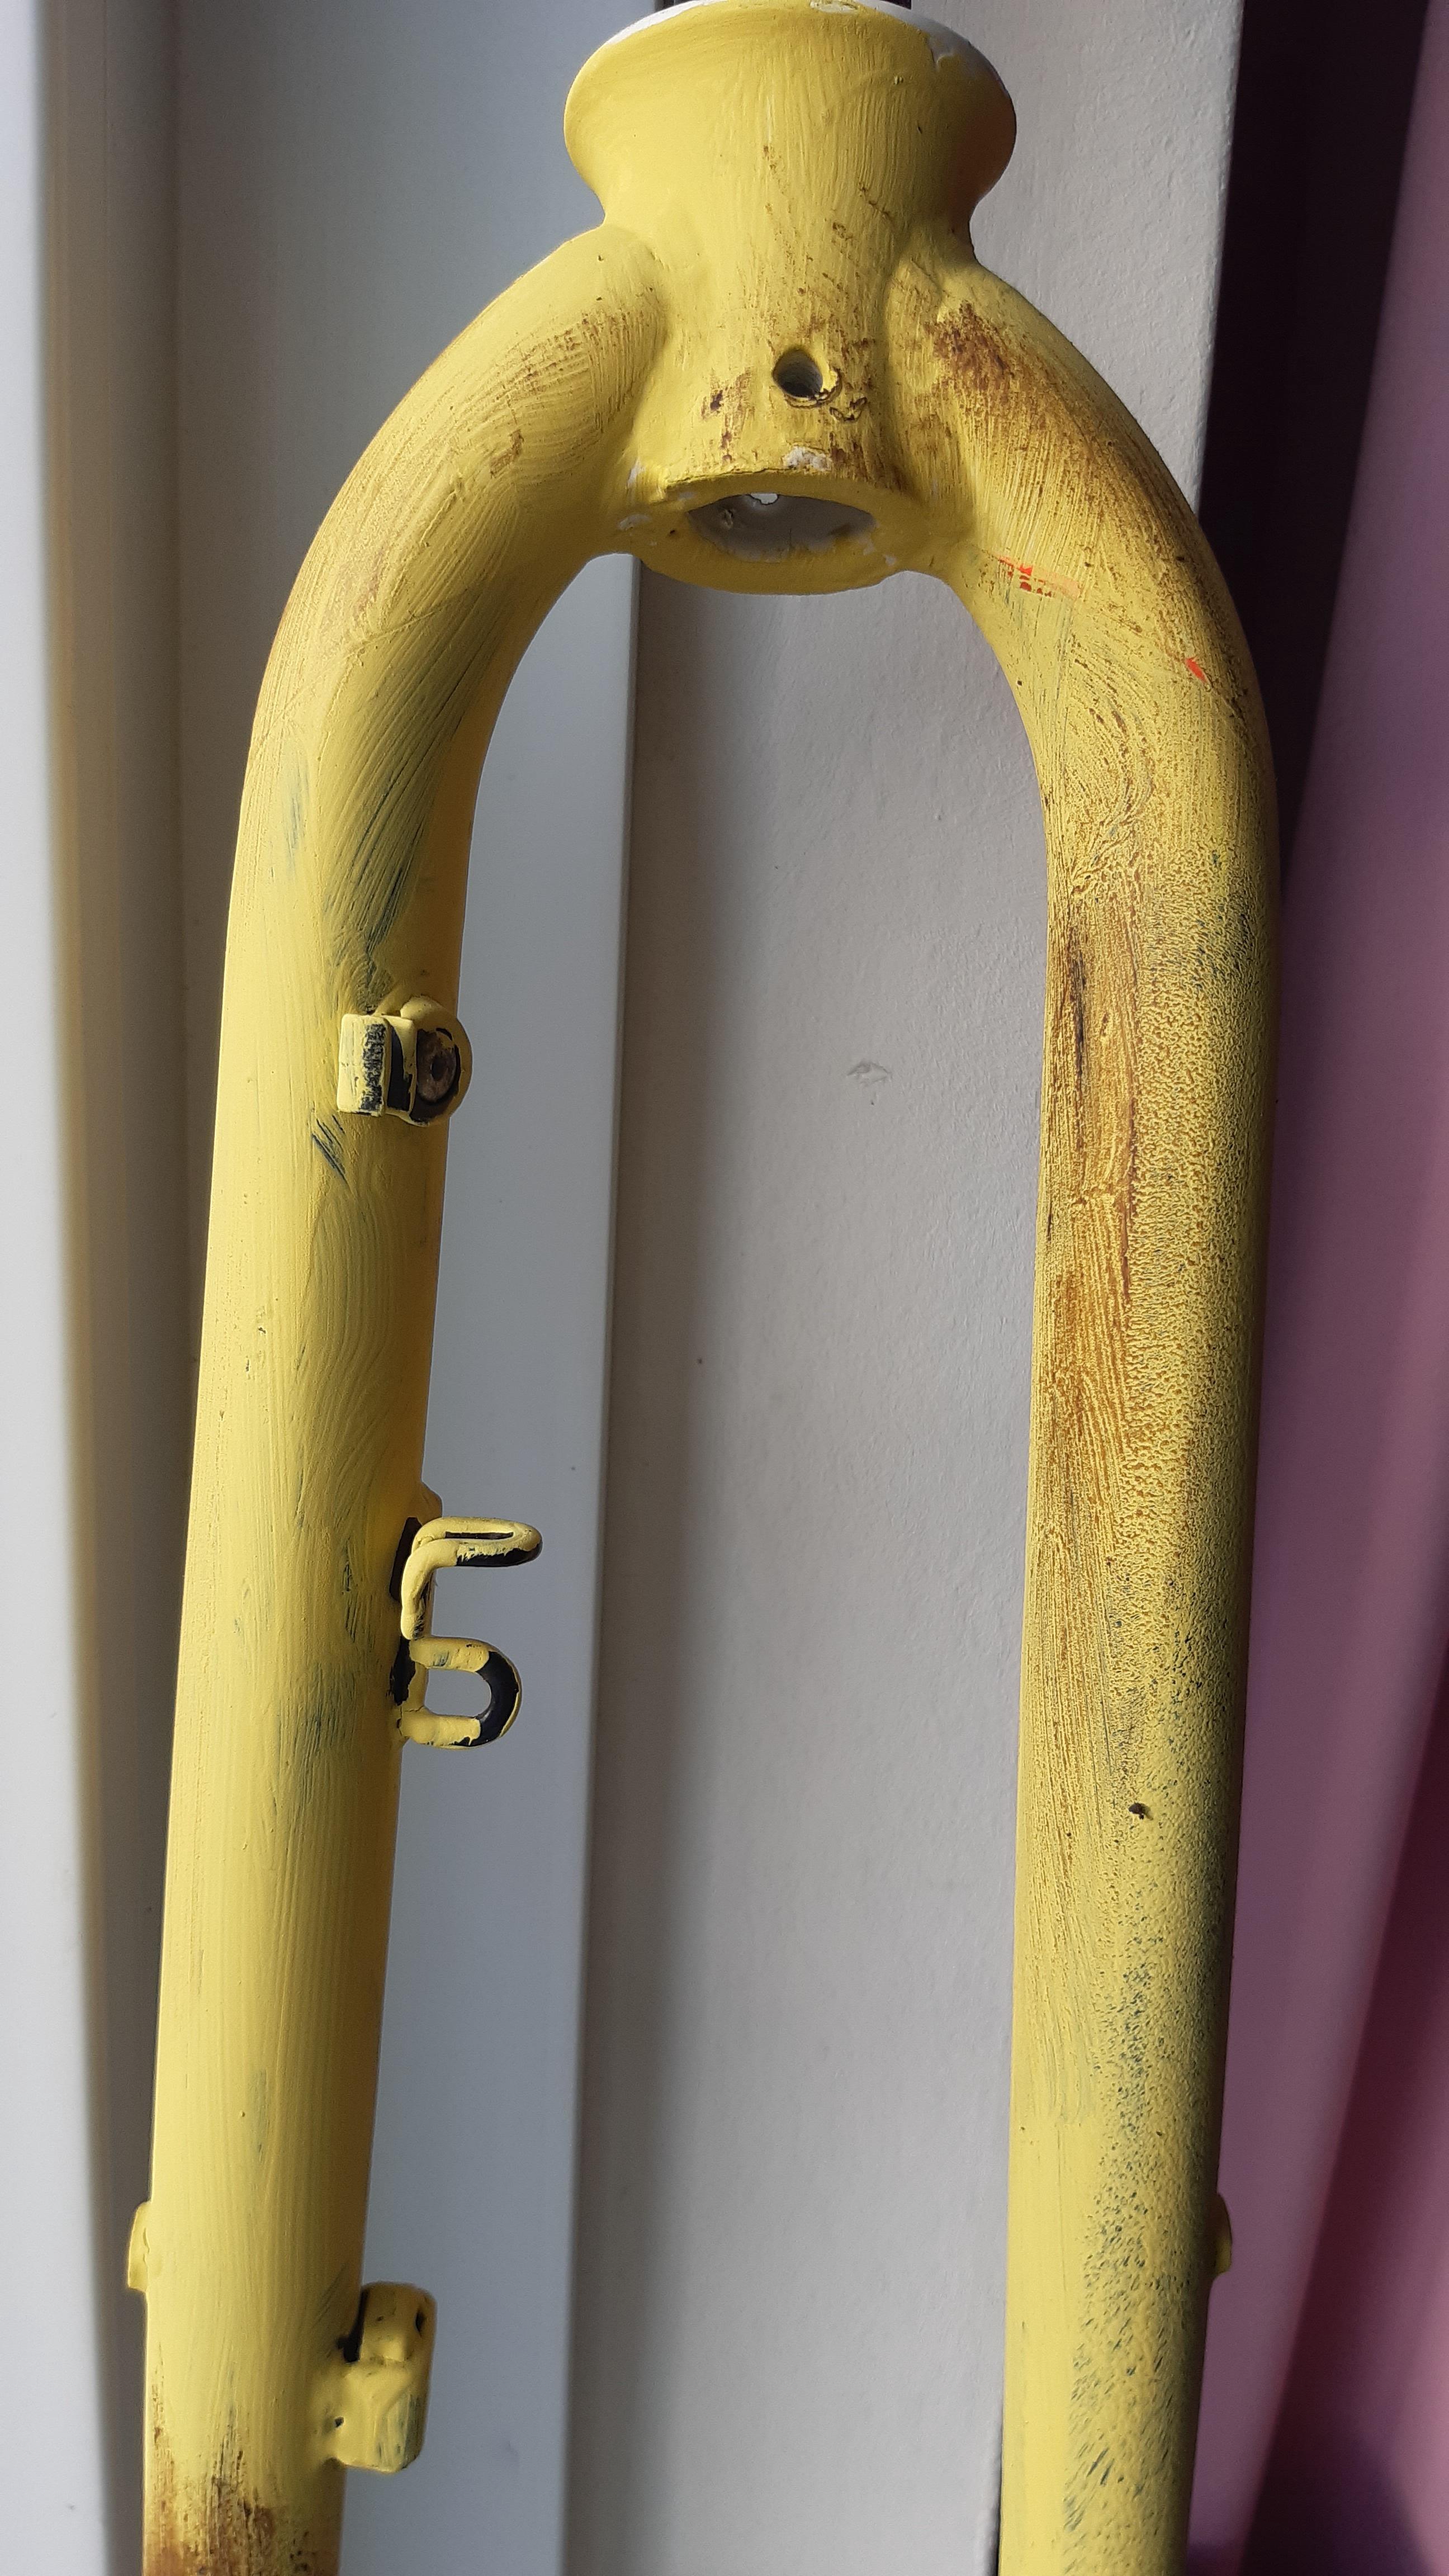
Then the frame gets a grey/black matte powdercoat for protection. Then I will add the chalk paint. We had some chalk paint and dark wax left from our yellow bookcase, so I did a test on a random fork:

L2LW9mj.jpeg

Original

tBPORGz.jpeg

rpRVSXR.jpeg

Roughly painted with a big brush. The left leg is done with a brush, the right with a roller.

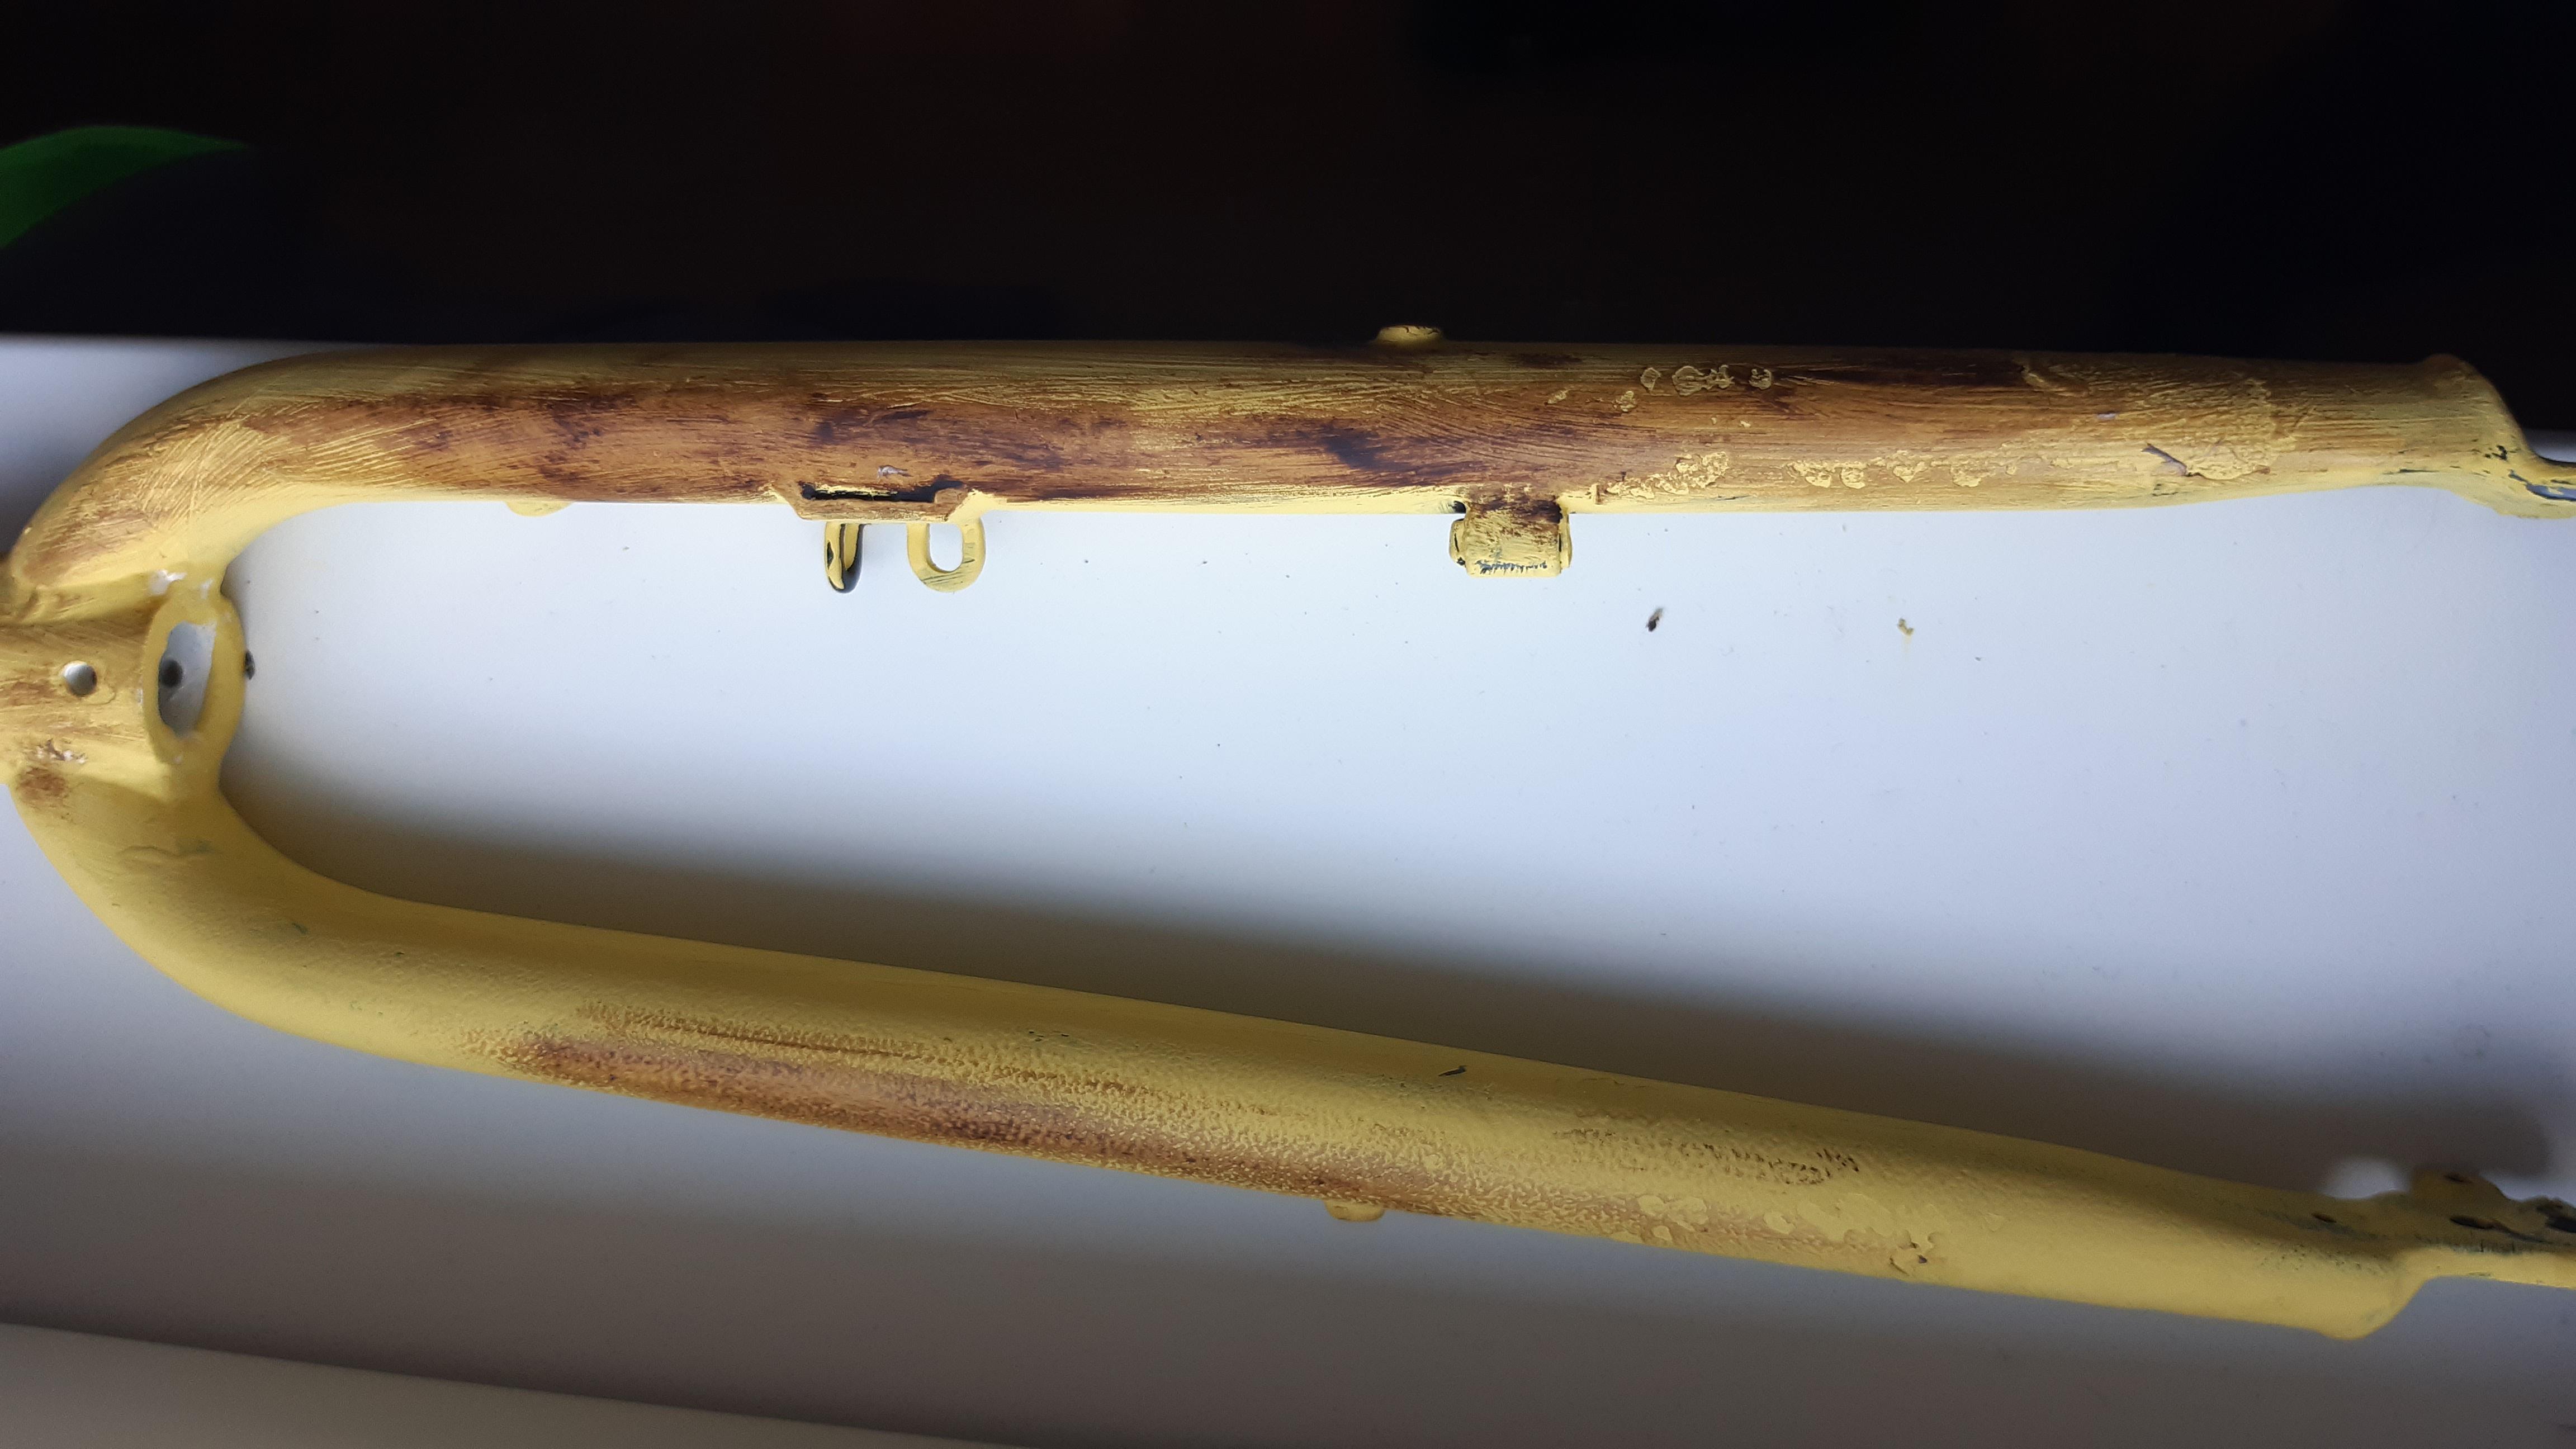
Then, add the dark wax:
Scc6oRe.jpeg

zg43BRg.jpeg

hV7c0He.jpeg

7K1KV7a.jpeg

mudMOhn.jpeg

XMRIz5r.jpeg

g0siCkg.jpeg


This was a lot of fun. There was no degreasing and sanding involved. No plan or anything.

What are your thoughts? After looking at it for a while, I am really starting to like it.

I know this guy would be proud:
Grease Pit
 
Looks awesome! Is that a color you are planning to go for or just a tryout?
Thank you Starnger!
This was a tryout, but awesome colour nonetheless.
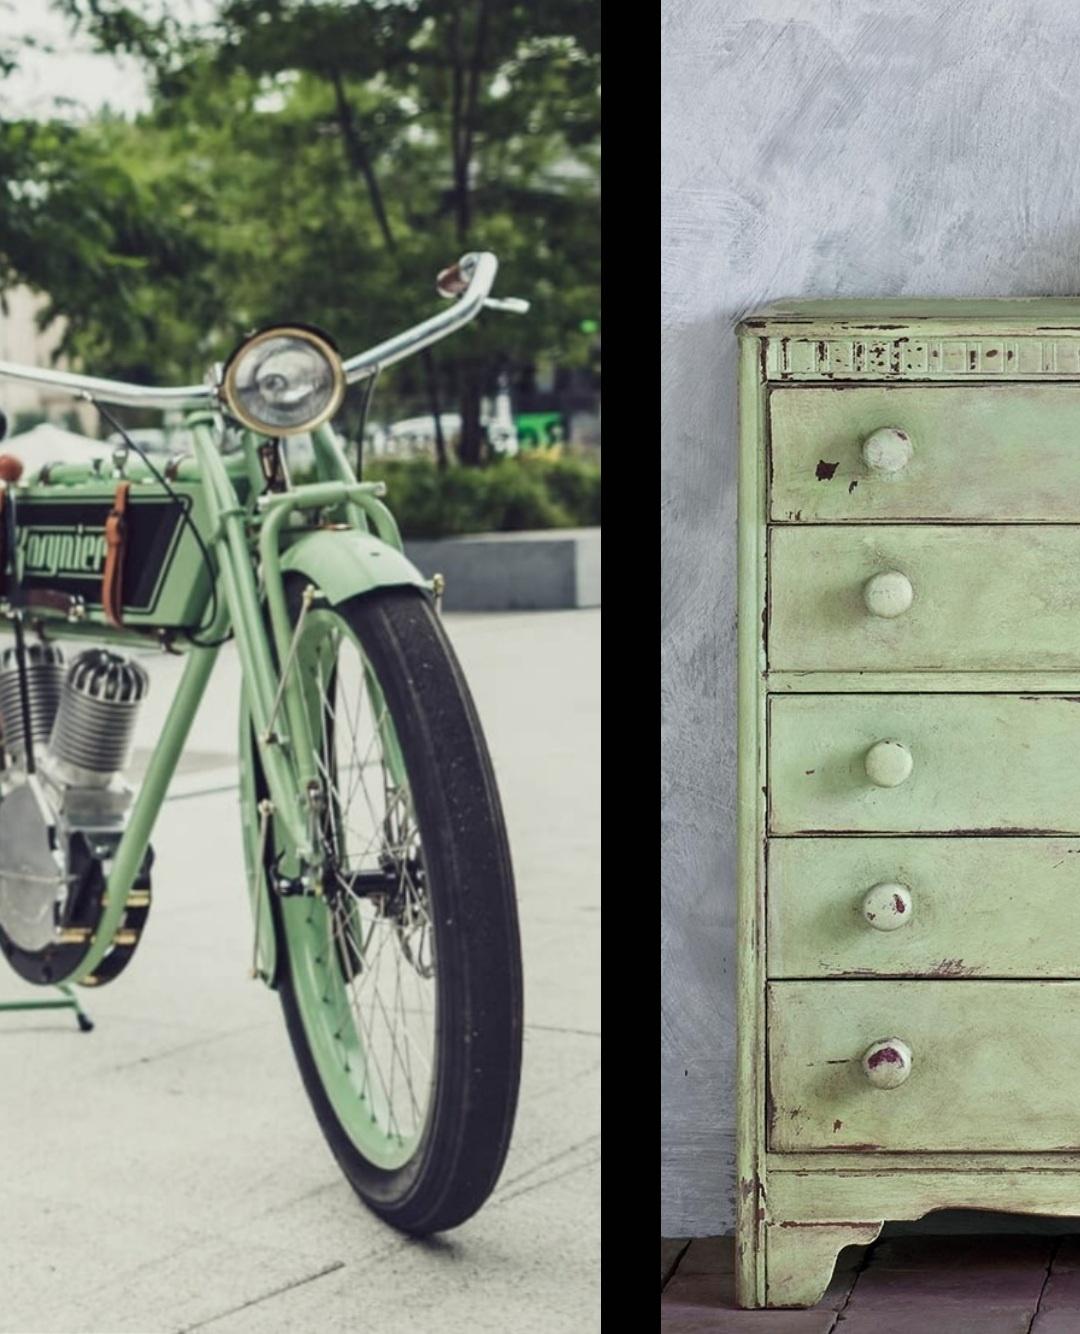
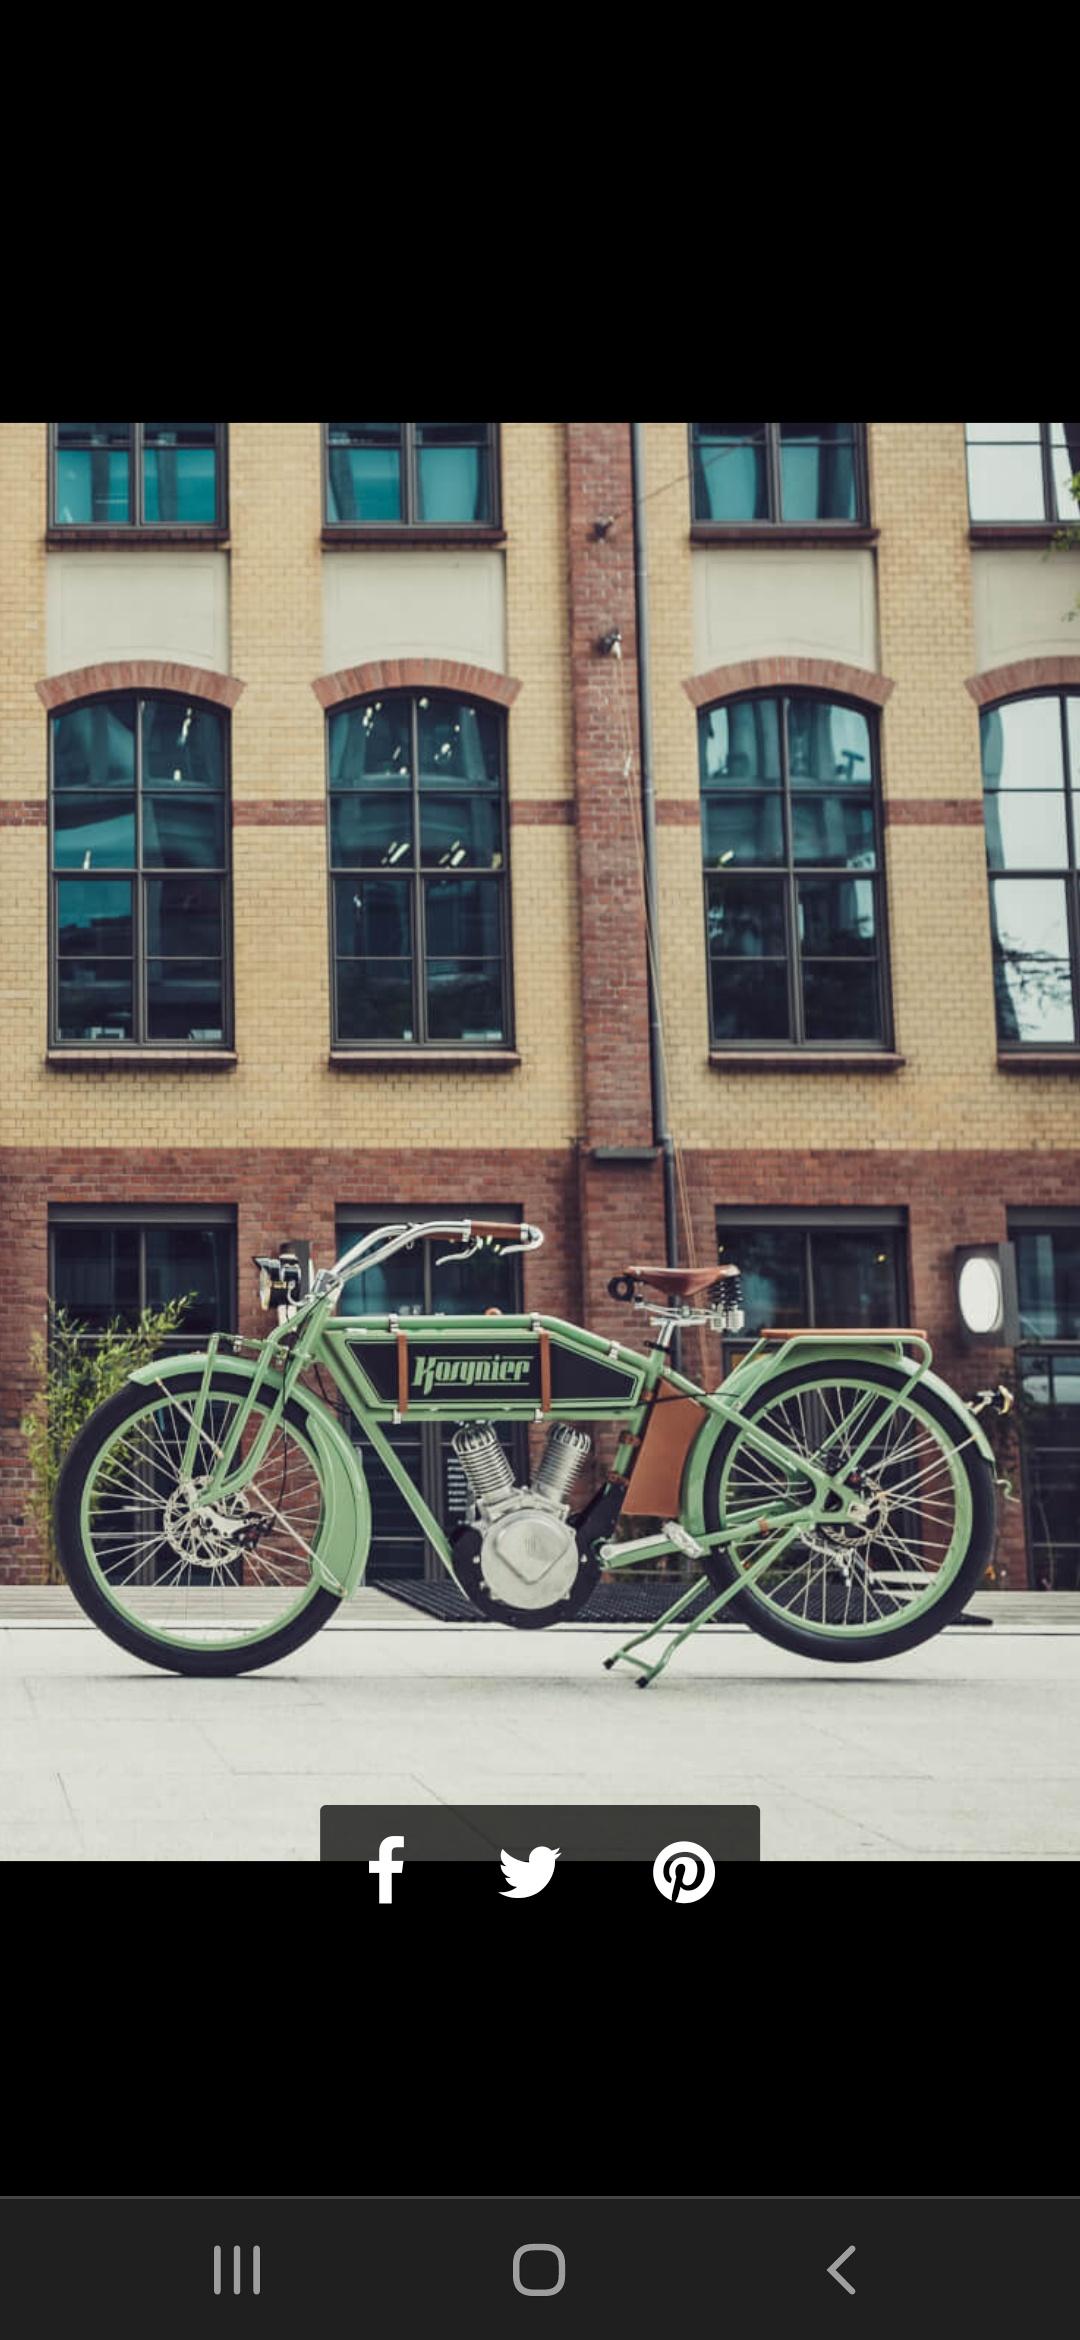
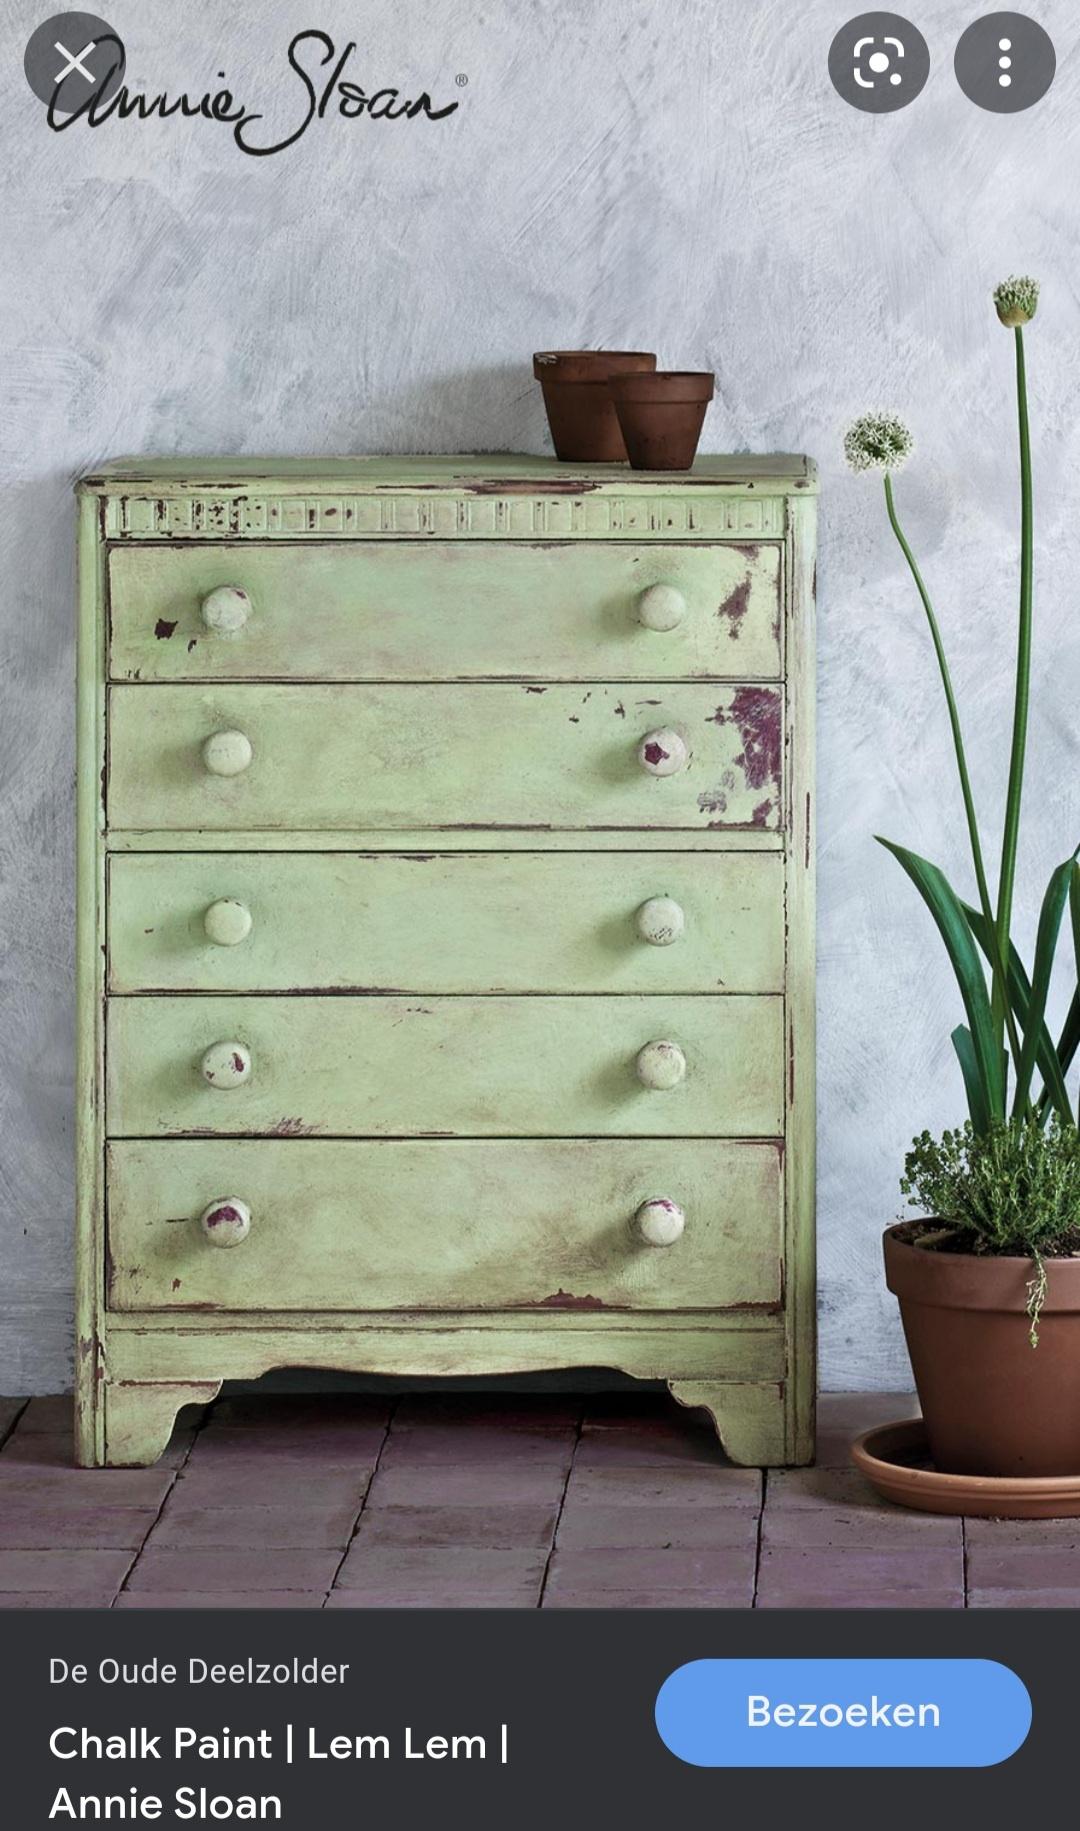
I am aiming for this colour:
fB9m48n.jpeg

kuoLj0n.jpeg

UuFl54A.jpeg


Honestly I am doubting on the process right now, not the colour:
  • Option 1:
    • First a matte black / matte dark grey powdercoat for protection.
    • Then add the Annie Sloan 'lem lem' colour chalk paint.
    • Then add the Annie Sloan Dark wax sparingly for the aged looks.
  • Option 2:
    • Coat the right colour in powdercoat. (today I will see if they have this colour in stock).
Awesome color!
That bike on the reference pic is in my town :) I have a photo of one of my bikes on the same background :)
 
Nice period-looking colour choice. Option 2 would get my vote. Has to be a more durable finish than chalk paint intended mainly for up-cycling furniture. Then go to town with your wax-aging process. Looking forward to seeing the result.
What news - if any - about an in-frame tank if you're planning to fit one?
 
Awesome color!
That bike on the reference pic is in my town :) I have a photo of one of my bikes on the same background :)
Awesome, have you seen the Kosynier bicycles? They look really good and I guess they are quality wise just as good.

Nice period-looking colour choice. Option 2 would get my vote. Has to be a more durable finish than chalk paint intended mainly for up-cycling furniture. Then go to town with your wax-aging process. Looking forward to seeing the result.
What news - if any - about an in-frame tank if you're planning to fit one?

I am a bit impulsive/emotional led in this: yesterday I visited the powdercoater. They had a awesome colour in stock and I chose to coat the frame, fork and carrier this colour.

  • RAL 6013 reed green - semi gloss

If I still want the Annie Sloan + wax paint, I can always go for it afterwards.

IMG_0069.JPG


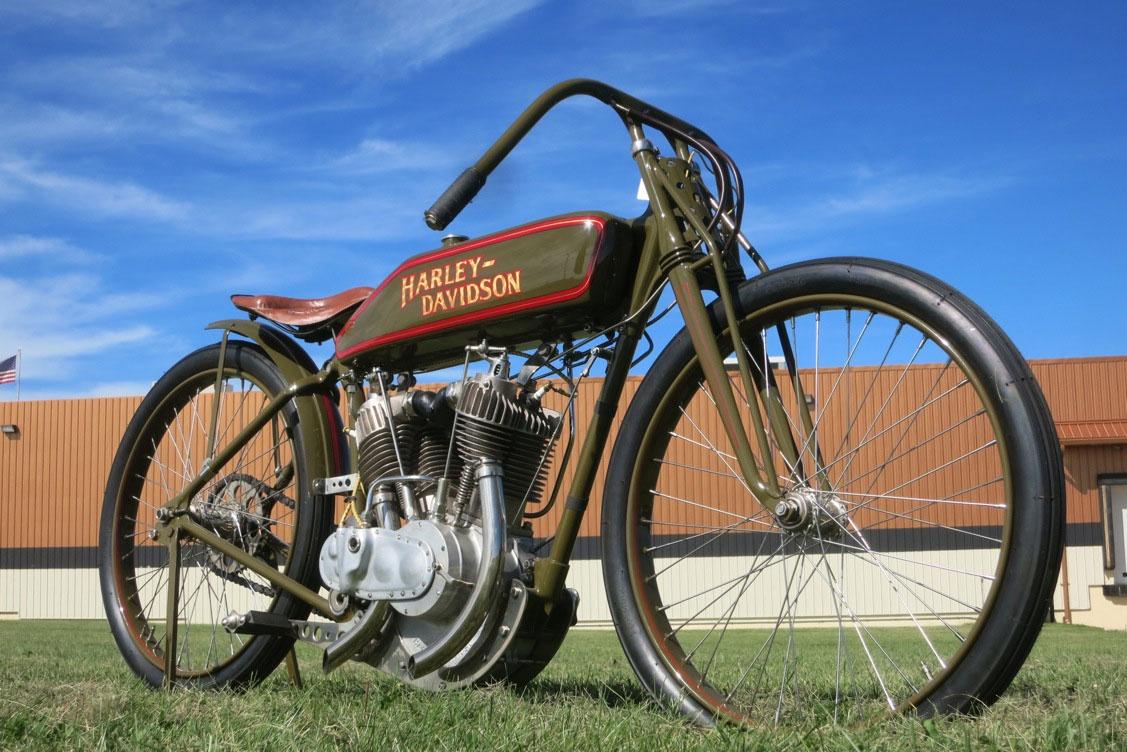
I really like it! It is a tad bit lighter than the "Harley Davidson" boardtrackers:
6qd4uJM.jpeg
 
Well done for sticking with a colour from RALs period-looking range. Same range I choose my paint colours from. As a (retired) graphic artist, I find it's always best to select colours from a restricted palette. Otherwise, the more colour swatches you look at, and the longer you spend looking, the harder it gets to make a sensible decision! You just go round in circles! Being impulsive in your colour choice was probably a wise move. That Reed Green you opted for will really suit your build. Not far off the RAL Reseda Green I painted my Aero Cycle Car.
 
What news - if any - about an in-frame tank if you're planning to fit one?
That will be later on, when the bike is assembled and the fenders are done and mounted.
I am thinking about making a wooden tank, not completely sure yet. The inside can house tools and/or a spare tube.

Well done for sticking with a colour from RALs period-looking range. Same range I choose my paint colours from. As a (retired) graphic artist, I find it's always best to select colours from a restricted palette. Otherwise, the more colour swatches you look at, and the longer you spend looking, the harder it gets to make a sensible decision! You just go round in circles! Being impulsive in your colour choice was probably a wise move. That Reed Green you opted for will really suit your build. Not far off the RAL Reseda Green I painted my Aero Cycle Car.
A graphic artist, cool!
I know exactly what you mean. When you have too many options, it gets hard to choose. Instinctively, when something feels right I go for it.
 
Monday morning I can pickup the frame!
Ay1UGSD.jpg


Thinking about the tank and a possible name for this build, the first name that comes to mind is Hardley Davidson.
An name stolen from @deven_science his awesome build.

Do you mind if I were to use that name @deven_science ? I really think it is an awesome variation on Harley Davidson :grin:
 
Silly question: what does "thumbing their noses" mean? Is it good, bad or funny?
The seriousness that some take to that brand garners a lot of FU aimed back at them. This appears to be due to the fact that a lot of midlife crisis wannabes with no skills walk their motorcycles to starts and stops, amongst other silliness that neophyte wannabes do on two wheels. Some of them pay for their silliness with their lives and endanger other road users.
 
The seriousness that some take to that brand garners a lot of FU aimed back at them. This appears to be due to the fact that a lot of midlife crisis wannabes with no skills walk their motorcycles to starts and stops, amongst other silliness that neophyte wannabes do on two wheels. Some of them pay for their silliness with their lives and endanger other road users.
View attachment 185731
Thbptbptbptbpt......
A little bit silly, disrespectful, especially towards something sacred to who those who take that thing seriously

Thank guys! The explanation made it clear and when I saw matti's photo I thought: oh, yeah, thats obvious how silly of me :bigsmile:
Maybe I will use that name because I like it and for me, its all about fun, no harm intended. I honestly like Harley Davidson motorcycles, I have a weak spot for their history and typical engine sound.

Like karate chicken mentioned, Its not fun when people take those kind of things too seriously.
 
Tyre lettering on my BLUE BAMBOO e-stretch. Same principal.
View attachment 185782
Awesome, that thing looks mean! Is that 24" on the rear?

Update

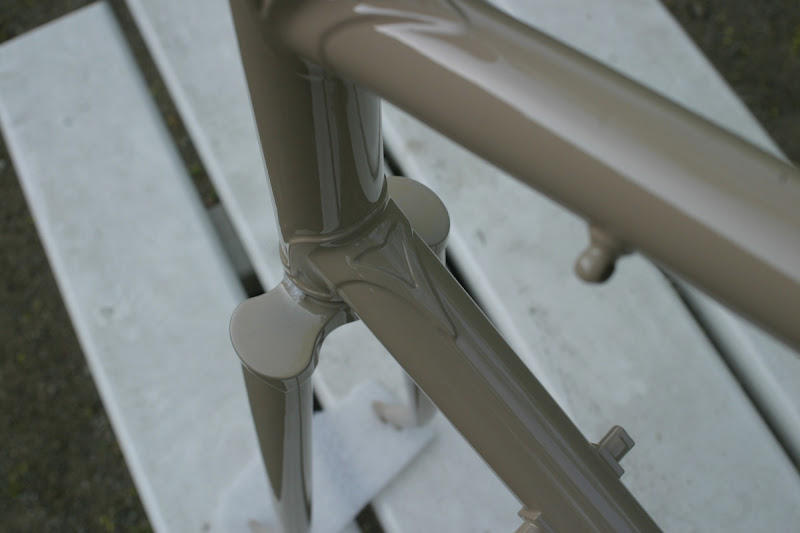
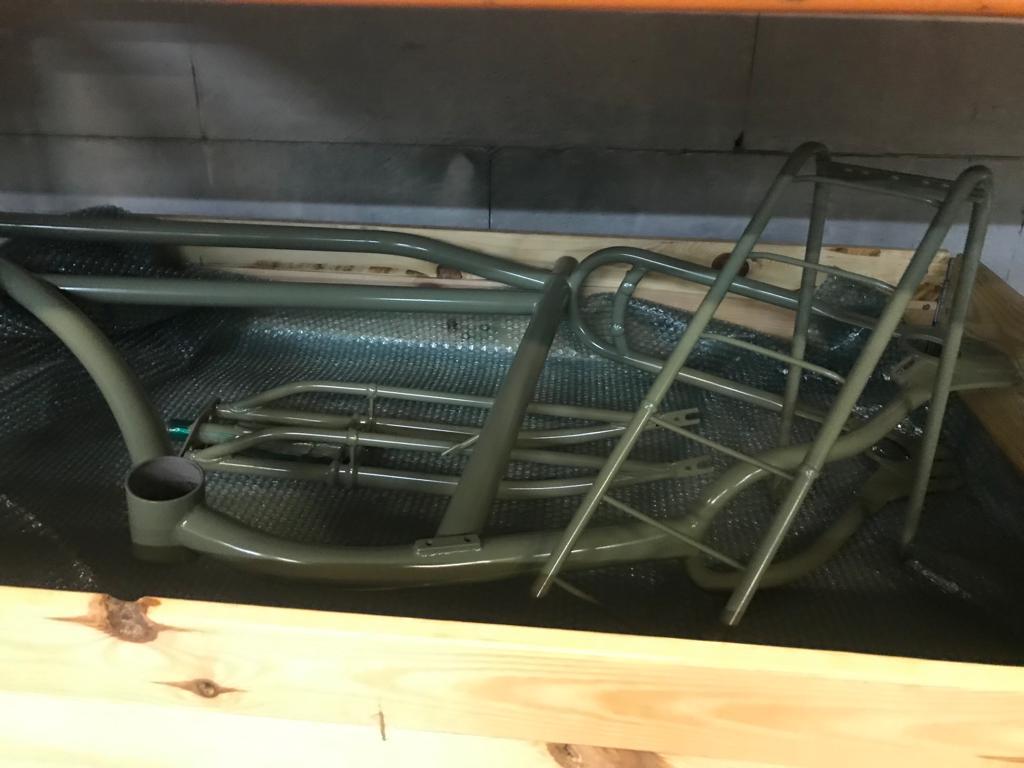
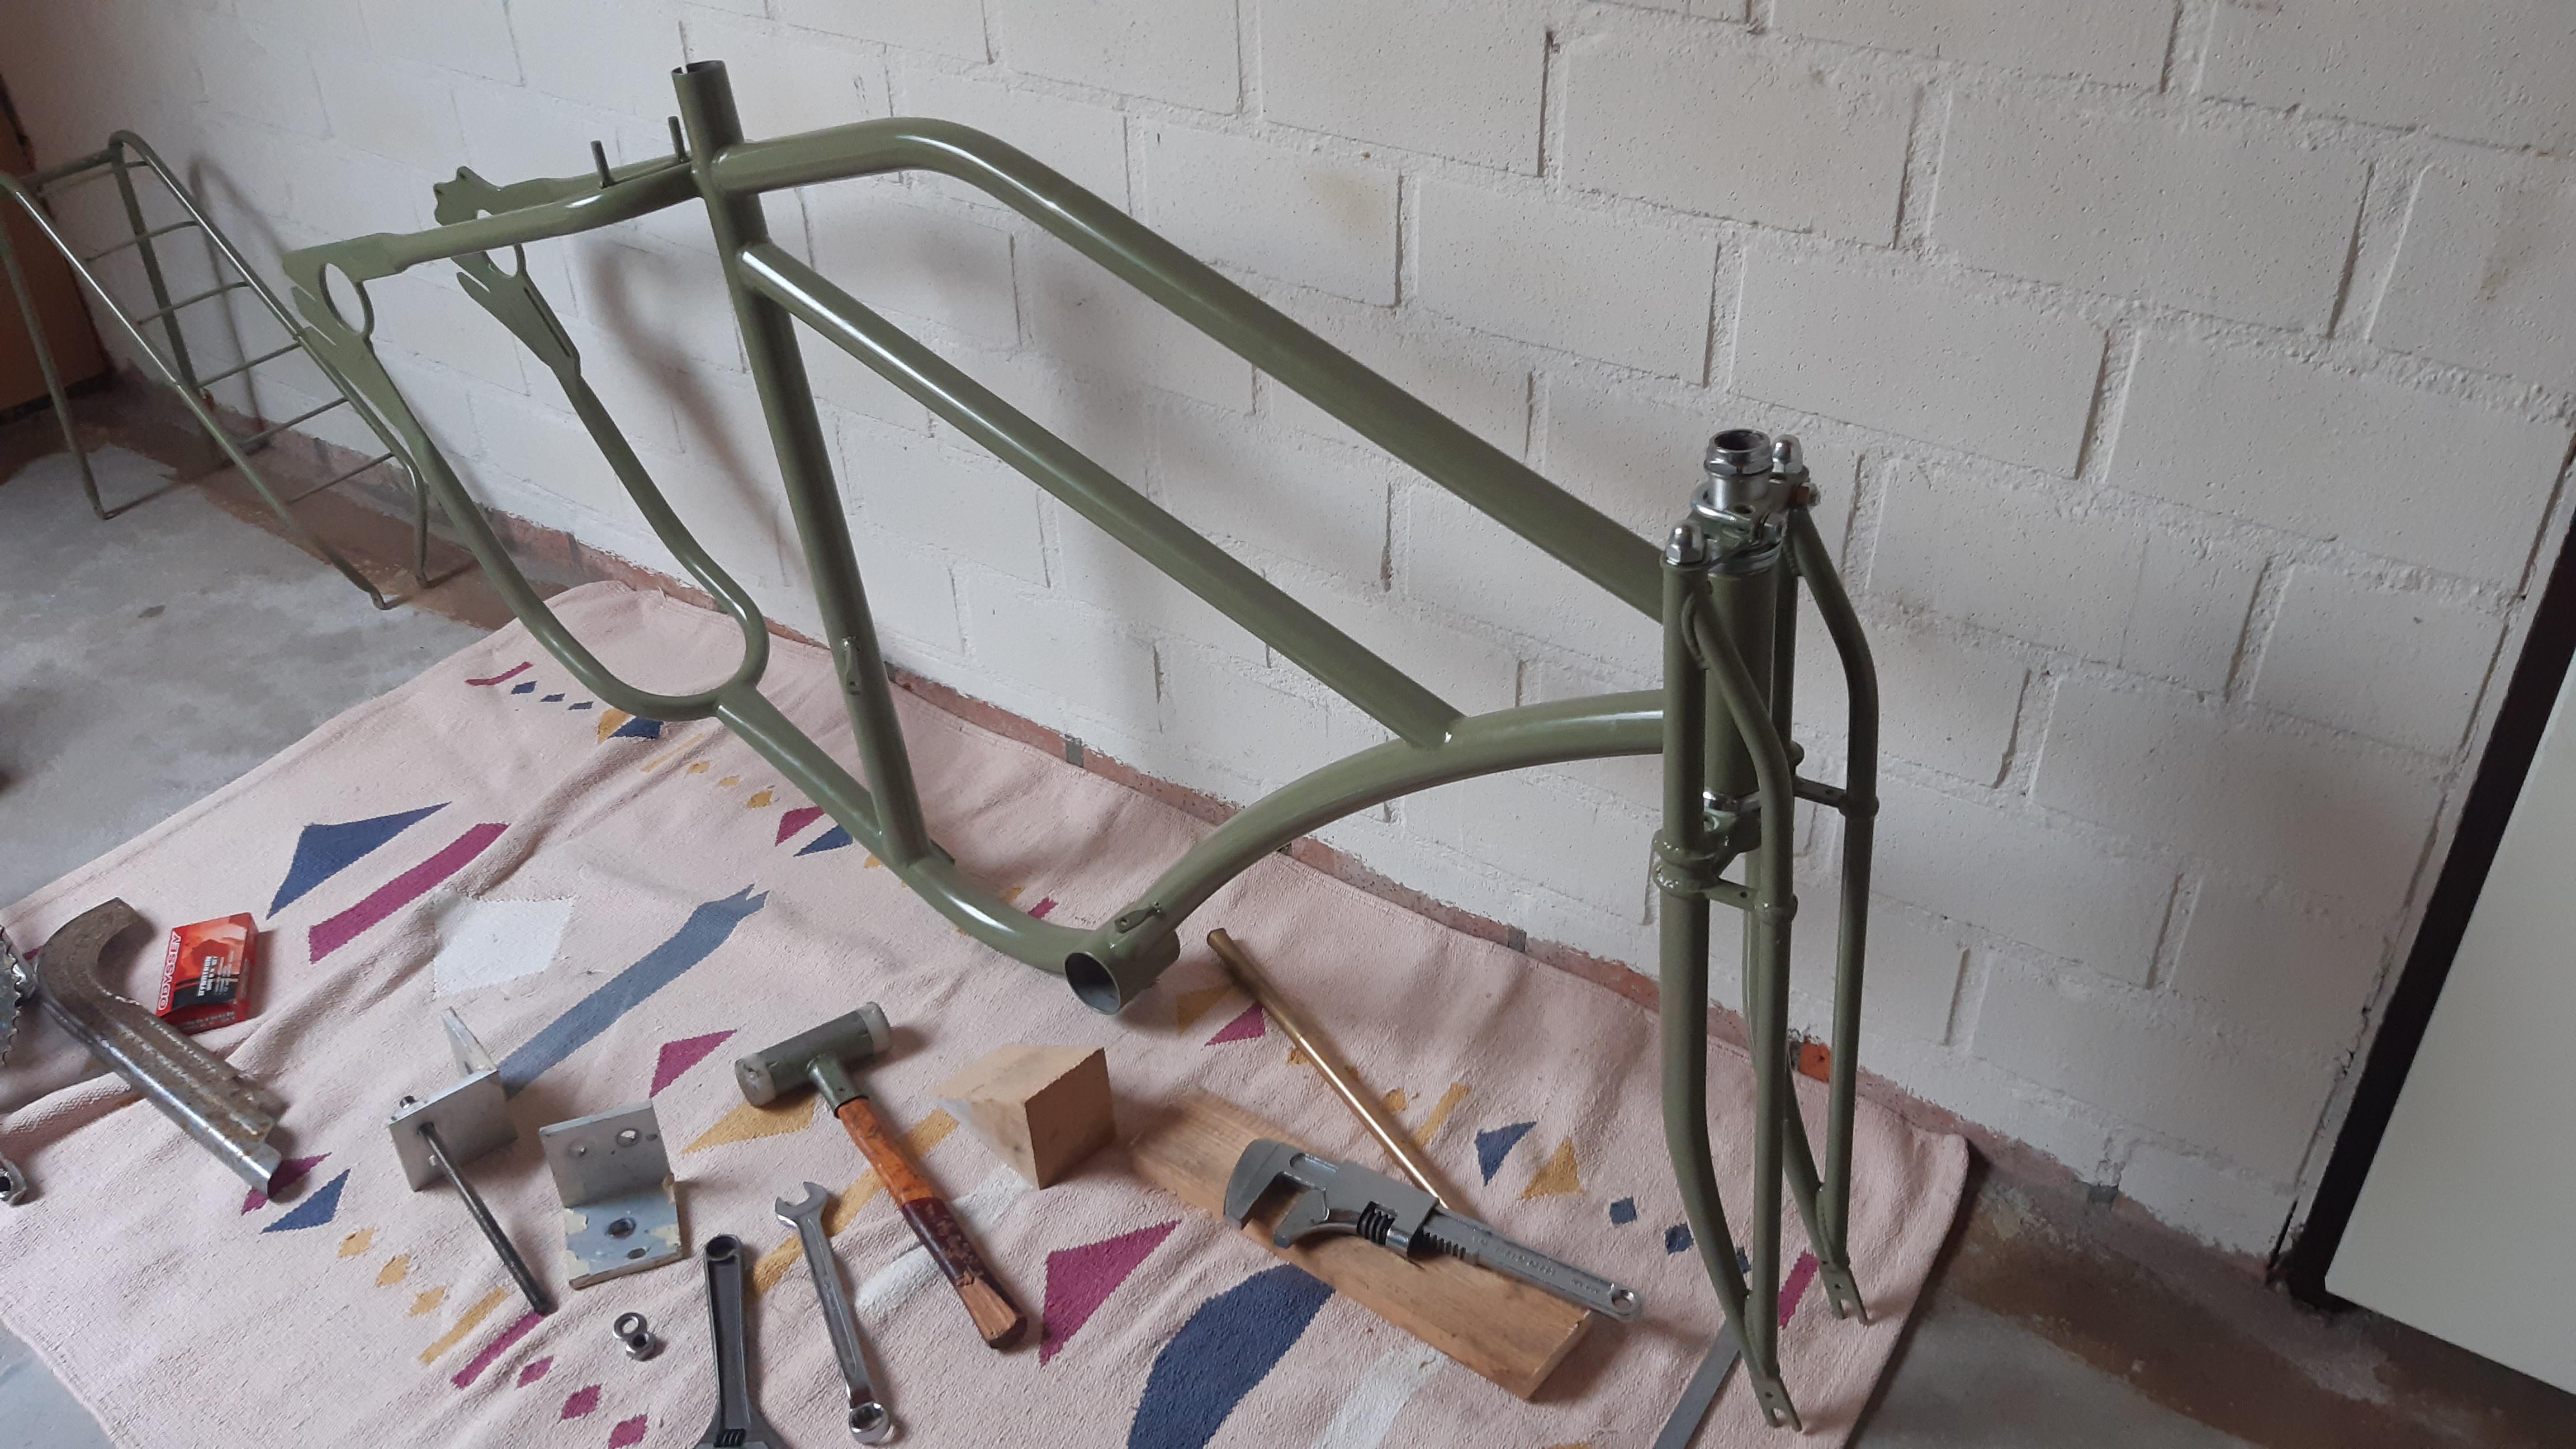
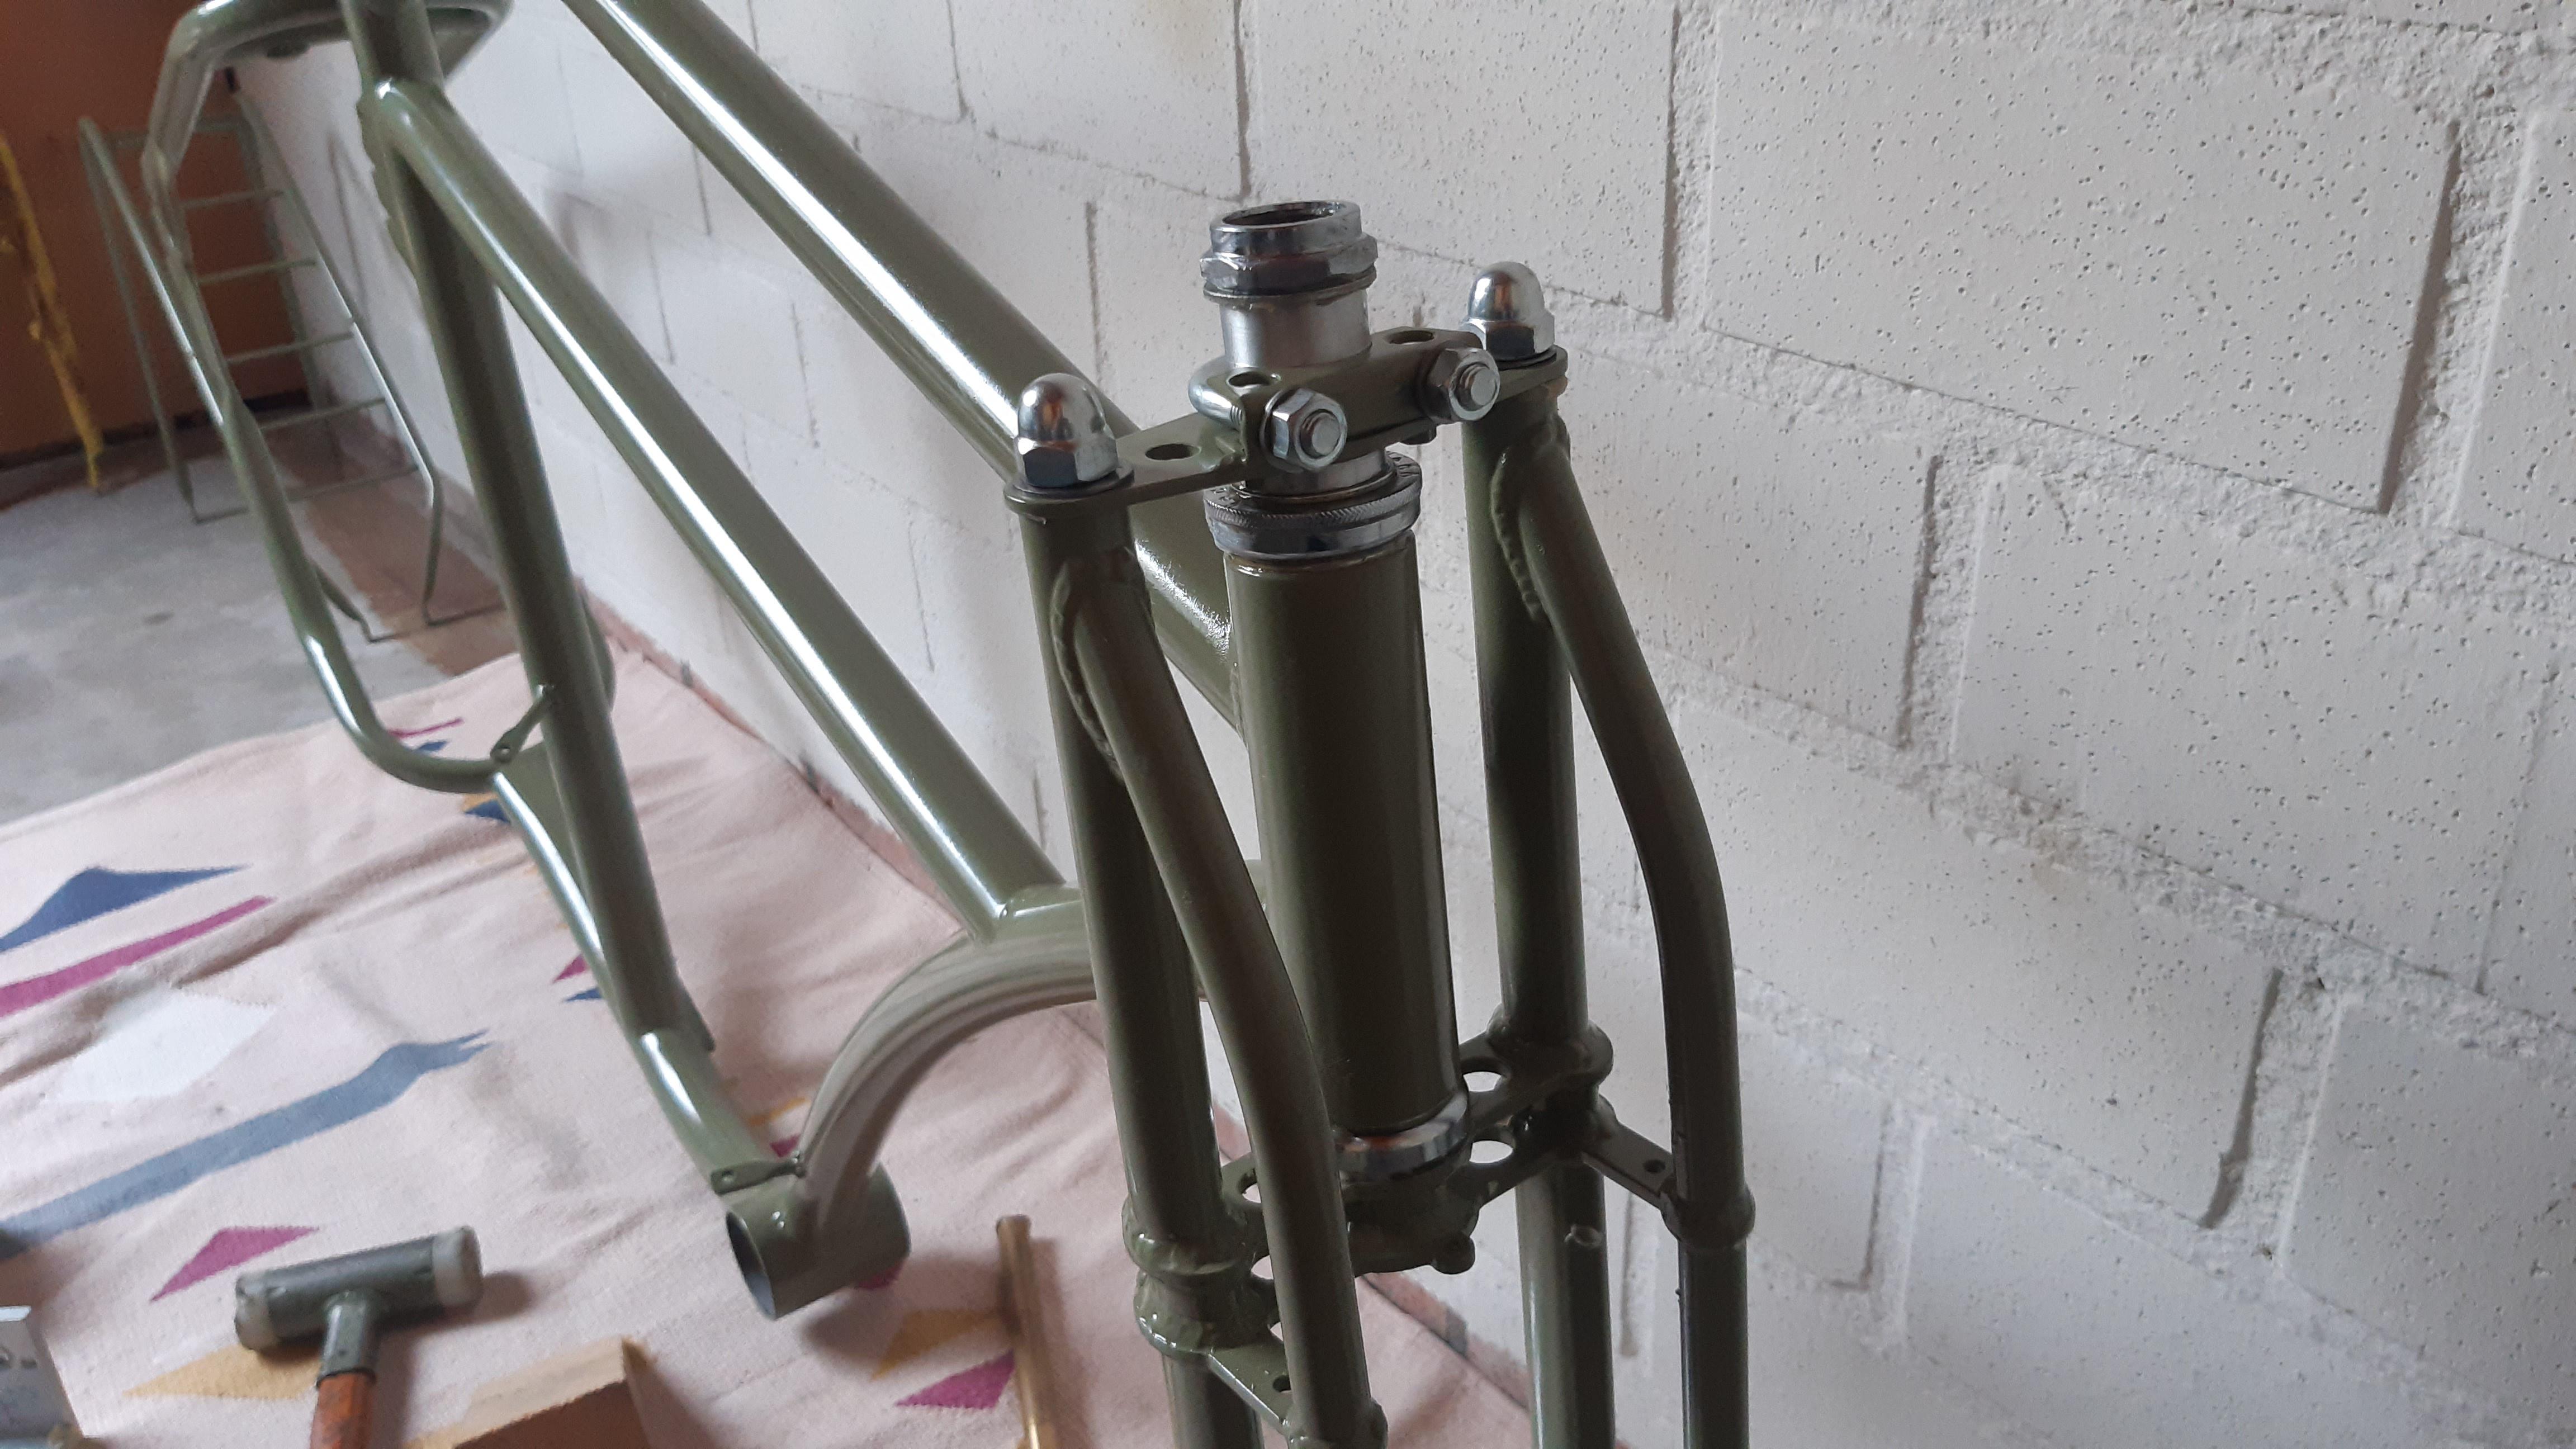
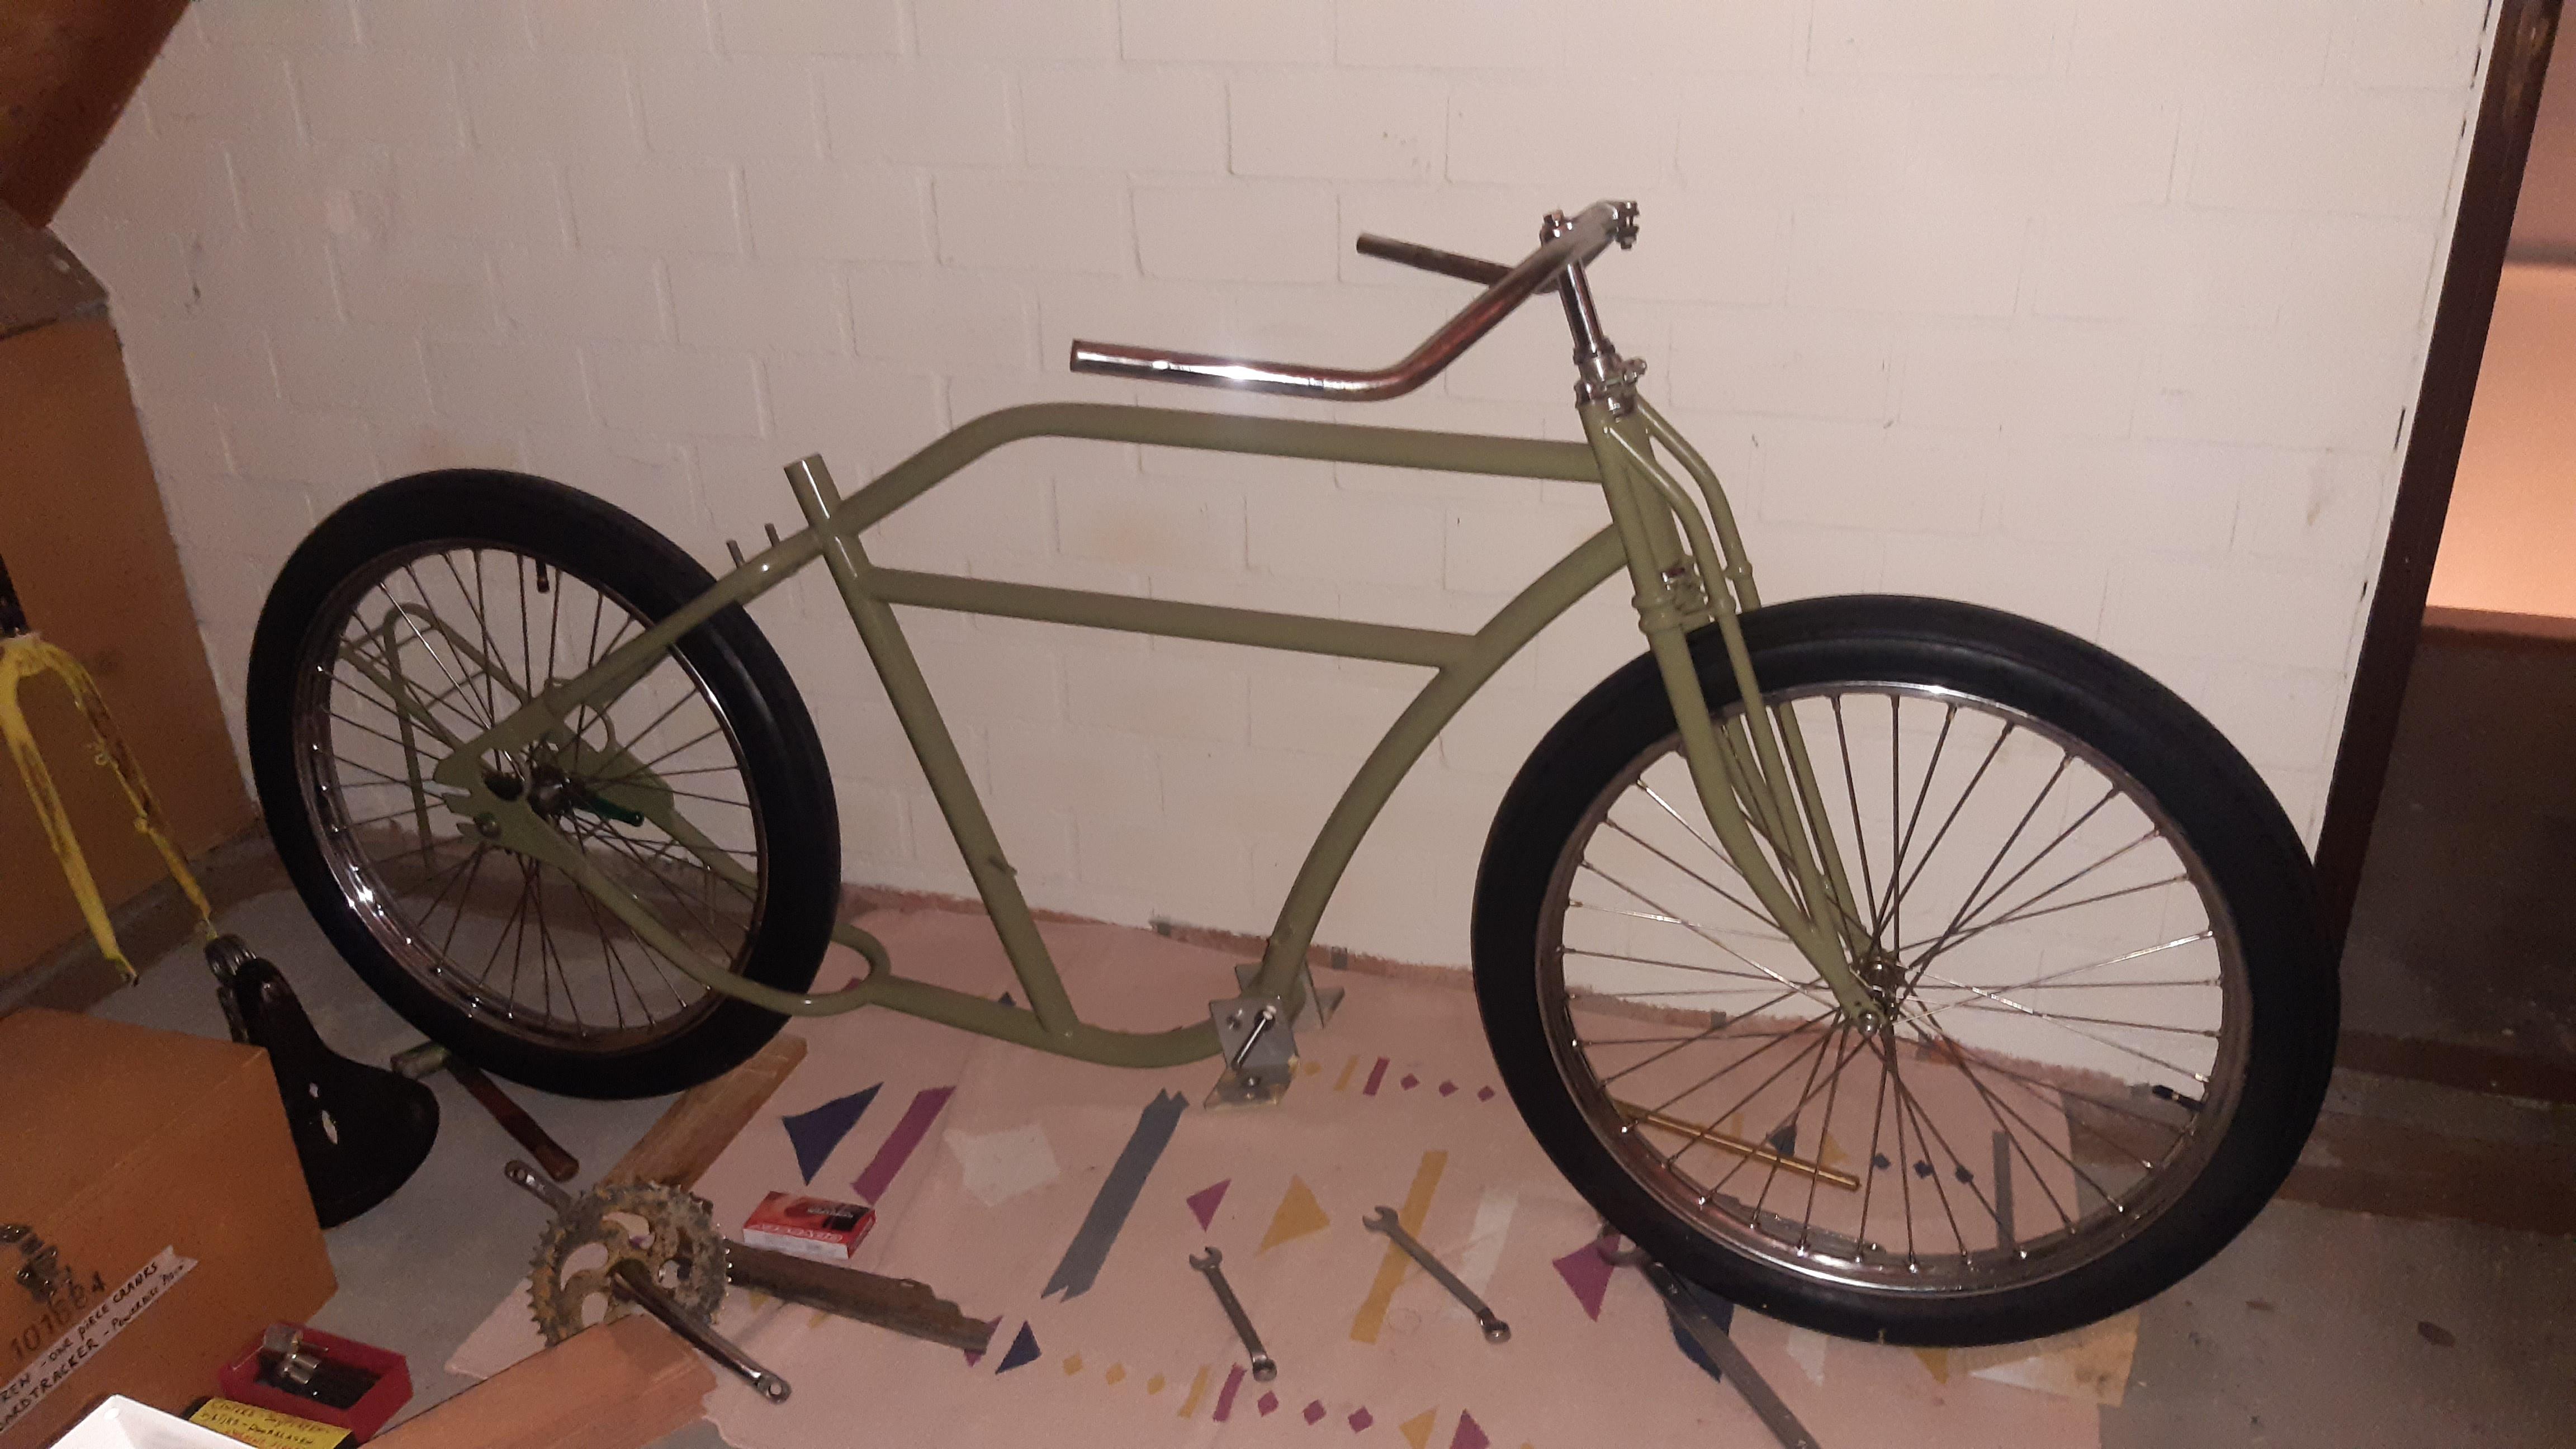
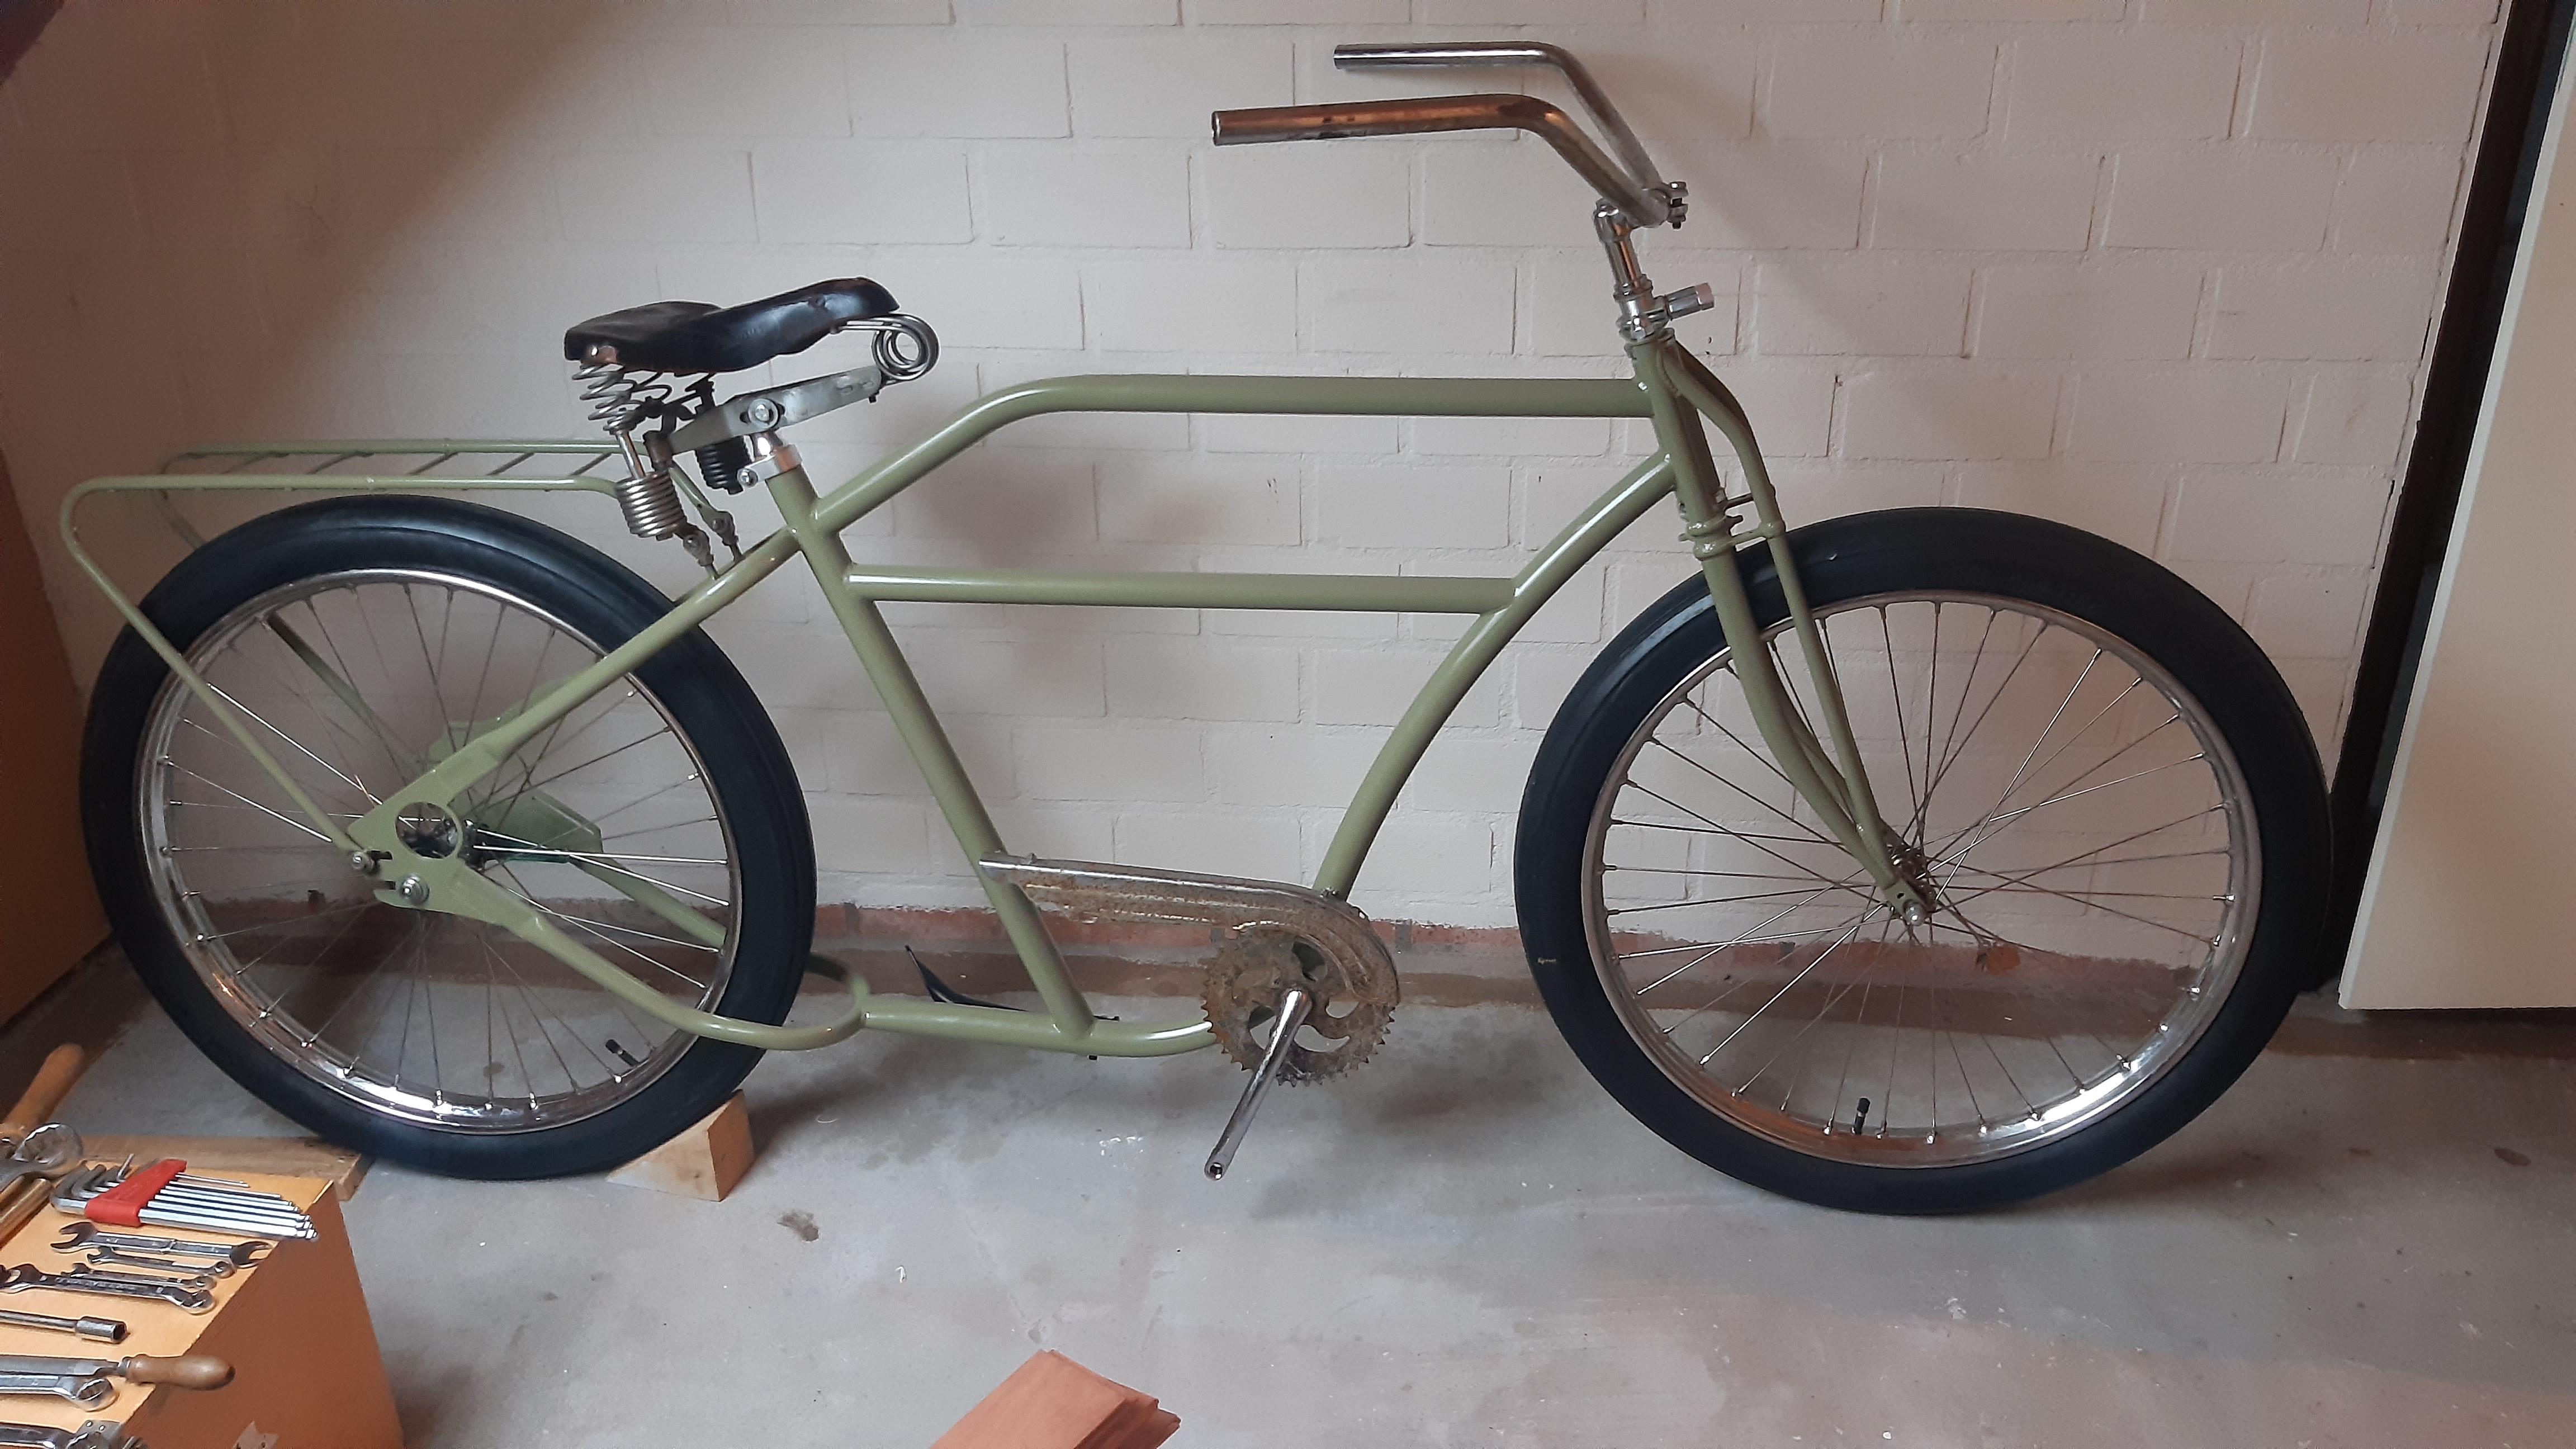
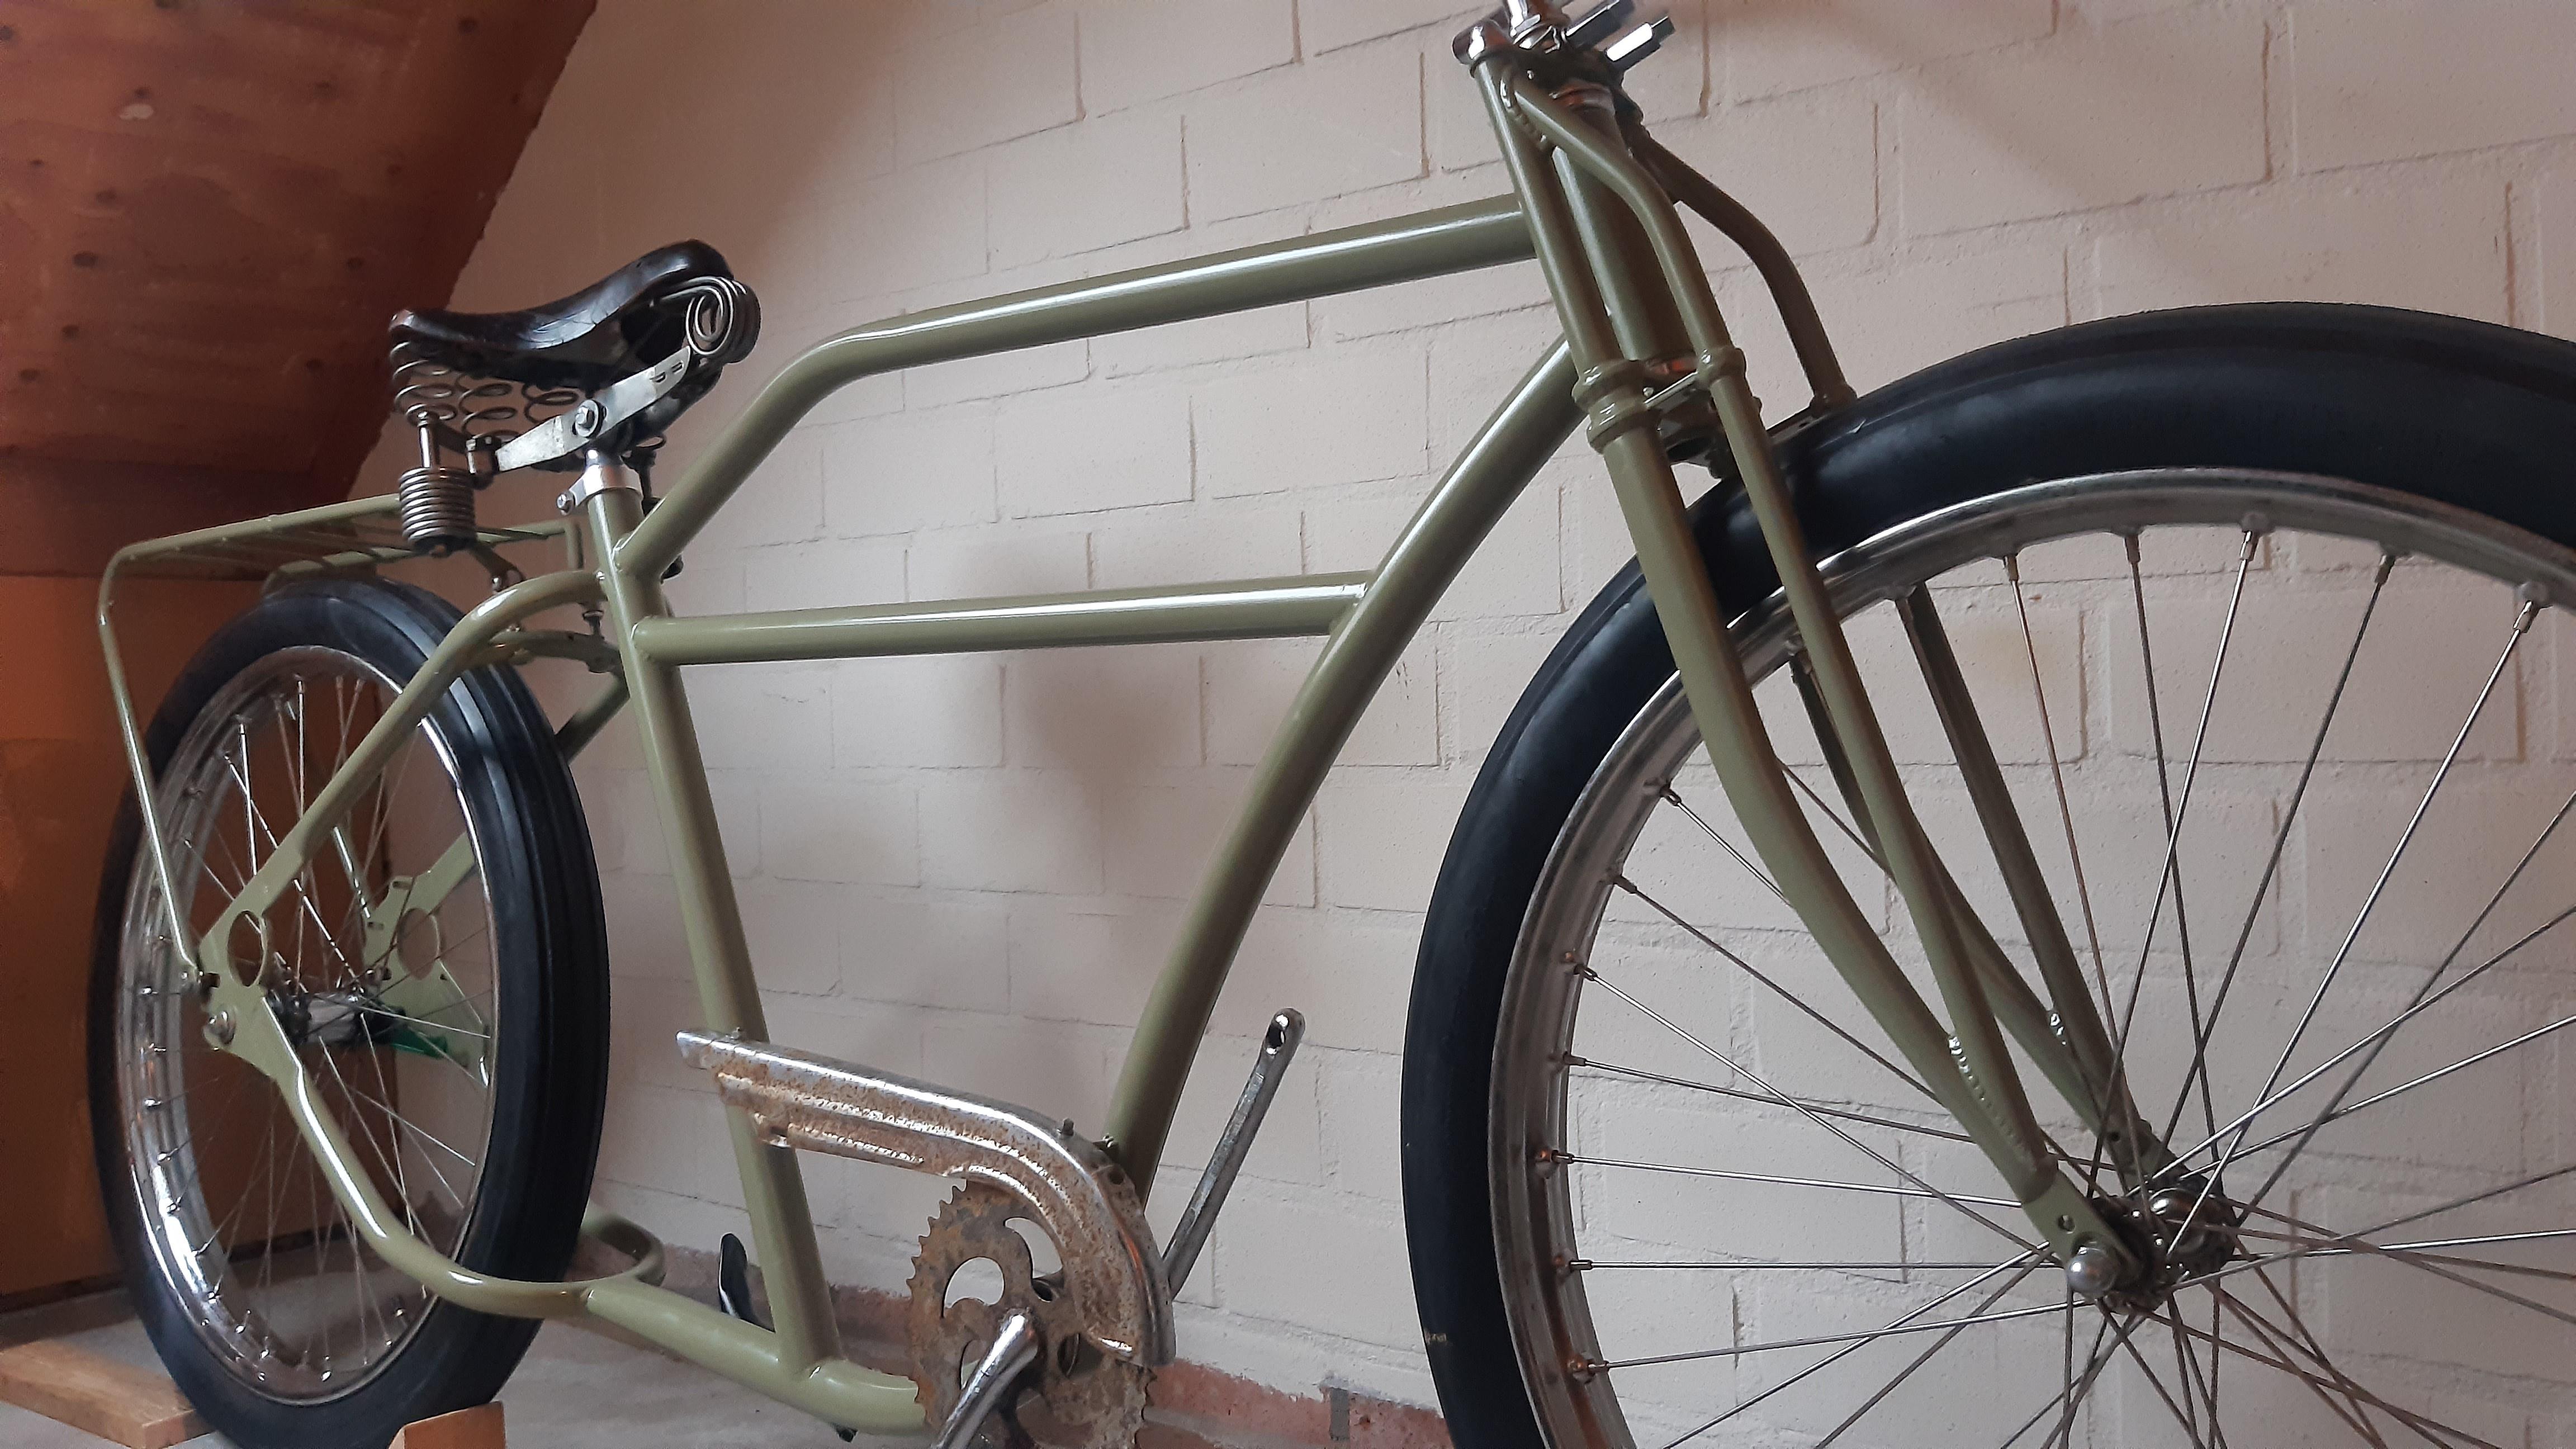
I pickup up the frame from the powdercoater, in the sunlight the colour is very different! I am very happy with my colour choice. It fits the future carbide lamp and fender colours.

Let assembly commence!

4BdN79x.jpeg

pq8uUJS.jpeg

HvhEKW3.jpeg

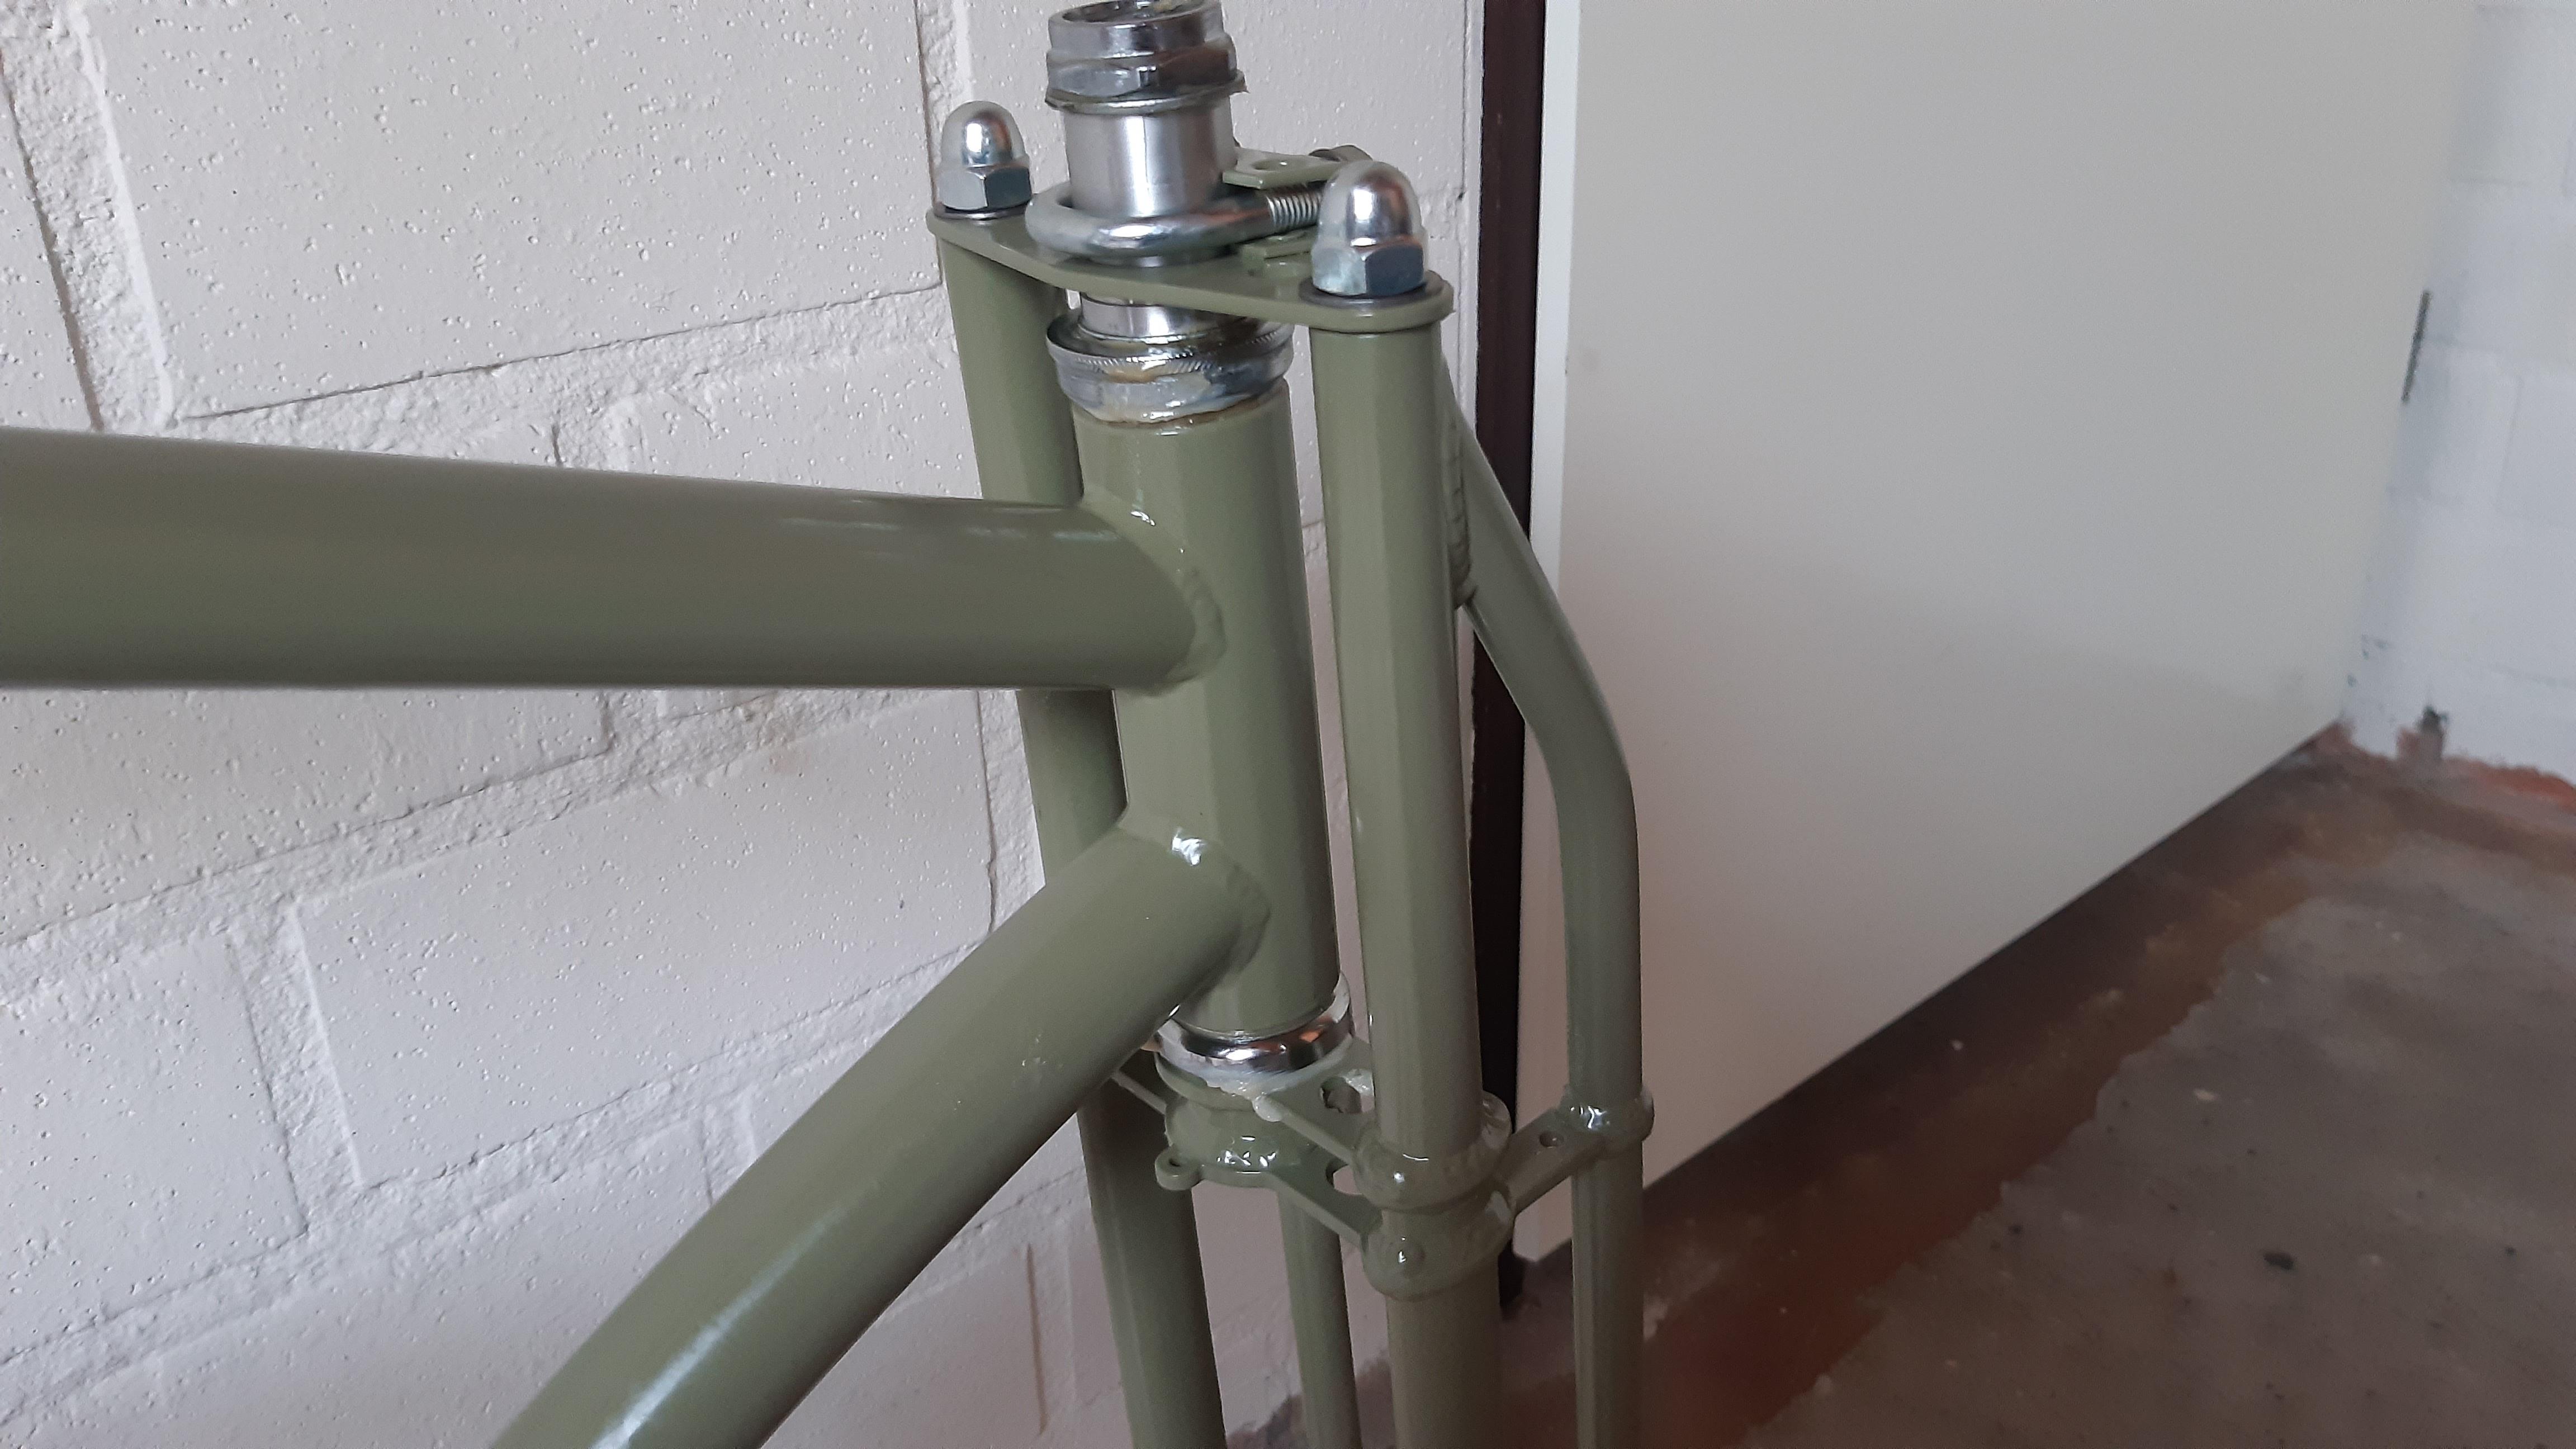
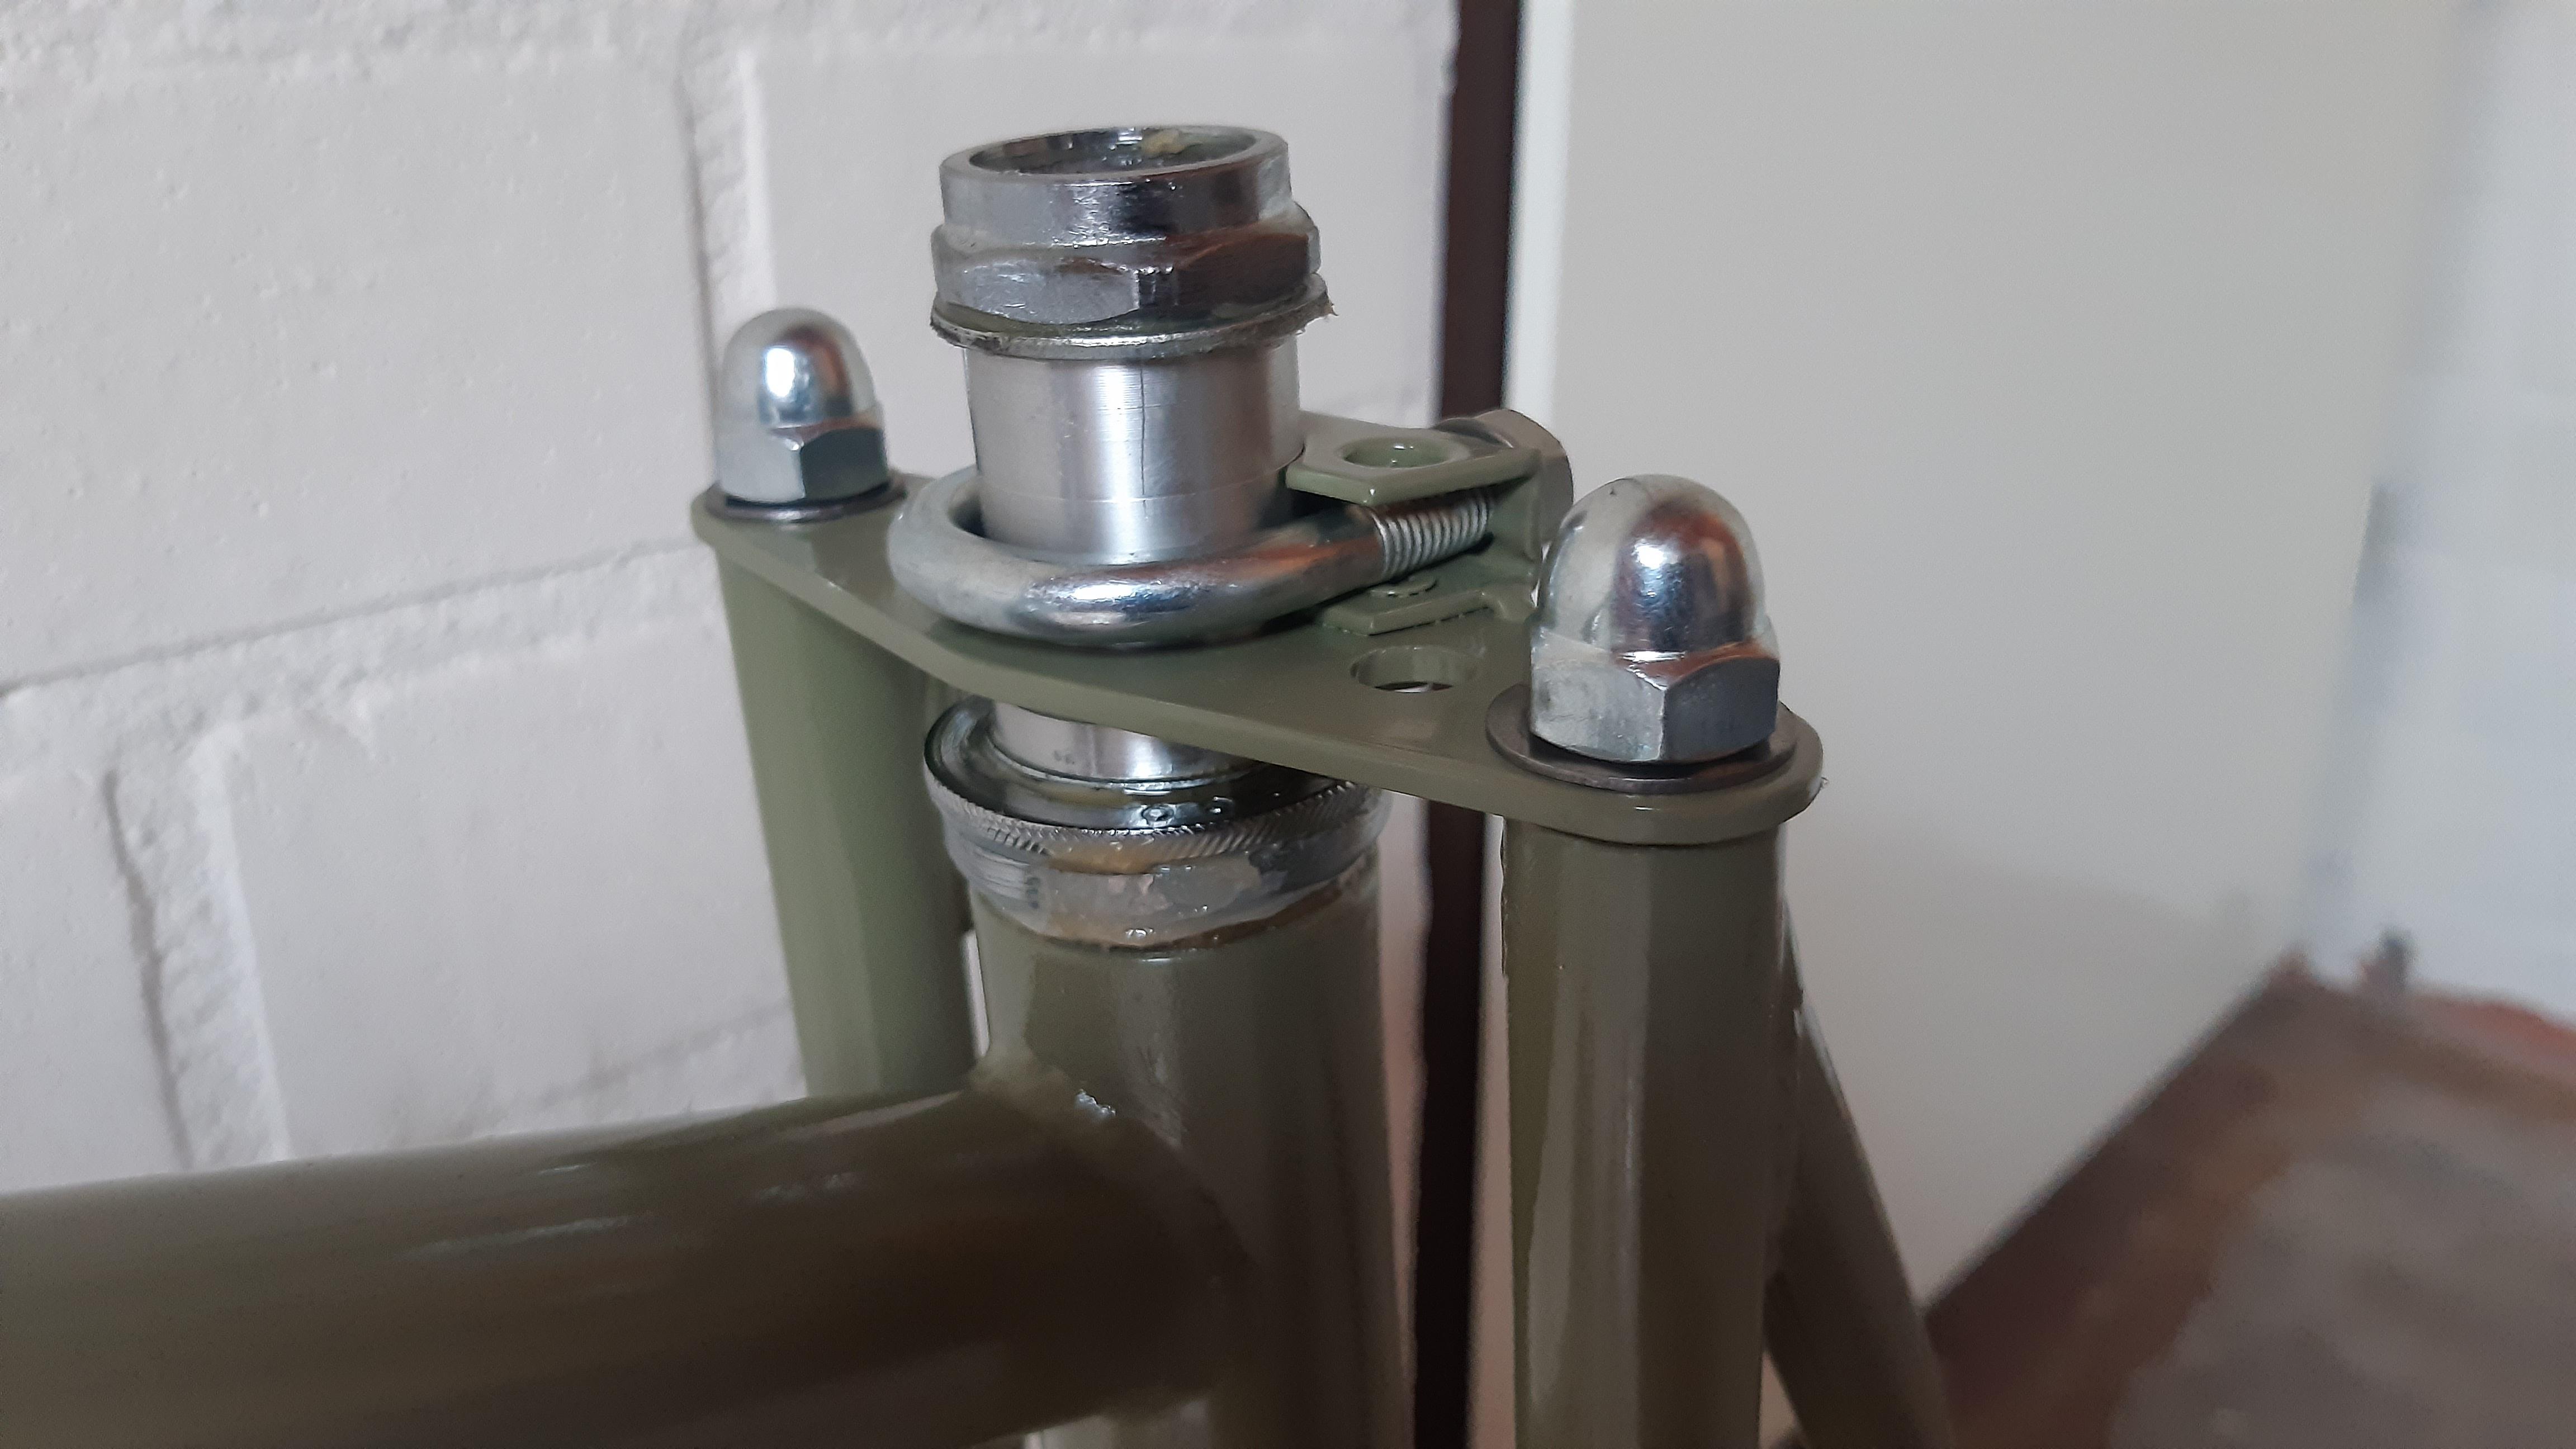
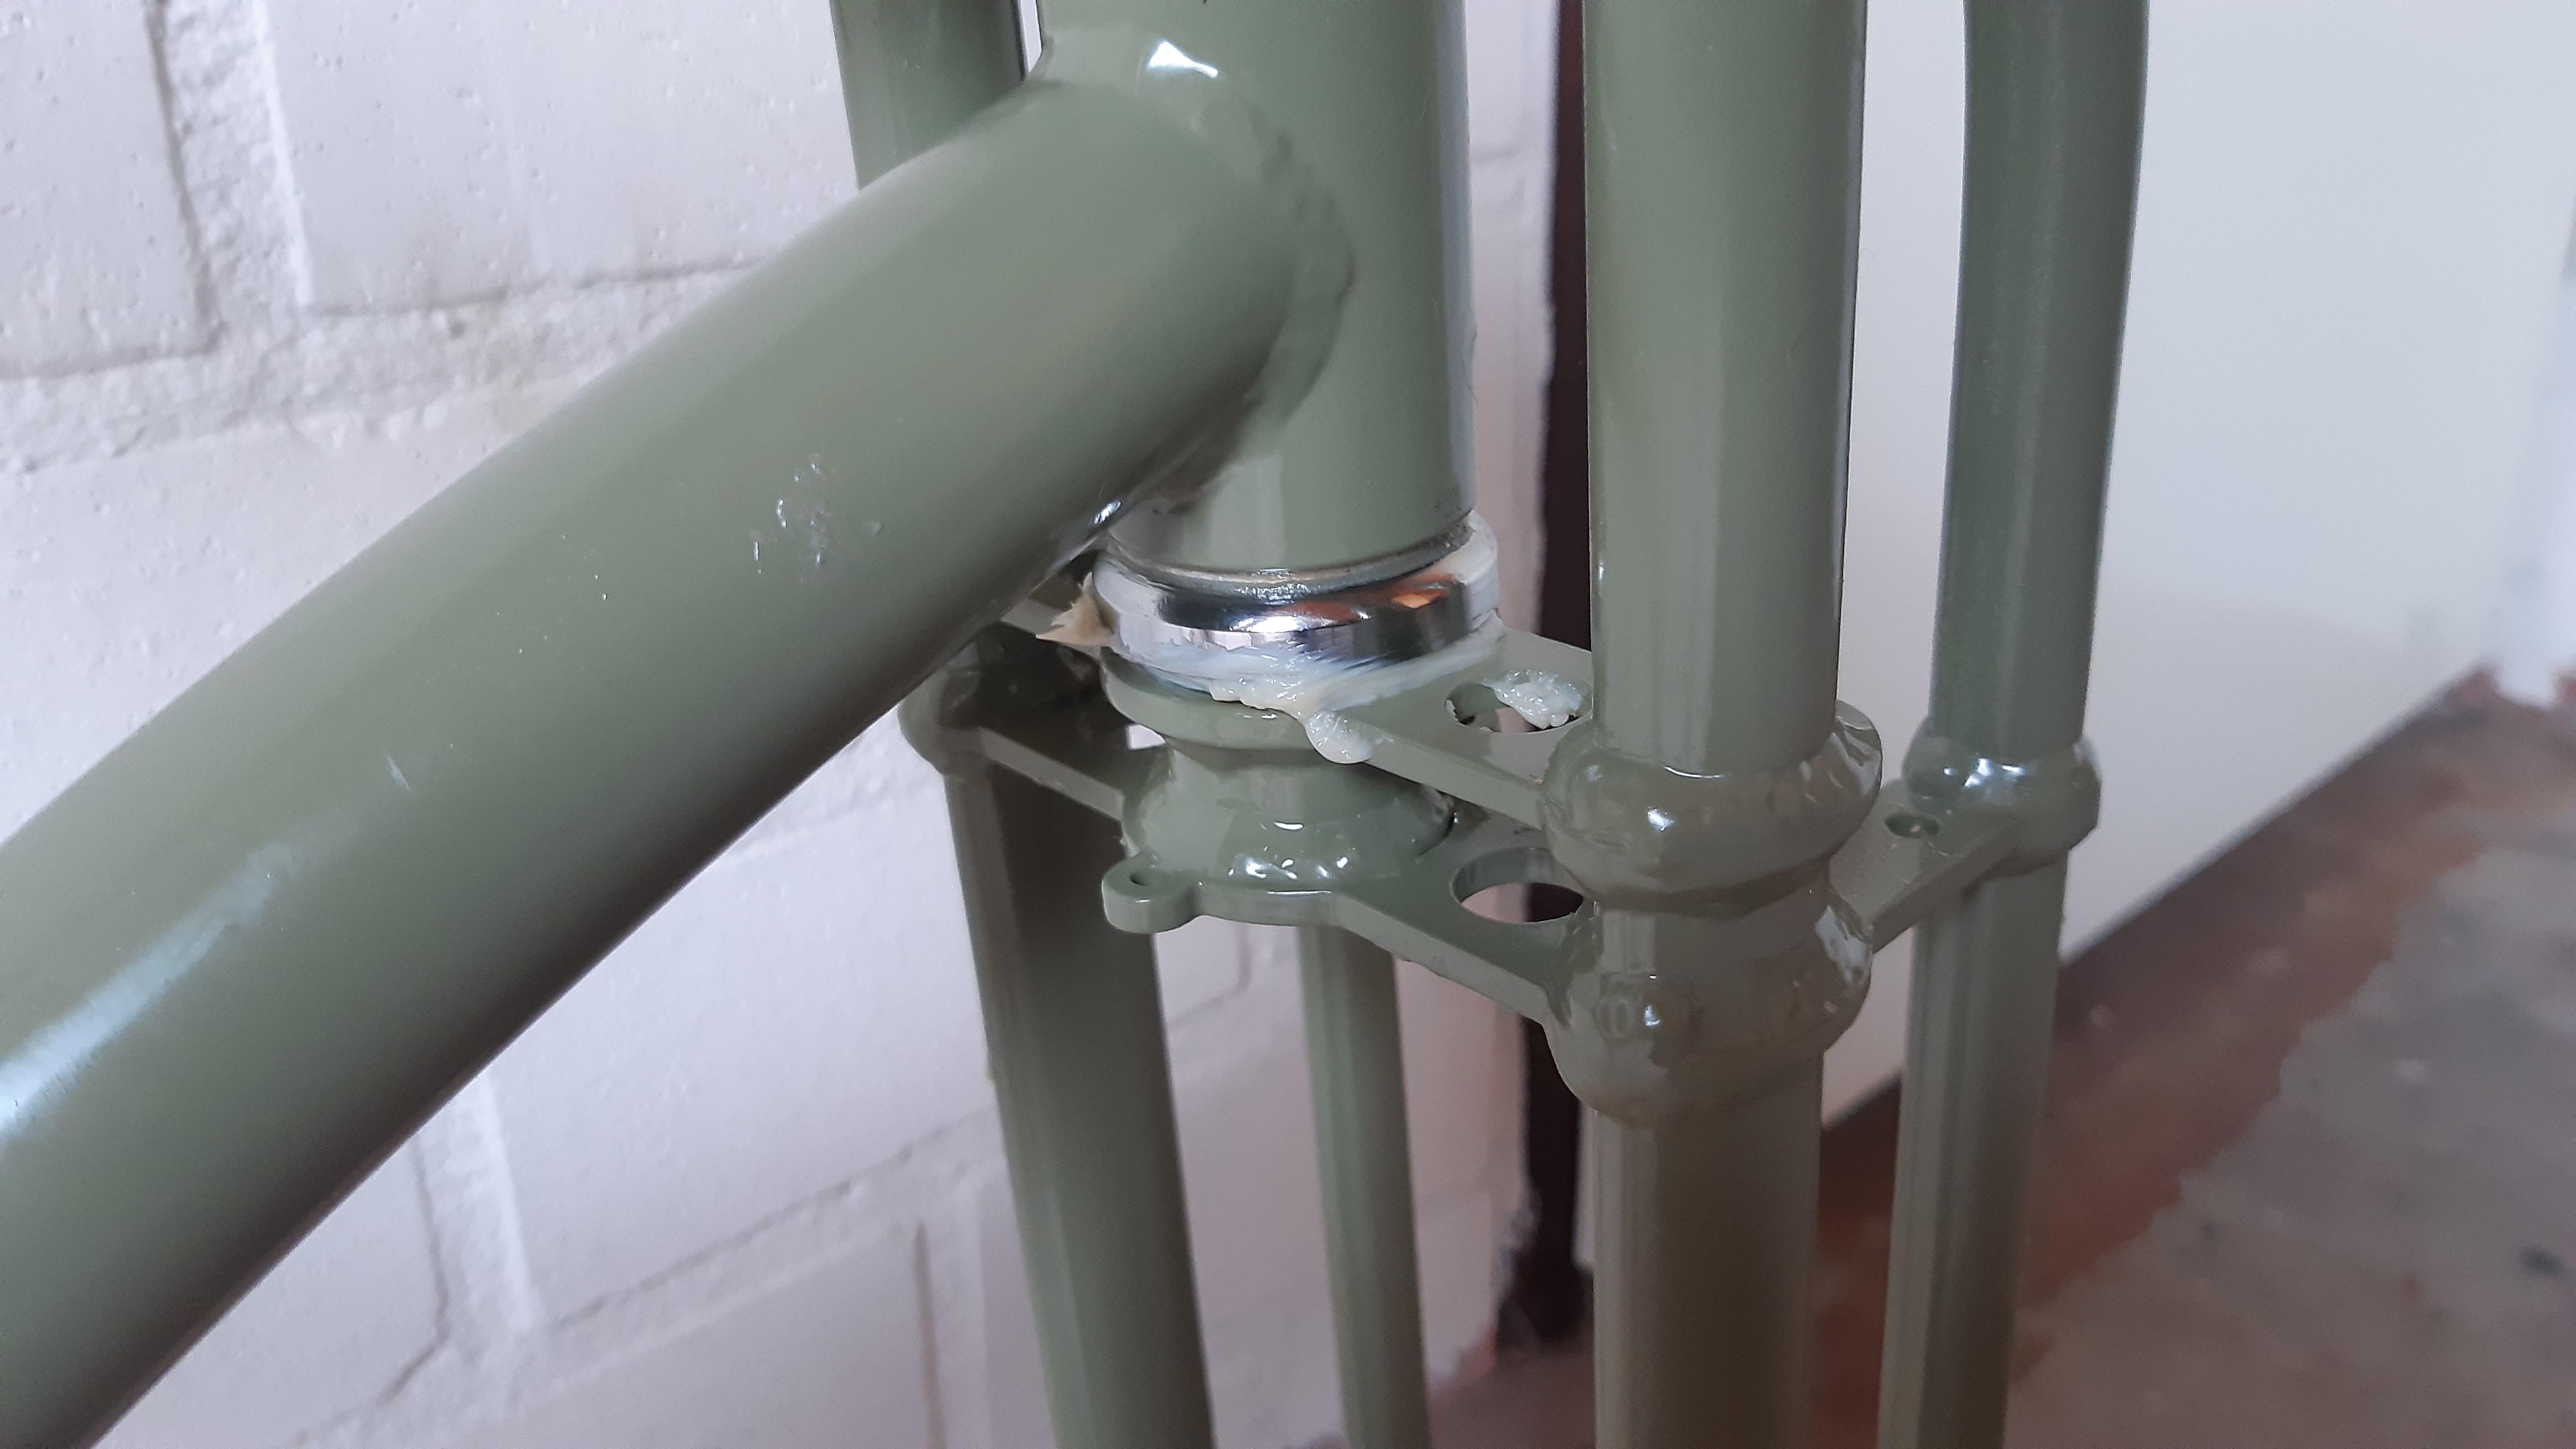
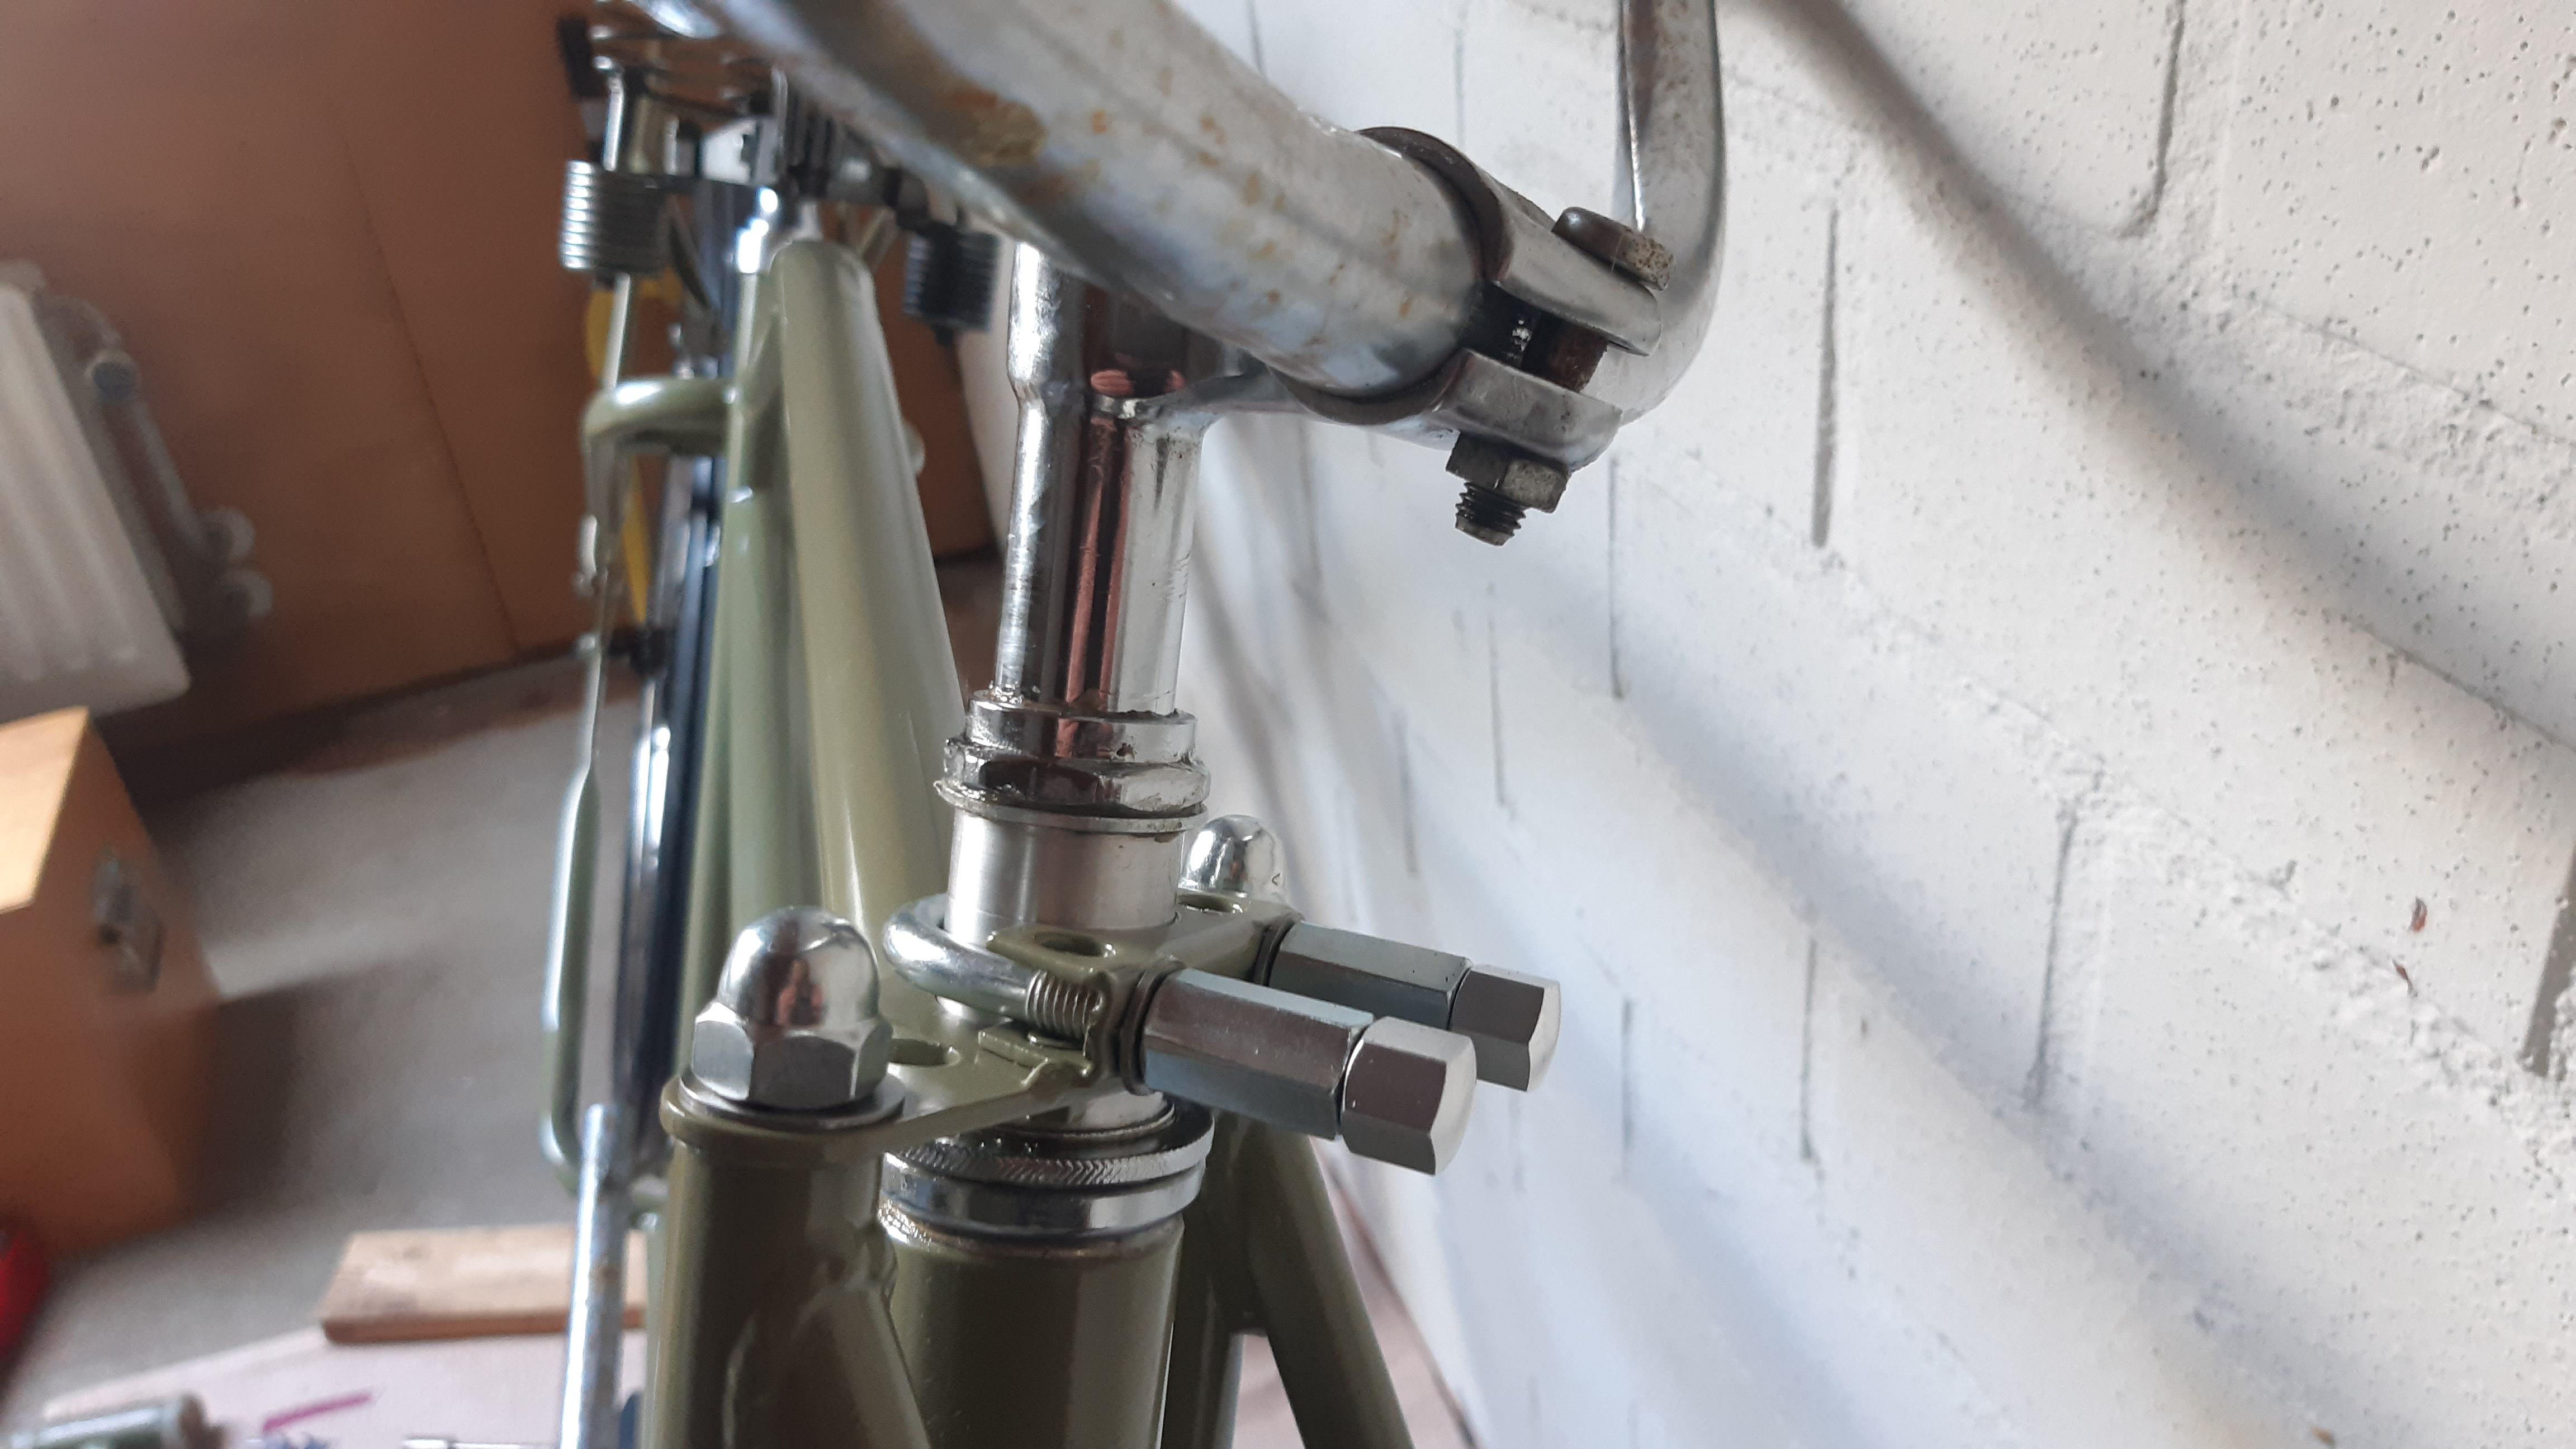
The fork assembly works as I imagined it. I can lock the top bearing race and then lock the top plate on the bush between the top bearing race and the top nut. Very sturdy setup!

eFyFQ1t.jpeg

cdqz9r4.jpeg

Very greasy! I will wipe that off eventually.

41cDKoW.jpeg
 
Hi guys, I have some assembly updates.

I shortened the stem, so it can go a bit lower and flipped the handlebars. I do like the "Boardtracker low" looks, but I want a good riding experience as well ;) Maybe I will lengthen the handlebars a little bit too.

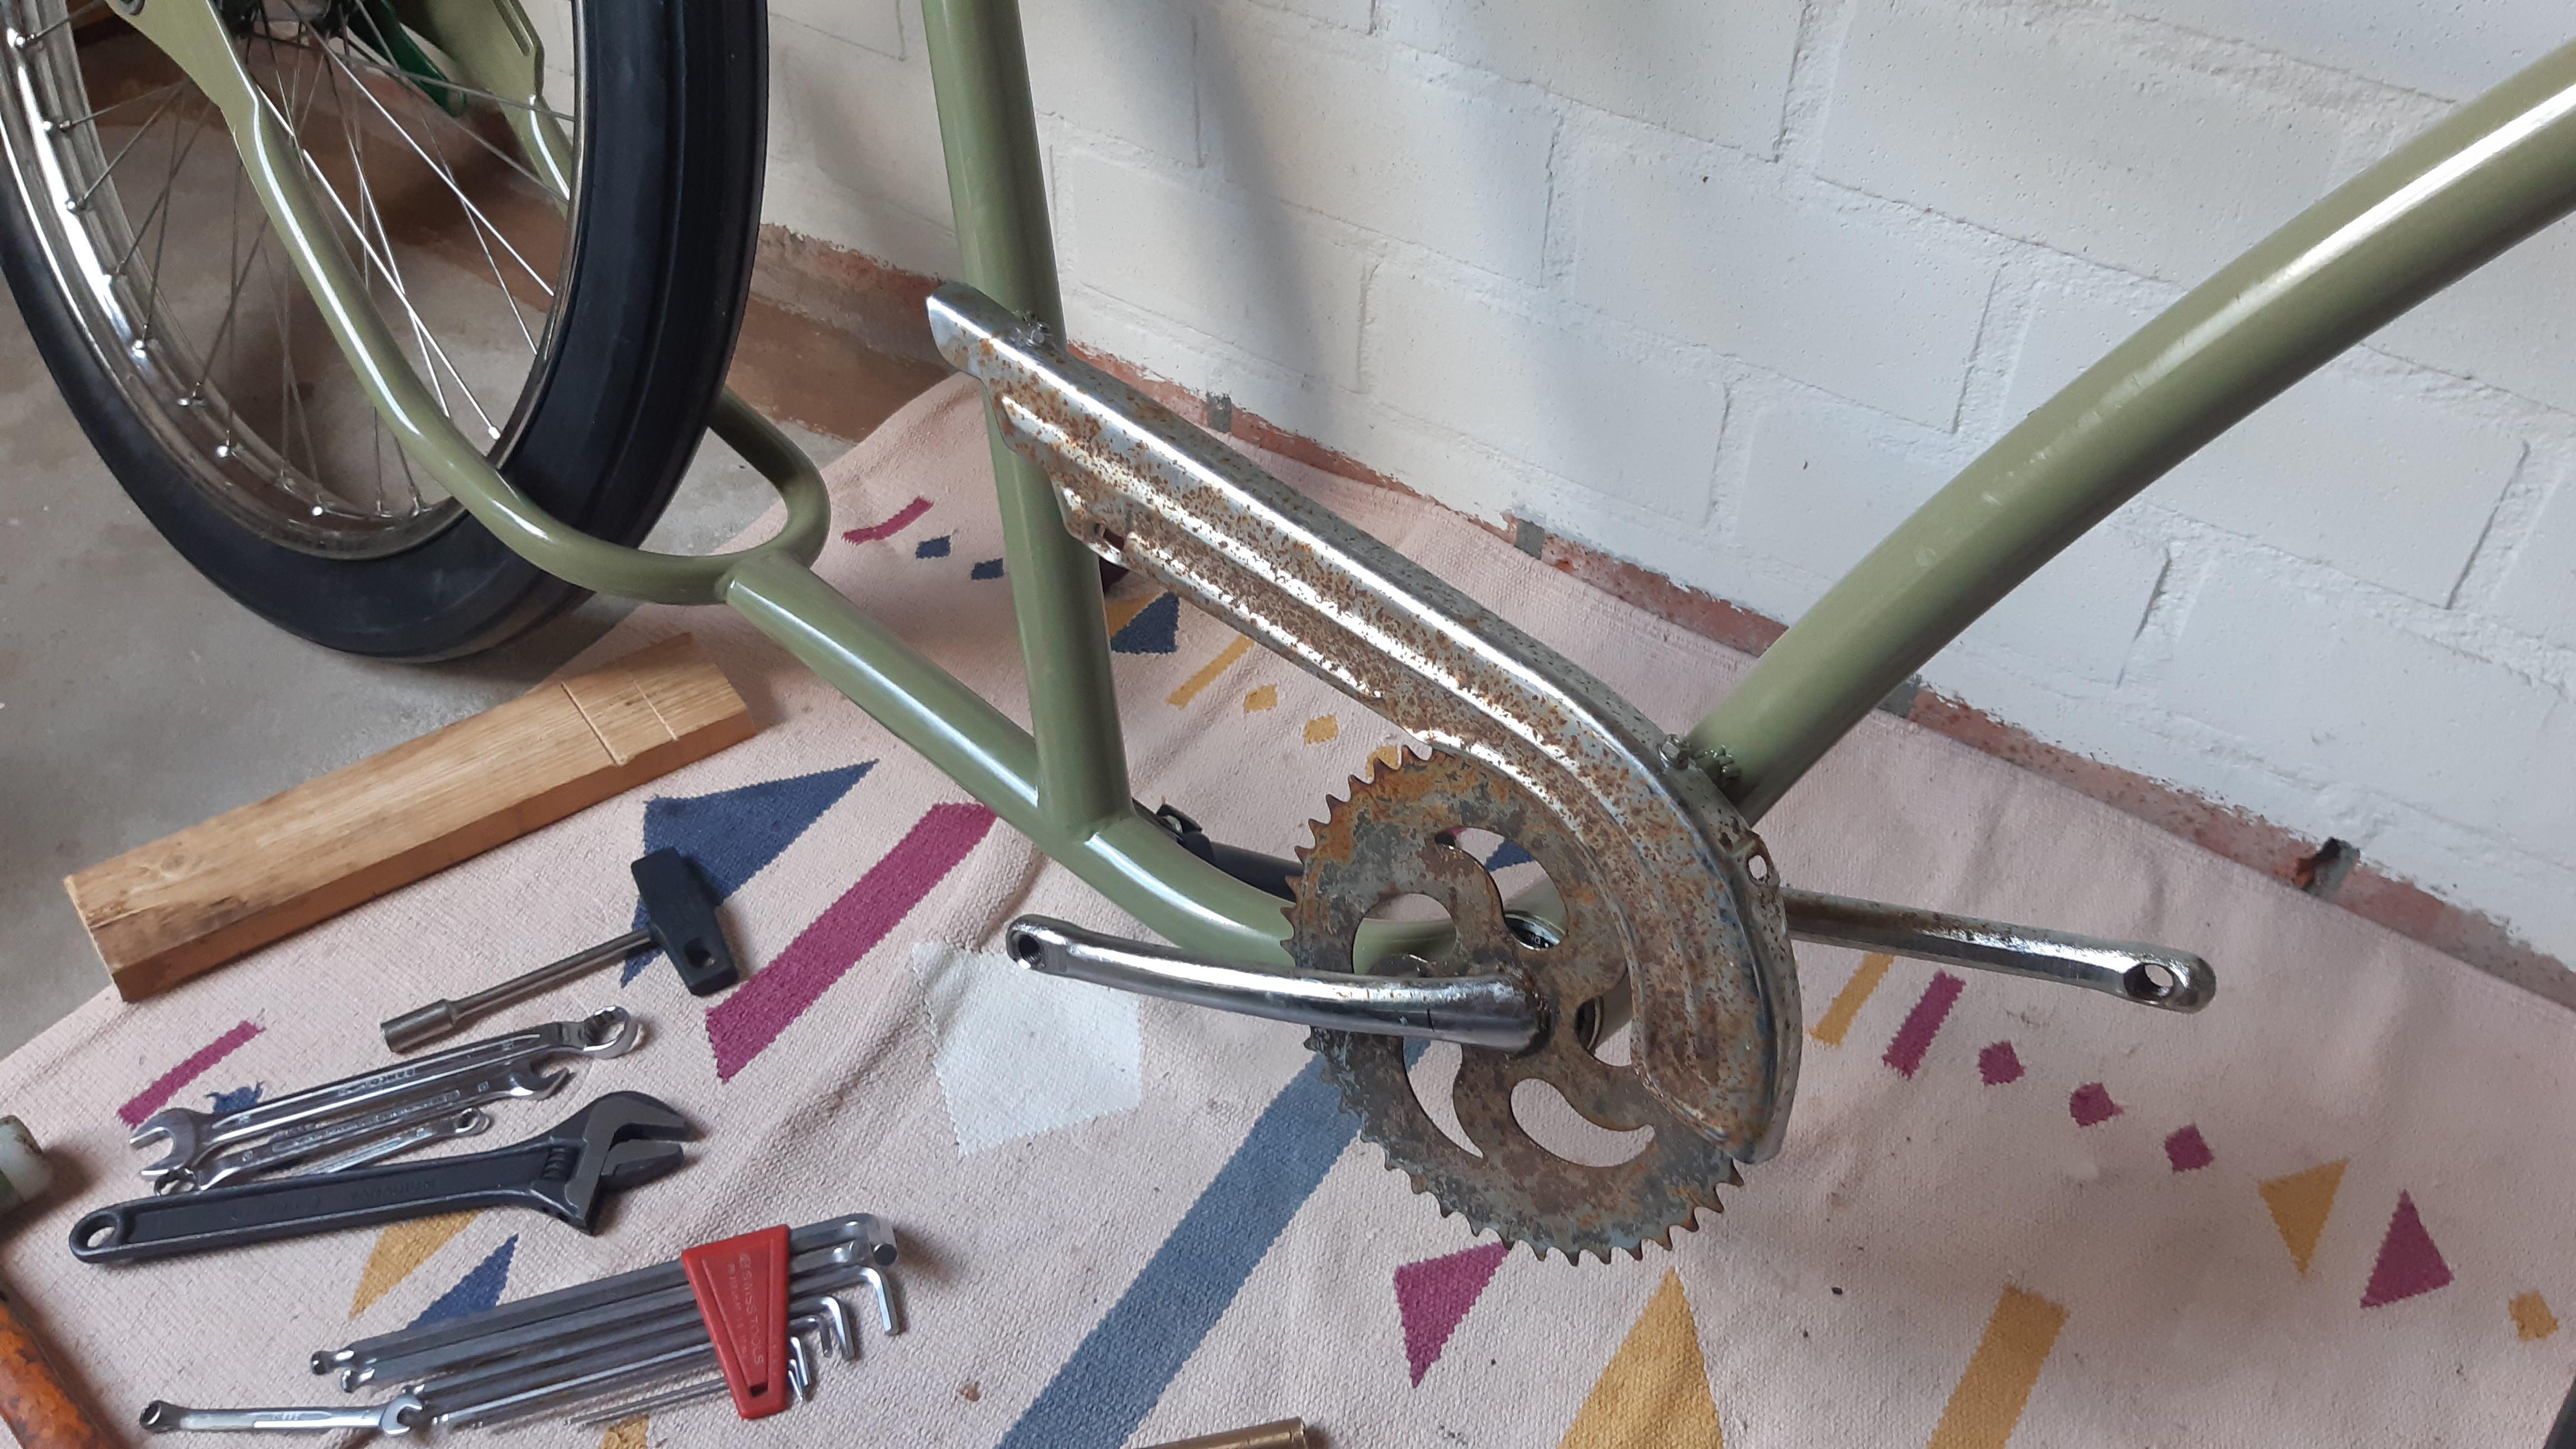
When assembling, I found out that the (good) but rusty chainwheel is crooked and wobbly. In hindsight it was a weak sprocket, I can easily bend it with my hands, so I'll ditch that!
I ordered a full black Ruff Cycles sprocket, coming in today. I have high hopes that this one is strong/stiff enough to handle my "kicking cylinders".

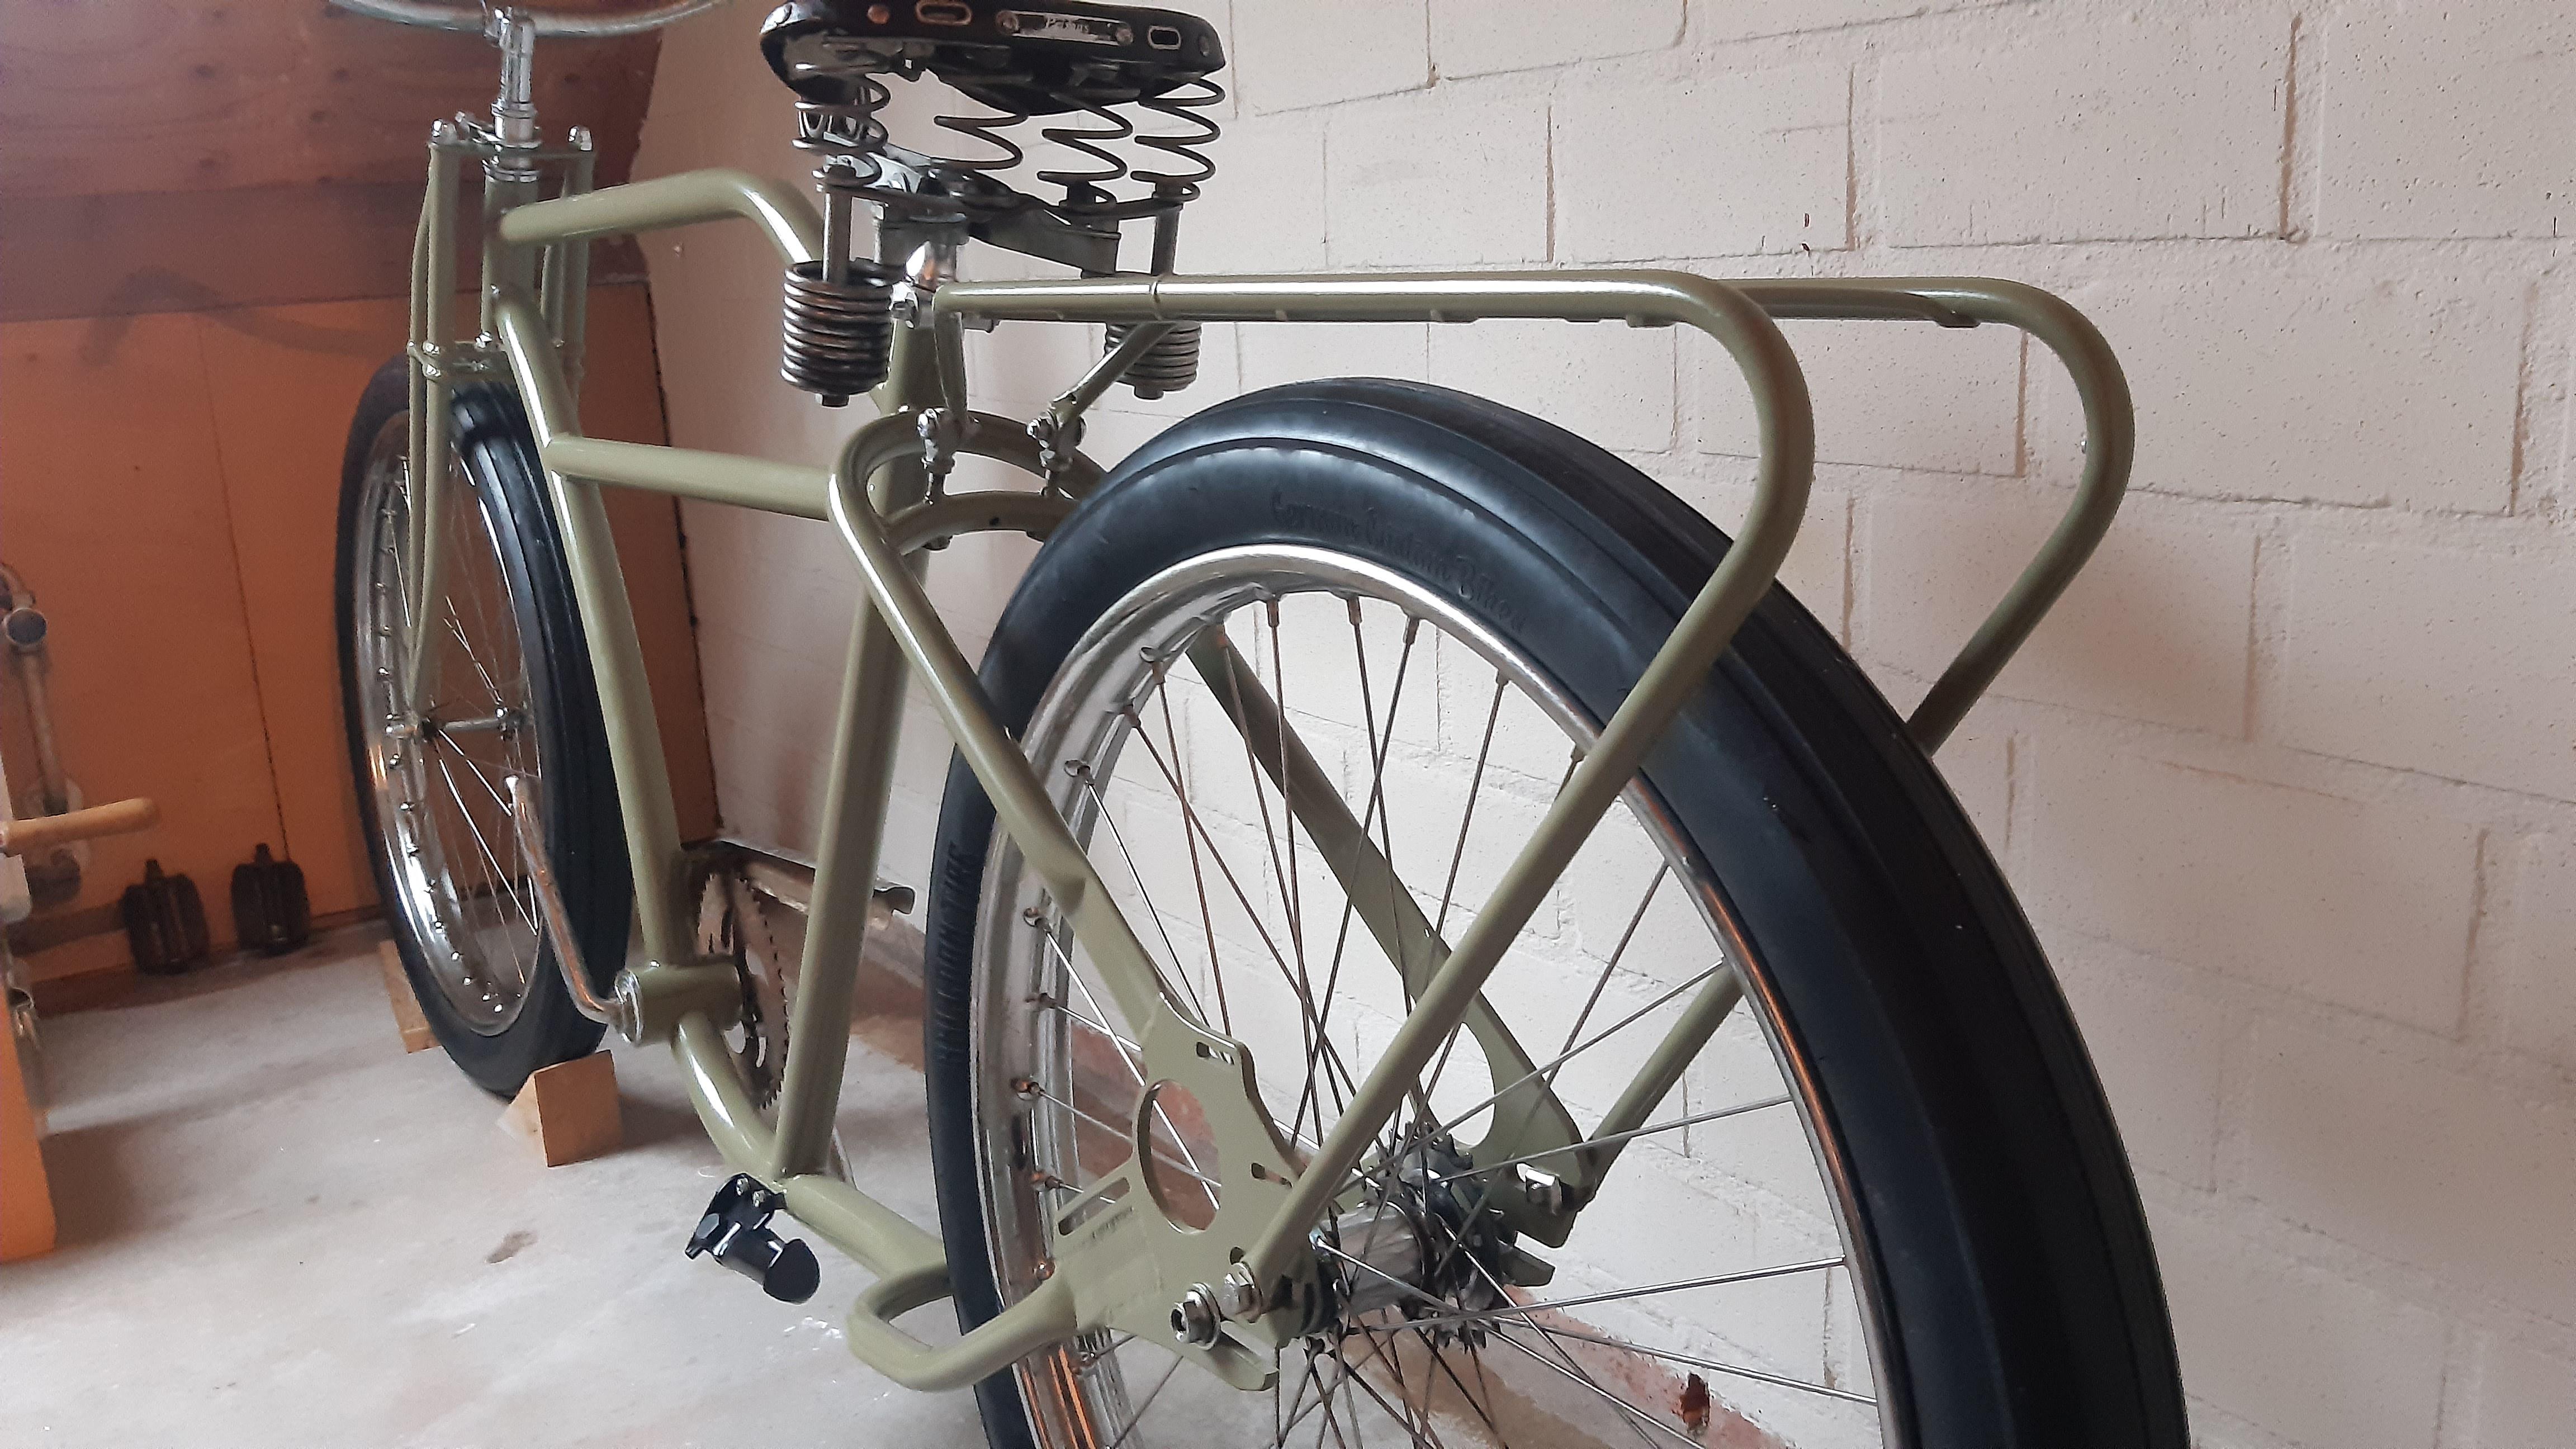
I mounted the rear carrier too, but the rear bracket where normally a reflector is located broke off....... some crevice rust/cracks were the problem. Not an big issue, the paint looks OK and the rack is stiff enough.
I will have to find a new way to assemble the rear light. Have some awesome ideas, so I like the challenge.
It has to be solid!

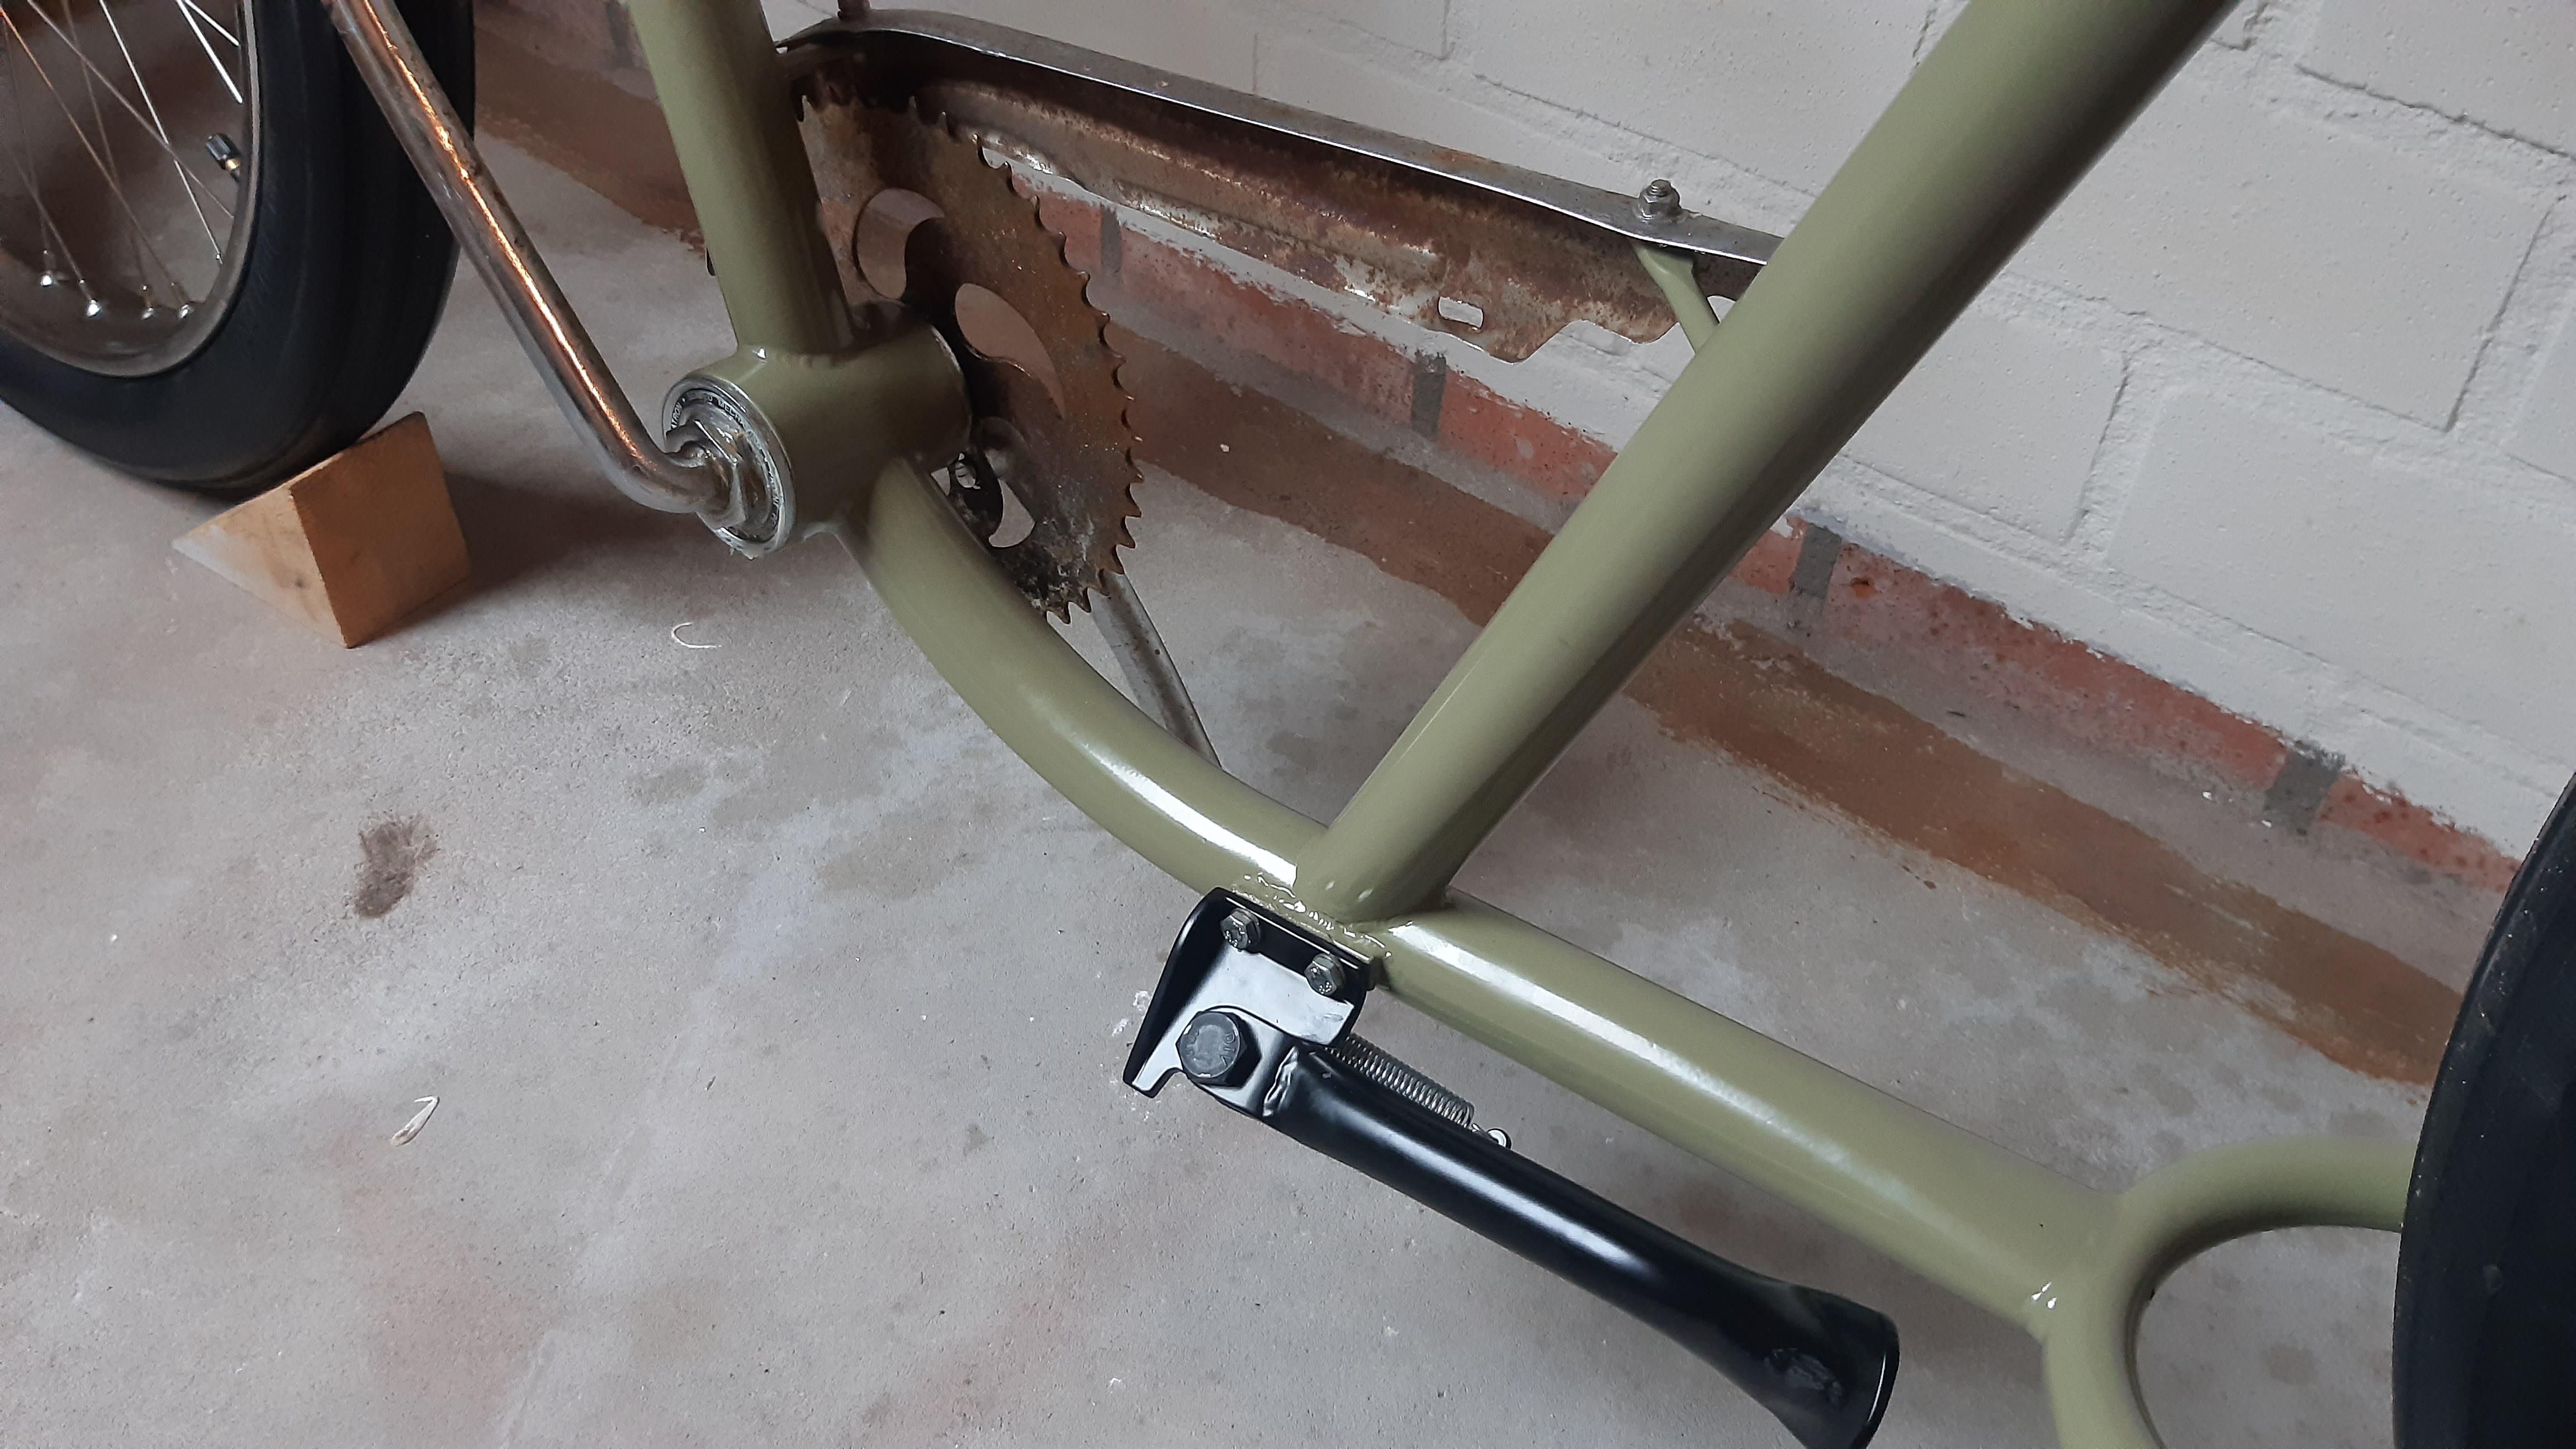
Chain cover is mounted and very solid!

And all screws are now hexagon or cross-heads. No allen, because I have never seen that on antique motorcycles. I can go even more age-correct, but this close is my goal so far.

Enough blabla, pictures!

pkVxuo6.jpeg

CeGz3ZI.jpeg

wlBBRnv.jpeg

vLVjqcJ.jpeg

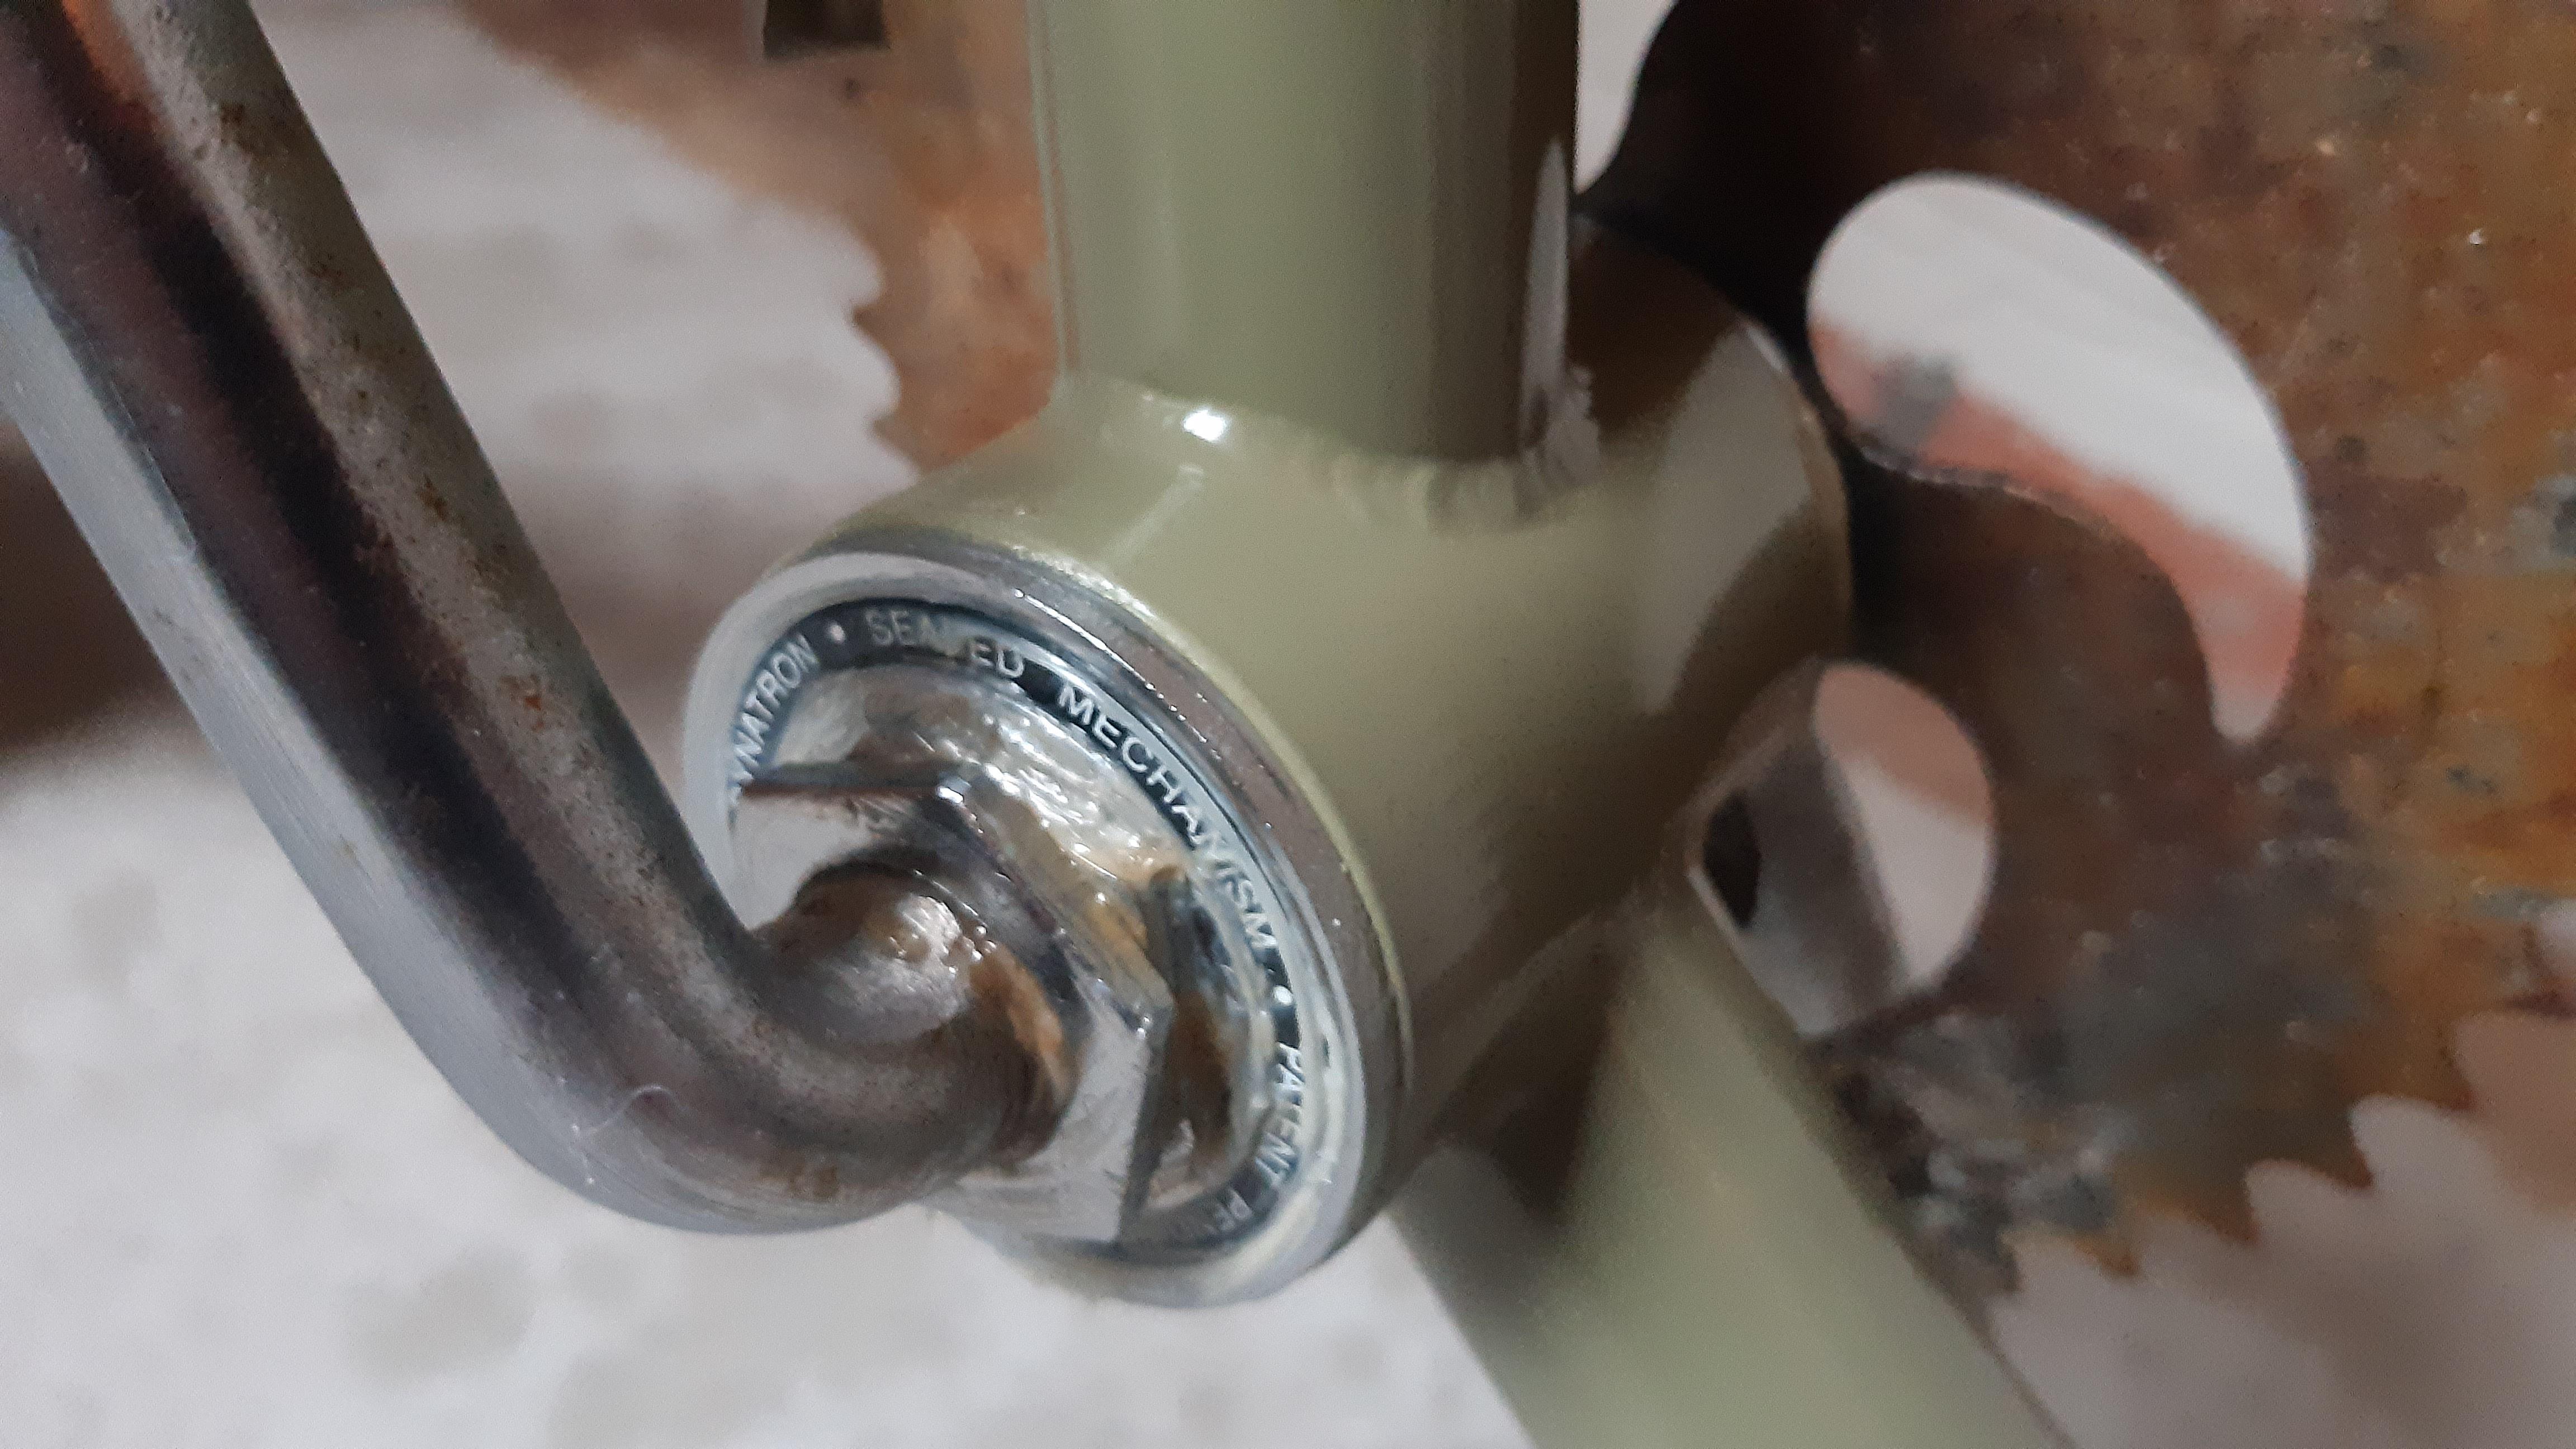
Odyssey Dynatron sealed BB!

ZG3rlOd.jpeg

Ruff Cycles kickstand mounted. Solid enough for now.

V79HZQu.jpeg

H9dLAPr.jpeg

9sPjvzB.jpeg

xjWnhTI.jpeg

HZnjuGg.jpeg

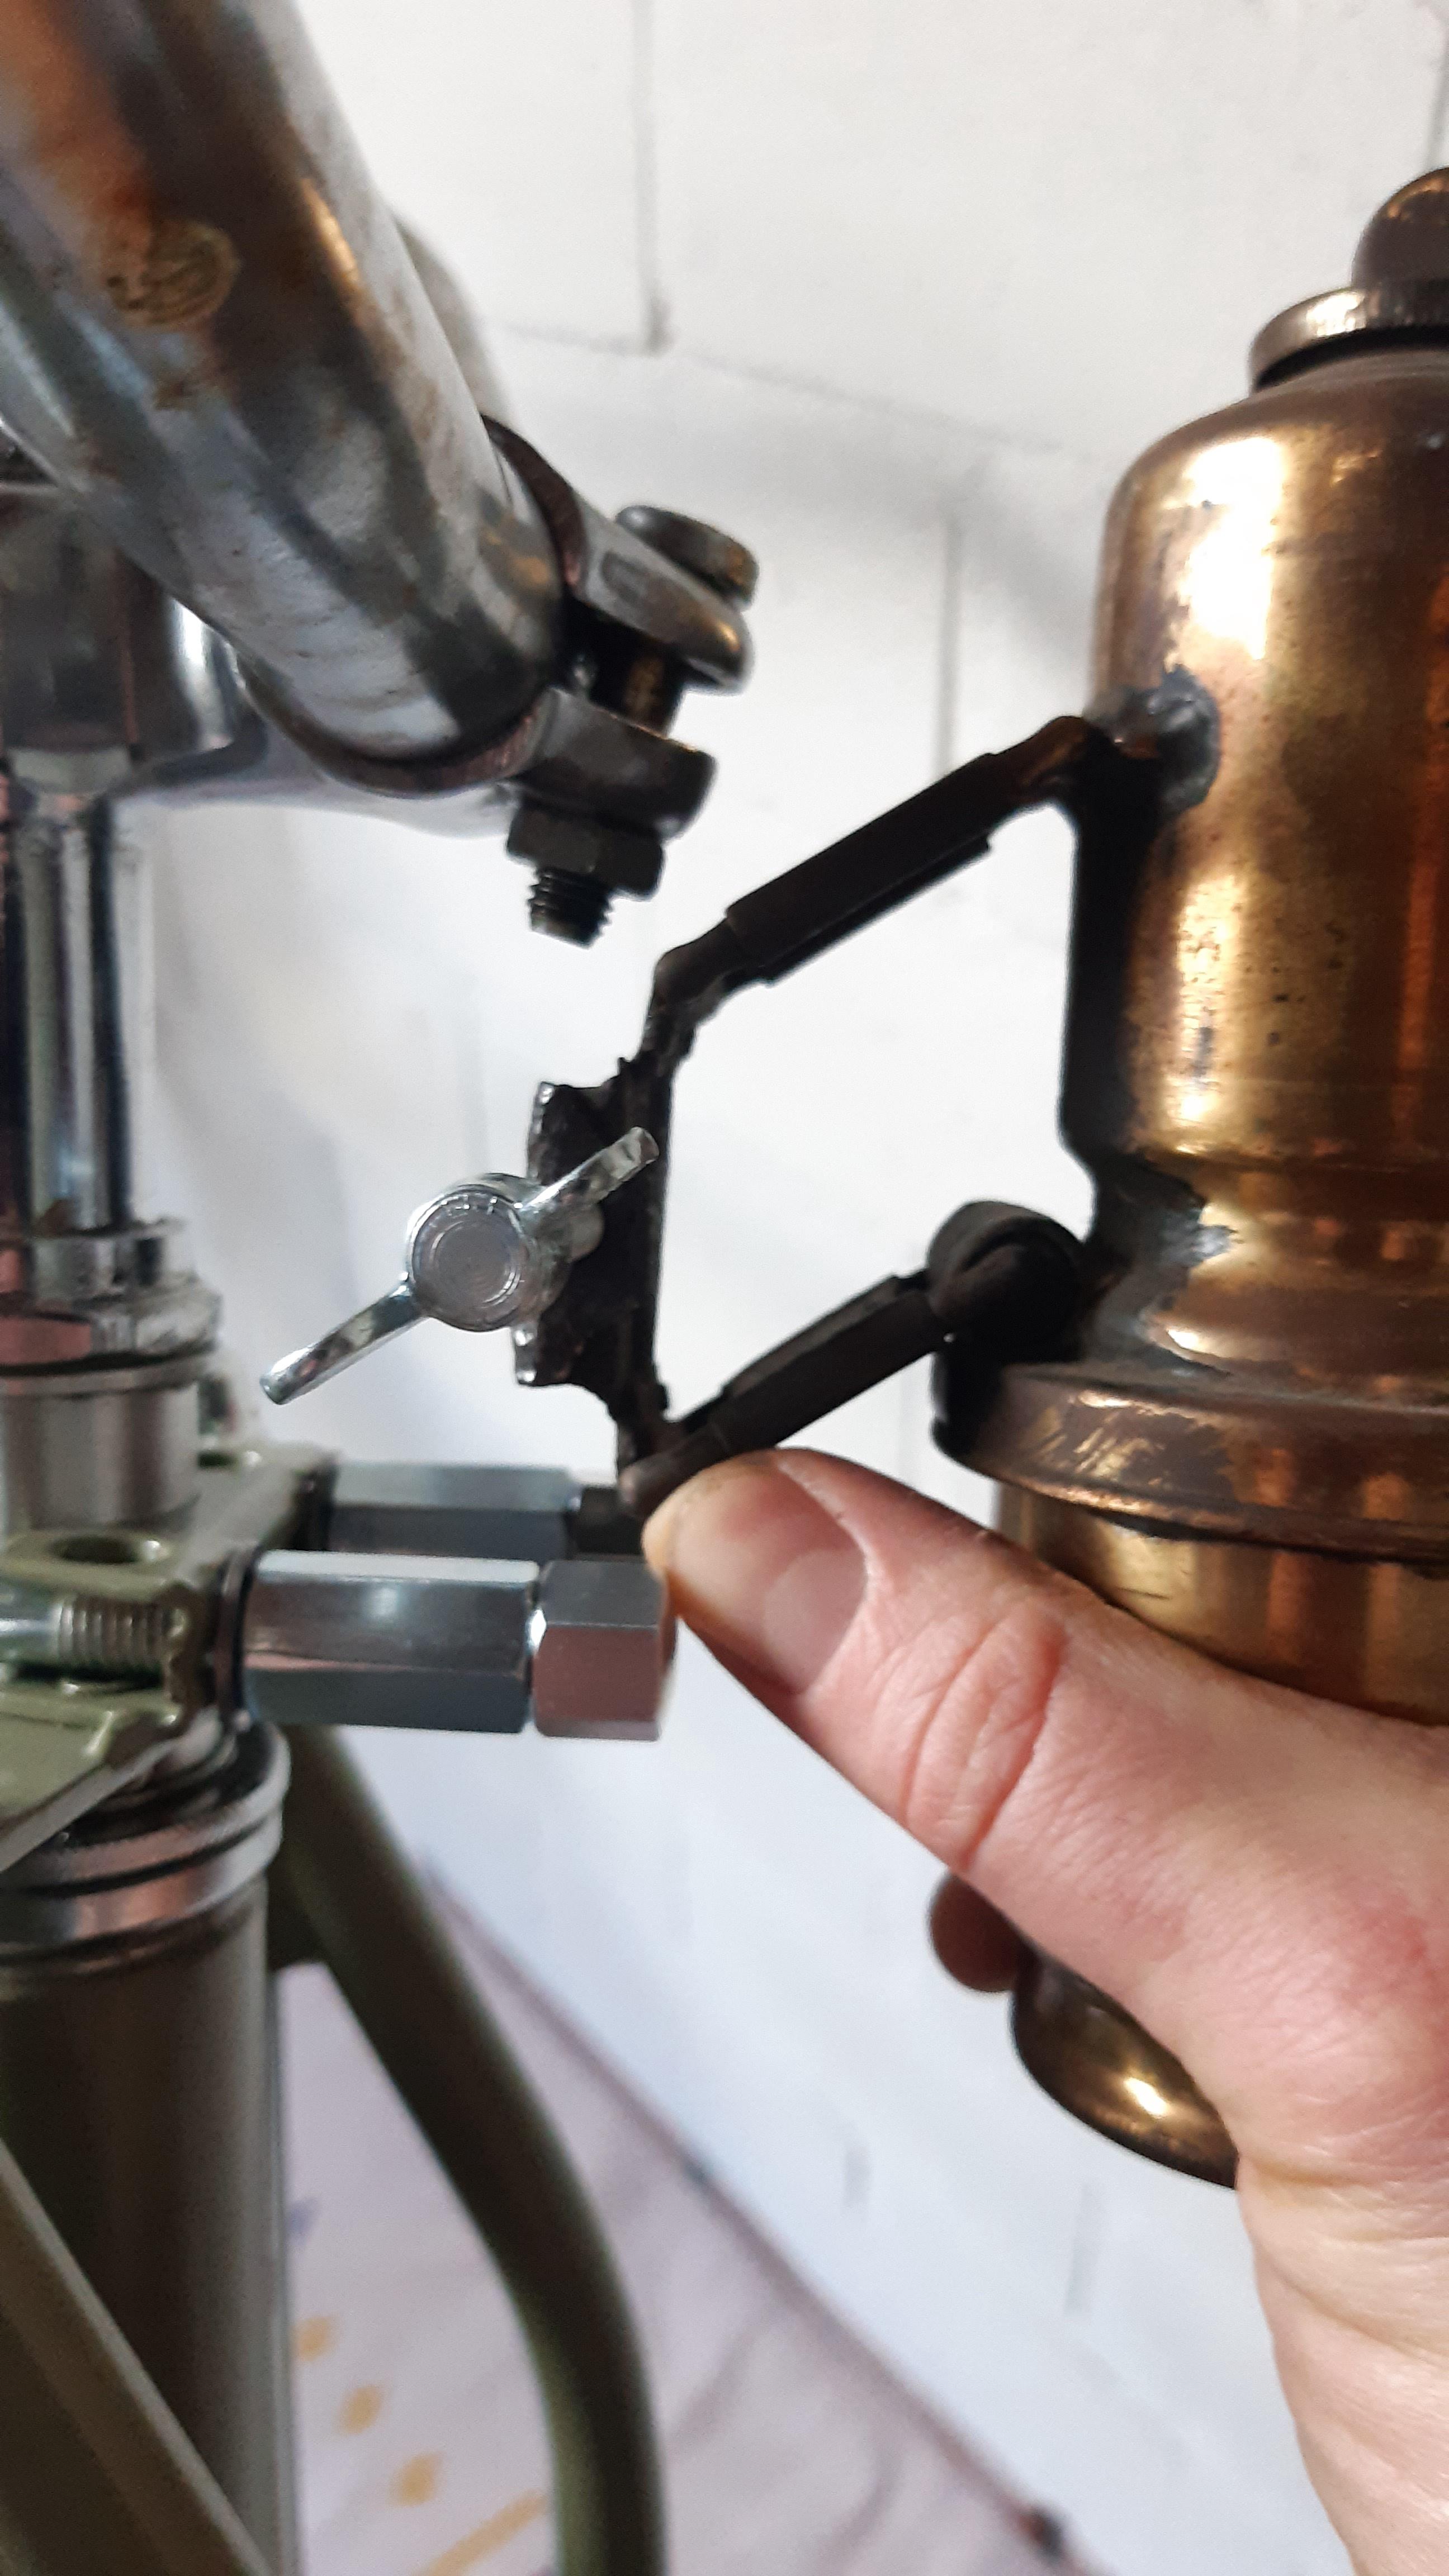
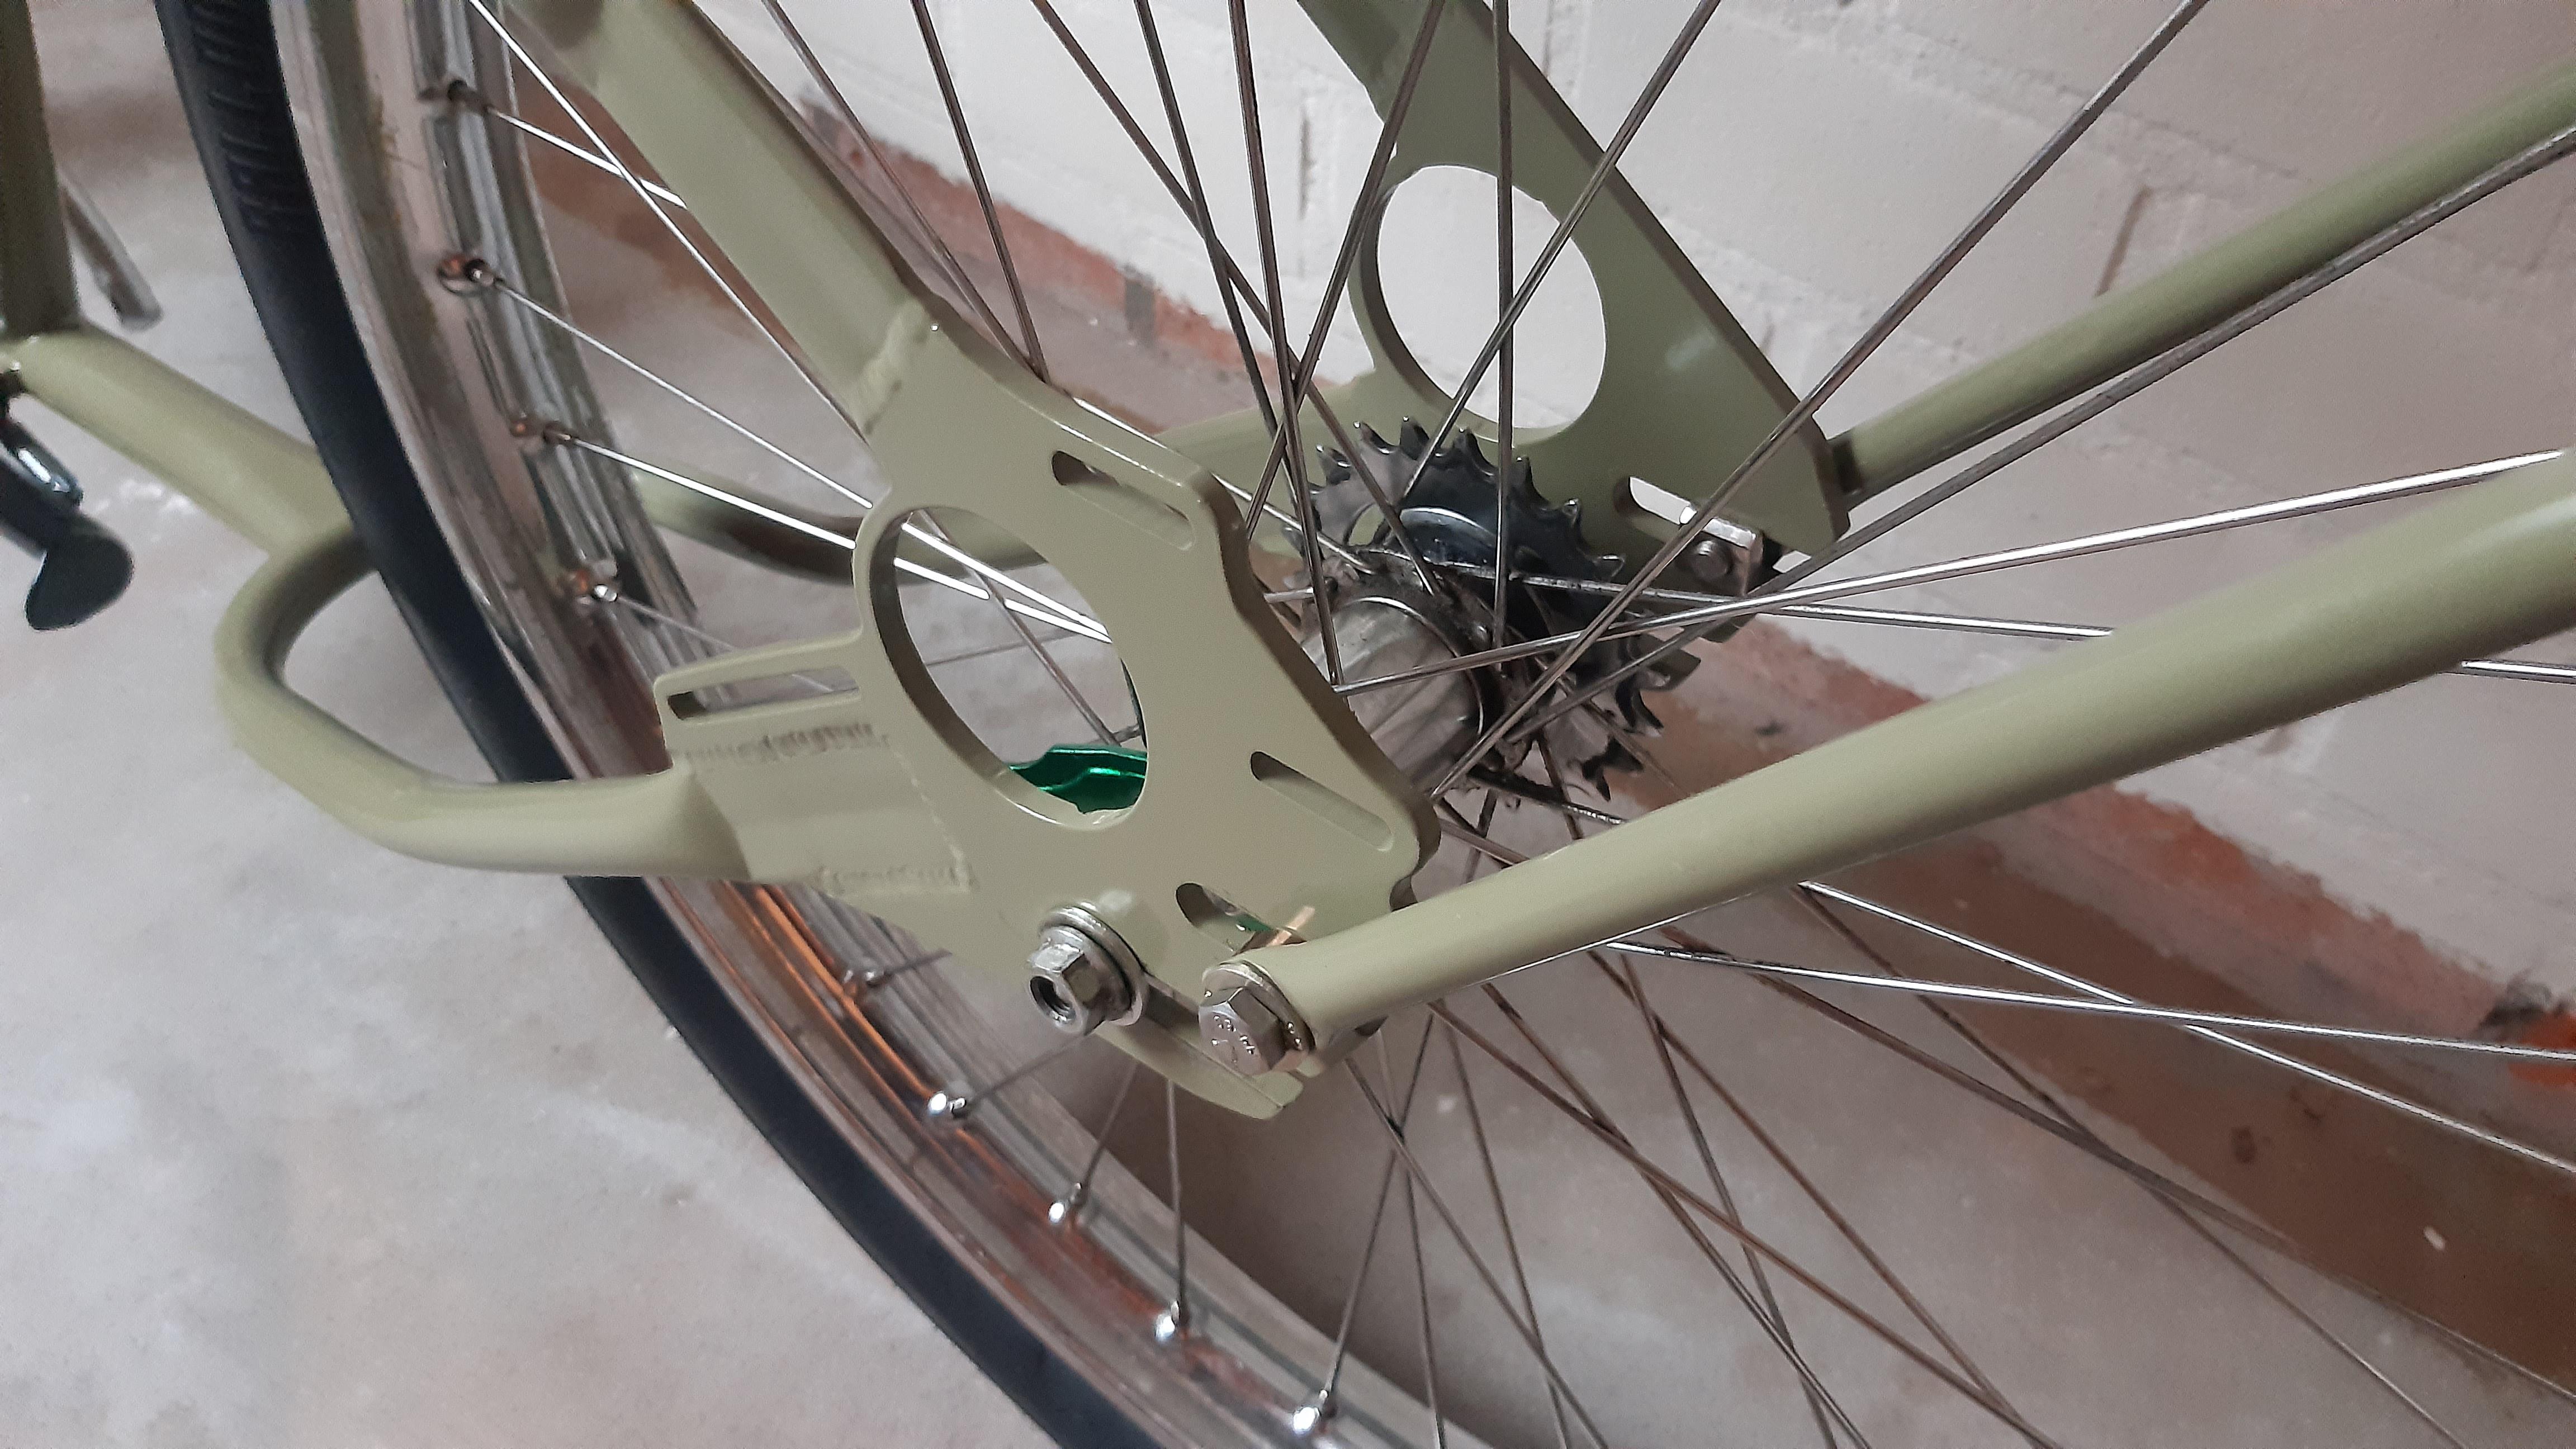
The protruding nuts are there for the Carbide lamp mounting bracket! -->

KEZWUy7.jpeg


mXzCAiC.jpeg


Next things to do:

Check if my "Antique bicycle wing nuts" fit the M10x1 thread on the Shimano CB-E110. If not, I will check if the 1952 Torpedo hub fits in my wheel with the wing nuts.

Fabricate brackets for: Carbide lamp and Fender brackets. Thinking about positioning the front axle a little bit forward.

Continue work on the Wooden Fenders.

Change the 44t chainwheel to the Ruff cycles chainwheel.
 

Latest posts

Back
Top