- COMPETITIONS
- THE COMPETITION ARCHIVES
- RRBBO OFFICIAL COMPETITIONS
- BUILD OFF 10 - (2015)
- BUILD OFF 10 BIKES
You are using an out of date browser. It may not display this or other websites correctly.
You should upgrade or use an alternative browser.
You should upgrade or use an alternative browser.
(BOTEN) "OUTLAW" ...Withdrawn from the build-off...
- Thread starter LukeTheJoker
- Start date

Help Support Rat Rod Bikes Bicycle Forum:
This site may earn a commission from merchant affiliate
links, including eBay, Amazon, and others.
That is rough MazdaFlyer. Thanks for your thoughts.Cancer has taken my father, mother and sister.
Luke.
Front disk, sounds good;
Going to need it when,
I visit & take me, a ride.
Going to need it when,
I visit & take me, a ride.
welcome back Luke.
I am sure that the build is a healthy distraction.
keep up the great work!
I am sure that the build is a healthy distraction.
keep up the great work!
Just ordered a mirror pair of brake callipers for the twin disc front set up, going to try and make a single cable to twin cable splitter that will also have a quick release included to make the forks easily removable for transport and allow standard style levers...Forgot to mention, considering a colour change and the addition of an extra discbrake to the front wheel as well... Plenty still to happen and see on this build!
Now where did I put that twin cable front brake lever???
Luke.
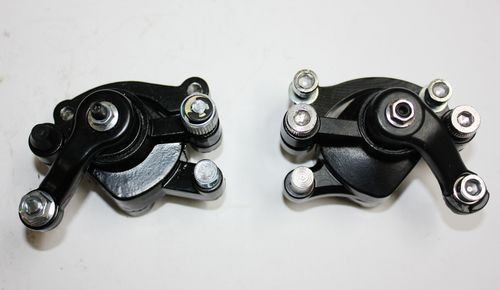
Not name brand callipers, fairly cheap ones, but unless you want to spend $$$'s for a mirrored pair this is the only option... I have used them in the past and they work well, the pads wear out a bit faster than name brand ones, but from memory Avid pads are a direct replacement...
Luke.
Luke, you might keep in mind the throttle cables for motorcycles with twin carbs.

$99.99
$108.99
Schwinn Toggle Quick Build Kids Bike, 12-Inch Wheels, Smart Start Steel Frame, Easy Tool-Free Assembly, Blue
easiness

$18.99
Old River Outdoors Bicycle/Motorcycle Chain Picture Frame 4" X 6" Photo - Faux Bike Chain
Old River Outdoors (USA Merchant)

$199.99
$229.99
Huffy Stone Mountain Women's Mountain Bike, Gray, 26 Inch Wheels/17 Inch Frame
HuffyDirect

$249.40
$289.67
Kulana Lakona Tide Adult Beach Cruiser Bike, 26-Inch Wheels, 7-Speed, Silver
Amazon.com

$19.99
Electra Glide Wall Decal 2ft Long Sport Harley Davidson Bike Motorcylce Sticker Man Cave Garage Boys Room Decor
FatCat Wall Graphics
Thanks bfelt, cool idea!
No progress to show today, but I did head out and buy a whole bunch of steel, bolts, washers, nuts and nylon sleeves for the fork and springer set up, so progress should be good when I get to it.
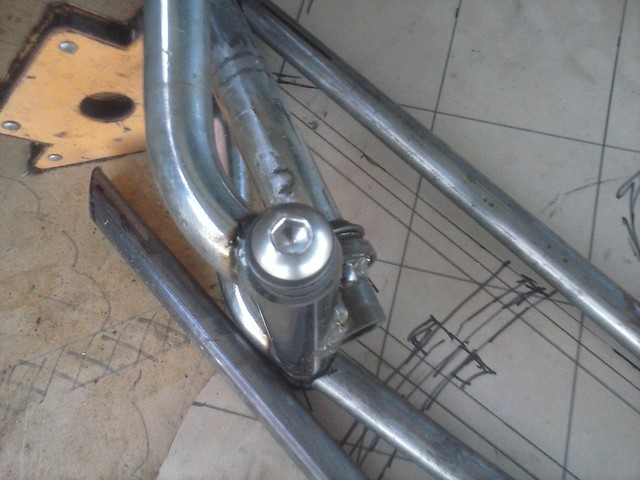
Got some stainless steel cap head allen key bolts that will hold the fork to the stem, should look really nice!
Luke.
The Renaissance Man
__CERTIFIED DIVER__ (Open Water & Open Dumpster)
Staff member
Moderator
Pro Member
Looking forward to the fork!
I've always liked the look of allen key bolts over hex bolts. I've been swapping them on the CCC also.
I've always liked the look of allen key bolts over hex bolts. I've been swapping them on the CCC also.
Shiny hardware just makes it.
Looking forward to the fork!
I've always liked the look of allen key bolts over hex bolts. I've been swapping them on the CCC also.
I have a plan to recess mount them too, should look very nice!Shiny hardware just makes it.
Luke.
I'm really liking the mechanical and industrial look of this bike. All those tubes are going to look great once painted.Sorry for the rubbish pictures, these are from my phone that has seen better days. Just not up to doing videos at the moment...
Cut of my last effort at the drive side dropout and made this new one from an old Bratz bike sissy bar and some steel plate:
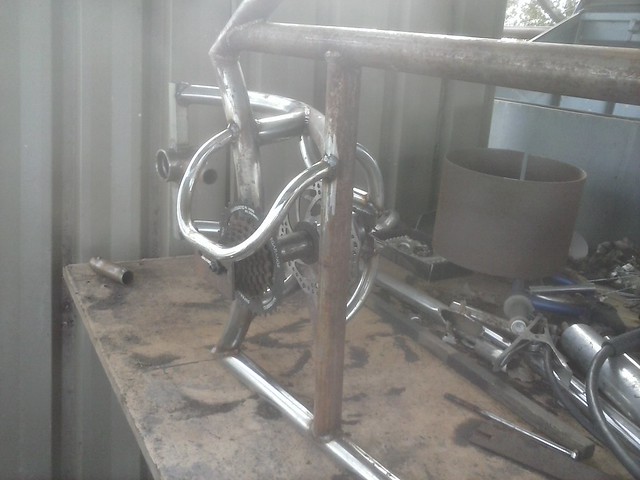
The drivetrain is mostly done at this point:
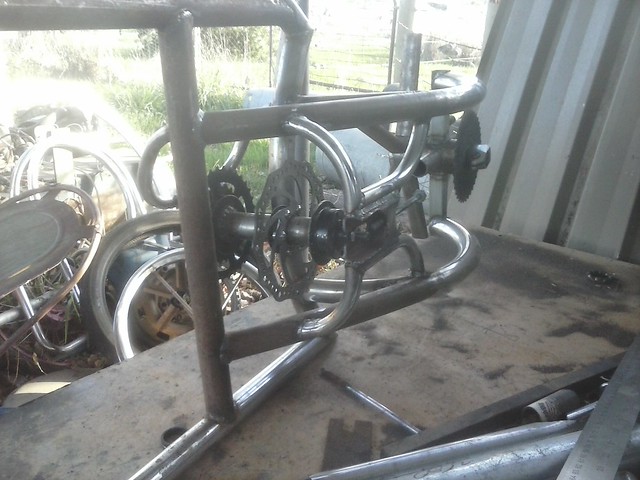
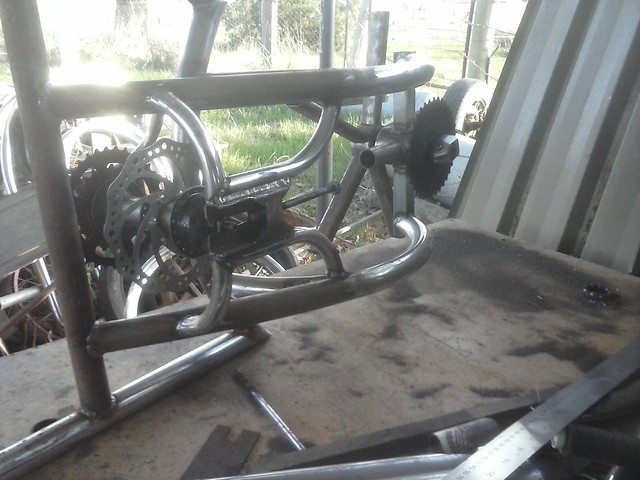
Started on the forks, only got as far as extending the threadless fork tube by 2" to suit the extra long headtube, but now I have a place to start next time:
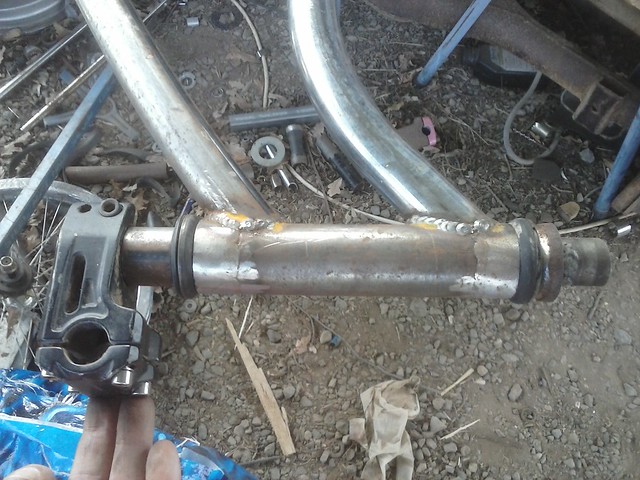
I probably will not be using that bar clamp, will probably make up something that mounts the bars and the top of the forks more cleanly.
Also thinking about a change to the frame that I want to make next time, it will lose me half a day to do it, but should flow better...
Luke.
I completely understand where you're coming from. Just went through that with my Grandfather. It truly sucks and you have any support from me if you need it. Hope you can make it but if not, no worries. Truly sorry about you loss.Sorry for the lack of progress people! Sorry also for not checking in your builds for a while...
Build work is on hold at the moment, having a few personal issues, including the death of a close friend with cancer, I really have not felt like building at all...
Progress will happen eventually, I will keep you updated, but making the deadline with a completely finished bike is probably not going to happen.
Luke.
Funkme
𝐰𝐰𝐰.𝐟𝐫𝐮𝐢𝐭𝐜𝐚𝐤𝐞.𝐧𝐮𝐭
Seems like you are making good progress Luke.
Made some real progress on the build today!
I present, at long last...
Video 13!
Luke.
I present, at long last...
Video 13!
Luke.
Some extra pics from today:
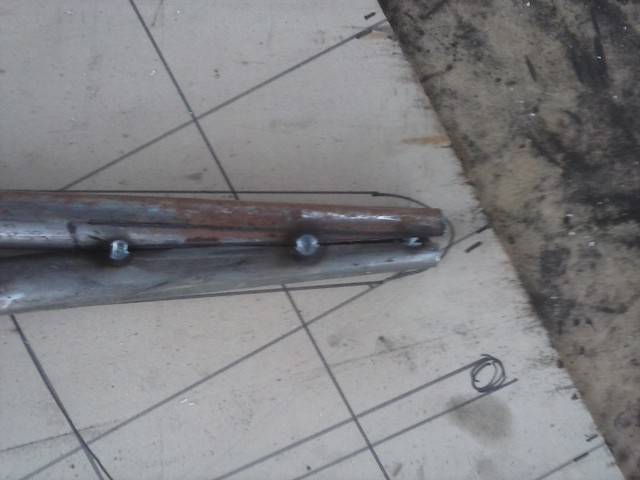
Had to extend some curved tubes cut from old handle bars, so sleeved them with some smaller tube saved from the two chairs I cut up for "Mad Maxine"
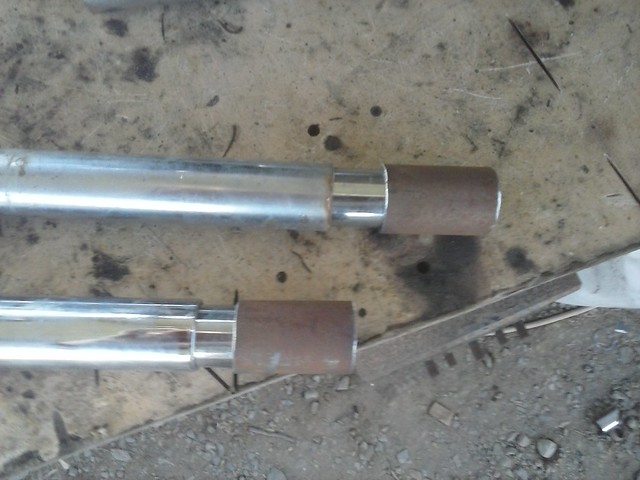
Joined them to the stem to create the "Headstock' and started working on the fork leg joints:
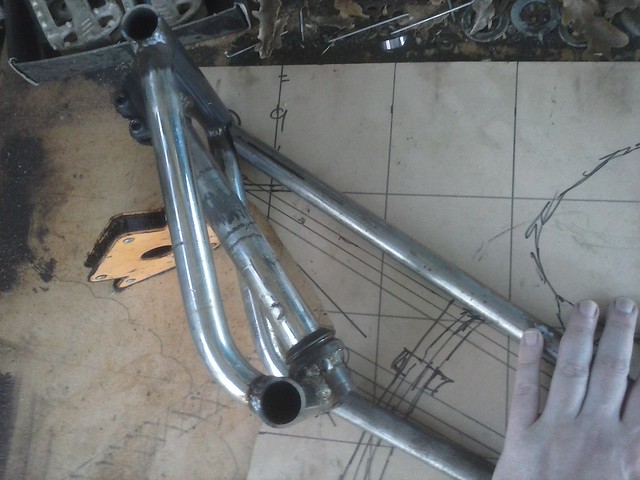
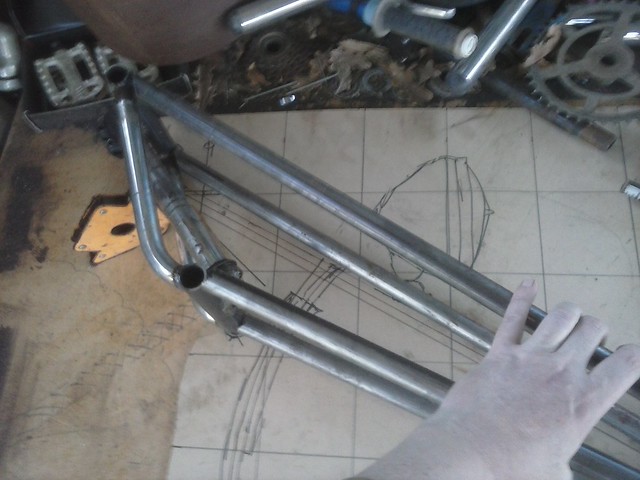
Bottom joins where the pivot will be:
These are the stainless cap bolts that will join the fork legs to the headstock when it is all done, they will recess into those tube ends:
Luke.
Had to extend some curved tubes cut from old handle bars, so sleeved them with some smaller tube saved from the two chairs I cut up for "Mad Maxine"

Joined them to the stem to create the "Headstock' and started working on the fork leg joints:


Bottom joins where the pivot will be:

These are the stainless cap bolts that will join the fork legs to the headstock when it is all done, they will recess into those tube ends:

Luke.
Looking awesome!
Sweet
Looking awesome!
Thanks Guys!Sweet
The mirrored set of brake callipers turned up today too! 36 hours from when I bought them to when they arrived at my door, very happy!
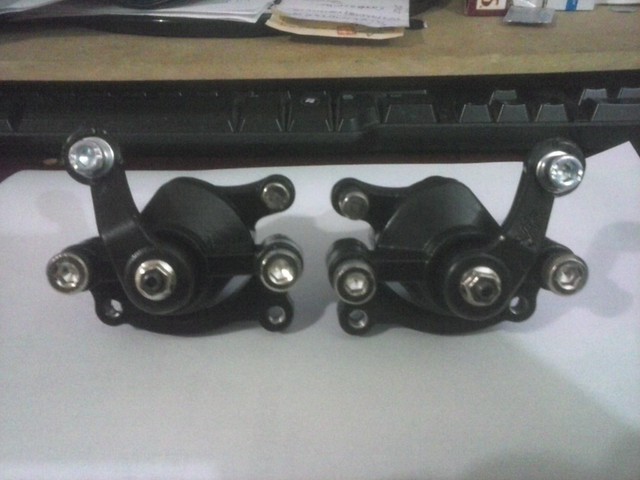
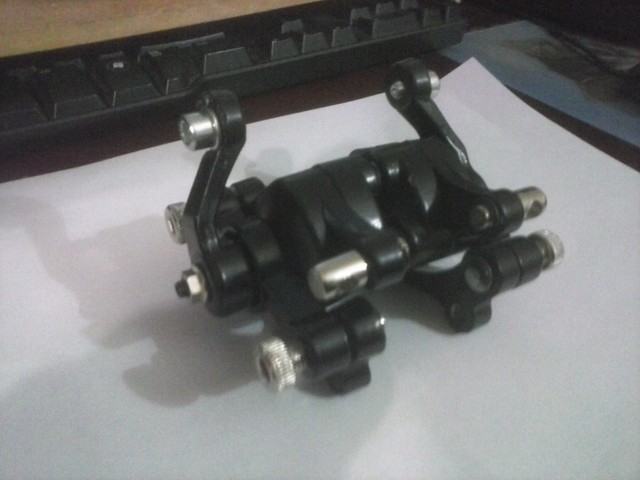
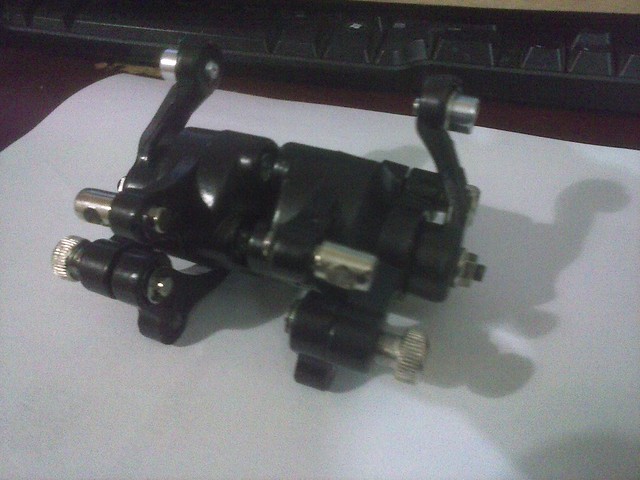
Luke.
The Renaissance Man
__CERTIFIED DIVER__ (Open Water & Open Dumpster)
Staff member
Moderator
Pro Member
The fork is coming together nicely so far. Looking forward to more!


