Thanks Bean!
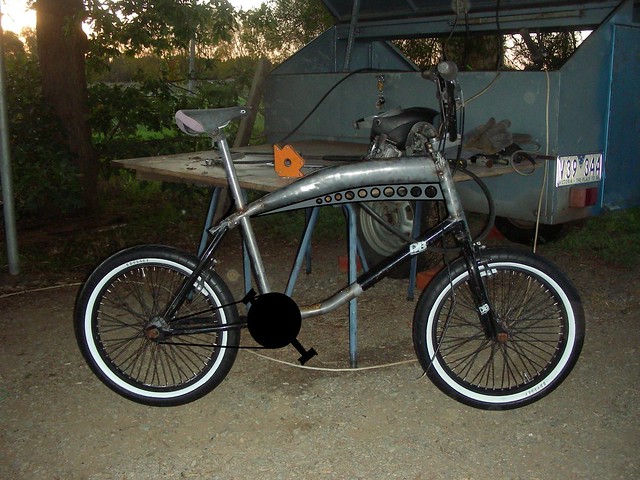
It is a slightly odd little bike, but I love the fact that someone my size can ride it comfortably and cruise around all day, and if they saw some dirt jumps, a pump track or a skate park the bike is ready for that too.
Amazingly even though the original BMX was a heavyweight, it does not seem so heavy now, I guess they are just heavy for their size and now that I have made it bigger it seems more appropriate...
Quoting my last post for the new page:
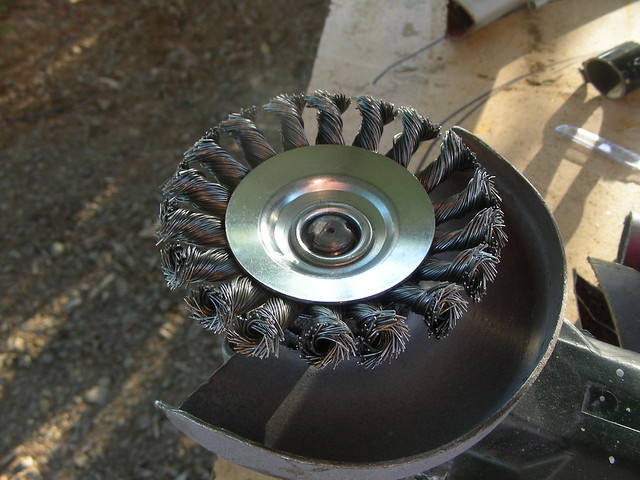
A two steps forward, one step back kind of day today, woke up coughing and spluttering with the flu again, so guess I didn't really get over it, so went back to bed. Woke up about 2pm in the afternoon and felt better, went for a drive to get some groceries and pick up a new wire brush wheel while I was out:
I decided last night that even though it would be difficult, and time consuming, and no one would ever see it, and a total waste of time because my welds are good anyway, to pull apart the top tube/tank and sleeve the joins, just to back up the "Bomb Proof" style I am going for.
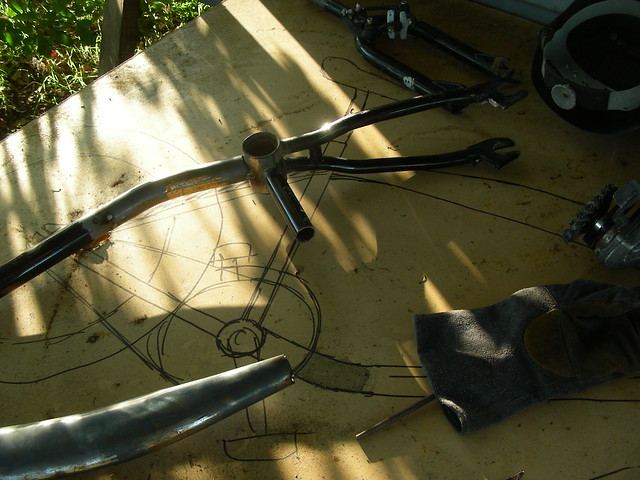
This is made difficult because of the curve in the tubing and also the tank join, but found some curved tubing that was a nice fit inside (coincidently from the same Huffy I took the other curved tube from) and cleaned it up and got it inside the joiner piece:
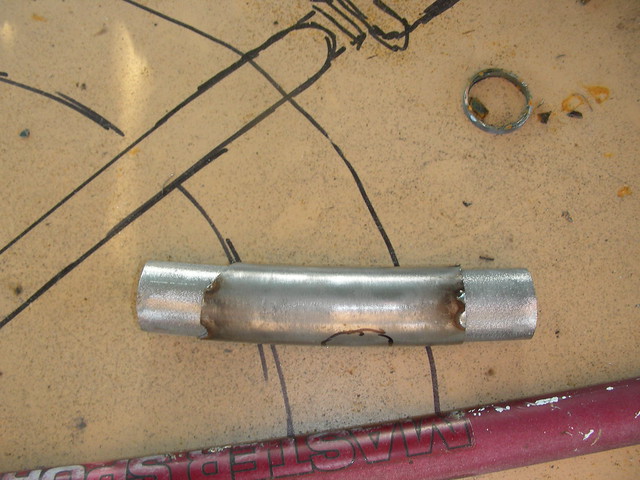
I had to do quite a bit of filing inside the tank to get it to slide in but got it there eventually:
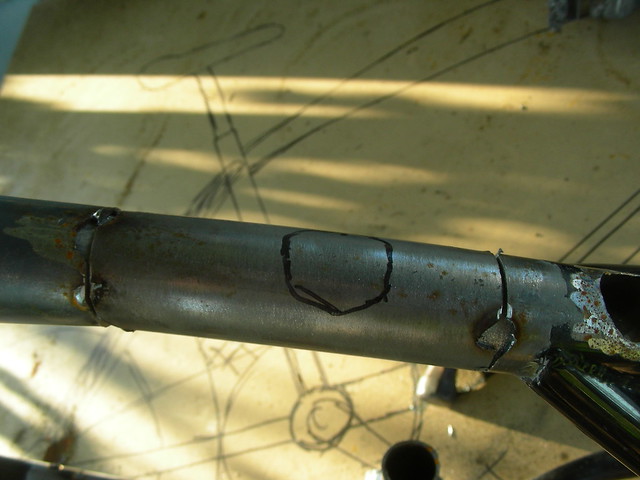
So tacked all that back up, much easier this time because the sleeve held everything in place!
Now of course because I sleeved the tube where the seat tube is going through I made the next bit harder too!
I have figured out that one thing that makes certain bikes look better than others is matching the headtube and seat-tube angles, so I got out my angle finder and a 1 meter rule (40") and set it to the headtube angle, then moved back to the BB and marked on the top tube where the seat post would come through the top tube, surprisingly very close to my guess, just slightly further forward, I really wish I had a hole saw for the next part because it took lots of cutting and filing to get it to where the new seat tube could slide through. I cut the seat-tube out of an old 10 speed road bike as it had the same inner and outer diameters as the original.
Slid it in, double checked the angles and tacked it in place:
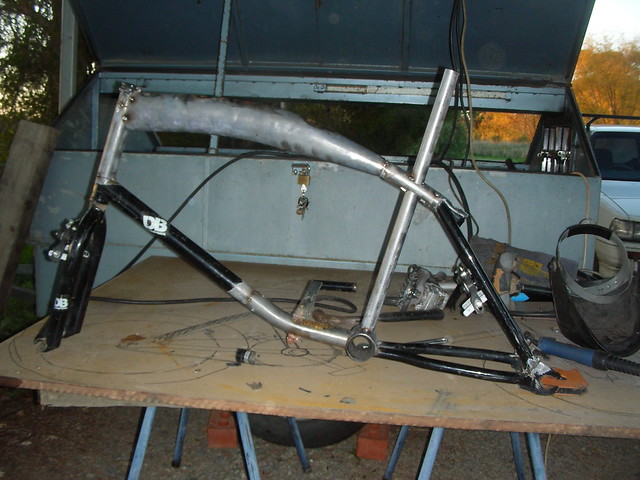
Starting to look like a complete frame again! I will cut the tube, drill and split it when I decide on a height.
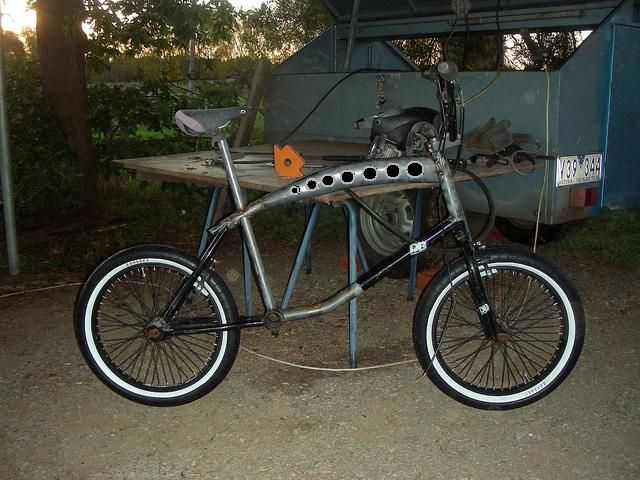
I had to mock it back up with a seat and bars:
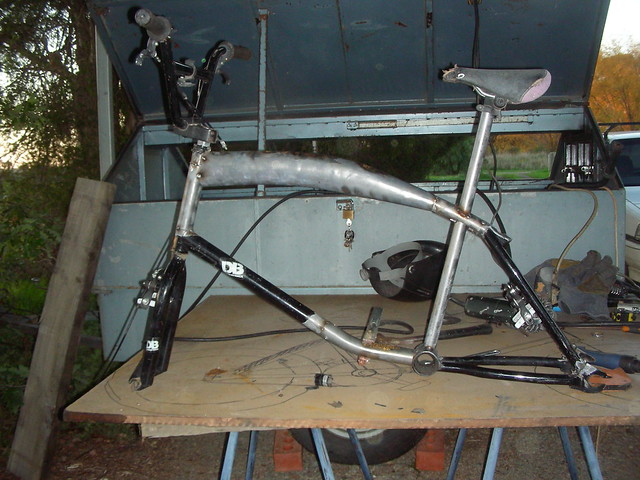
Looking good! Very happy!
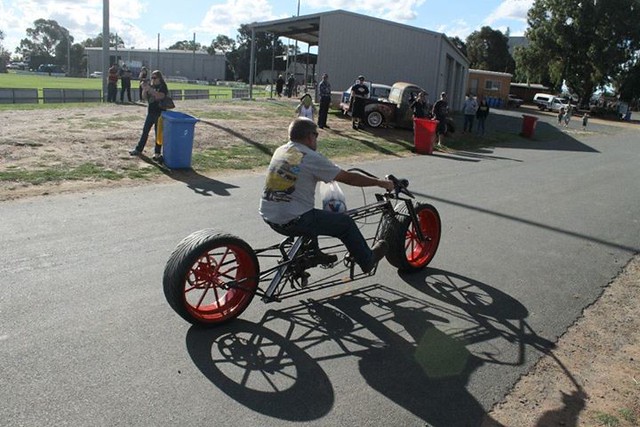
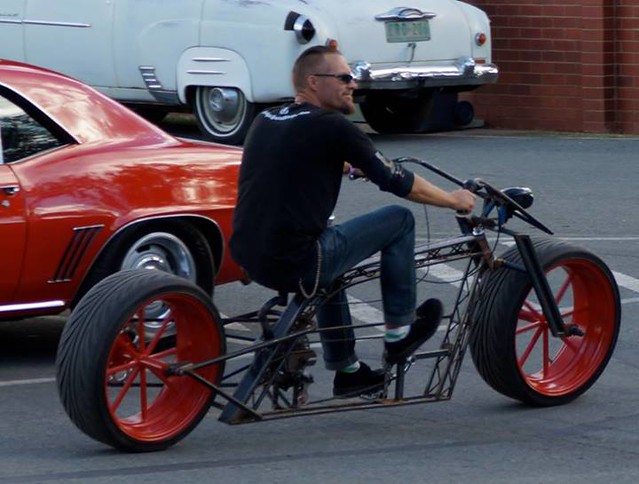
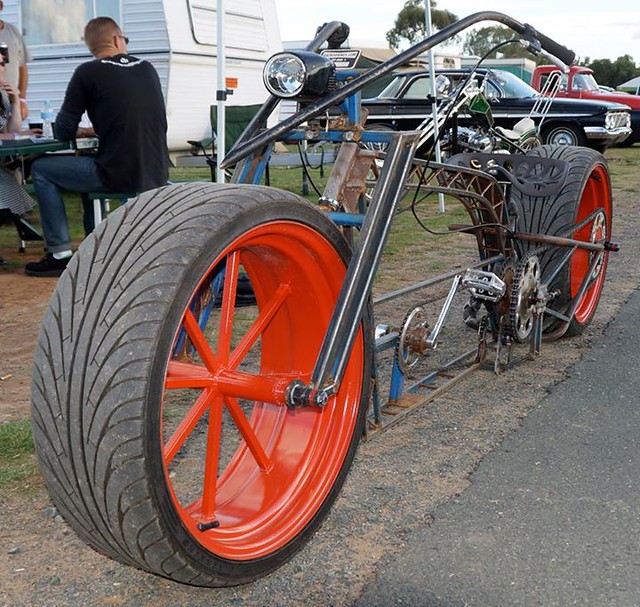
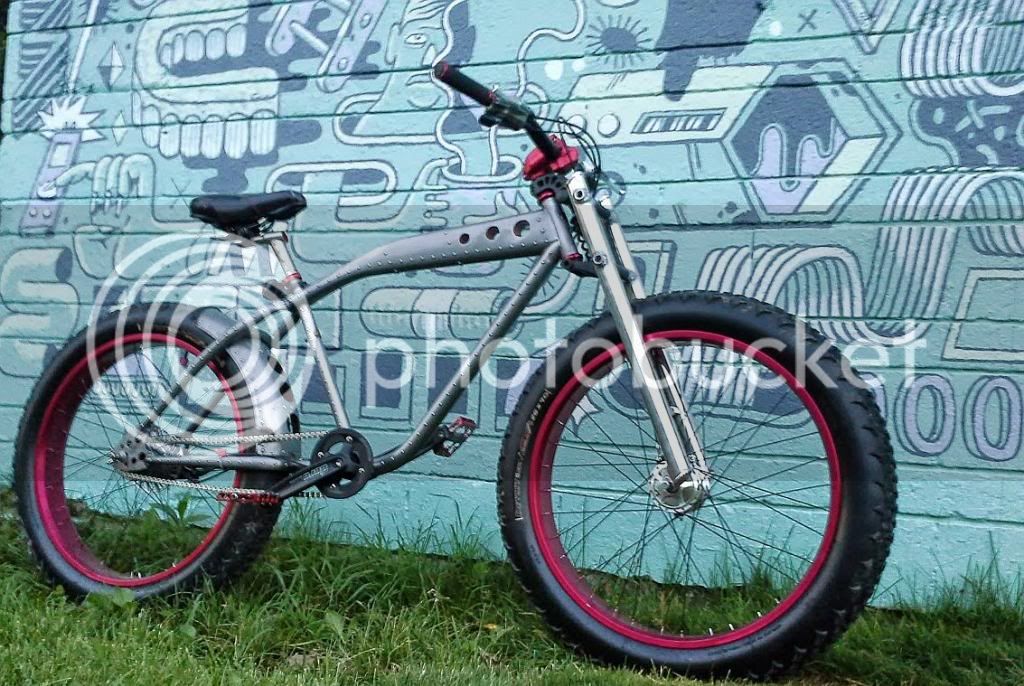
As you can see in the photos, by this time is was getting dark and time to pack up, but I really wanted to see what it would look like up on those wheels and tires that inspired the build!
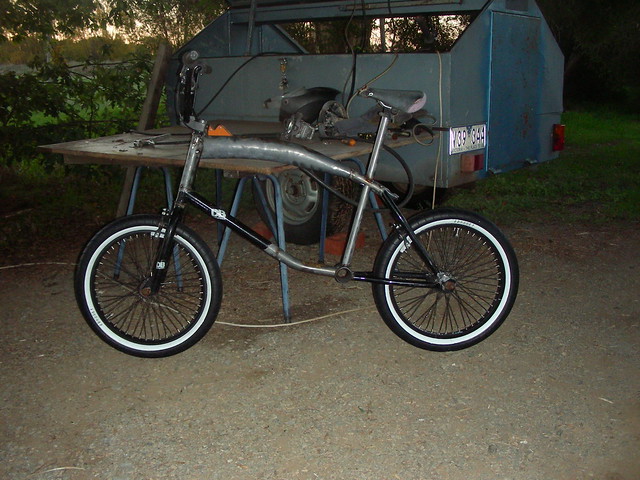
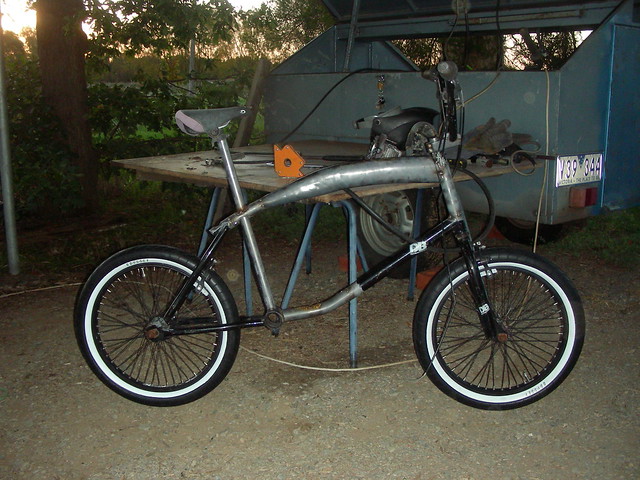
Luke.
It is a slightly odd little bike, but I love the fact that someone my size can ride it comfortably and cruise around all day, and if they saw some dirt jumps, a pump track or a skate park the bike is ready for that too.
Amazingly even though the original BMX was a heavyweight, it does not seem so heavy now, I guess they are just heavy for their size and now that I have made it bigger it seems more appropriate...
Quoting my last post for the new page:
A two steps forward, one step back kind of day today, woke up coughing and spluttering with the flu again, so guess I didn't really get over it, so went back to bed. Woke up about 2pm in the afternoon and felt better, went for a drive to get some groceries and pick up a new wire brush wheel while I was out:

I decided last night that even though it would be difficult, and time consuming, and no one would ever see it, and a total waste of time because my welds are good anyway, to pull apart the top tube/tank and sleeve the joins, just to back up the "Bomb Proof" style I am going for.

This is made difficult because of the curve in the tubing and also the tank join, but found some curved tubing that was a nice fit inside (coincidently from the same Huffy I took the other curved tube from) and cleaned it up and got it inside the joiner piece:

I had to do quite a bit of filing inside the tank to get it to slide in but got it there eventually:

So tacked all that back up, much easier this time because the sleeve held everything in place!
Now of course because I sleeved the tube where the seat tube is going through I made the next bit harder too!
I have figured out that one thing that makes certain bikes look better than others is matching the headtube and seat-tube angles, so I got out my angle finder and a 1 meter rule (40") and set it to the headtube angle, then moved back to the BB and marked on the top tube where the seat post would come through the top tube, surprisingly very close to my guess, just slightly further forward, I really wish I had a hole saw for the next part because it took lots of cutting and filing to get it to where the new seat tube could slide through. I cut the seat-tube out of an old 10 speed road bike as it had the same inner and outer diameters as the original.
Slid it in, double checked the angles and tacked it in place:

Starting to look like a complete frame again! I will cut the tube, drill and split it when I decide on a height.
I had to mock it back up with a seat and bars:

Looking good! Very happy!
As you can see in the photos, by this time is was getting dark and time to pack up, but I really wanted to see what it would look like up on those wheels and tires that inspired the build!


Luke.


