CWC-1 Updated 7/30/10 Build Finished!

Rat Rod Bikes Bicycle Forum

Help Support Rat Rod Bikes Bicycle Forum:

This site may earn a commission from merchant affiliate links, including eBay, Amazon, and others.
Re: CWC-1 Updated 6/1/10 AGAIN!

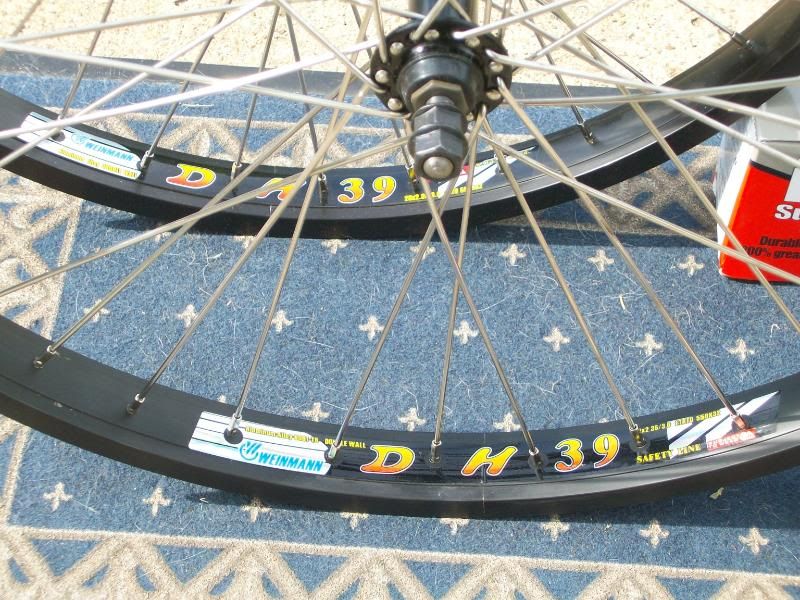
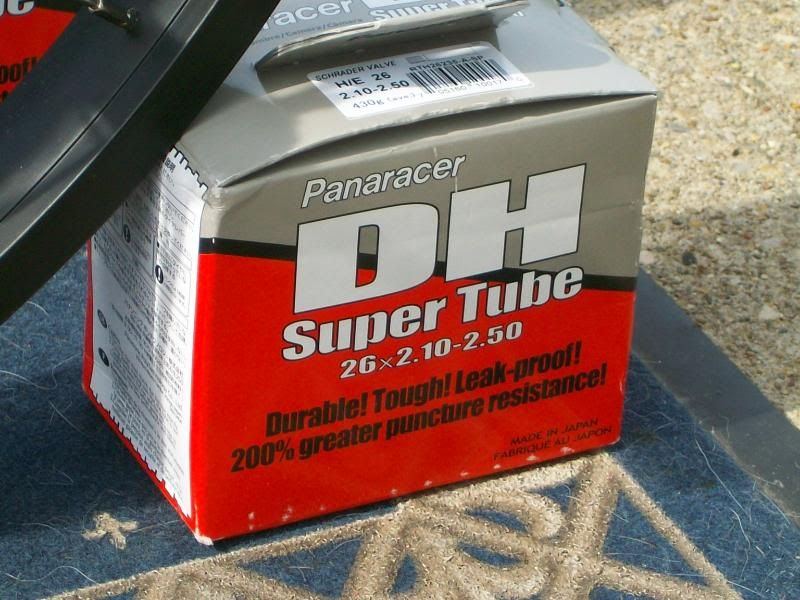
Guess what I got in the mail today!

B49.jpg


B50.jpg


B51.jpg
 
Re: CWC-1 Updated 6/1/10 AGAIN!

new grips? :p :lol: tank looks good! do they make that in 24"?
 
Re: CWC-1 Updated 6/3/10

I have Roadmaster decals that are gold with black outlines so I knew I couldn't paint the tank insert black because the outline of the lettering wouldn't show at all. So I figured if I painted the insert grey and the remainder of the tank black it would look too busy going from grey on the top bar to black and back to grey. So I stared at the tank for awhile and thought I'd try this. The gold accents match the lettering plus bring just a little bit of color to the bike. I mocked up one side of the tank real quick with a brush and bottle paint to get a feel for how it looks. But when I grabbed another 99 cent can of grey paint it was a different shade but I kind of like the 2 tone grey with black - I might stick with it. I'll mask the tank when I spray the gold and I'm afraid these old hands are pretty shakey so I'm going to look into pinstriping. Let me know what you guys think of the tank paint scheme - always looking for ideas but I kind of like it as is.

B52.jpg


B53.jpg


B54.jpg


B55.jpg
 
Re: CWC-1 Updated 6/9/10

great looking sprocket and crank set :!:

nice job Robert :wink: , can't wait to see it up right :!:
 
Re: CWC-1 Updated 6/11/10

The UPS guy brought me some goodies today! I've been trying to decide on a set of wheels for some time and then I came across these. First - the rims are black which fits with my scheme - Second - the rims are also 2.35 wide - Third - the spokes are 12 gauge stainless steel - Fourth - the hubs are black too and the rear is a Shimano! What's not to like and very affordable. My Fat Franks are gonna love these - ME TOO! I figured with new wheels and new tires I'd get me some super-duper tubes to go with them. Guess what I'm doing this weekend!

B59.jpg


B60.jpg


B61.jpg


B62.jpg


B63.jpg
 
Re: CWC-1 Updated 6/11/10

Oh man that looks good! Its got the Deco look I'm after on my build.
 
Re: CWC-1 Updated 6/11/10

The seat I am trying to recover is also is rusted with the same black paint like yours. Does the vinegar strip the paint of the pan?
 
Re: CWC-1 Updated 6/11/10

cactus said:
The seat I am trying to recover is also is rusted with the same black paint like yours. Does the vinegar strip the paint of the pan?


I don't claim it to be a paint remover but it did remove all the paint from every piece with this Messinger saddle. However, I did de-rust another seat once with the white vineger and it left some of the factory black paint on the flat frame surfaces. I guess all paint is not created equal.
 
Re: CWC-1 Updated 6/13/10

Well, as luck would have it the sprocket that came with my new wheels was 19 tooth - tough to make a skip tooth out of that one. Off I went Saturday to the LBS and no problem - he had a 20 tooth in stock. MARKED every other tooth and cut through half way from both sides with my smallest diameter cutting wheel on the Dremel tool and then used the same attachment to deburr. I took the camera outside and it was so humid the lense fogged up.

B64.jpg


B65.jpg


Painted her black and popped her on the wheel.

B68.jpg


B69.jpg


Putting the Fat Franks on these wheels made them a little wider so I spent quite awhile debugging new glitches. They have nice big axles that fit the frame and fender braces but I had to do a little contouring to get them into the lower springer strut. The sprocket on the rear hub doesn't kick the chain out as far so I have an issue with chain to tire contact. Rico told me of a place that sells sprockets for this situation. I used a Diamond reconditioned chain, changed the pedals from Torringtons to Persons because they have more chrome, swapped out the coke bottle grips for ones with reflectors, swapped sprocket and crankset with the rechromed ones, added the lightning bolt on the chain guard and threw on some bullet valve caps. It was a long, hot day but now that I'm working I'm tryin to get as much done as possible on the weekends. The journey continues.

B70.jpg


B71.jpg


B73.jpg


B74.jpg


B75.jpg


B76.jpg


B77.jpg


B80.jpg


B81.jpg


B82.jpg
 
Re: CWC-1 Updated 6/13/10

What a bike...! Man that thang is beautiful. Sorry the Georgian slang slipped.:lol: Keep it up looks good
 
Re: CWC-1 Updated 6/13/10

nickle yer right, that thang is simply gougeous! :p 8)
 
Re: CWC-1 Updated 6/13/10

when you make a bike quite as nice as that, you should do it justice and line up the tyre text before photoing the beauty :mrgreen:

as for dished sprockets.... many sturmey archer ones are, they seem cheap and available even in the colonies . . http://shop.ebay.com/i.html?_nkw=sturme ... m270.l1313

B70.jpg
 
Re: CWC-1 Updated 6/15/10

hubgearfreak said:
when you make a bike quite as nice as that, you should do it justice and line up the tyre text before photoing the beauty :mrgreen:

as for dished sprockets.... many sturmey archer ones are, they seem cheap and available even in the colonies . . http://shop.ebay.com/i.html?_nkw=sturme ... m270.l1313

B70.jpg

Hi! How are things on the other side of the pond? I was surprised that someone from England would be impressed by my build. I was hot & tired and was racing to take the pictures so I could finally call it a day. Configuring the tire markings never occured to me at that time but you can be sure I will think of it from now on. Thanks for the observation. Hope you find something more to your liking here today.

B83.jpg


B91.jpg
 
Re: CWC-1 Updated 6/13/10

Road Master said:
Well, as luck would have it the sprocket that came with my new wheels was 19 tooth - tough to make a skip tooth out of that one. Off I went Saturday to the LBS and no problem - he had a 20 tooth in stock. MARKED every other tooth and cut through half way from both sides with my smallest diameter cutting wheel on the Dremel tool and then used the same attachment to deburr. I took the camera outside and it was so humid the lense fogged up.

B64.jpg

I didn't know this would work, good news!, now I can use that skiptooth sprocket and chain I have! Hope you can easily remedy that chain line issue, can you put any spacers between the sprocket and the bearing cone?
 

Latest posts

Back
Top