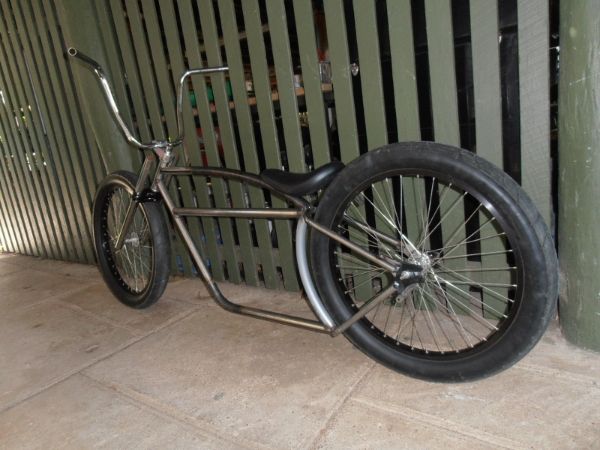
CYCOBILLY DELUXE - Drum Parts

Rat Rod Bikes Bicycle Forum

Help Support Rat Rod Bikes Bicycle Forum:

This site may earn a commission from merchant affiliate links, including eBay, Amazon, and others.
Re: CYCOBILLY DELUXE - Bendin' time...........

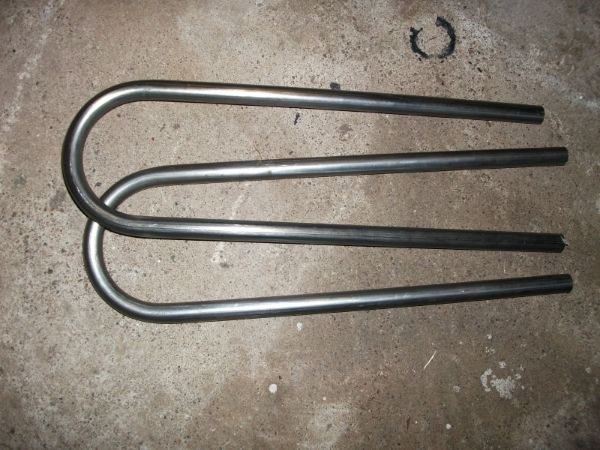
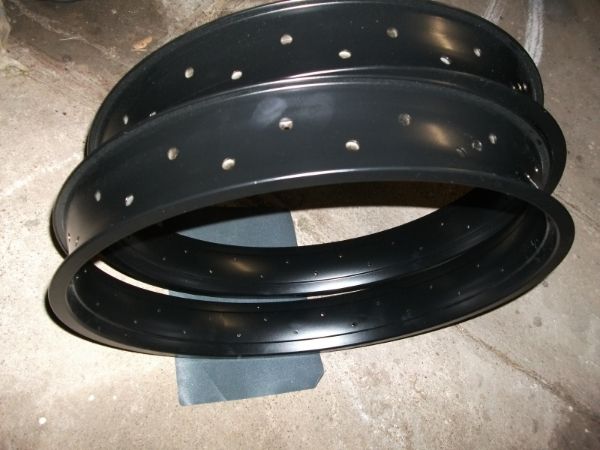
I took the 22mm tube to work today to bend the rear stays, but found out we didn't have any dies for 22mm :( . A couple of phone calls found me some 19mm, and I went and picked some up in my lunch break, and bent the rear stays after work. I forgot to take my camera, so no before, during and after pics. The powdercoater also phoned to tell me my rims were done :D

75c26824-f3d7-4cf6-8188-3767da3e3a36.jpg


47ab0a61-dc3c-4e9b-8639-868affb0cac3.jpg
 
Re: CYCOBILLY DELUXE - Bendin' time........

i love how there is so much thoughts into your build that there is almost nothing left of the original frame at the end :mrgreen:
 
Re: CYCOBILLY DELUXE - Bendin' time........

Yep.........there's nothing left from the original on this one..................startin' from scratch. I have put a lot of thought into this frame though............about 10 minutes :lol: . I'm pretty much just making it up as I go................if you hadn't already guessed!!
 
Re: CYCOBILLY DELUXE - Dropouts........

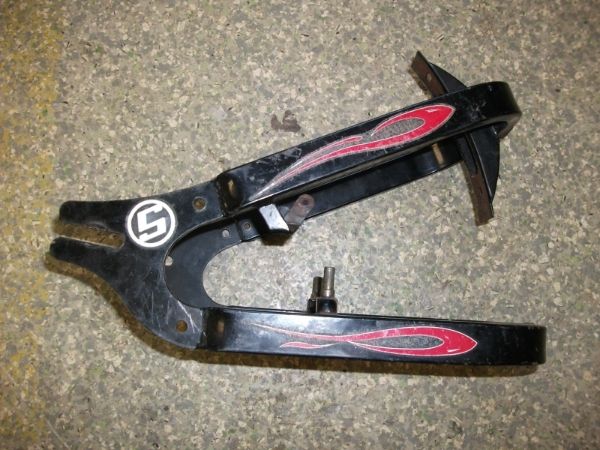
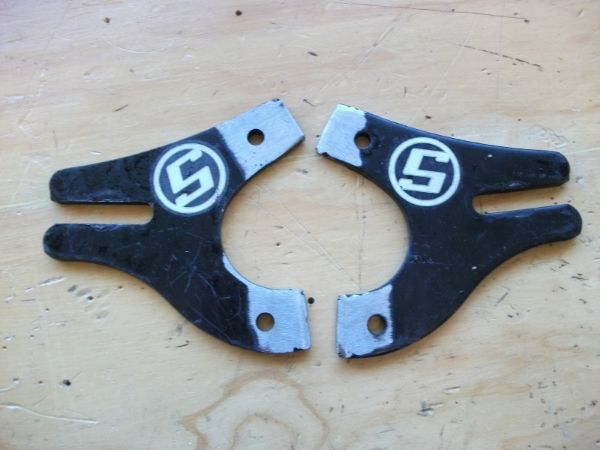
I knew I kept a few cut up bits of OCC Stingrays in my shed for a reason. The dropouts will work well.........no point in making new ones when I can use these. They'll just need a slight trim to shape when I weld the rear triangle together :D

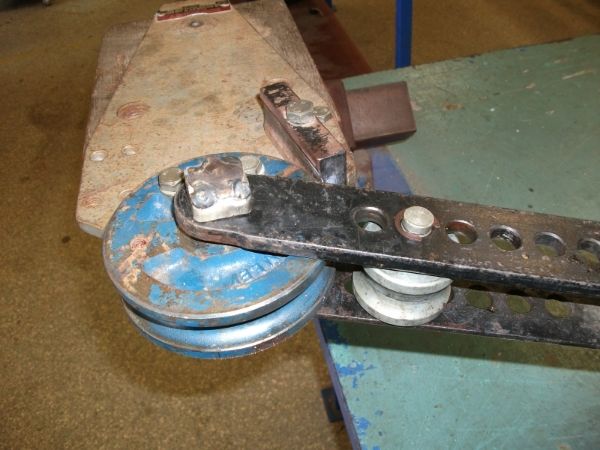
Also took a pic of the bender I used for the stays. It's an old New Zealand made Bramley bender. Doesn't look much, but works a treat.

I'm going to get some sand tomorrow to start bending the frame tubes. Hopefully I can get some more bending done this weekend.

dff22439-6a03-455c-a633-a36d6f1fde2c.jpg


35df0393-7fcd-4aaf-979c-f62606d7c03d.jpg


3abefdc0-2456-49a5-95b0-4f4dd8ba94b9.jpg
 
Re: CYCOBILLY DELUXE - "Old School" packed sand pipe bending

I got nearly all my bending done today....will probably have to do one small bend in the middle tube I will add.
Before I was a shop teacher, I was a Coppersmith in the railway workshops for 12 years. A large part of our job was pipe bending, and I have bent everything from 1/16" copper tube up to 6" steel pipe using a variety of methods. I have a friend with a mandrel bender, but chose to use the packed sand method for this frame. Maybe I'm crazy :shock: , but I prefer to use hand tools and basic equipment when I build bikes, even though I have access to some high tech workshop toys.

I'll do a basic step by step on how I bent the tube. It's 31.9mm ERW tube with a 1.6mm wall thickness.

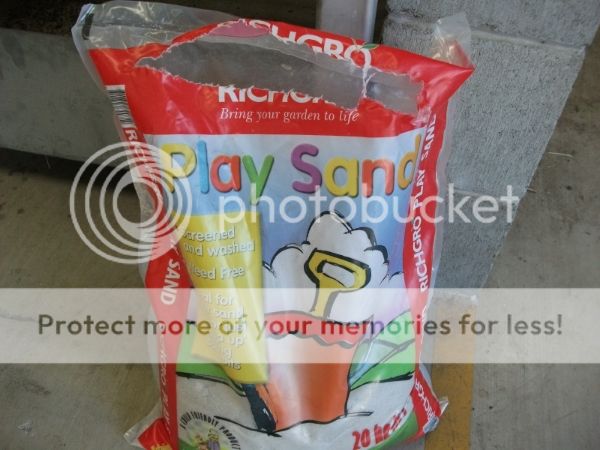
I like to use the sand you can buy for kid's sandpits because it's clean, has no other materials in it, and is very fine, so it packs really well. The only problem with it, is that it is usually wet, and it has to be dried out before you can use it. If wet sand is heated it will create steam, and if steam is created in a sealed vessel the pressure has to move somewhere......think pipe bomb :shock: , so if anyone decides to use this method, please make sure your sand is dry.

0f923535-3e52-48c9-88ab-e0af8568f00c.jpg


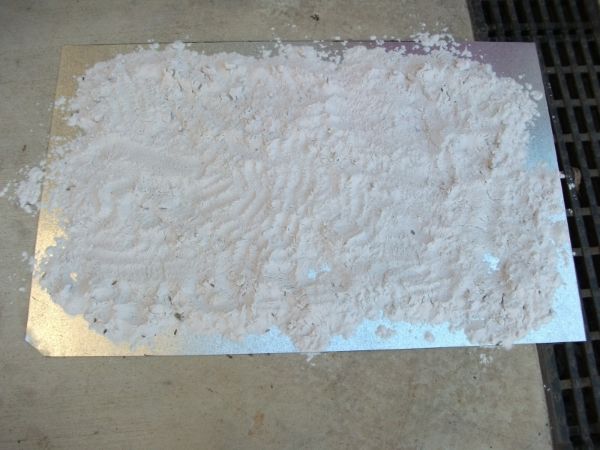
I usually spread it out on a sheet of metal and leave in the sun for a few hours
39271f18-f8e5-4884-bbfe-6e1f908dfd9b.jpg


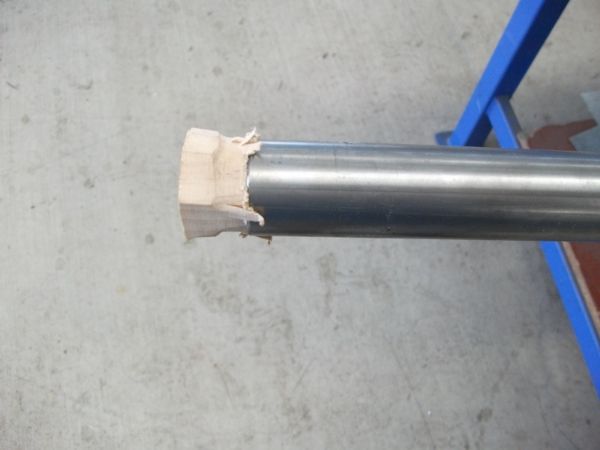
Make a wooden plug and tap it in to seal off one end, or weld a blank onto the end of your tube
1fa9c0ce-5c75-4011-8690-8c629073beaa.jpg


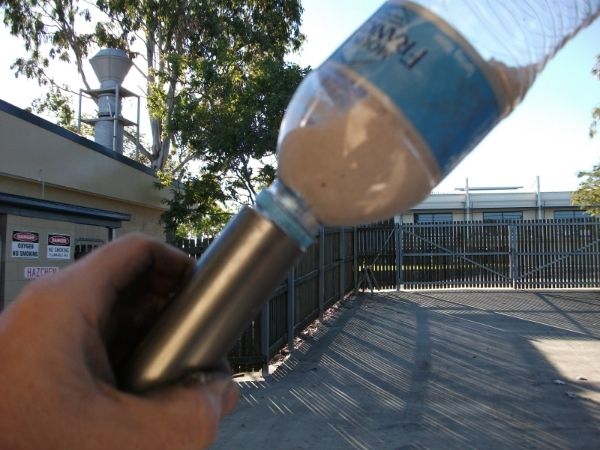
Fill the tube with sand. I usually make a funnel from a plastic water bottle
a56555a3-b577-4b2f-9b7c-5dc5f720f9ca.jpg


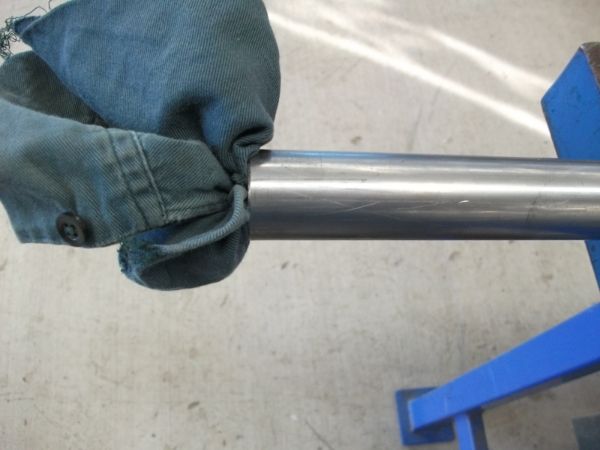
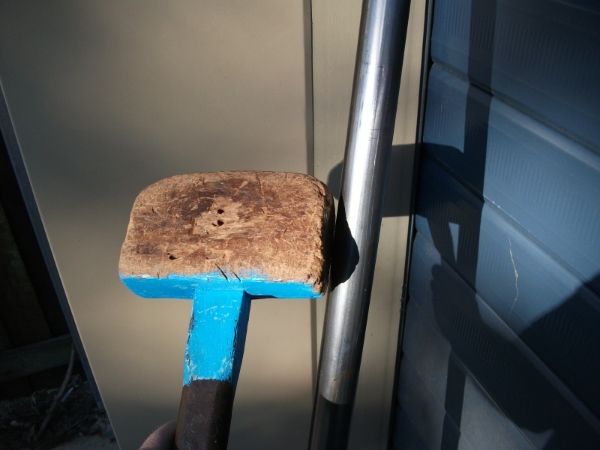
Tap the tube from bottom to top with a mallet to assist the sand to pack, refill and keep repeating until the level of sand does not drop. When the level will not drop, the sand is packed as tight as it can be. Flick a bit out of the end, so you have about 3" of empty tube, and jam a piece of rag into the tube with a screwdriver or something similar.
fbd6a7d0-e64c-4385-8d9e-58feb32a75de.jpg


b949a81f-4e51-4cb9-9677-dd4264b02e88.jpg


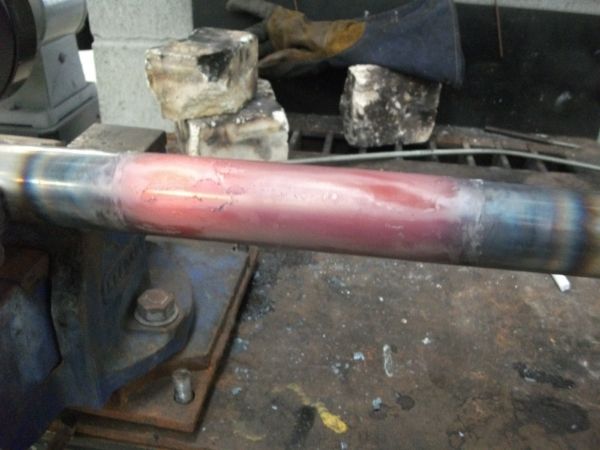
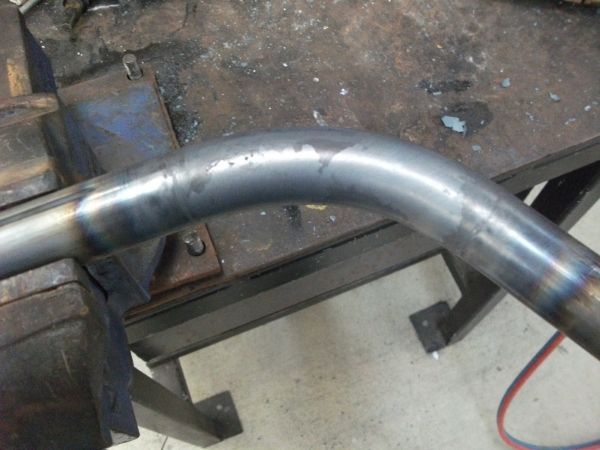
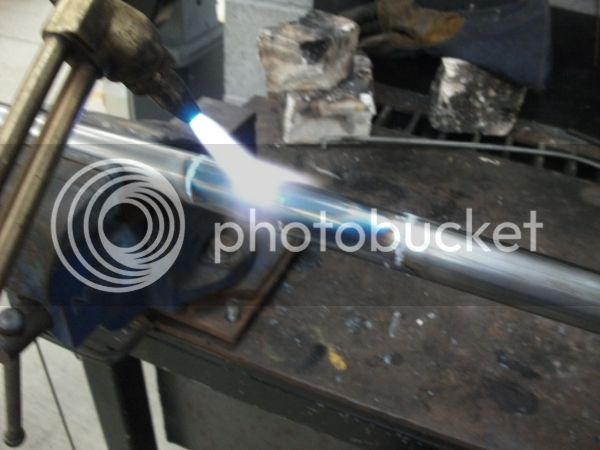
When bending with this method, a rule of thumb for the length of bend is approx 4 x tube diameter for a 90degree bend. Even though this bend is less than 90degrees, I still made the length of the bend 120mm (which is approx 4 x diameter). Clamp in a vise and support the other end, otherwise it will droop when it is heated. You will need a big tip for your oxy acetylene torch to heat successfully. I used a cutting torch for this bend, but a dedicated heating tip would have been better. When you have heated the tube to a nice even red, the entire length of the bend marks, it is time to start bending. It is much easier if two people are doing this job (one to heat and the other to bend), but I was working by myself today, which is why the pics are not so great, as I was holding the camera with one hand. I had bent a piece of 1/4" rod to my CAD image :lol: , and used it as a template.
9bfafb53-c95e-4ee5-9e60-9bb164b7fb5d.jpg


131921df-1bfa-4c11-9fea-50ec4dffa6a0.jpg


0023a412-1ff6-4247-8643-bd4eb4d2e590.jpg


There are plenty of variables when bending pipe or tube using this method, and I would suggest having a few practice goes first, and make sure you have a sacrificial piece to clamp in the vise. Also give yourself plenty to pull around when you bend......you can slide a cheater pipe over the end to give yourself more leverage as well.


Starting to lay out the frame to cut angles and mitres
7a068fc3-c365-40b8-b4aa-6443378bdbea.jpg


Rough mock up......still using the already bent piece of gym equipment for the seat tube
04e706dc-43e3-4688-abd6-d9f6f8c9b6a6.jpg
 
Re: CYCOBILLY DELUXE - "Old School" pipe bending......

Looks awesome so far :shock:
Thanks for the step by step bending " how to " ! :wink:
 
Re: CYCOBILLY DELUXE - Main frame cut and mitred

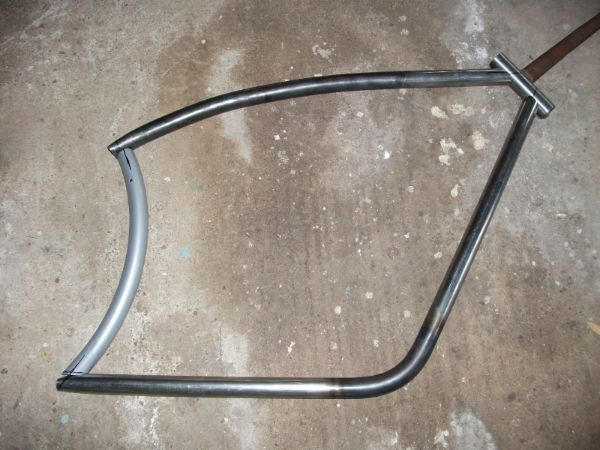
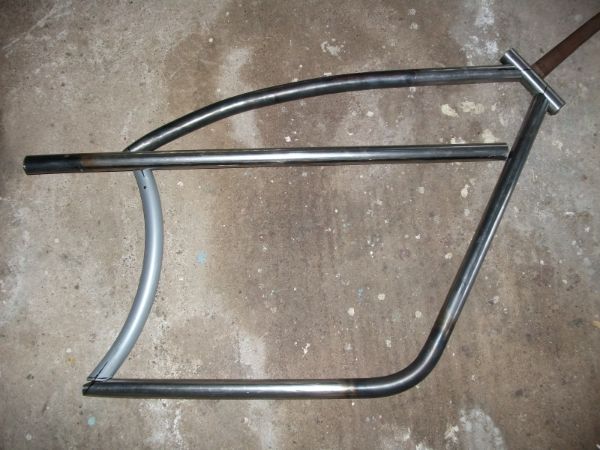
I got the front end of the frame cut and mitred ready for tacking. I went up to work earlier to tack it up, but the power was out :( ........lucky I only live 2 minutes away. I will be adding an extra tube as well to fill up the big space (see second pic). After I get it tacked, I will have to wait until I get my wheels built to finish off the rear end and mount the BB shell. I have a 2 week break coming up, and hope to get most of the work done then.

bd3692b4-8391-4e27-9c5d-5fad48c0531a.jpg


c956d74f-7a5b-46d9-b830-145338bbb406.jpg
 
Re: CYCOBILLY DELUXE - Tacked and Mocked!!

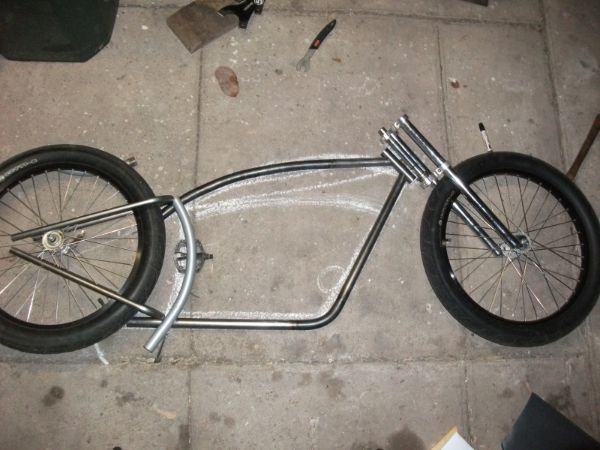
I got the front of the frame tacked up at lunchtime today and did a quick mockup when I got home. It will sit slightly higher (I think), so I may have to make some longer fork tubes. I won't really be able to tell until the wheels are finished and tires fitted to check the height.

I'm pretty happy with how it's coming together, and already planning my next frame in my head.

53a5c4b3-30b3-4c0f-a815-d90105740f93.jpg
 
Re: CYCOBILLY DELUXE - Tacked and Mocked!!

Fat and Low!
Nice work!
 
Re: CYCOBILLY DELUXE - Tacked and Mocked!!

bean said:
I got the front of the frame tacked up at lunchtime today and did a quick mockup when I got home. It will sit slightly higher (I think), so I may have to make some longer fork tubes. I won't really be able to tell until the wheels are finished and tires fitted to check the height.

I'm pretty happy with how it's coming together, and already planning my next frame in my head.

53a5c4b3-30b3-4c0f-a815-d90105740f93.jpg
That is bada$s! , the frame look like it sits level , i like the ultra low compact style
Nice job 8)
 
Re: CYCOBILLY DELUXE - Tacked and Mocked!!

THAT! is an awesome bike.
 
Re: CYCOBILLY DELUXE - I have a Roller..............

LukeTheJoker said:
Looking great Bean!

Luke.
Lowlife Lucas said:
Nice work!
Gold Street Customs said:
FANTASTIC !!!!very impressive.
ifitsfreeitsforme said:
THAT! is an awesome bike.
pick said:
VERY VERY KOOL! 8)

Thanks for the kind feedback guys :D

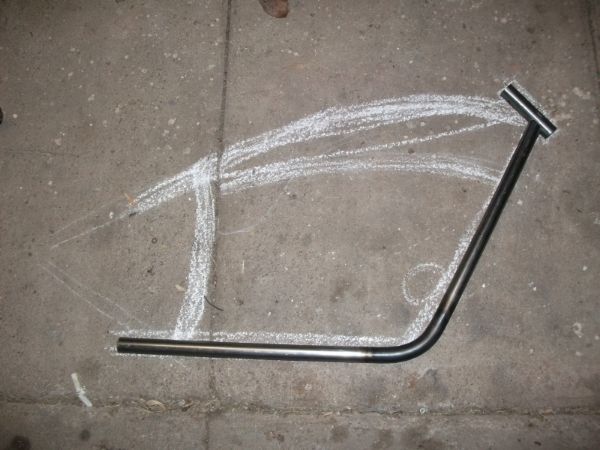
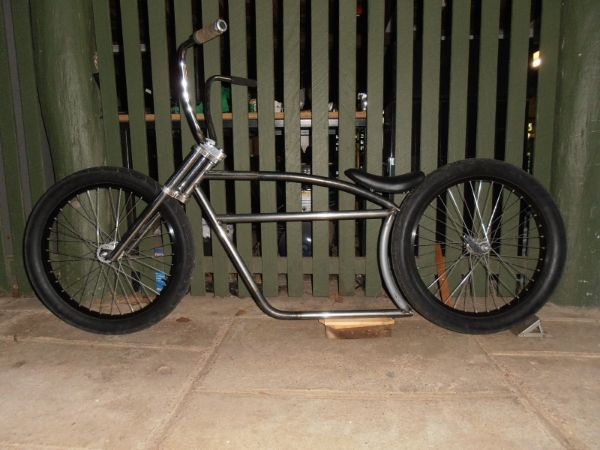
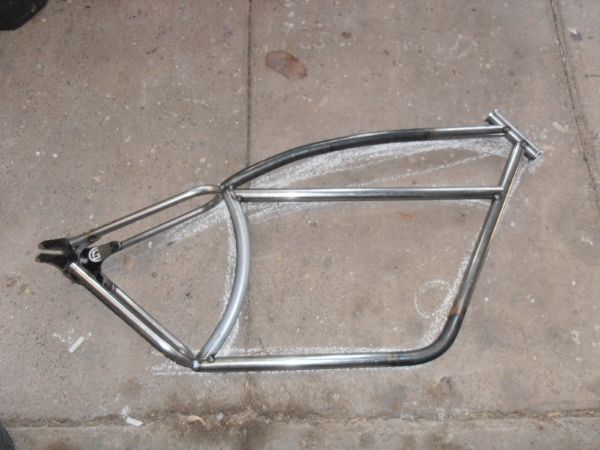
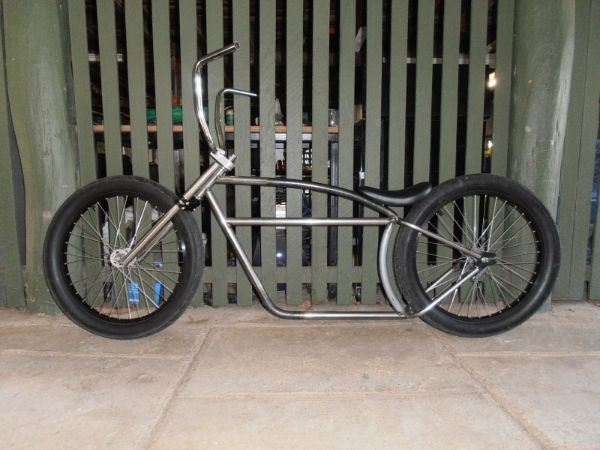
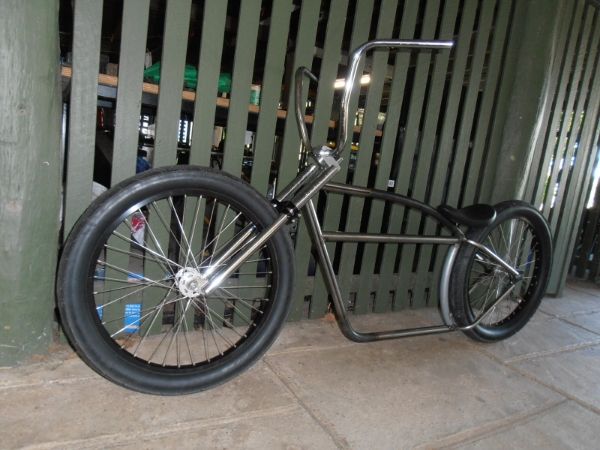
I finished off the rear triangle this morning and got it tacked together and onto the frame. I'm happy with it, but have learned lots so far about scratch building bike frames.........I won't be using a chalk sketch on concrete for the next one :oops:

I'm heading off for a few days at the beach, so no updates for a while. When we get back, my wheels should be built and I can weld the frame, fit the BB shell, and work out a seat mount............then try and decide on a color :? :? :?

b4bc6c4a-aa04-4412-b42a-c922c6f2e0bc.jpg


76361dc5-17e2-4c49-b345-54e3f056b08d.jpg


fff05749-6032-48e8-802a-4f05c0a7799d.jpg


4c38f179-1152-49d0-abbb-bfeac88bd59f.jpg
 
Back
Top