Death or Glory; the FC-40

Rat Rod Bikes Bicycle Forum

Help Support Rat Rod Bikes Bicycle Forum:

This site may earn a commission from merchant affiliate links, including eBay, Amazon, and others.
Joined
Jun 27, 2008
Messages
177
Reaction score
50
Location
San Francisco Bay Area
Rating - 0%
0   0   0
The inspiration:
TLC%20FJ-40%20Icon%20Front.jpg


TLC%20FJ-40%20Icon%20rear.jpg


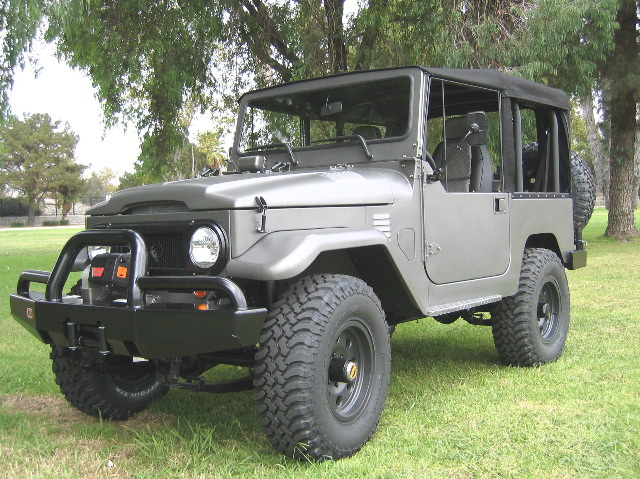
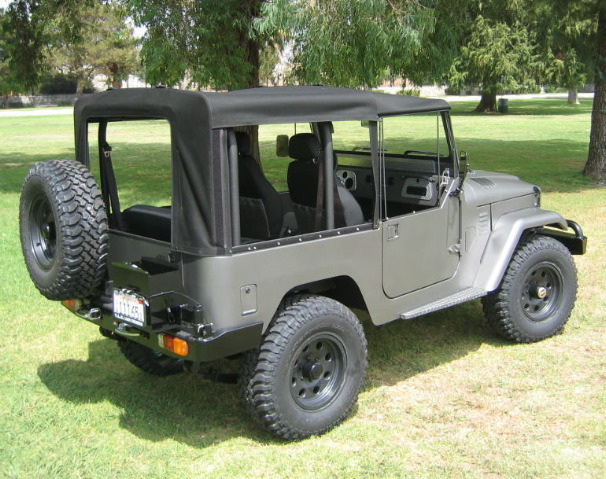
I am a huge fan of vintage 4x4s. Land Rovers, Jeeps, Dodge Power Wagons, IH Scouts, etc. One series of vehicles always comes to the forefront of my favorites: the FJ series Toyota Land Cruisers. To me there is no greater expression of utility and classic industrial design. They also have impressive specifications. The short wheelbase FJ-40 had a 3/4 ton cargo capacity and the rare FJ-45 long-bed pickup had a 1 ton capacity. There are all sorts of thoughtful design details on these rigs like foot well vents and a hinge-down grille for better access to the engine compartment for field repairs. Jonathan Ward, the owner of TLC in Southern CA, recognized what was special about these vehicles and began producing newly built, hand made versions with the additions of improved industrial components, powder-coat finishes and modern amenities. He described his build philosophy like this:

"Classic styling, modern performance, and timeless utility."

This phrase is the real inspiration for this project. I have a few tricks in mind to add utility to this cycle. It willhave some unique features when finished.

So lets get started.

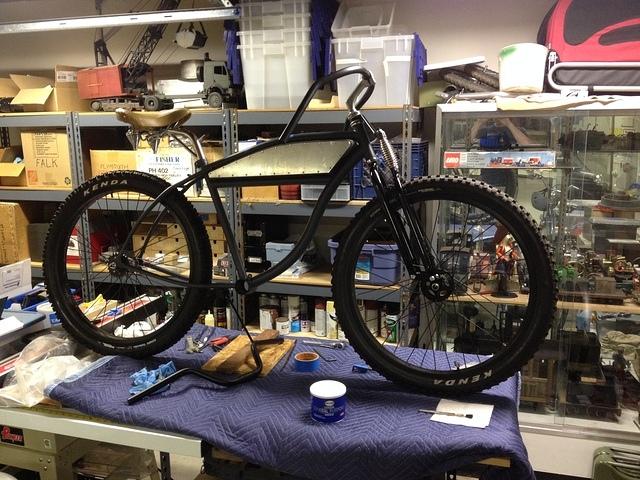
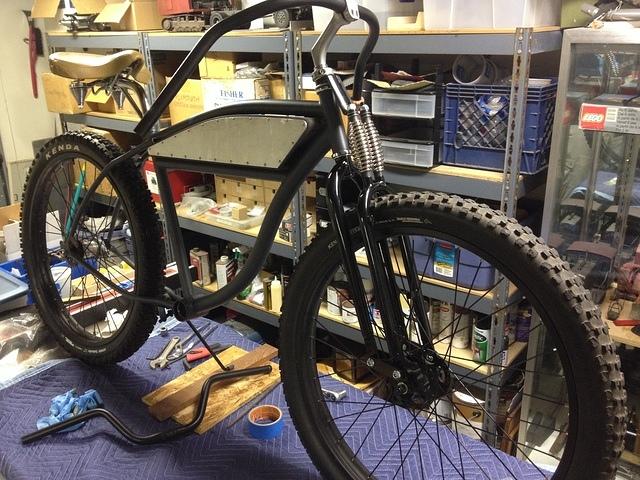
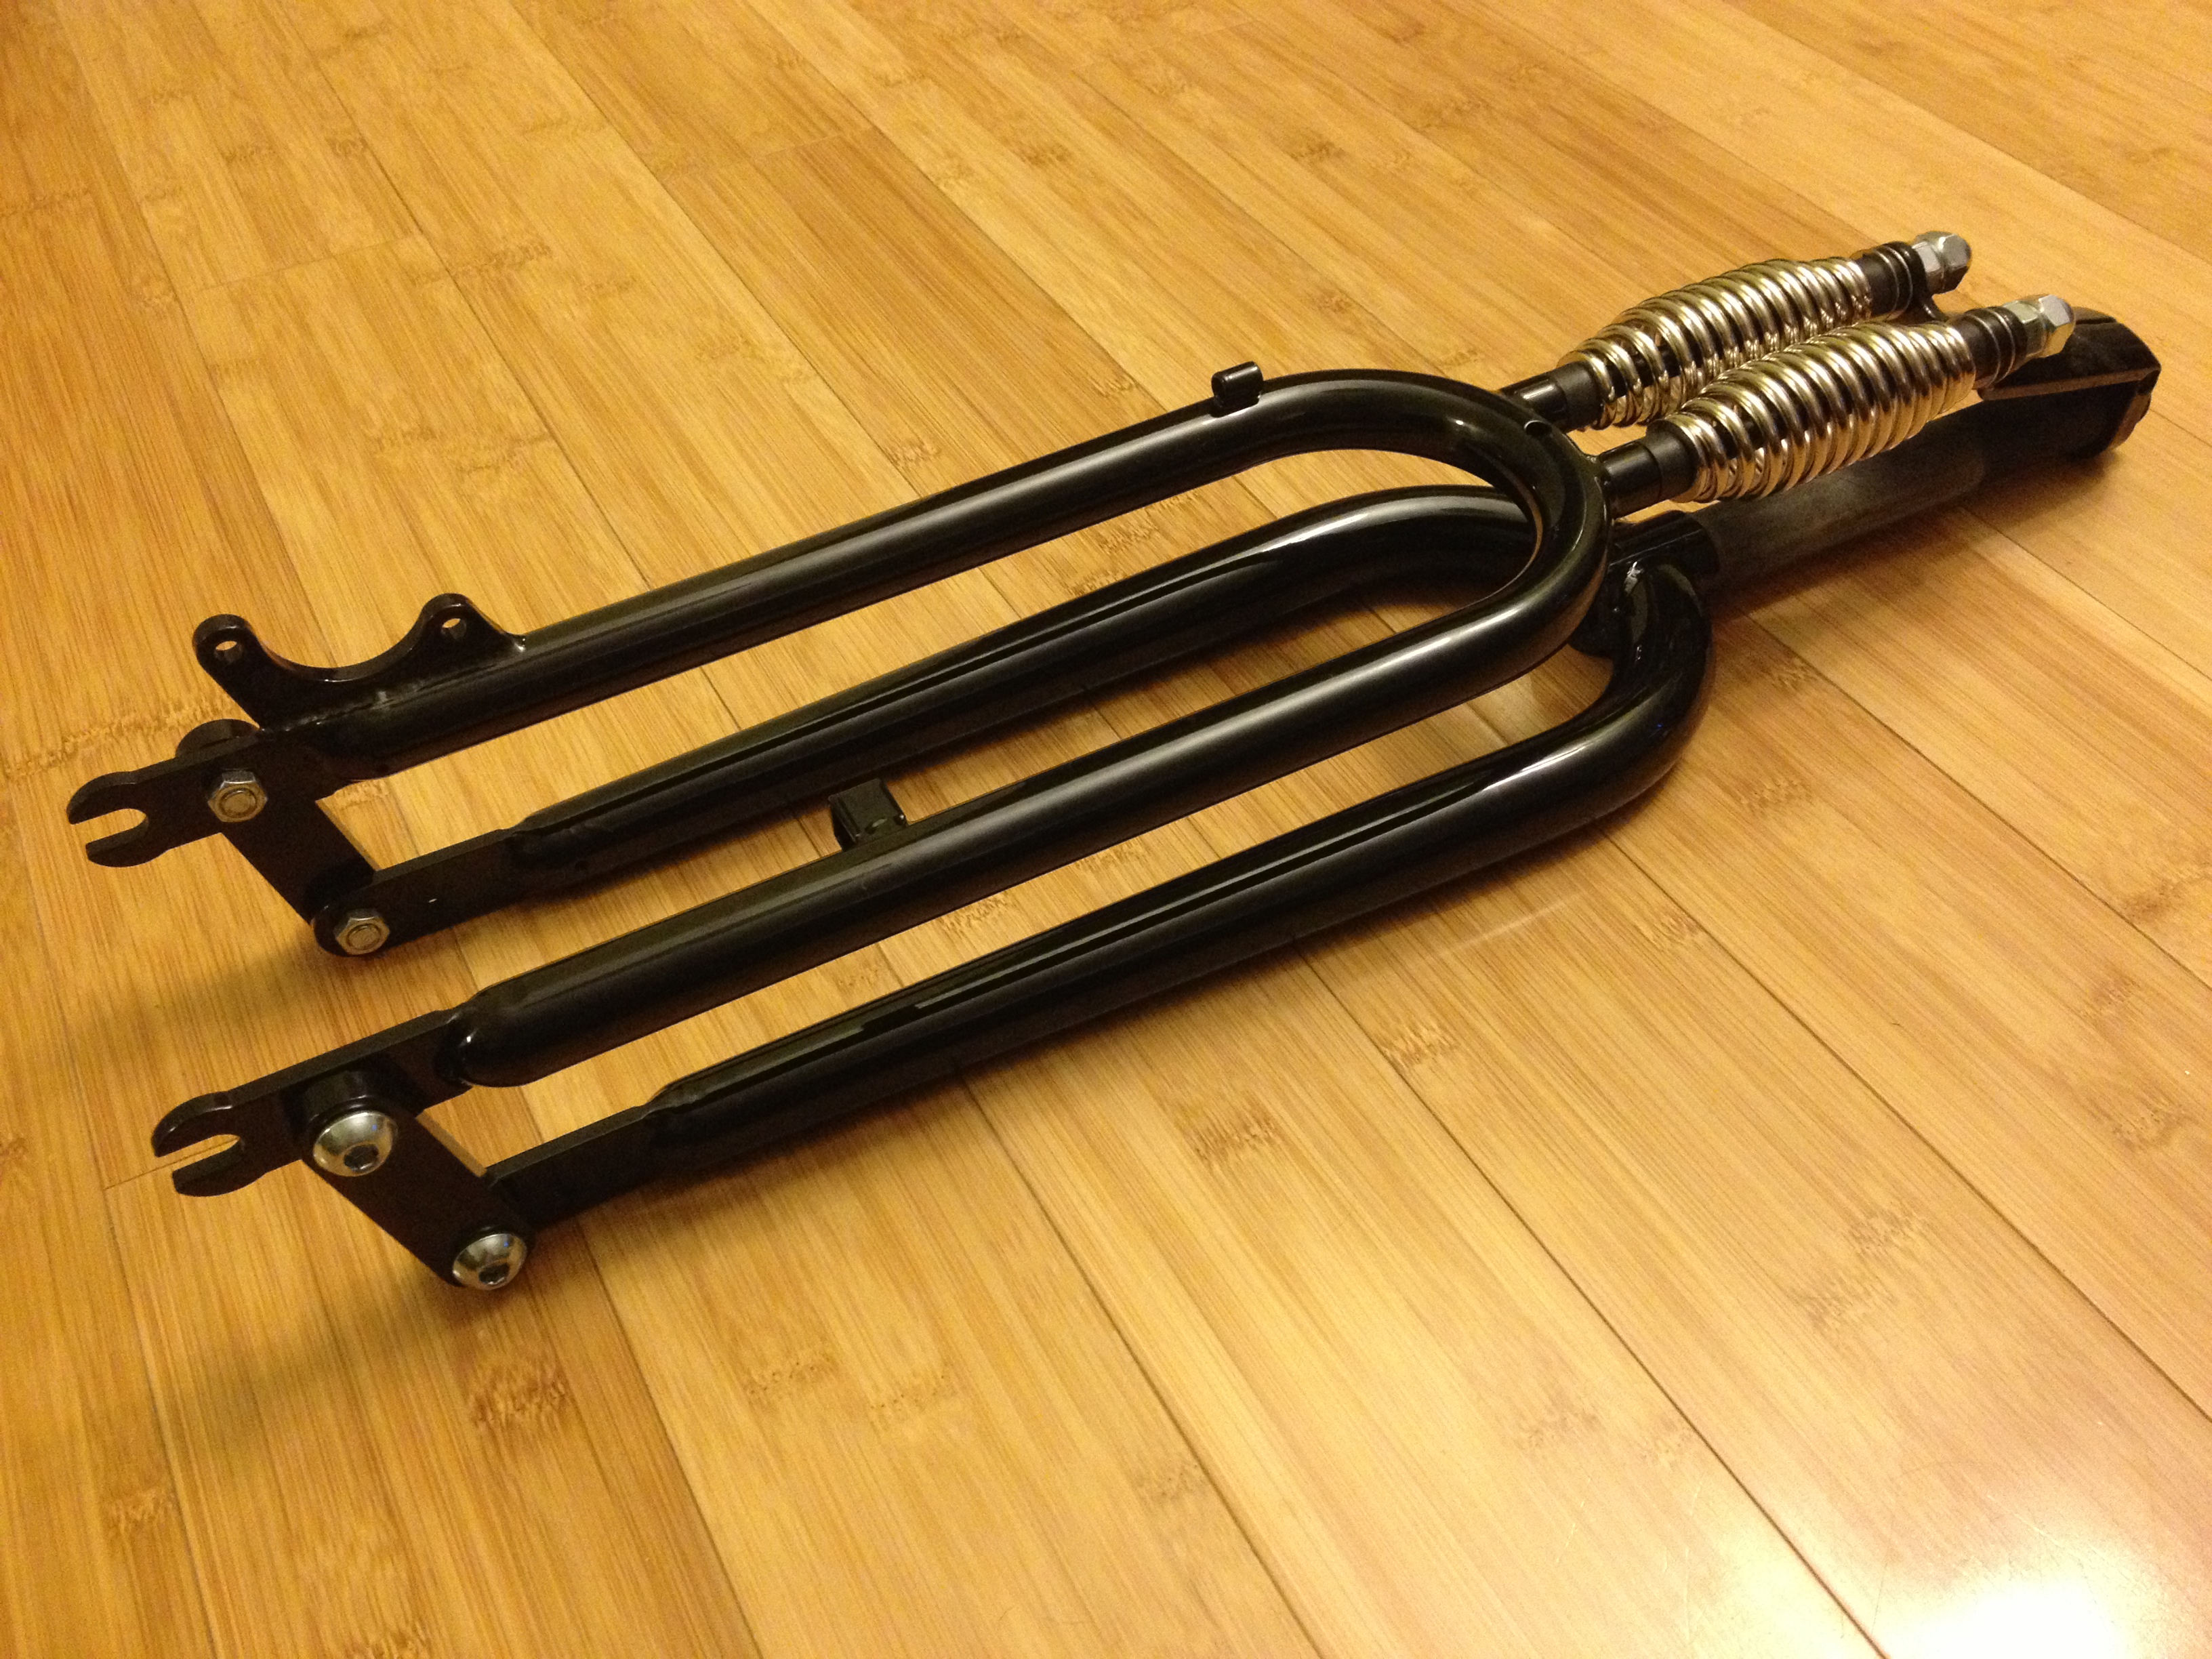
For the frame I wanted something rugged. My Casey Jones bike had a steel cantilever frame with large OD tubing.
IMG_0928.jpg


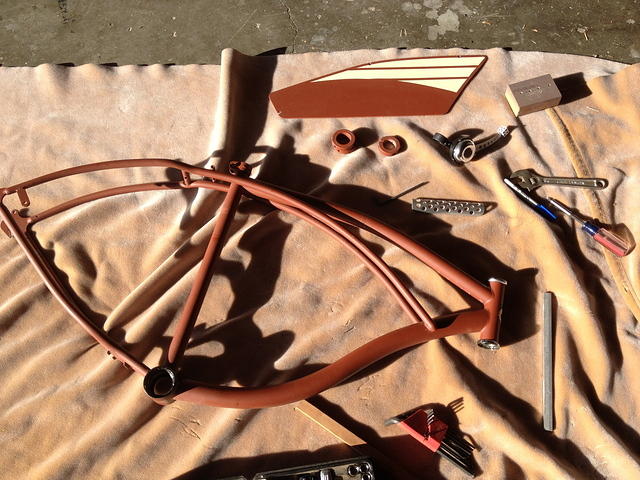
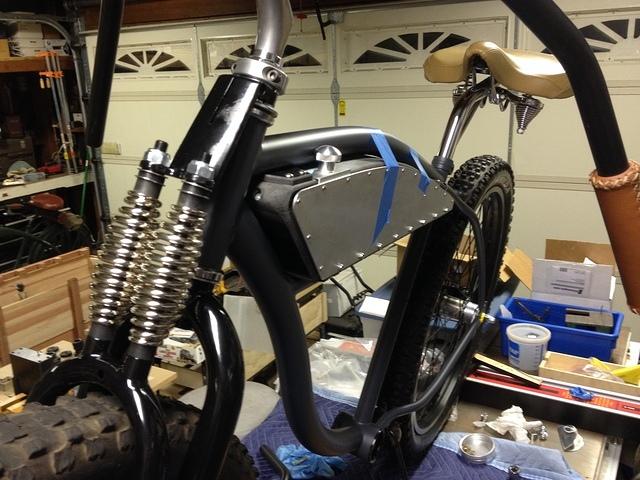
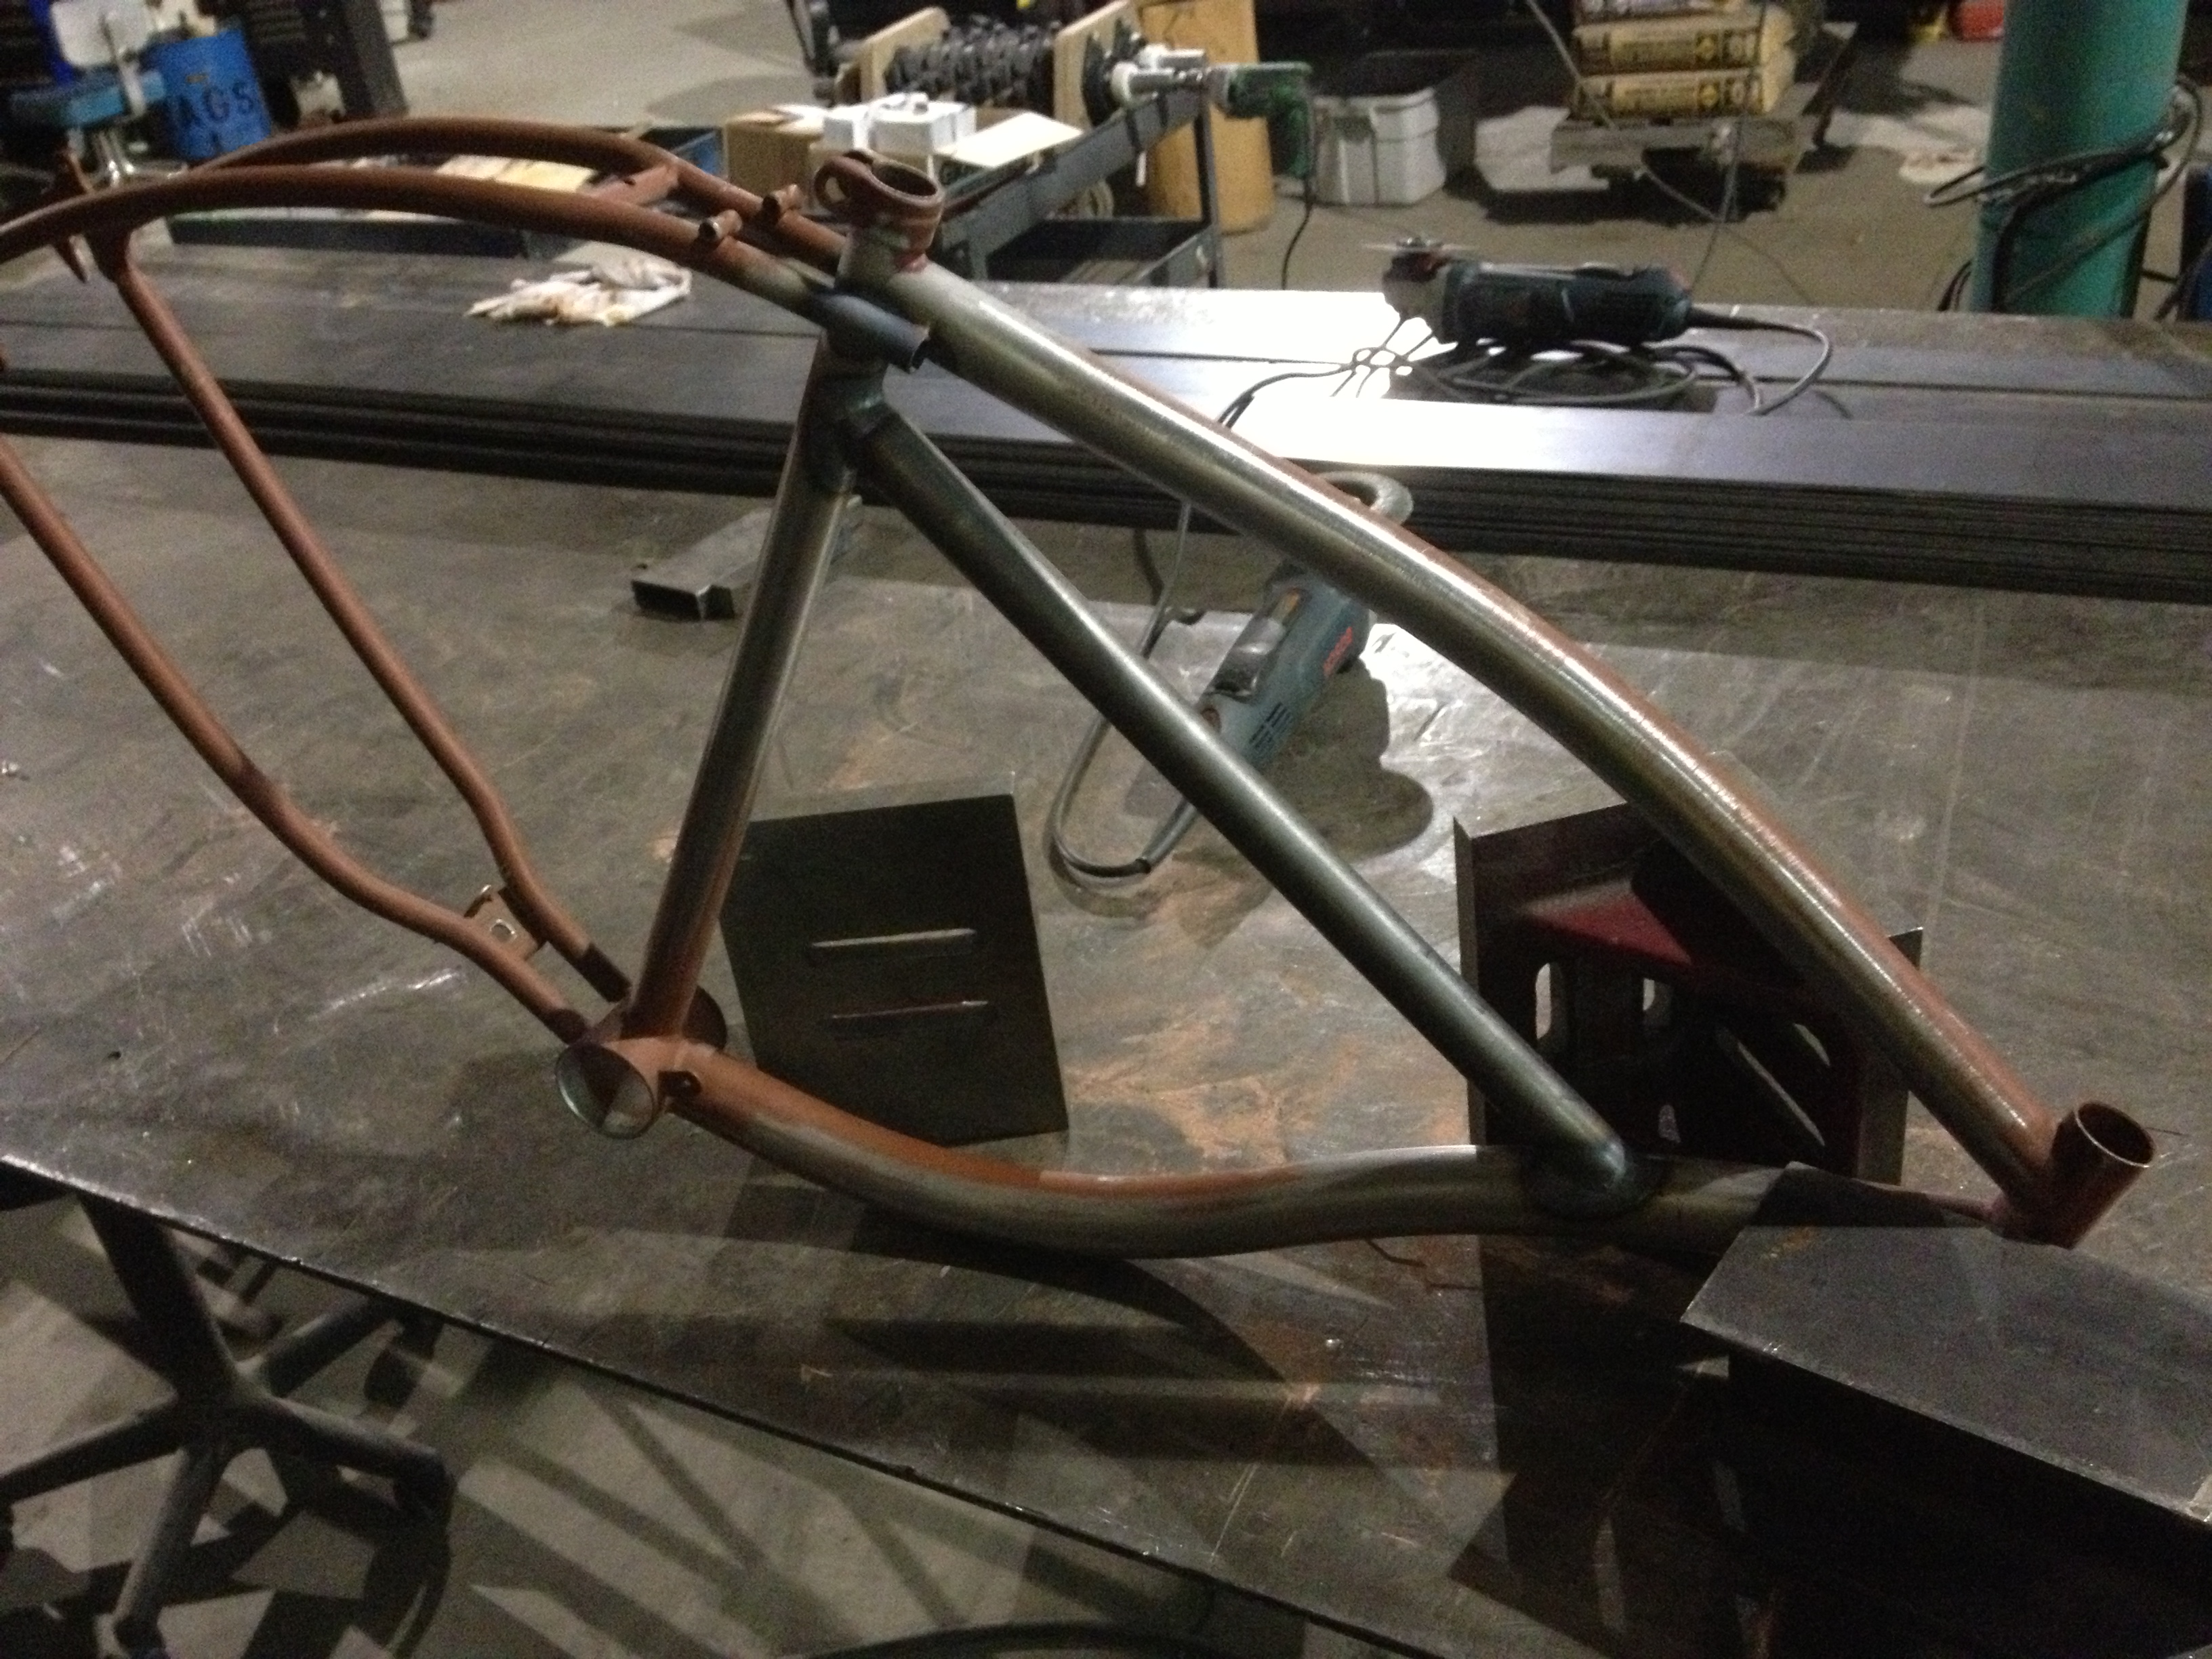
Unfortunately for me I wanted a straight bar frame so I could add a tank and give this build a more classic look. I decided to a straight bar conversion. I cut out the cantilever bars forward of the seat tube. I will be reinforcing the welds near the seat tube.
IMG_0932.JPG

Canti bars cut forward of seat tube.

IMG_0931.JPG

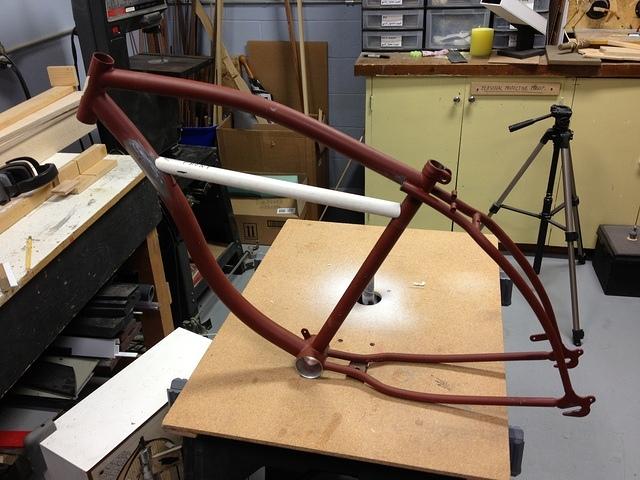
Straight bar mocked up with PVC pipe just to check the fit and look.

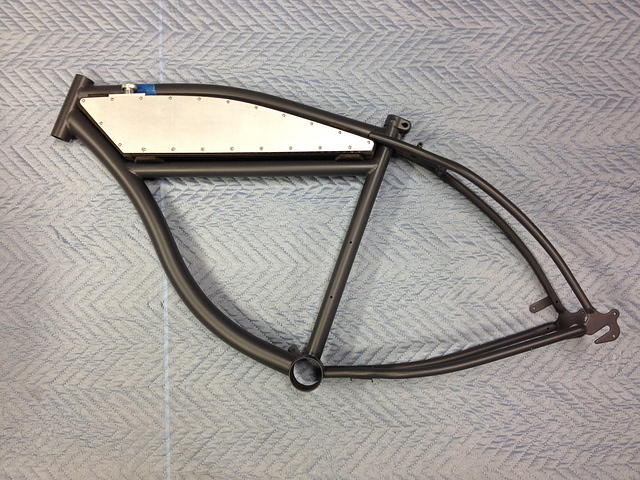
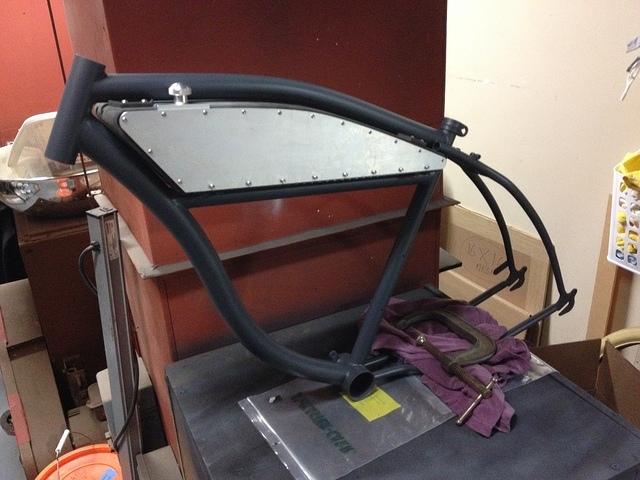
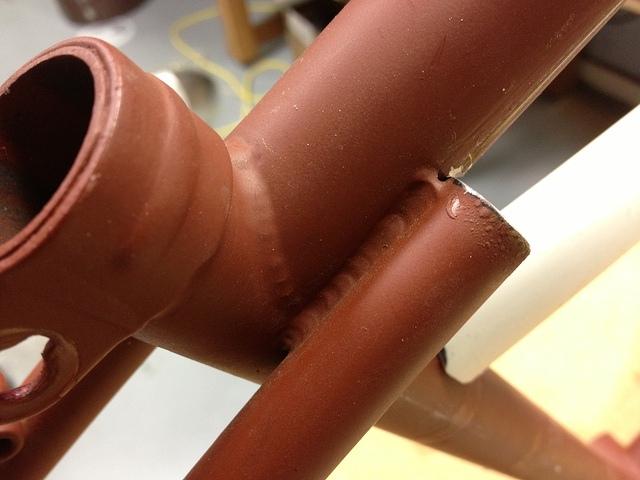
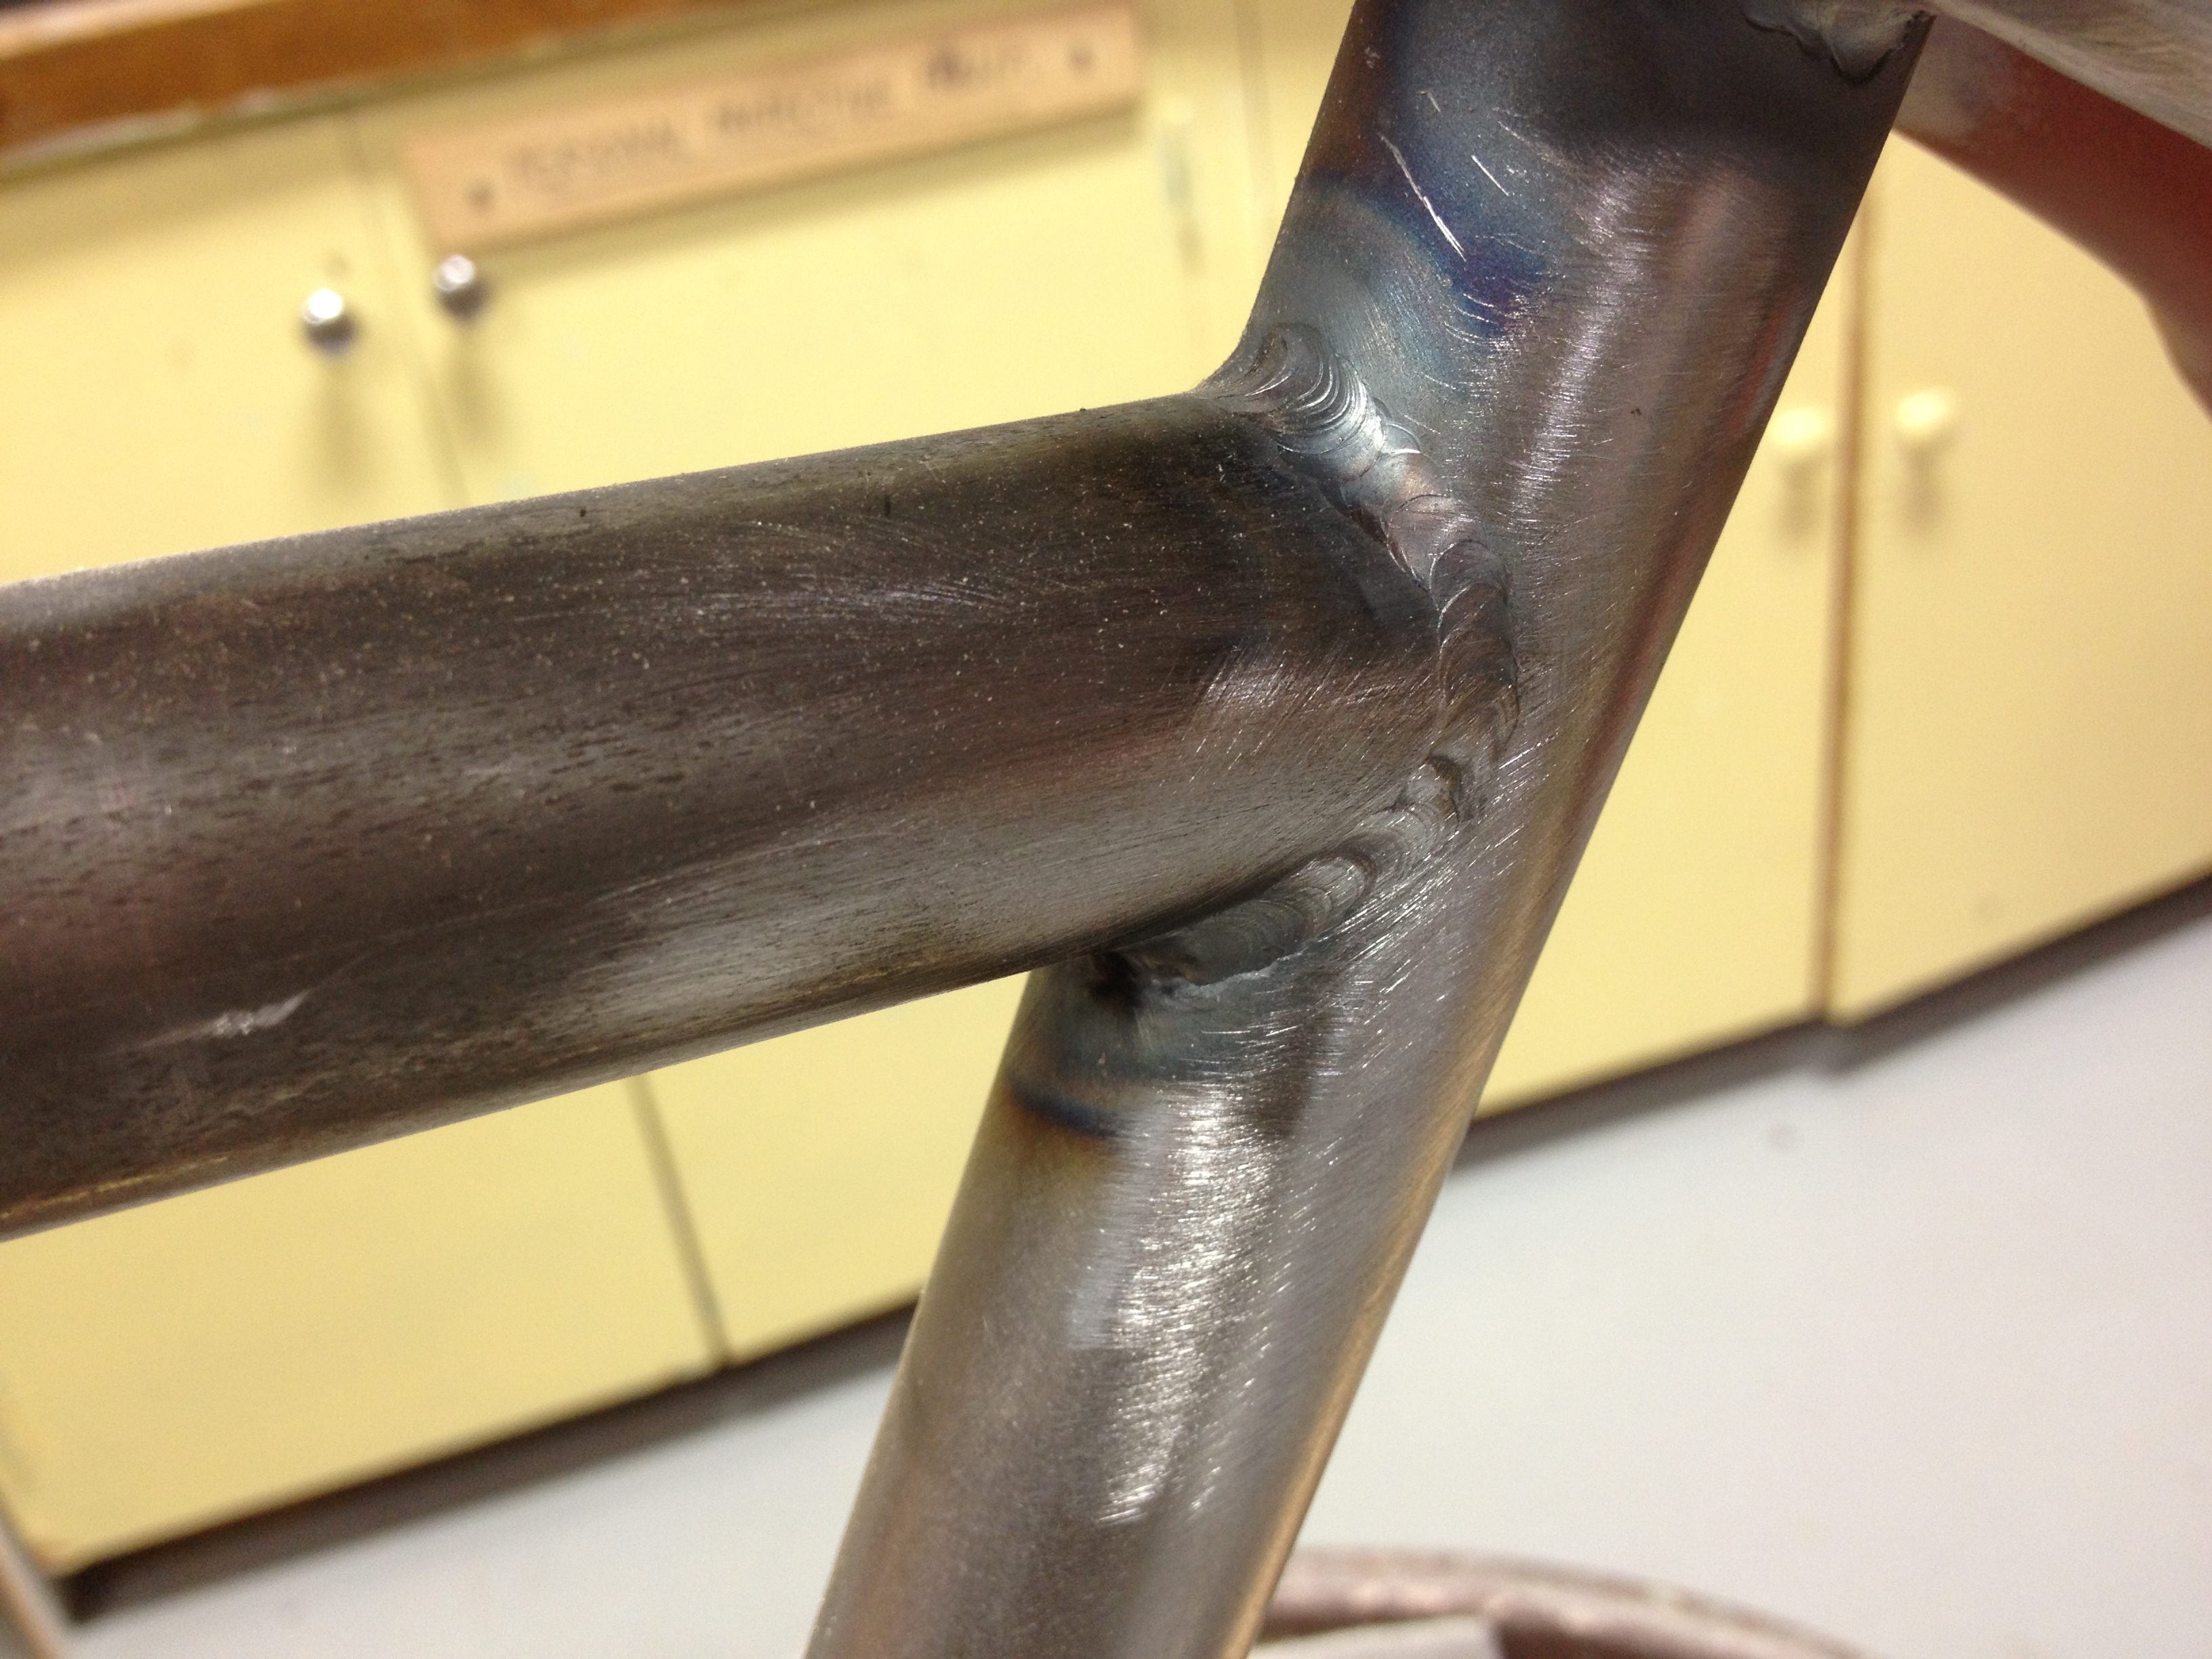
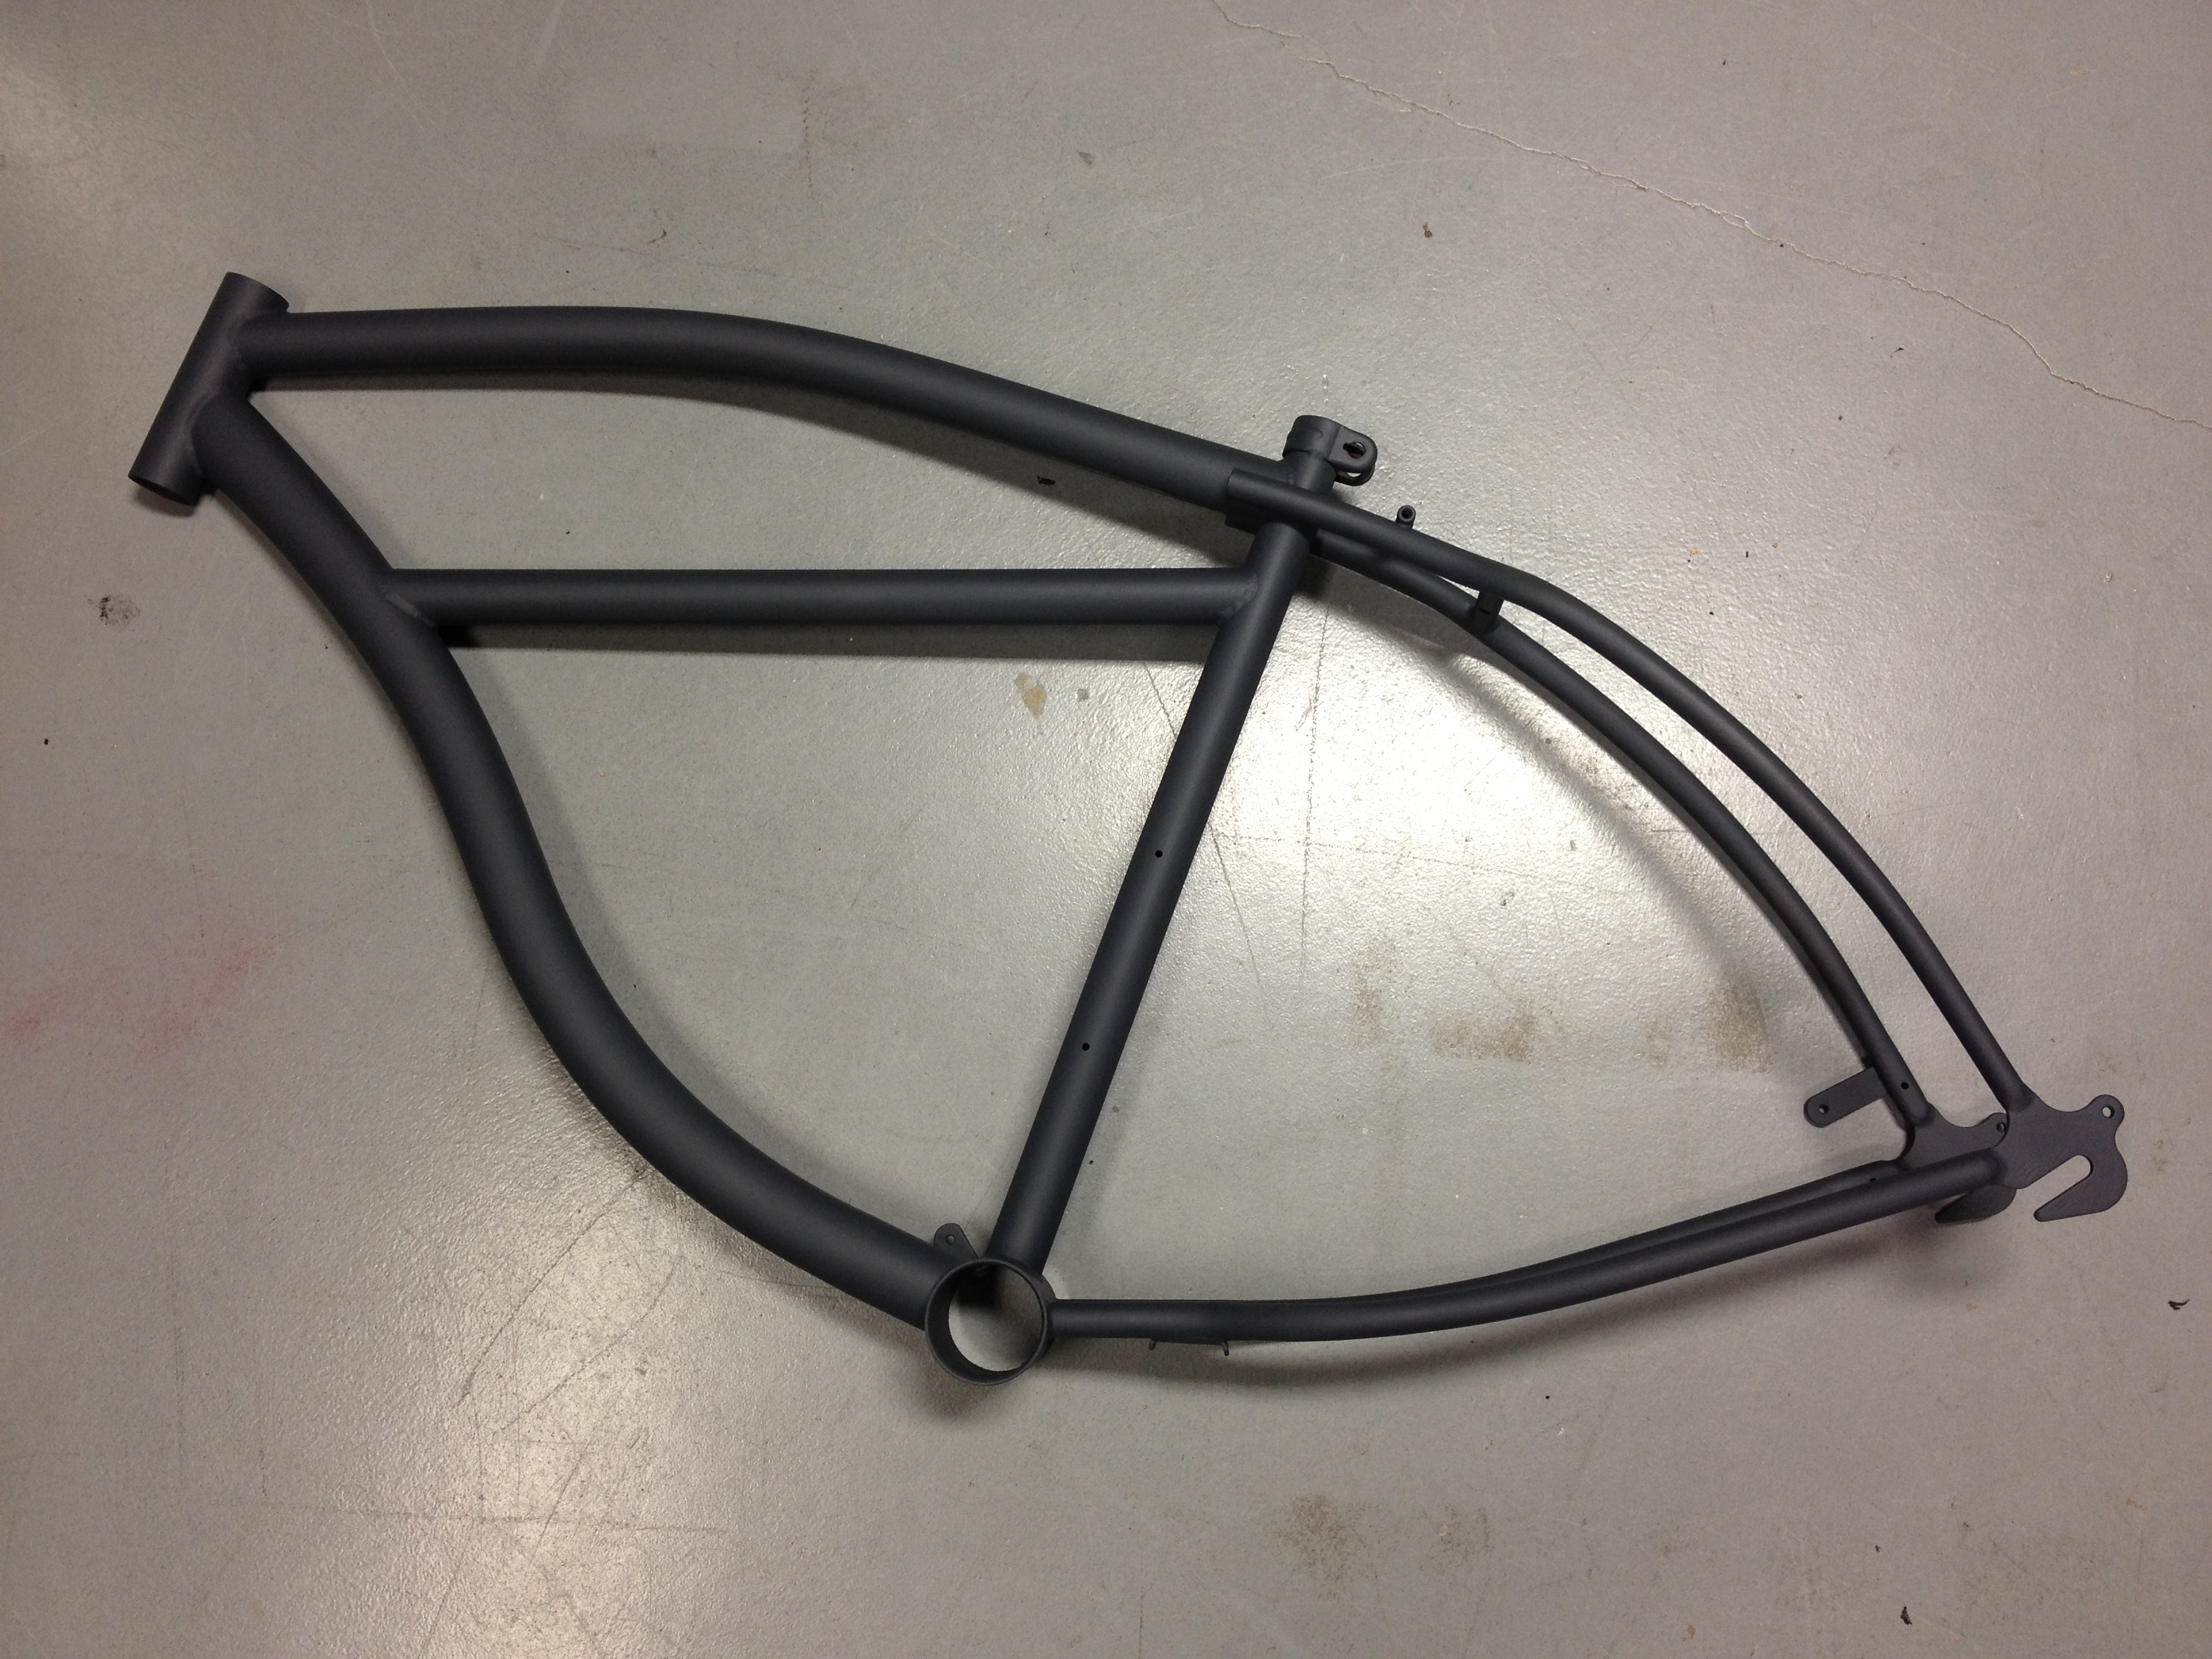
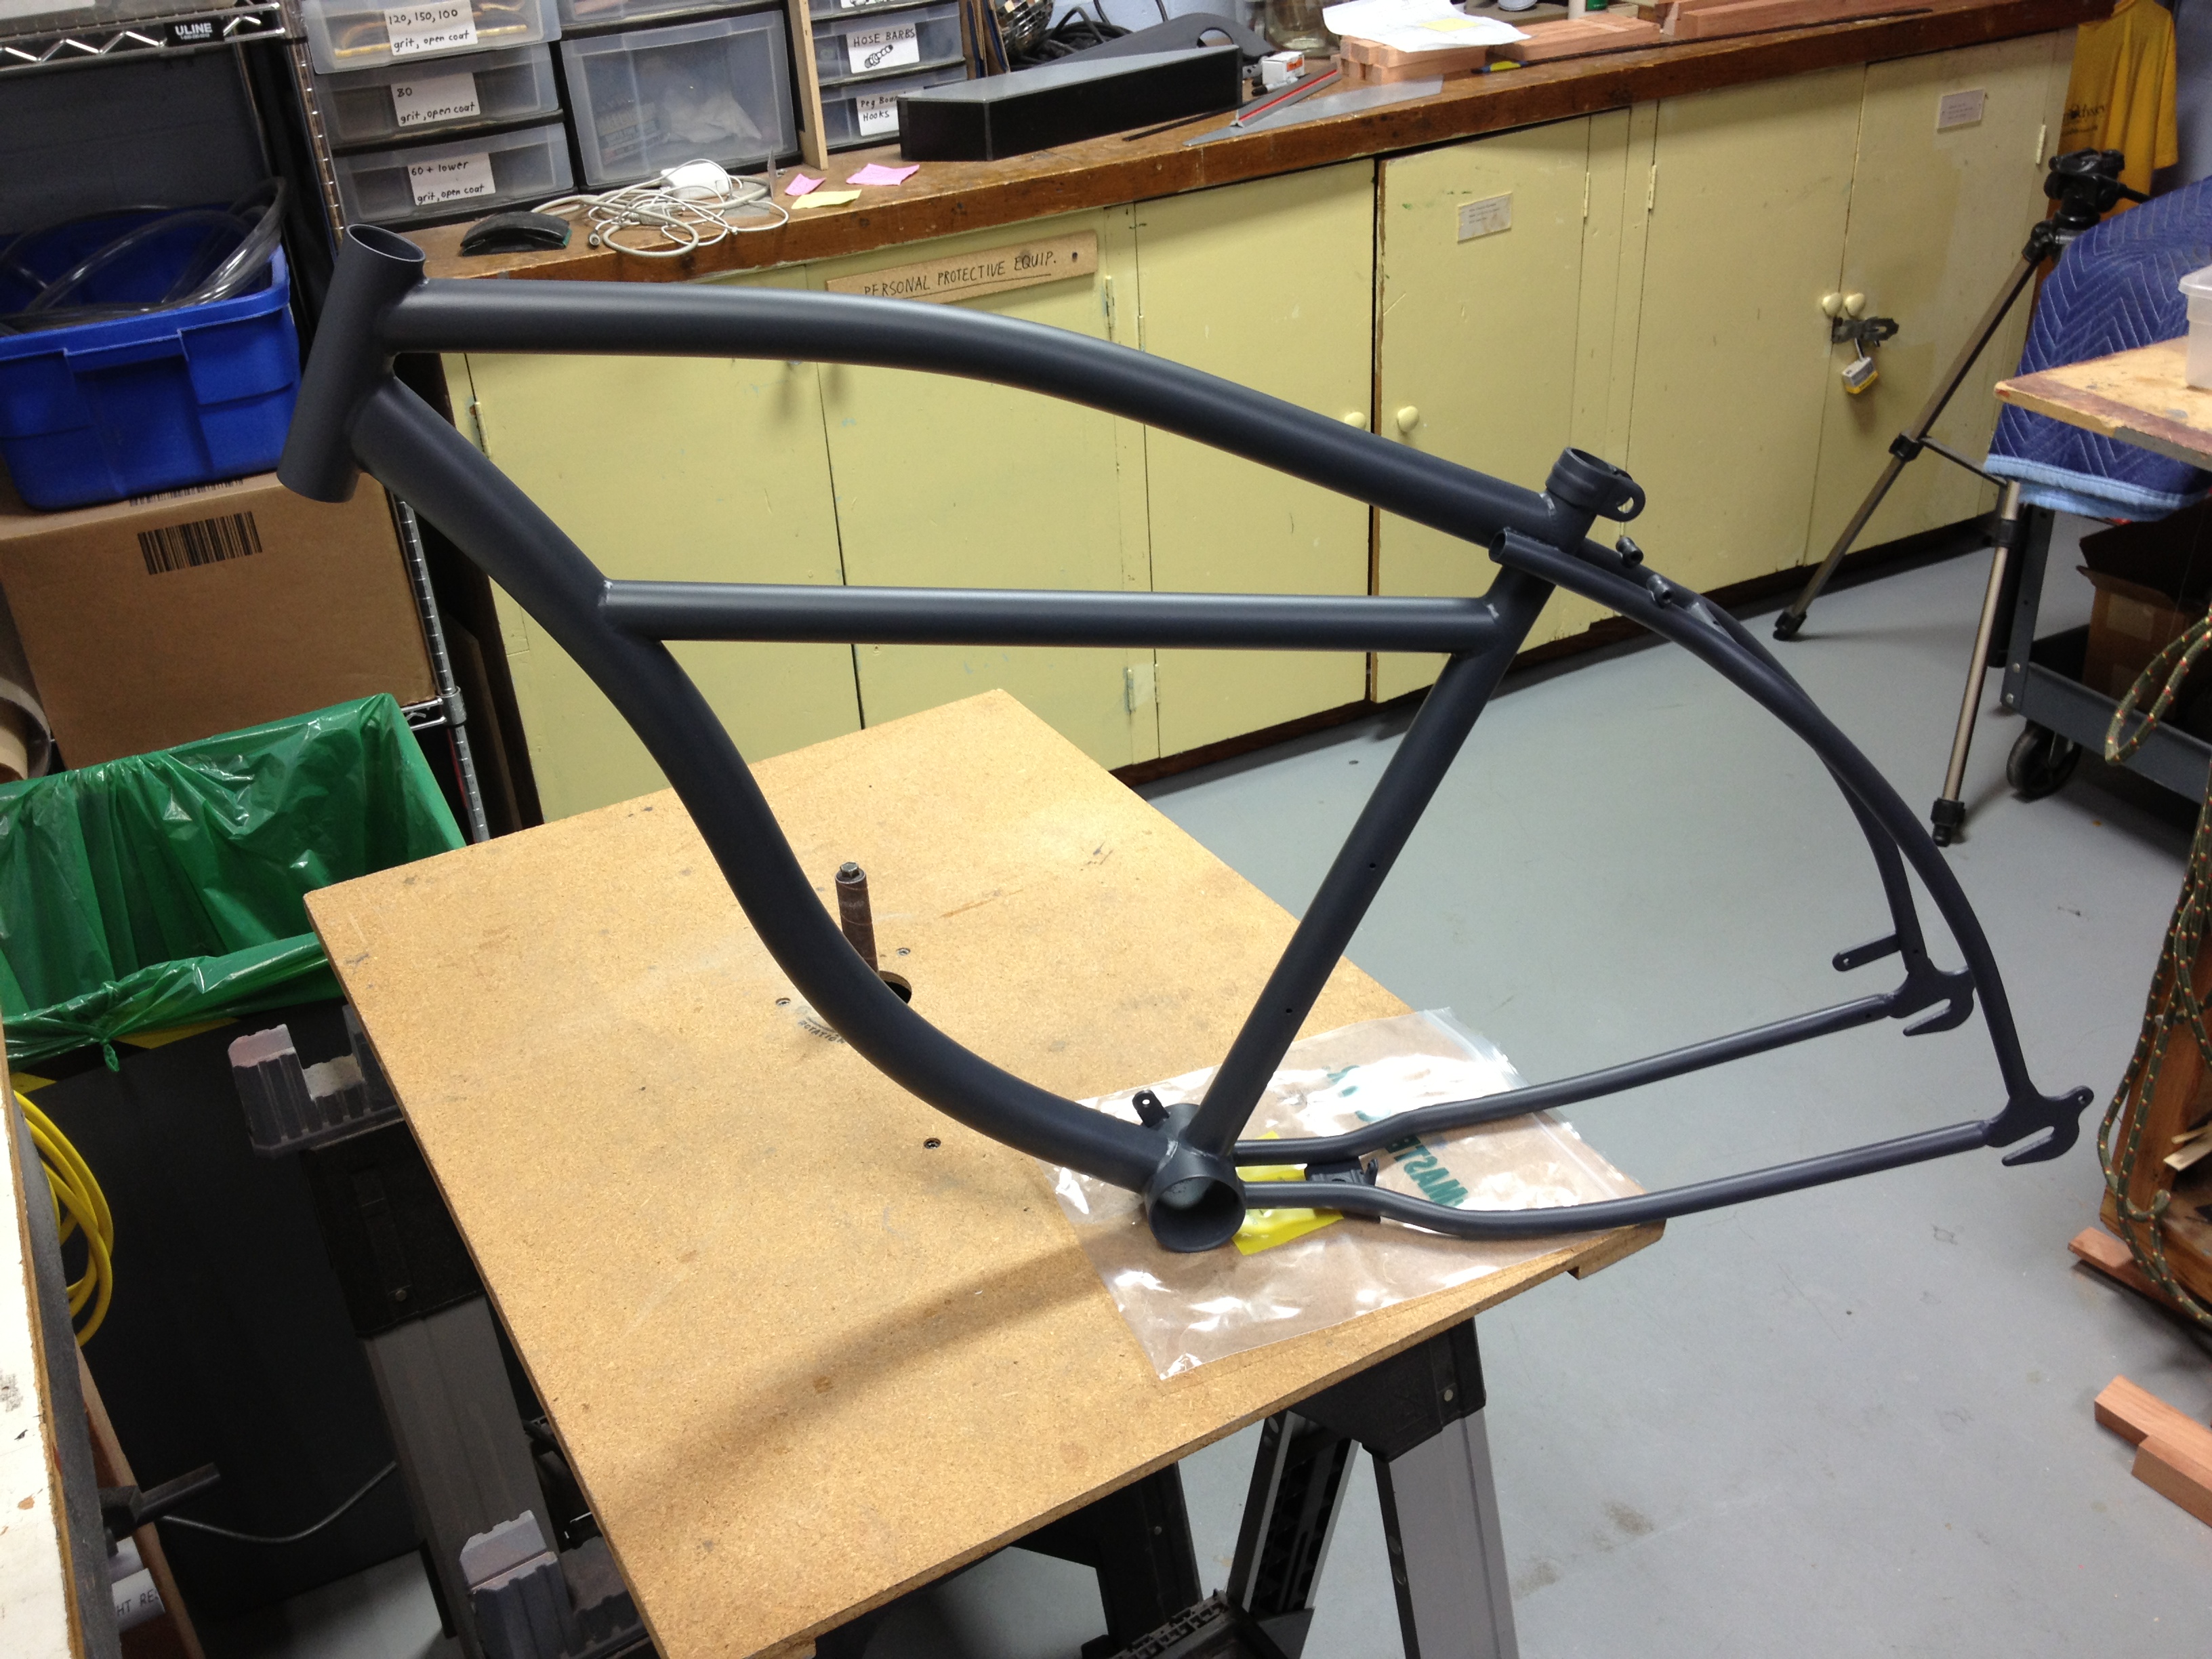
I splurged on some 1.125" O.D. 4130 aircraft grade alloy steel tube and I cut a straight bar. I put in some time grinding and sanding the bar to fit tightly against the other tubes. Here is where the frame stands now:
IMG_0934.JPG


IMG_0935.JPG

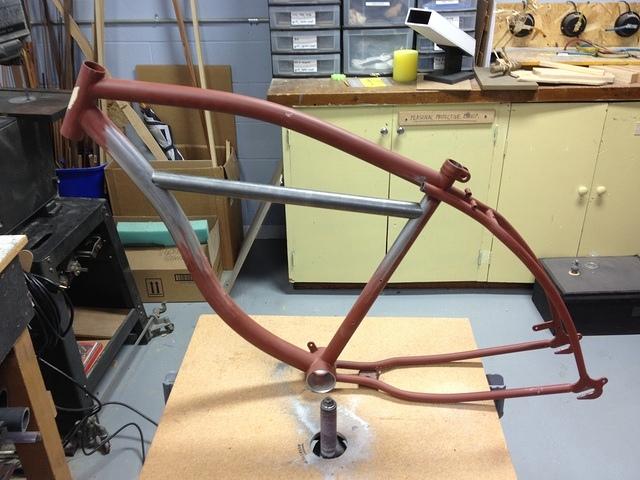
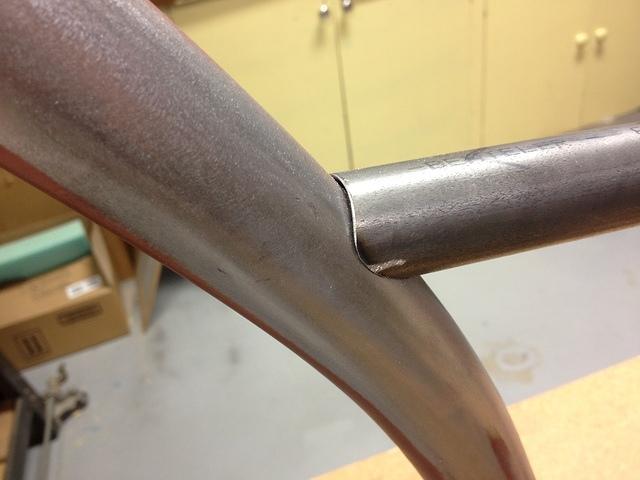
Tubes fit nicely. Ready for welding.

IMG_0937.JPG

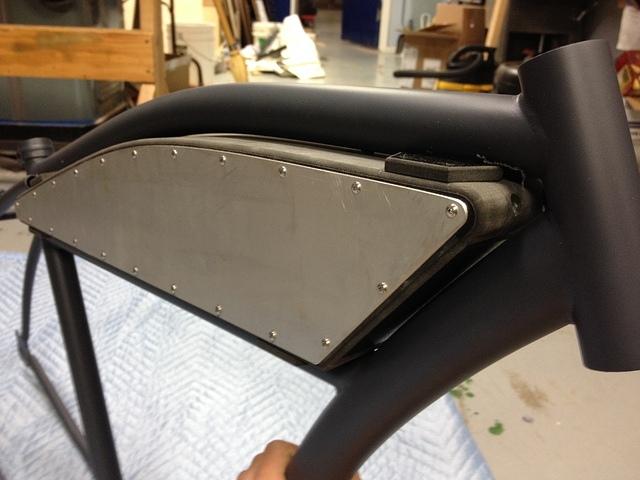
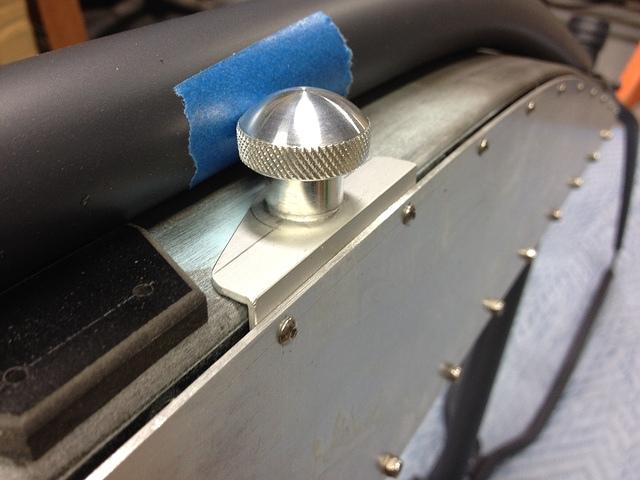
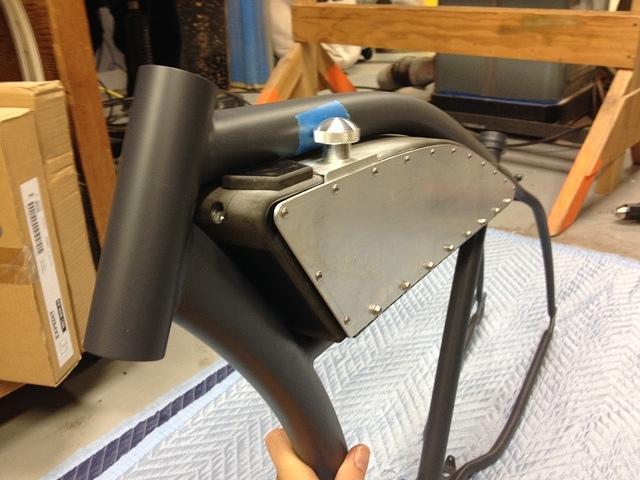
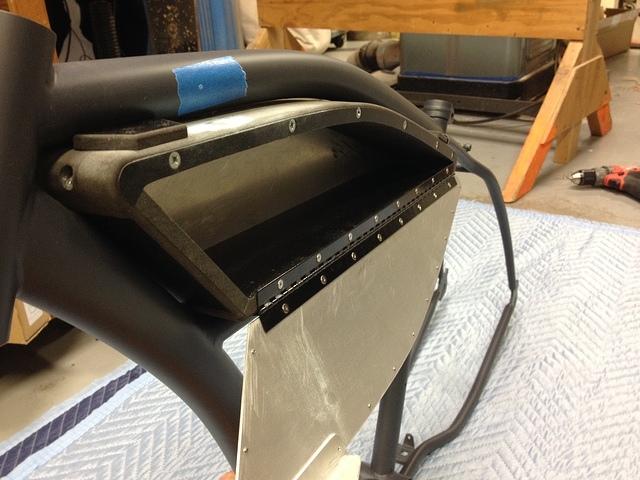
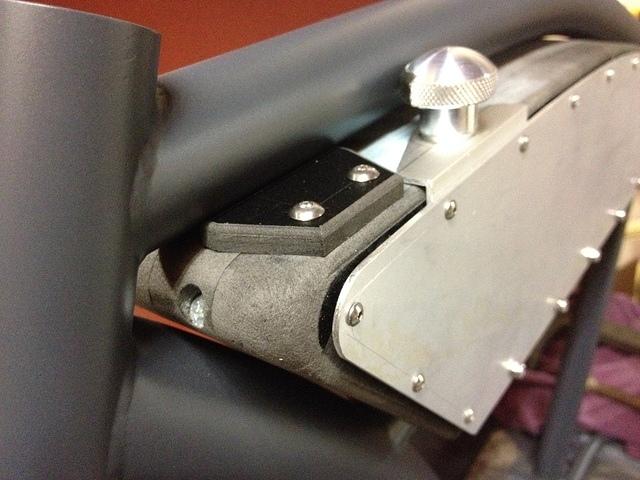
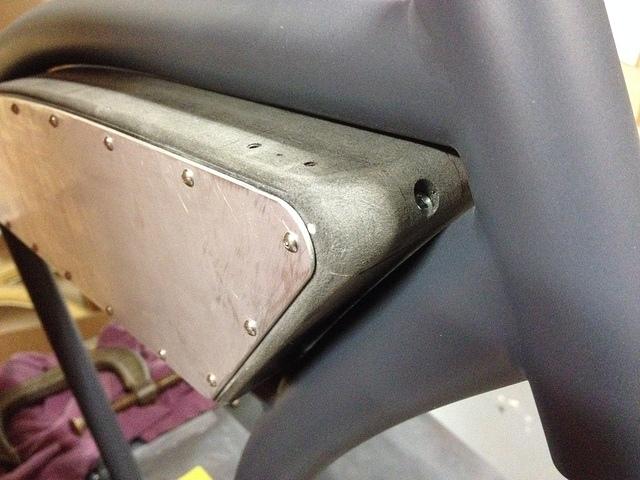
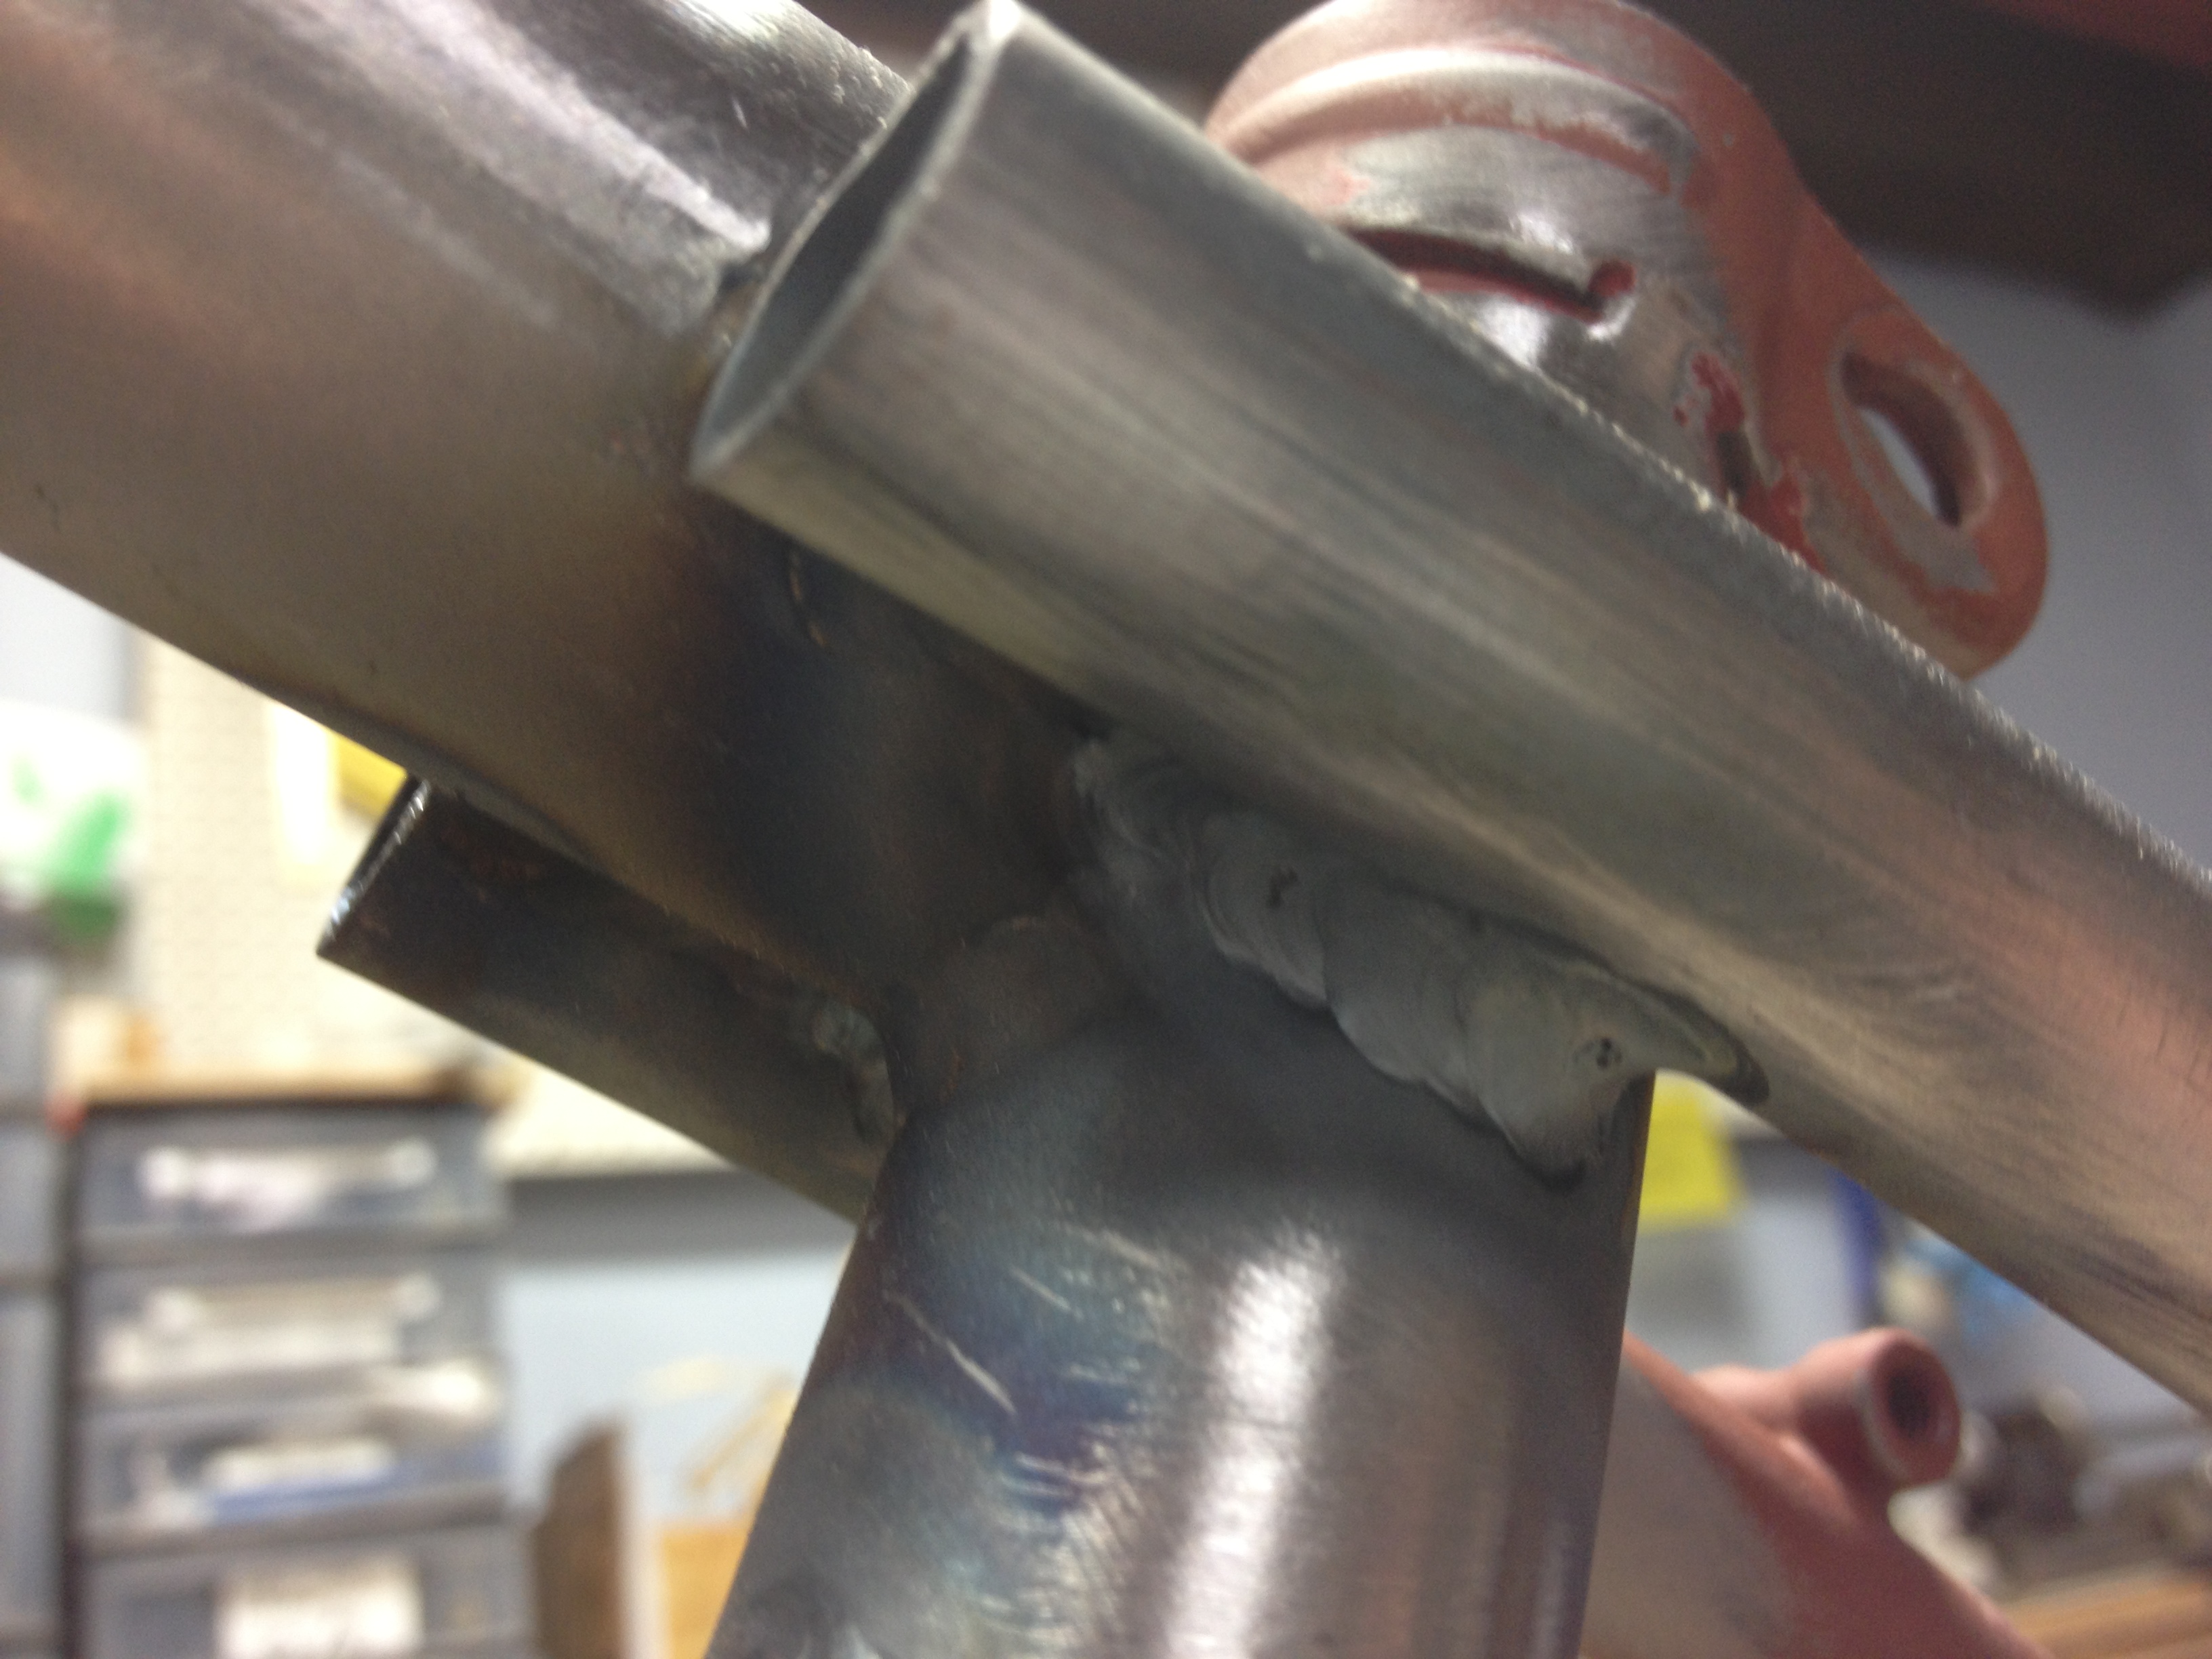
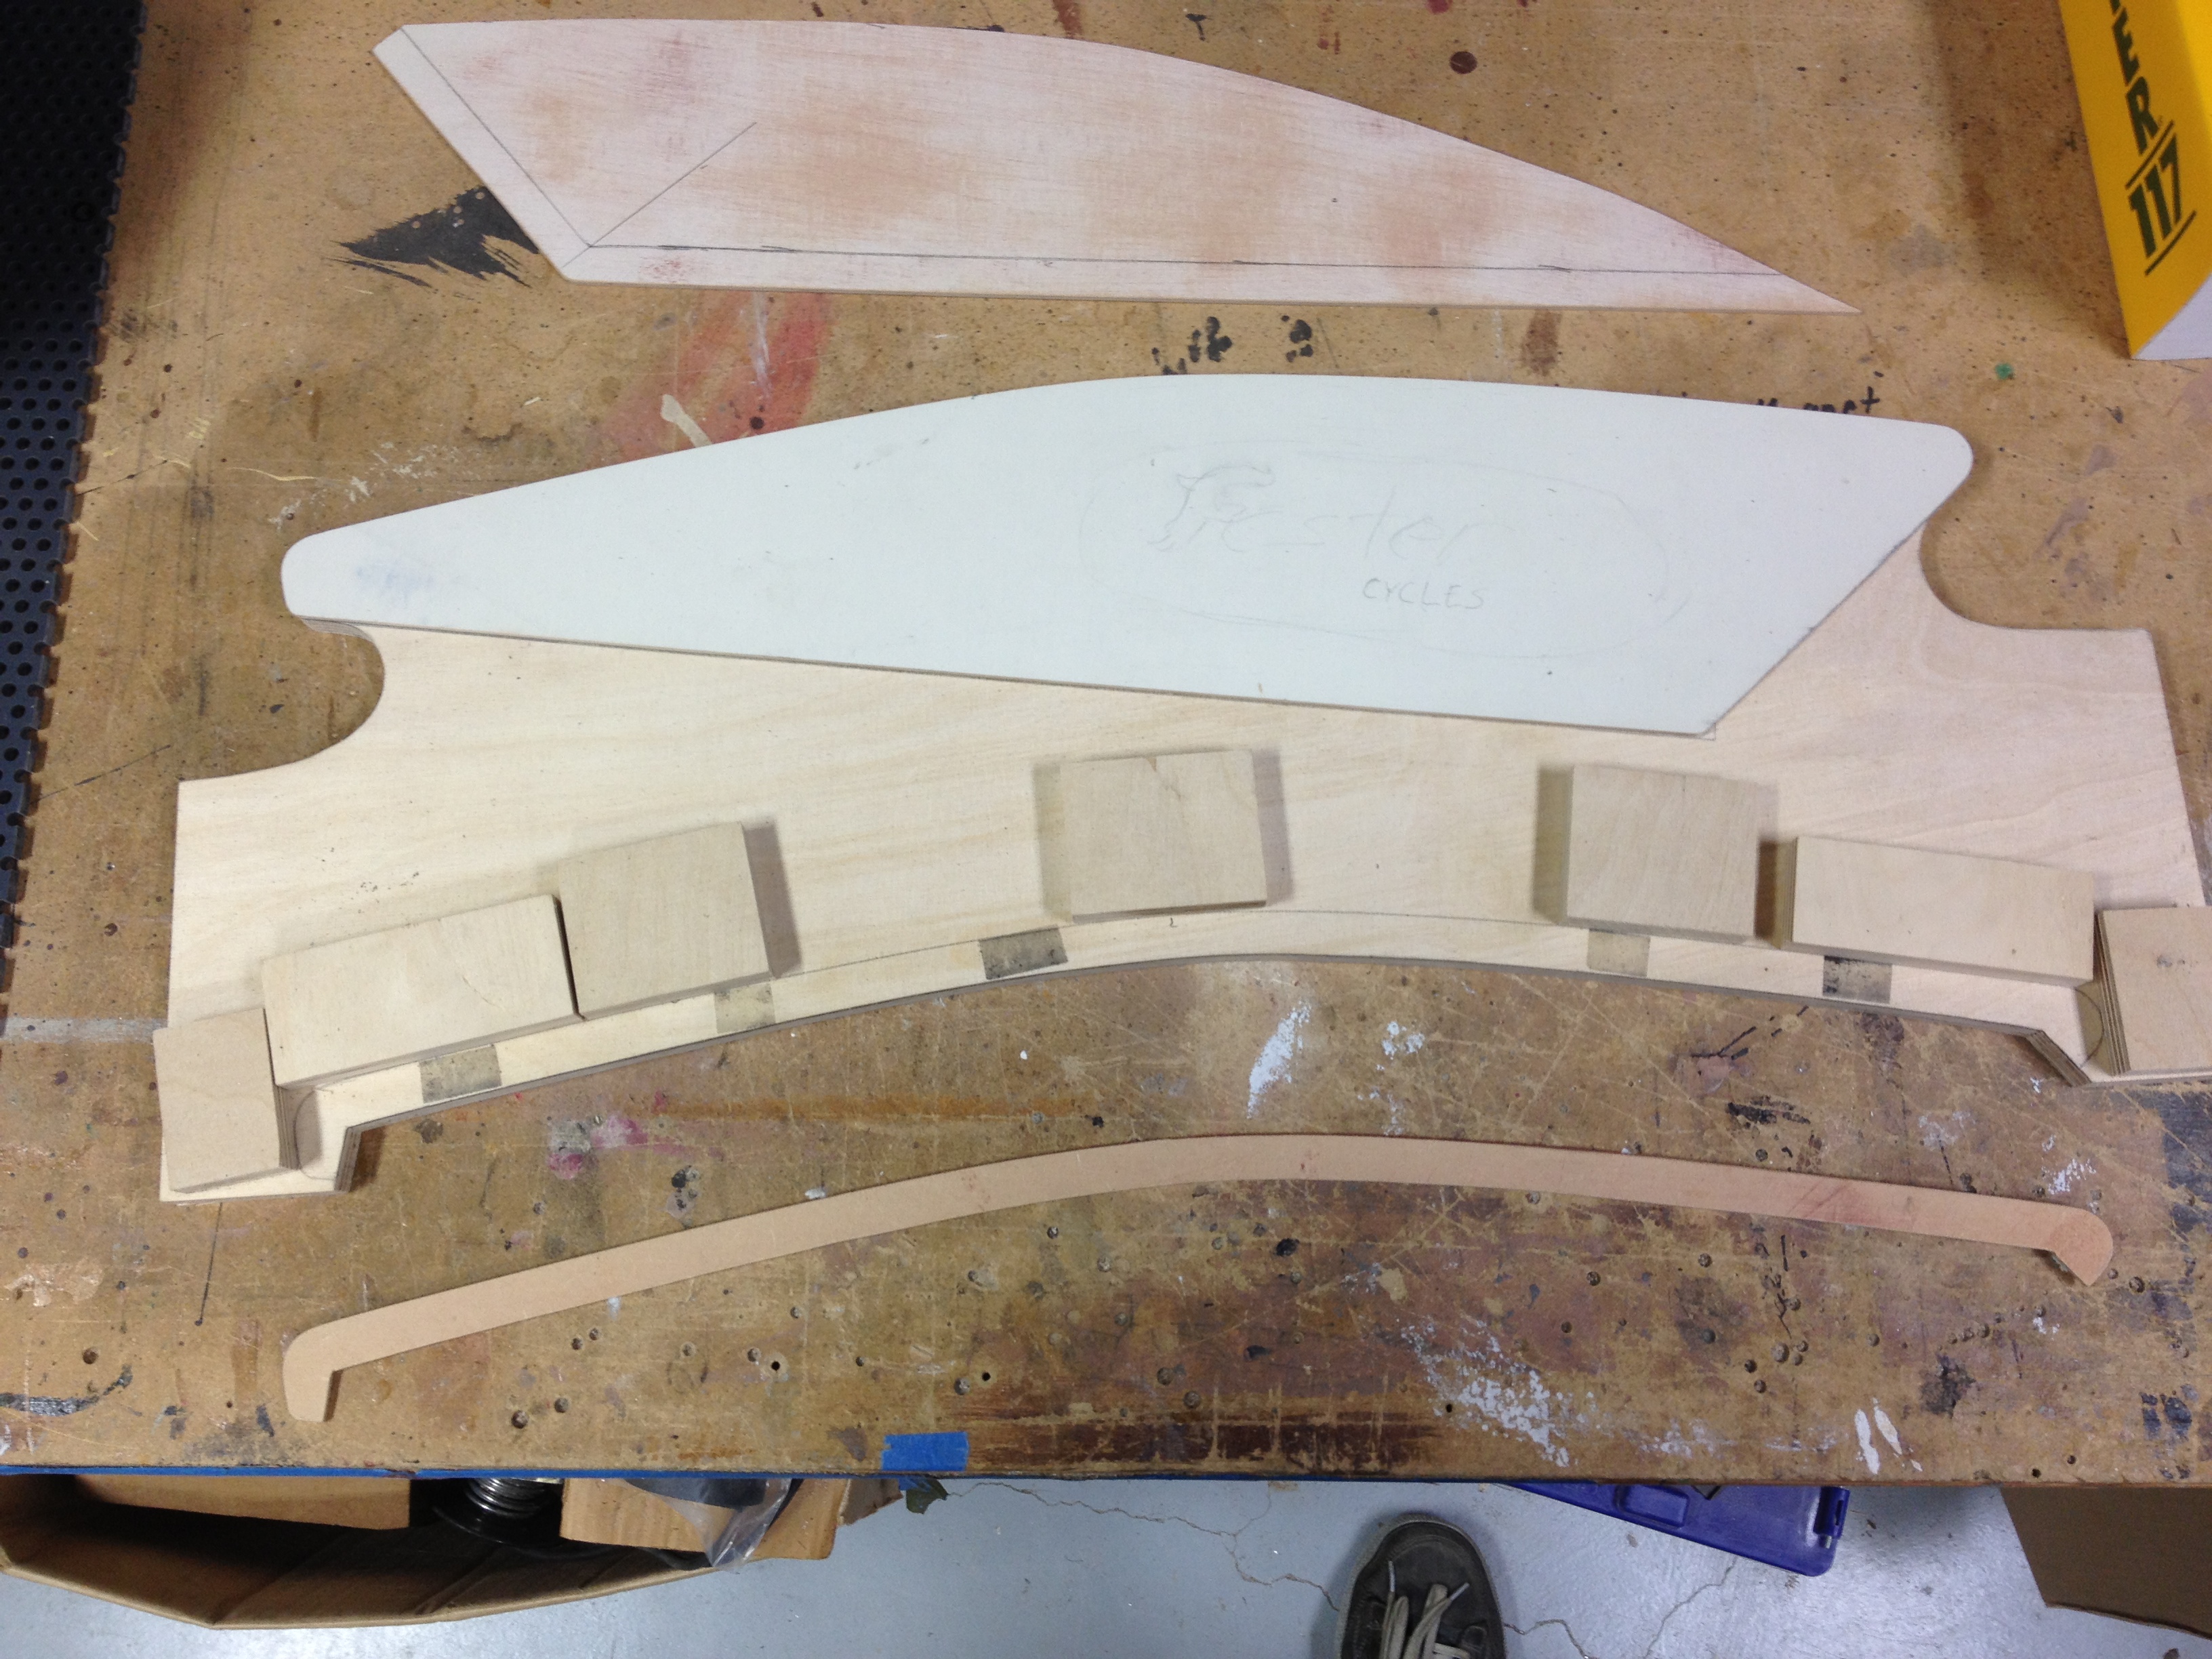
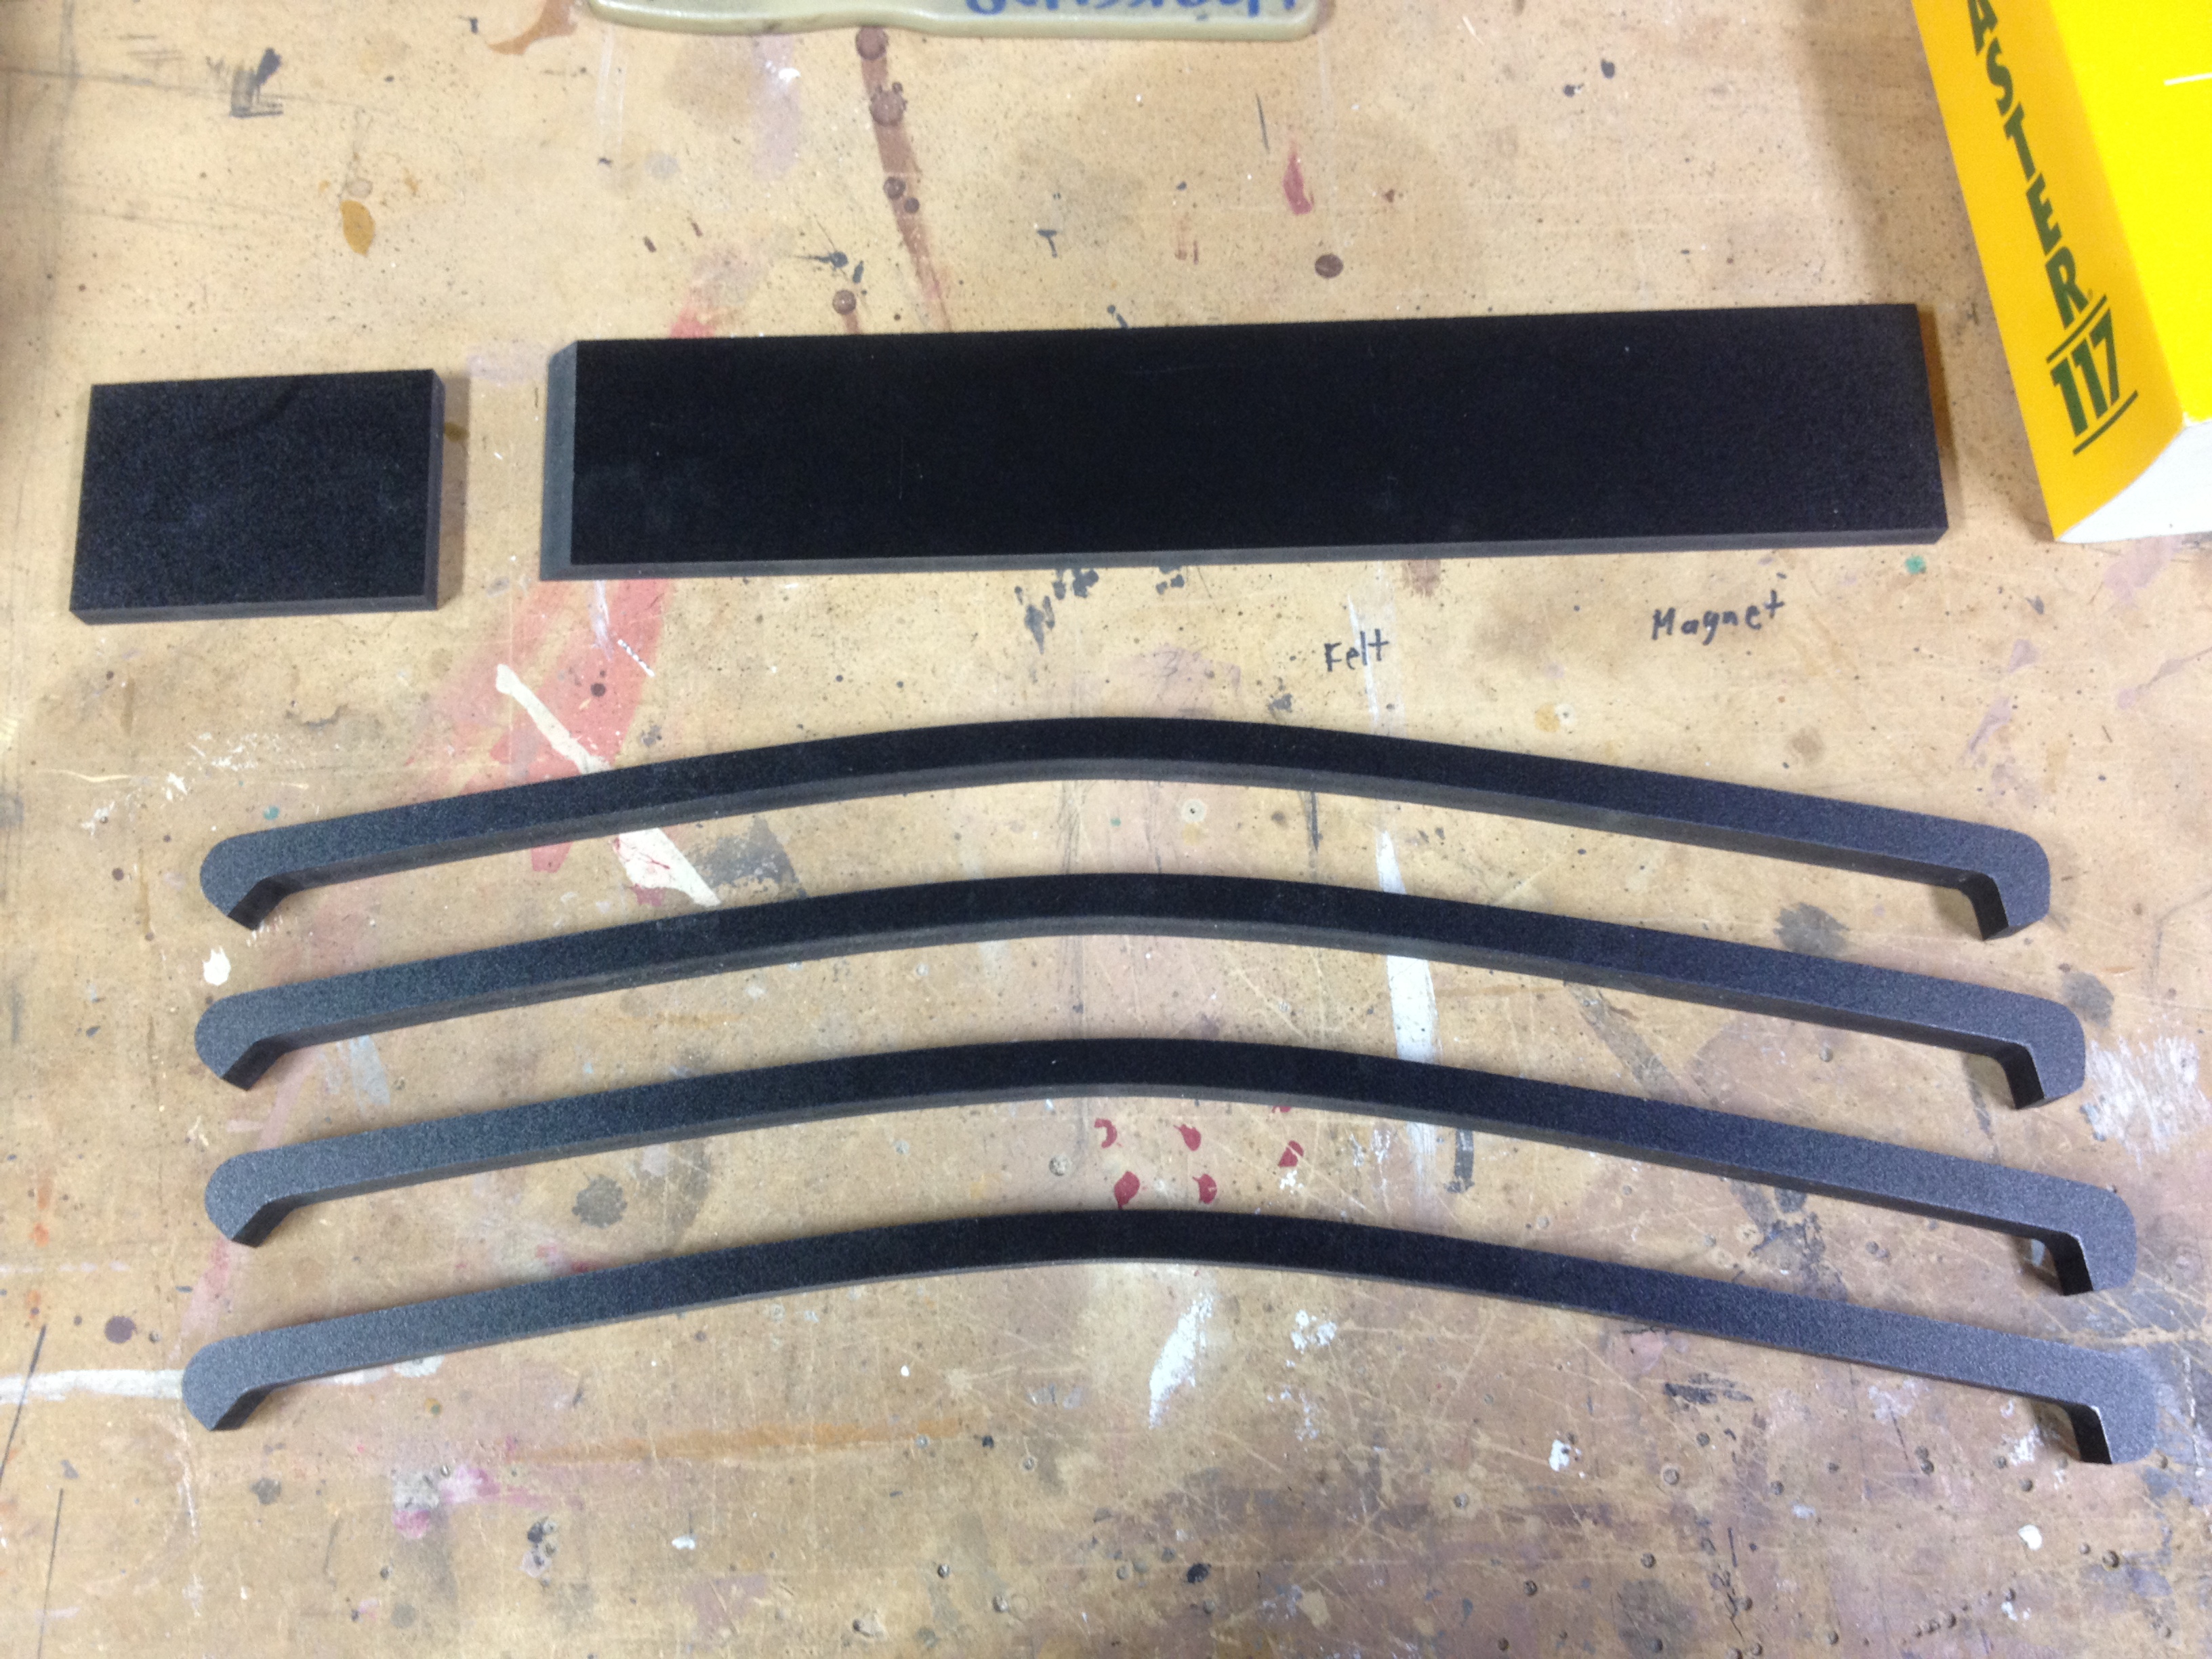
I have plans for something to plug the open Canti tubes.

IMG_0936.JPG

Should get it welded up tomorrow.

More to come...
 
Re: Over-Land Cruiser, The FC-40

Cool idea and nice fit up on the tube. Good idea using the spindle sander for the fish mouths.
 
Re: Over-Land Cruiser, The FC-40

Yeah I almost ended up with a green 77, the first year they had the "ambulance doors" but due to some sad circumstances it slipped through my fingers. For now, this bike will have to suffice. I did a concept drawing to show where I am headed with this:

FC-40%20cruiser%20scetch.png


I got the straight bar welded into the frame. It looks beefy. I'll get some pics up soon. I hope to start on the tank soon also. More to follow...

Regards,
 
Re: Over-Land Cruiser, The FC-40

Well there have been minor fits and starts on this project but and I briefly considered buying an entirely new frame but the FC-40 is back on track now. There will be some significant changes from my original concept drawing. I have decided to go with a more utilitarian and sinister appearance which is probably more akin to the FJ-40 Landcruiser anyway. I am also planning on using extra rugged parts when possible. I scored one of the Mega Monarch forks for this build:

IMG_1944.JPG


This fork is really nice. As they say on the piston bikes website it does not disappoint. There were a couple scratches in the paint and it looks like someone at the factory tried to touch them up with a paint marker :roll: I'll have to repaint those parts but otherwise super beefy fork.

Other changes I am making are I am doing most of the paint myself. I settled on Matte Basalt Gray. I was going to powdercoat but I have other future plans for this bike so doing paint in-house will make later add-ons easier.

IMG_0938.JPG

Here is the frame on the welding table getting the .065 wall chrome-moly straight bar TIG welded in at Rustworks in San Carlos CA.

IMG_0959.JPG

Back at my shop. The welds look good.

IMG_0960.JPG

I also reinforced the welds on the canti tubes where I cut them off.

IMG_1788.JPG

Gettin paint on the frame.

IMG_1945.JPG

Matte clear on.

Thanks for checking in.
 
Tank Time, The FC-40

Gotta have a tank on this bike. It's part of the look. I'm using a few tricks to make an openable tank that can hold tools, tubes, parts, headlamp batteries or whatever.

IMG_0955.JPG

This is a router jig I made to mill out the curved "backbone" of the tank. the top edge of the jig is used to machine the outside contour. The bottom edge of the jig is used to machine the interior contour. Sitting on top of the jig, near the top is the template I used to test fit the tank shape to the frame. Sitting on the bench top under the jig is the template for the tank "backbone".

IMG_0956.JPG

Here are the parts that will make up the tank "frame". The material is actually a high density PVC plastic foam. It's pretty rigid like a piece of wood, rigid enough that it is used a lot for exterior signs. The four backbone pieces are 3/4" thick. They will be laminated together in a stack. The front and bottom of the tank will be made from 1/2" thick sheet material.

IMG_0954.JPG

Quick and dirty mockup of the tank frame parts. Gives you an idea of the shape.

IMG_1790.JPG

This gives you a hint of where I am headed with this build.

IMG_1947.JPG

The tank frame is all assembled. I assembled the tank frame with some unbelievably strong double-sided tape called "killer-red" It is an industrial product that is a little tricky to get but we use tons of it in the museum biz. After the frame was assembled with killer red I pilot drilled all the joints and shot screws in with the impact driver. the screws that hold the backbone layers together are visible.

The tank sides are going to be made from 1/16" aluminum plate. I'll get to those later this week.

Thanks for looking.
 
Re: Tank Time, The FC-40

great build and the detail work is inspiring. That's a very unique approach at a tank...can't wait to see what the storage compartment and latching system looks like
 
Re: Tank Time, The FC-40

This is great!! I'm a jeep fan myself, especially Willys MB and Ford GPW, but the Toyota is great, that model is known as "Bandeirante" here, built in Brazil.
Can't wait to see more!
 
Re: Tank Time, The FC-40

WOW MAN !!! Nice build so far, jealous of those concept skills too even :eek: Will be waiting for more pics on this one !!!
 
Re: Tank Time, The FC-40

Thanks guys. I appreciate the interest. Gdcast, I bet in Brazil you guys have a lot more of these rigs than we see in the states. As far as I know there were a lot more of them and they kept making em for years after they stopped selling these rigs here. I have a couple buddies who are big Jeep guys so I have a great appreciation for Jeeps too.

Anyways have been messin around with the tank. I decided on an exposed hardware look so I am using button head stainless cap screws to hold the tank sides on. Here is the progress:
IMG_1992.JPG


IMG_1993.JPG

So I got this knurled aluminum knob from McMaster.com and I thought I would use it as the pull knob for opening the hinged tank side. It gives a gas cap look but is still totally functional. The knob is attached to the hinged tank side with a steel flat head screw and an aluminum angle bracket. I am using a super strong rare-earth magnet as the latch. It draws the hinged door closed by pulling on the steel screw used to hold the knob-- if that makes any sense. :|

IMG_1991.JPG


IMG_1994.JPG

Here the tank is hinged open. I used a black piano hinge mounted with stainless cap screws. The magnet that latches the tank closed is embedded in the top part of the tank "frame".

IMG_1990.jpg

Here is an overall look at the tank mocked up with the frame.

One thing kept bugging me about the tank though. The pointed end of the tank side near the head tube. I kept staring at it and it just looked wrong to me. The positioning of the screw in that corner bugged me too. It wasn't quite centered at the point. I decided to make a more rounded contour to that front corner and re drill for that mounting screw.

IMG_1998.JPG

It may look subtle but this is a big improvement to my eye. The front corner of the tank side and frame have both been softened and rounded off a bit.

IMG_1999.JPG

The other side, rounded off.

IMG_2002.JPG

The mockup. The tanks is getting close to done. There will be gaskets for the door and tank sides but that all has to wait until after paint.

I just ordered a Boxkars shifter so I'll focus on the shifter mount next.
 
Re: Tank Time, The FC-40

Very nice build. I love the old Cruisers. I'm a jeep guy myself though. 76 Cherokee. Keep up the good work.
 
Re: Tank Time, The FC-40

Nothing beats the original in my opinion but that new Bandeirante does look pretty neat. Particularly this pickup version:
0,,33280589,00.jpg

At least it looks better than the "FJ Cruiser" that we have now. Interestingly I did a little digging and discovered that Brazil was the only place in the world where the 40 series landcruiser was produced until 2001. For the rest of the world the supply was cut off when Toyota sopped making them in Japan in 1984.

Back to the bike. I ordered a 1" quill to 1 1/8" threadless stem adapter and I also picked up a four bolt BMX block style stem. Hopefully my Boxkars shifter is also on it's way. I am going to start pressing the bearing cups back into the frame and get this thing mocked up.
 
First mockup!! The FC-40

Exciting day. The first mockup. Pics first...

IMG_2008.JPG


IMG_2009.JPG


IMG_2010.JPG


Okay so here is what's going on: this fork installed real easy like. The steerer tube is the exact same length as the krate style springer I had on this bike before so all my pervious spacers and such just went right on. Don't judge the stem. I know it looks goofy but the BMX block style stem is on the way. That should look much better.I will be trimming the bars and I have Brooks plump grips for them. I haven't attached the tank yet because I still need to fabricate the shifter mount. My Boxkars shifter should be here tomorrow. Right now this thing is sitting on a 26 x 2.6" Kenda Telonix (rear) and a 26 x 2.7" Kenda Nevegal (front) with some of the tread shaved off. The tires were free so I thought I would try them out. They look pretty cool but honestly they are probably too big. The clearances are really tight and they are not even fully inflated. I am sort of on the fence about tires. In my mind this bike should have something fat and knobby. I have considered all sorts of mountain bike tires but also regular knobby cruiser tires. I have even considered the Electra vintage diamonds (not really knobby but cool looking none the less). I am open to suggestions if anyone has any opinions.

At this point I am not going to add fenders like I had in my concept. I do have other parts I will be adding. I have something pretty cool in mind for a headlight. Anyways, after all the mocking up is complete I'll break it back down for paint and powdercoat on some parts.

Oh and sorry about the cluttered background. :shock: :lol:
 
Re: First mockup!! The FC-40

Thanks! I know the bars look goofy. I want to do inverted bars but the stem is way too tall so I angled them lower which also looks dorky. They are also too long I think for inverted so I am going to cut about 3" off each end. Anyways, it's just a preliminary mockup at this stage. I'll get everything just-right before disassembly and paint.
 
Re: First mockup!! The FC-40

PARTS!!!

IMG_2018.JPG


Back to front: Boxkars suicide shifter, 1"quill/1 1/8" threadless stem adapter, Fix 8 Ahead Stem.

Quick note about that stem. It's a pretty nice looking part. I found it a little tricky to find a BMX style stem for 1" bars. This one was pretty cheap and looks good. I'll dig into the shifter mount now that I have it in hand!

Later,
 
Back
Top