Devistar9 ROCKET

Rat Rod Bikes Bicycle Forum

Help Support Rat Rod Bikes Bicycle Forum:

This site may earn a commission from merchant affiliate links, including eBay, Amazon, and others.
Re: Devistar9 ROCKET (Name enhancement, and update, finally!!!)

Thank you! Its nice to be using my former background to do something creative again. I switched from the trades to reptiles almost 10 years ago, and am now making the switch back. The bikes are sort of therapeutic at this point!

I was concerned I might not get this bike done, but things seem to be back on track. More pics coming soon!
 
Re: Devistar9 ROCKET (Polishing)

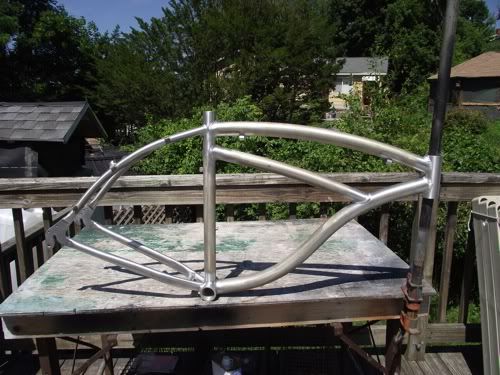
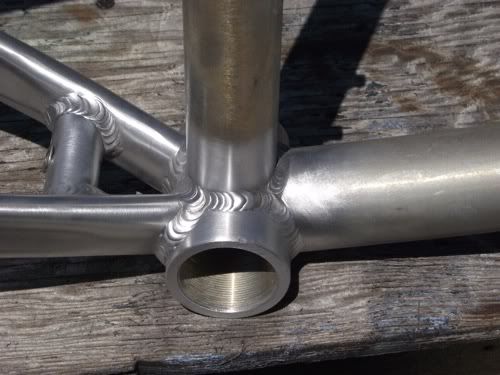
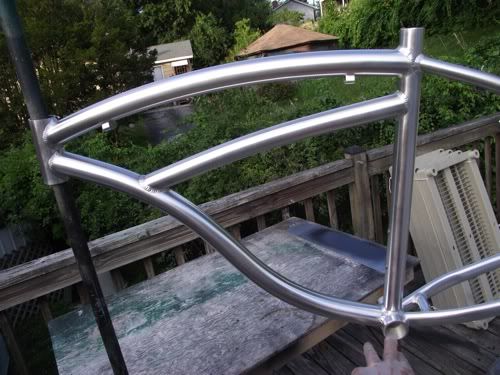
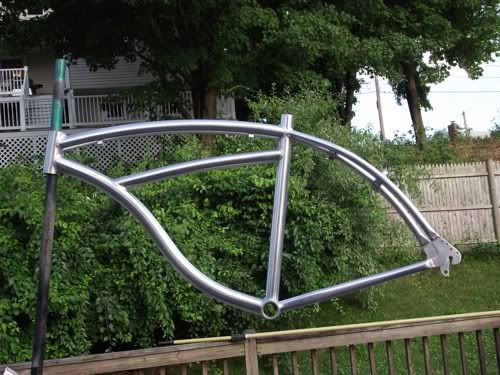
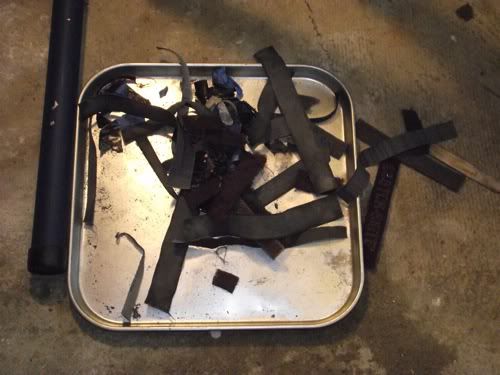
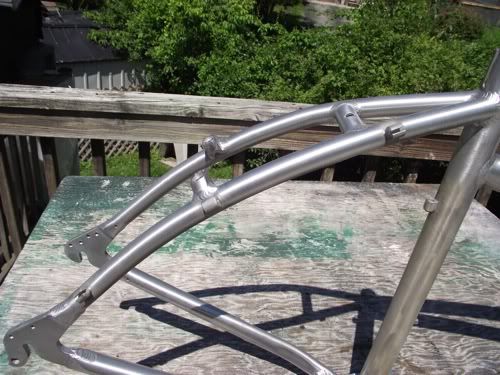
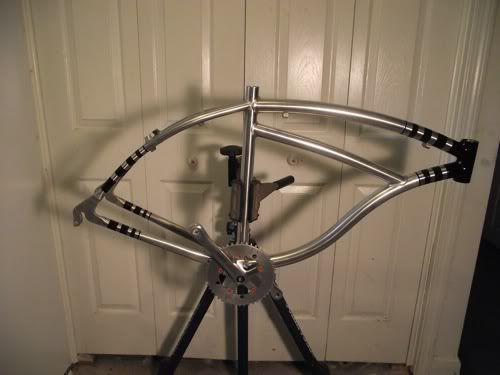
Here's the result of many hours of polishing! I was going for a heavy brushed too, but when I finally hit the frame with Never Dull I found I ended up very close to a polished look. Its not completely perfect, and there were many lines that were difficult to remove, but the pattern is right on. This was a ton of work!

Strippin4.jpg

Strippin5.jpg

Polish.jpg

Polish2.jpg

Polish1.jpg

Polish3.jpg
 
LOL, maybe I'll build the Satan bike next! Either way, thank you! I'm starting to regret that I've planned the next bike for a similar finish too, but I think I'm going to try to stay with newer pieces of Scotchbrite to keep a heavier grain on the finish. I used all my used red Scotchbrite to achieve the fine finish on this bike, though it wasn't planned to be so satin smooth.
 
i feel ya i know what it takes to do a frame like that. when i did pay it back i polished the frame and wow it is amazing how long it takes to do a bike with no paint huh? keep going!!!!
 
I wasn't quite sure just how much it would take, and I could easily take the frame to a whole other level with another 5-10 hours labor! But, its just a bit more than I'm willing to put into it right now. The deadline cometh!
 
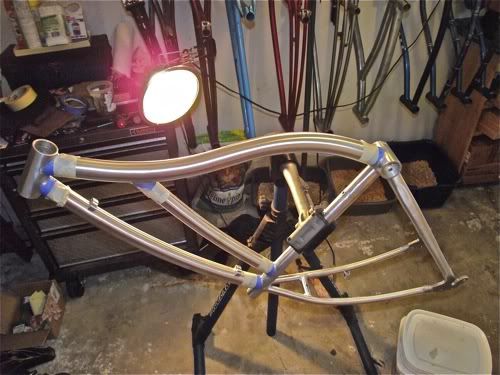
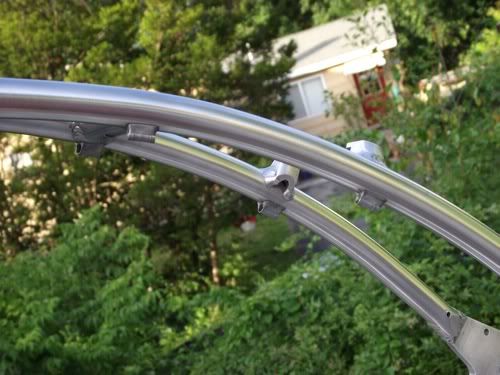
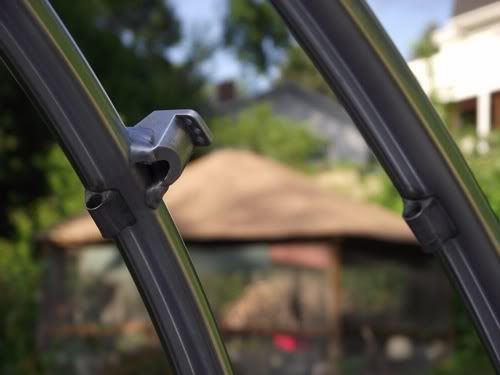
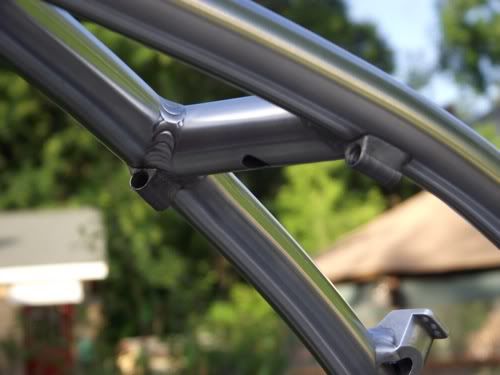
I removed 4 stock cable guides that were completely in the wrong place, and replaced them with these below. They are tiny spring I cut the loops off of, glued them on with Gorilla glue, and then built up the sides with epoxy putty. I hit them with a little hammered silver to bland them in.

Strippin6.jpg

CableGuides.jpg

CableGuides1.jpg

CableGuides2.jpg


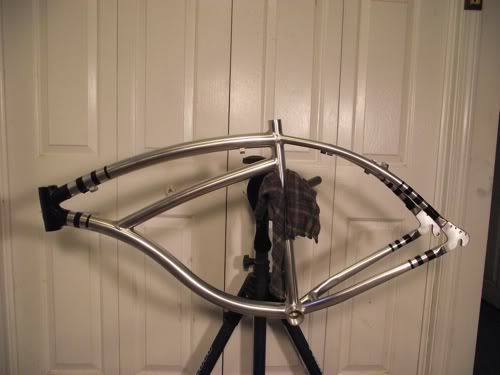
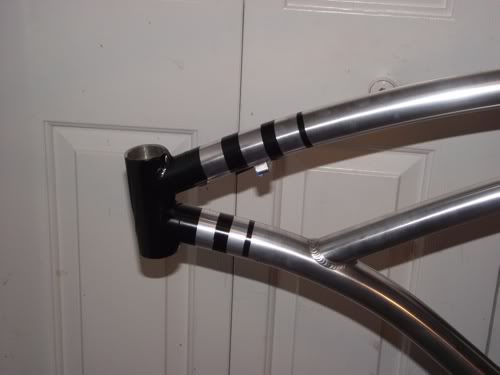
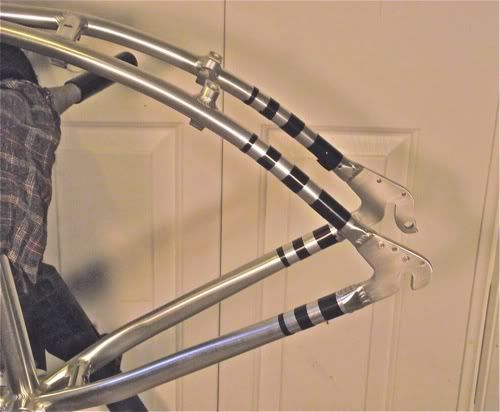
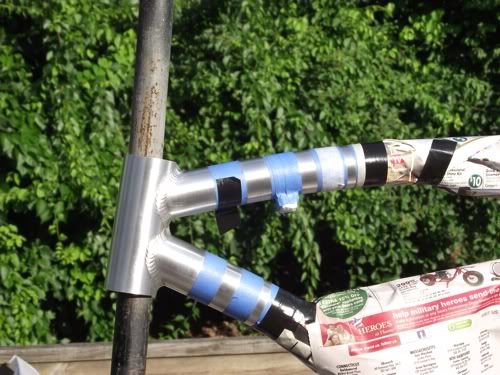
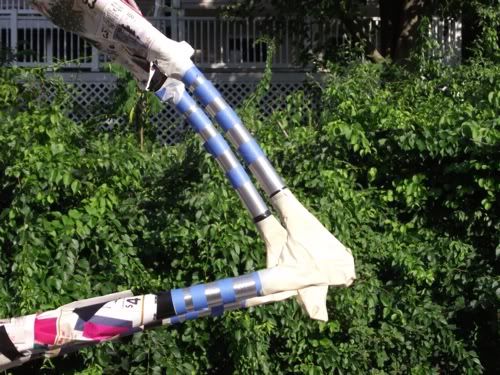
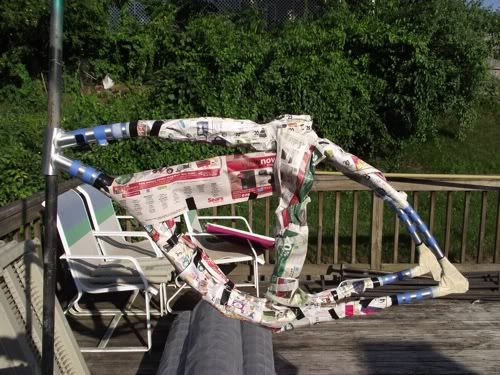
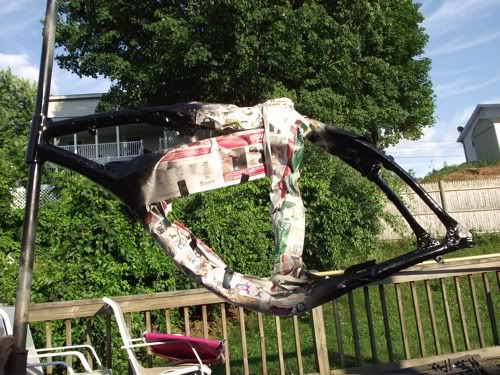
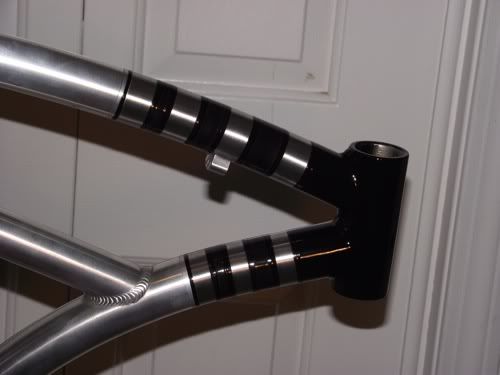
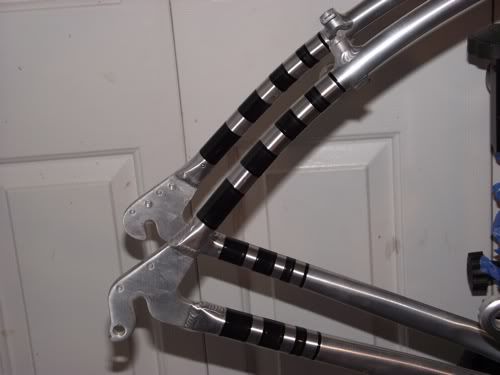
After drawing up about 3 designs I finally settled on tapering bands. I felt the frame needed to be broken up with a little something, so I whipped out the black lacquer. Unfortunately this has also turned out to be a tedious task, and I've had issues with the paint tearing on the edges when removing the tape. I re-taped a hair past the ends of the bands, wet sanded , and will re-paint again today followed by a nice lacquer clear coat. Tape will be carefully removed with a razor run along the edges. I can see that taking a good 2 hours alone! It just has to be perfect.


PatternMockUp.jpg

PatternMockUp1.jpg

PatternMockUp2.jpg

Painting2-1.jpg

Painting1-1.jpg

Painting-1.jpg

Painting3.jpg


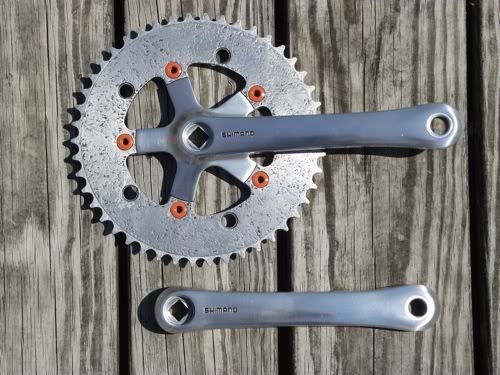
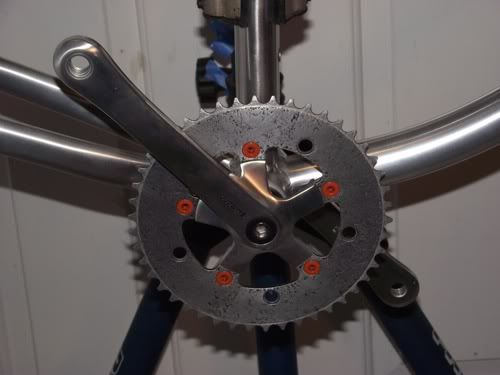
I was forced to polish another crank for the bike due to the frame being an MTB configuration. The biggest acceptable chainring for this frame turned out to be a 46t, so I was not able to use my 2 piece vintage crank. The crank is a Shimano. The Chainring was red anodized, but I gave it a dip in Easy Off. I unfortunately made the mistake of leaving it overnight, and the chemical literally ate away at the surface of the aluminum. I was fortunate that it caused a very marbled pattern, so I painted the ring with black, and then sanded off the surface carefully for about 1.5 hours! Tons of fun, but I like the result. I was a little disappointed that the back of the ring came out very evenly patterned, but teh front did not. The rear was sitting on the bottom of the bucket, so I think having the piece touch the surface of something produces the best result.


Crank-1.jpg
 
GREAT JOB!! I'M TIRED JUST READING THE THREAD...GET TA BUILDIN'!! PEACE
 
Trying to get it built, but having issues with the paint. I was doing touch up this morning, and it was so hot out the paint melted under the tape and made a mess, so more repairs to do. I'm gonna try to make it look more like an actual bike this week (I hope).

Jake Sensi said:
GREAT JOB!! I'M TIRED JUST READING THE THREAD...GET TA BUILDIN'!! PEACE
 
Marbled crank: this is what happens when you leave Easy Off on an anodized part overnight! The effect actually ended up being pretty interesting.

CrankFinal.jpg


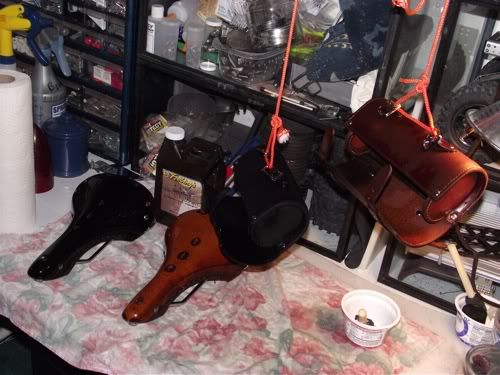
Oiling up the saddles

Saddles.jpg


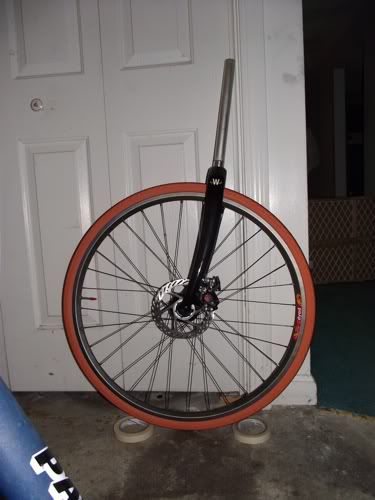
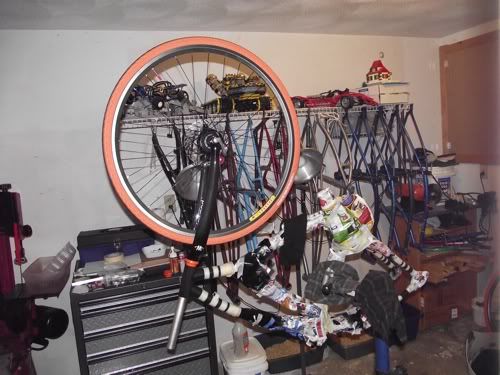
Fork mock up

WheelFork.jpg

ForkMockUp.jpg


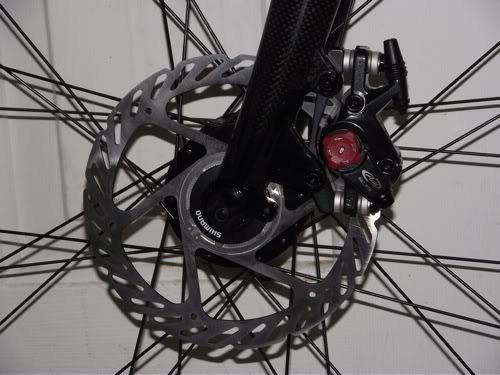
Front Disc

FrontDisc.jpg


Finished paint and polish: This paint may look simple, but it literally held me up for a week with all the issue. We had air bubbles, runs, tape would not come off clean ruining all my lines, serious damage from painting on a hot day and the paint literally melting under the tape, a lid used for blocking out the sun falling into the final clear coat, etc. Definitely the worst issue in the entire build.

FinishedPaint.jpg

FinalPaintFront.jpg

FinalPaintRear.jpg


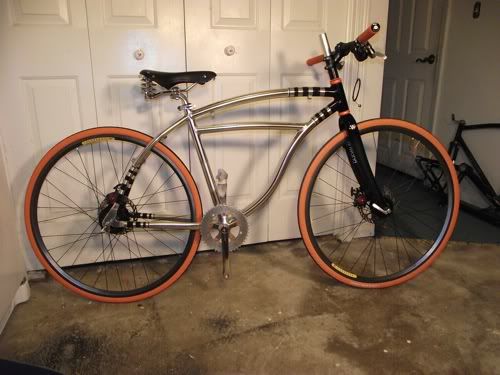
Final mock up at last: I've been dieing to see this bike in a completed form after working on it for months.

FinalMockUp-1.jpg


To date:

Built 2 brackets to attach the rear disc brake caliper (3 days to design and build)
Removed 4 braze on cable guides, and built 4 new ones in a better location from springs and epoxy putty
Hand brushed and polished the frame for many hours
After 3 designs finally got the bike painted after an entire week of problems
Hand polished 2 cranks, because the vintage crank didn't fit the bike
Replaced the bottom bracket due to chain line issues
Built the up the handlebars (a little wide, but I like the track grips alot with the end plugs
 

Latest posts

Back
Top