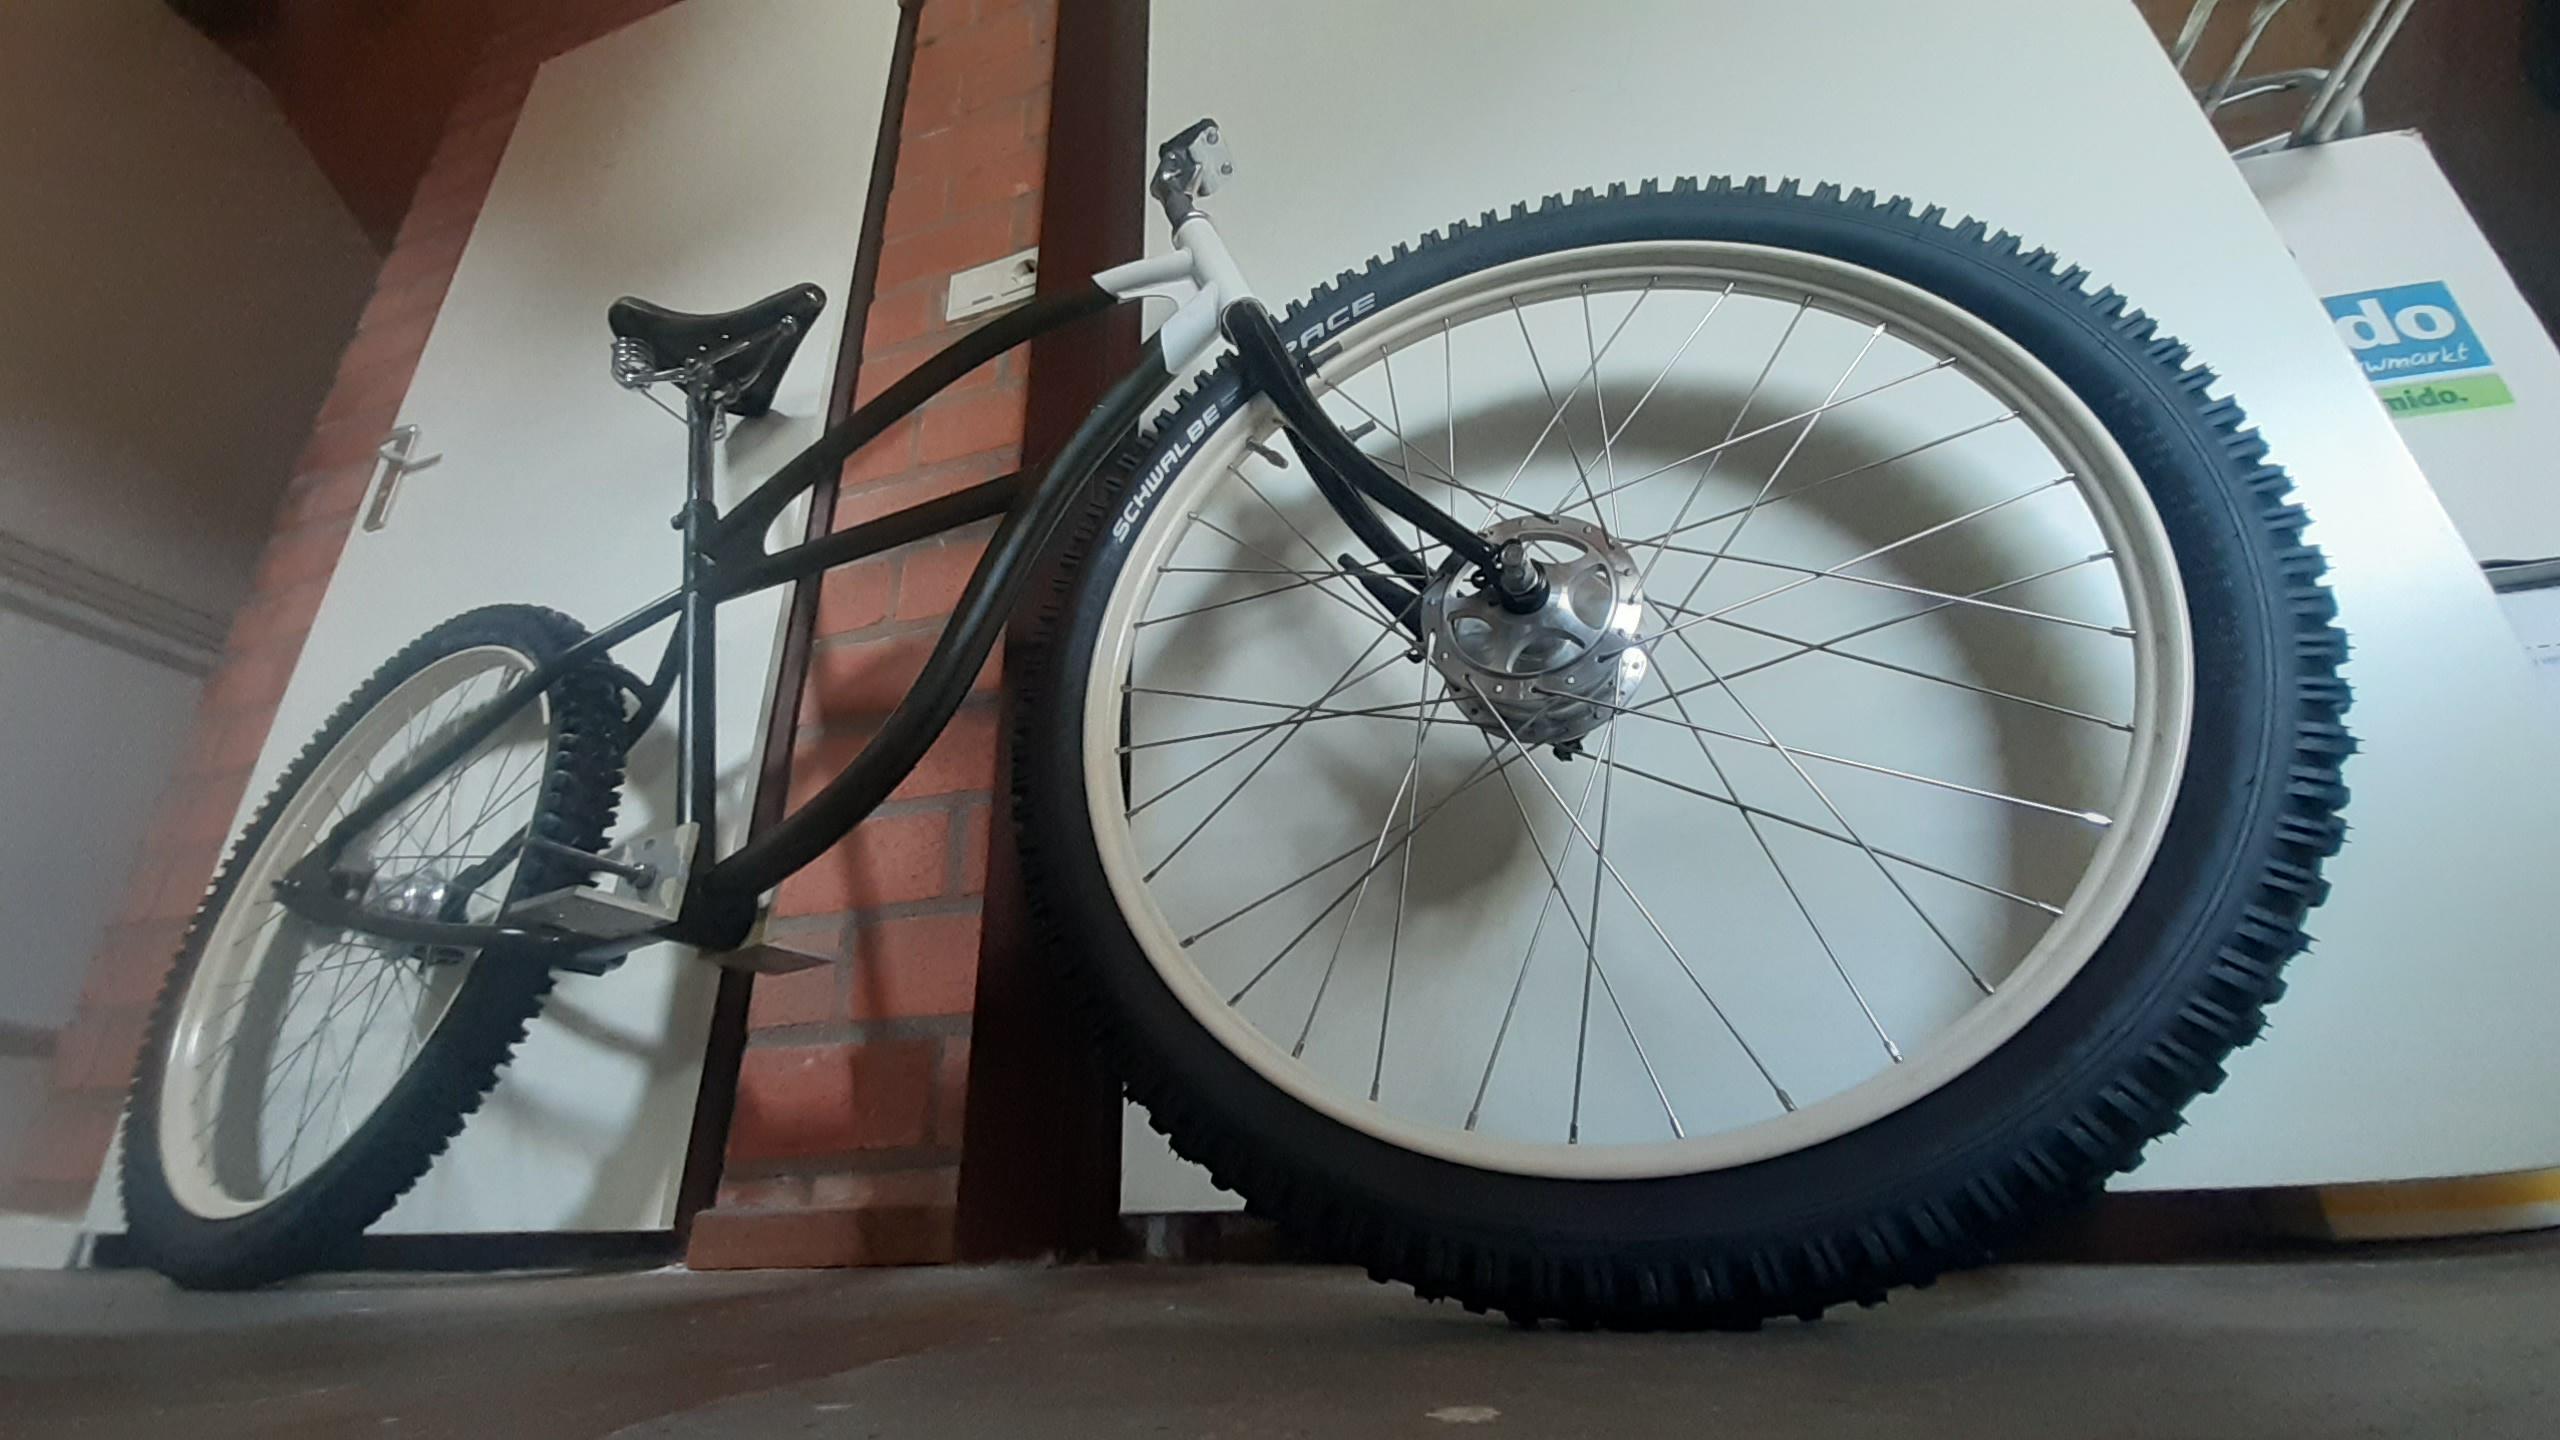
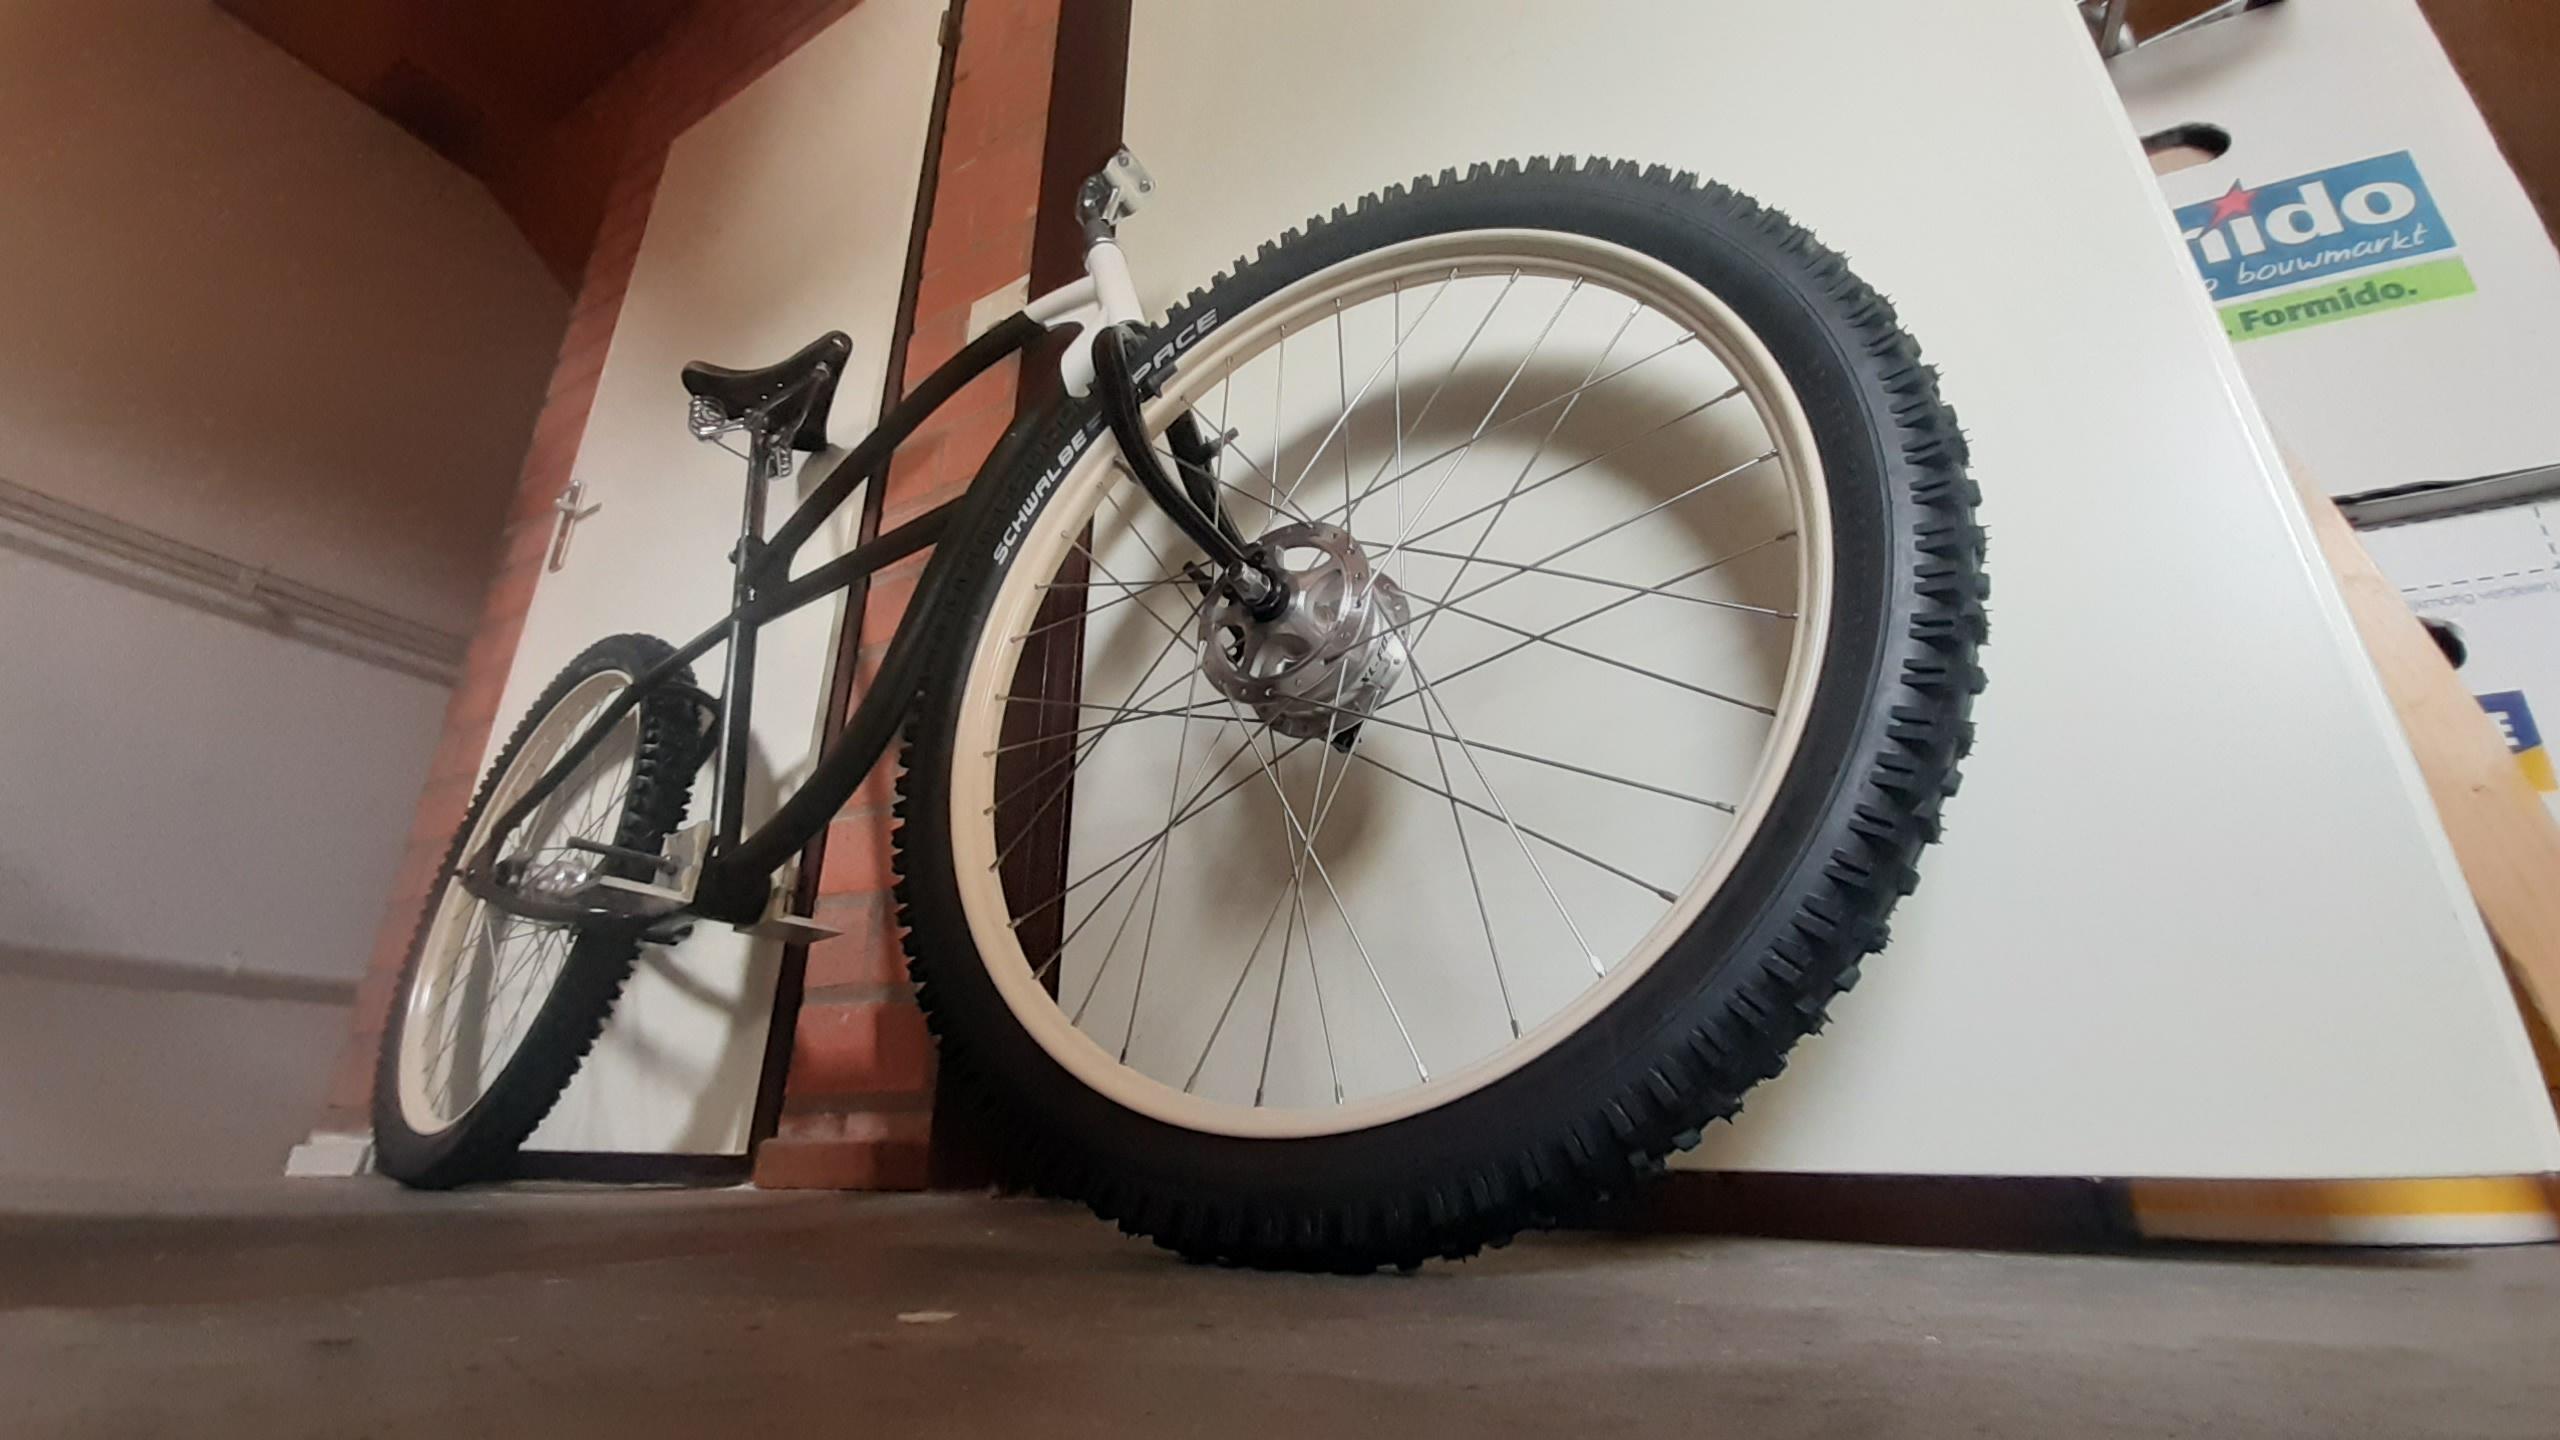
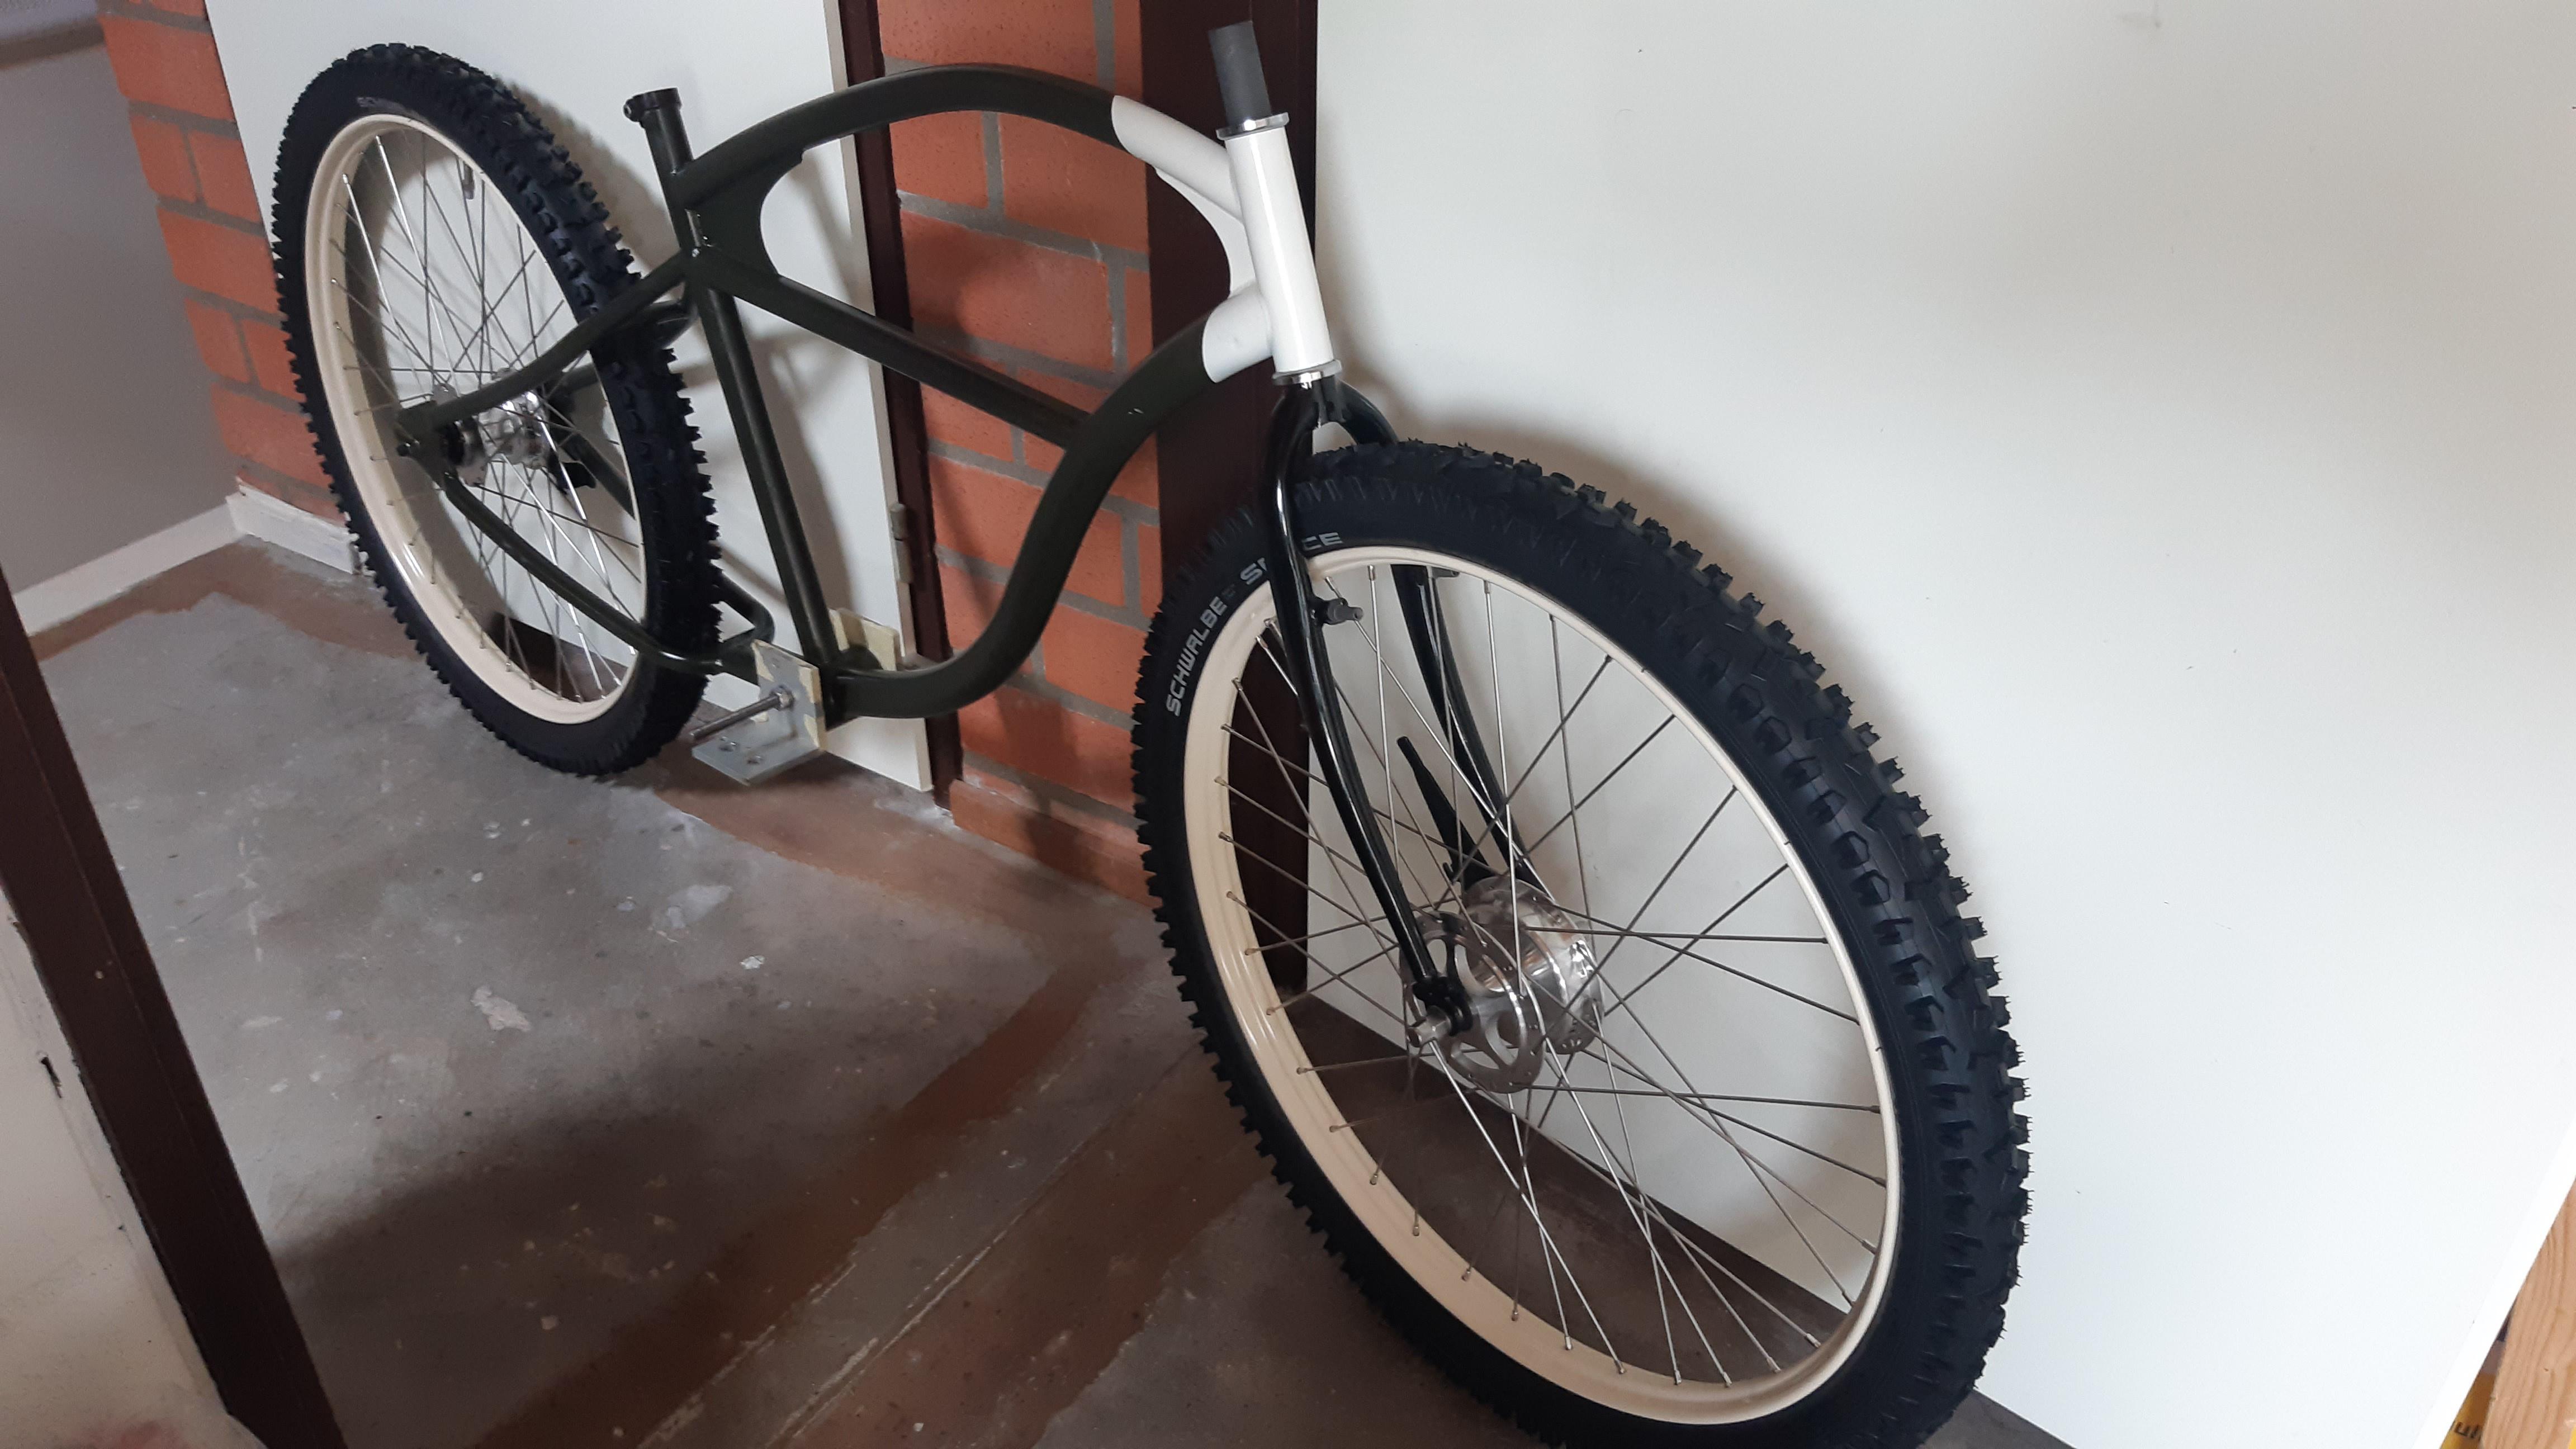
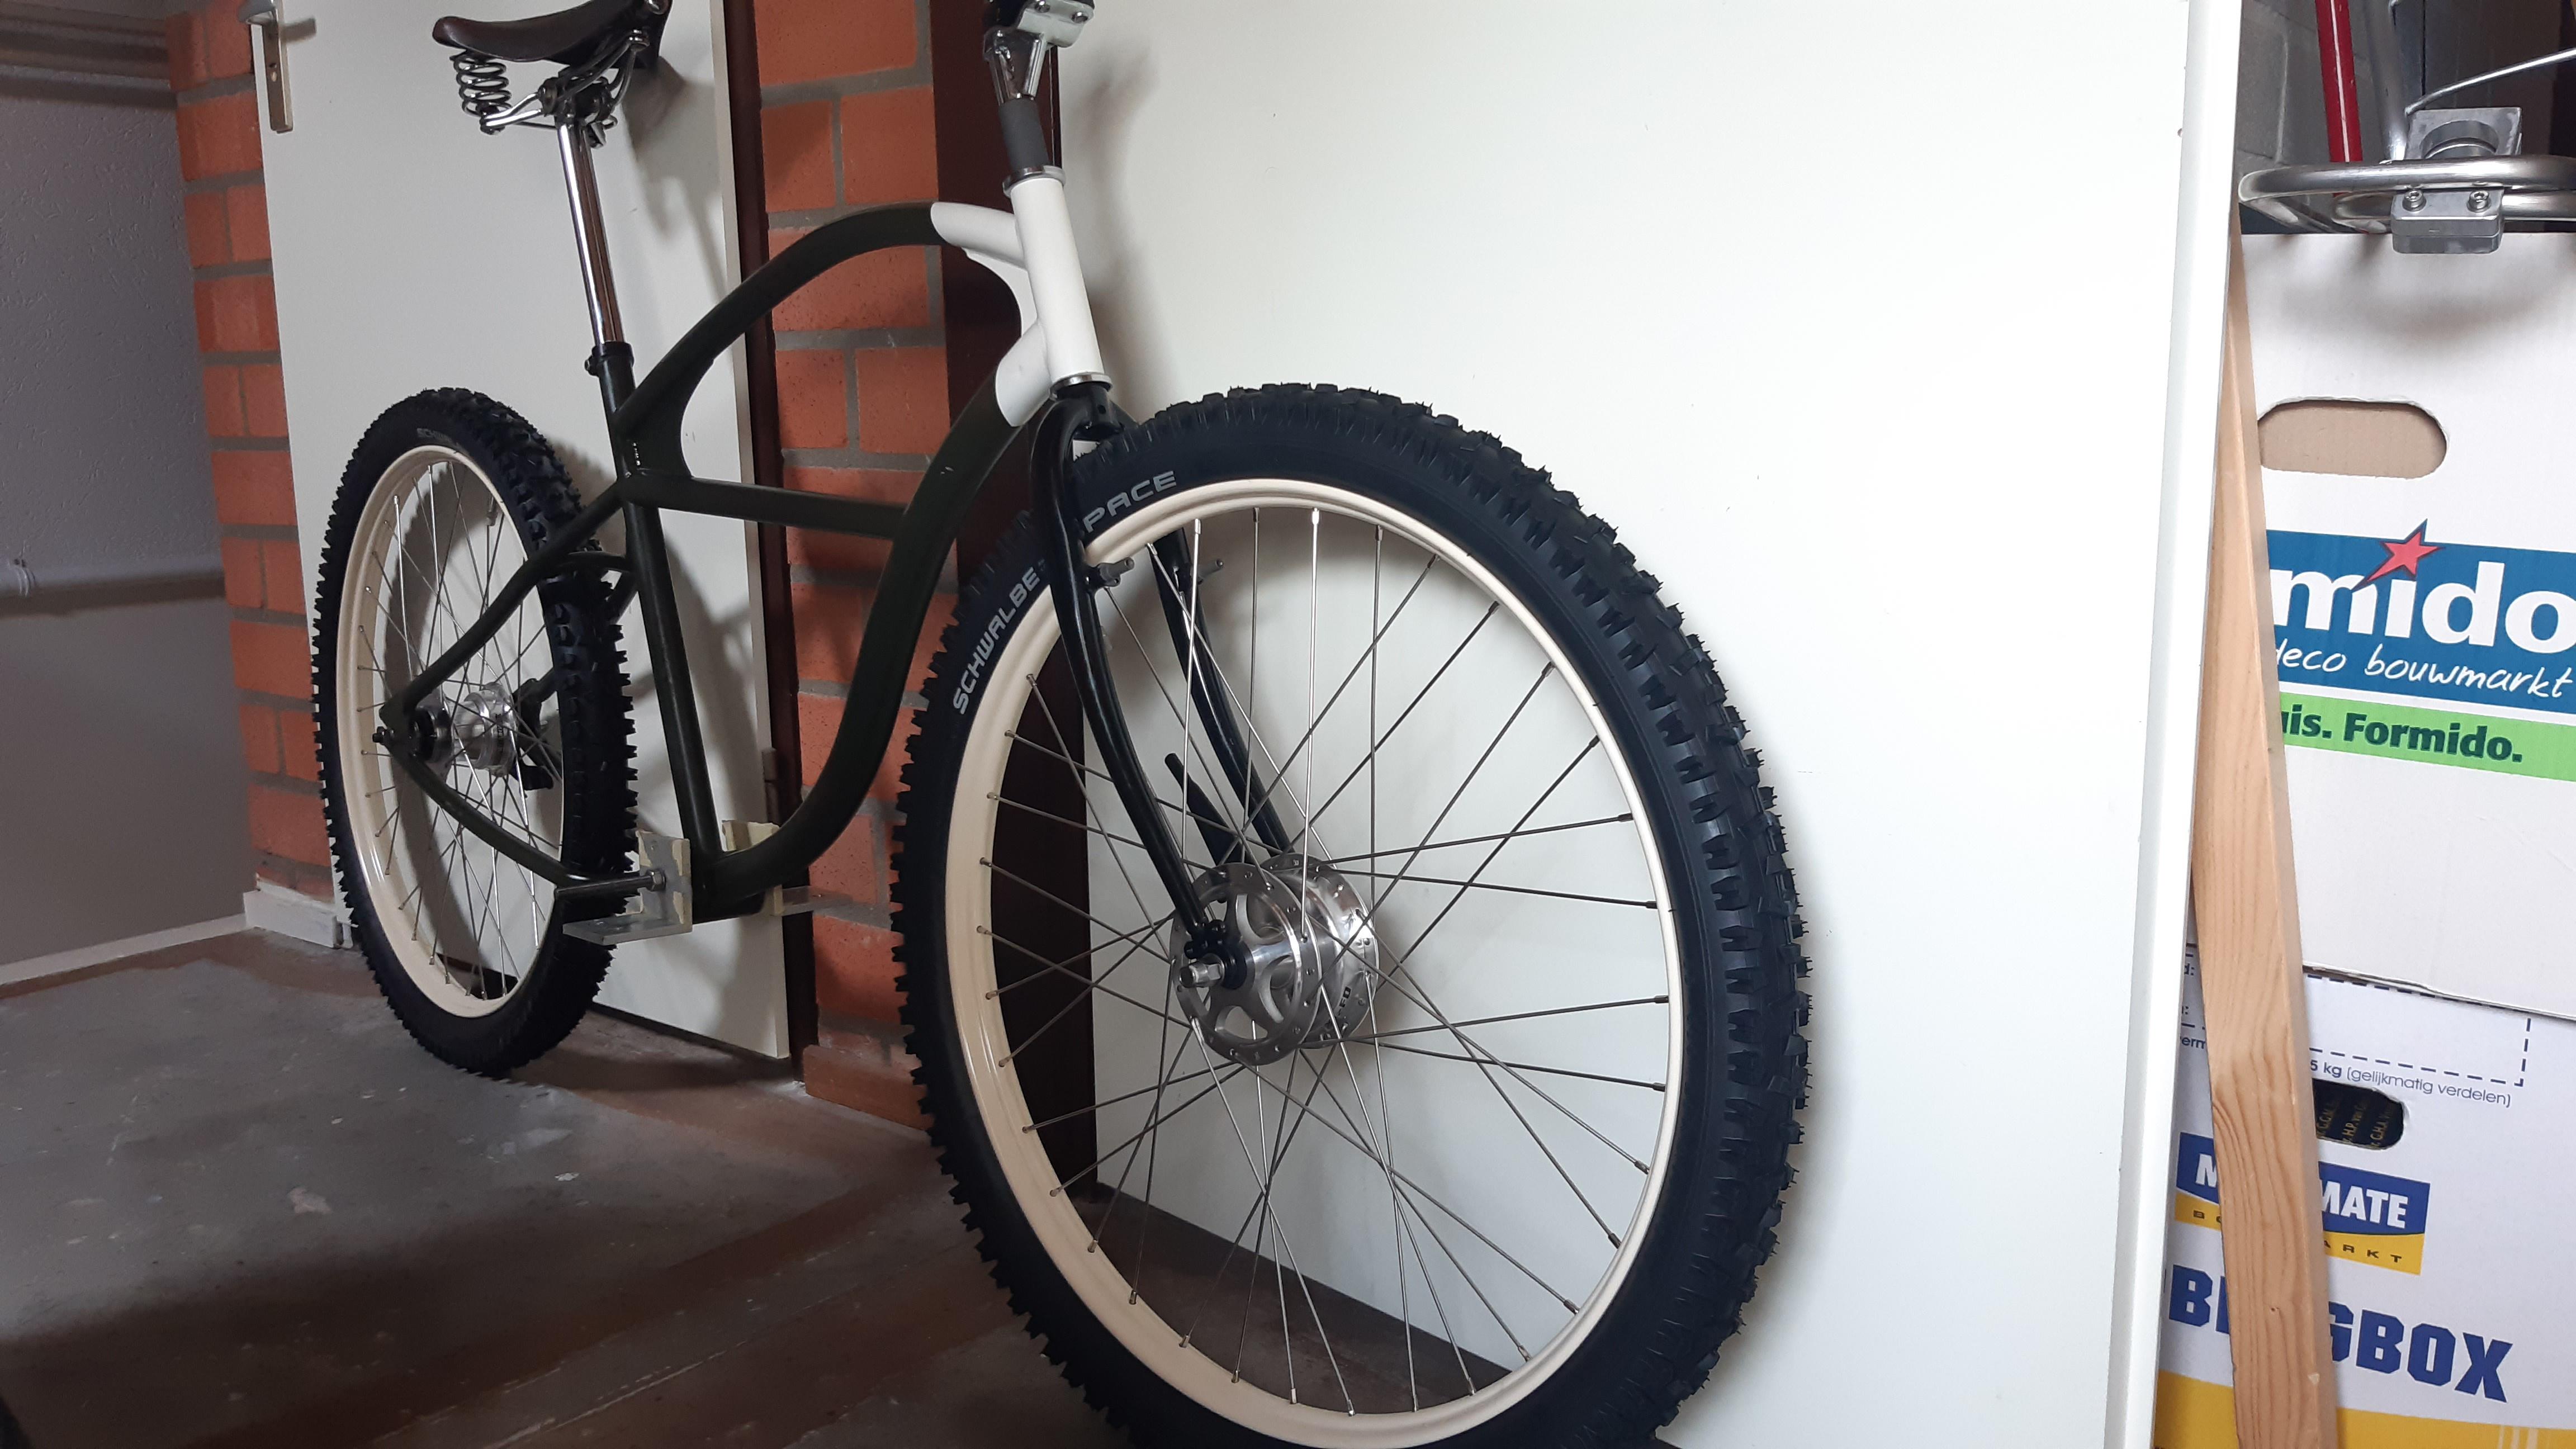
Electra RS Klunker build

Rat Rod Bikes Bicycle Forum

Help Support Rat Rod Bikes Bicycle Forum:

This site may earn a commission from merchant affiliate links, including eBay, Amazon, and others.
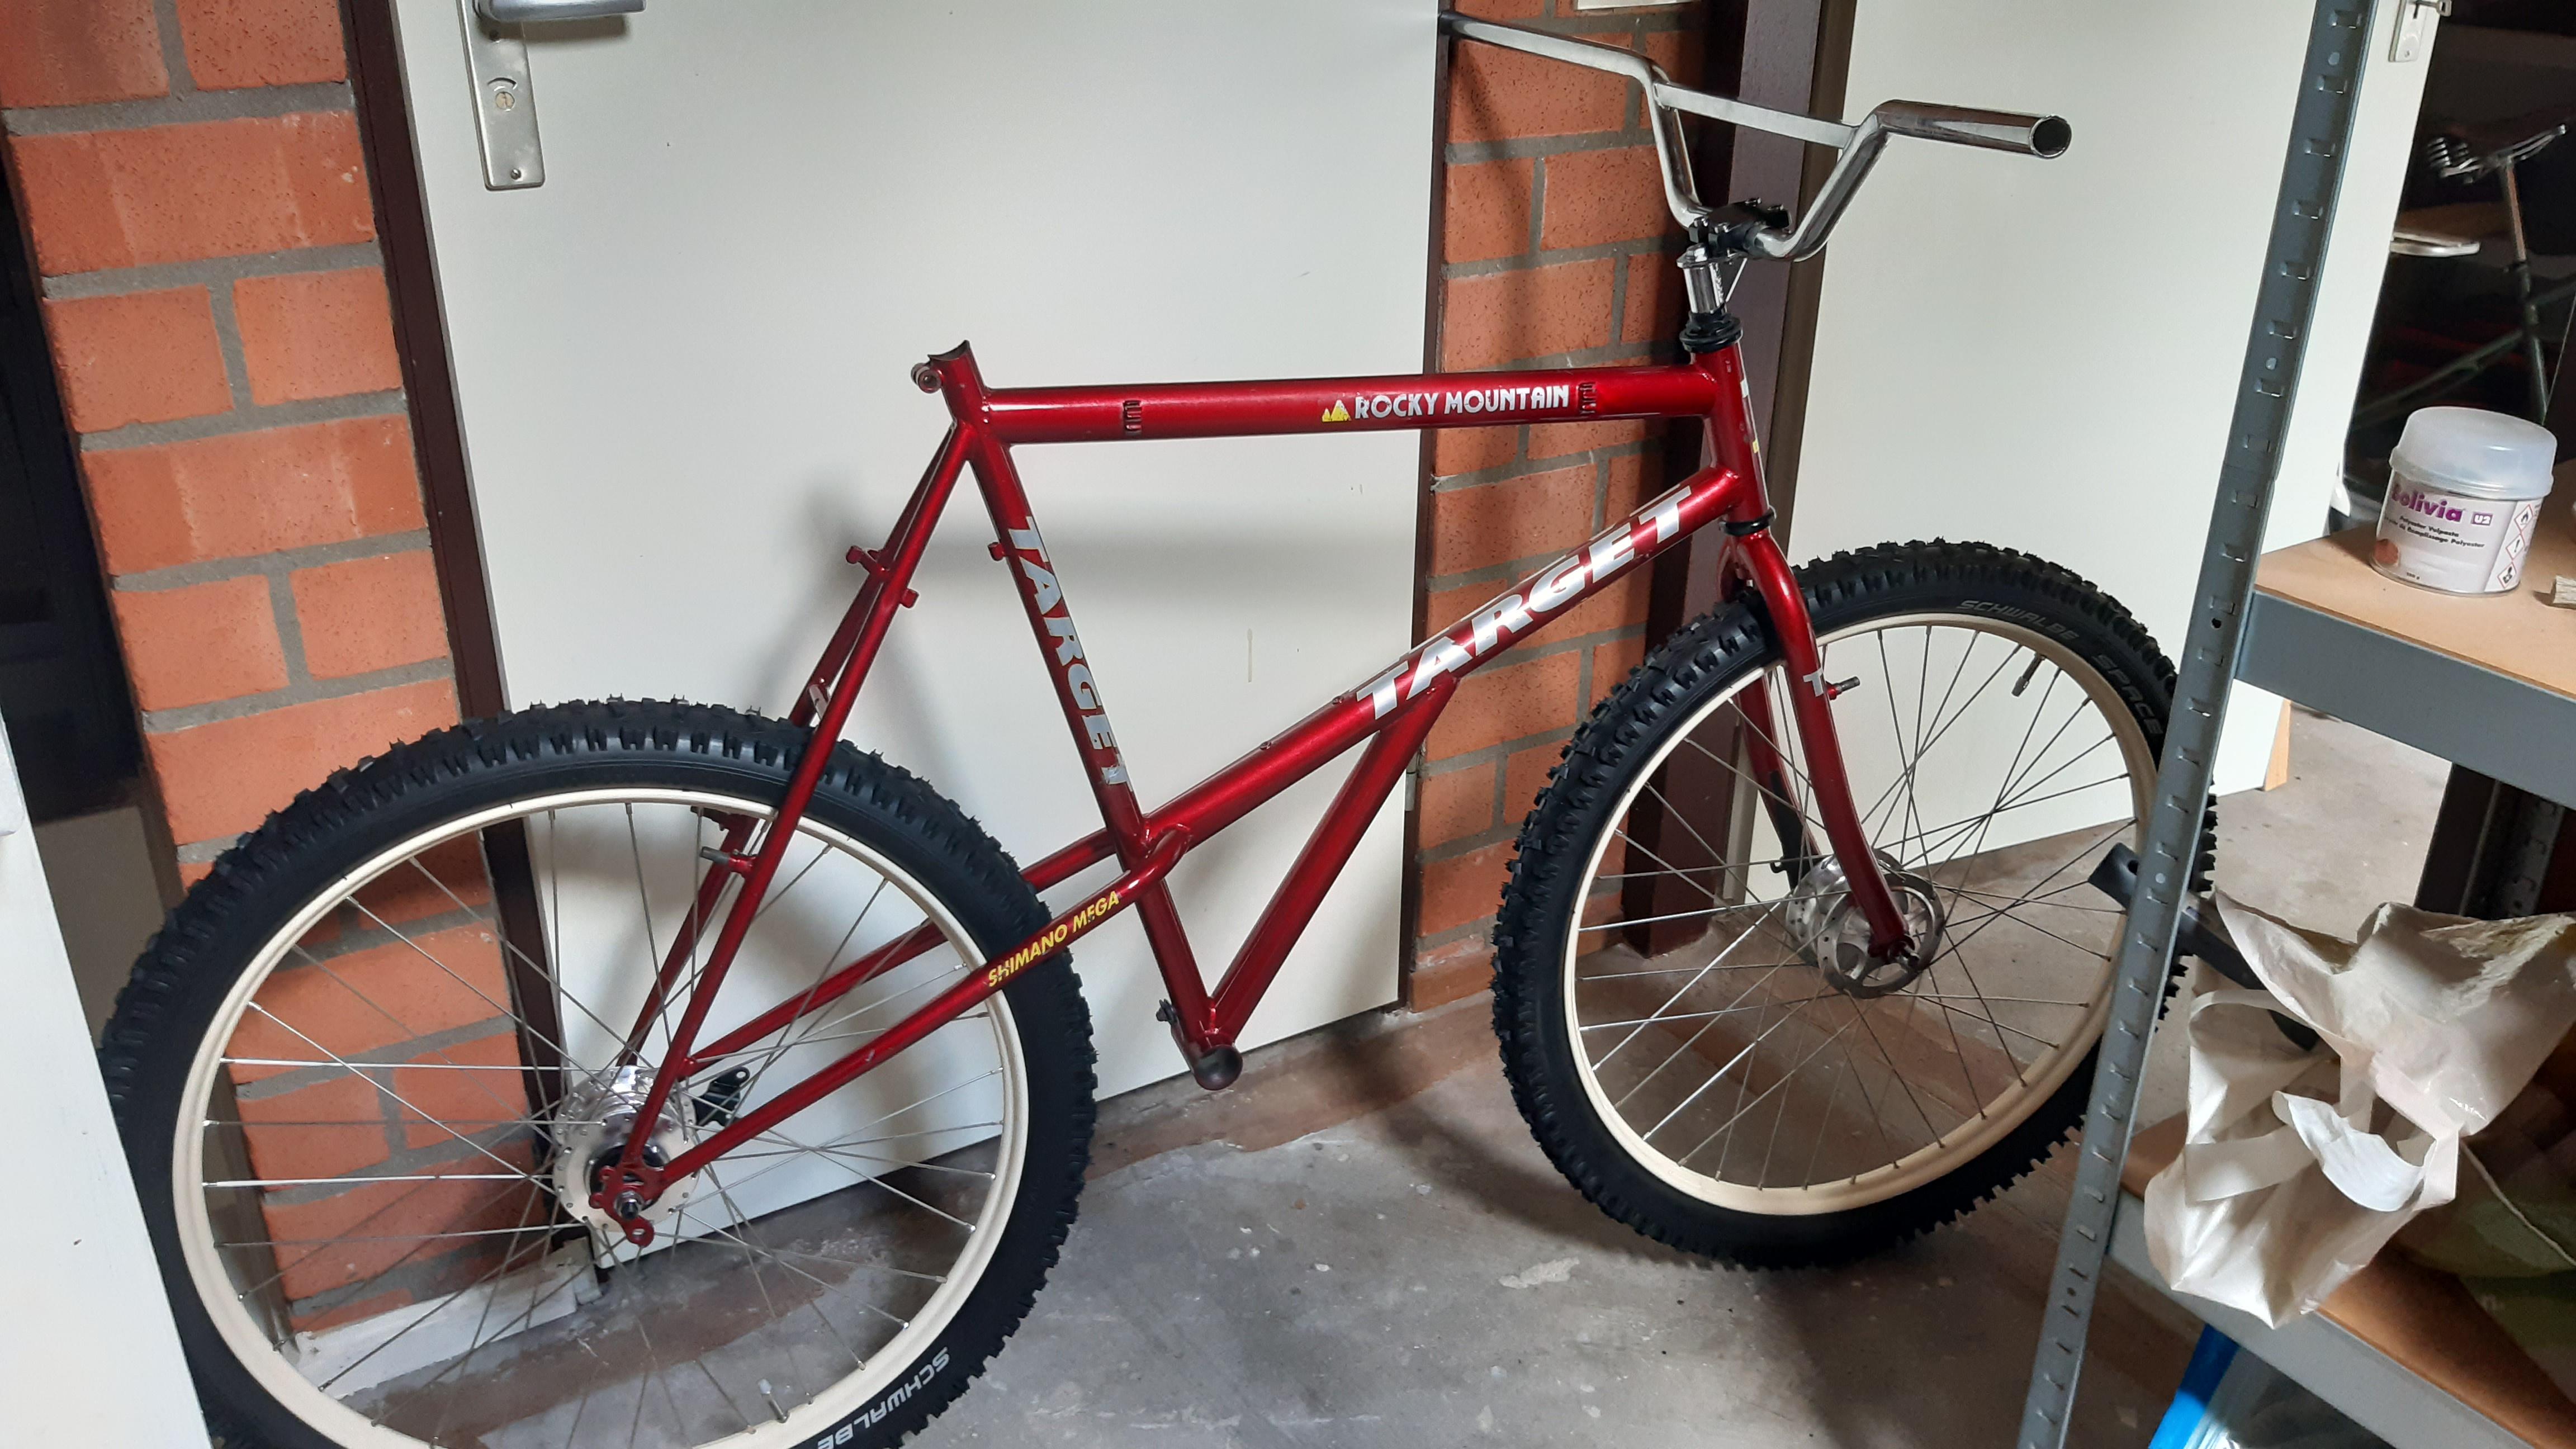
The truss is really awesome, looks great. Your e stay is confusing me now, I thought you had one of these, Rocky Mountain is the brand
Summit 1.jpg

Do you have a picture of the headbadge?
 
Update:

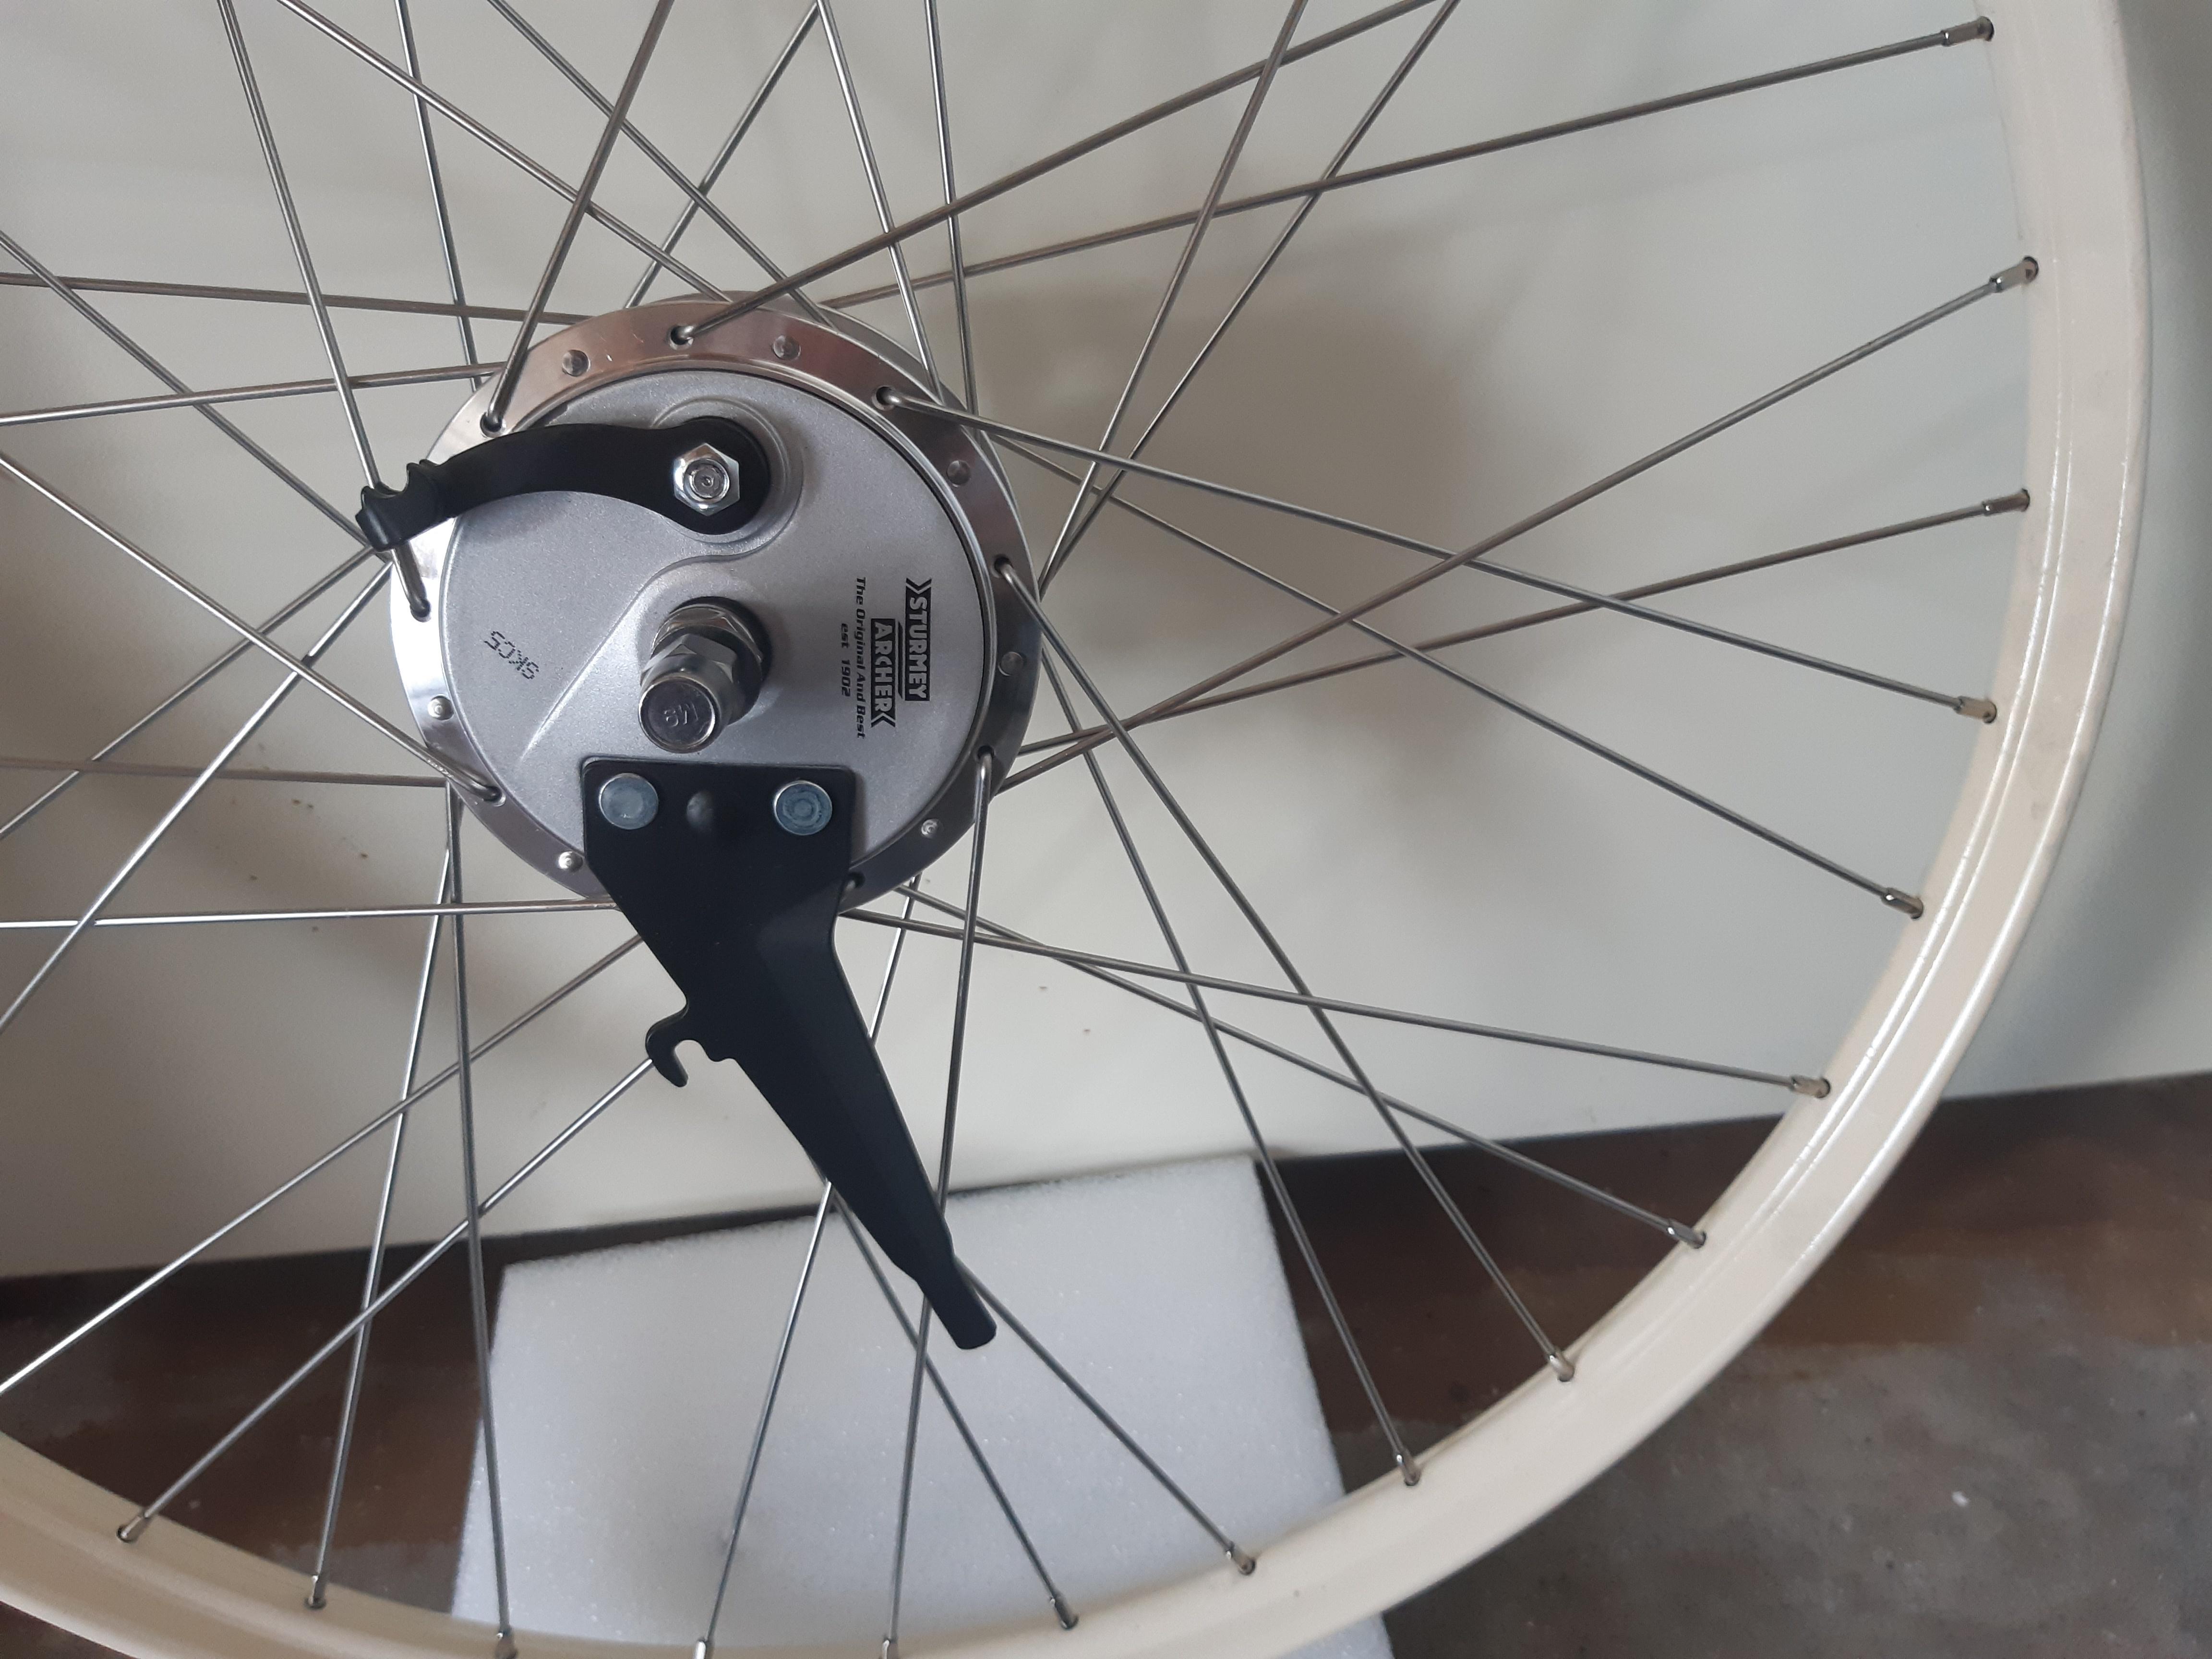
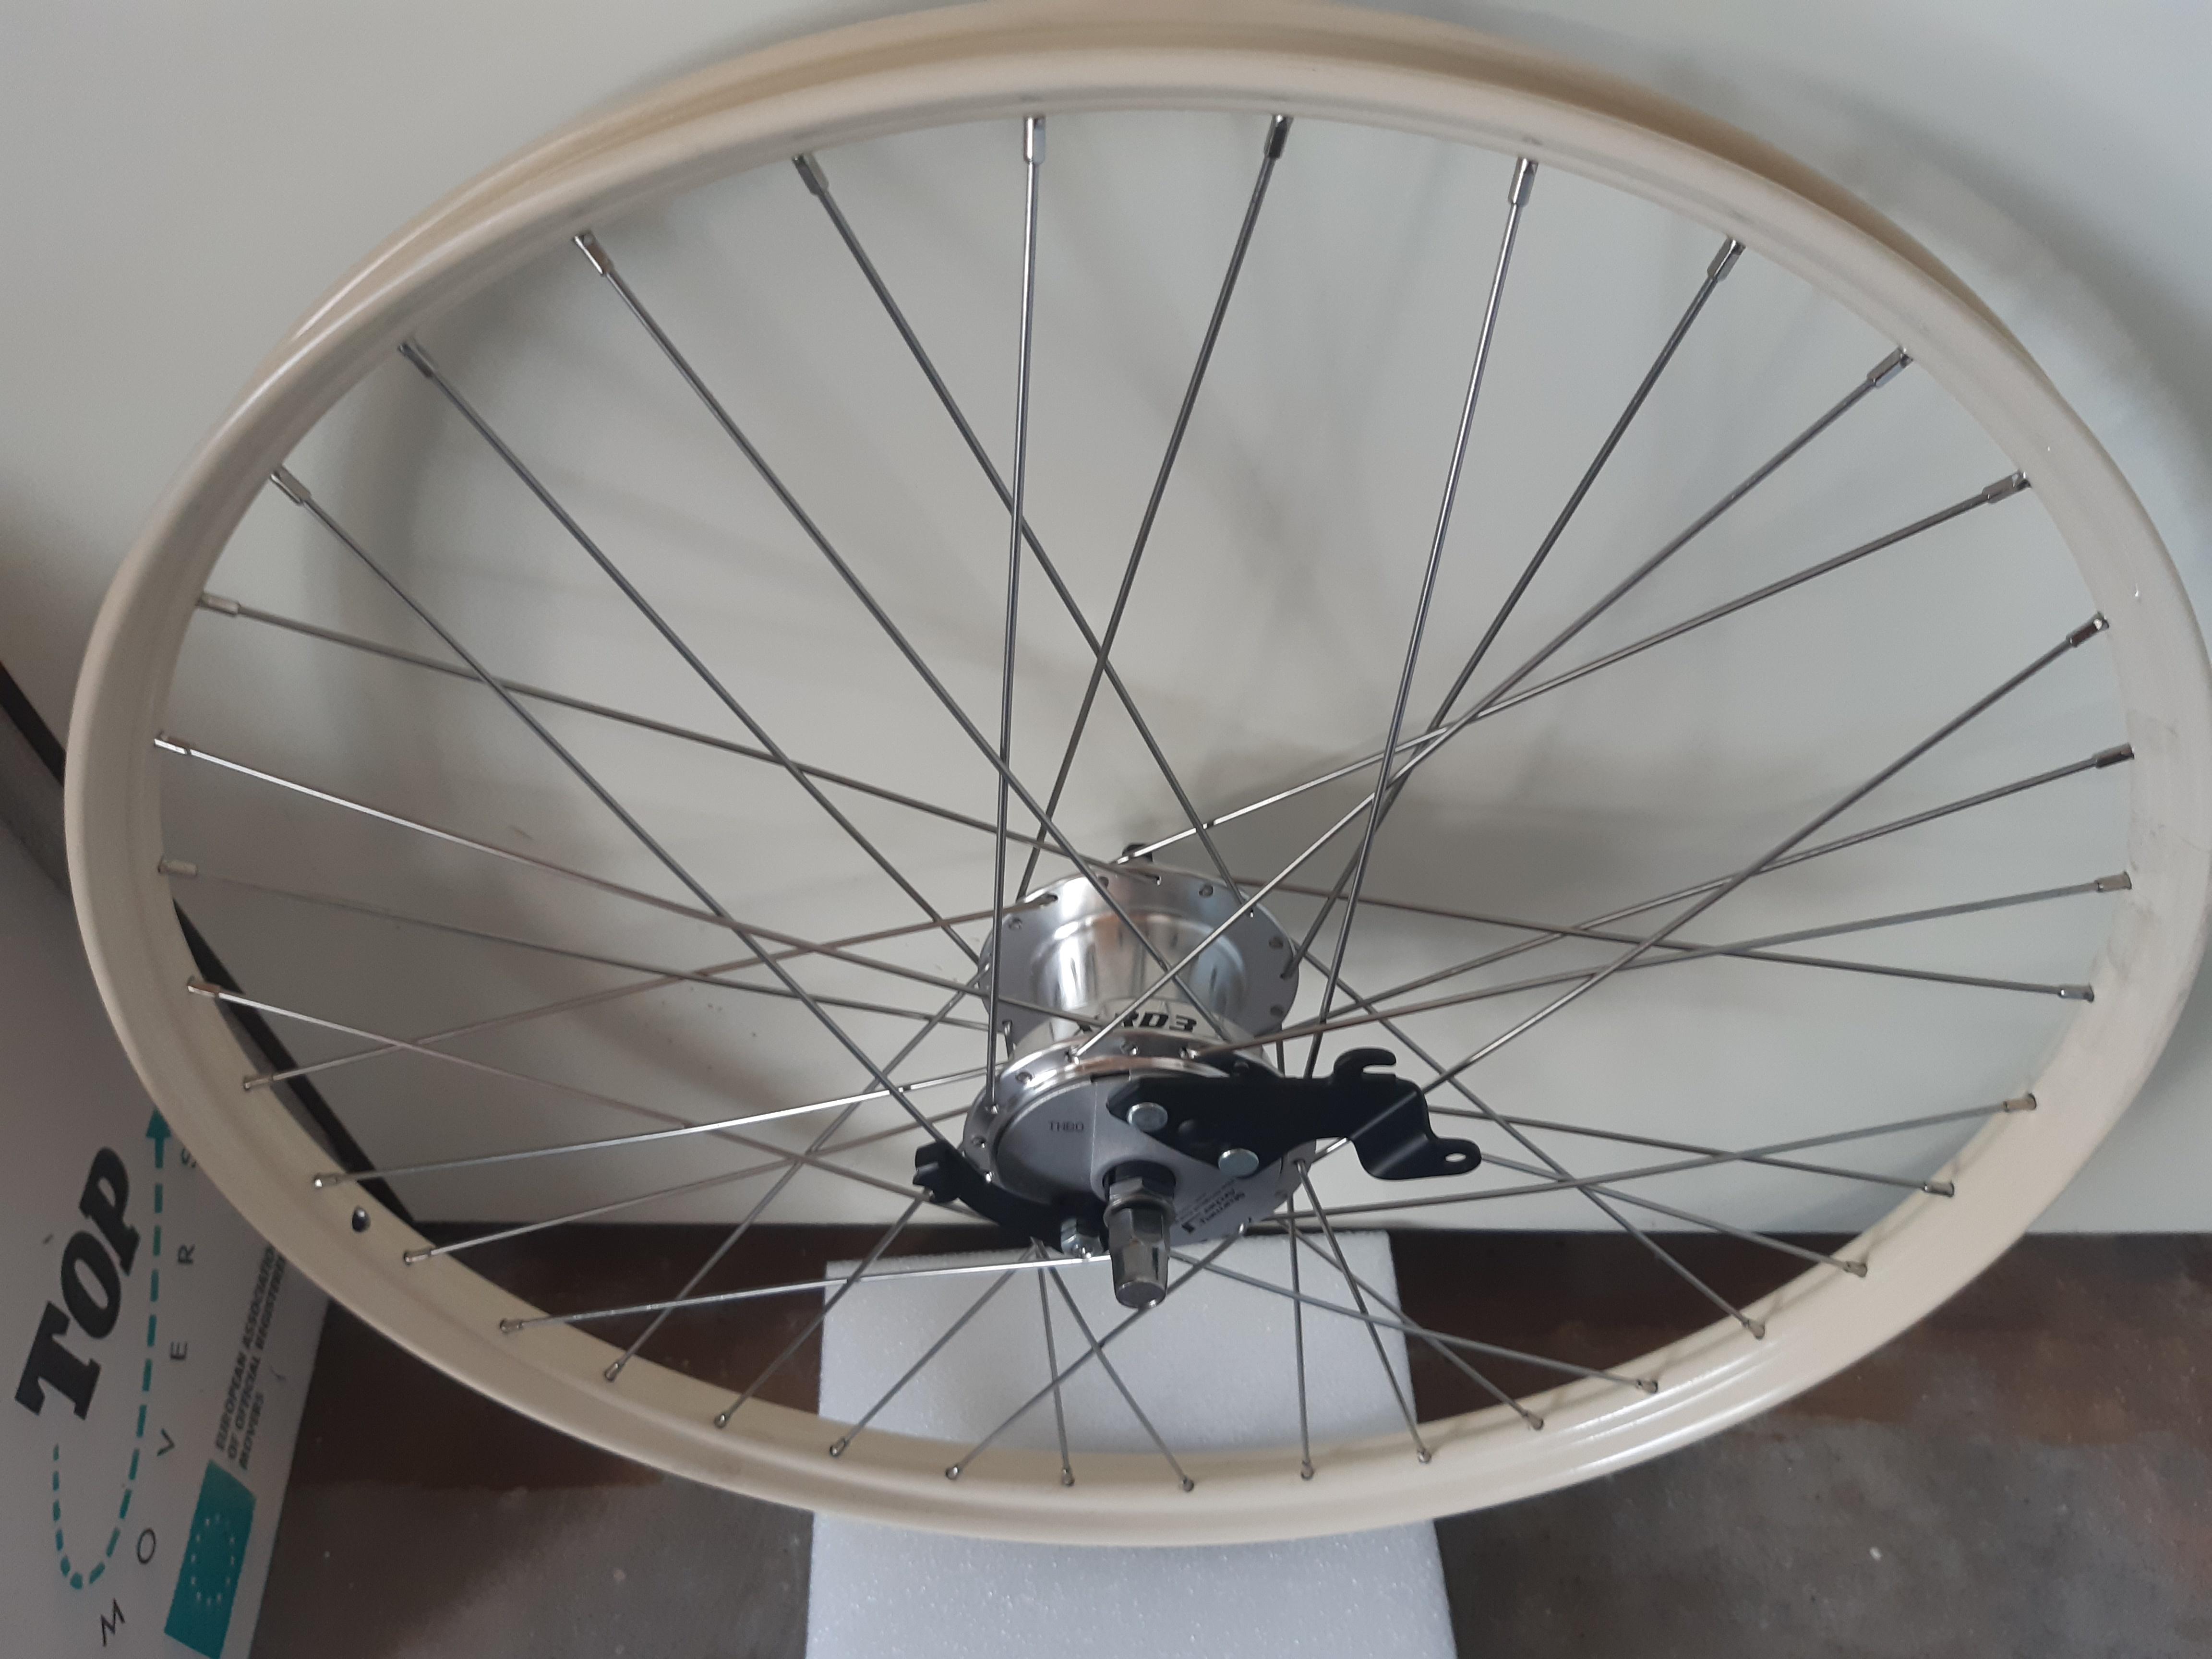
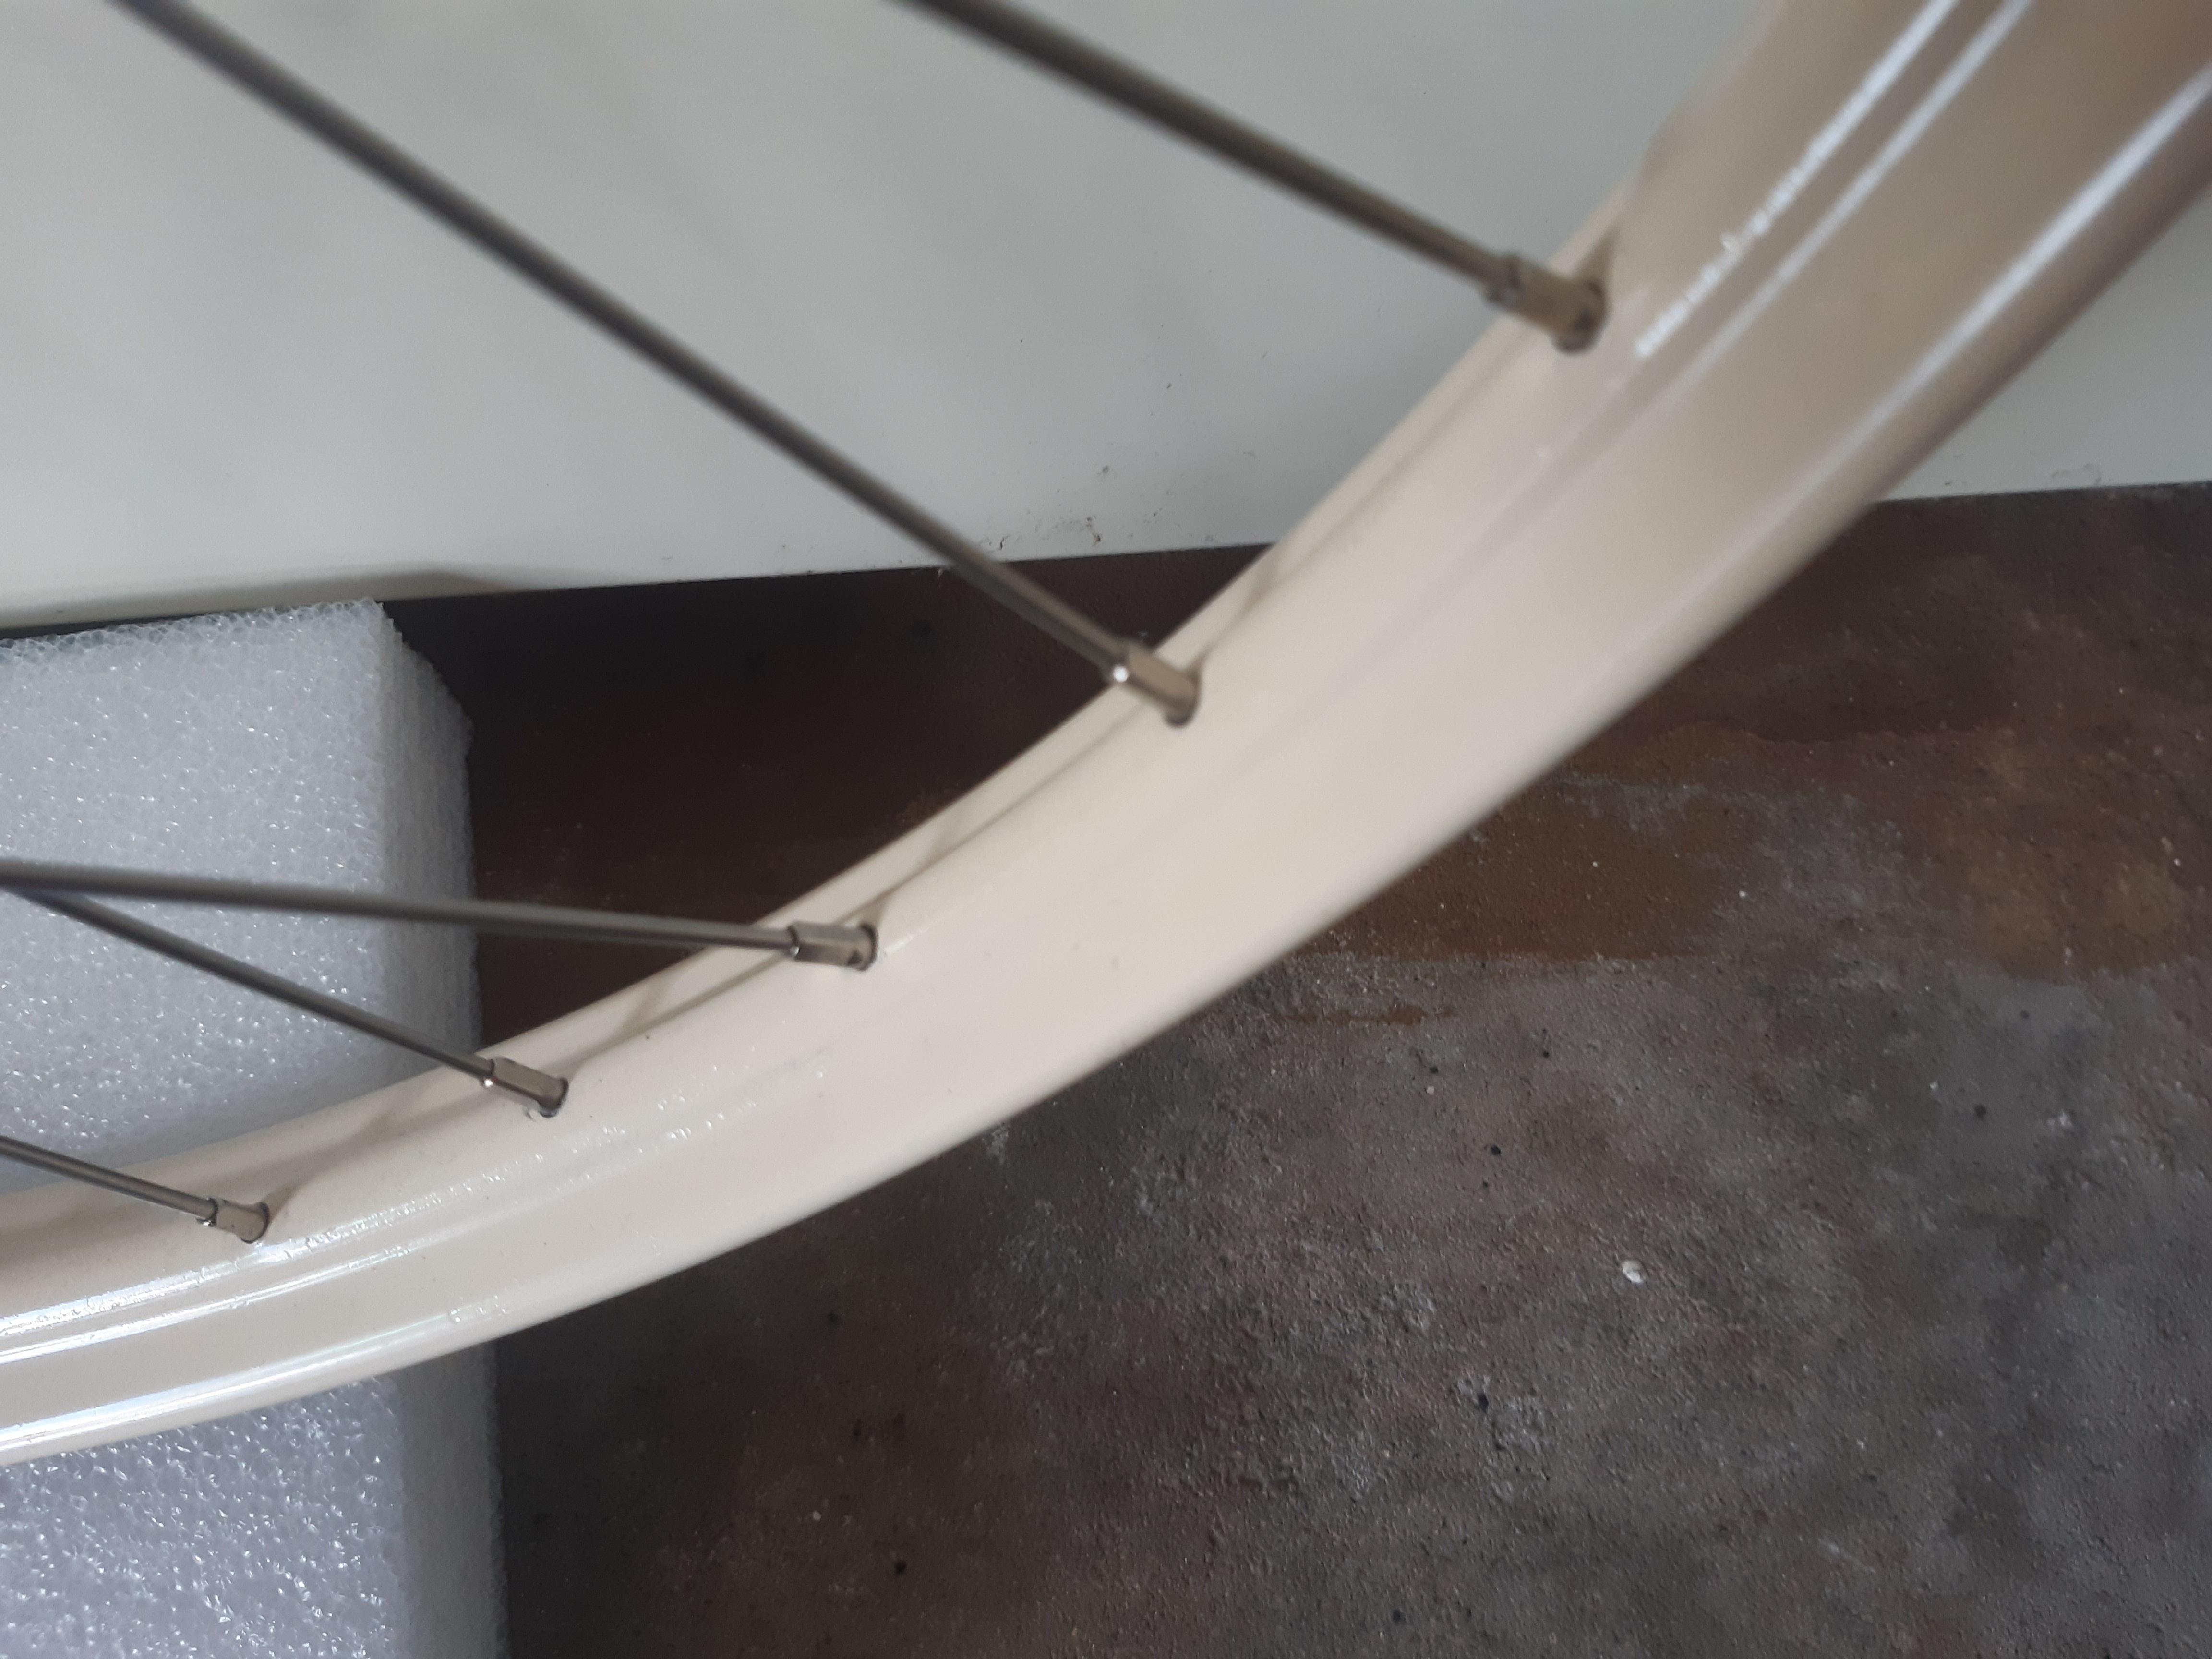
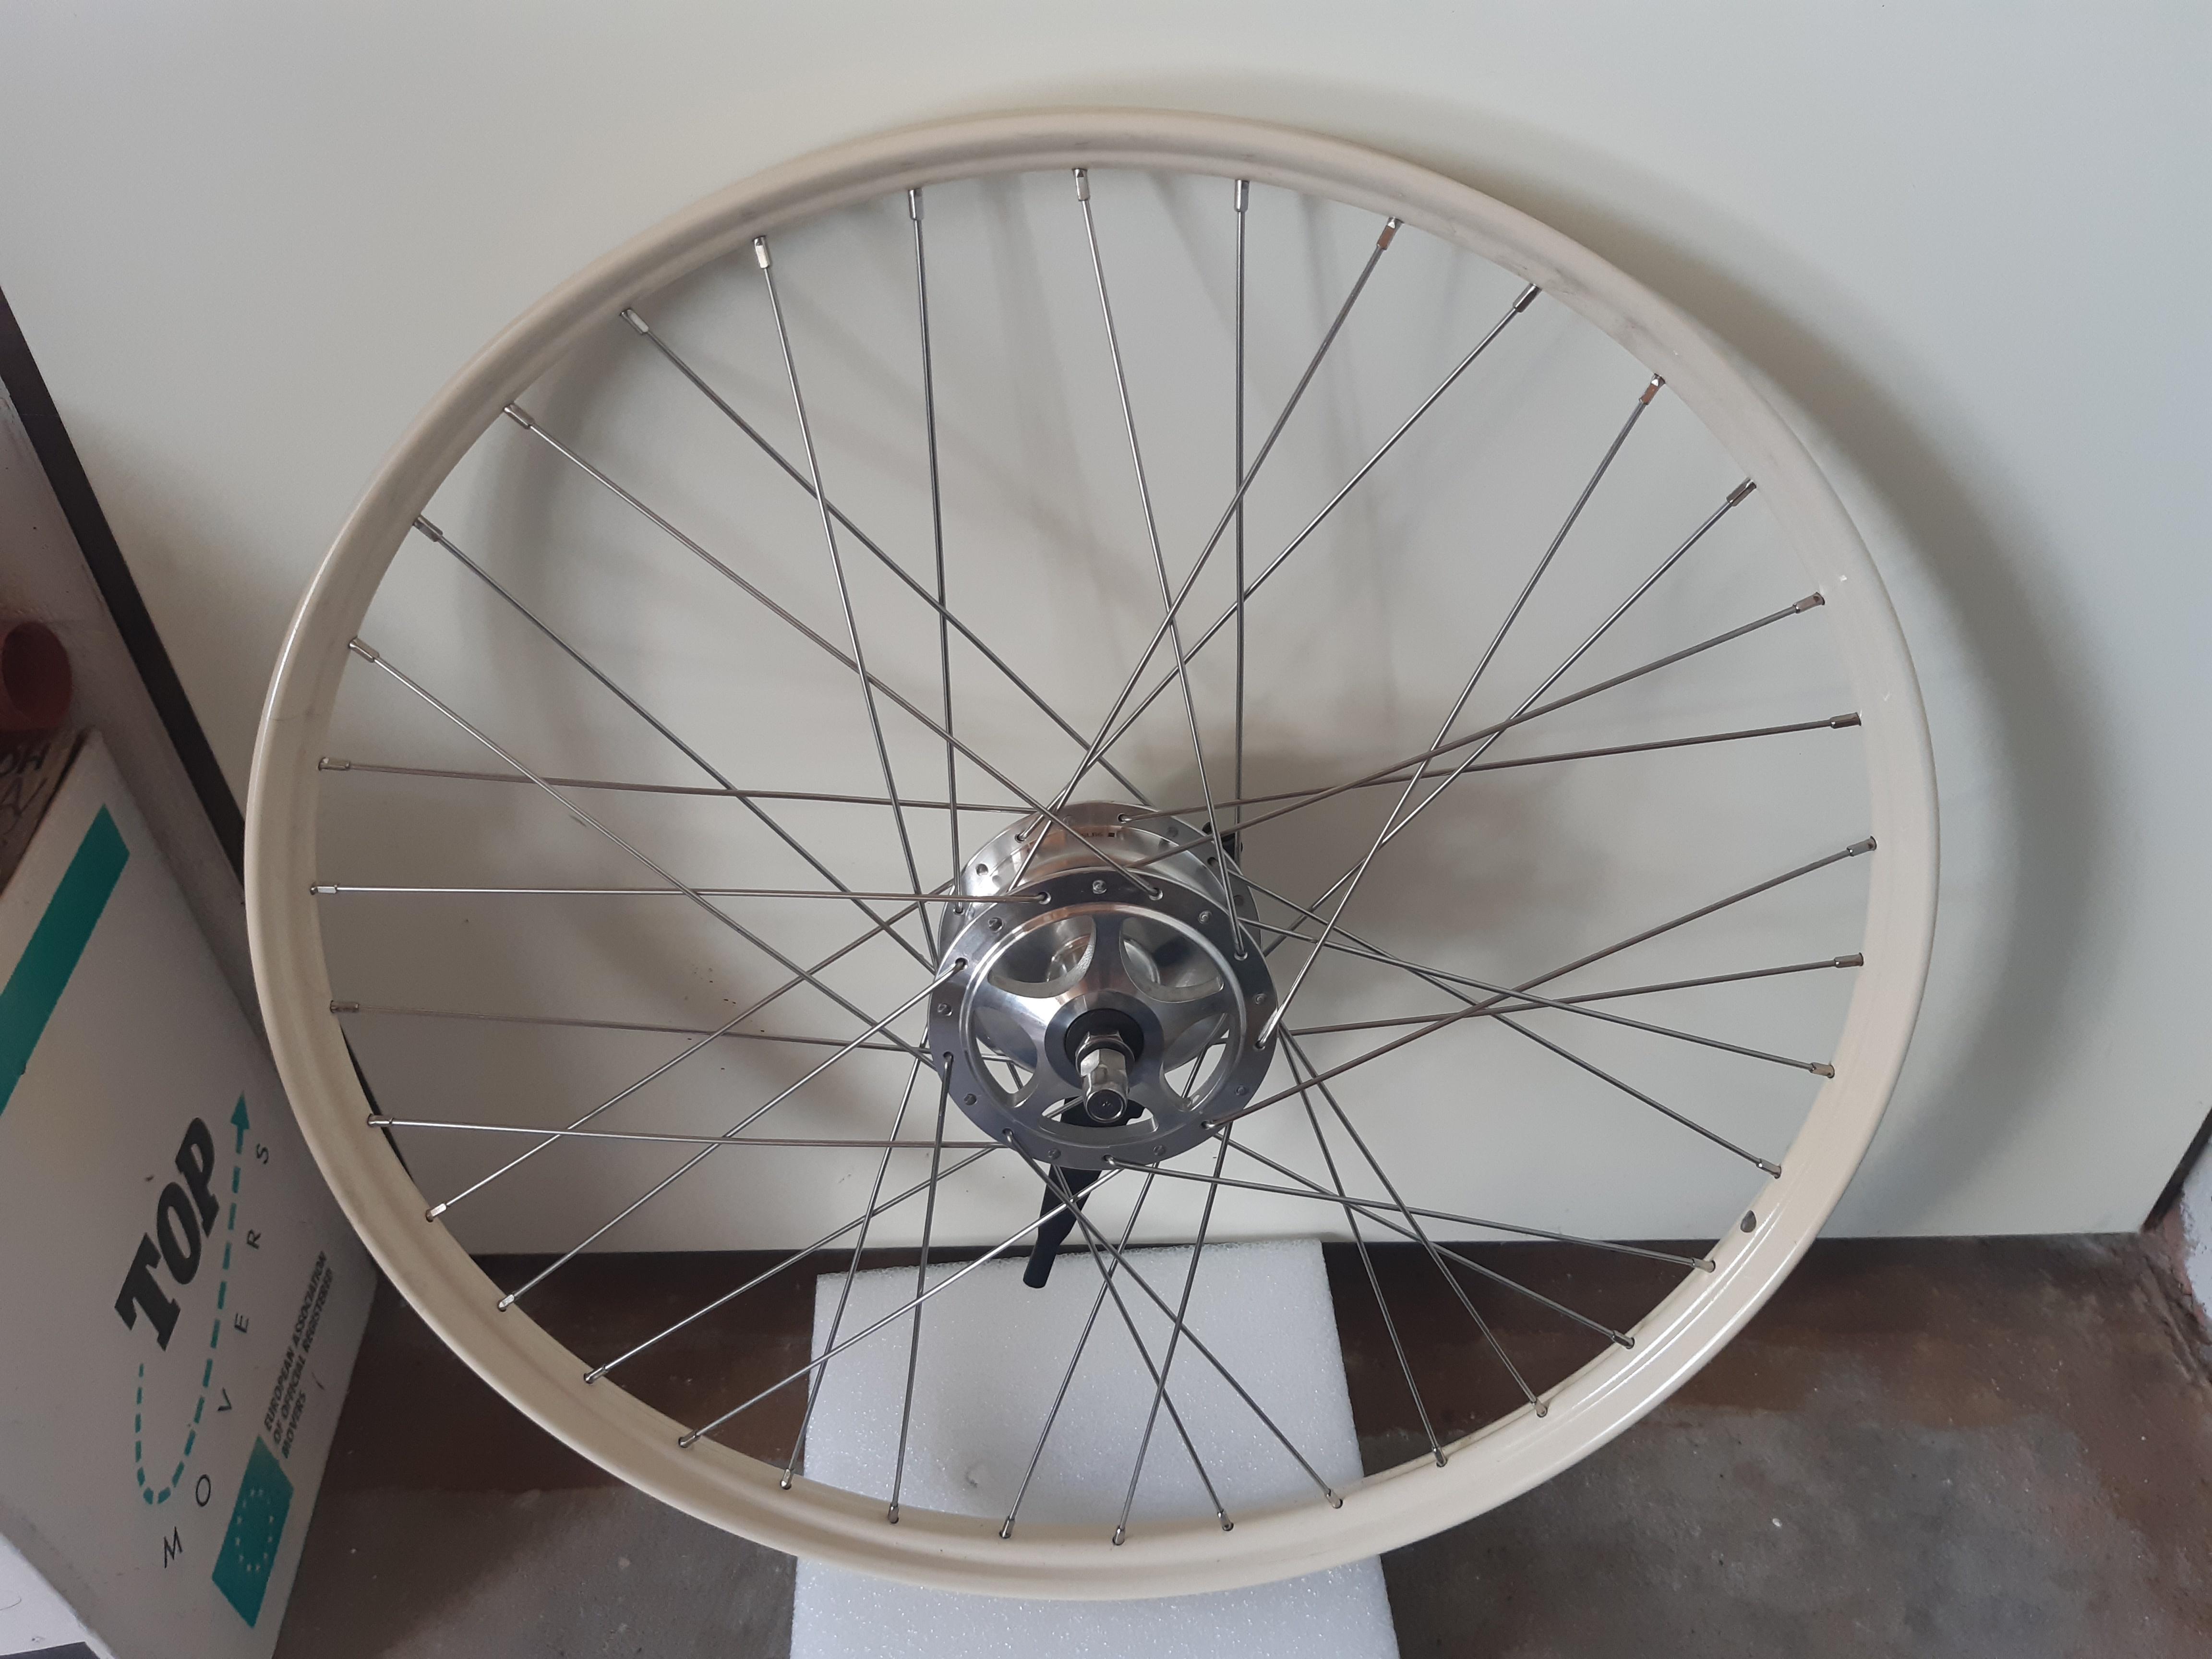
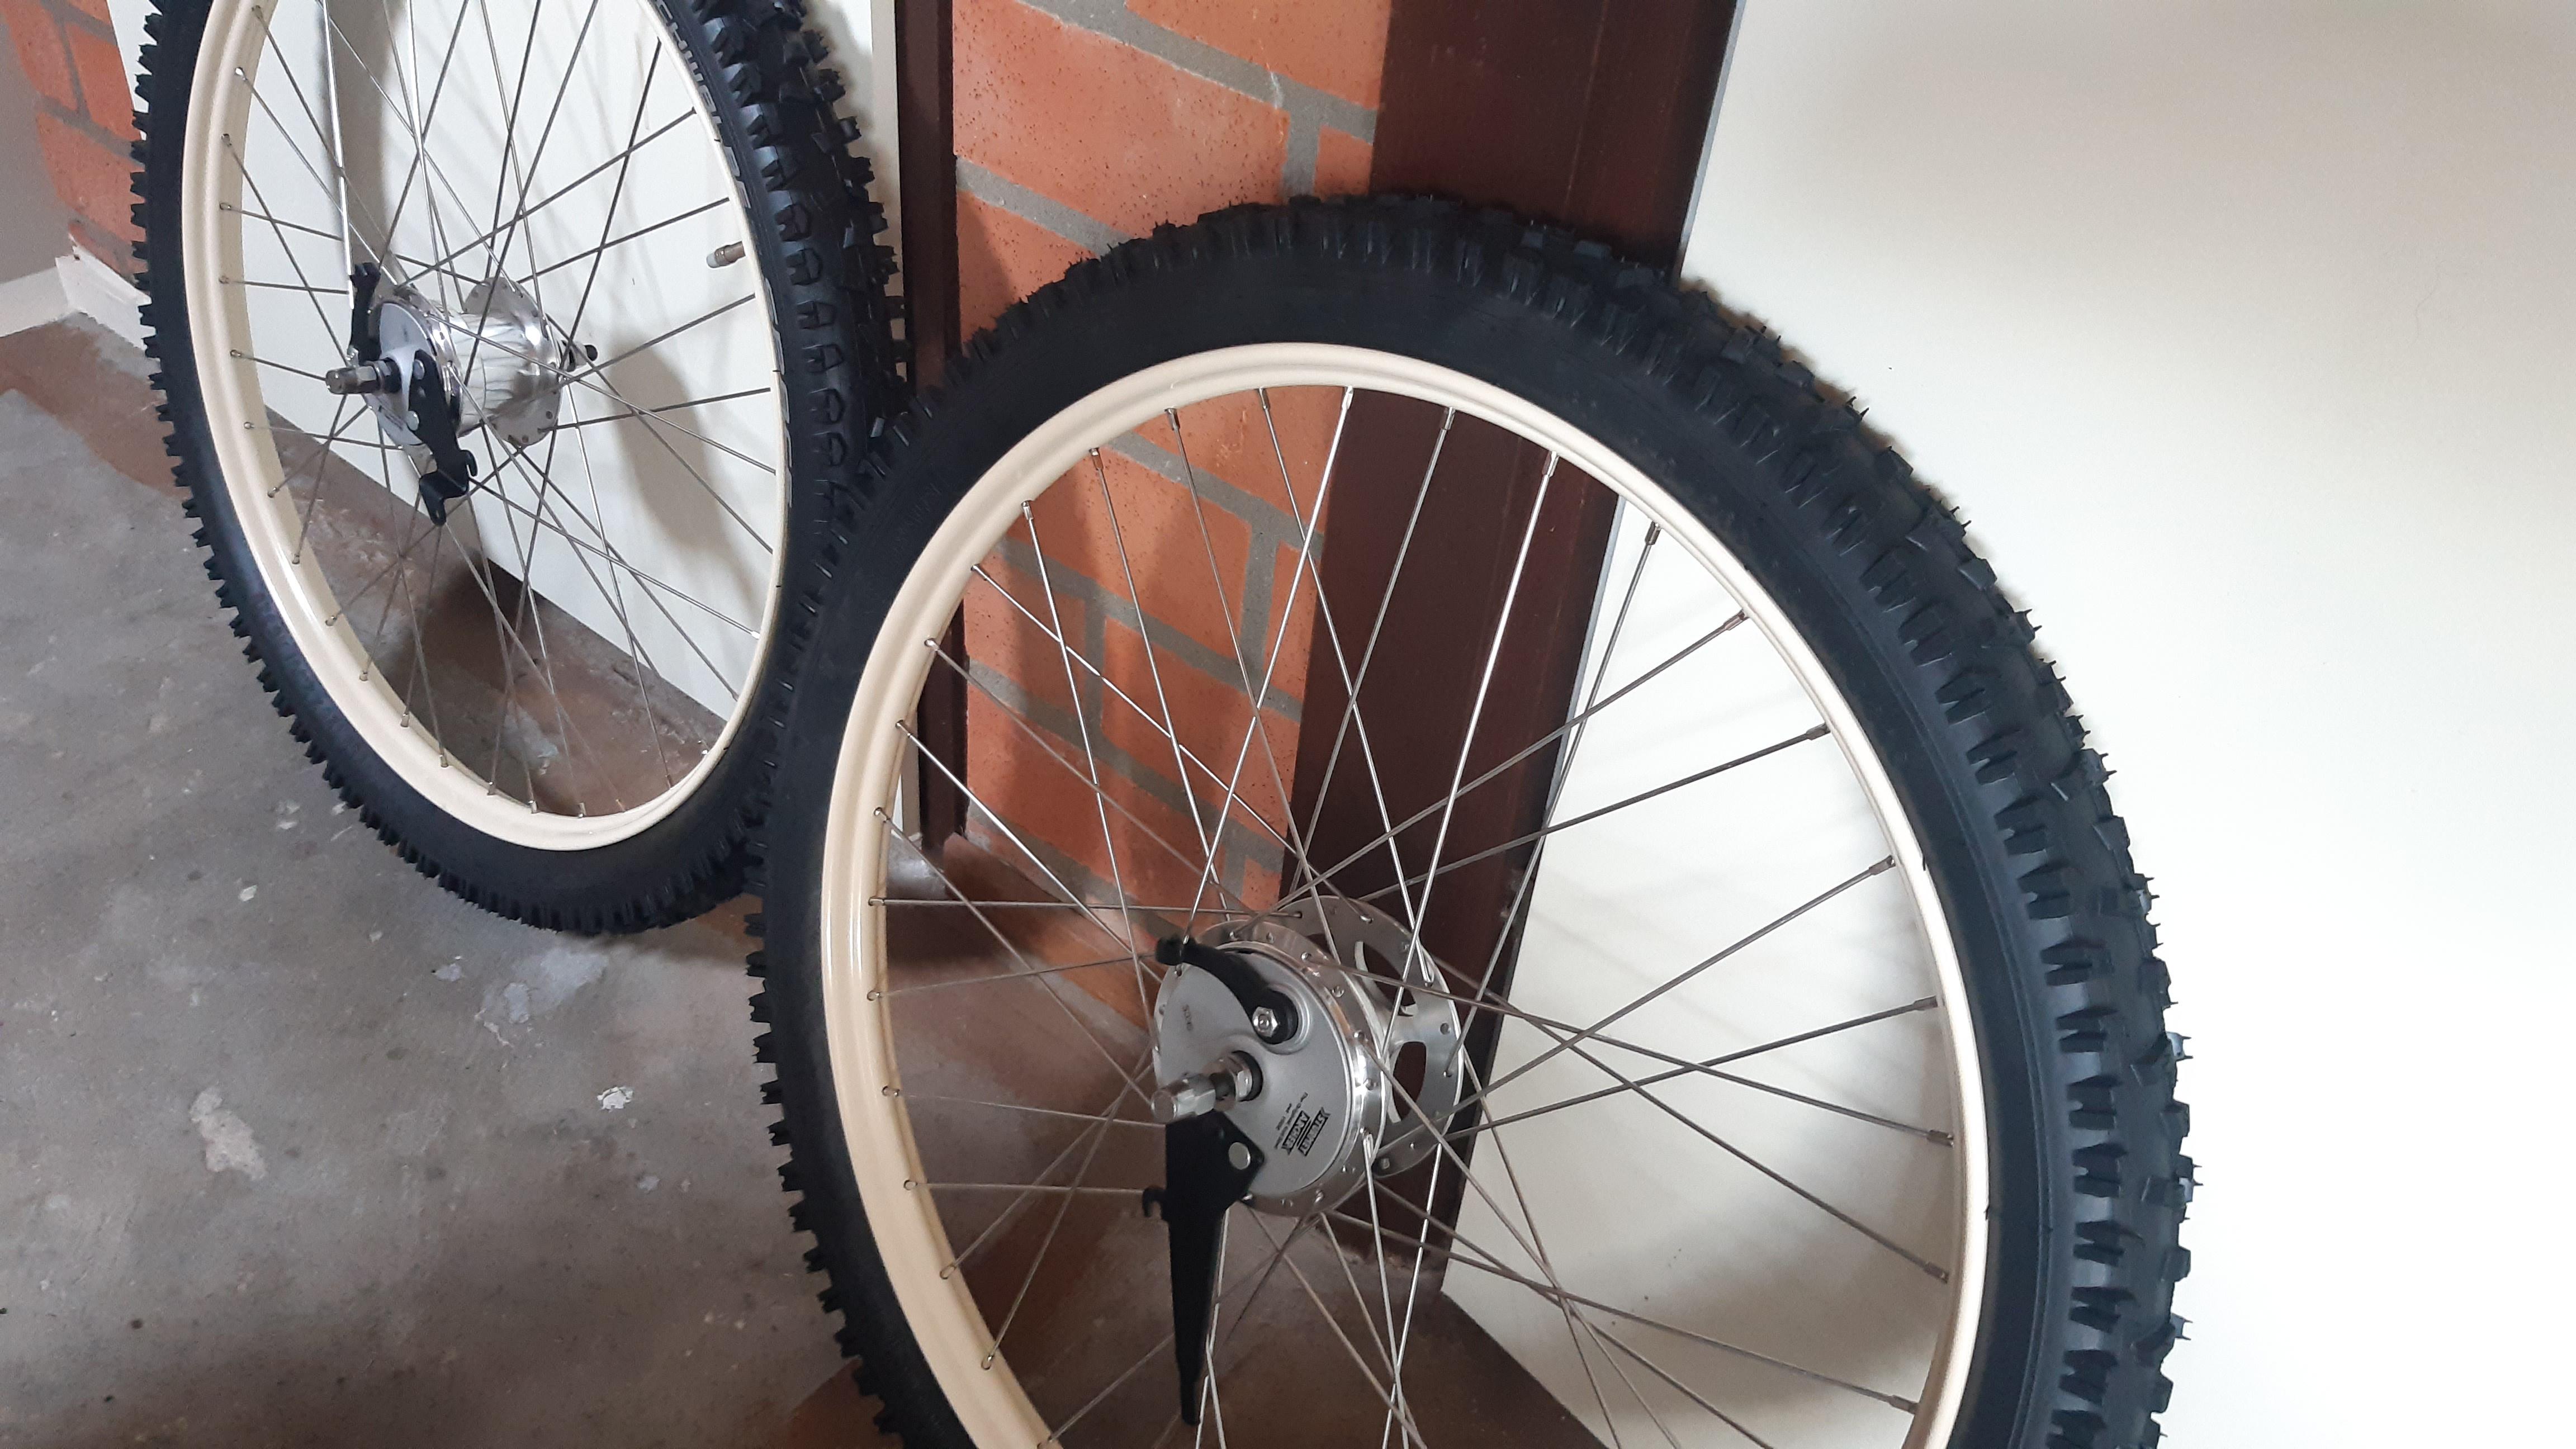
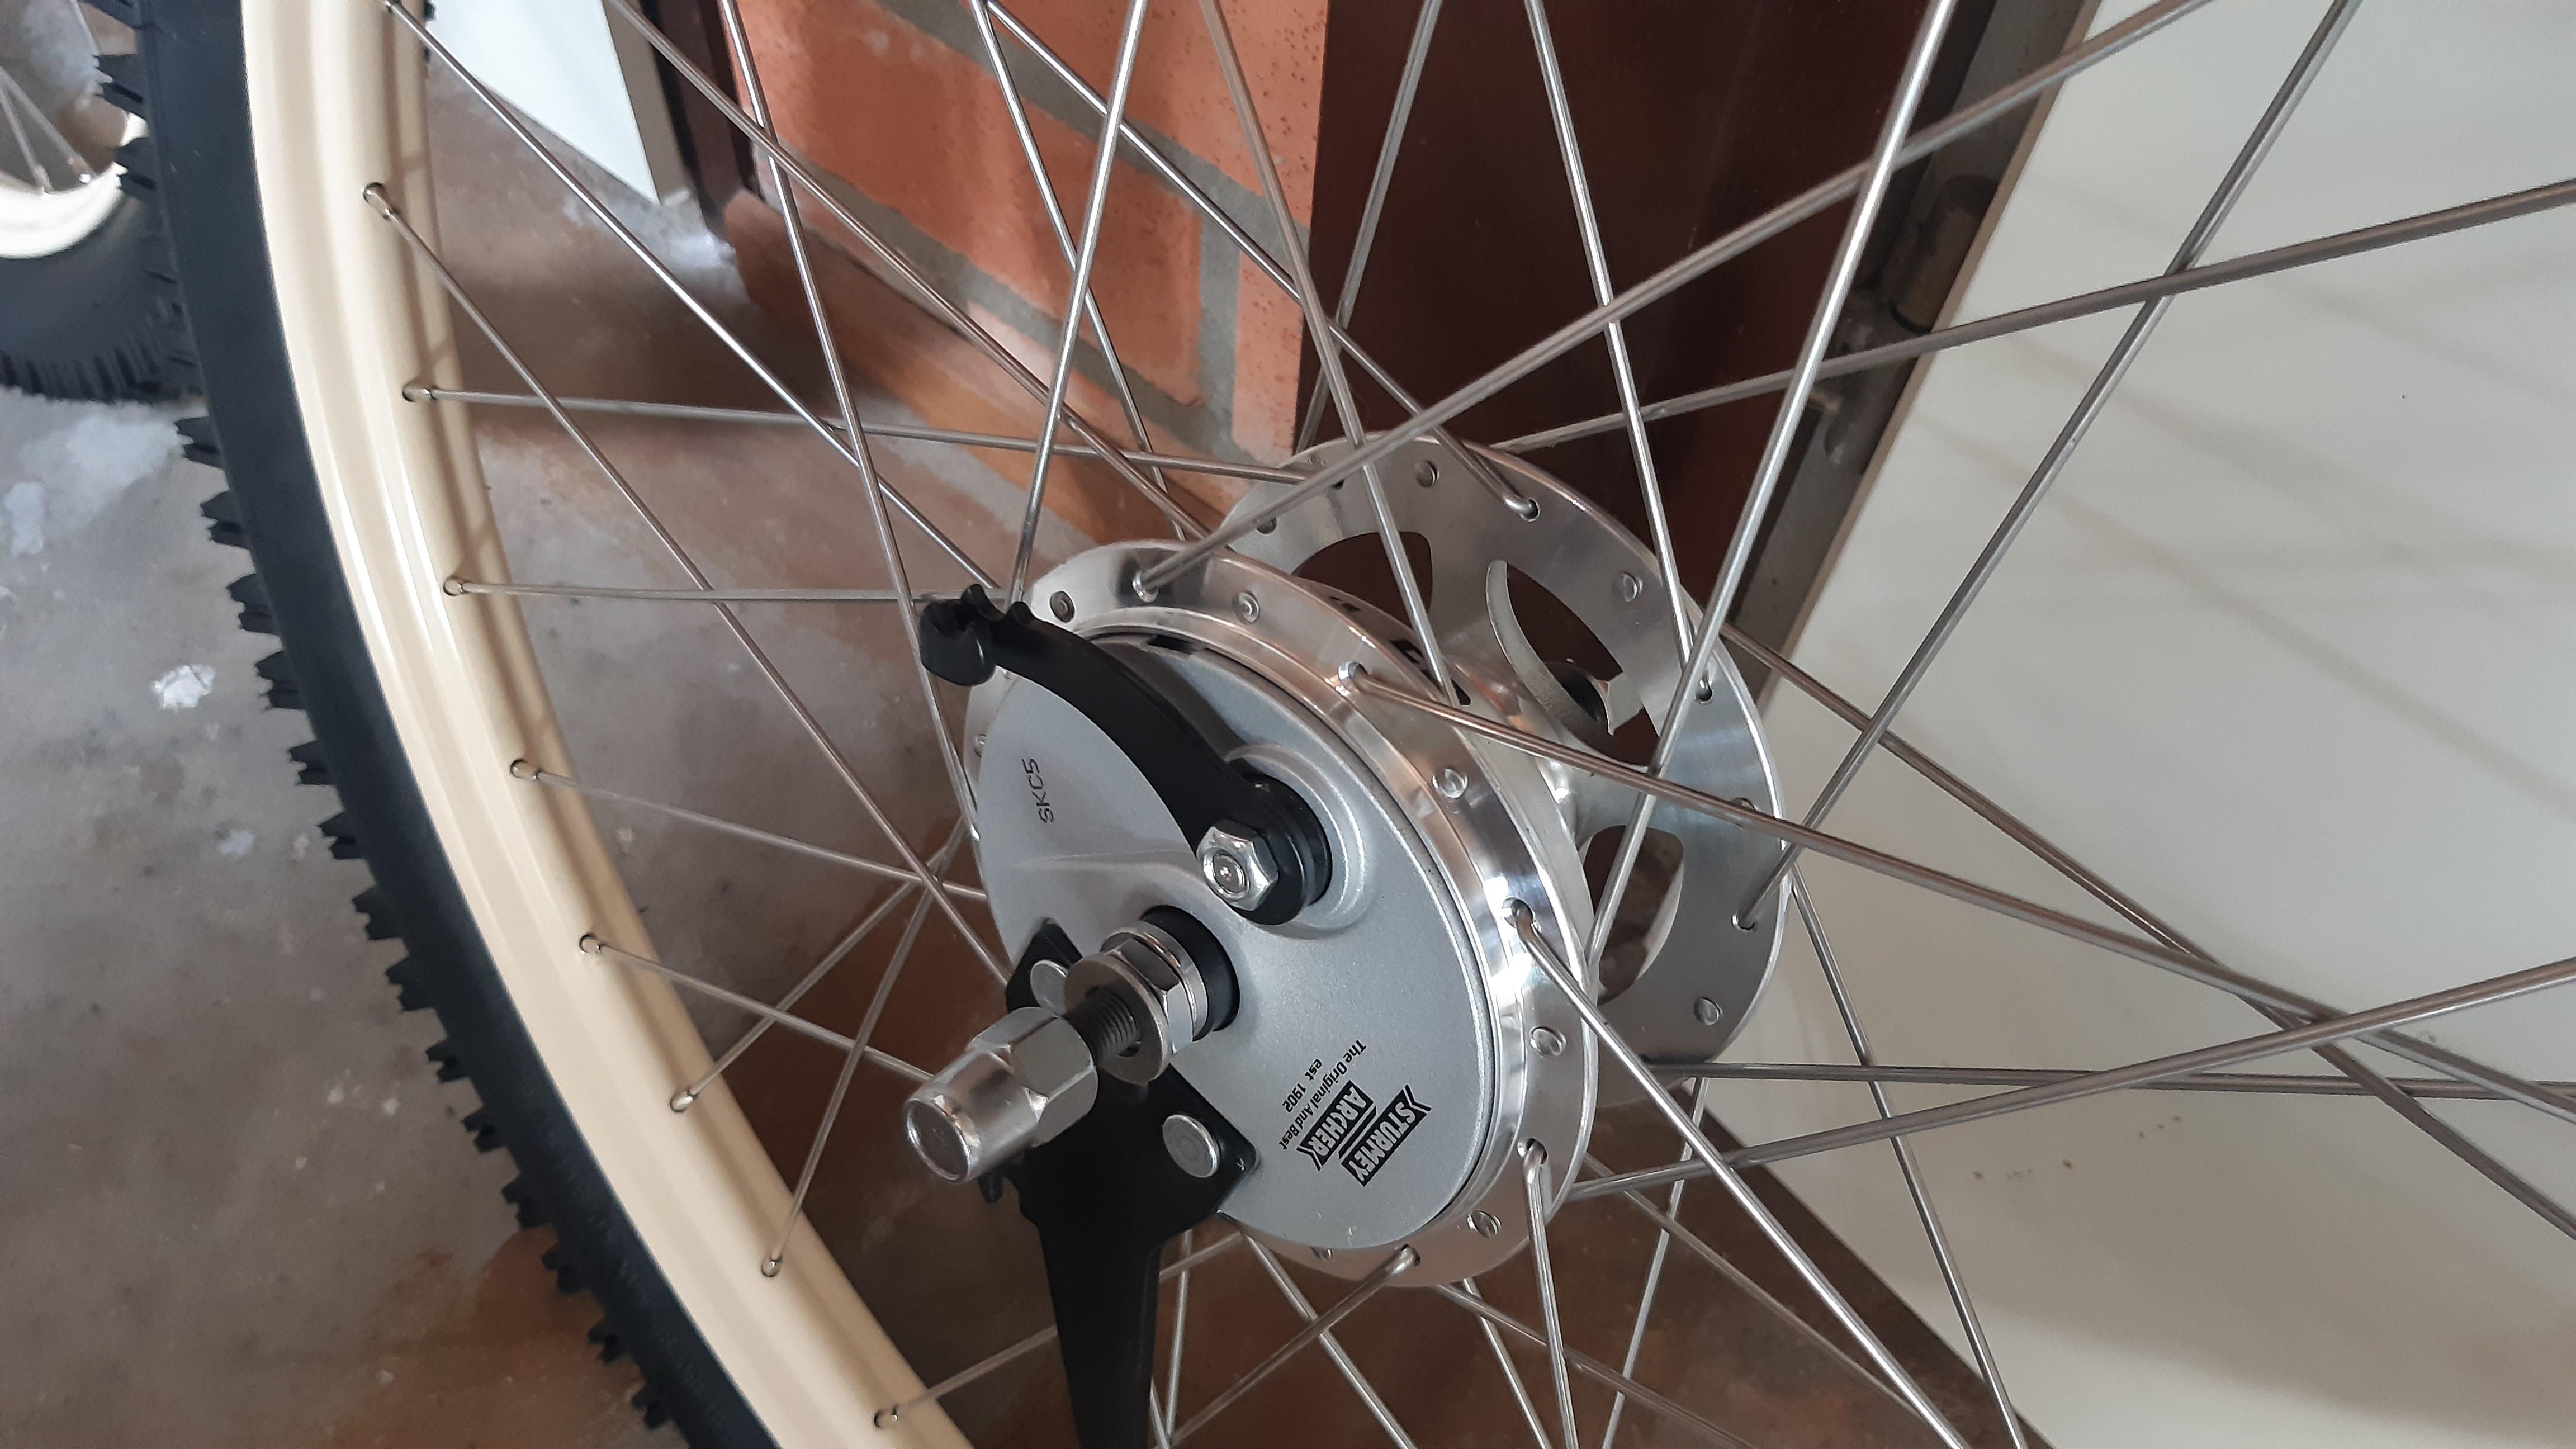
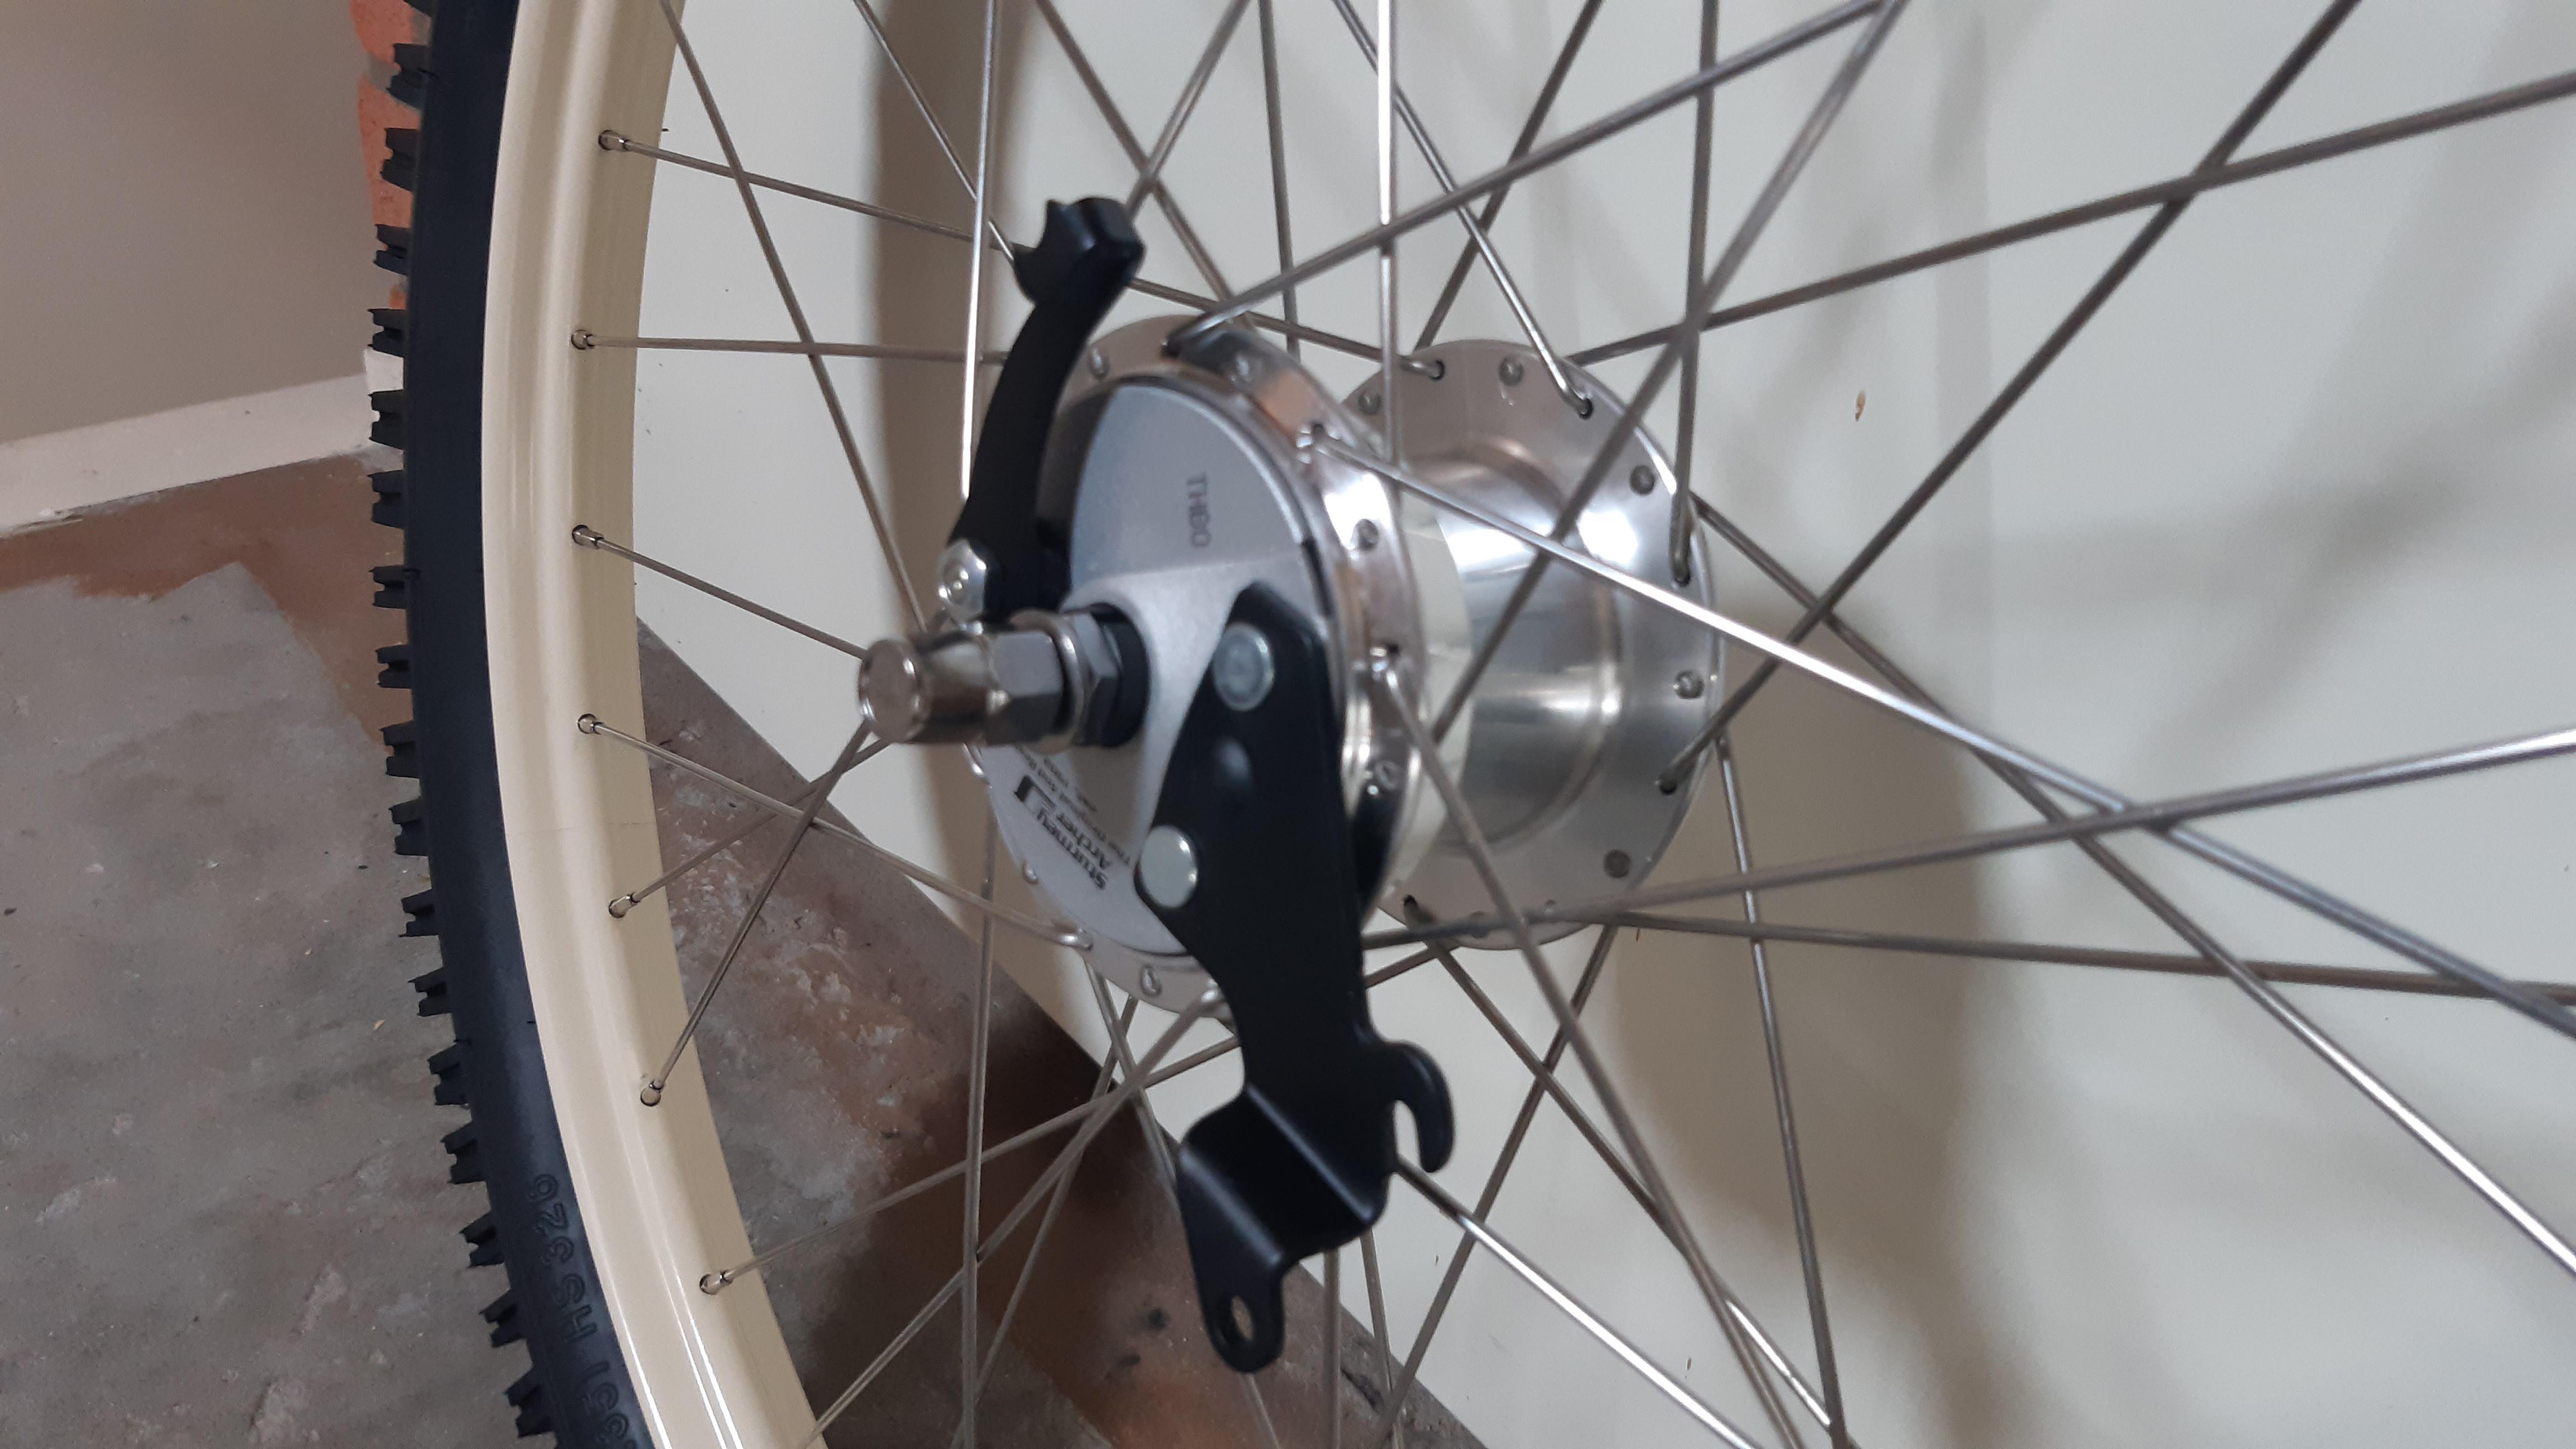
Laced wheels are in, looking good!
s3xlJQX.jpg

gD6ynen.jpg

IAu07Wy.jpg

y6aCJGs.jpg


I also abandoned the 'seat stay' truss idea. When I looked at it with the complete bike, I found it a bit 'too heavy' on the front.
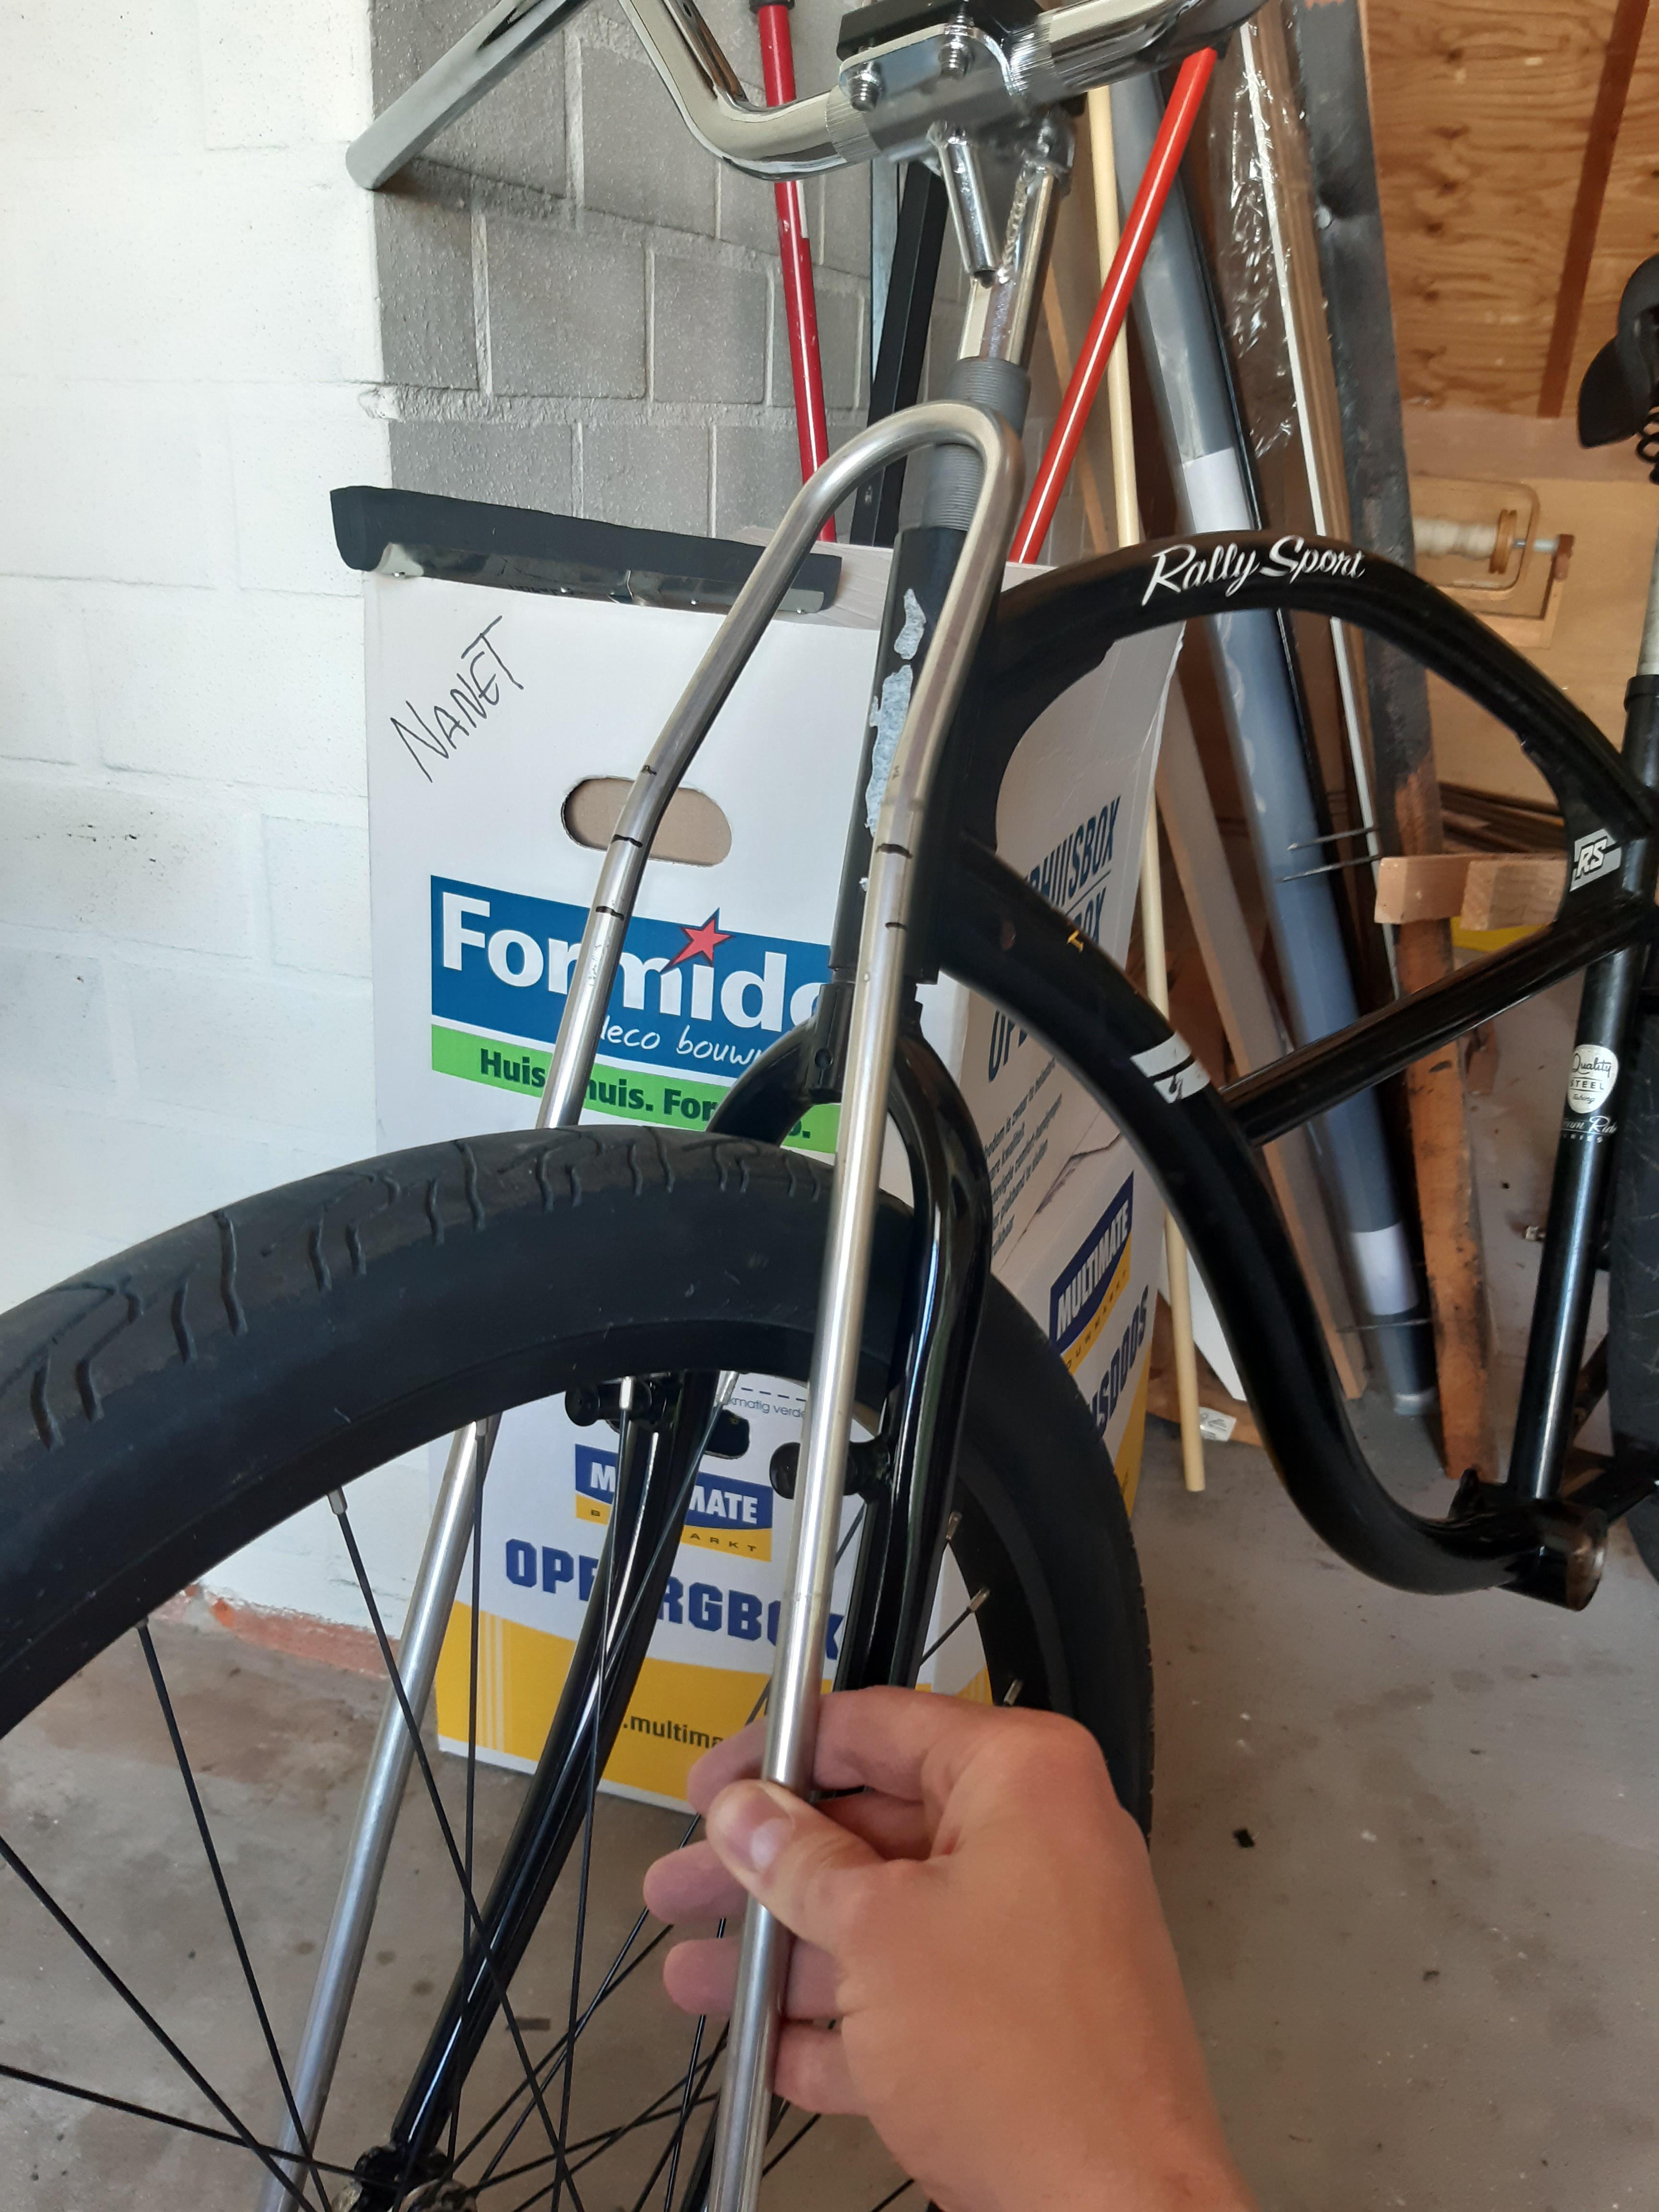
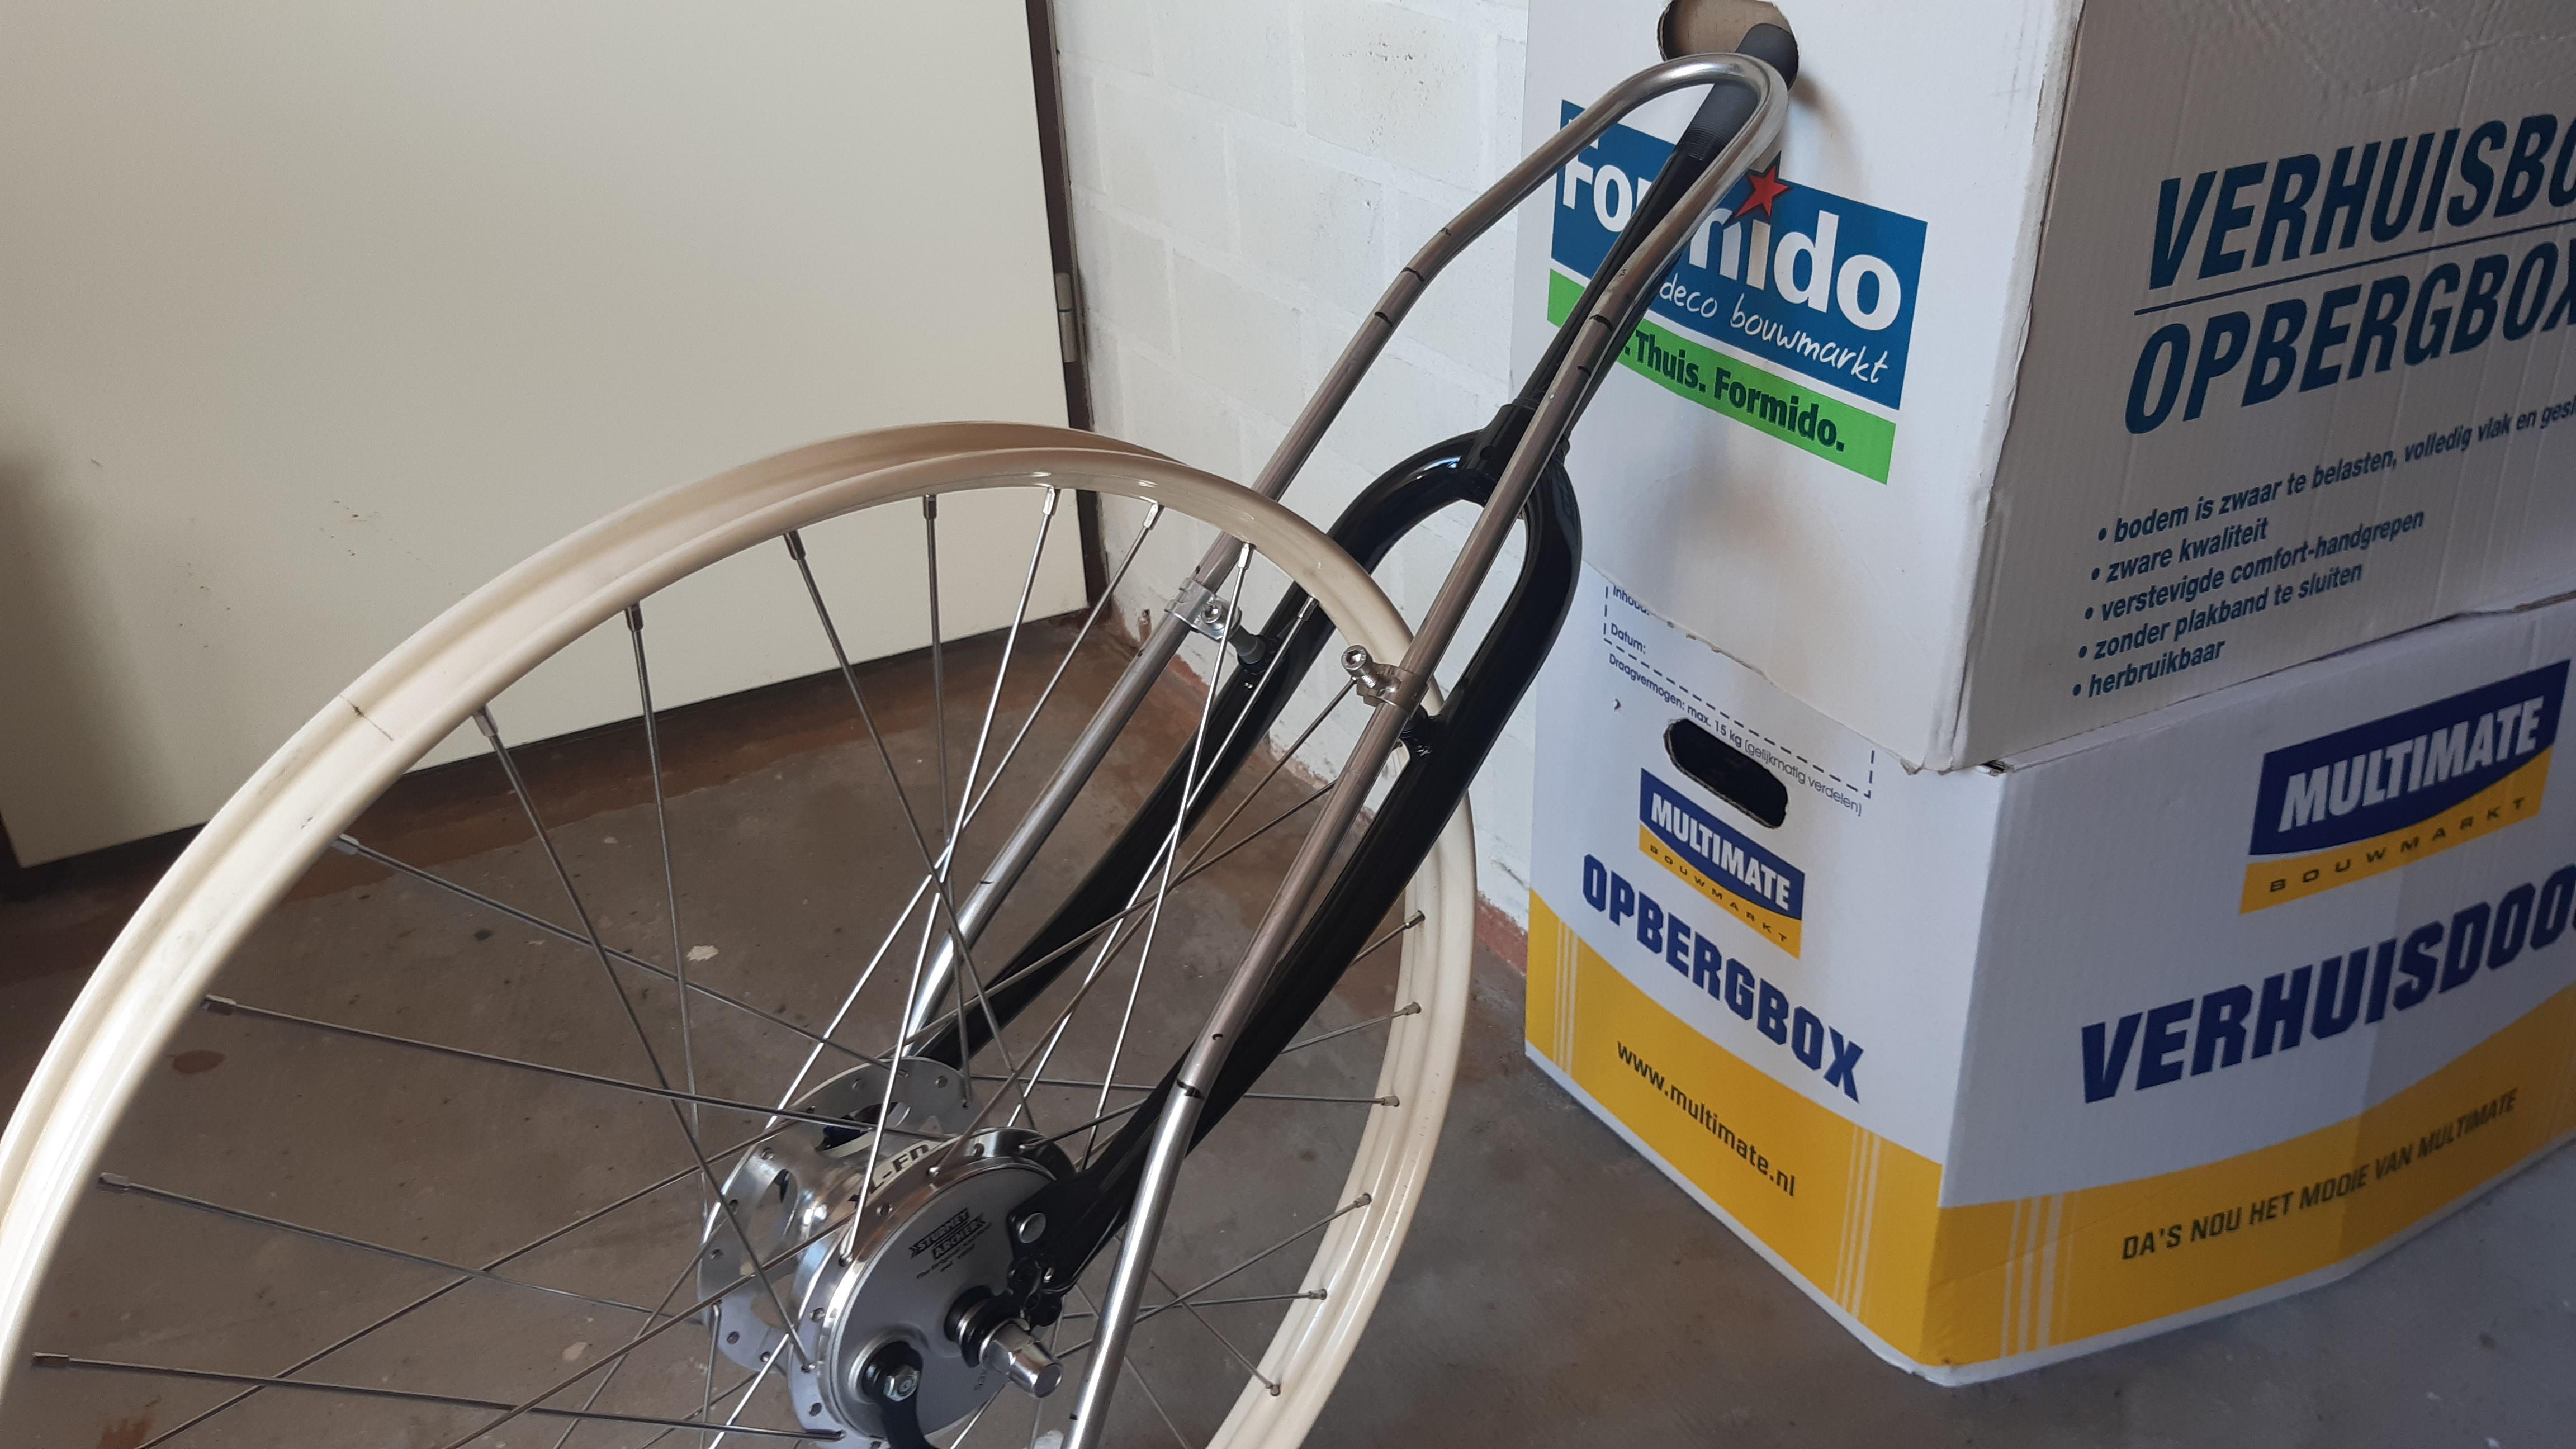
Now I decided to bend a piece of 12mm stainless steel pipe I had lying around:
a5lOTpy.jpeg


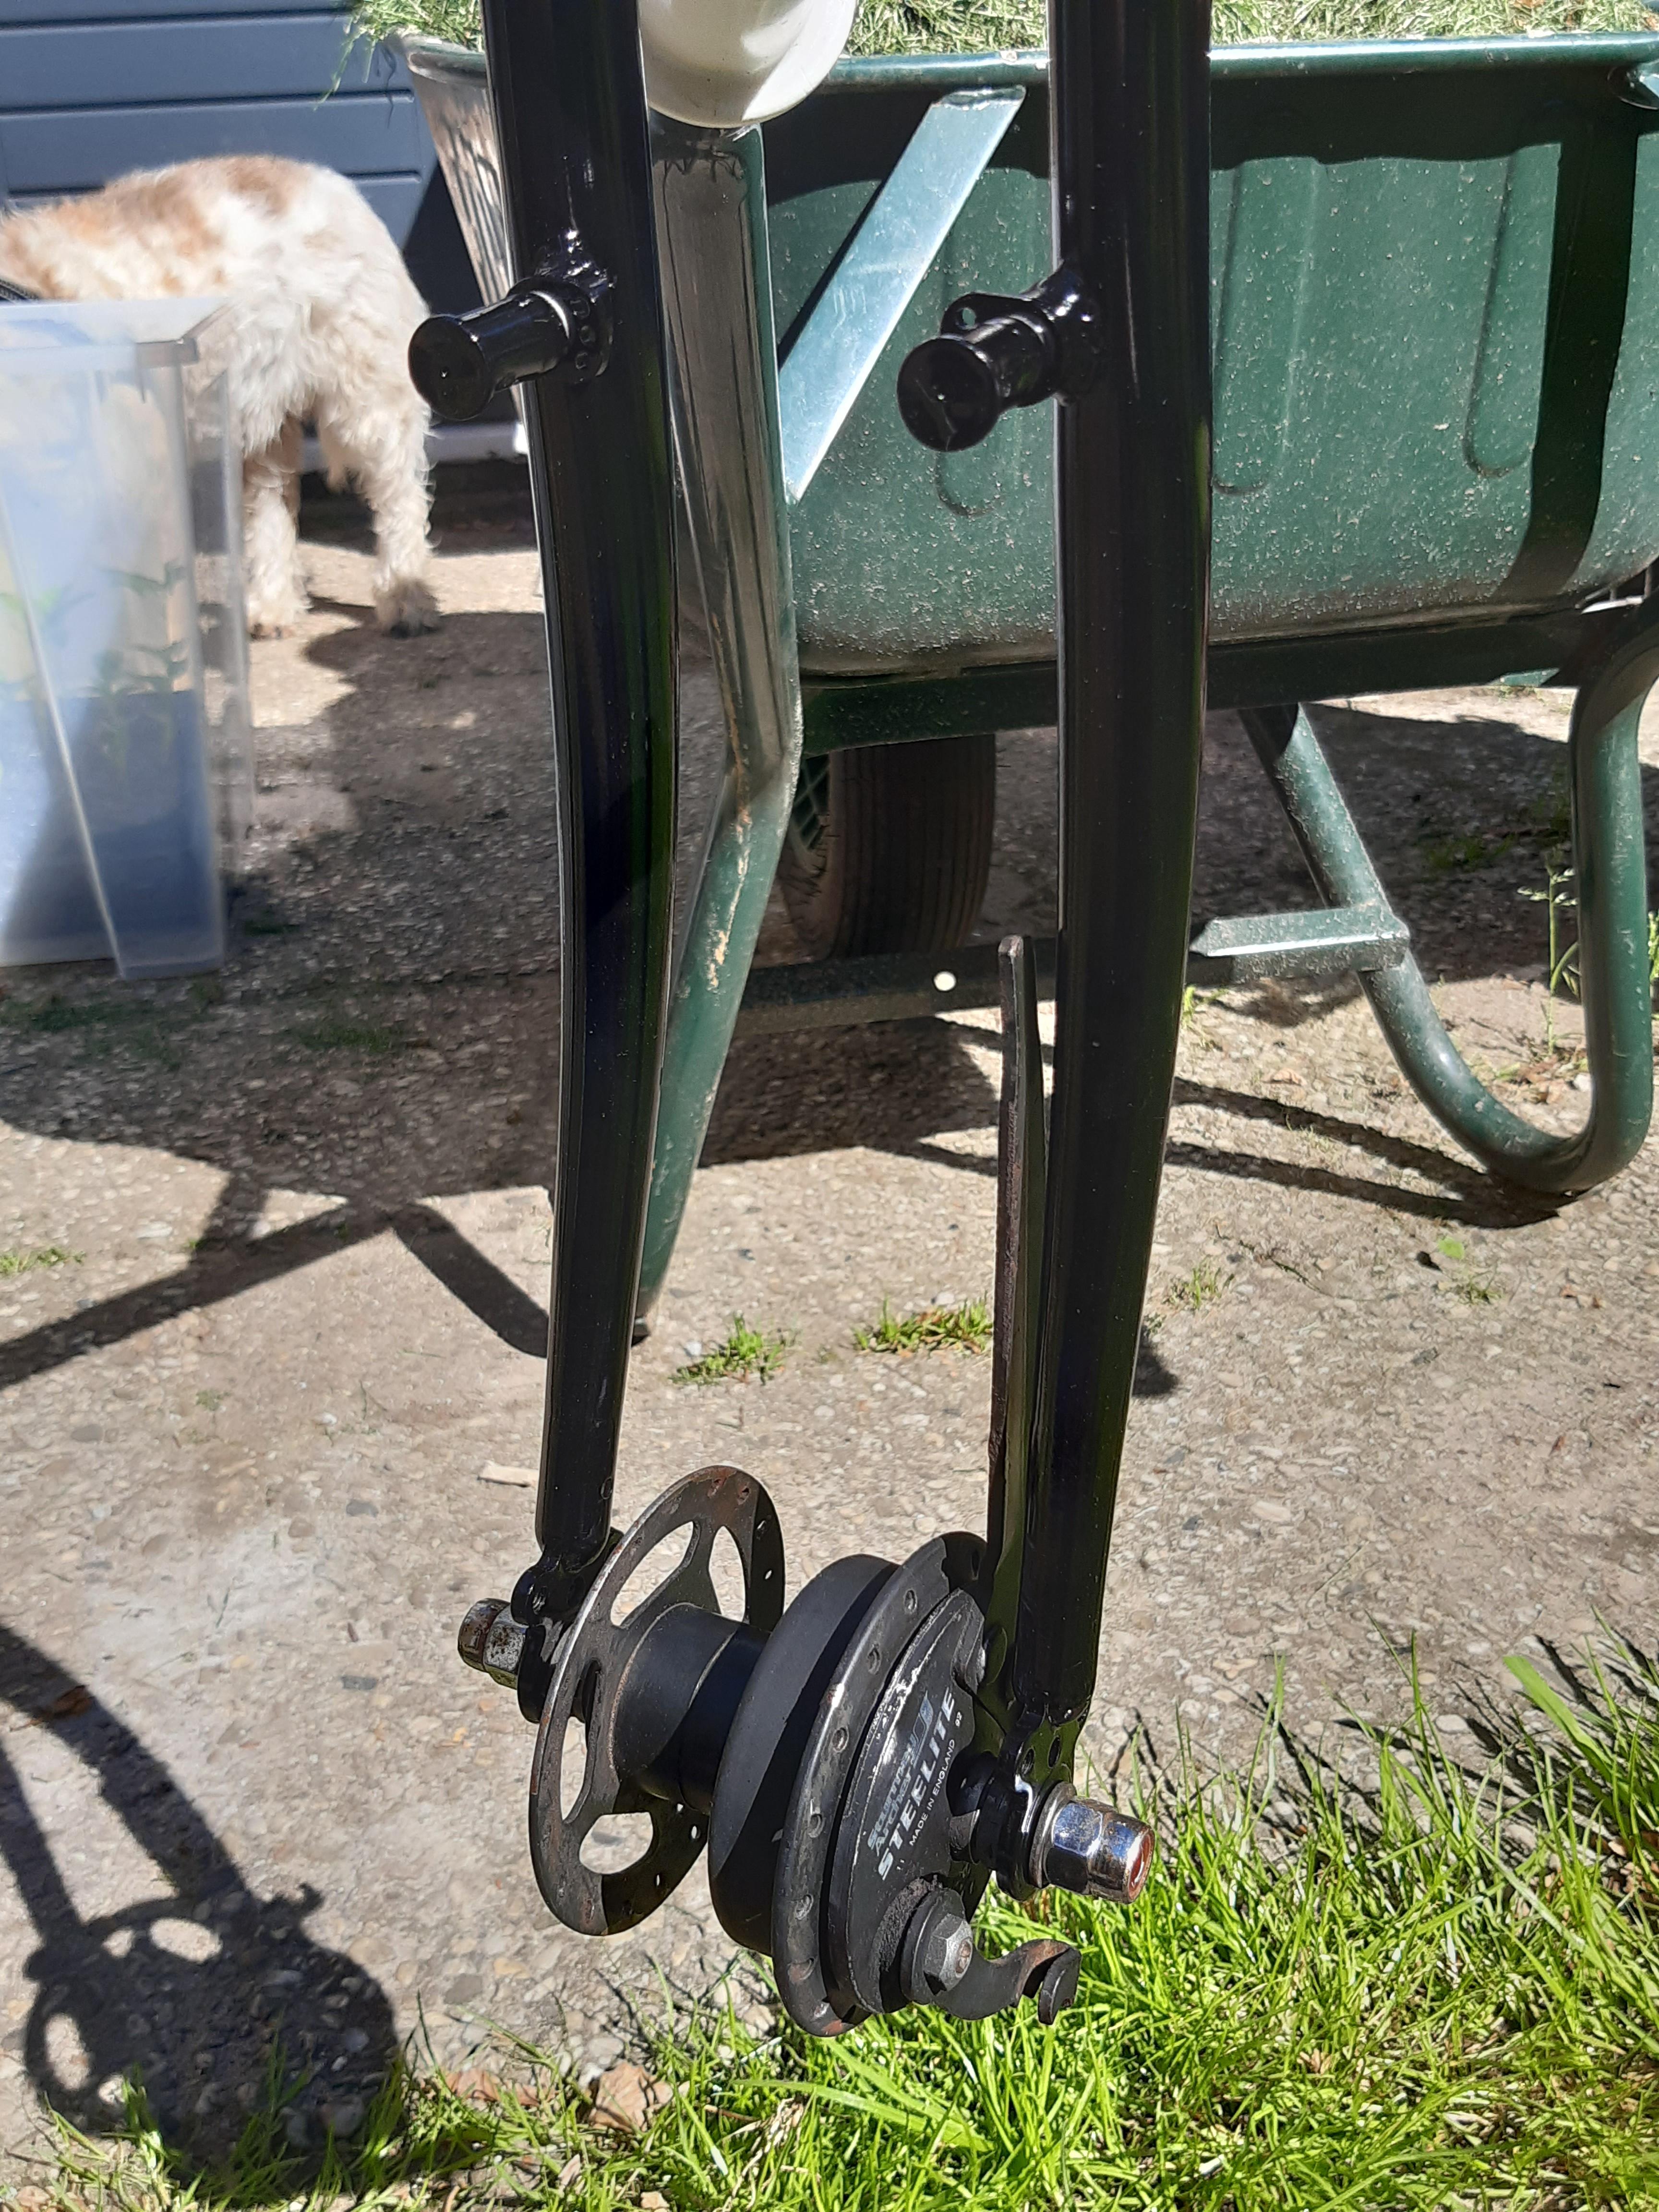
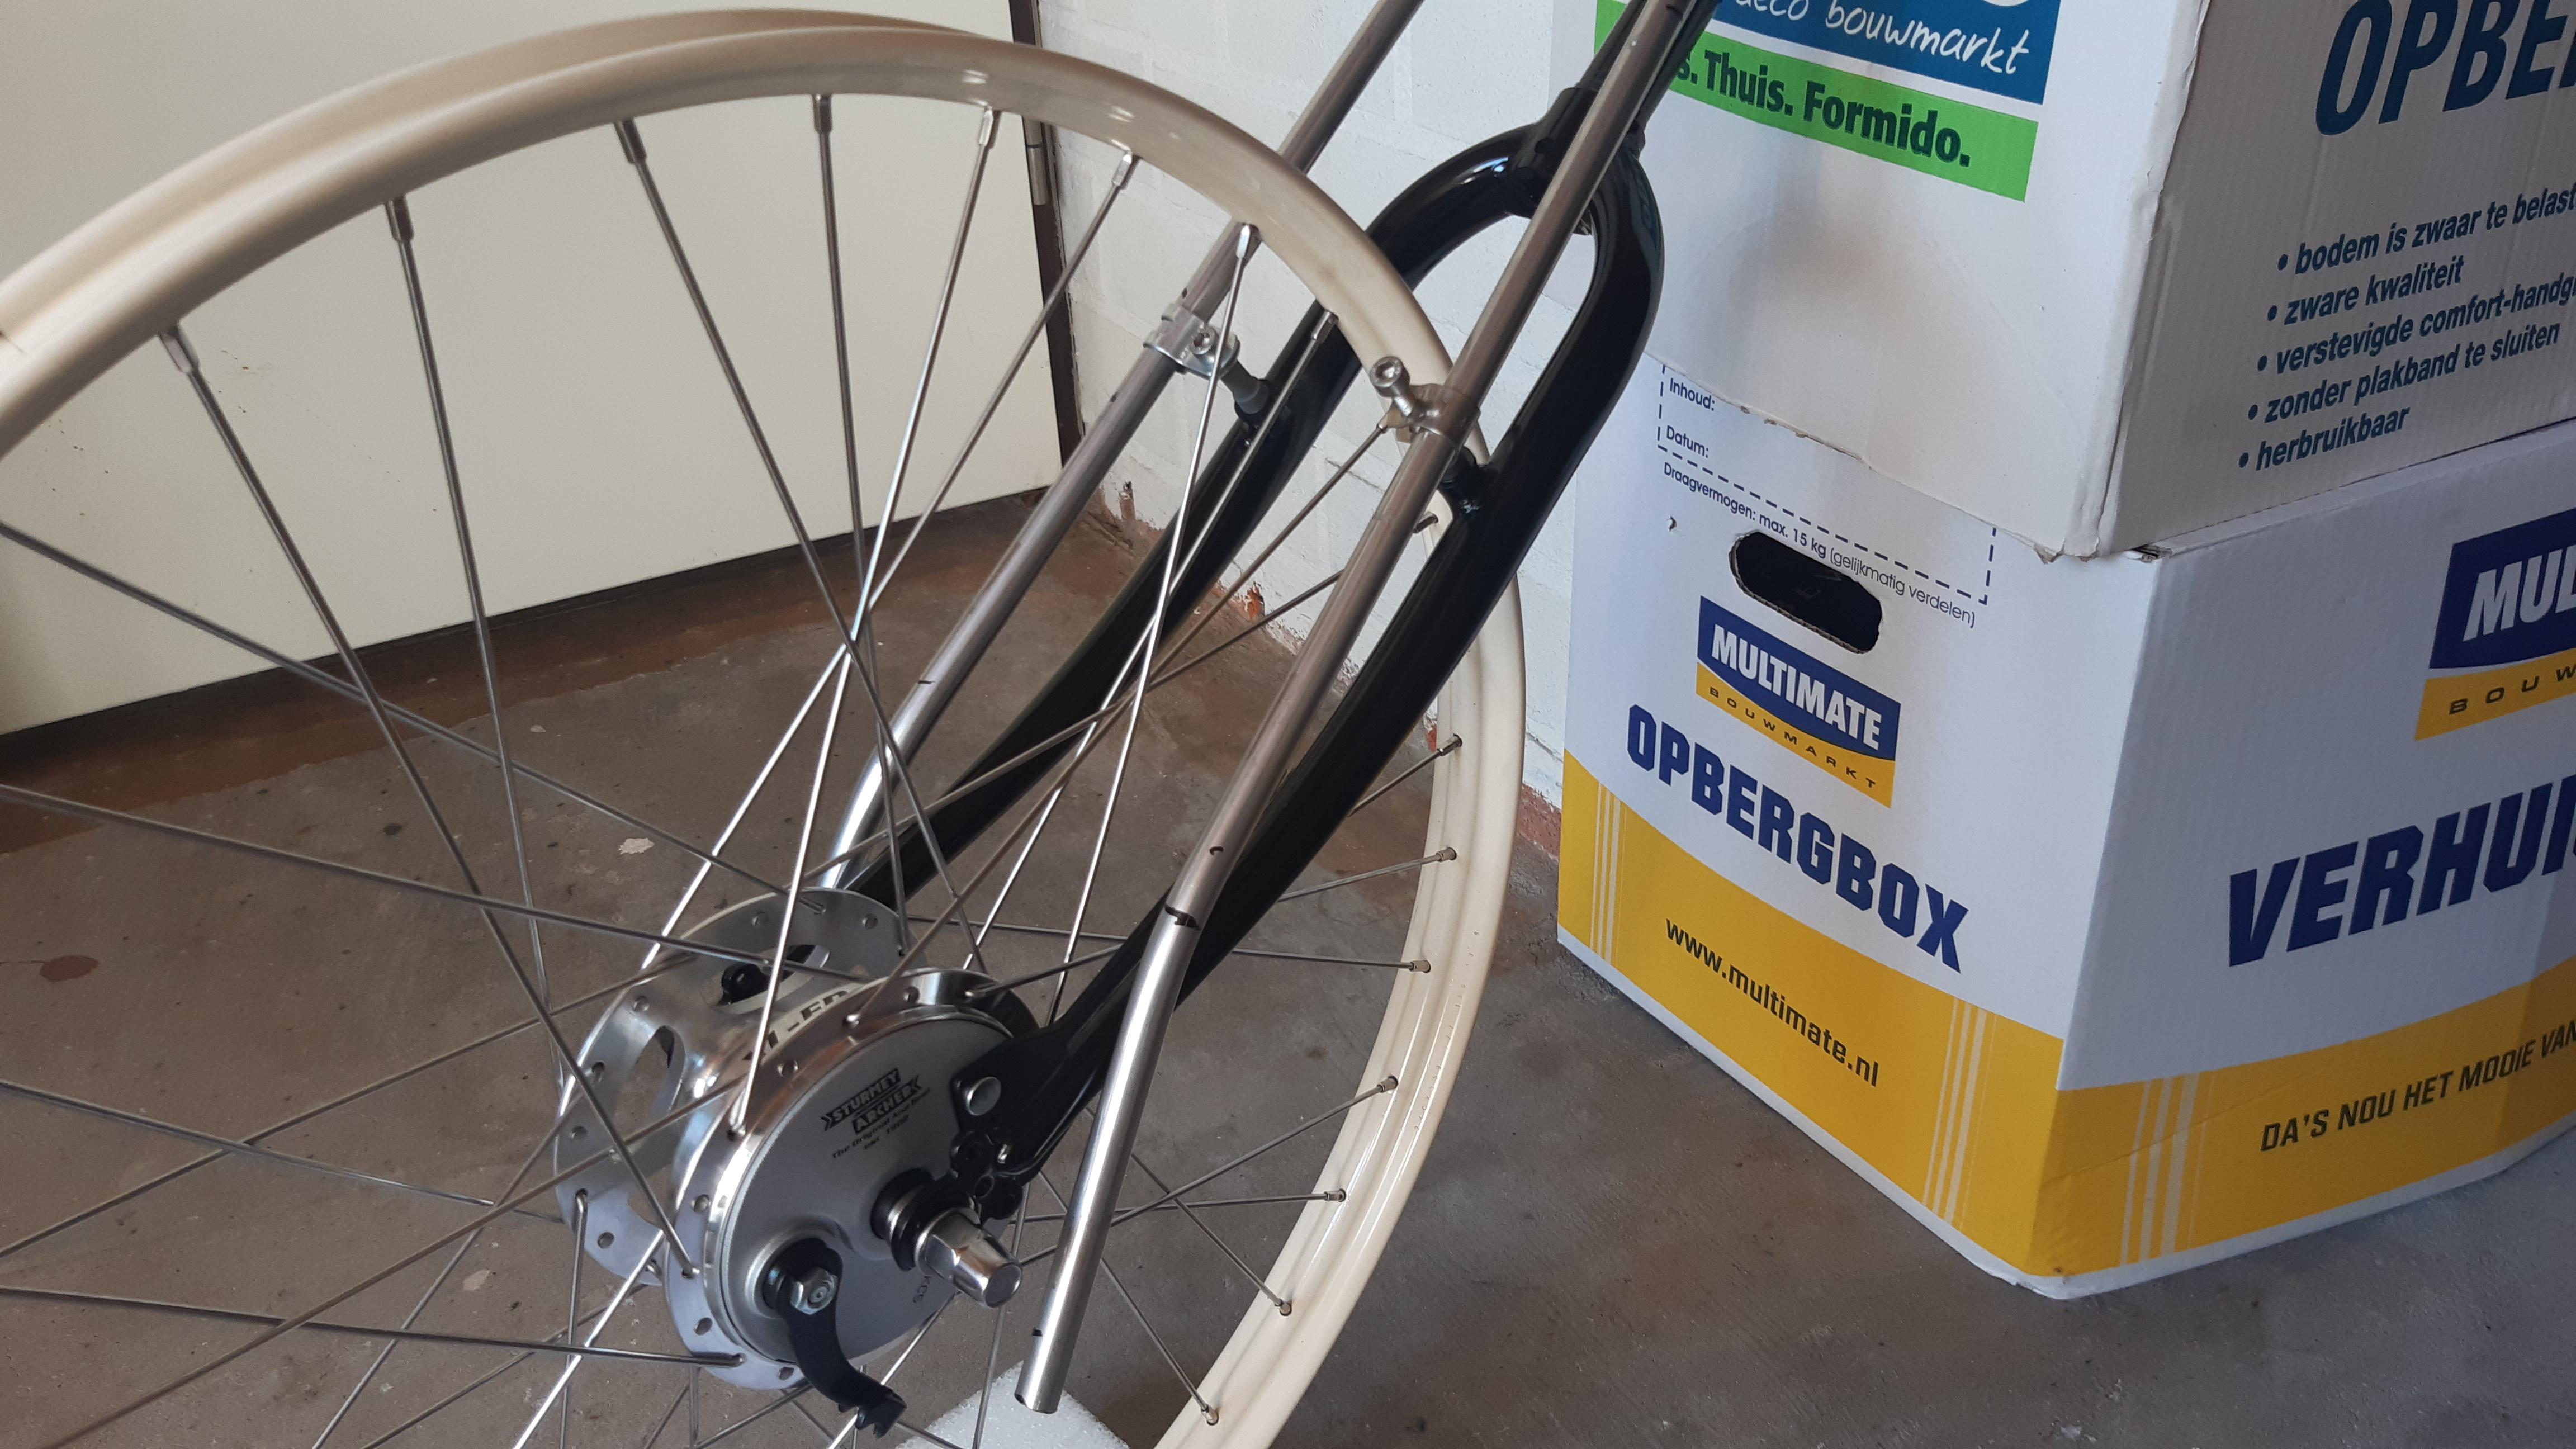
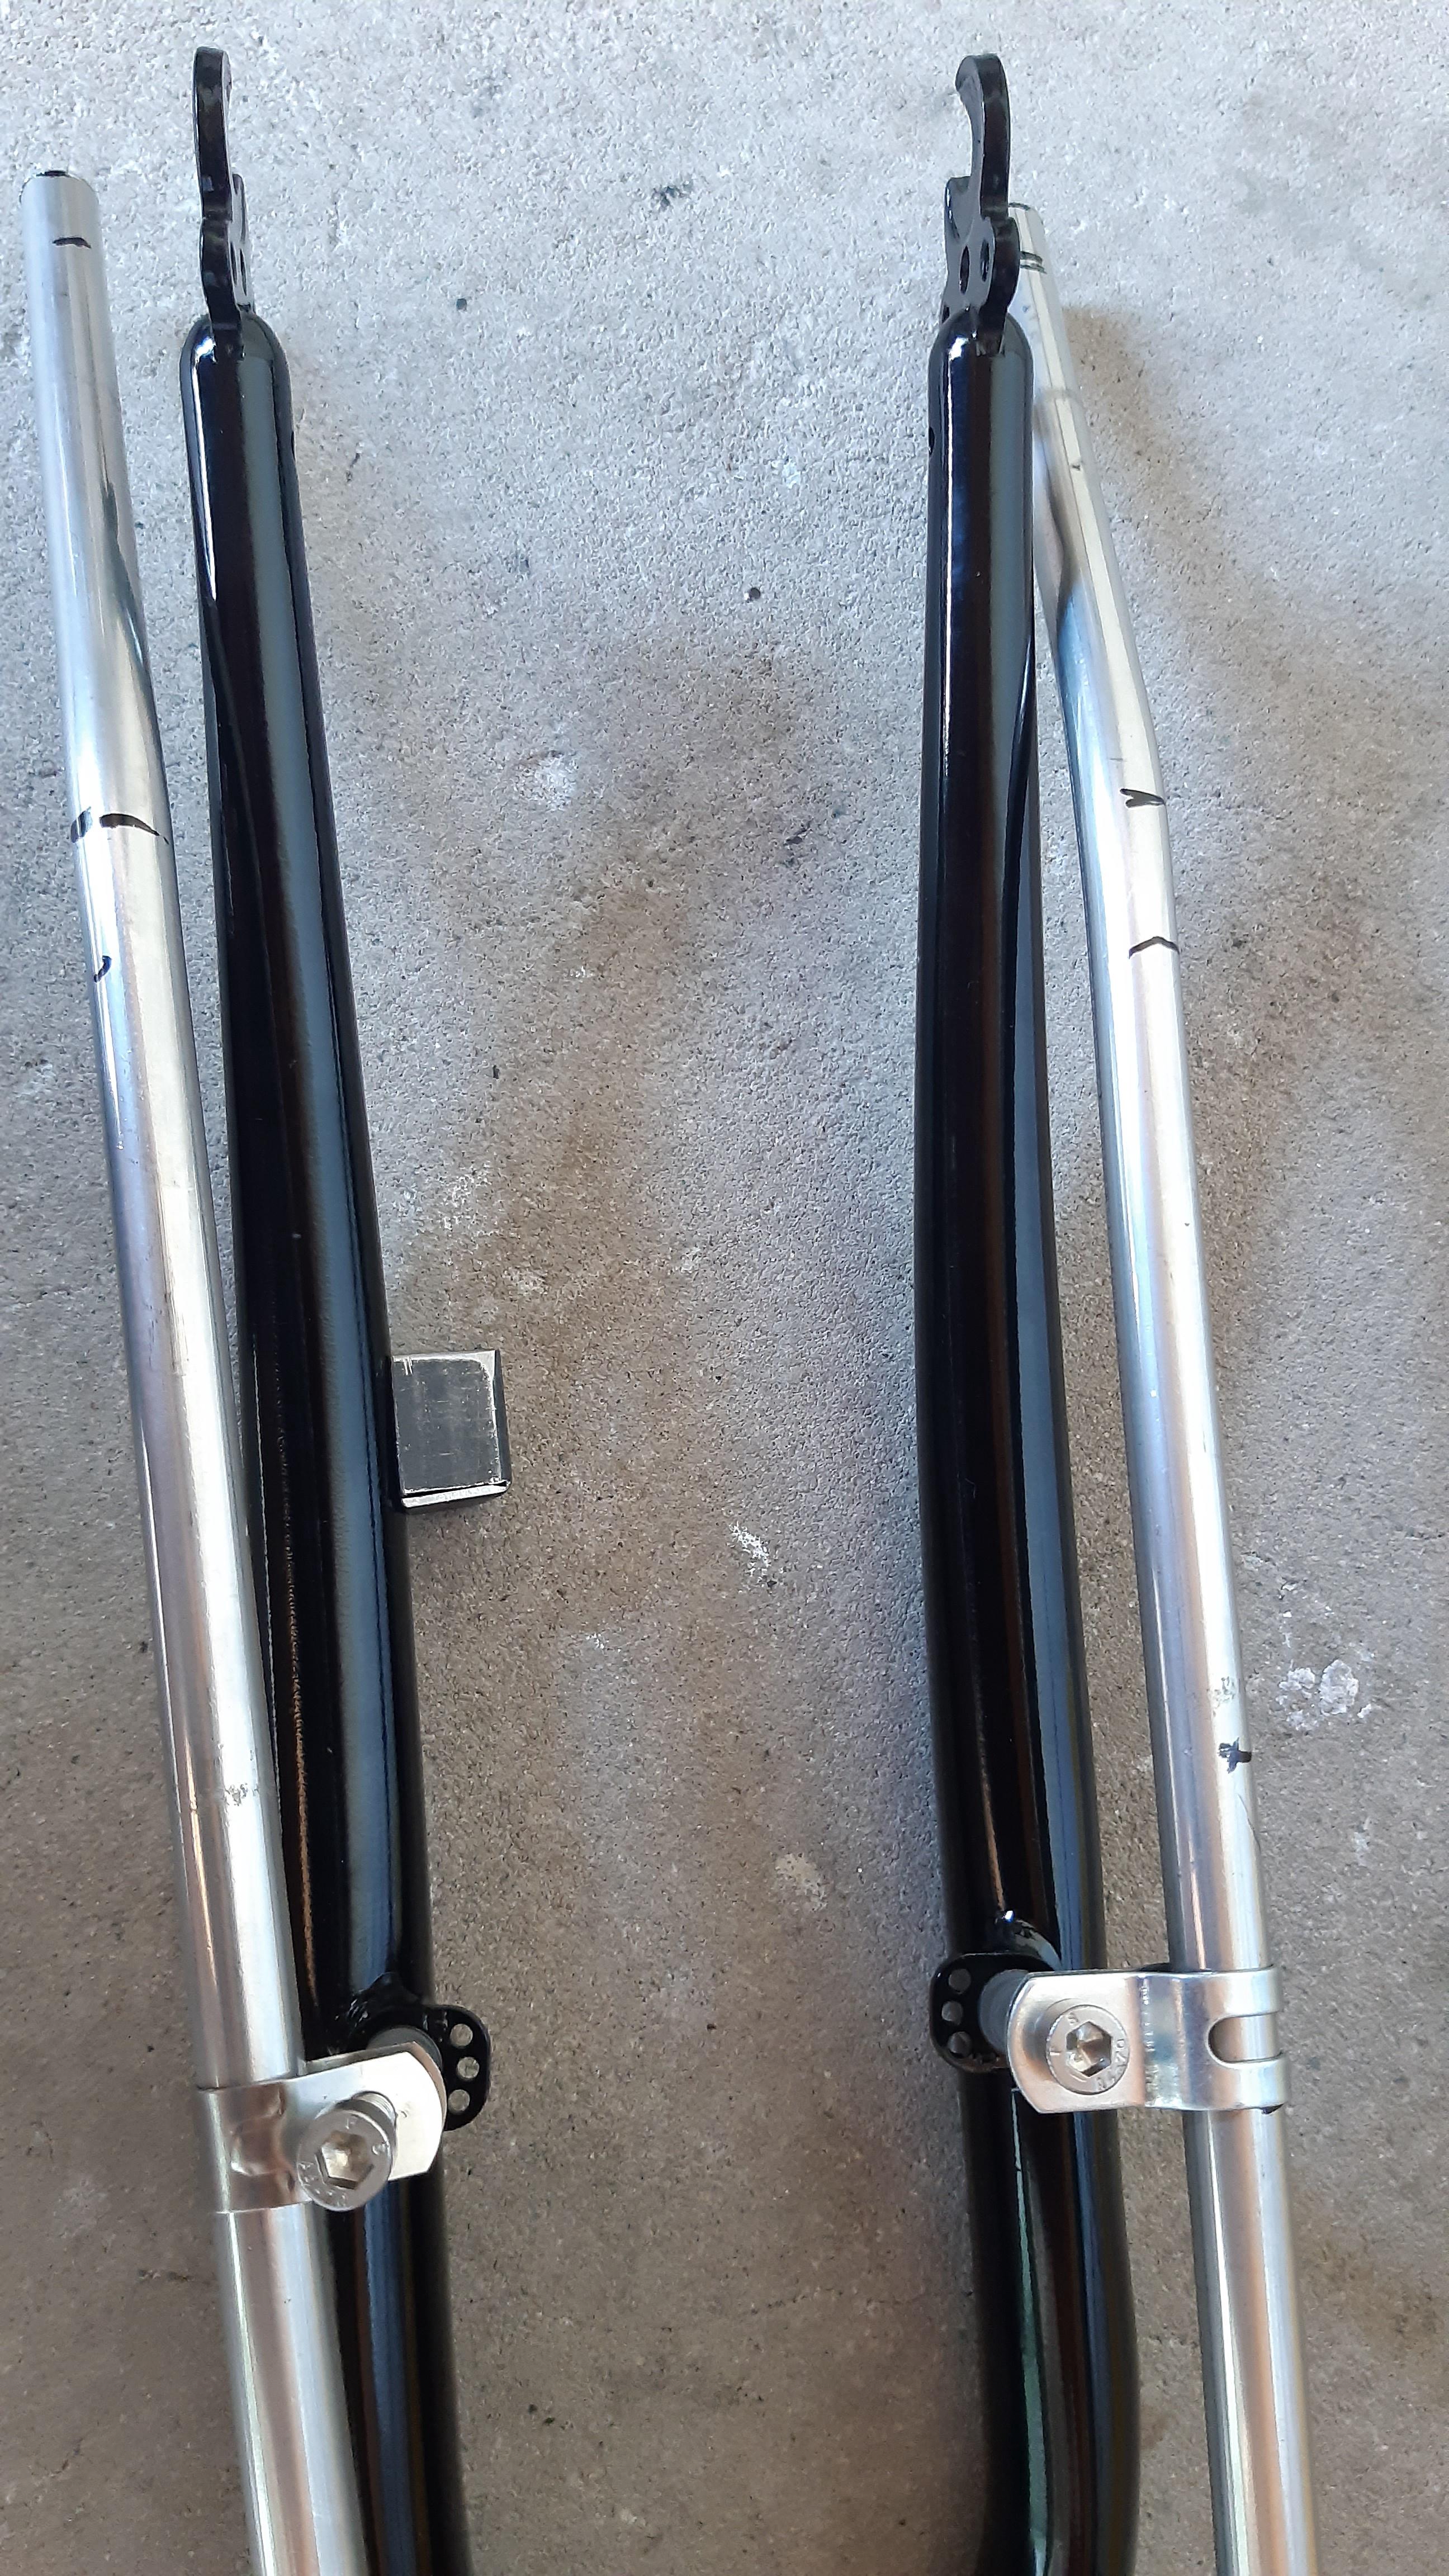
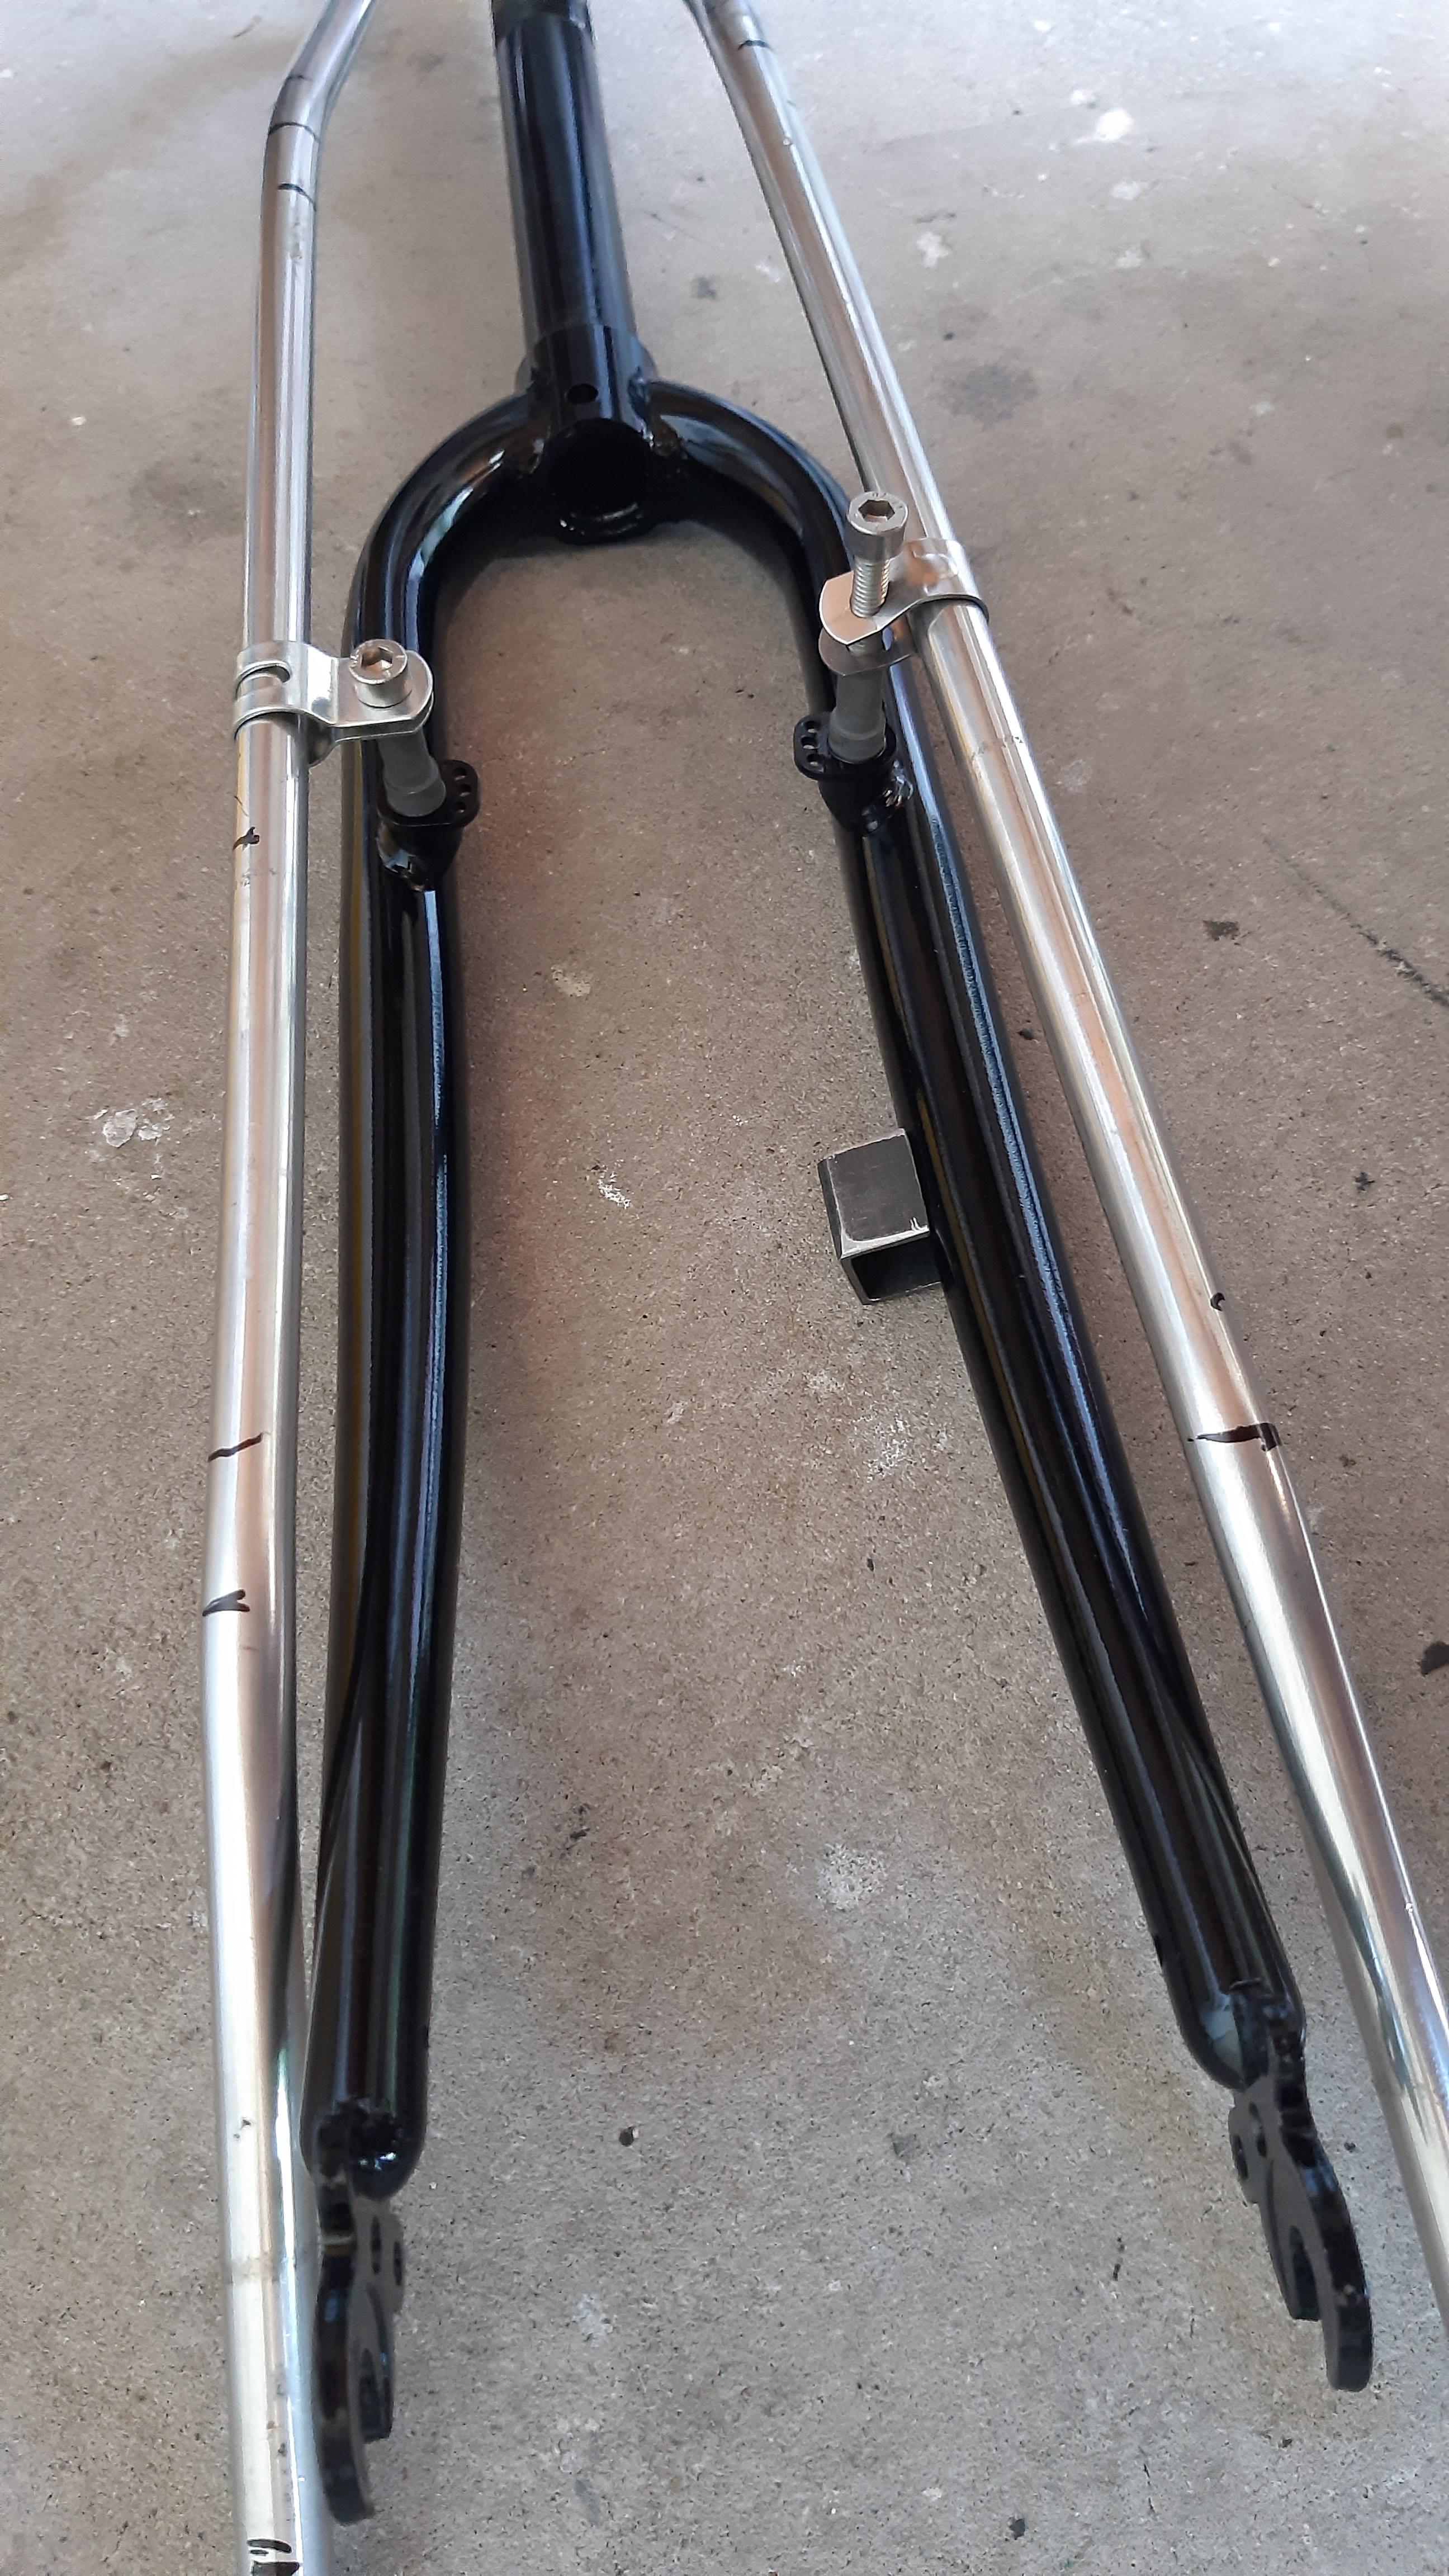
And I am working on the front fork, it needs a bracket welded on to hold the drum brake arm in place:
fP1zaLO.jpeg
 
Last edited:
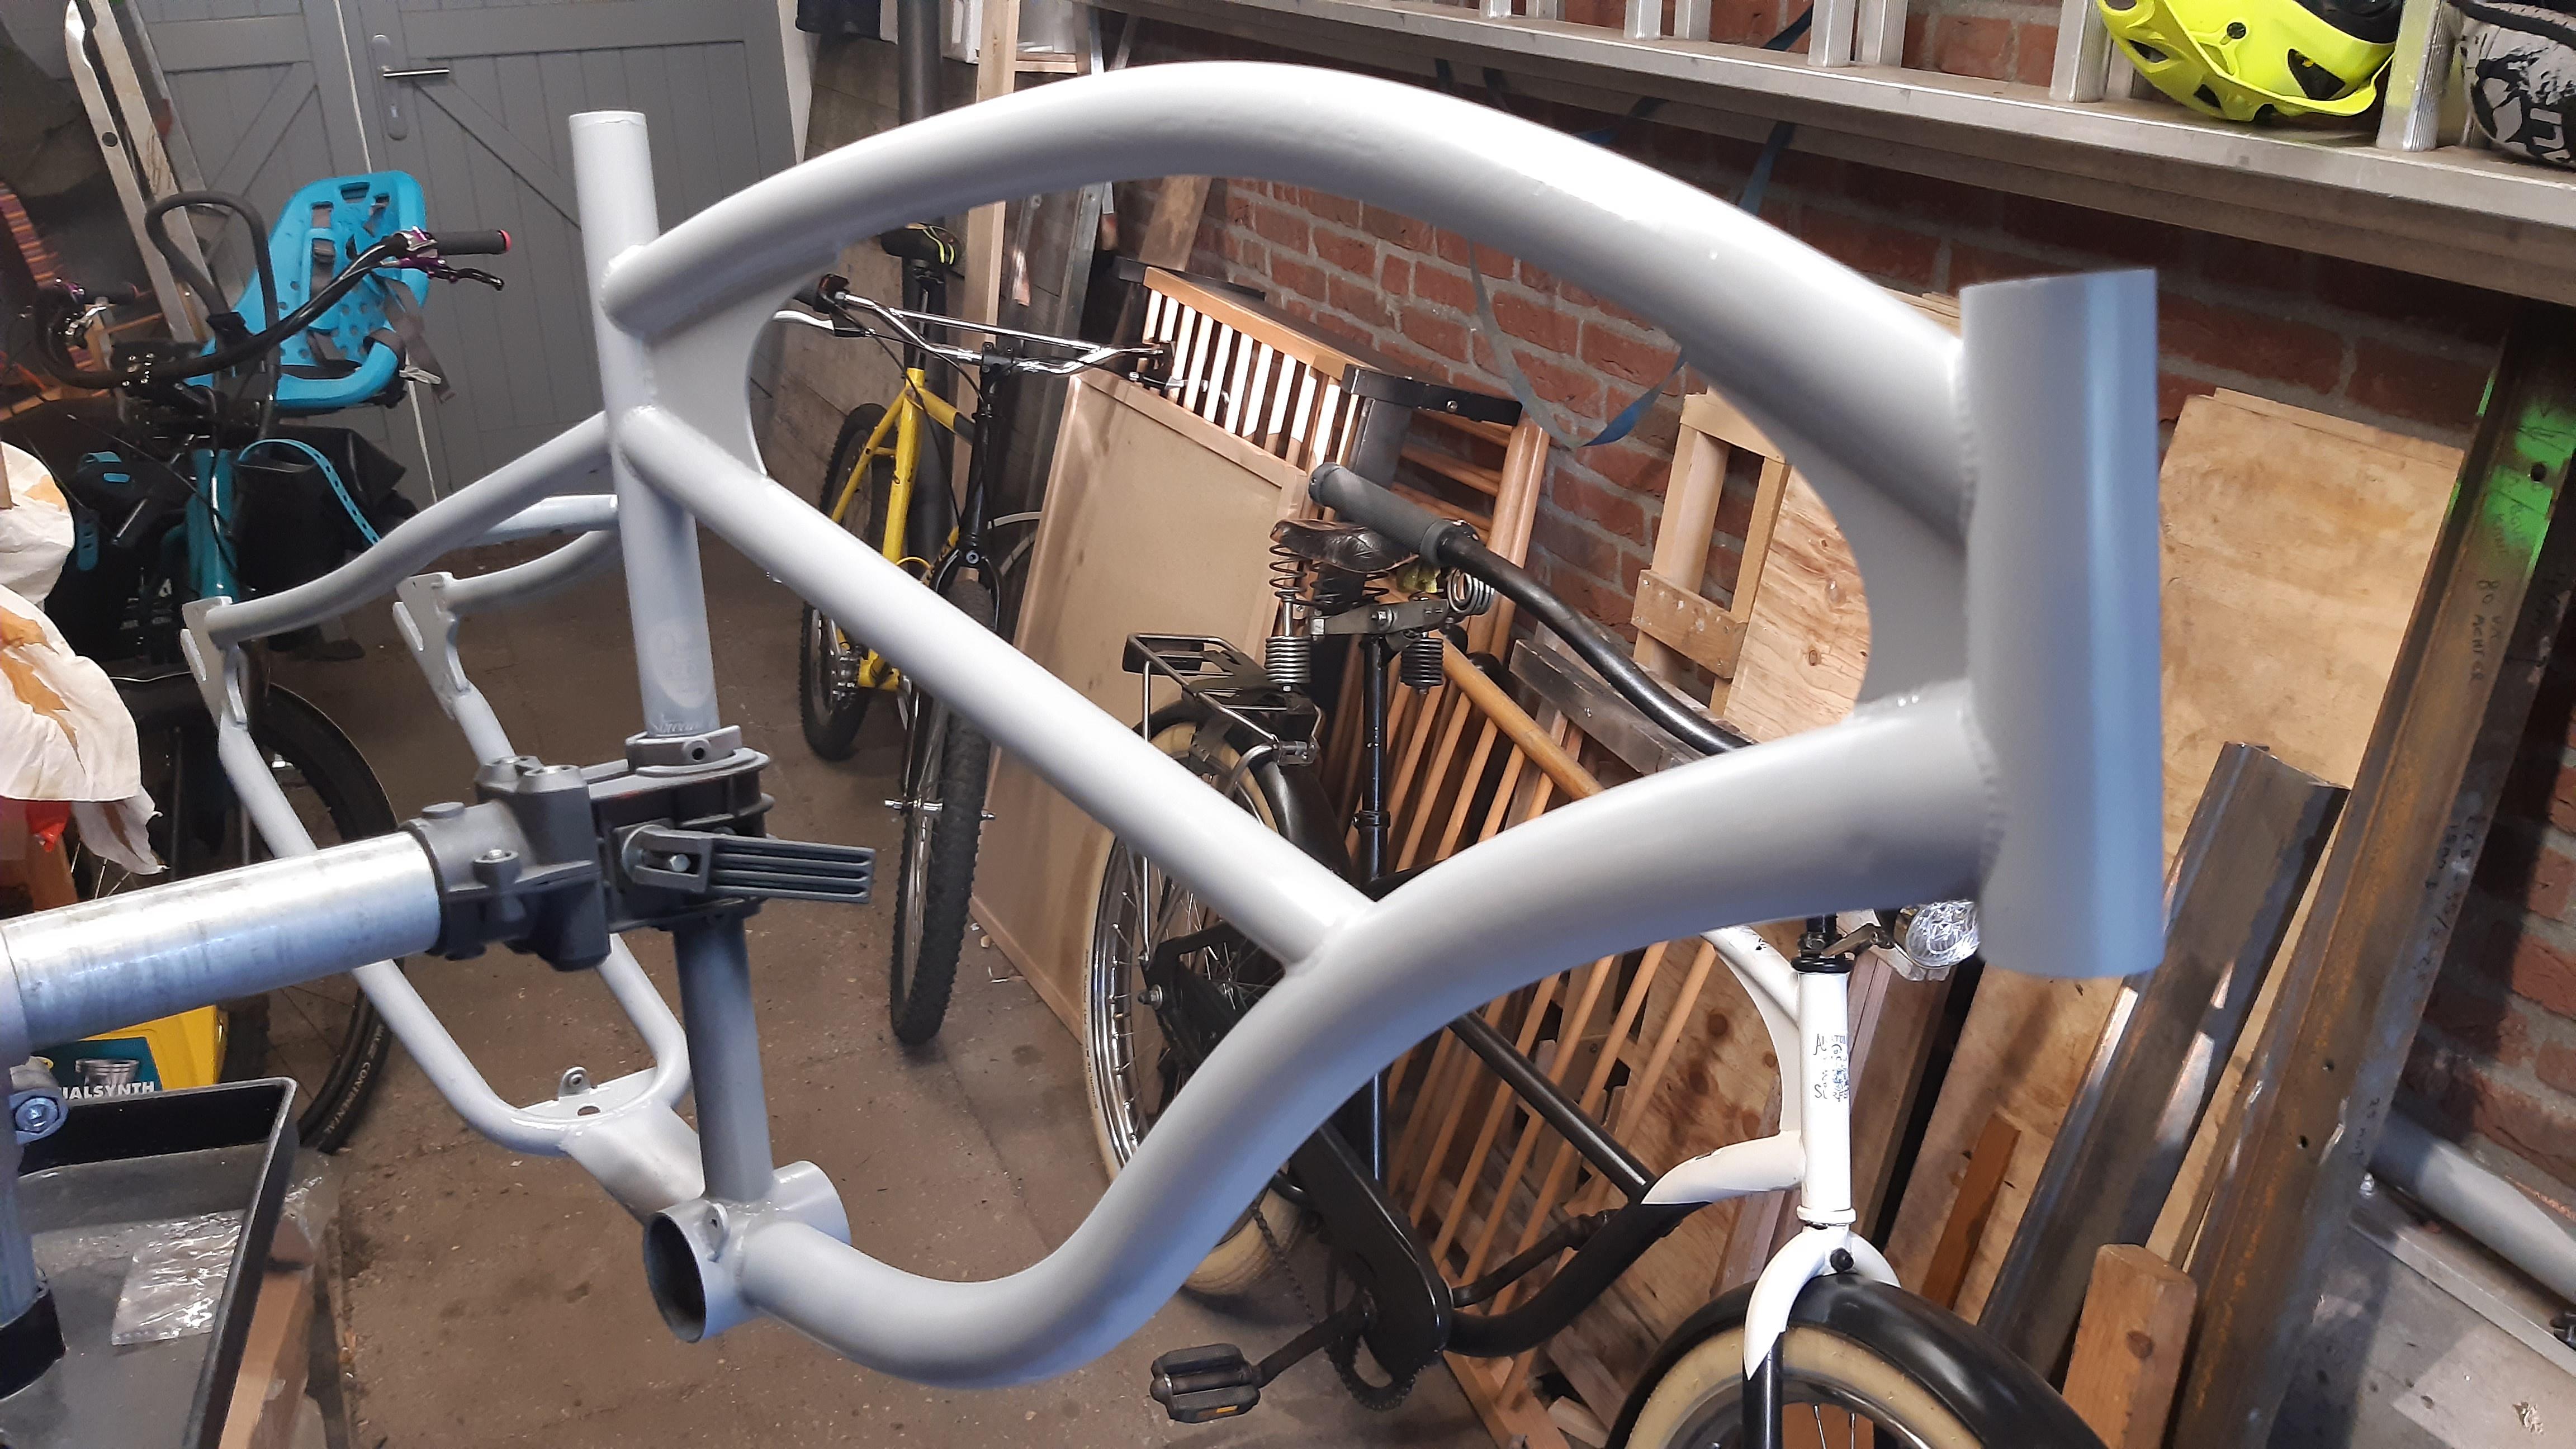
Frame primered, needs a bit more crusty paint removal in some corners:
1eFge6H.jpeg


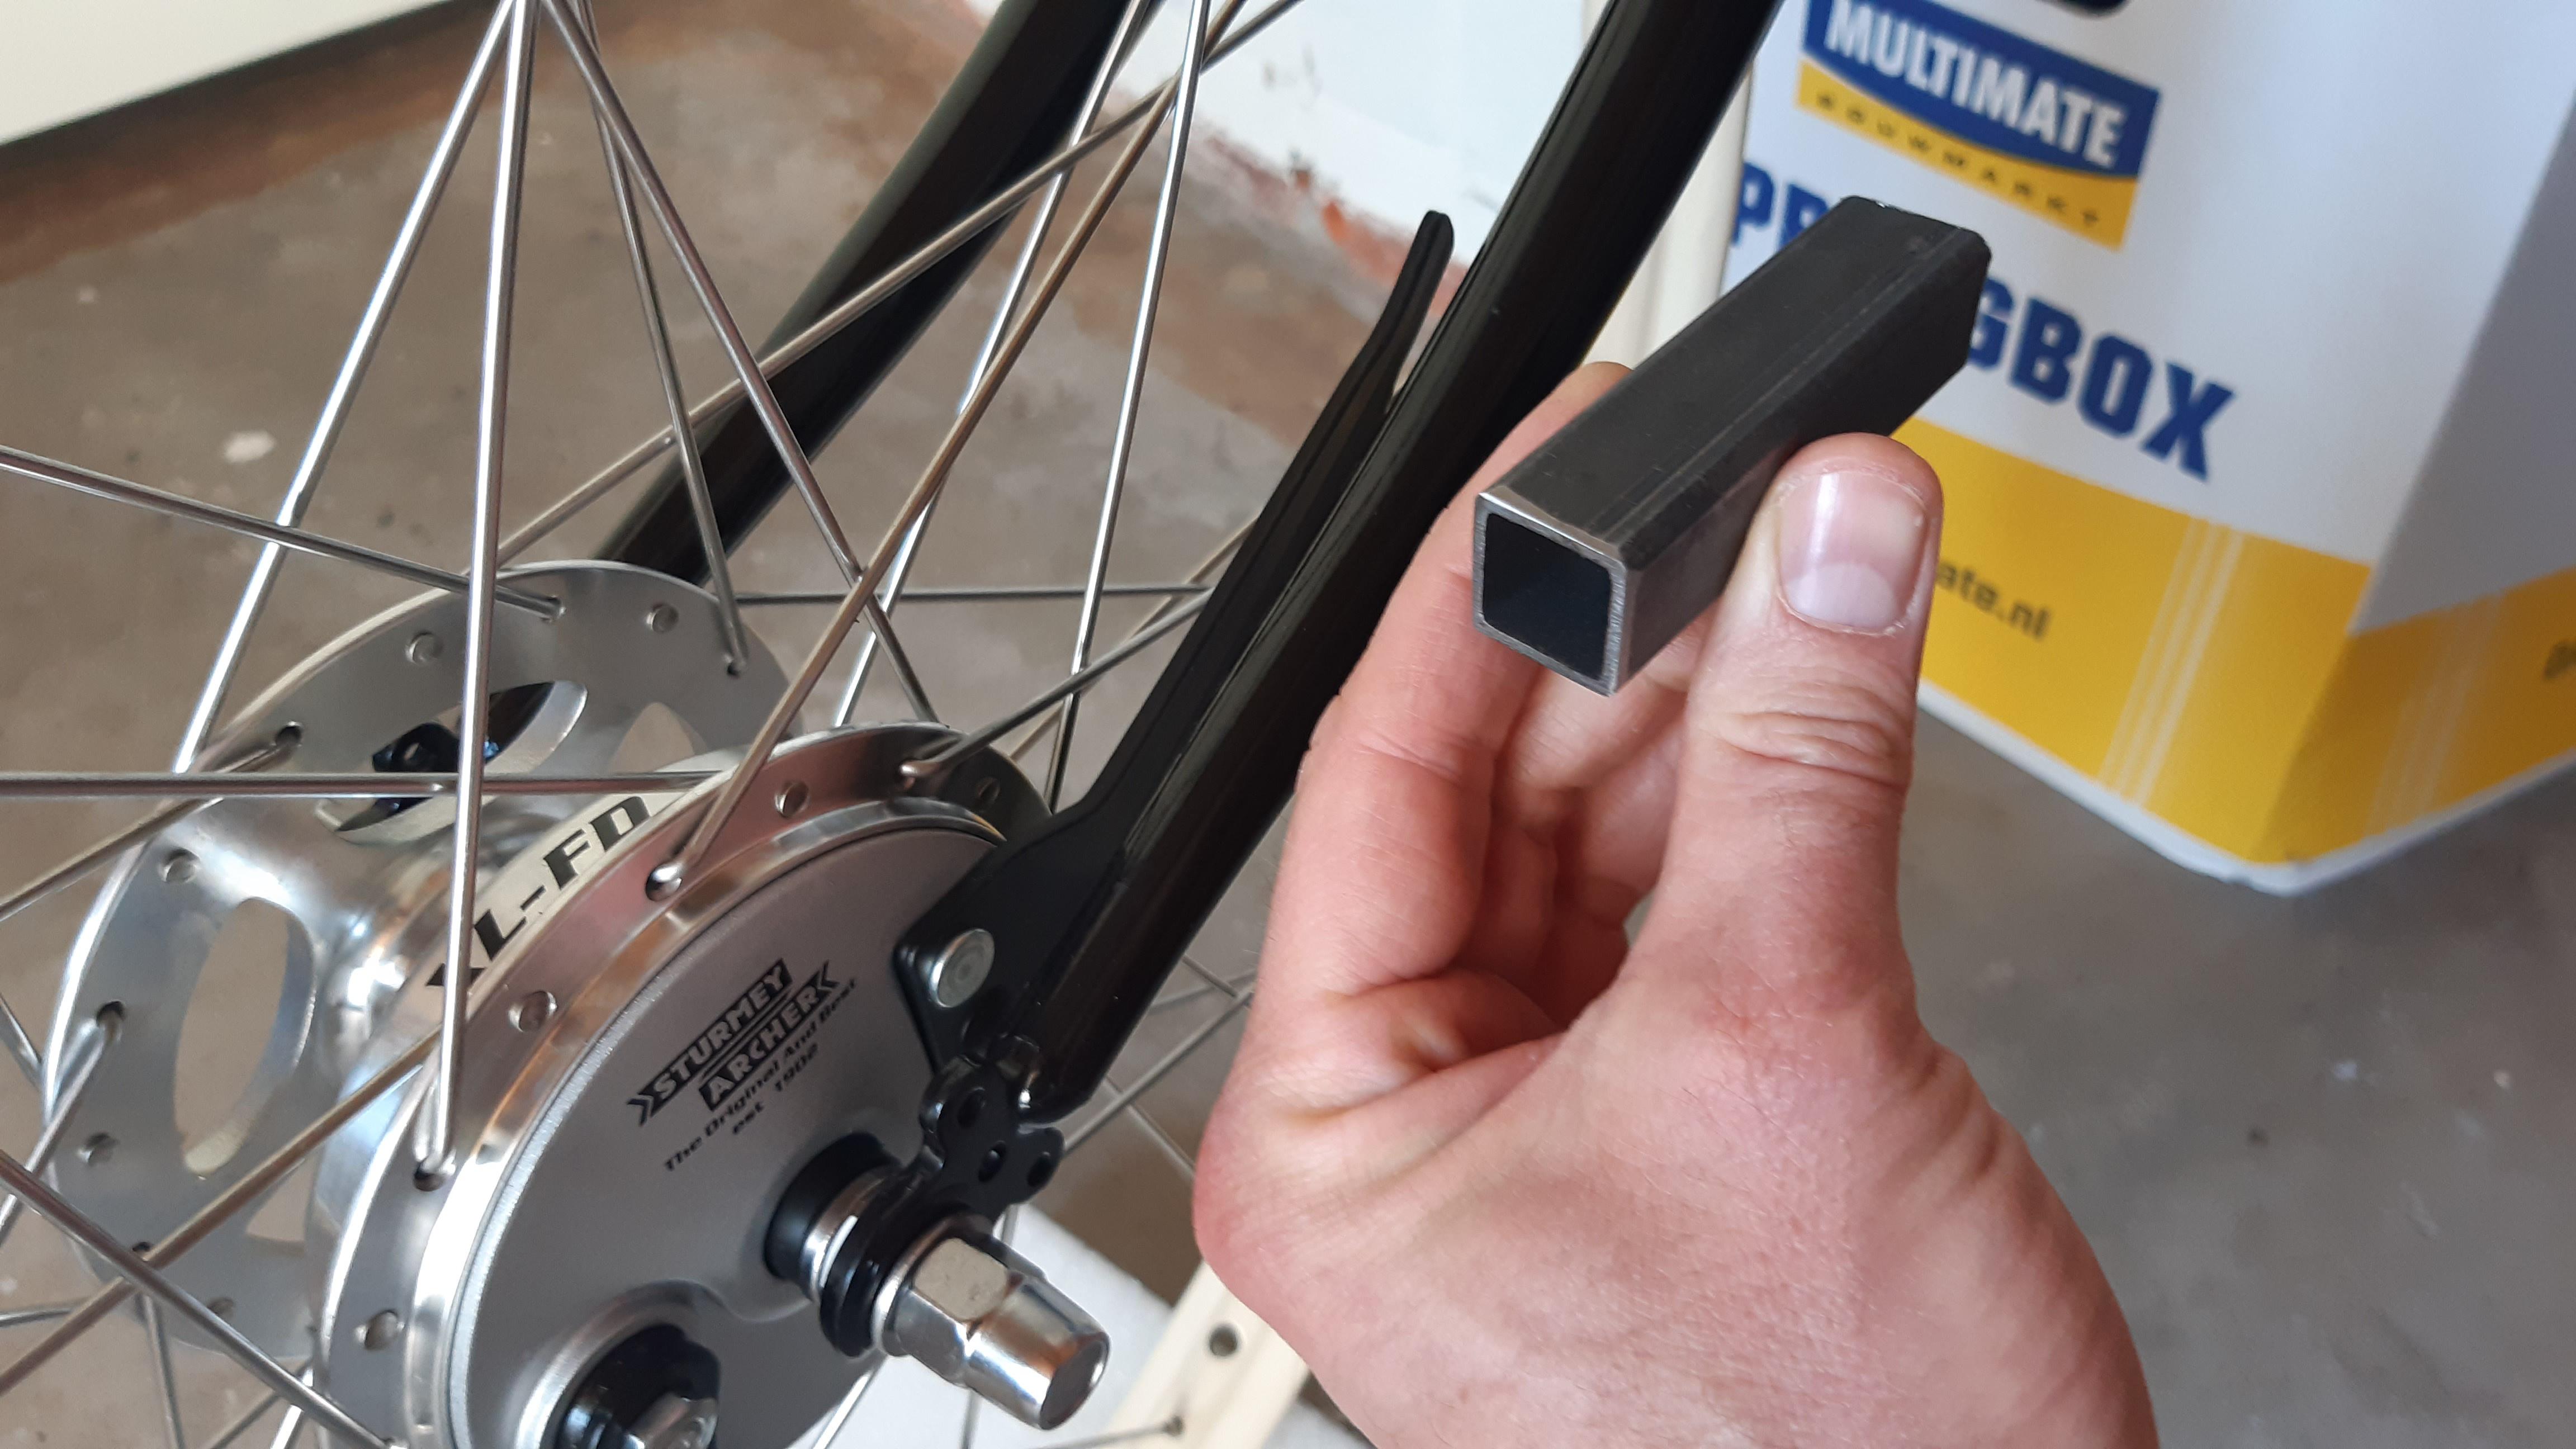
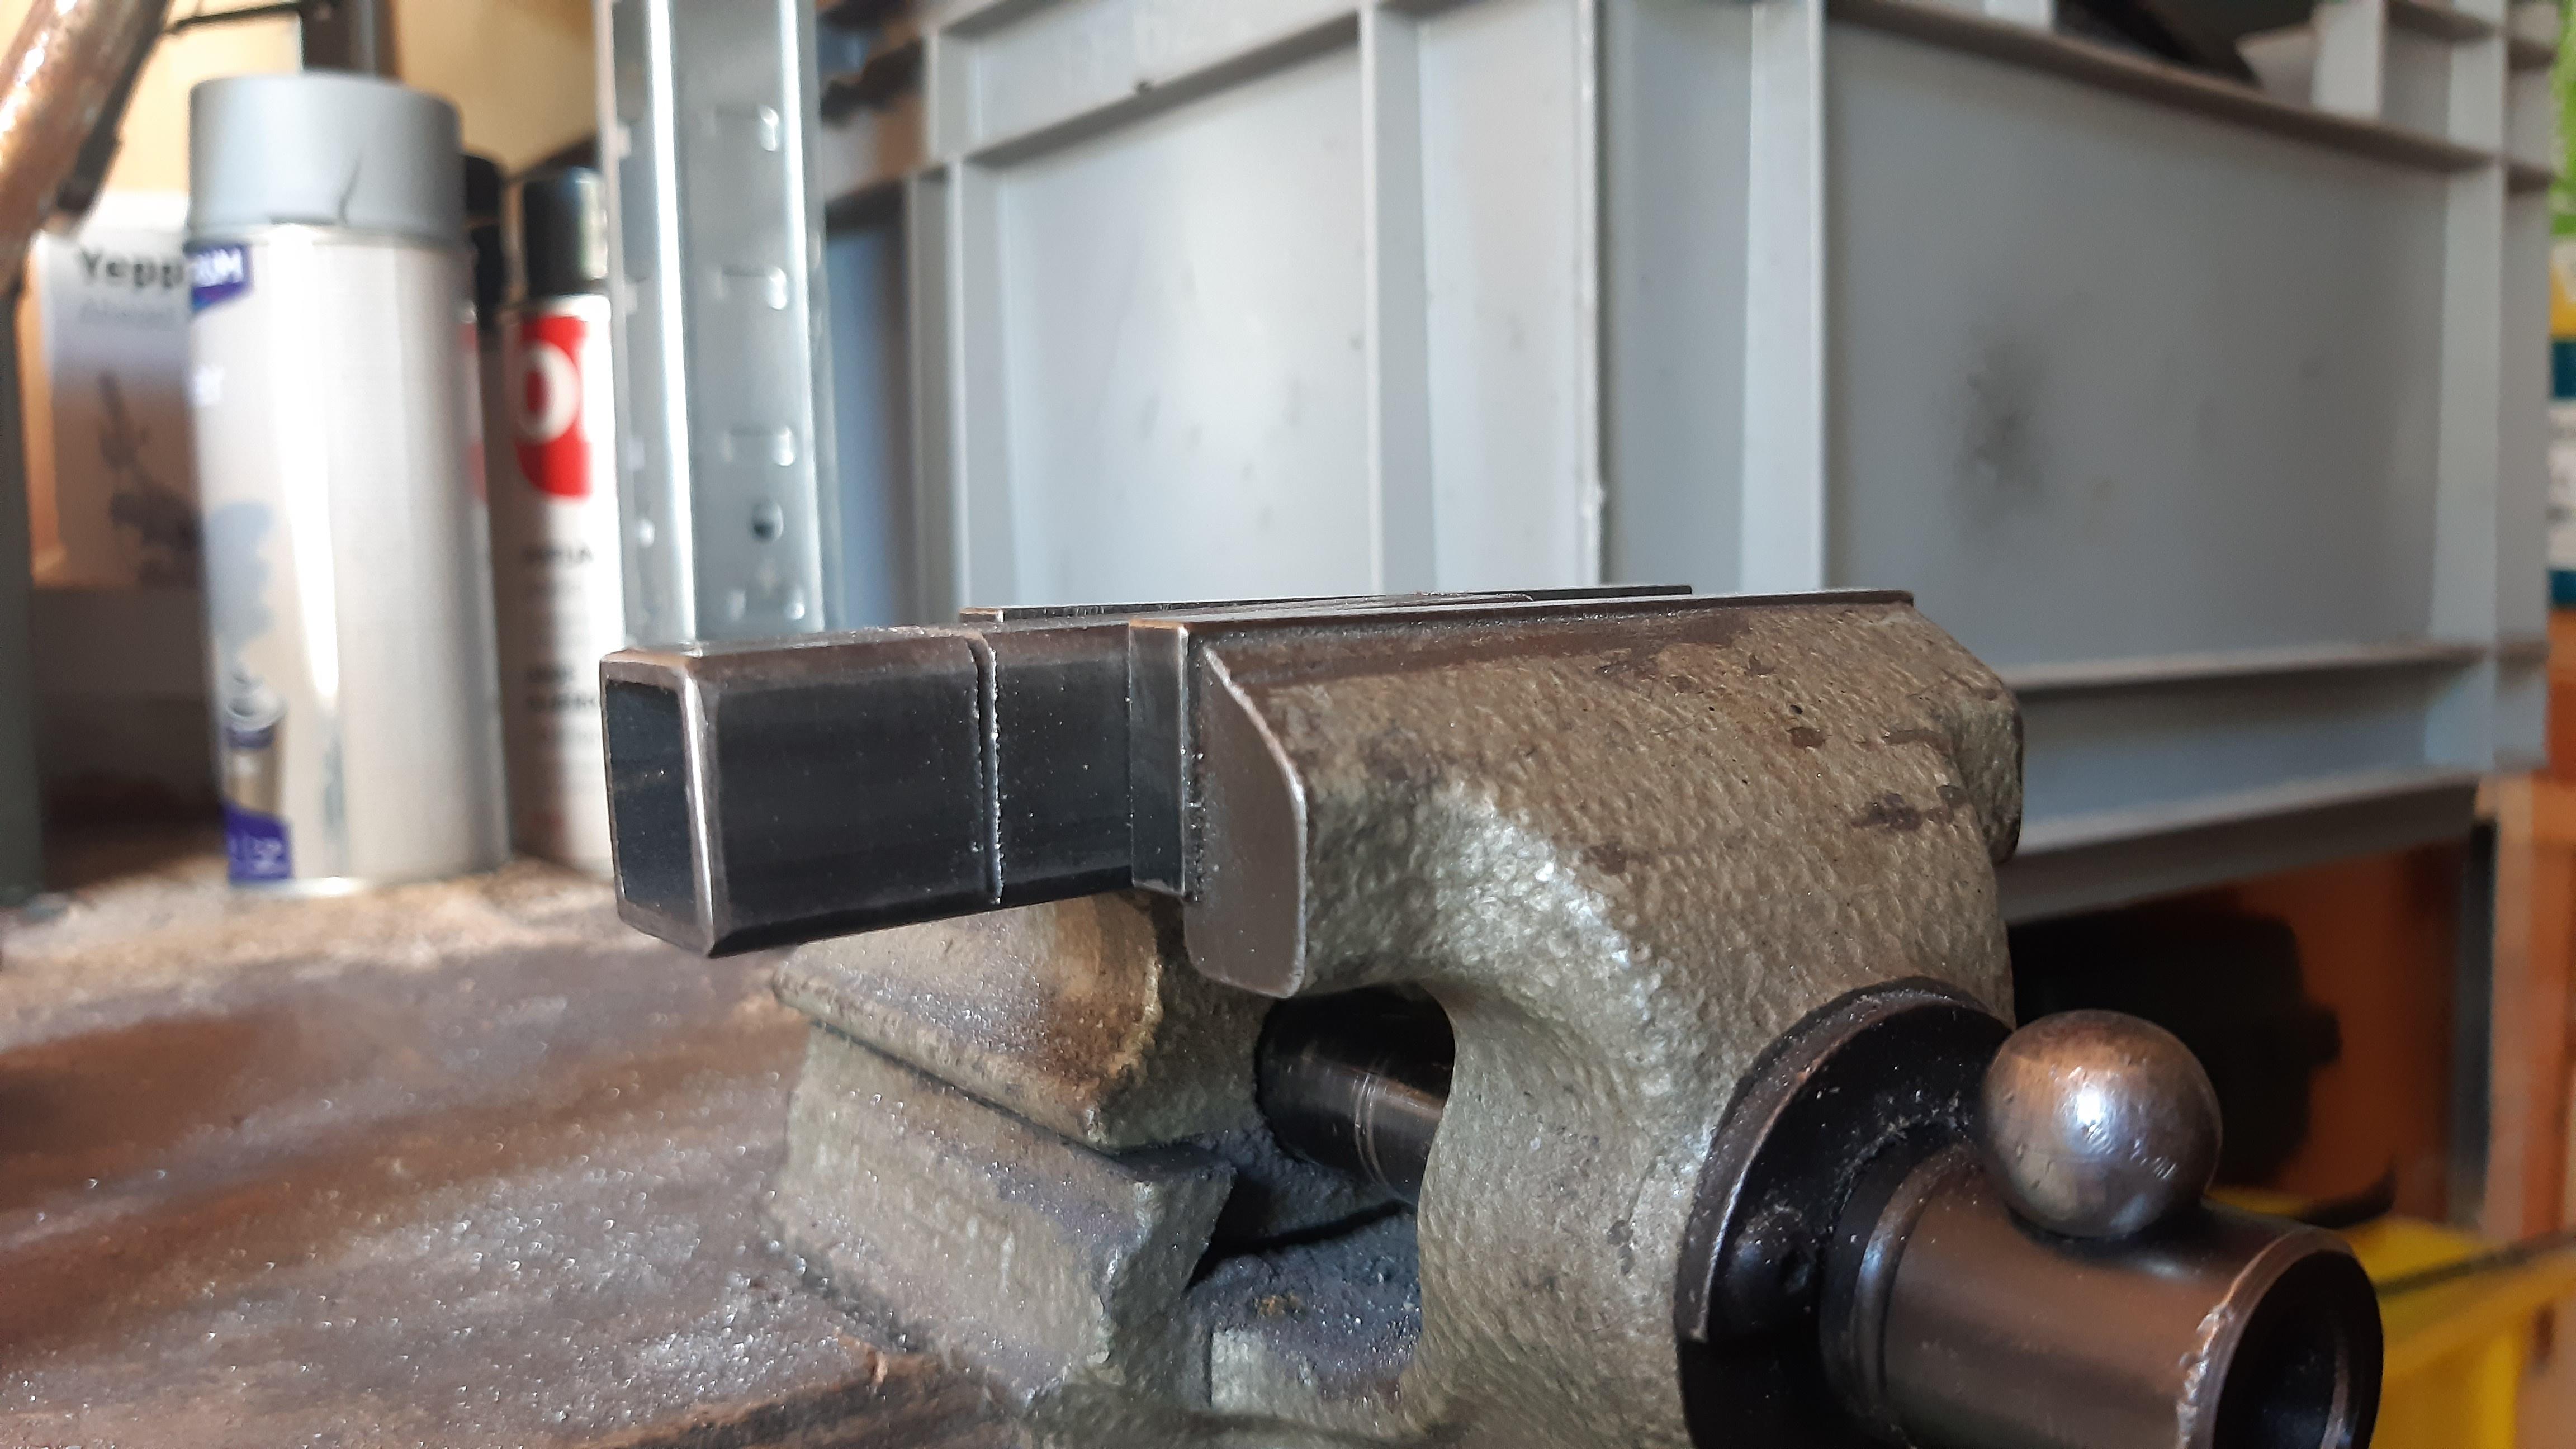
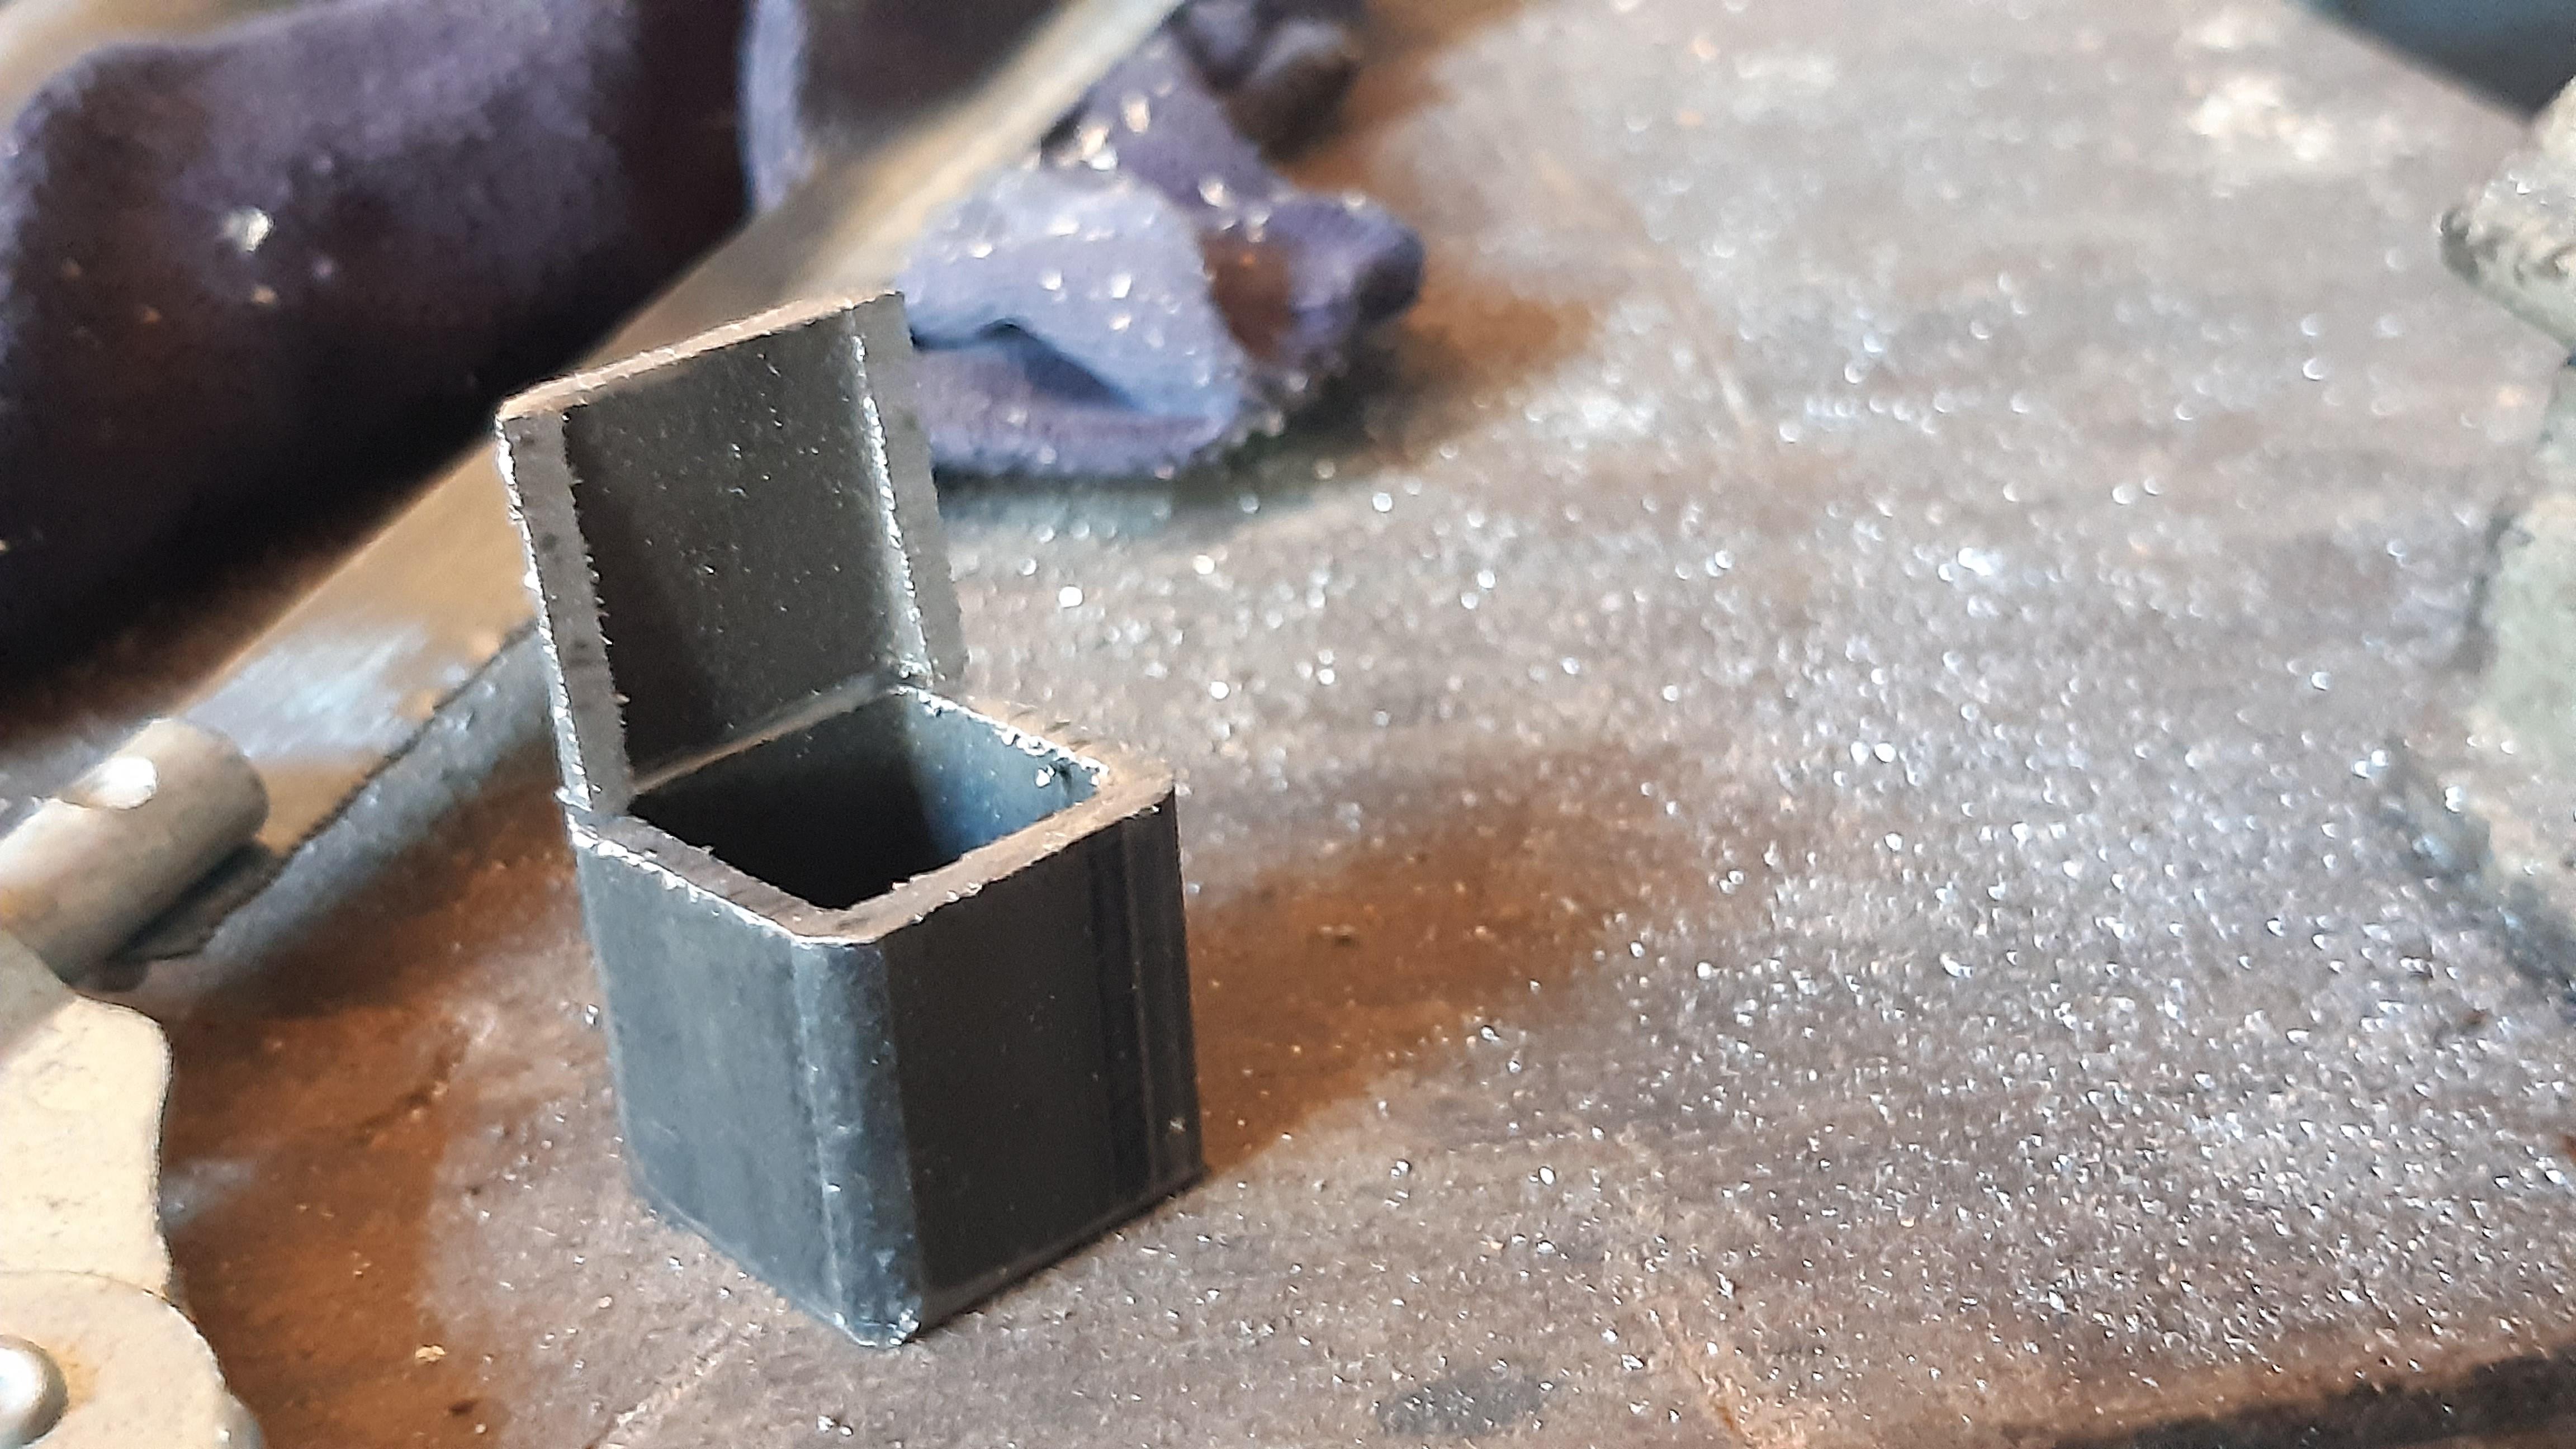
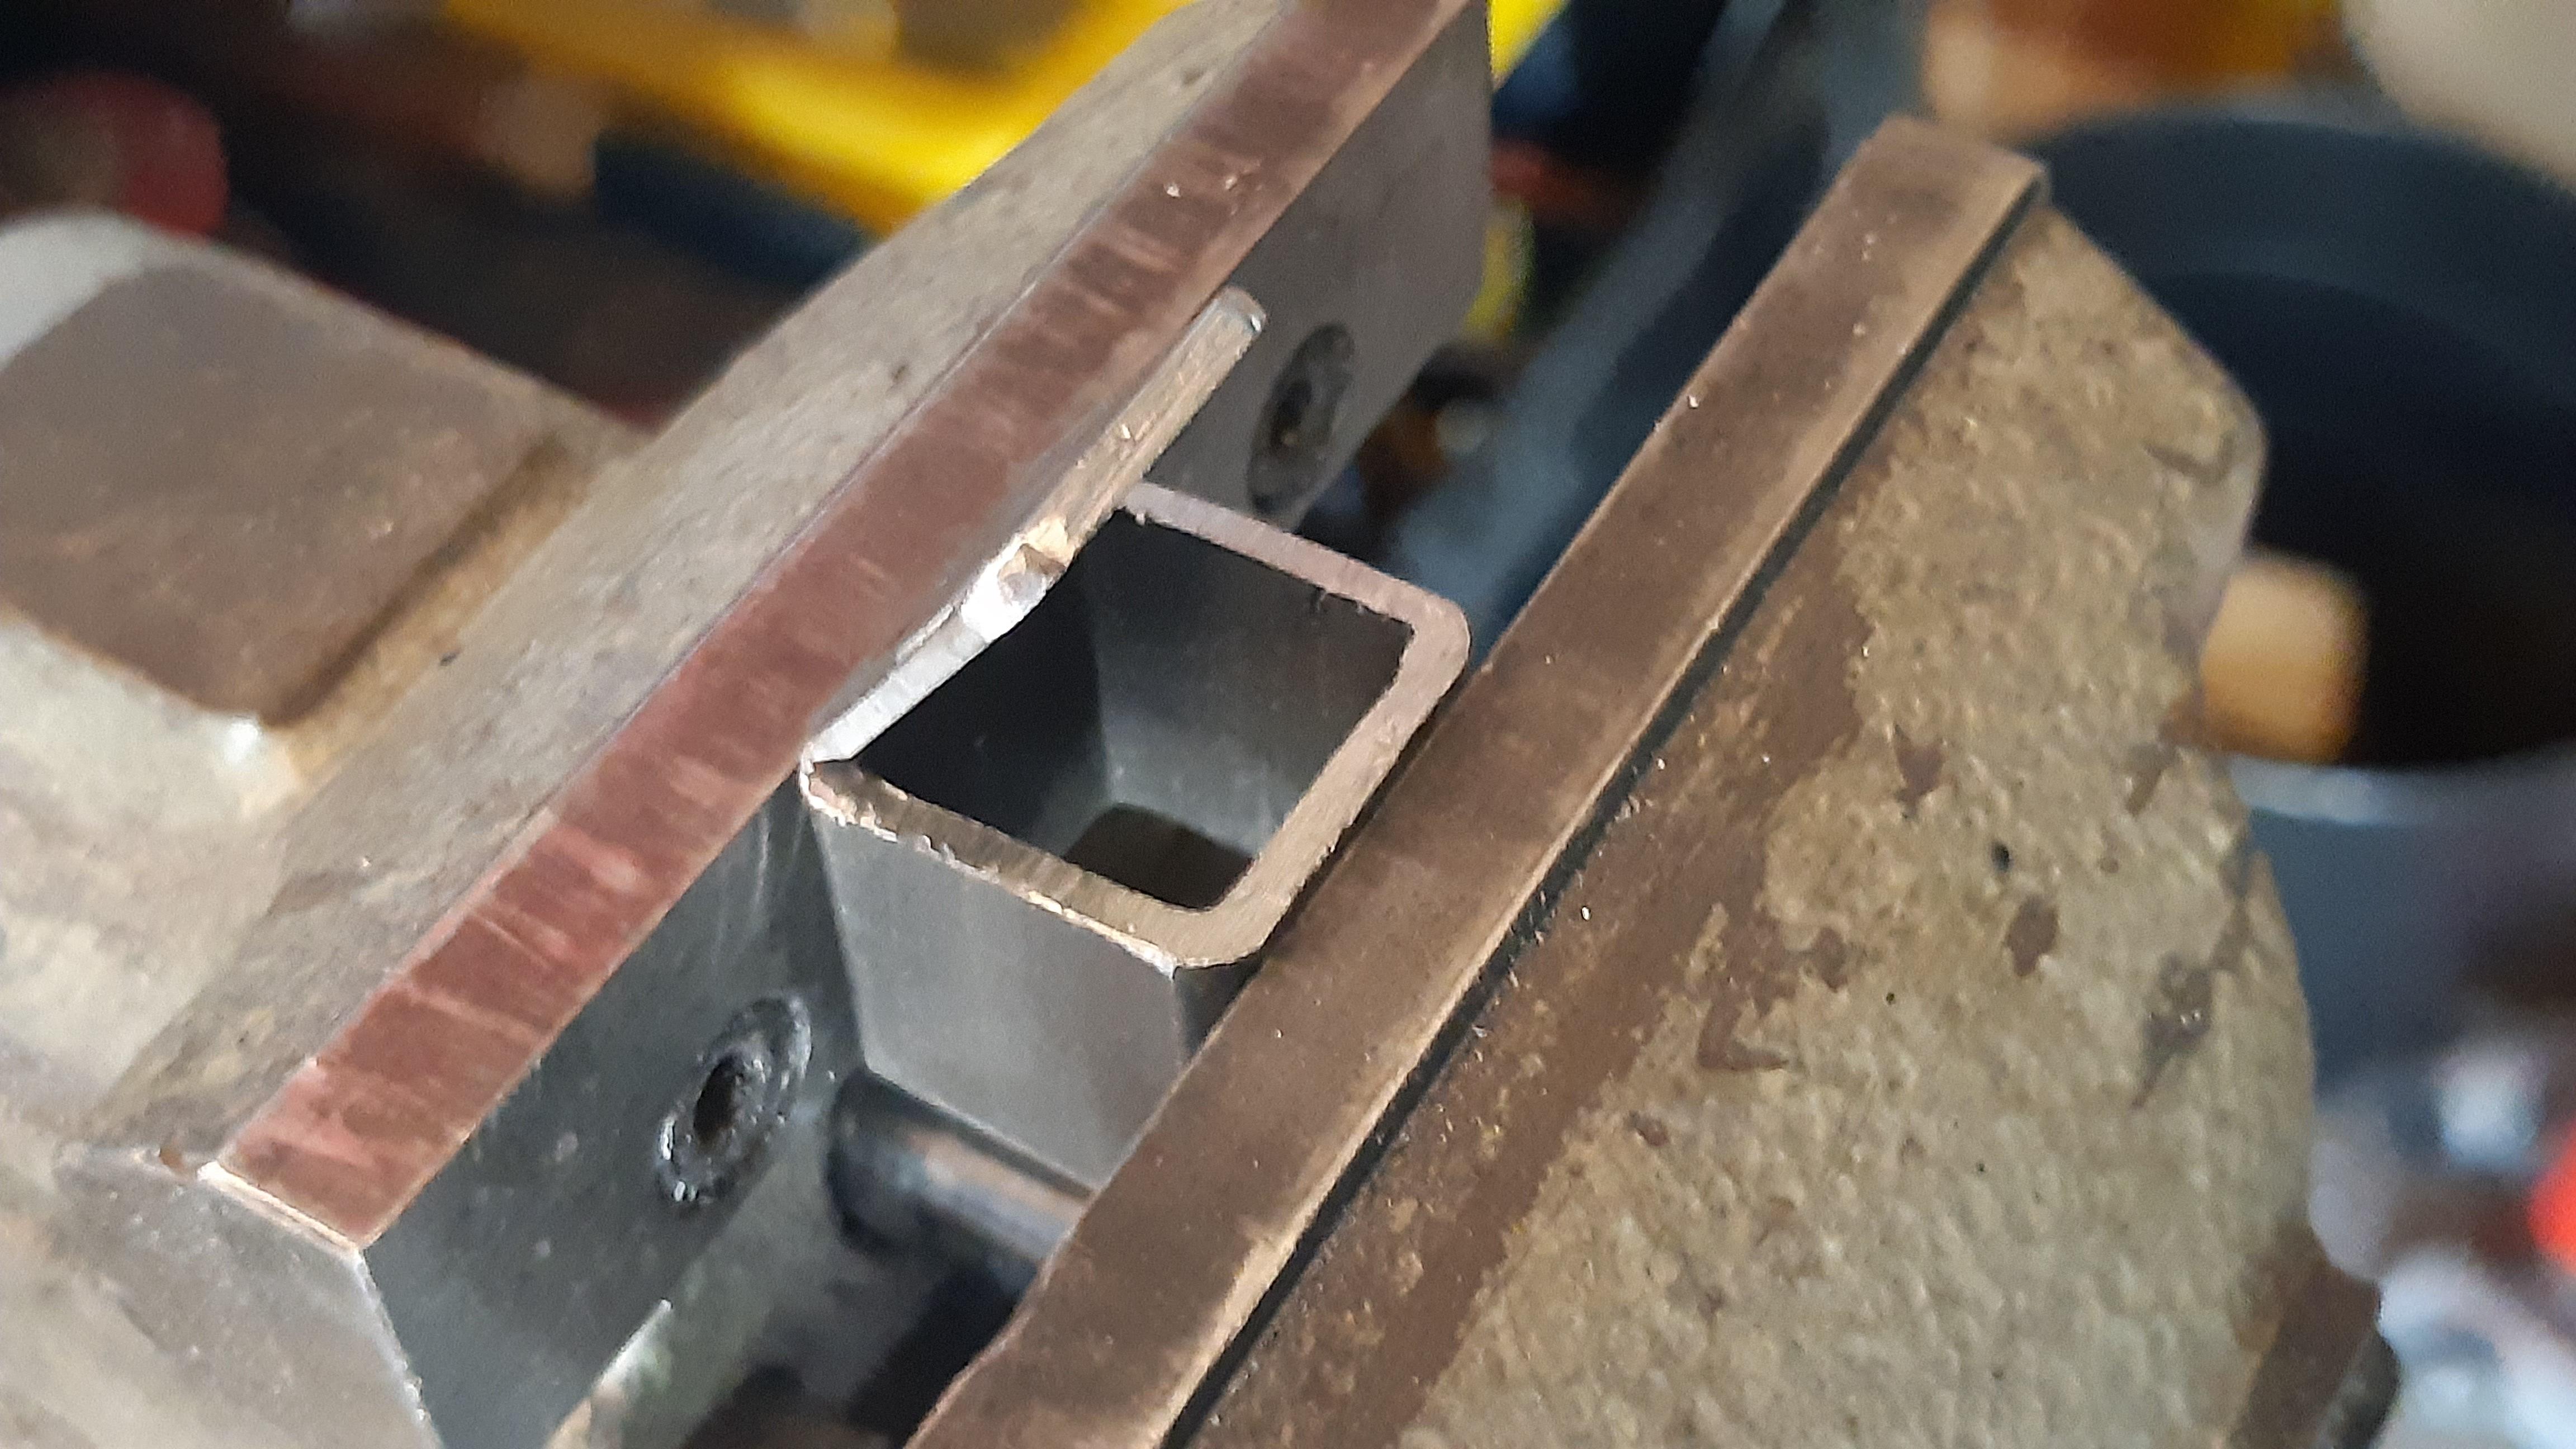
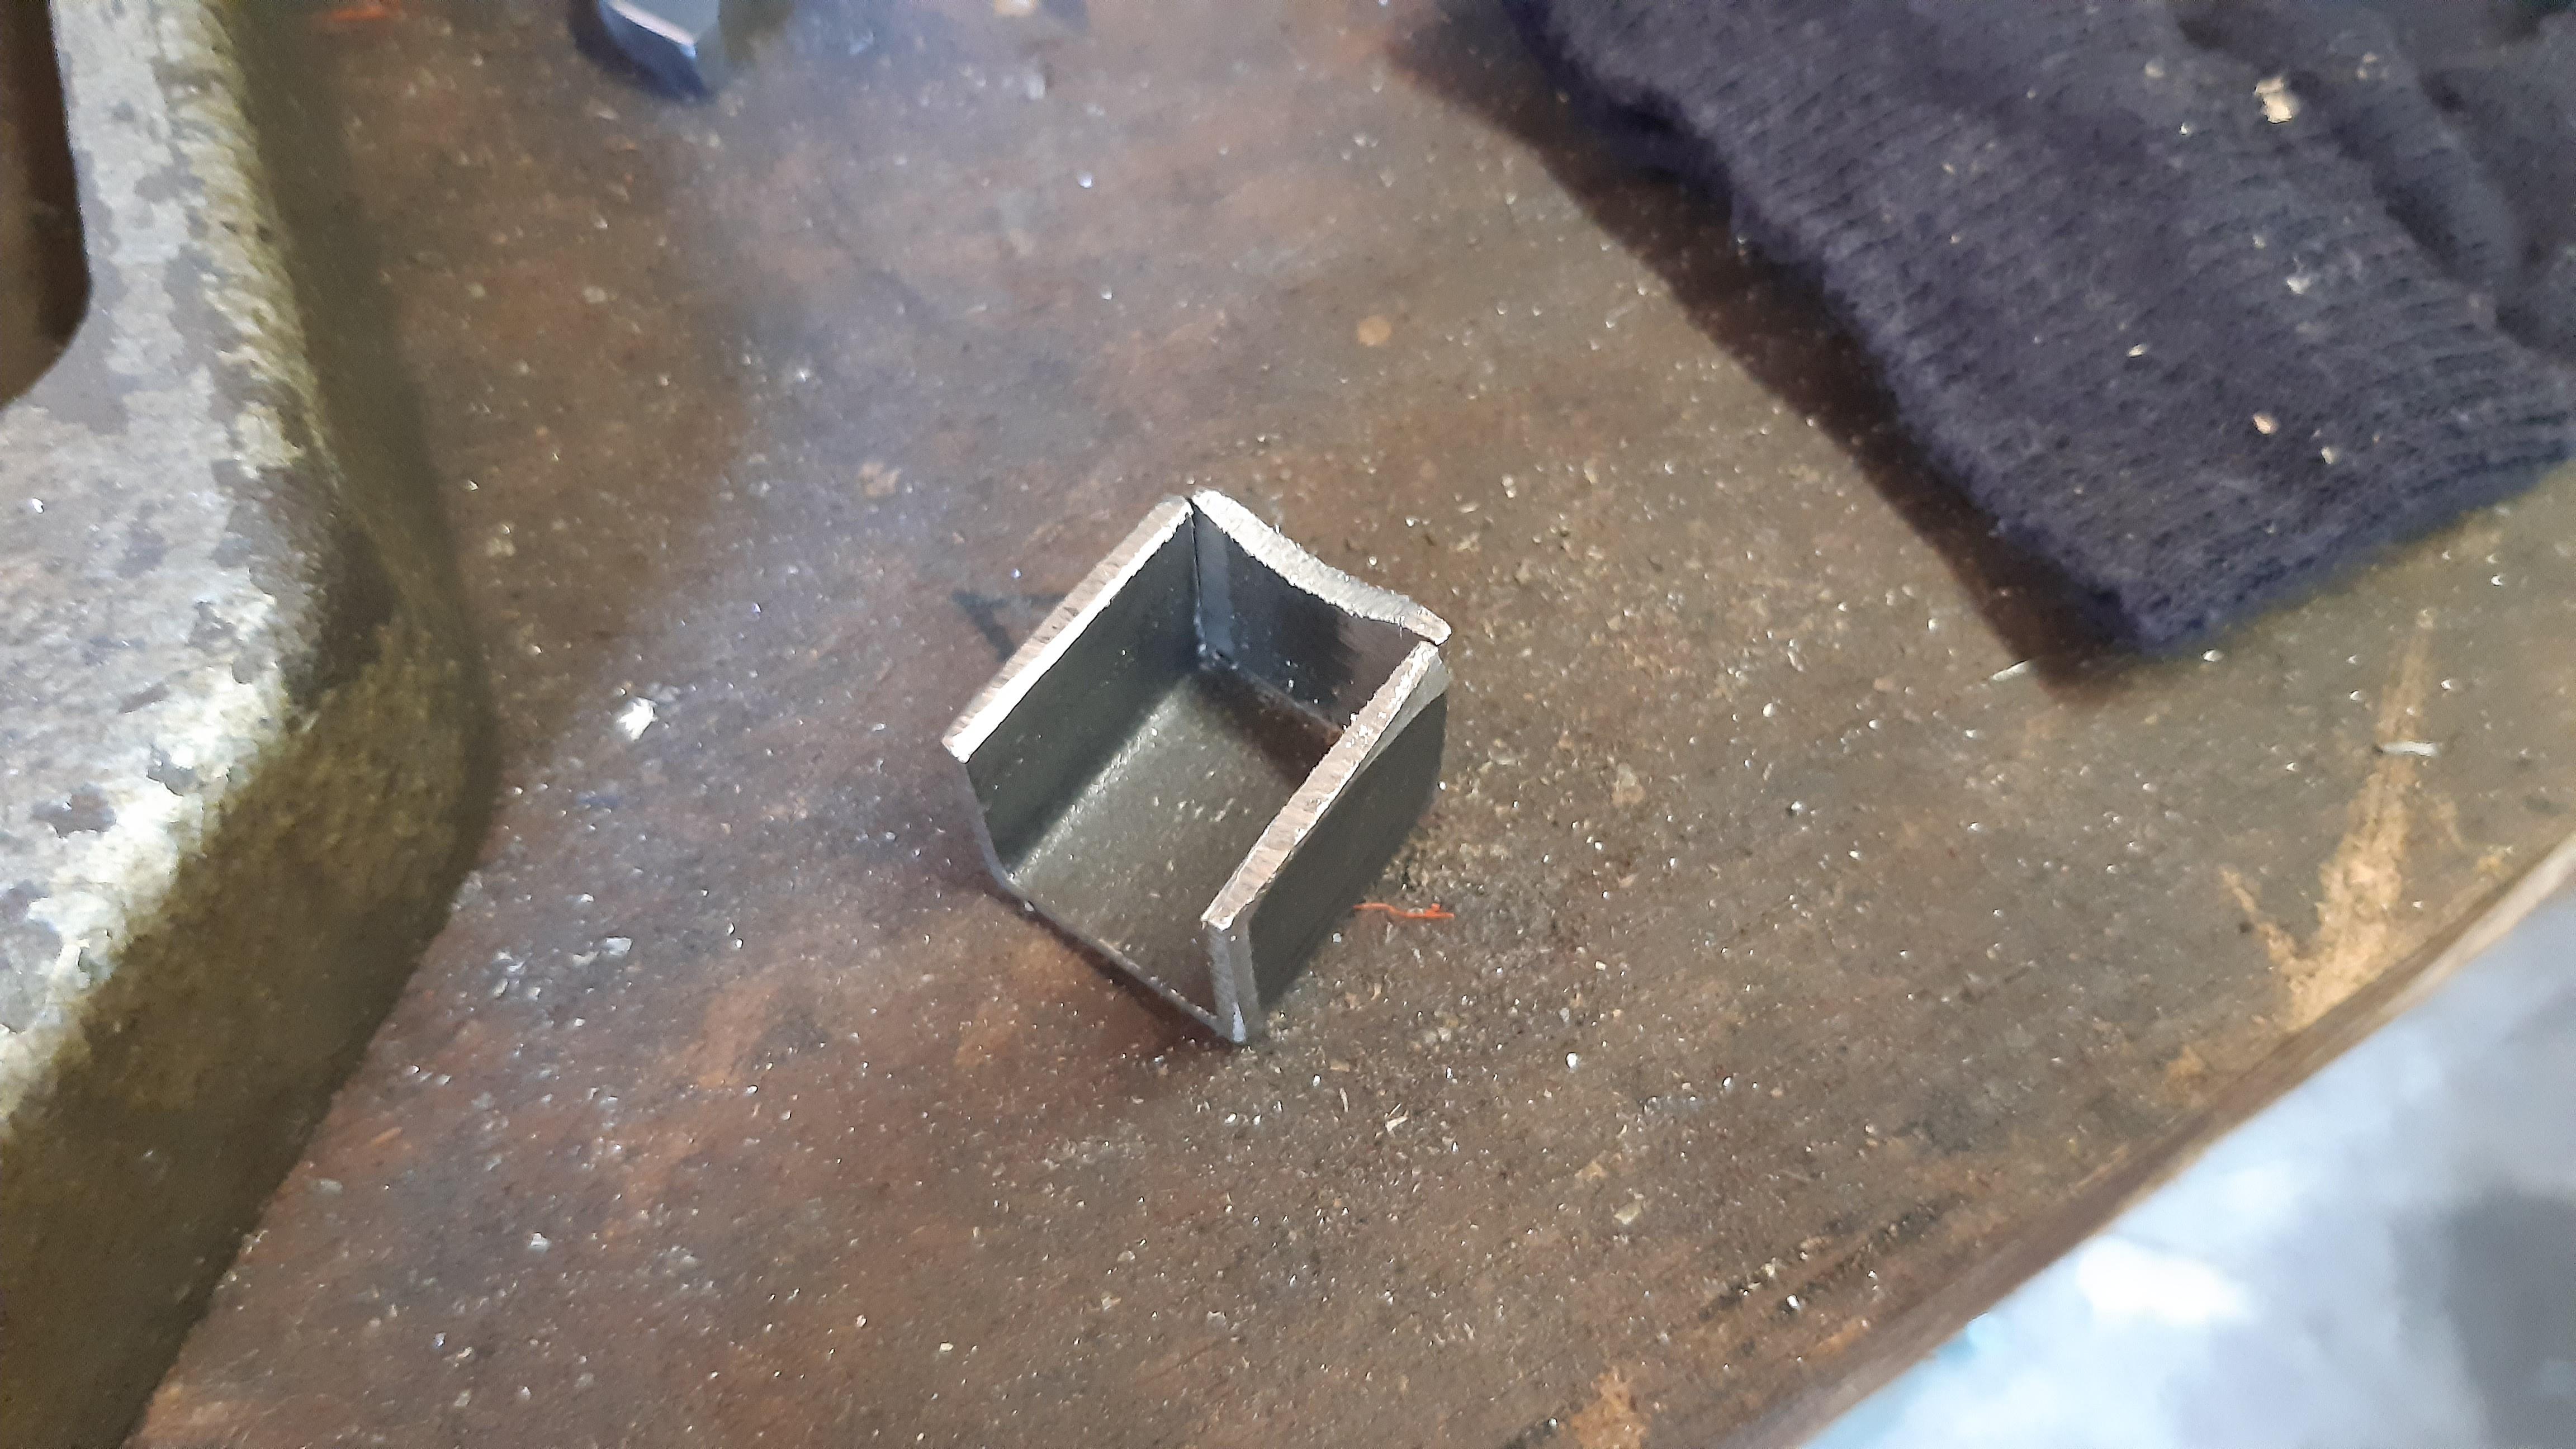
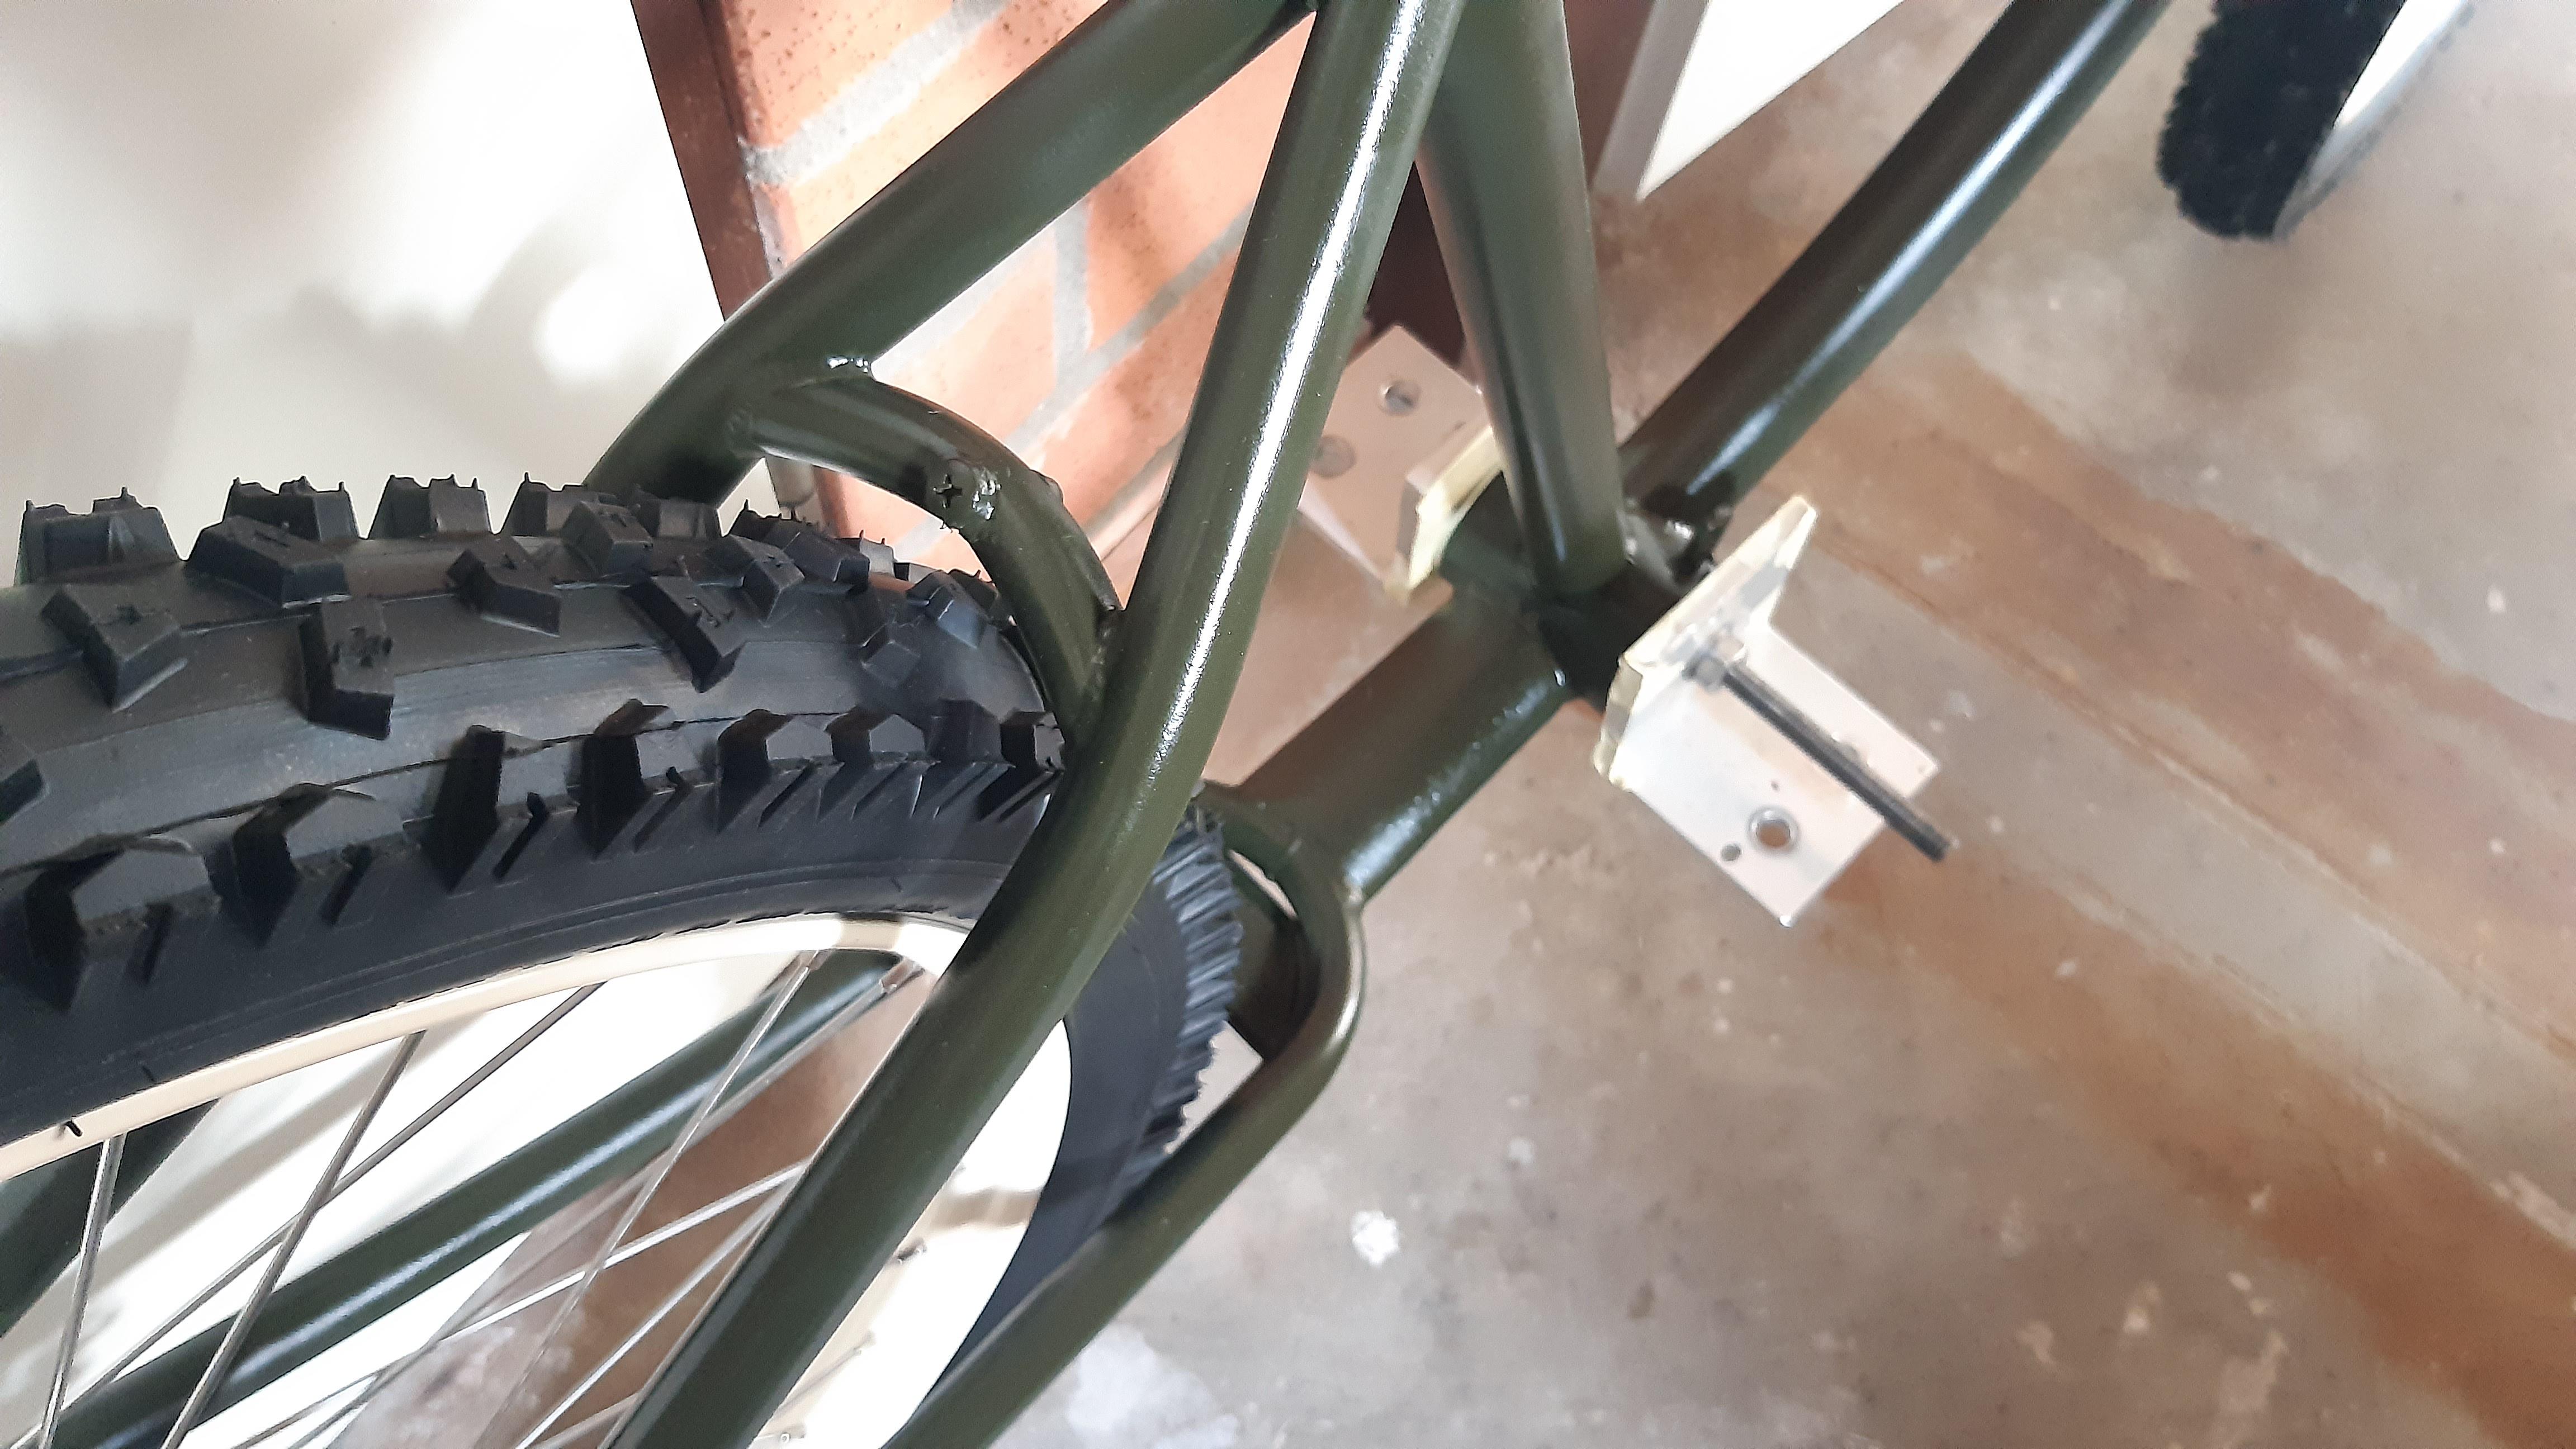
Fitting the truss pipe and fabricating an "anchor" for the drum brake. I started out with a piece of square tube.
Most drum brake anchors have a "C" shape welded to the fork, but I wanted it boxed because I can.
The section is a bit larger than the arm, but I had the following thought: To tap thread (M6 metric or so) in the rear of the ancher after welding.
Why you might ask? Well, I do not like it when I hold the front brake and the drum brake arm has a couple of milimeters of play in the "C" shape mentioned earlier. I kind of feels like you removed tension of your front nuts if you know what I mean.

A8wUTHG.jpeg

The truss clamps (mounted on the rim brake pegs) need to come forward quite a bit. And they will be changed to some similar clamps. This is just a mockup.

WTbMwMO.jpeg


Fabrication of drum brake anchor:
u5w7Zmu.jpeg

FwnIrEV.jpeg

sr1Ly56.jpeg

5yGUsyV.jpeg

JUeMDHQ.jpeg

IU0Nh97.jpeg

uh5AerT.jpeg

:cool:

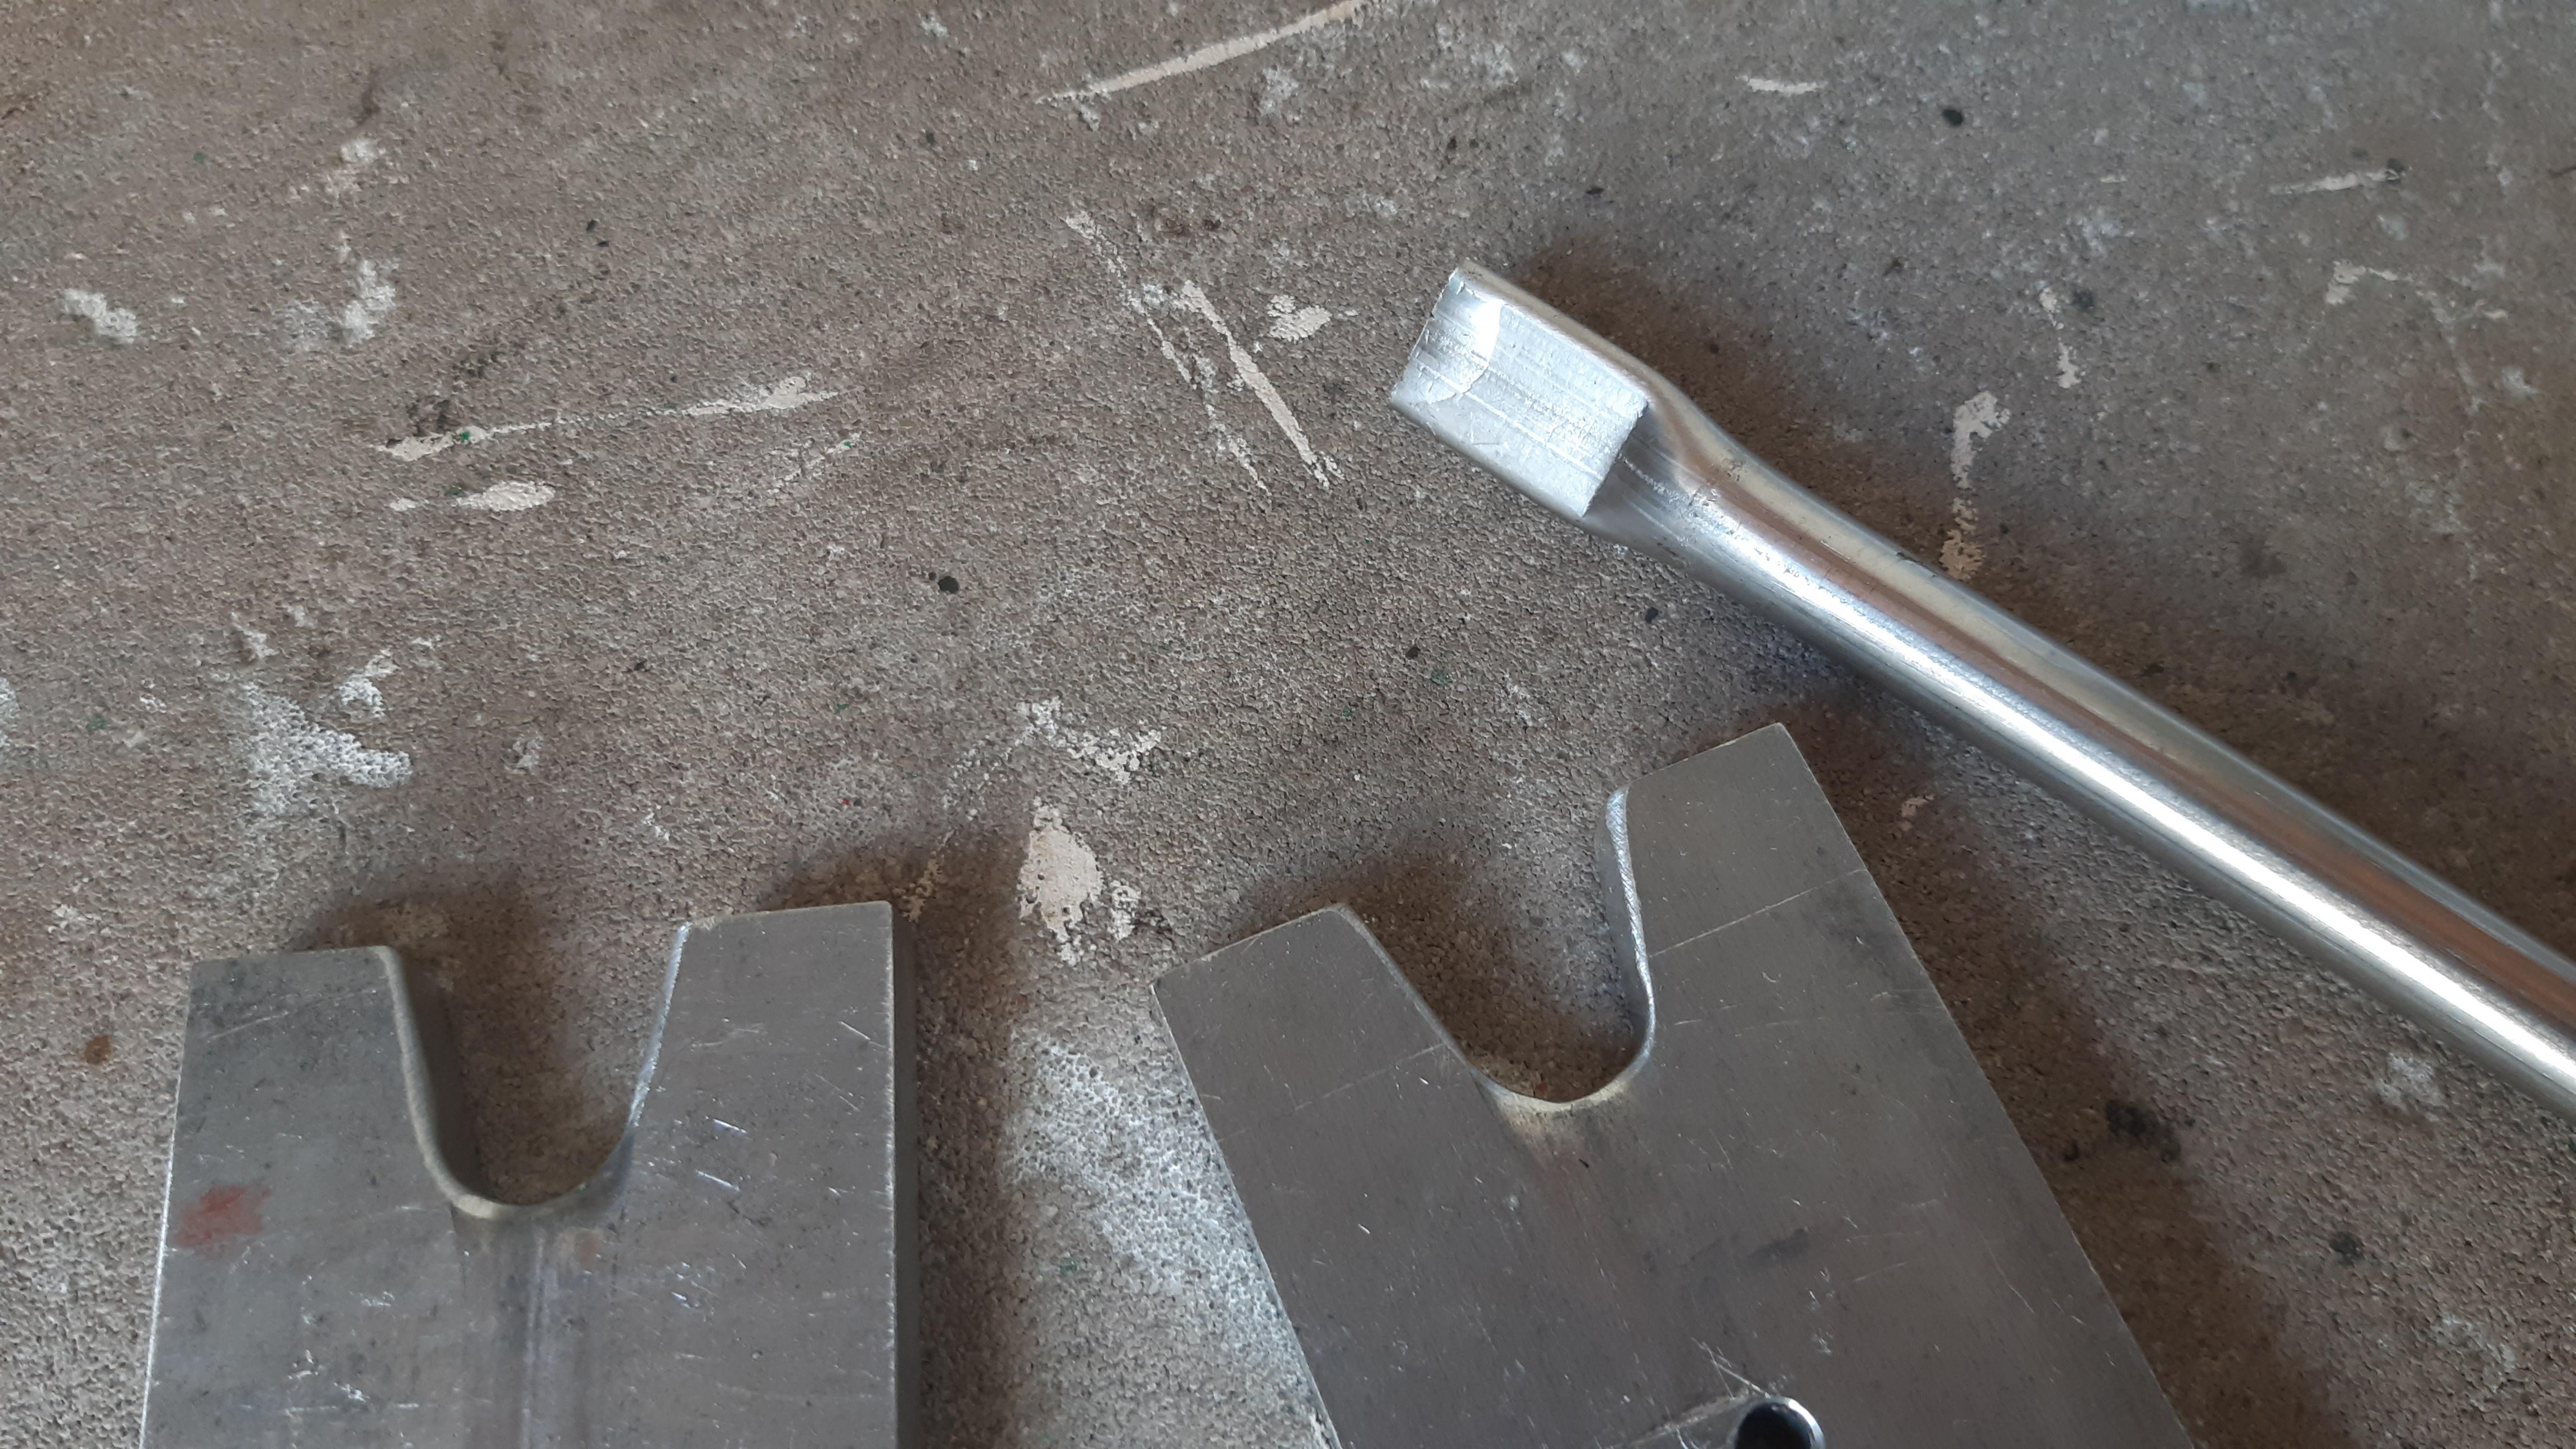
Earlier, I made a "press tool" to press an eyelet to tubes.
When you flatten a tube in a vice, then you'll get something OK, but a bit floppy sideways. I want to press an eyelet that is appealing to look at and stiff.
But first I need to finish and mockup/assembly the fork.
Example and picture:
WtUPMTN.jpeg

The pressed eyelet on the right is made with a vice. It looks OK, but its a bit floppy. The aluminum plates will eventually press an "rounded" eyelet.

What are your thoughts?
Very tidy!
 
Thanks guys!

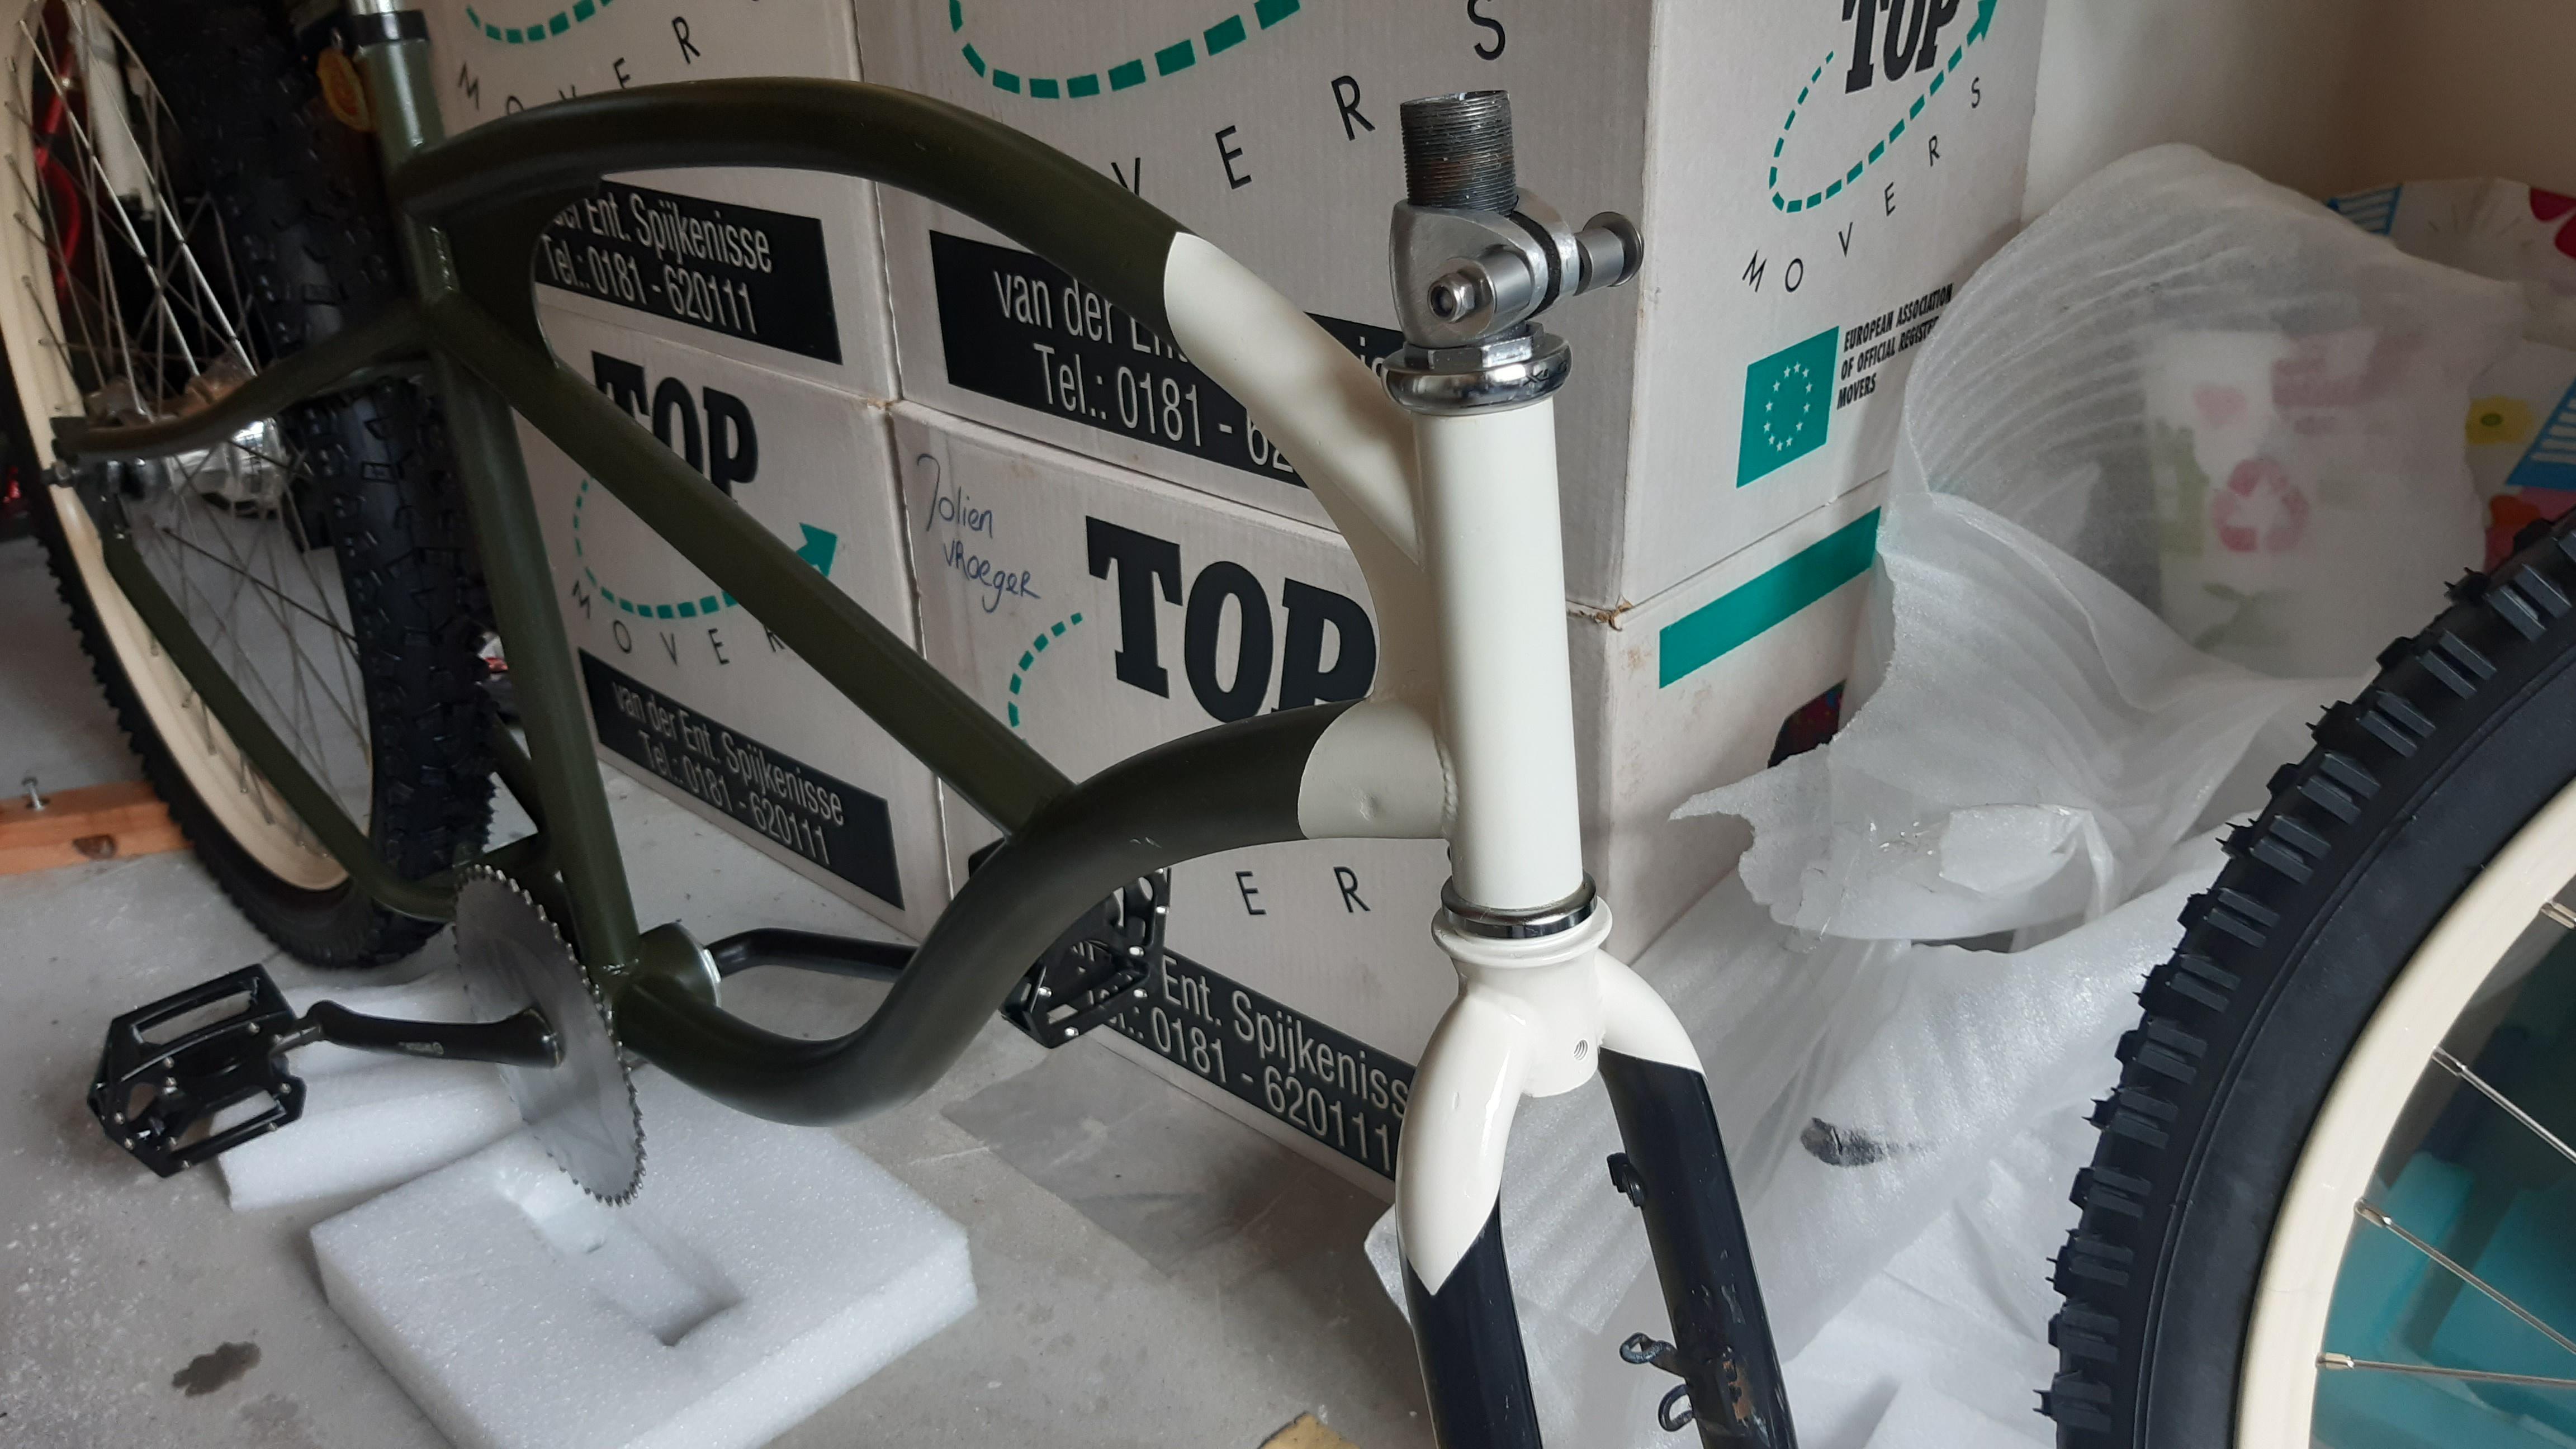
Things are moving faster now. I will paint the first part of the frame and add the "creme white" sections on the front later.

What is the name of the art on the bike? The old Klunker bikes have a "white" section at the front (headtube) and a little pinstriping/pointy bit of art behind it. Then comes the original colour.
Is that called pinstriping?

This is my approach: (I am fully open to suggestions/alteration)
  1. First I am painting the original colour (already in the making).
  2. The I will measure the diameter of the tubes X Pi. And cut a piece of paper with that (pinstriping?) art on it.
  3. Stick/wrap the paper to the frame.
  4. Paint the front part with art white/creme.
This way there are no large variations in paint thickness.

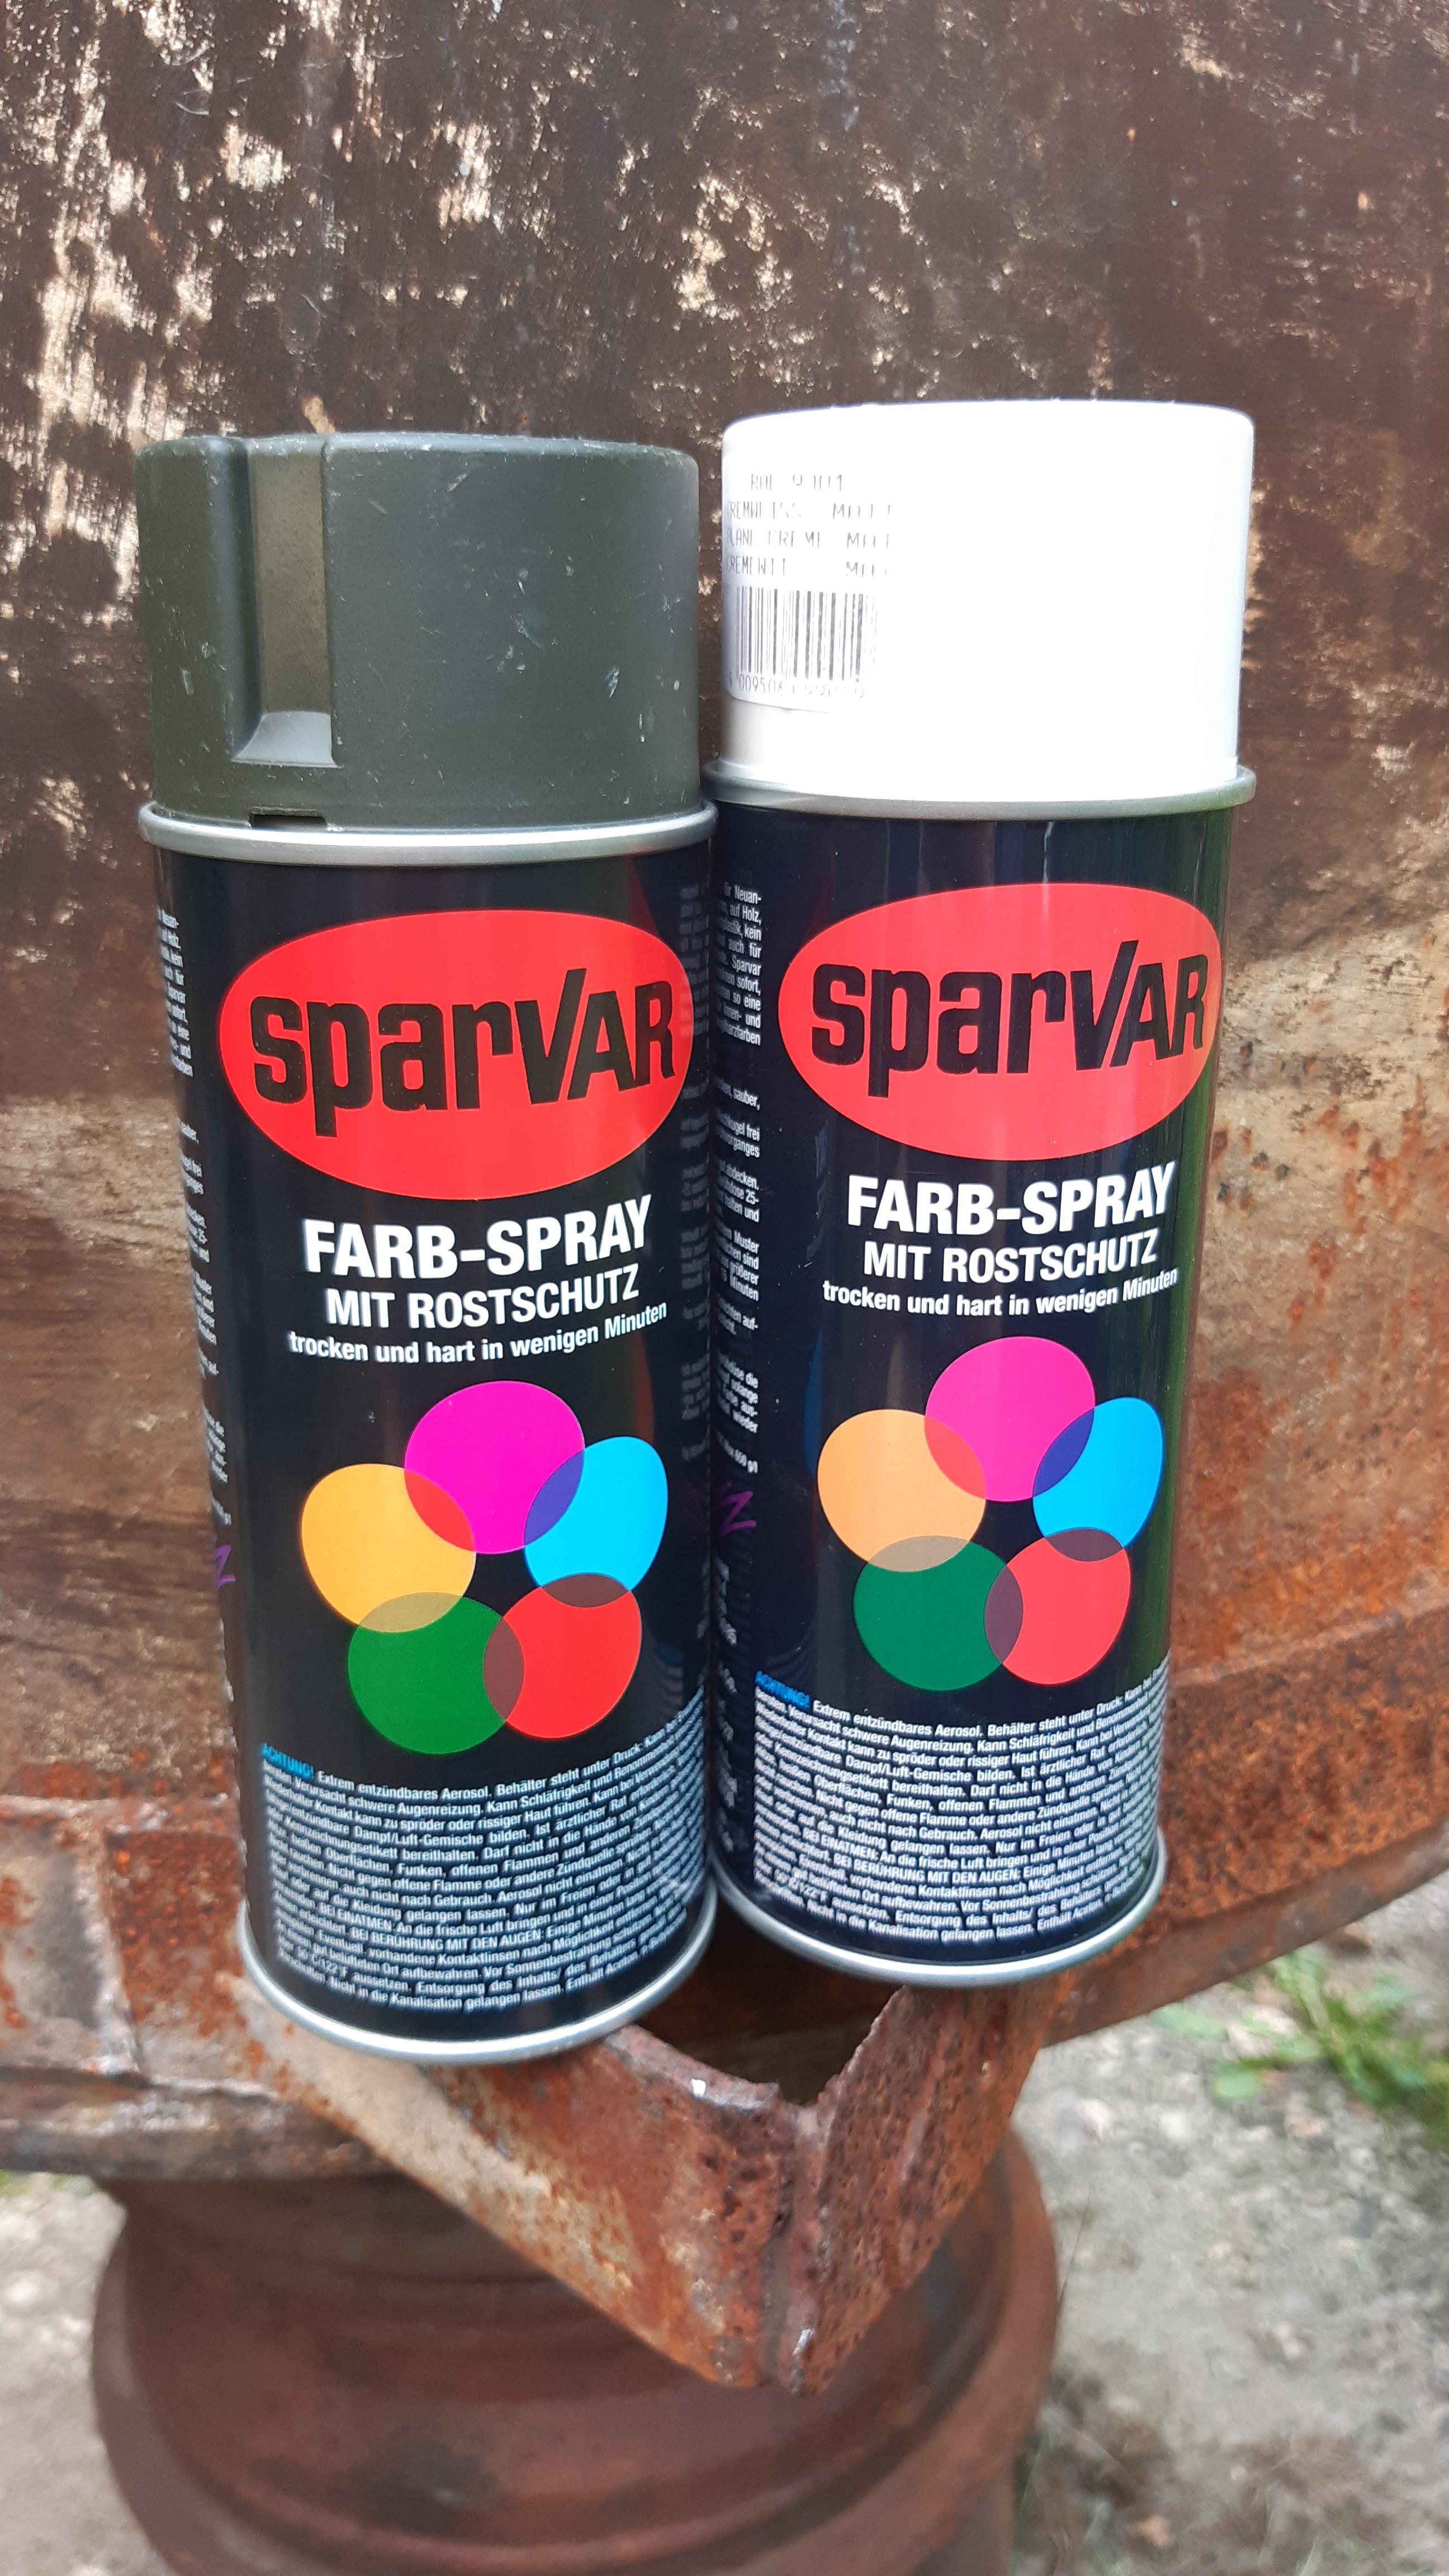
So I got the paint at an "graffiti" shop. I don't know if this is any good...
wVLtb5A.jpeg

L2rKvAb.jpeg

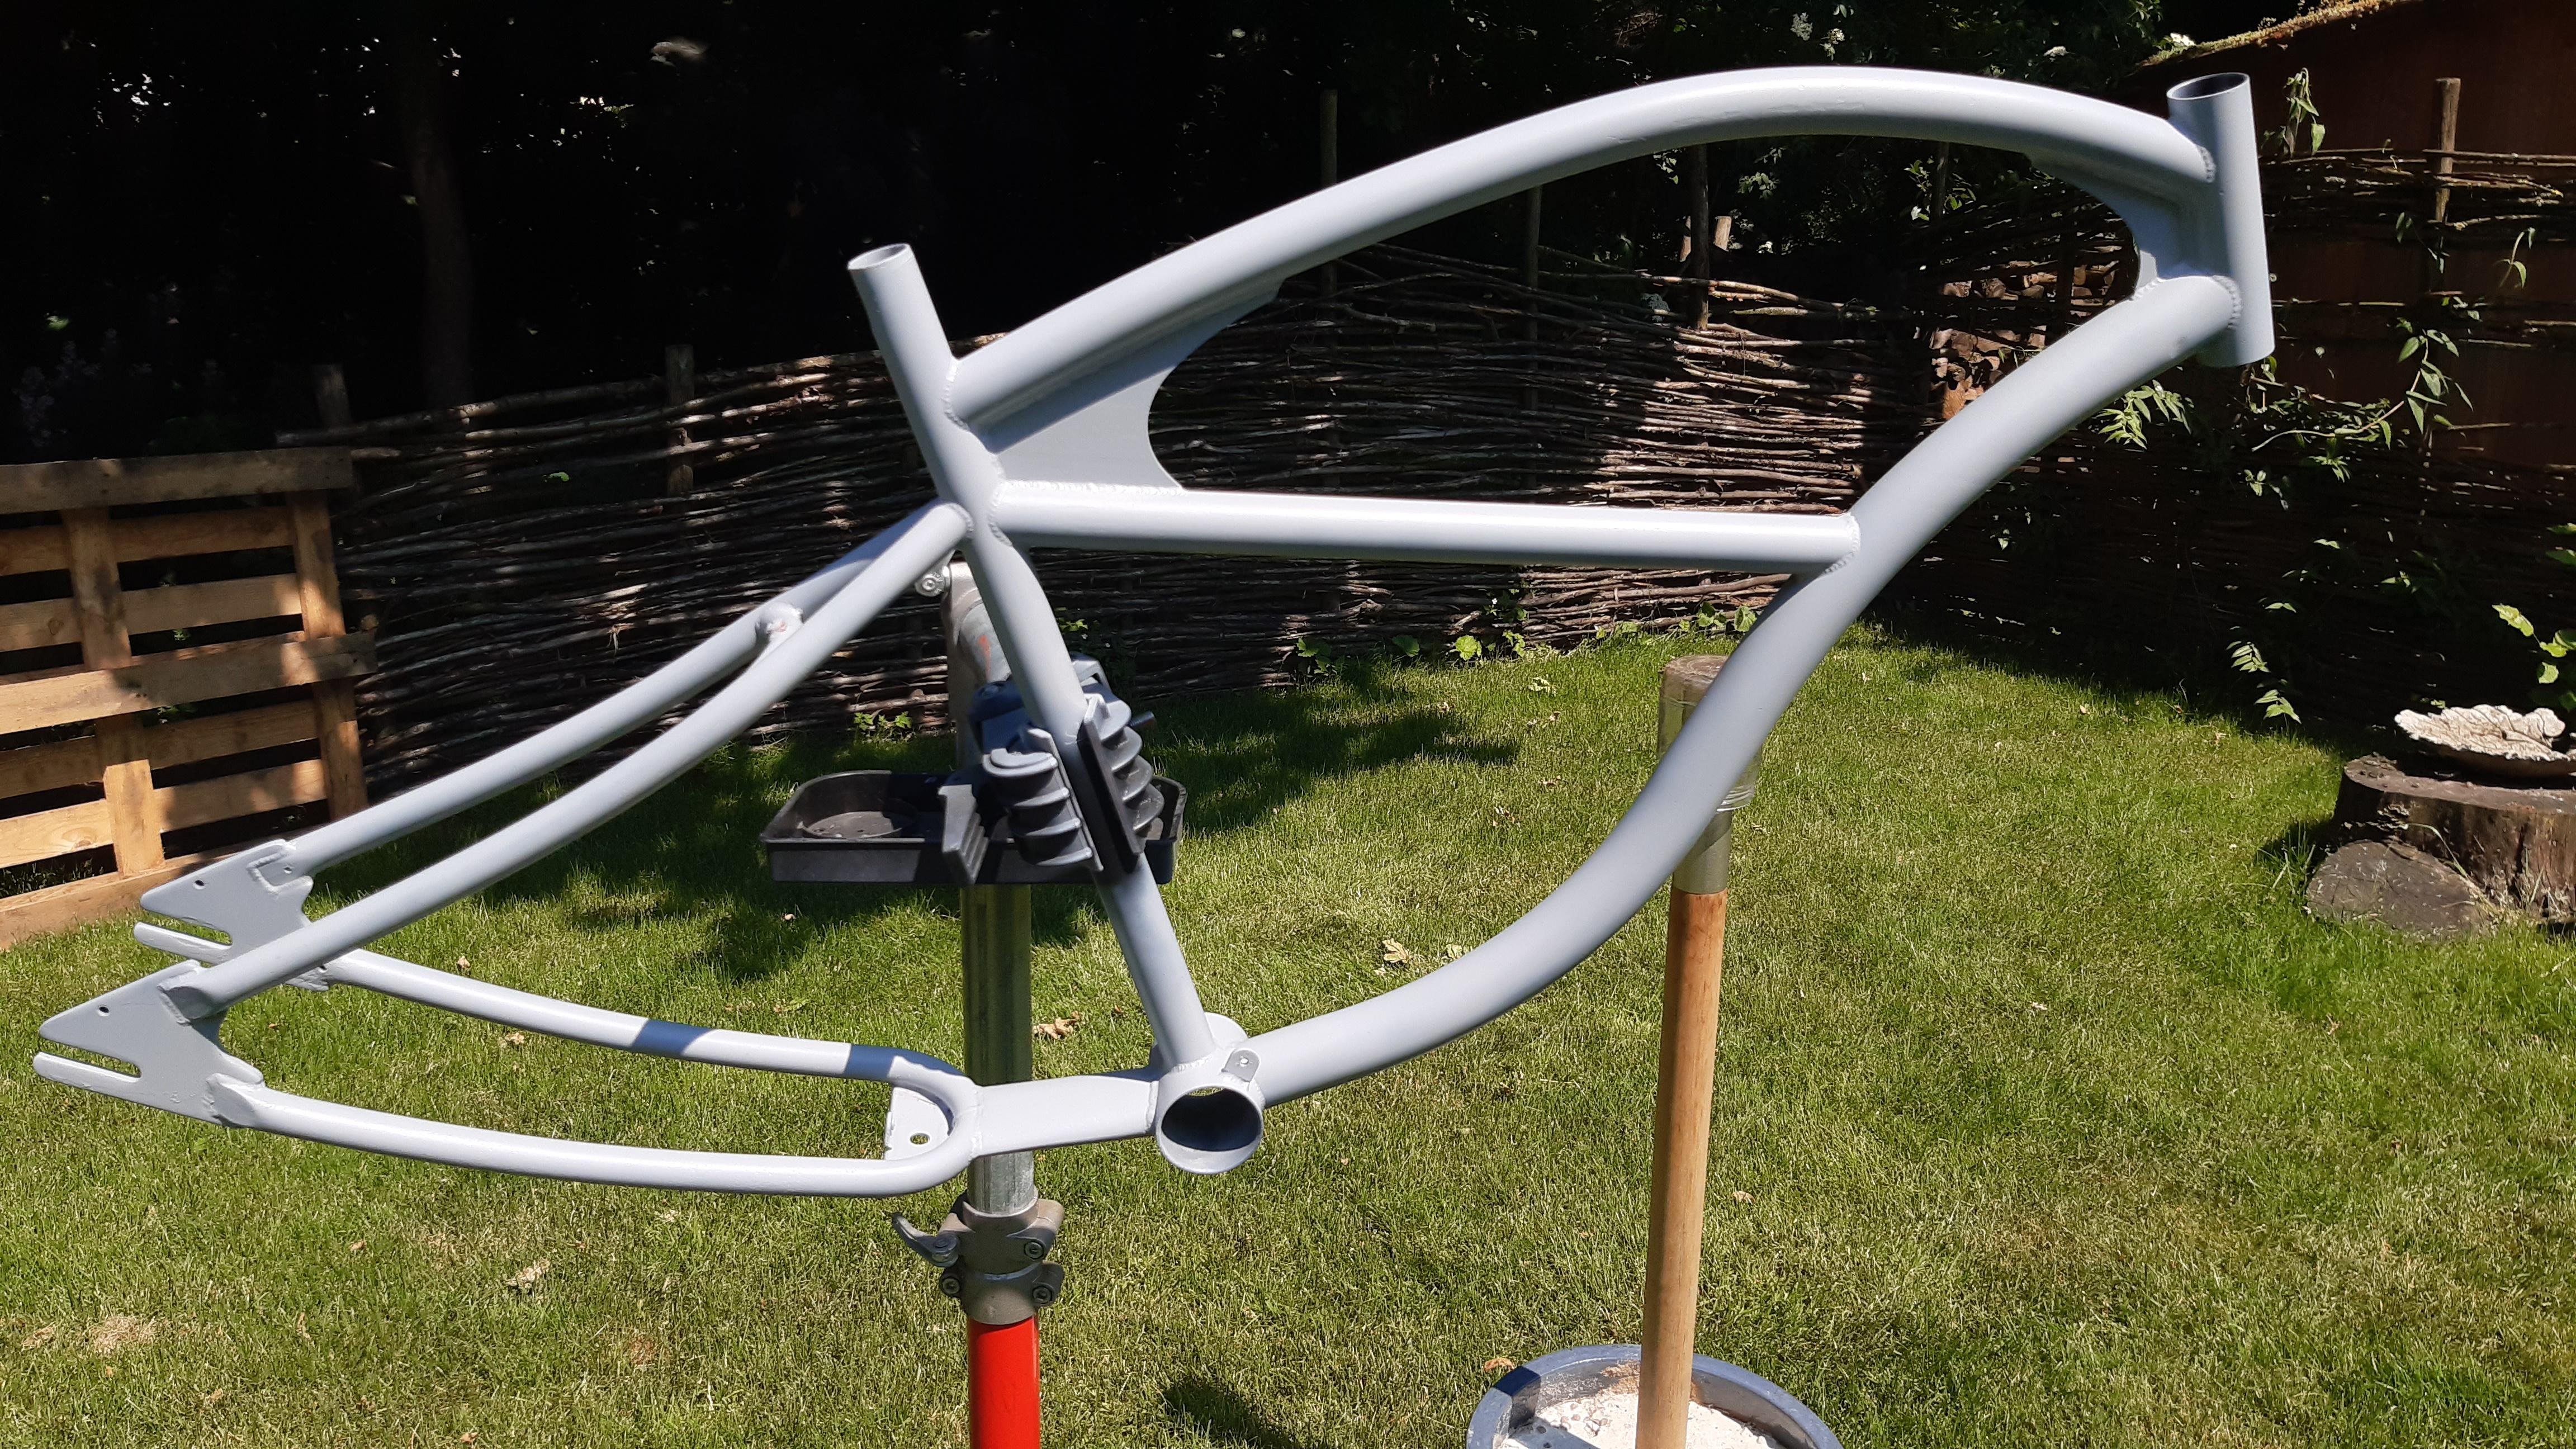
Primered!
ViaM4xh.jpeg

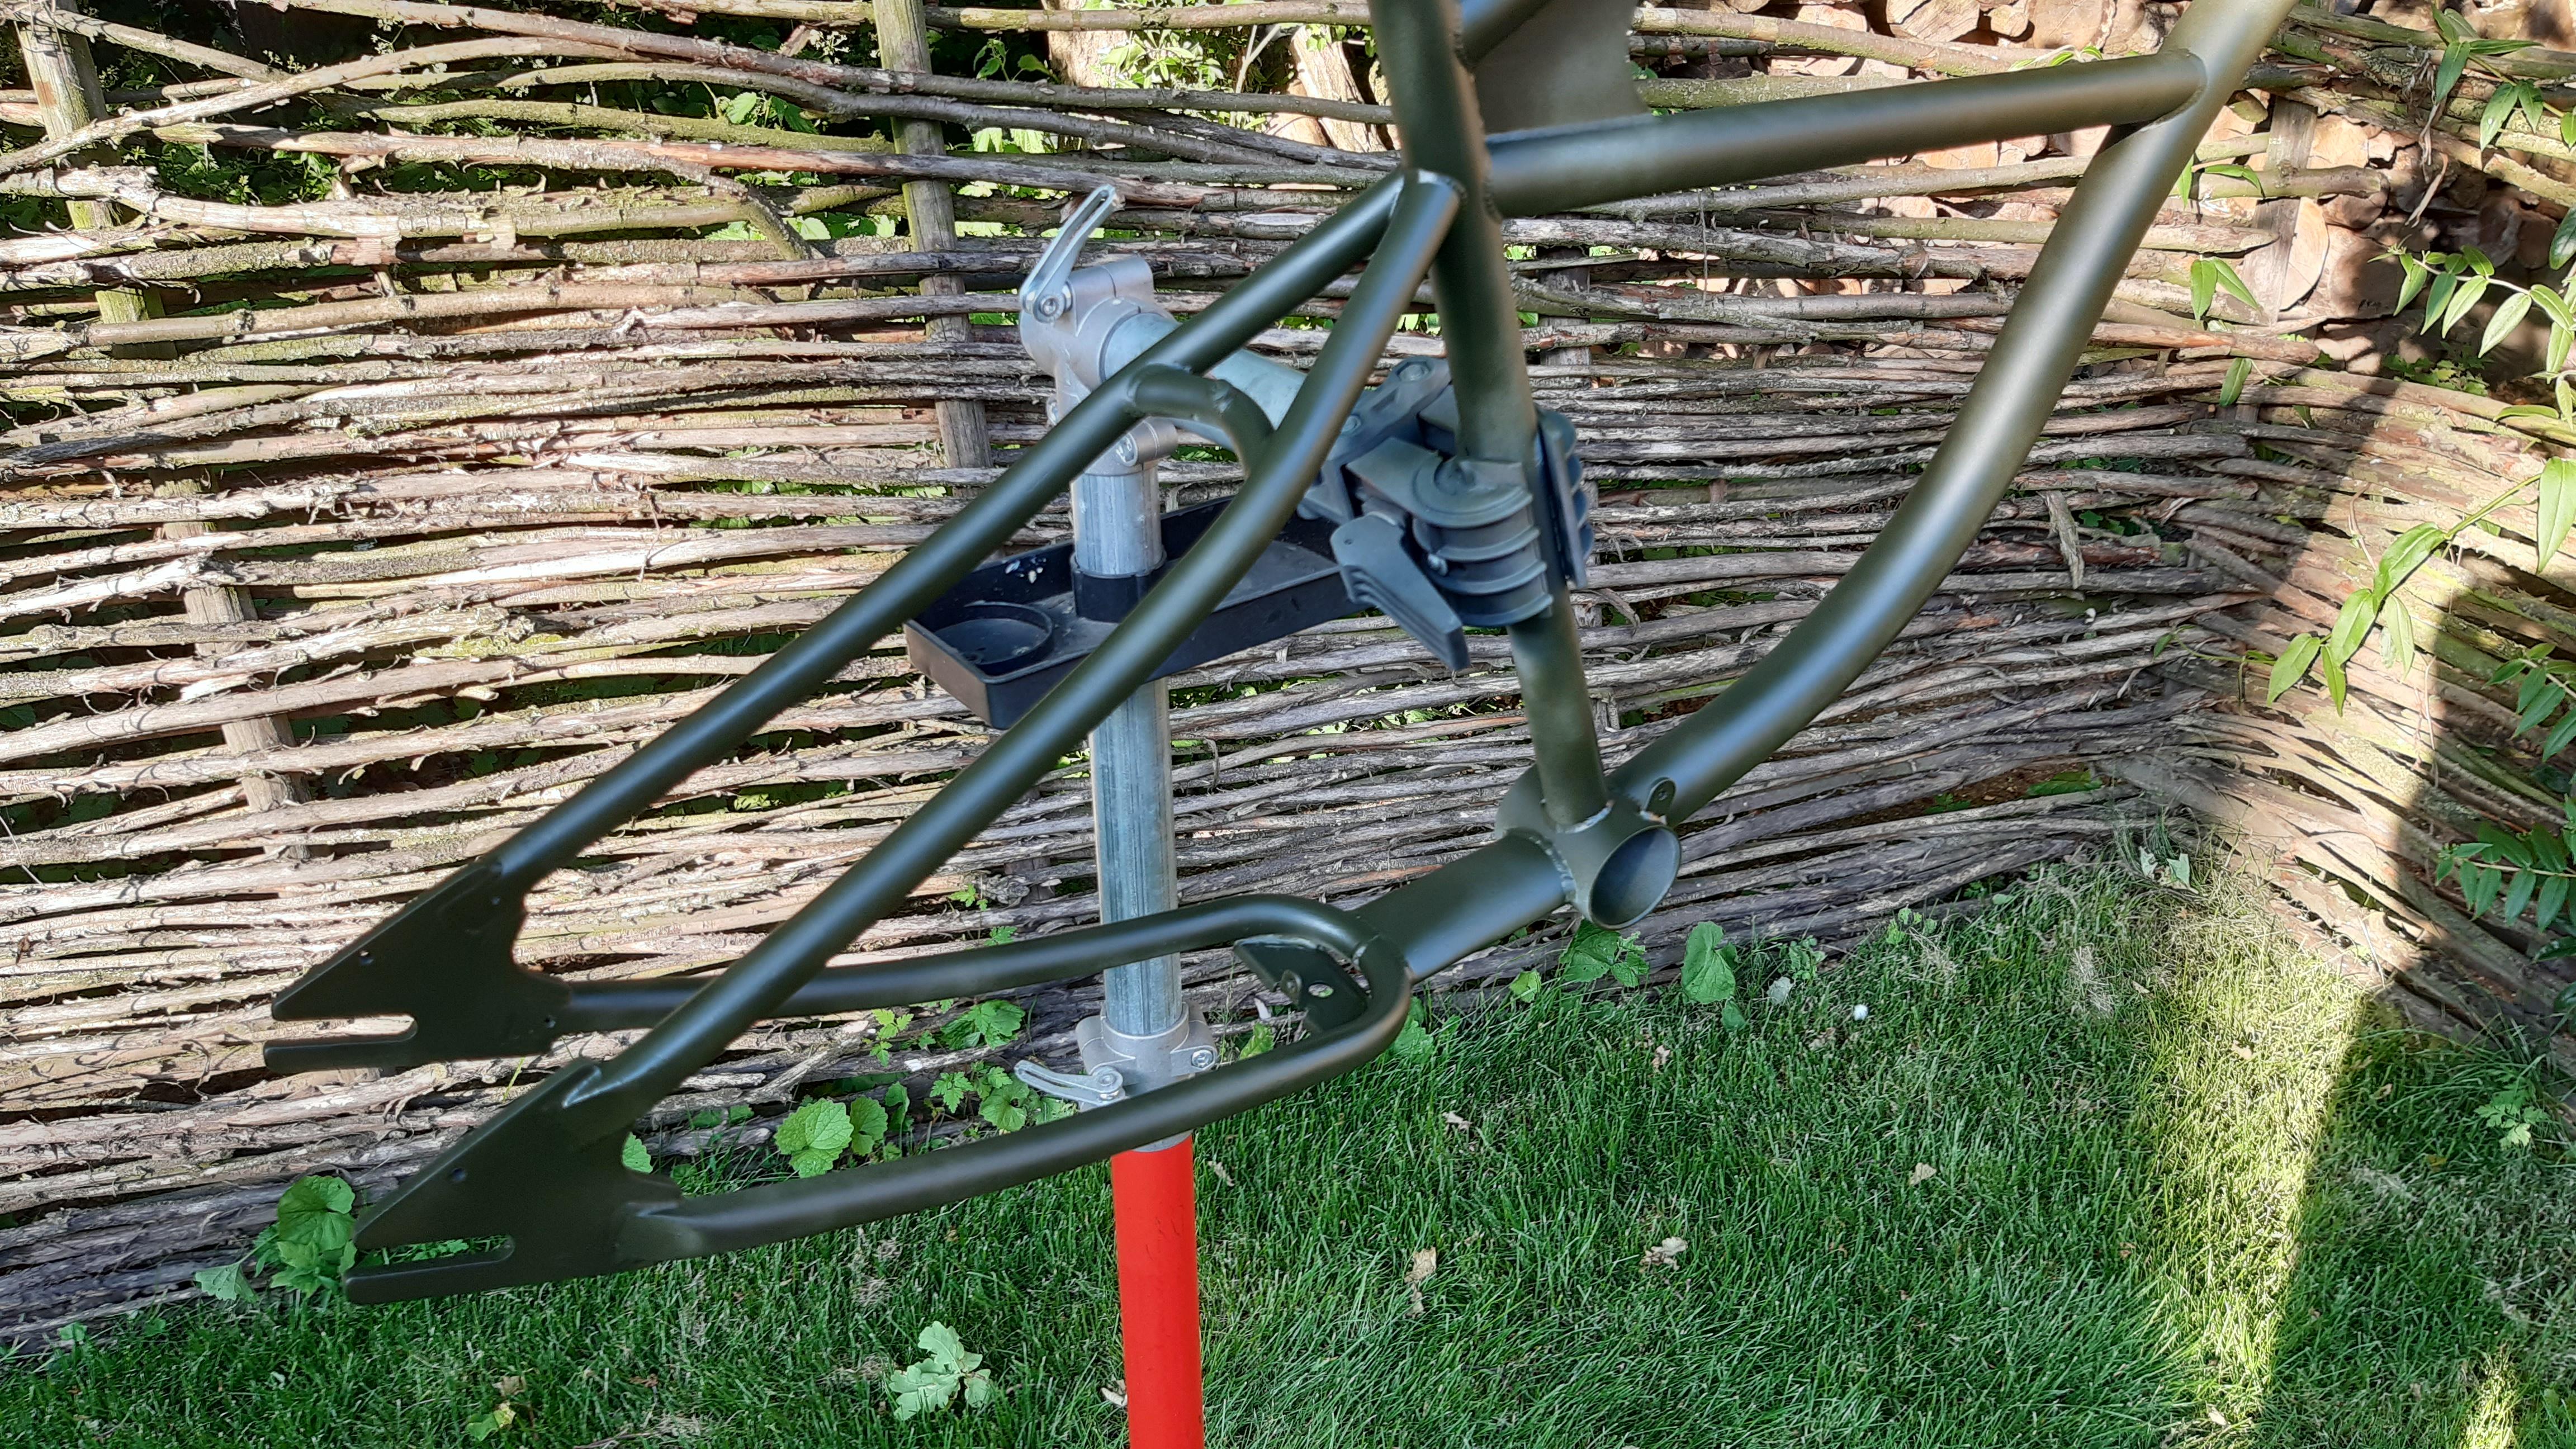
Colour! The bike is clamped on the seat tube for the first layers... Now I placed an temporary tube in the BB so I can paint the complete frame for the next layers. The headtube will just get one layer of green.

I got my colour/design inspiration from a beautiful bike that the @Rat Rod built one day. Can't find the picture though... it is dark/camo green with creme/desert colour on the front.
 
What is the name of the art on the bike? The old Klunker bikes have a "white" section at the front (headtube) and a little pinstriping/pointy bit of art behind it. Then comes the original colour.
Is that called pinstriping?
I don't know if there is a specific name, 'darts' is used generically at times, but mostly described by shape: darts, spears, arrows, chevrons, swirls, arches, claws, wings, etc.

They are stenciled, as opposed to pinstriped...though, occasionally the stenciled shapes are pinstriped to separate the two colors.
Thanks RustyGold! I might add these later. Maybe with a sticker, some people say that it will make your vehicle faster :grin:

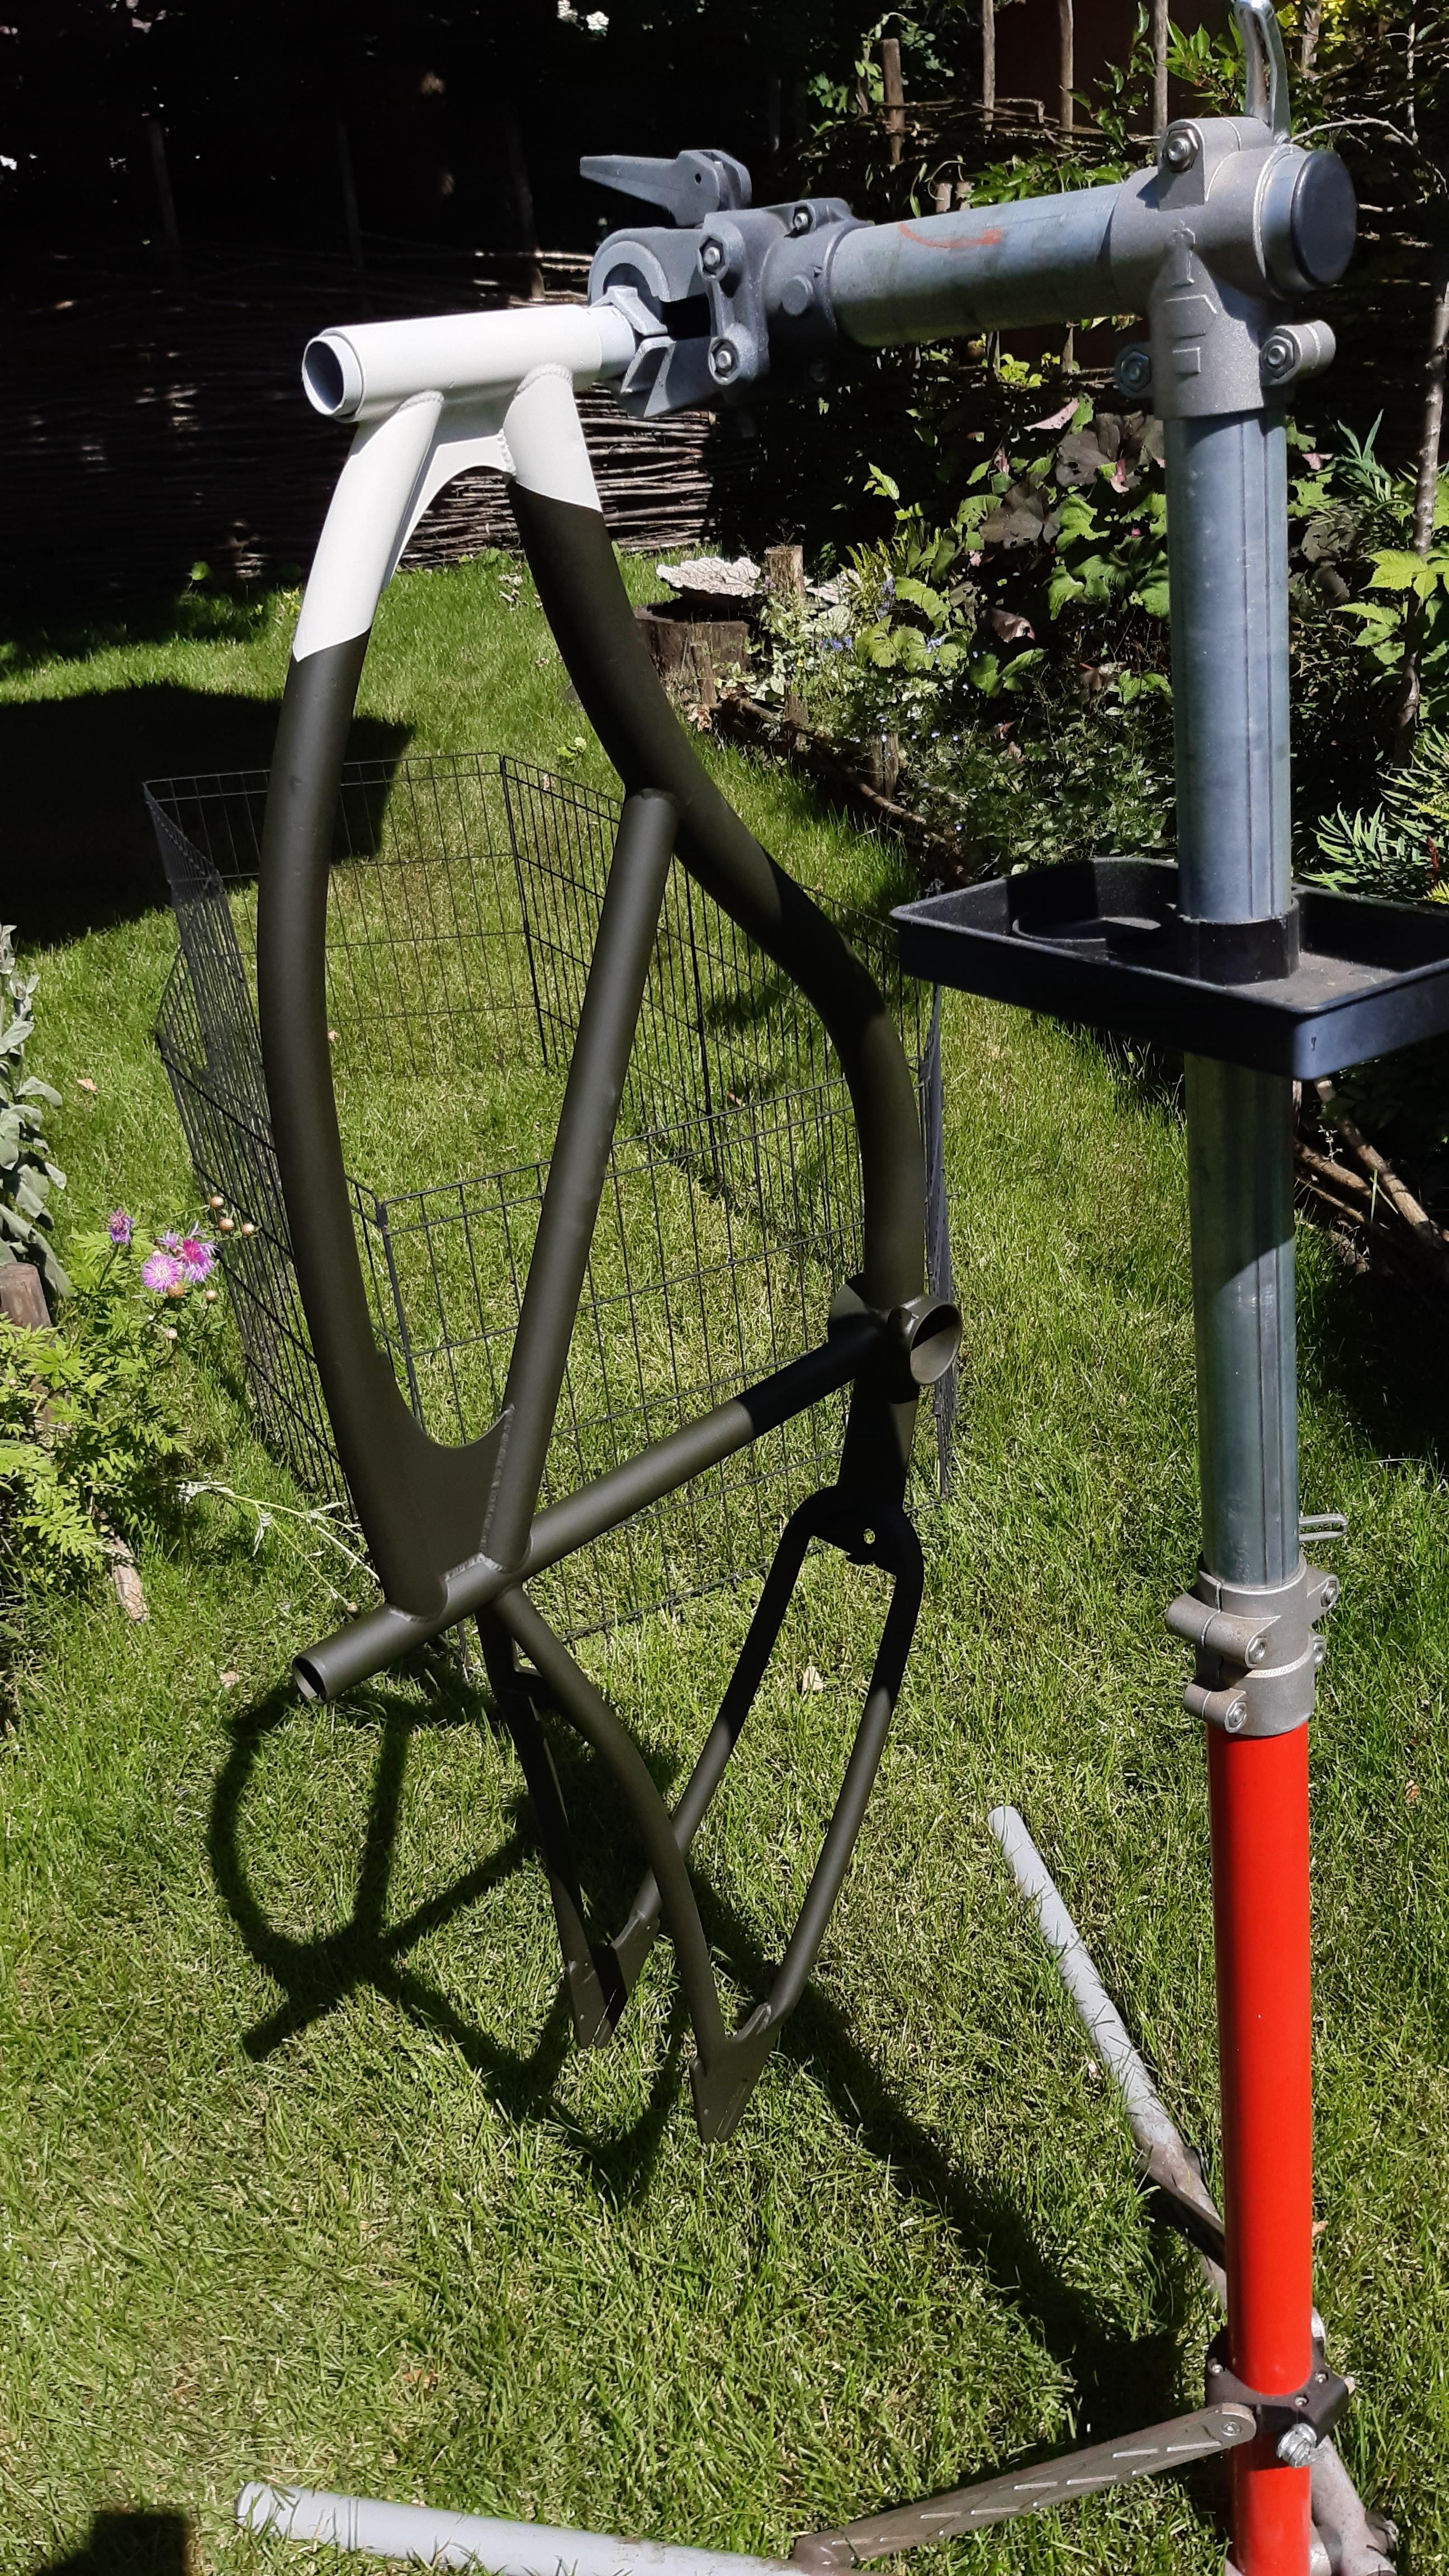
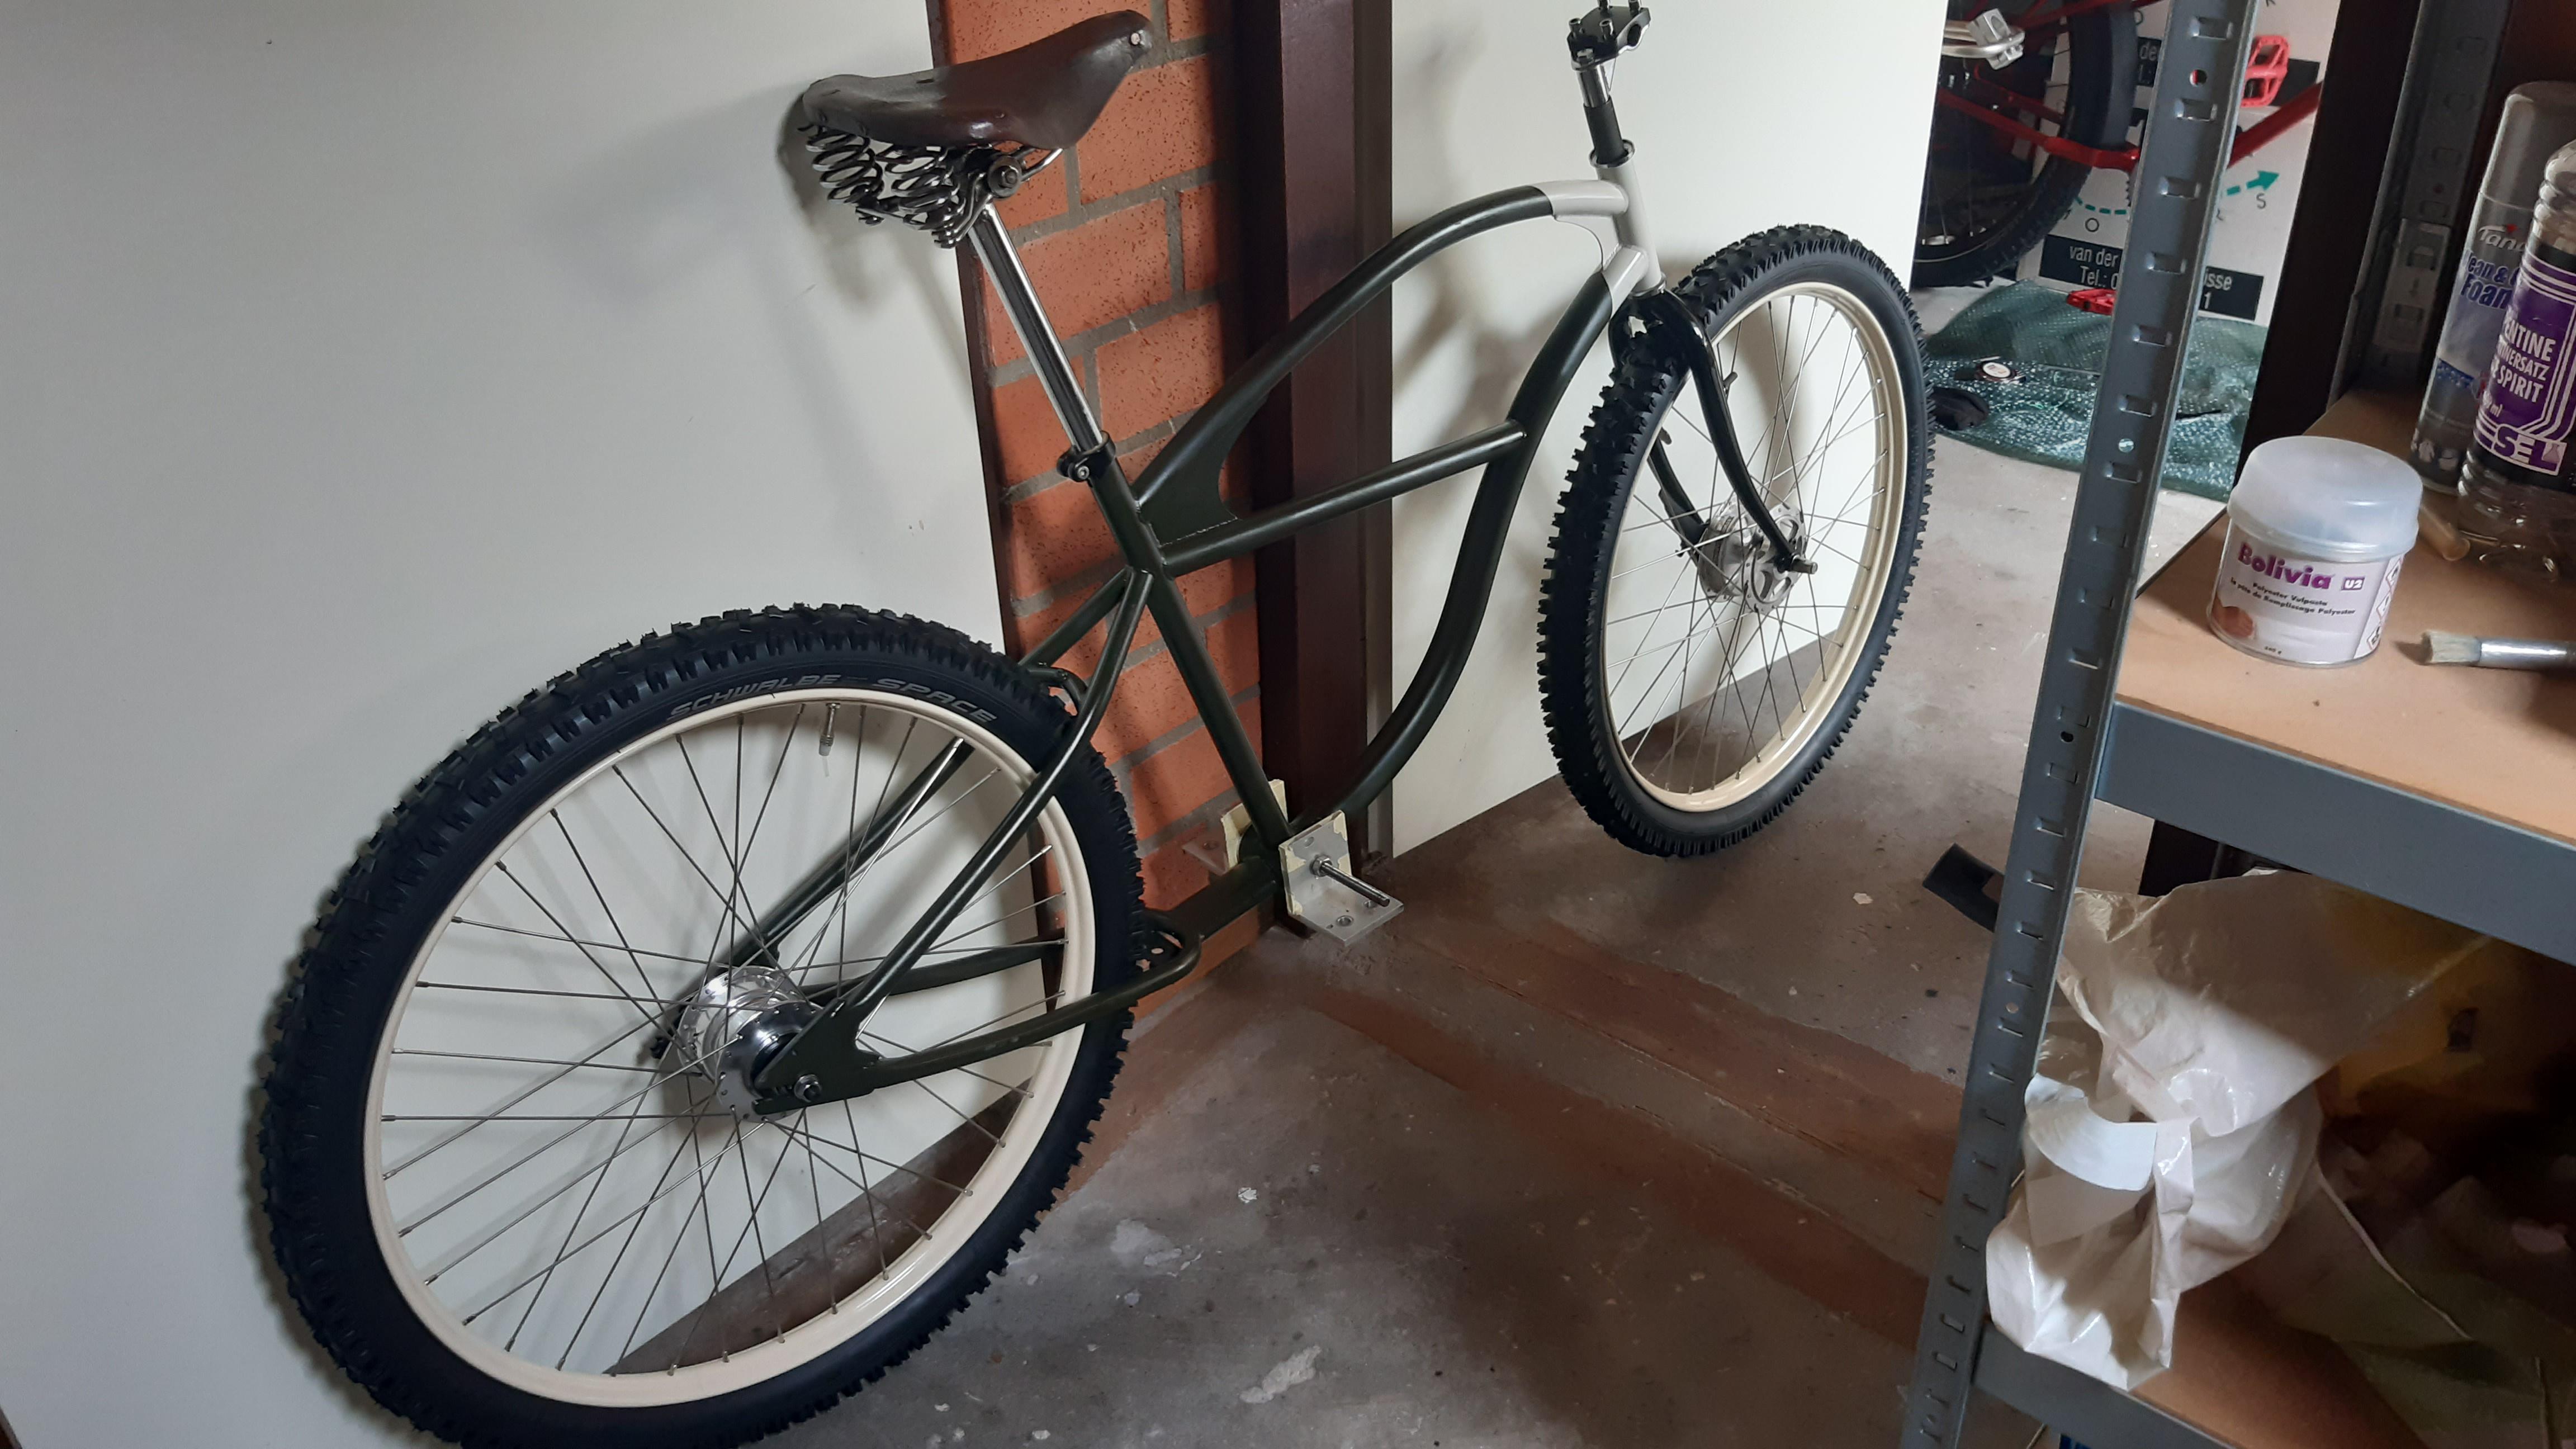
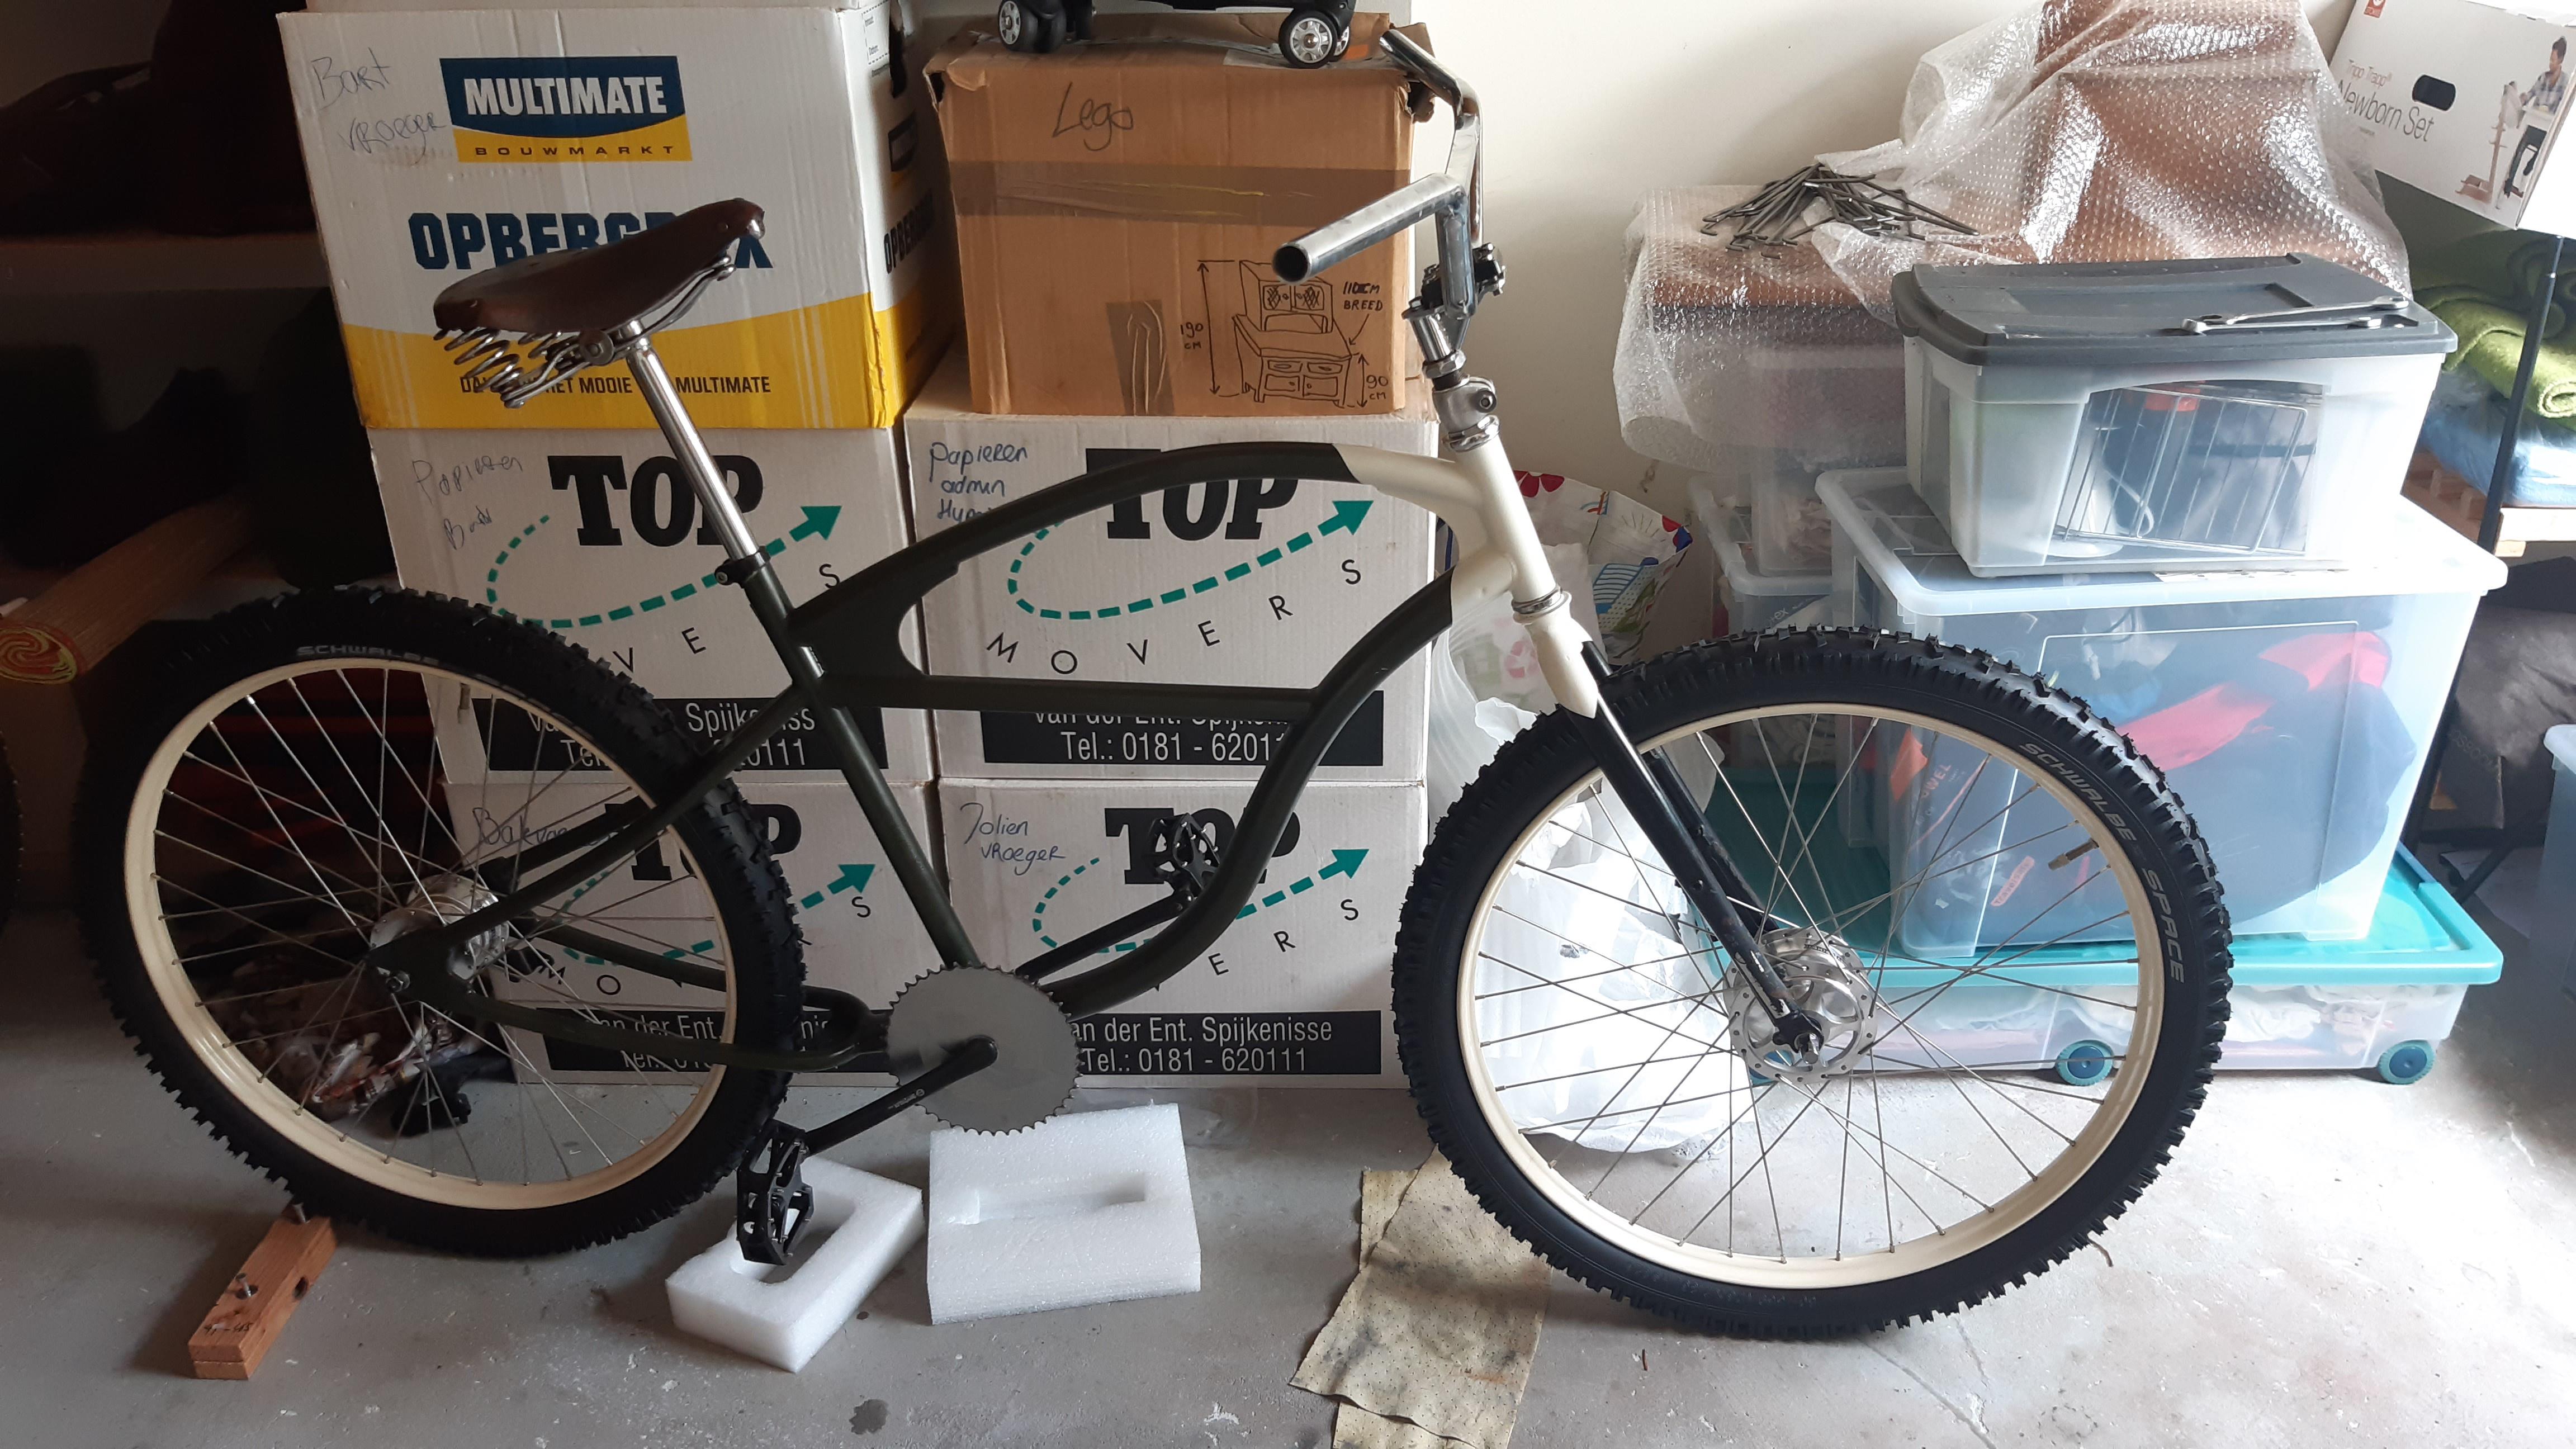
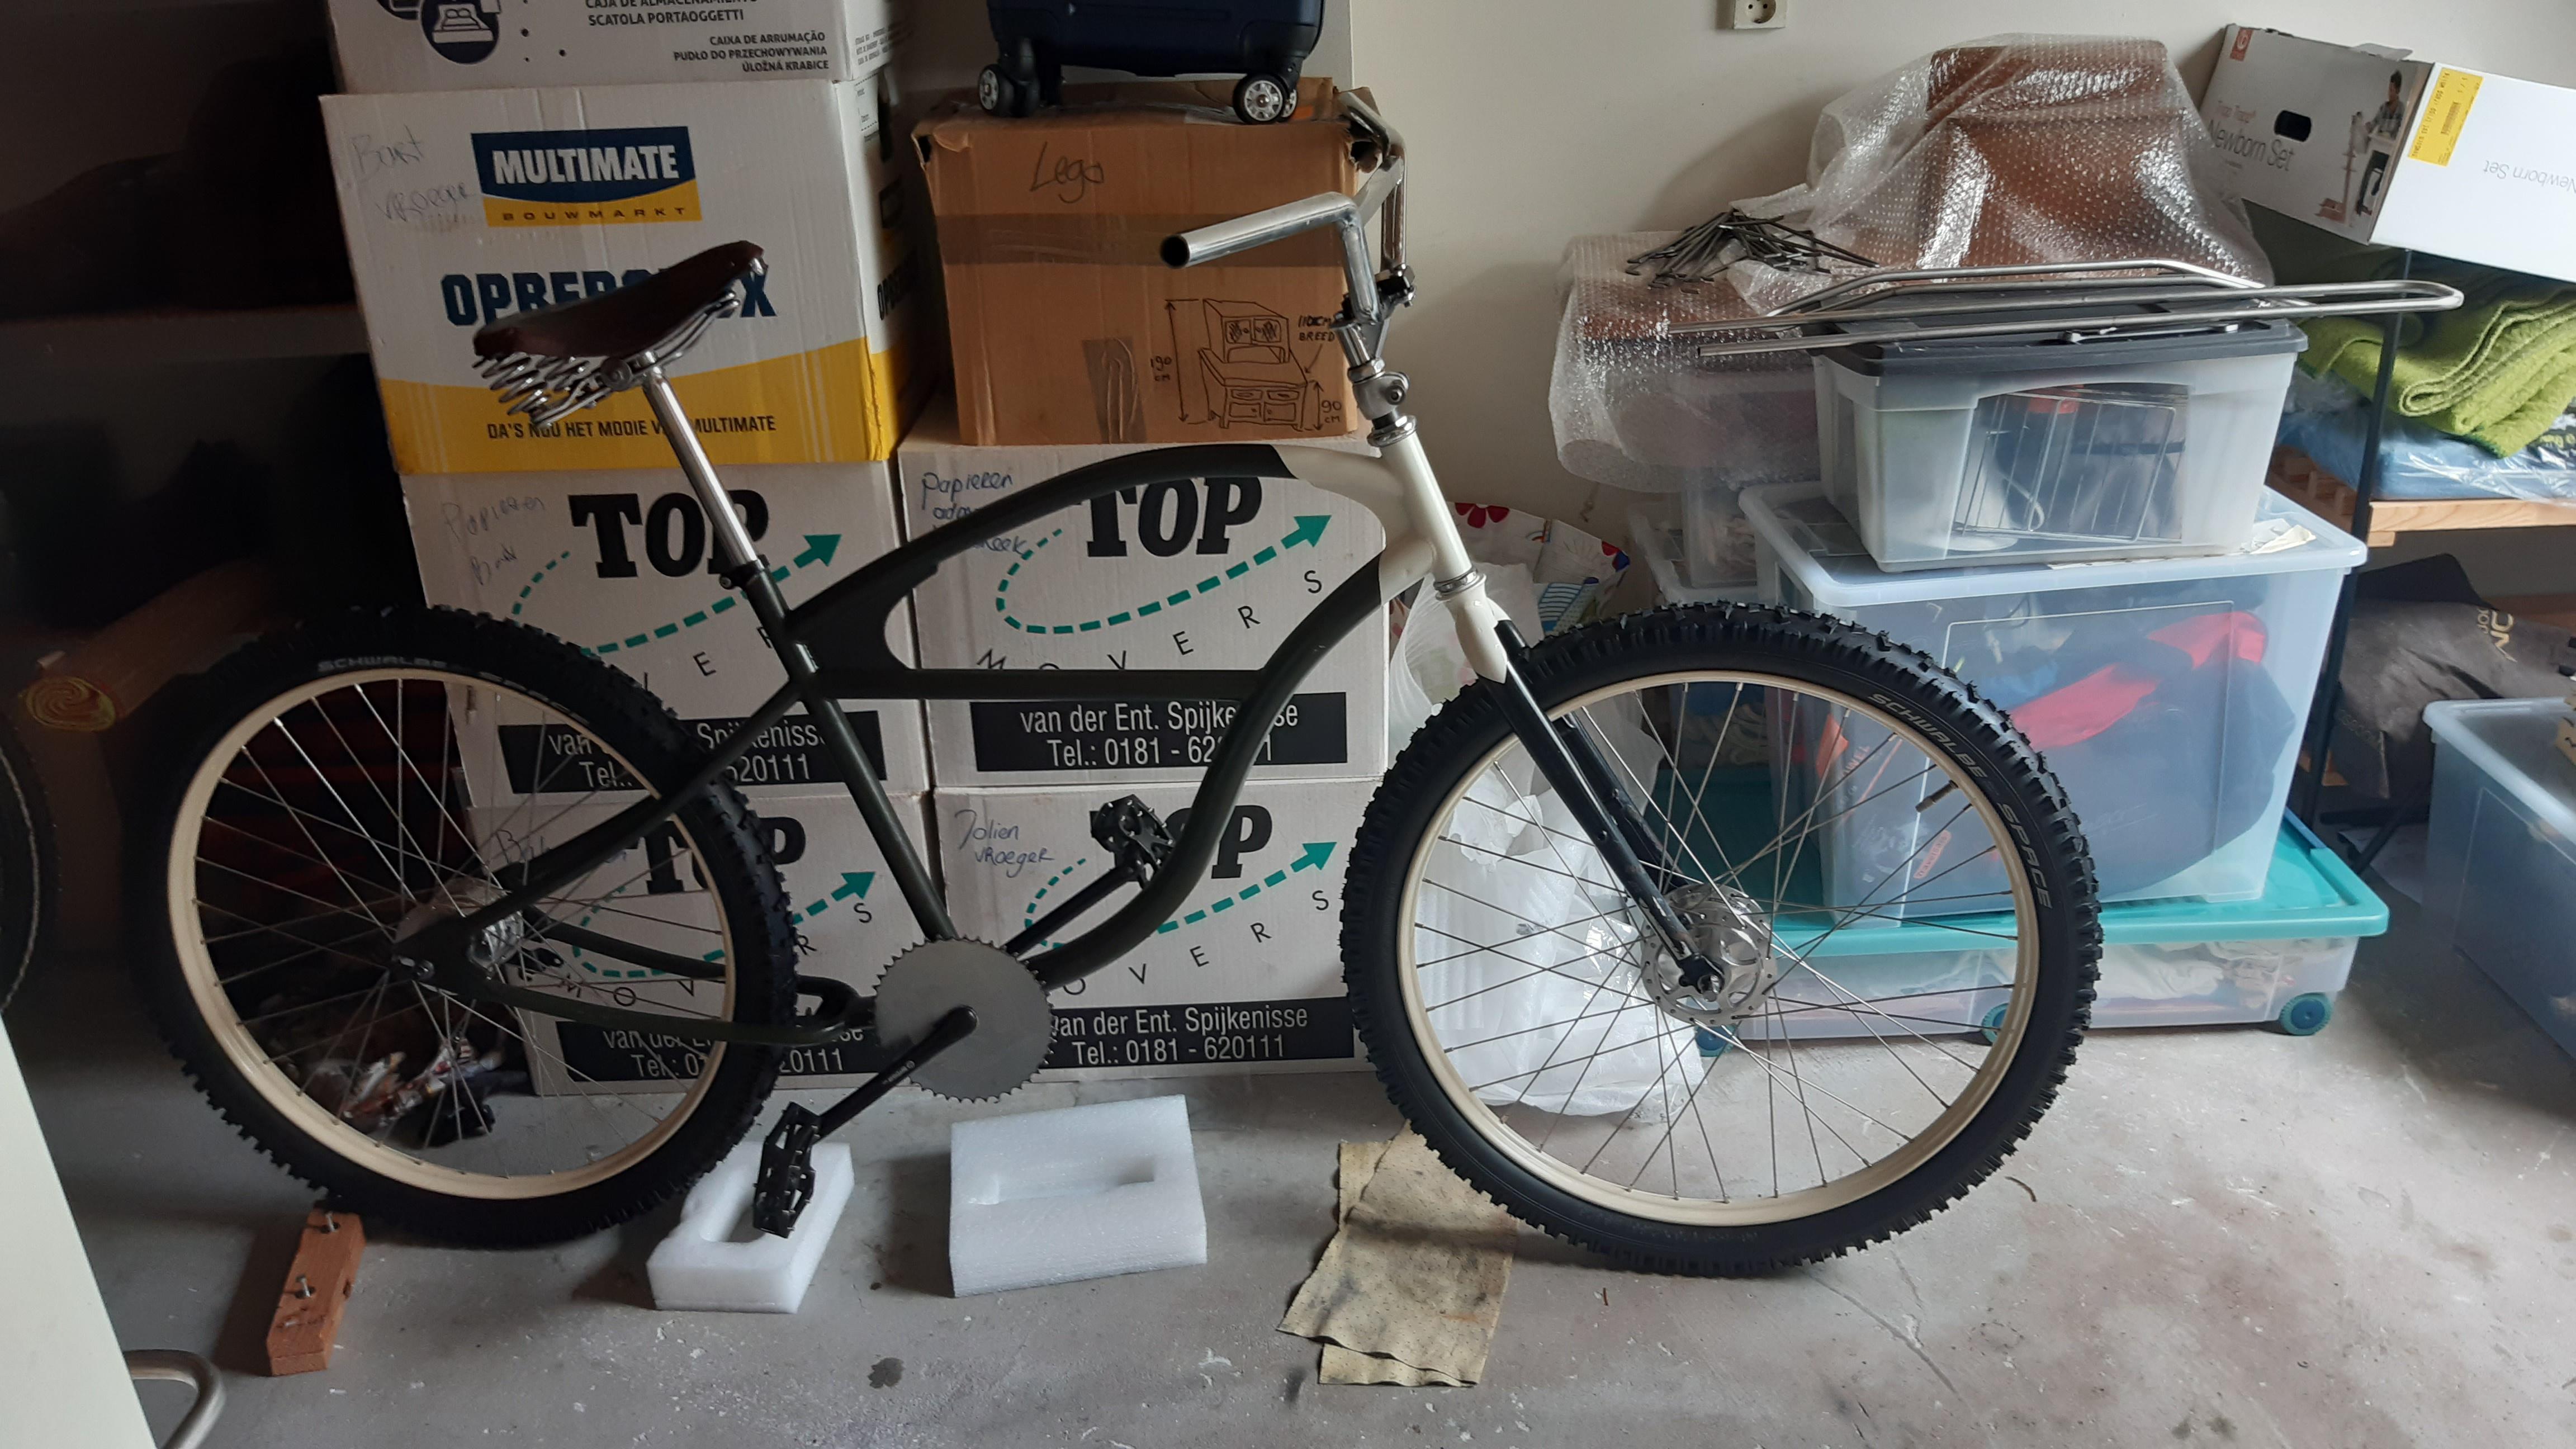
The frame is painted now. I'll let it sit for a couple of days and then start the first parts of assembly. I tried to keep the lines of that front gusset part.
Now I can weld + paint the front fork too. Hope I get a chance this week. The "Car hobby club" is open again now, so I can have some fun with the welding machine 🥽

Paint: Its matte, but I decided to put some layers of clearcoat on it for cleaning purposes.
In hindsight; I painted in the sun and read that that is not always a great idea... but I also never had any big issues with paint.
Only one time painting a set of rims that was sprayed with silicone to keep the tires black.....

This afternoon I can pick up my "built from scratch" frame from the powdercoater (link below).

The stains on the frame (picture below) were removed.
RL9rzzs.jpeg
 
Build update: Mockup time

Parts for Pope Roger and the Klunker bike came in. Now that I ordered the last bits for the Pope Roger (you can't buy all parts for a bike in one store is my experience...... but on the other hand, I have a certain taste for parts..... :crazy: ).

In my working at home break, I decided to mount the tires to the wheels:
IgVgsIy.jpeg

PUcxJe2.jpeg

mBIBEVo.jpeg


26x2.4 Schwalbe Space tires. Man these are aggressive with the knobbies!

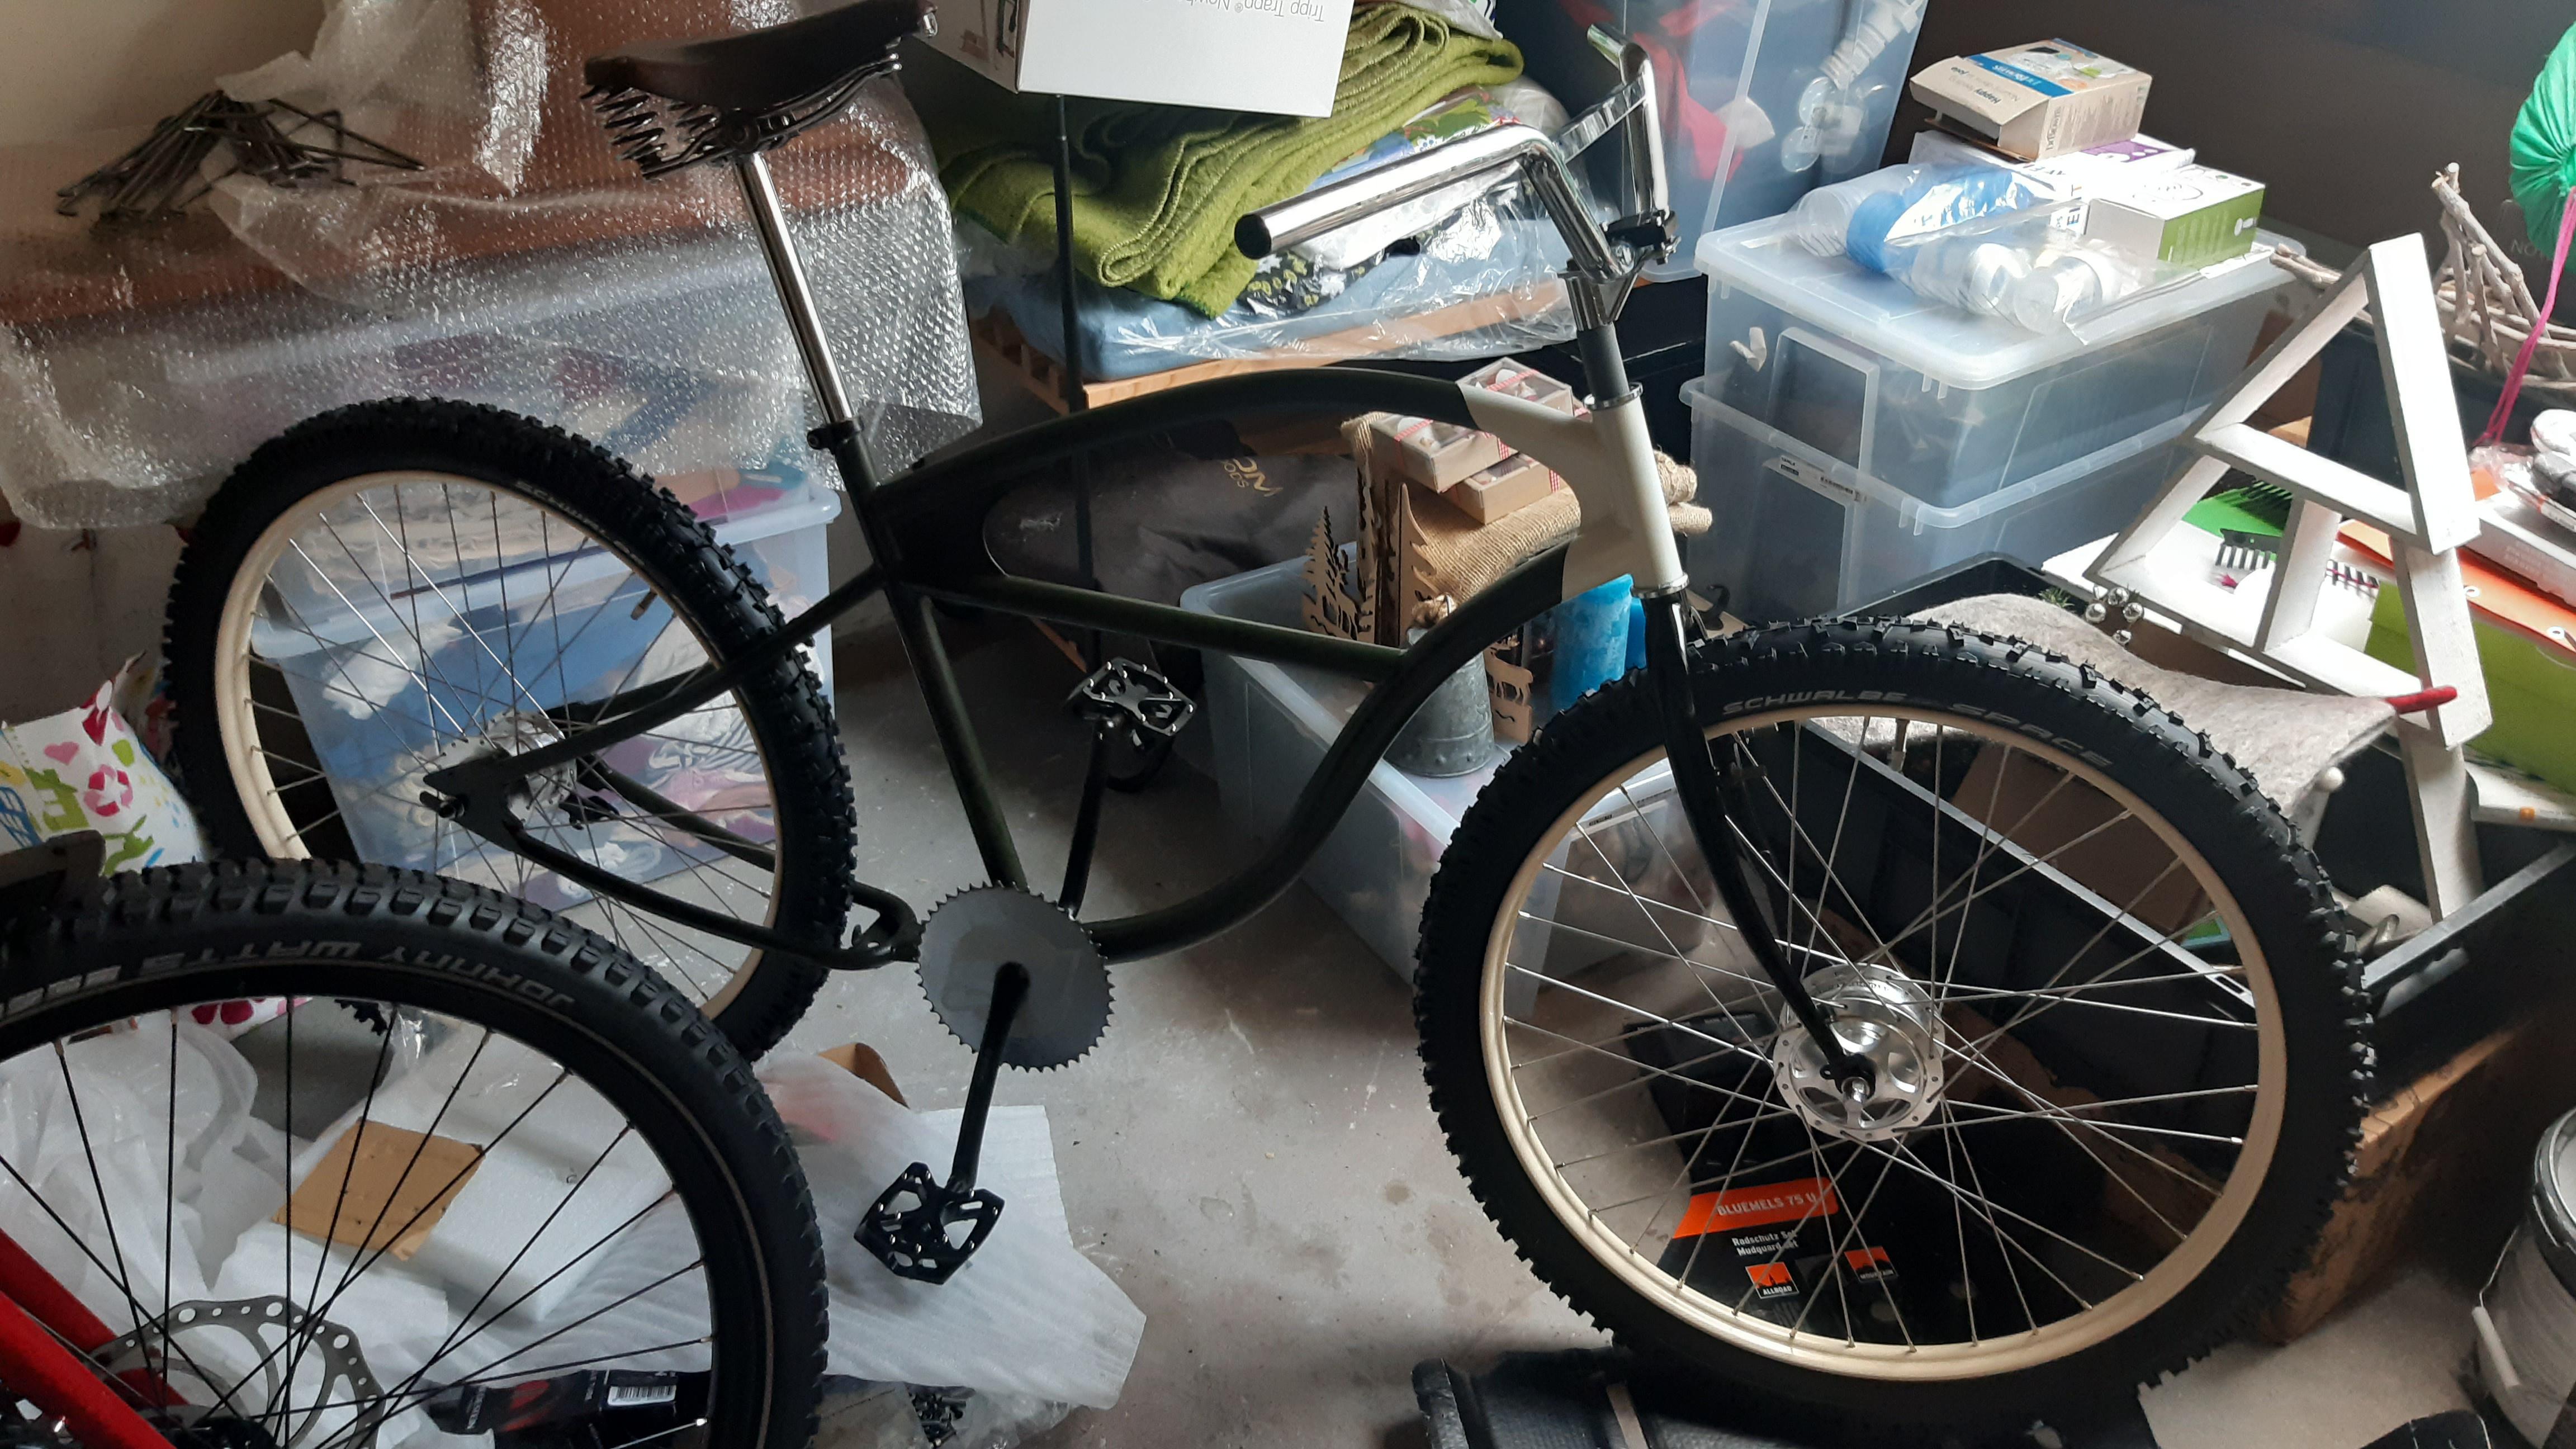
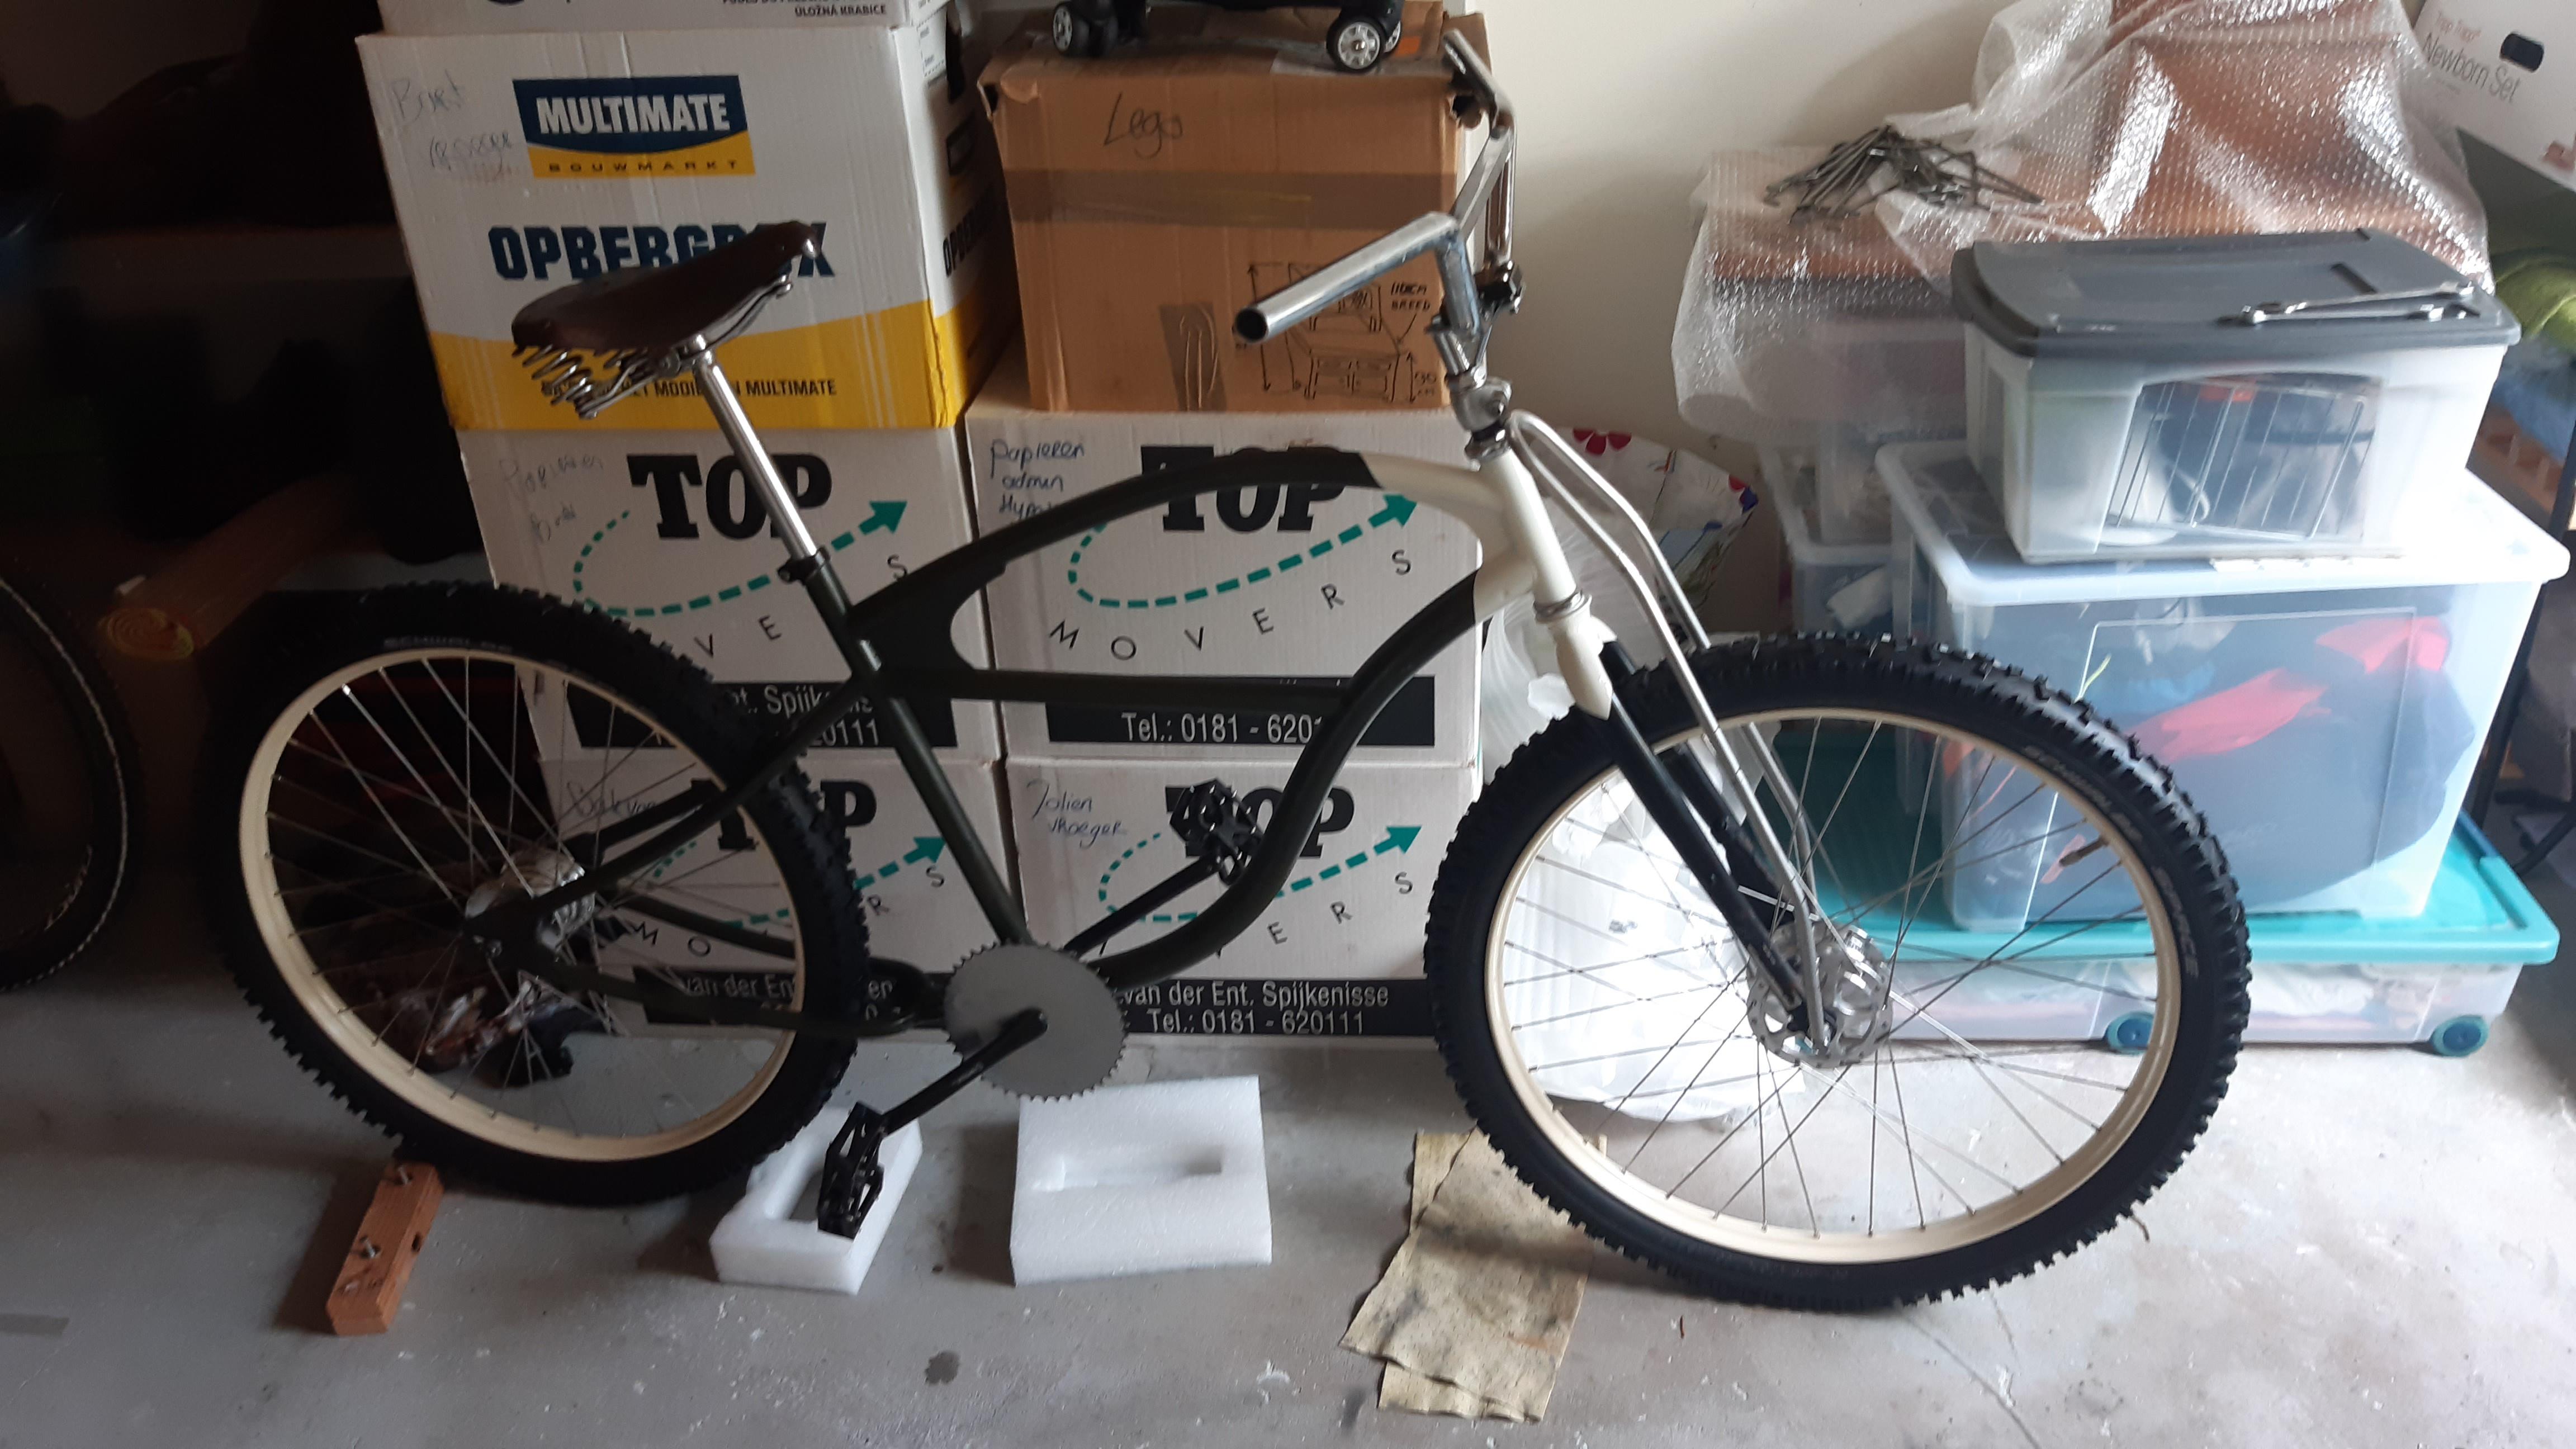
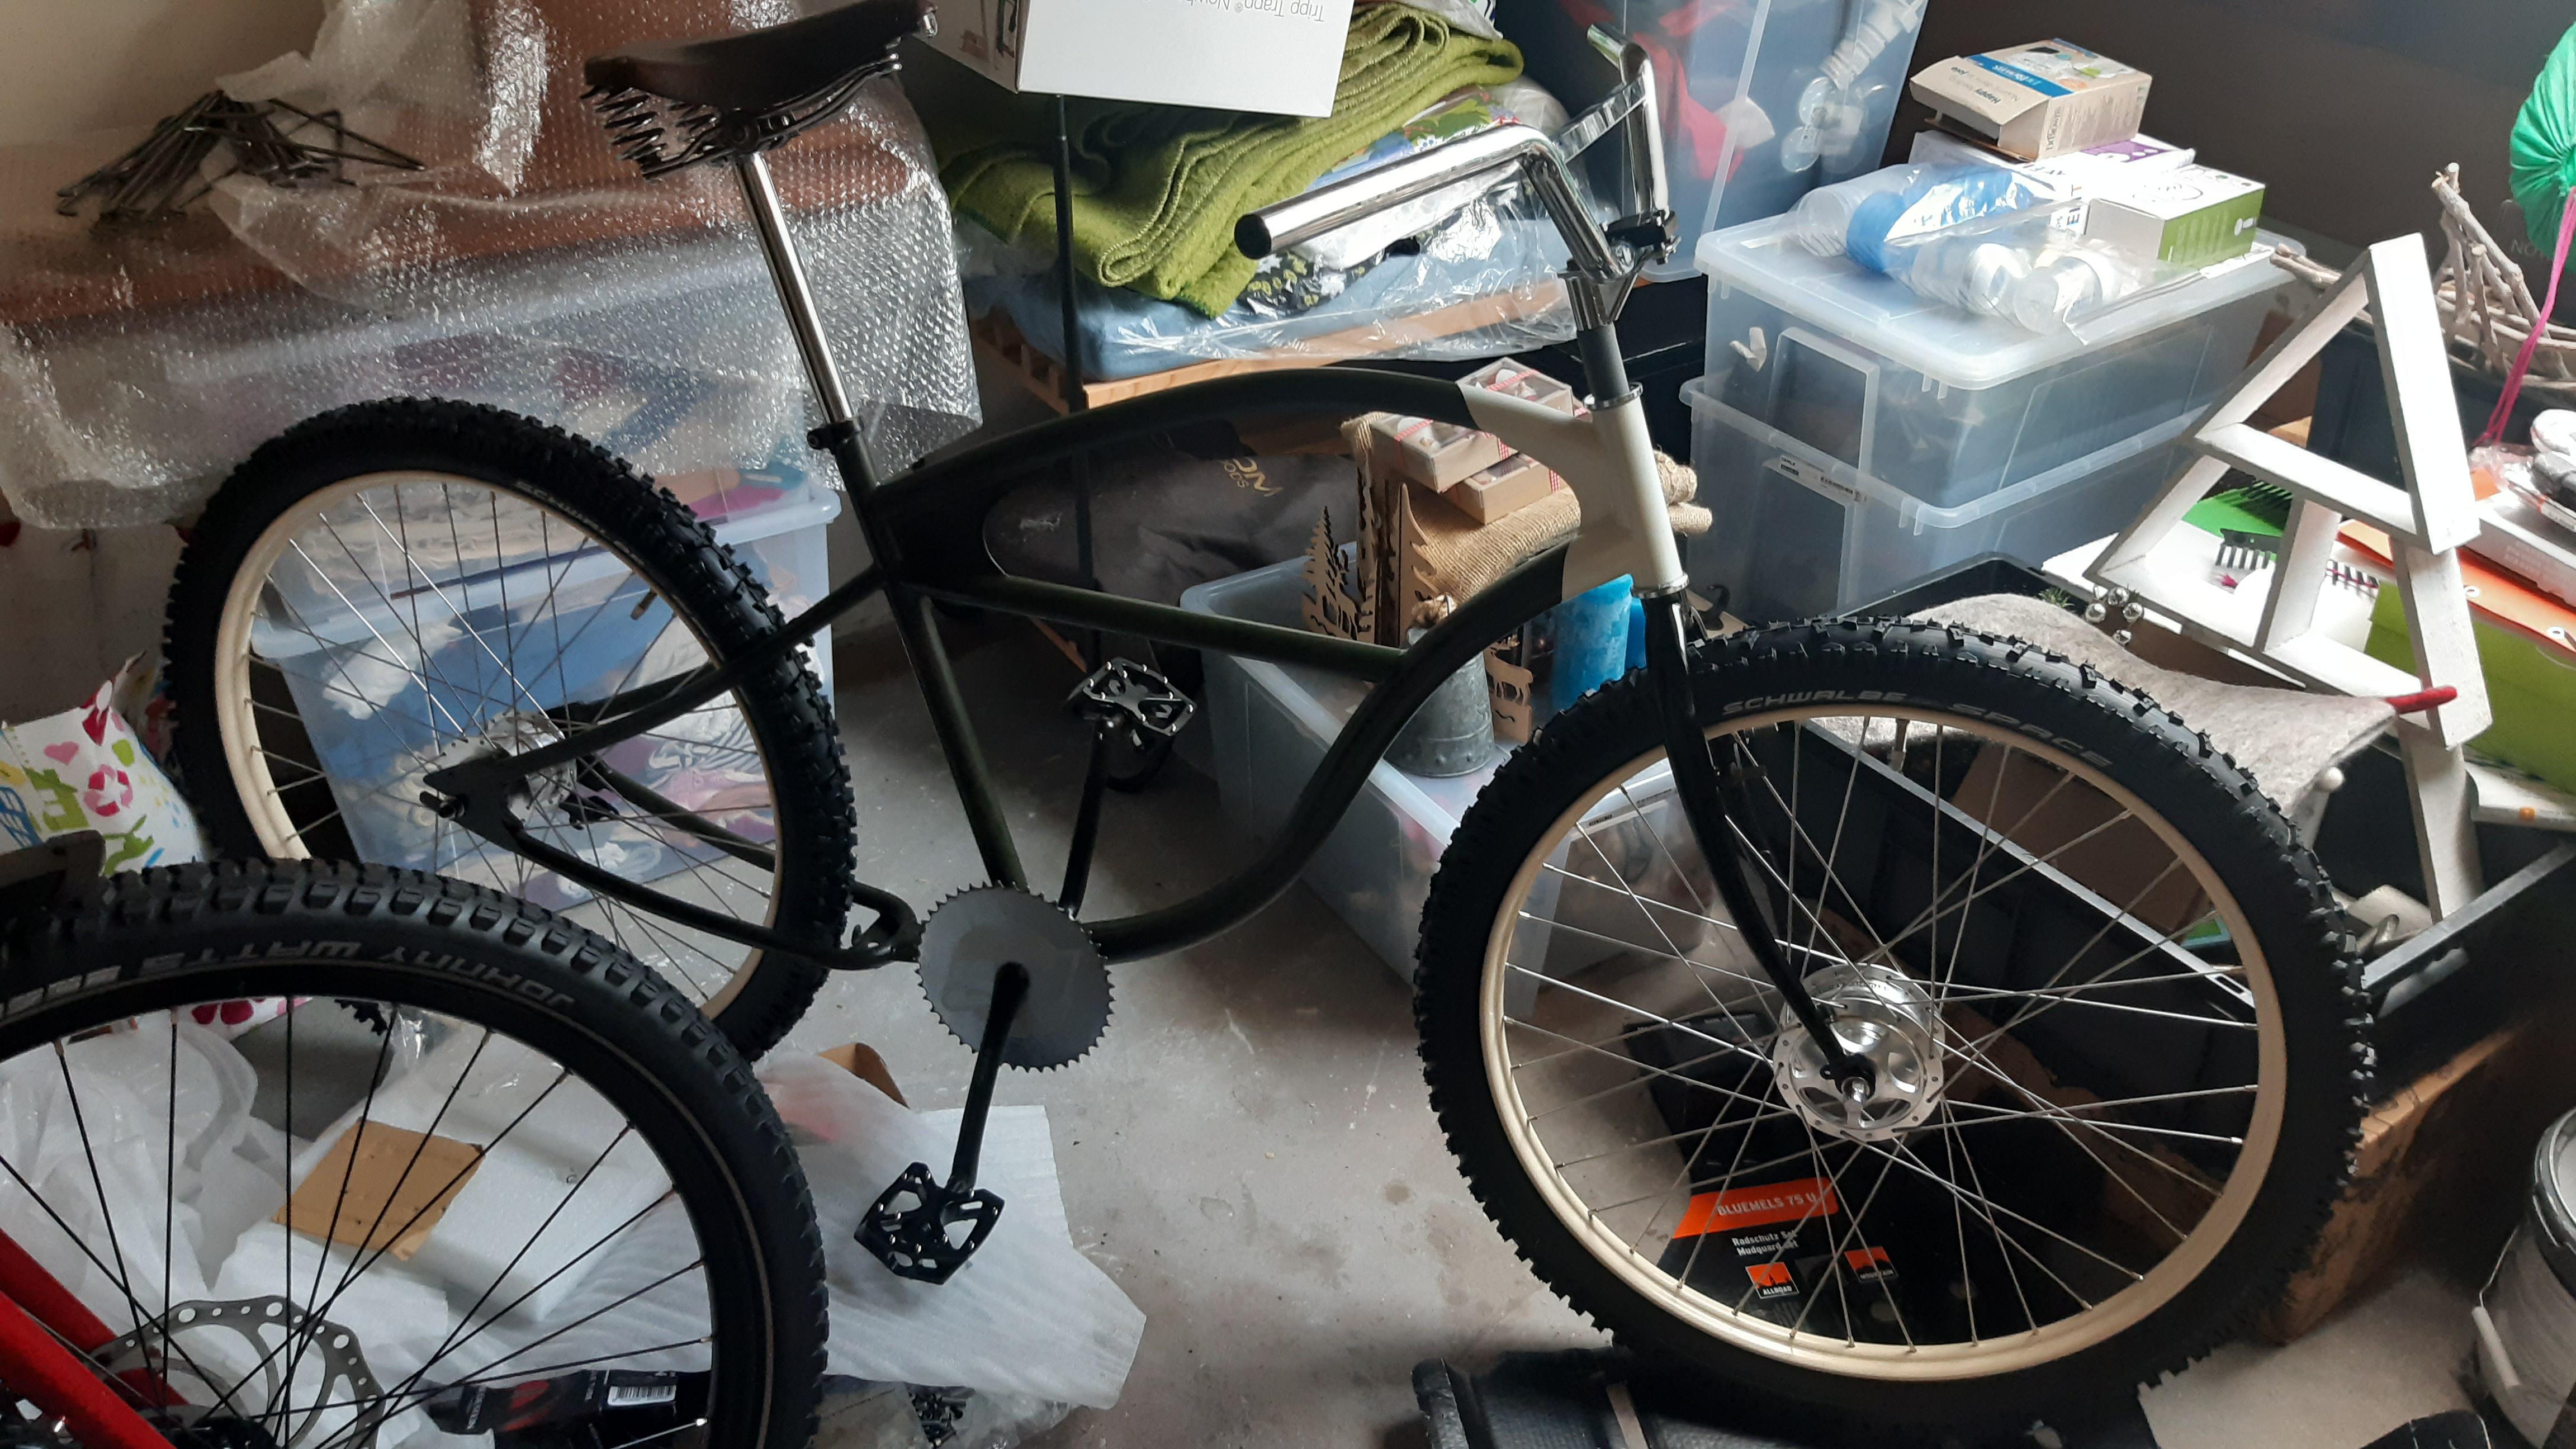
Then I could not control myself and made a quick n' dirty mockup:
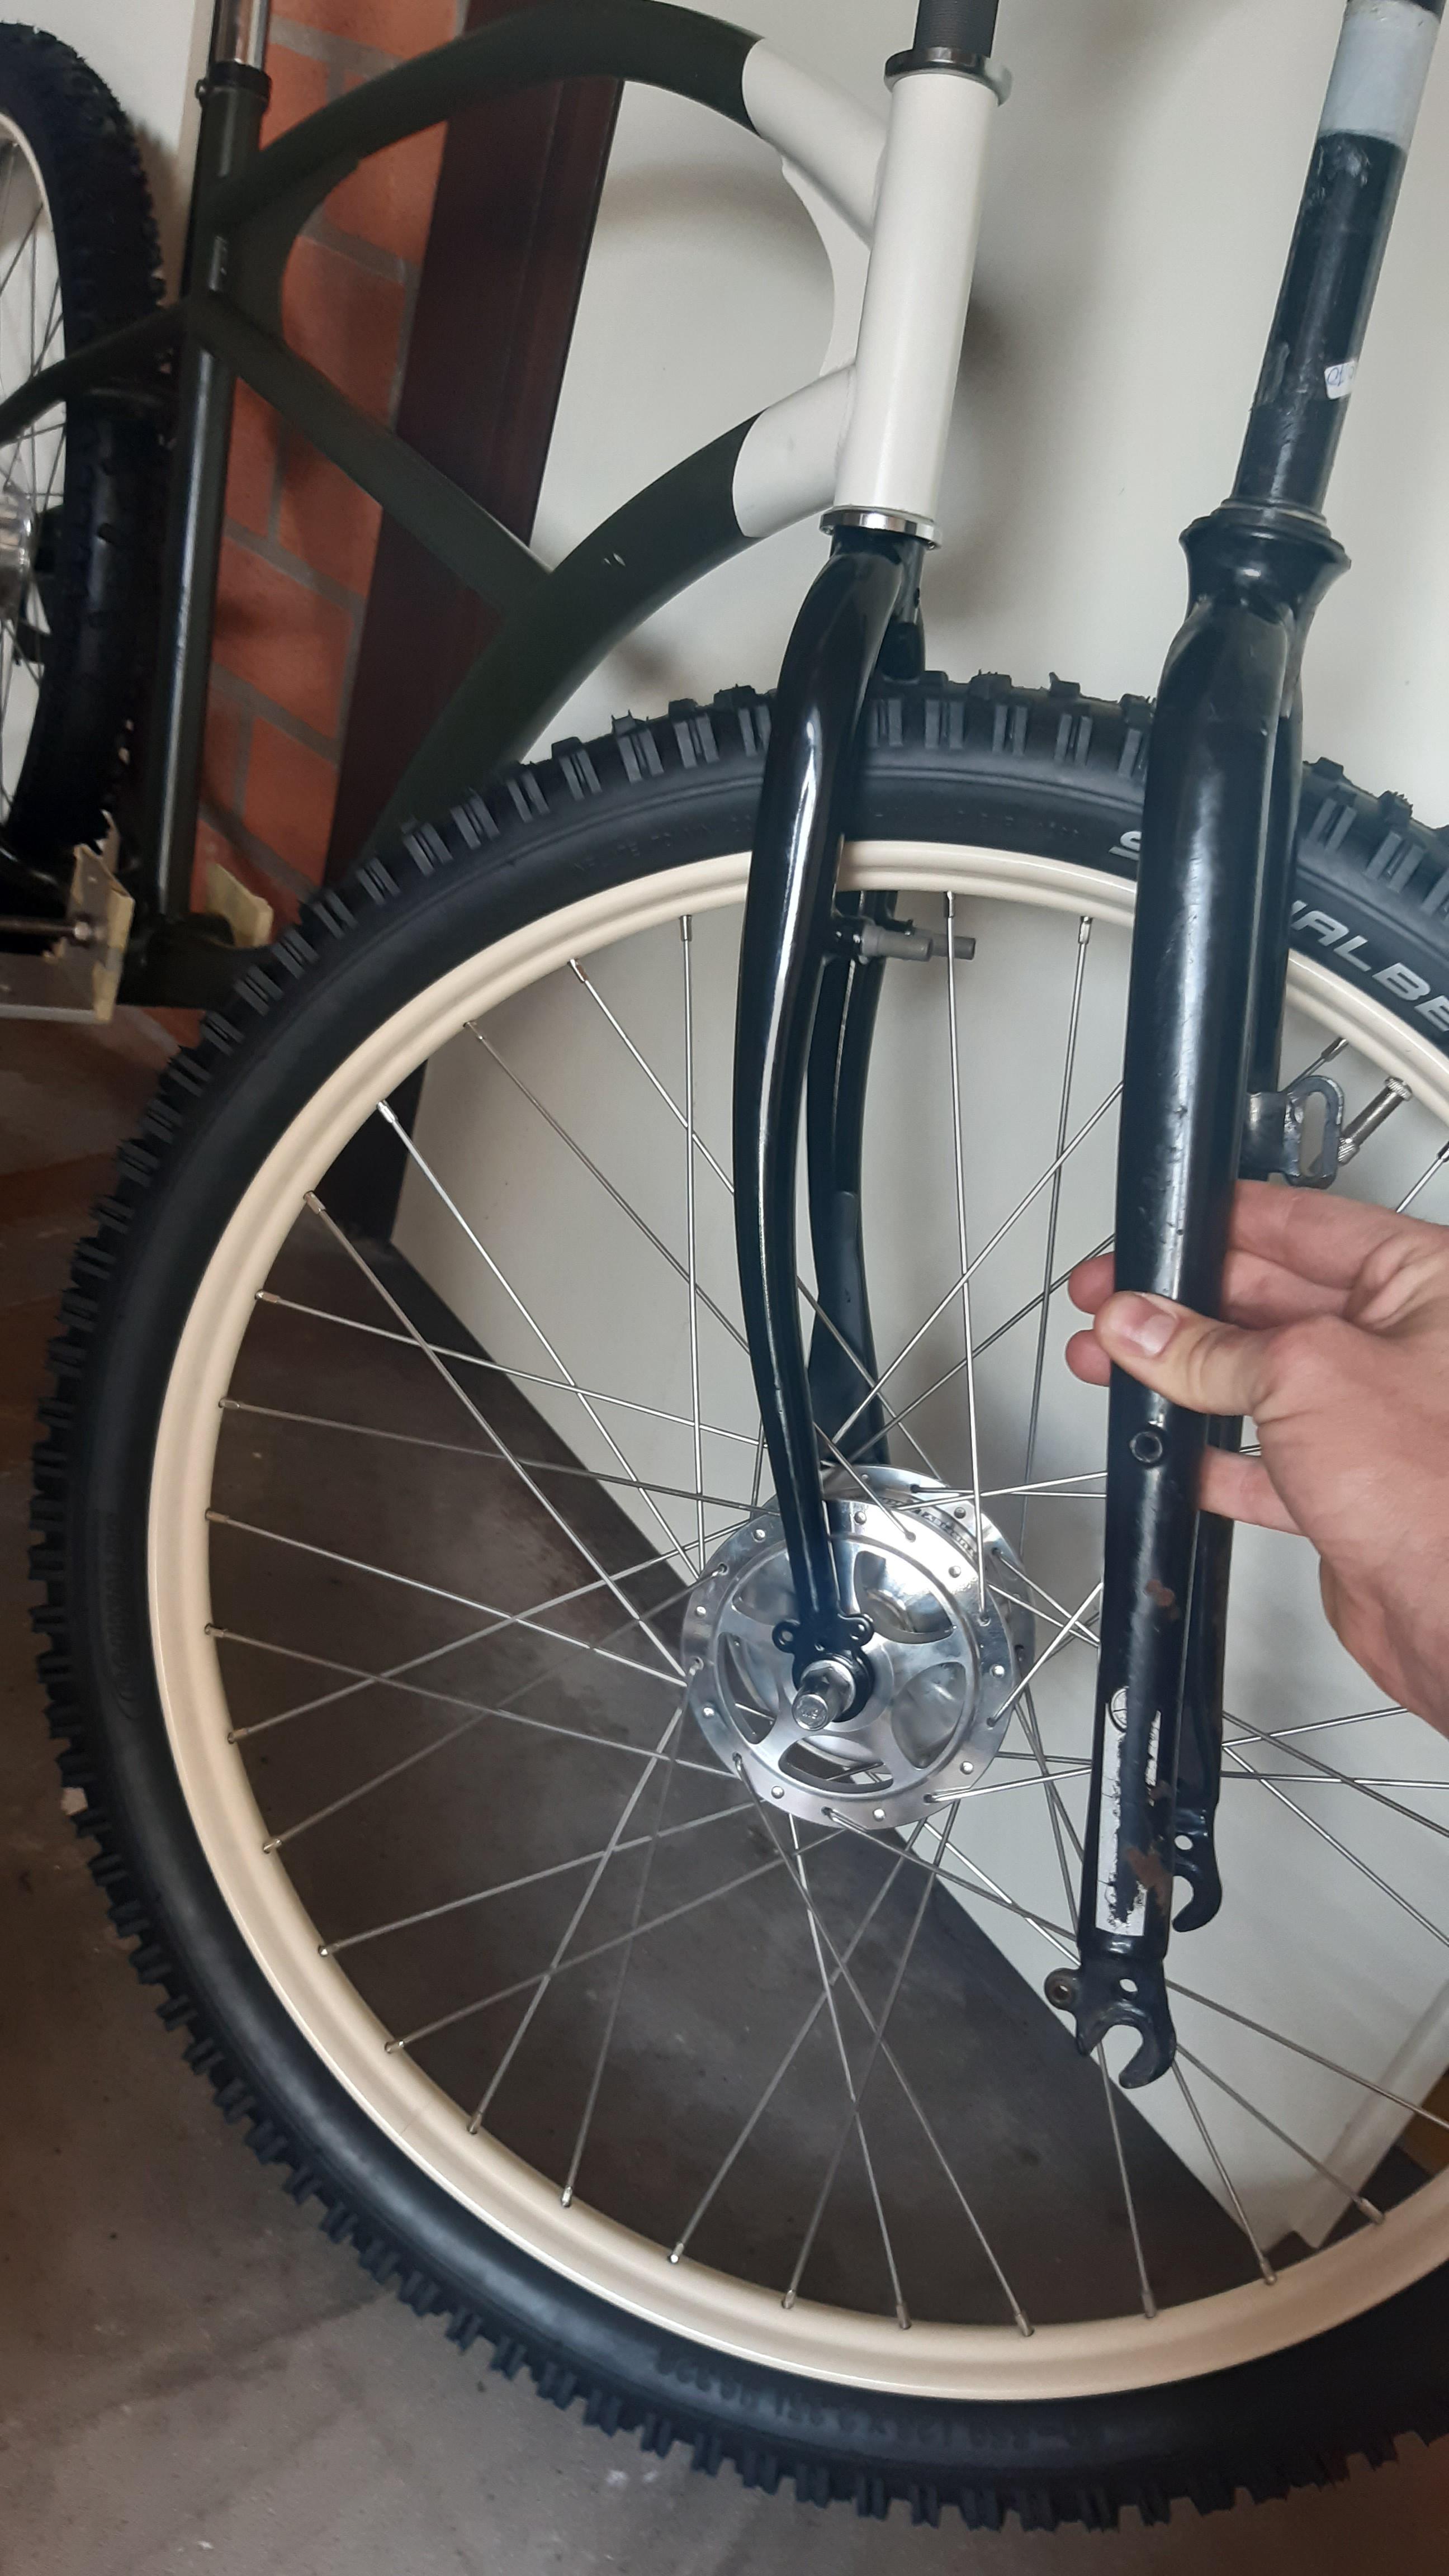
On a scrapyard, I found a great condition "Gazelle" 28" front fork. Why 28"? Well If the bottom bracket height is too low, I can try this fork to raise it a bit.
I bought the fork for 75 cents, quite a budget weight! I'll have to cut more 1" thread if I am to use this one.
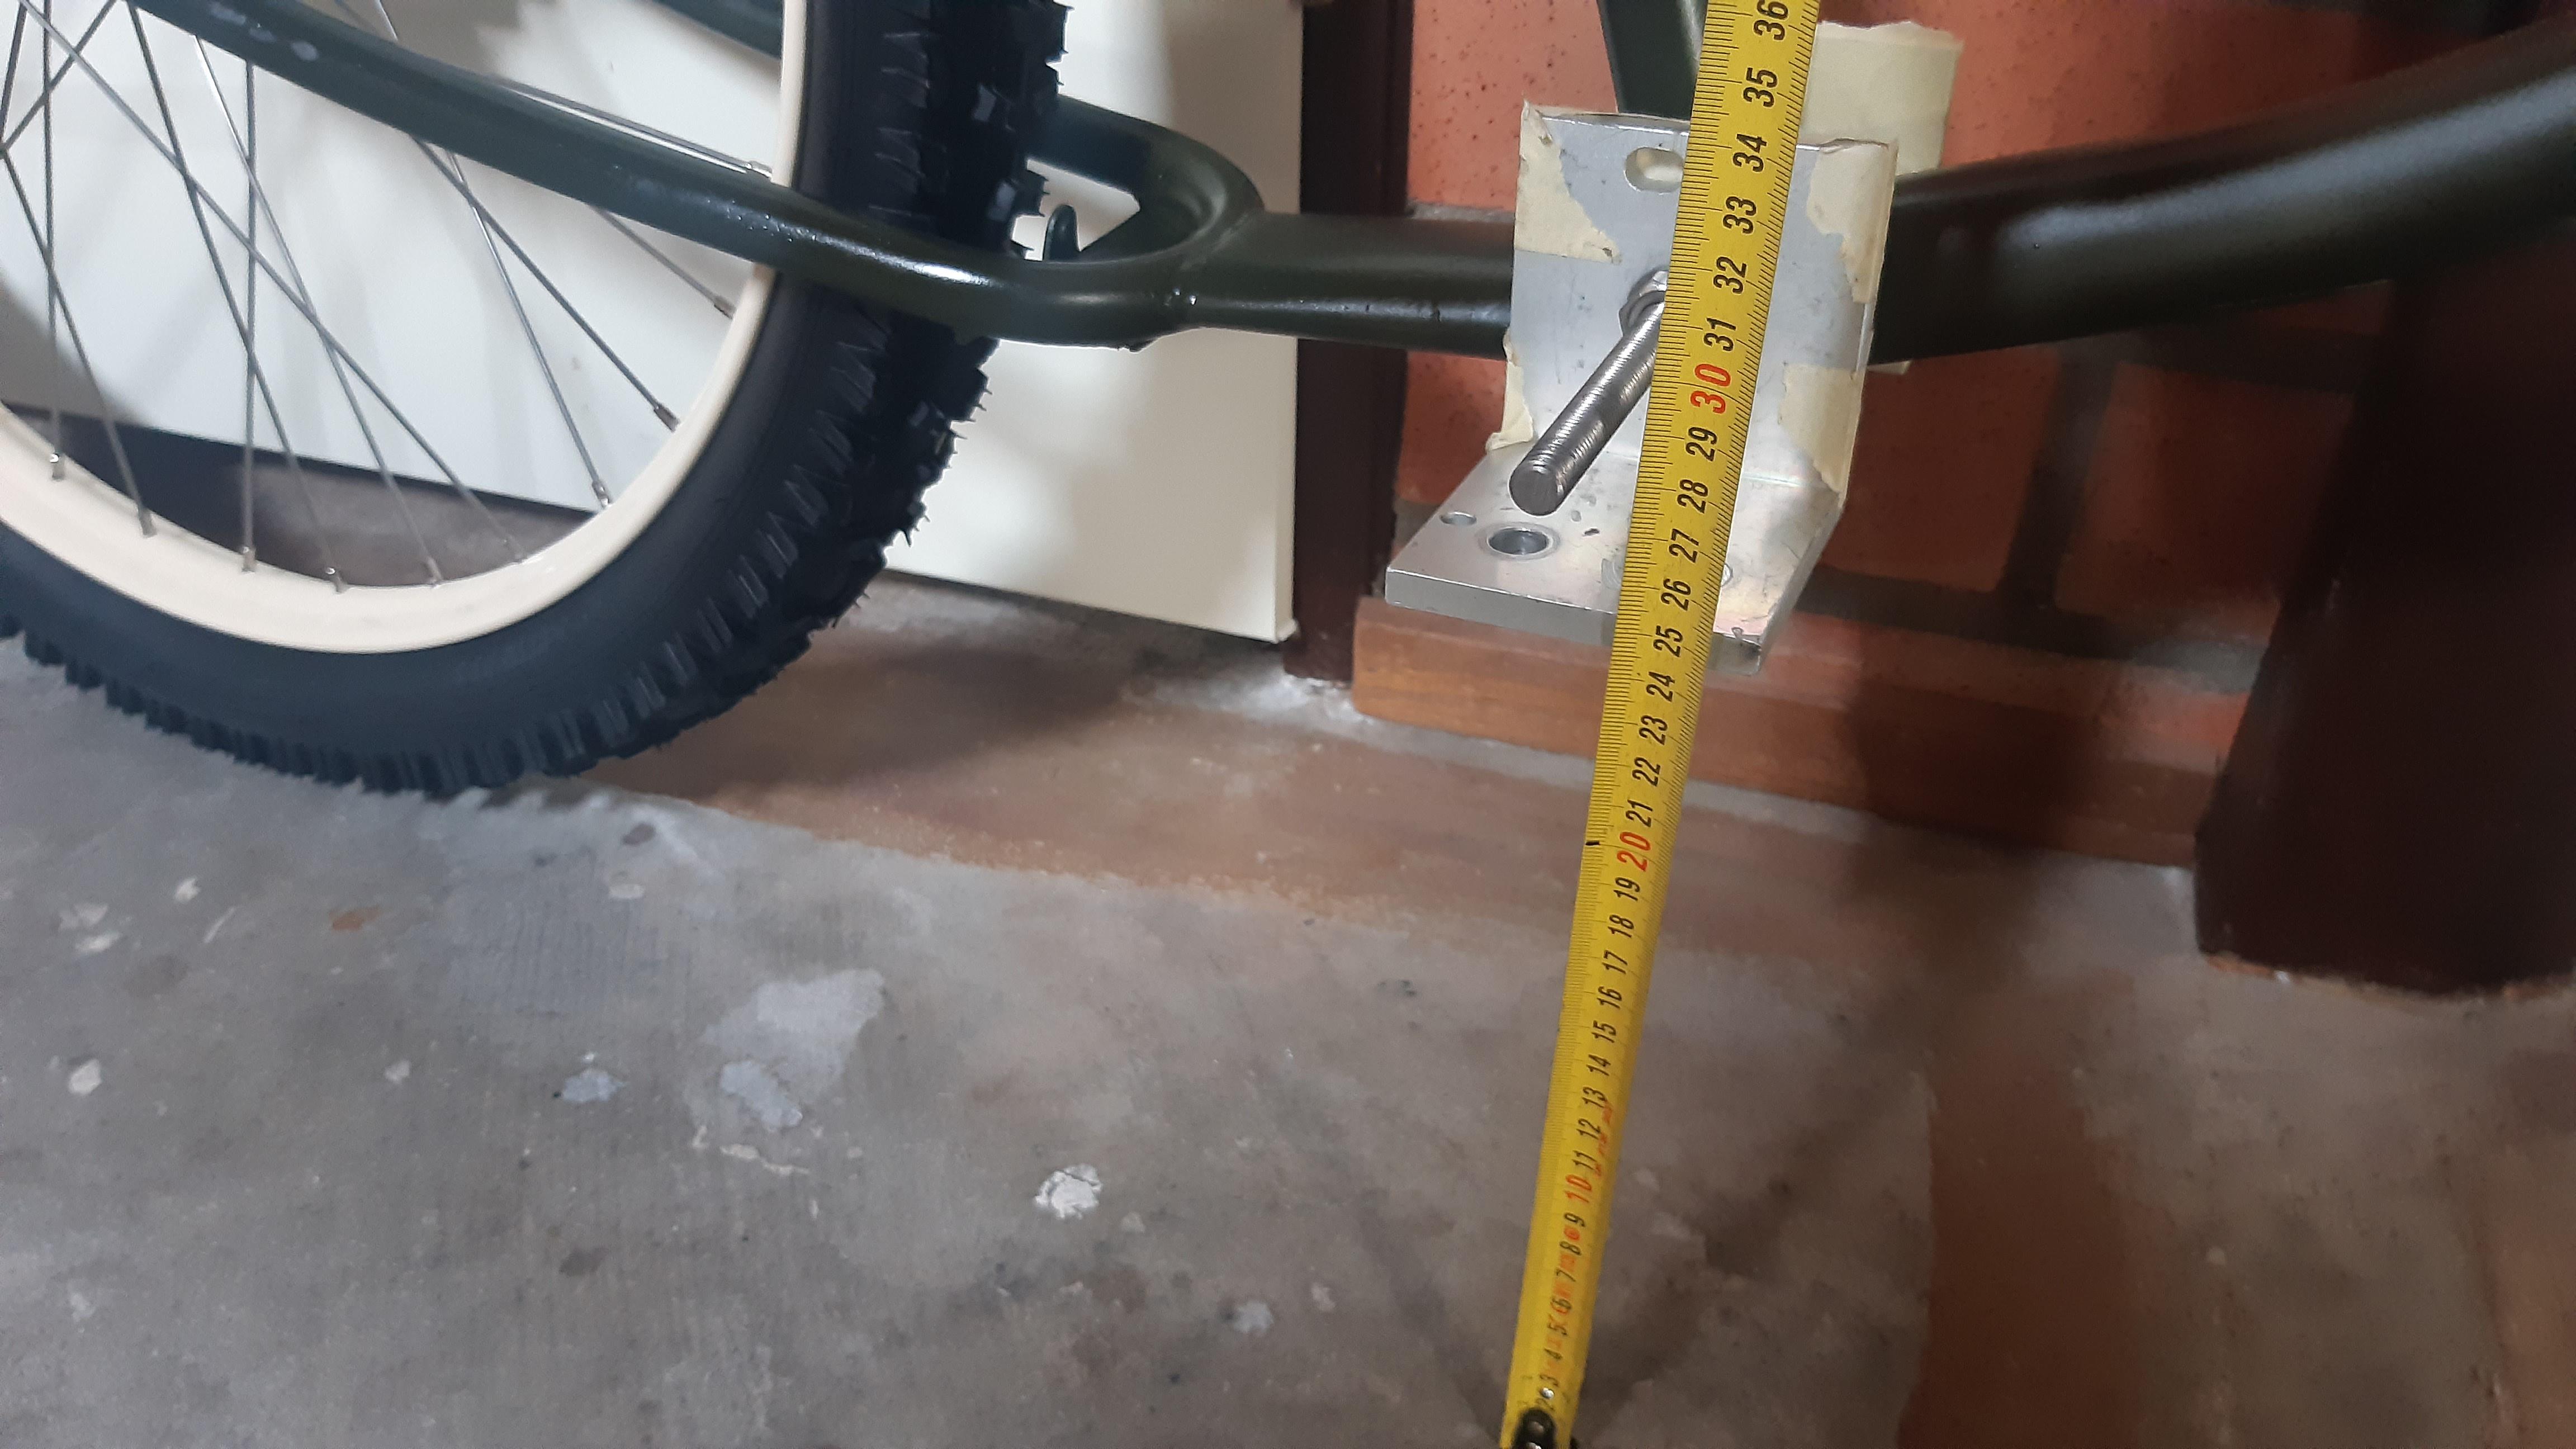
Bottom bracket height is about 31 centimeters now.

VWL2xzg.jpeg

tW0dUJu.jpeg

xeZqfmU.jpeg

lnvRfYB.jpeg

iUWhJ8Q.jpeg

3UmUl9c.jpeg

dlA74zq.jpeg

7NfIuC2.jpeg

EDOKGvo.jpeg


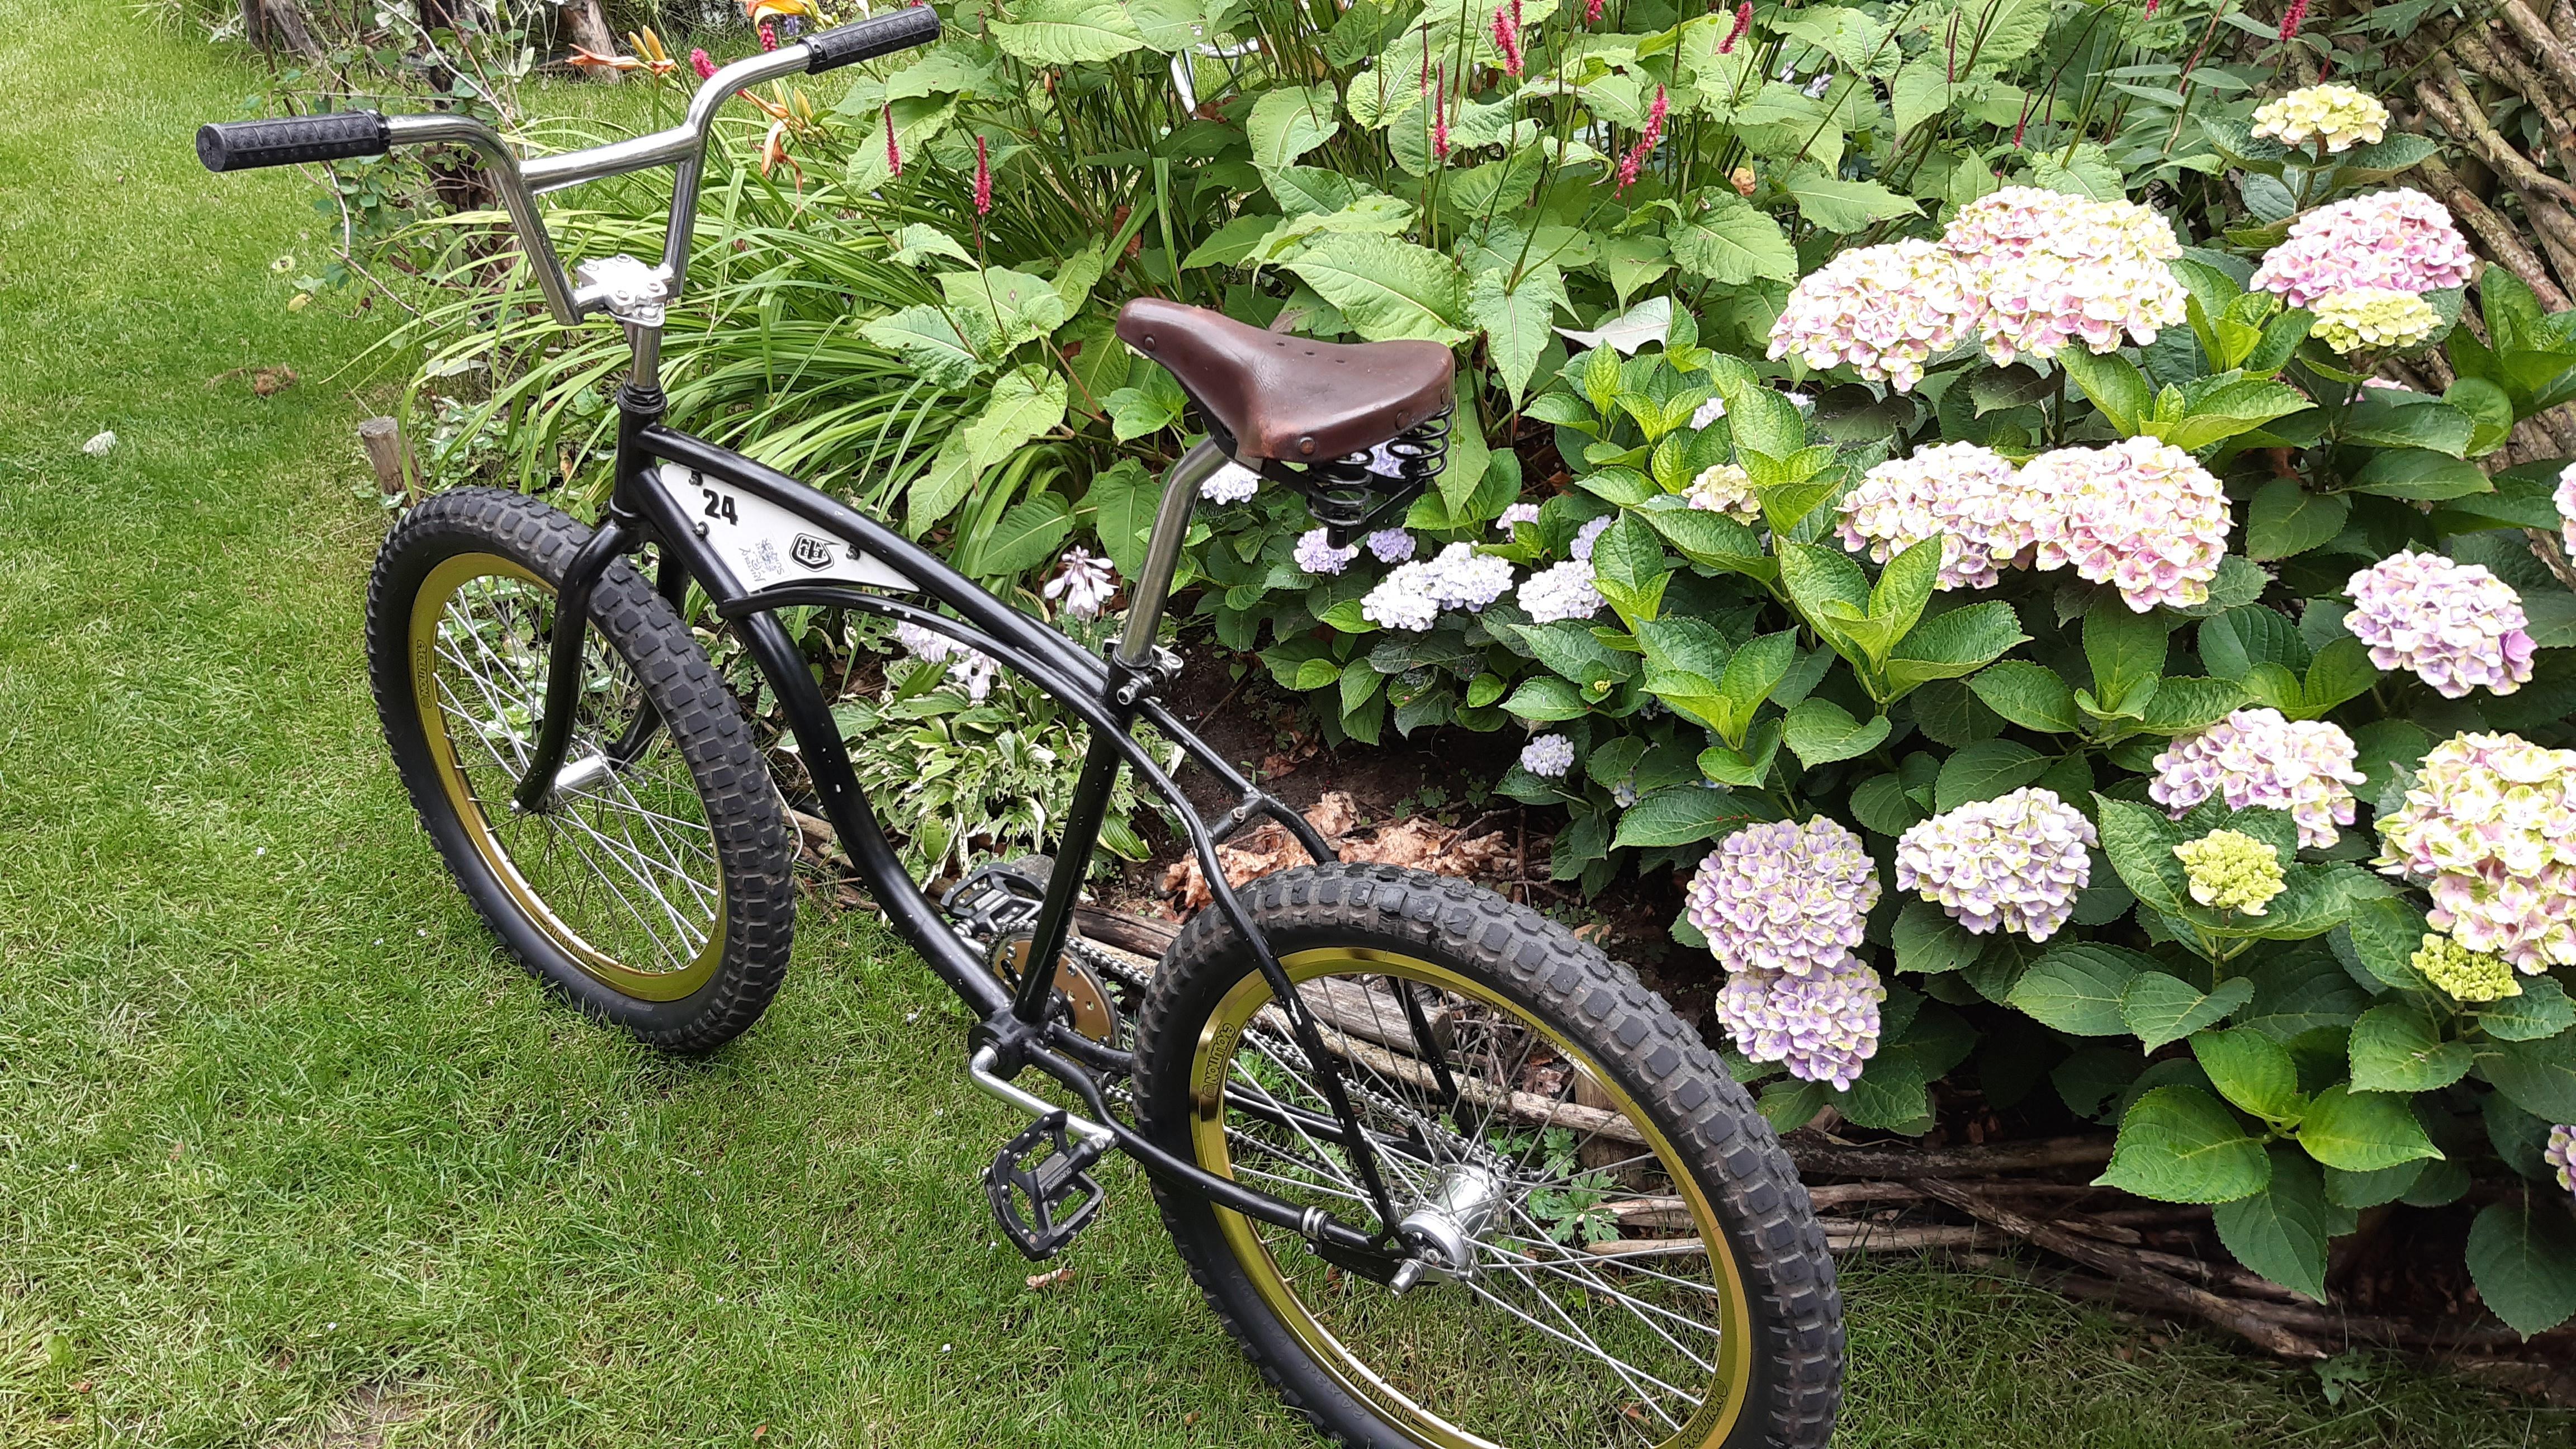
I love that vintage motocross look! :inlove:
 
Thanks people!!

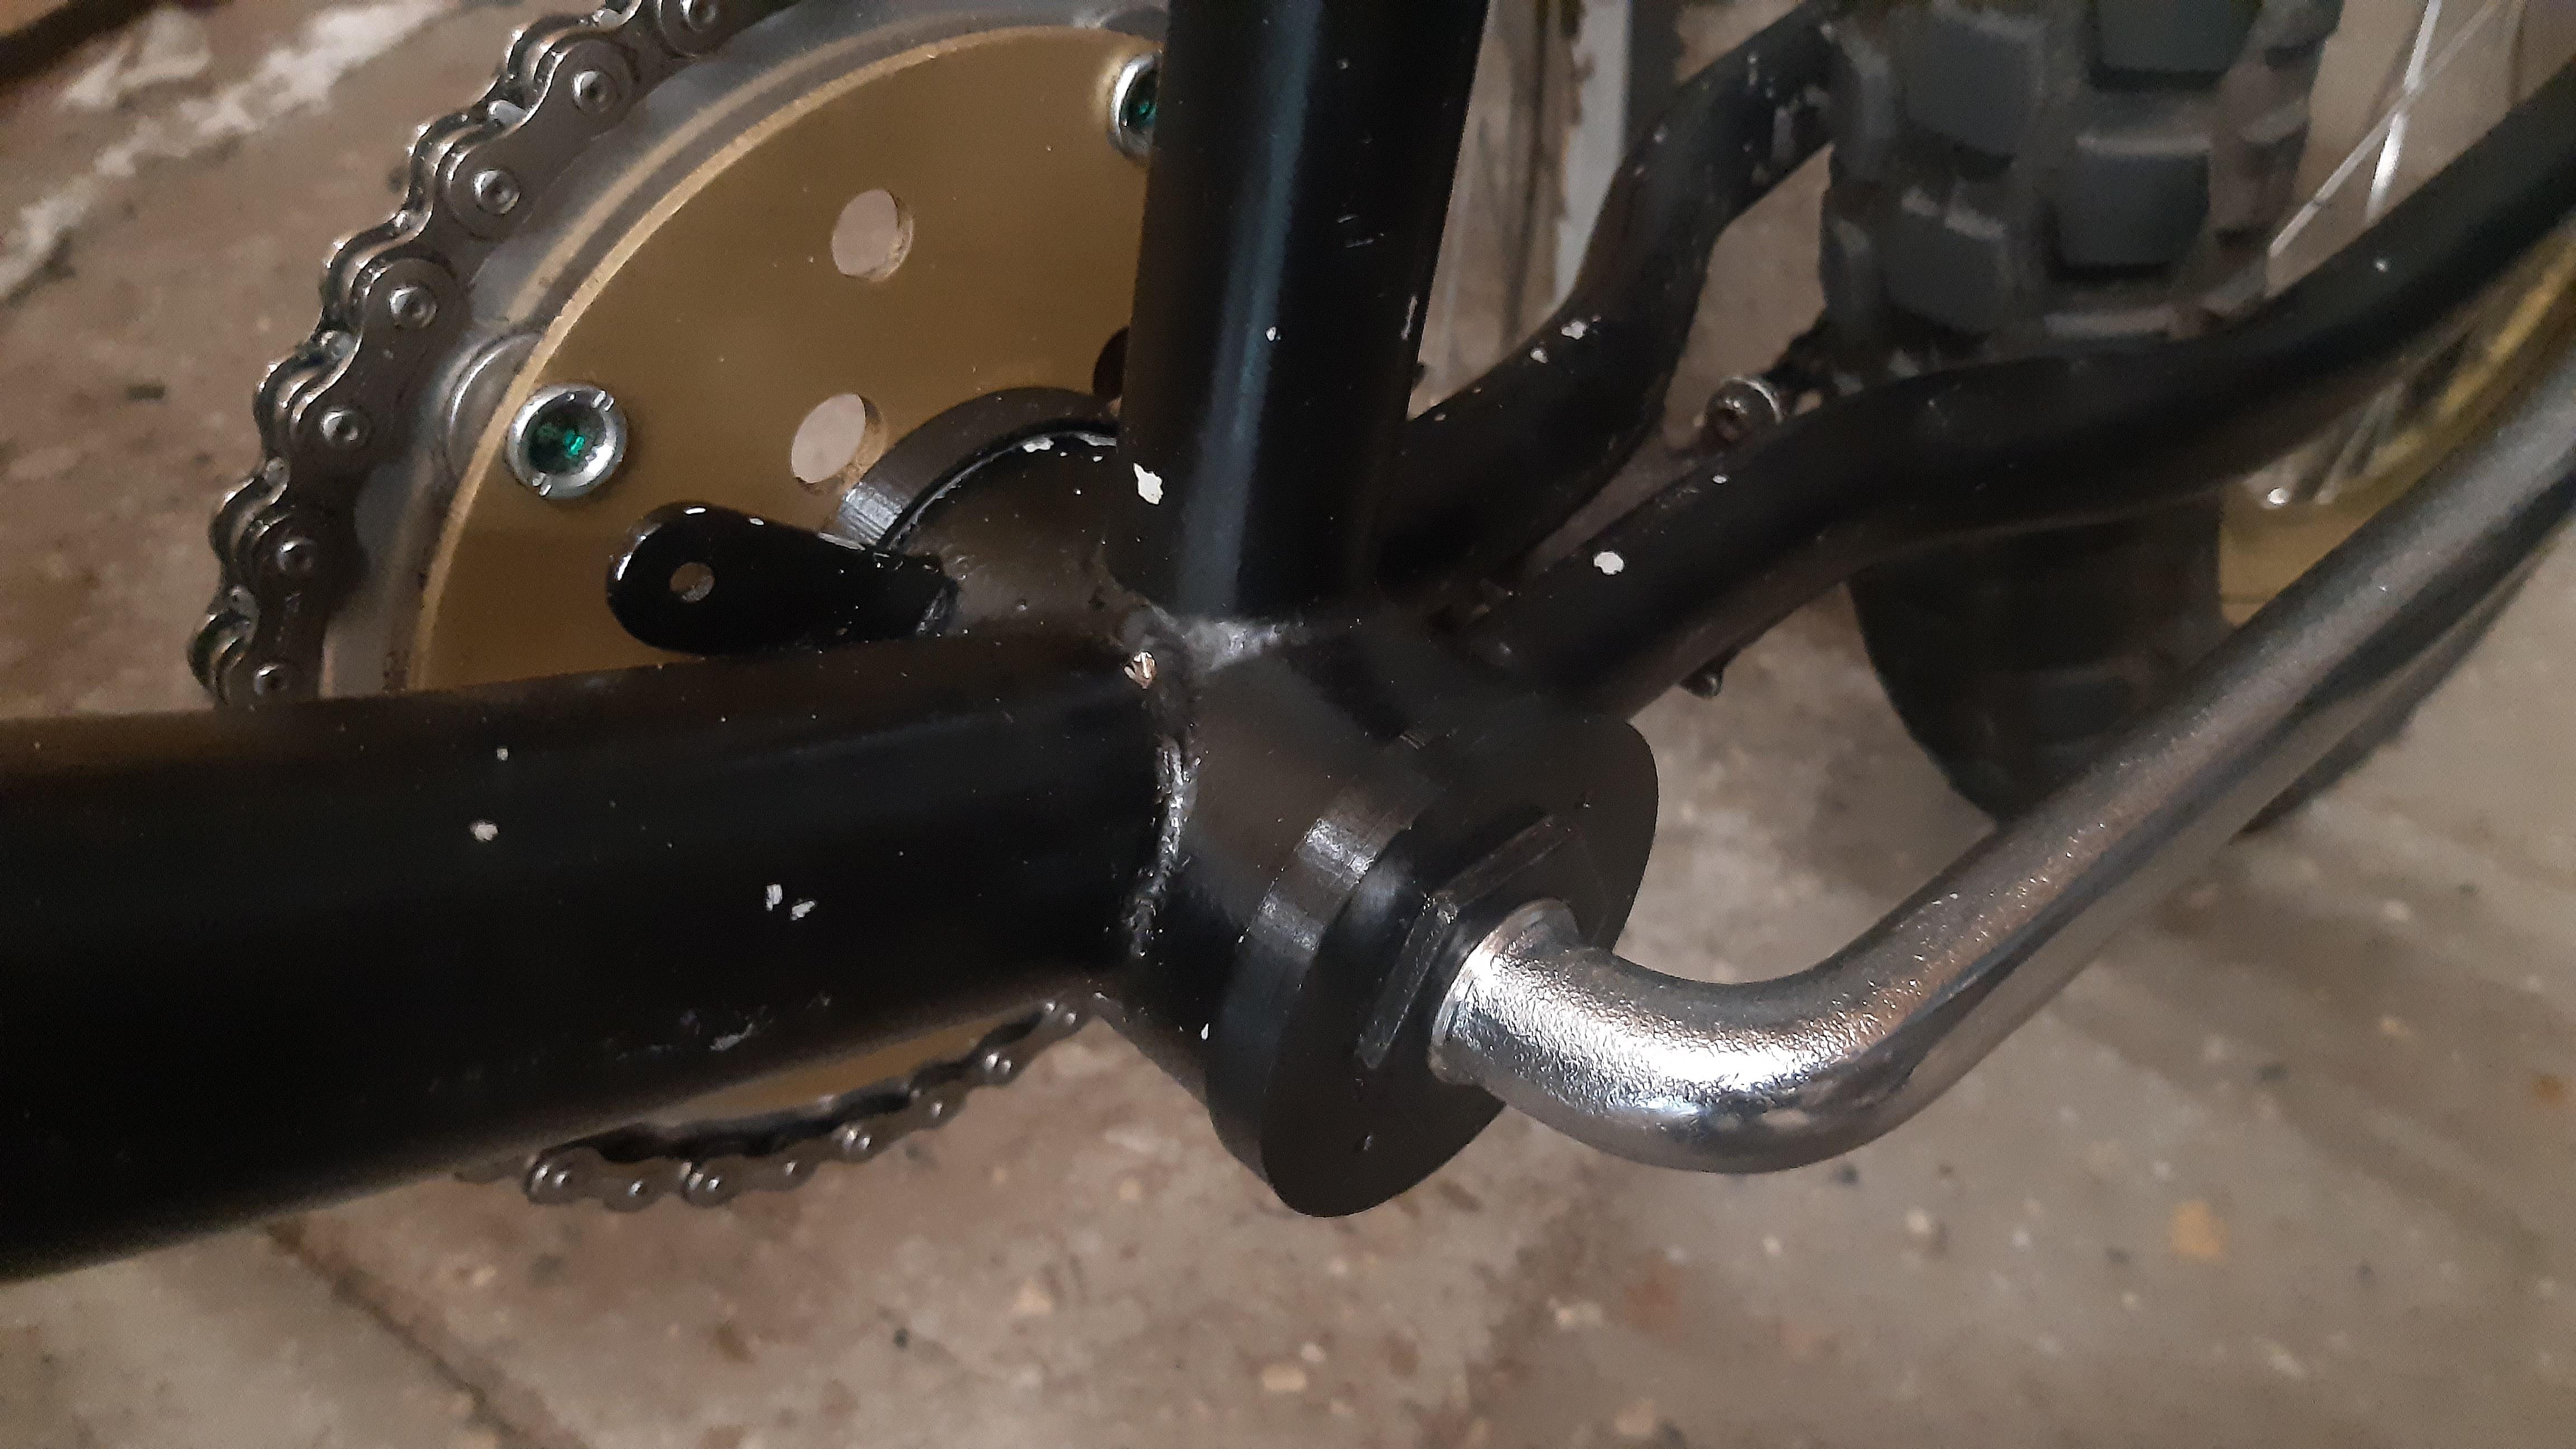
I mounted the bottom bracket. I used the "RUFF cycles" one piece crank. Got some sweet 1/2" threaded pedals.
Also managed to clean and re-use the original Electra RS chainwheel. It was in good shape.
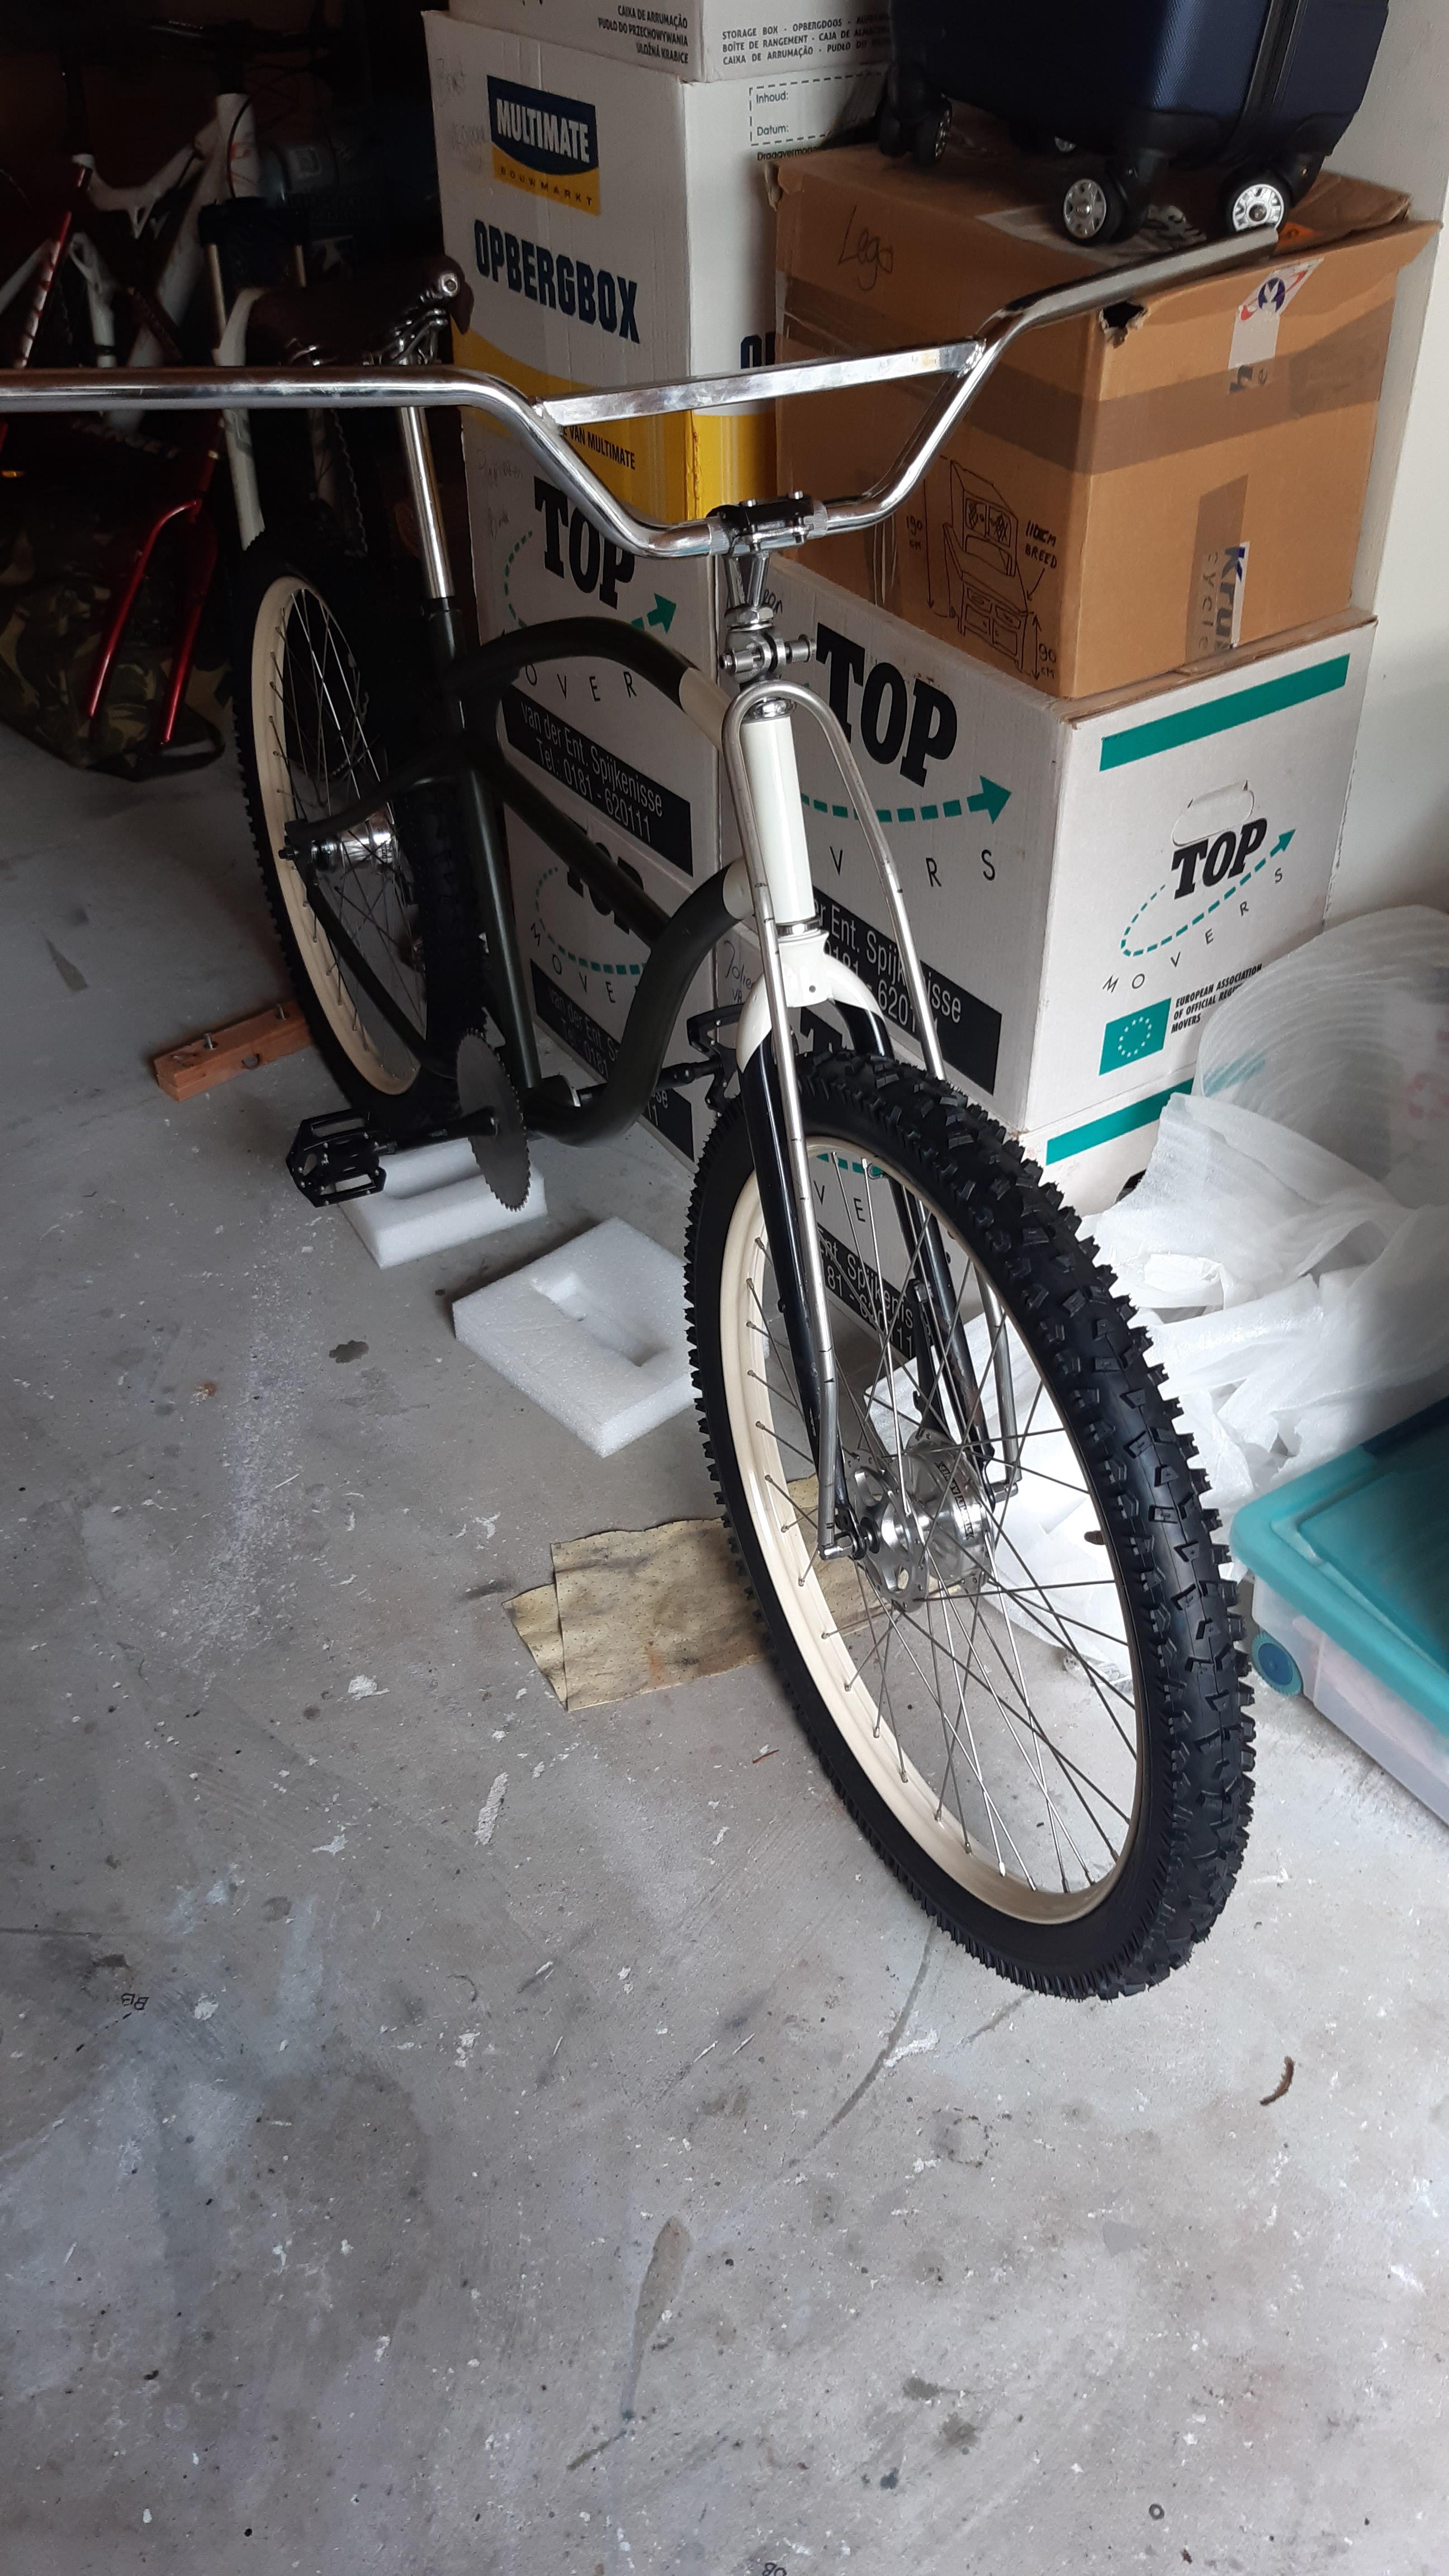
And I temporarily mounted the handlebars for fun:

tuOwlpr.jpeg

What a mess right?!
I assemble these builds on my attic now, because I still have bikes for sale that are in my shed. And the shed is used too much by my wife and neighbors now... I am scared that someone will damage the bikes, or that I will lose (small) parts.....

Next stuff to do on the Electra RS (after my other build):

  • Weld the drum brake tab on the fork.
  • Fabricate 'things' to properly fit the truss pipe.
  • Paint the fork.
  • Final assembling of the bike.
I have some sweet surprises in store for this build, detail/look wise... To get closer to that vintage motocross look.
Still, it will be used for singletrack mountainbiking, so it will be light and functional.

Thanks for having a look and see you on the next update!
 
Hi guys, back online after a short vacation.

What did I do:

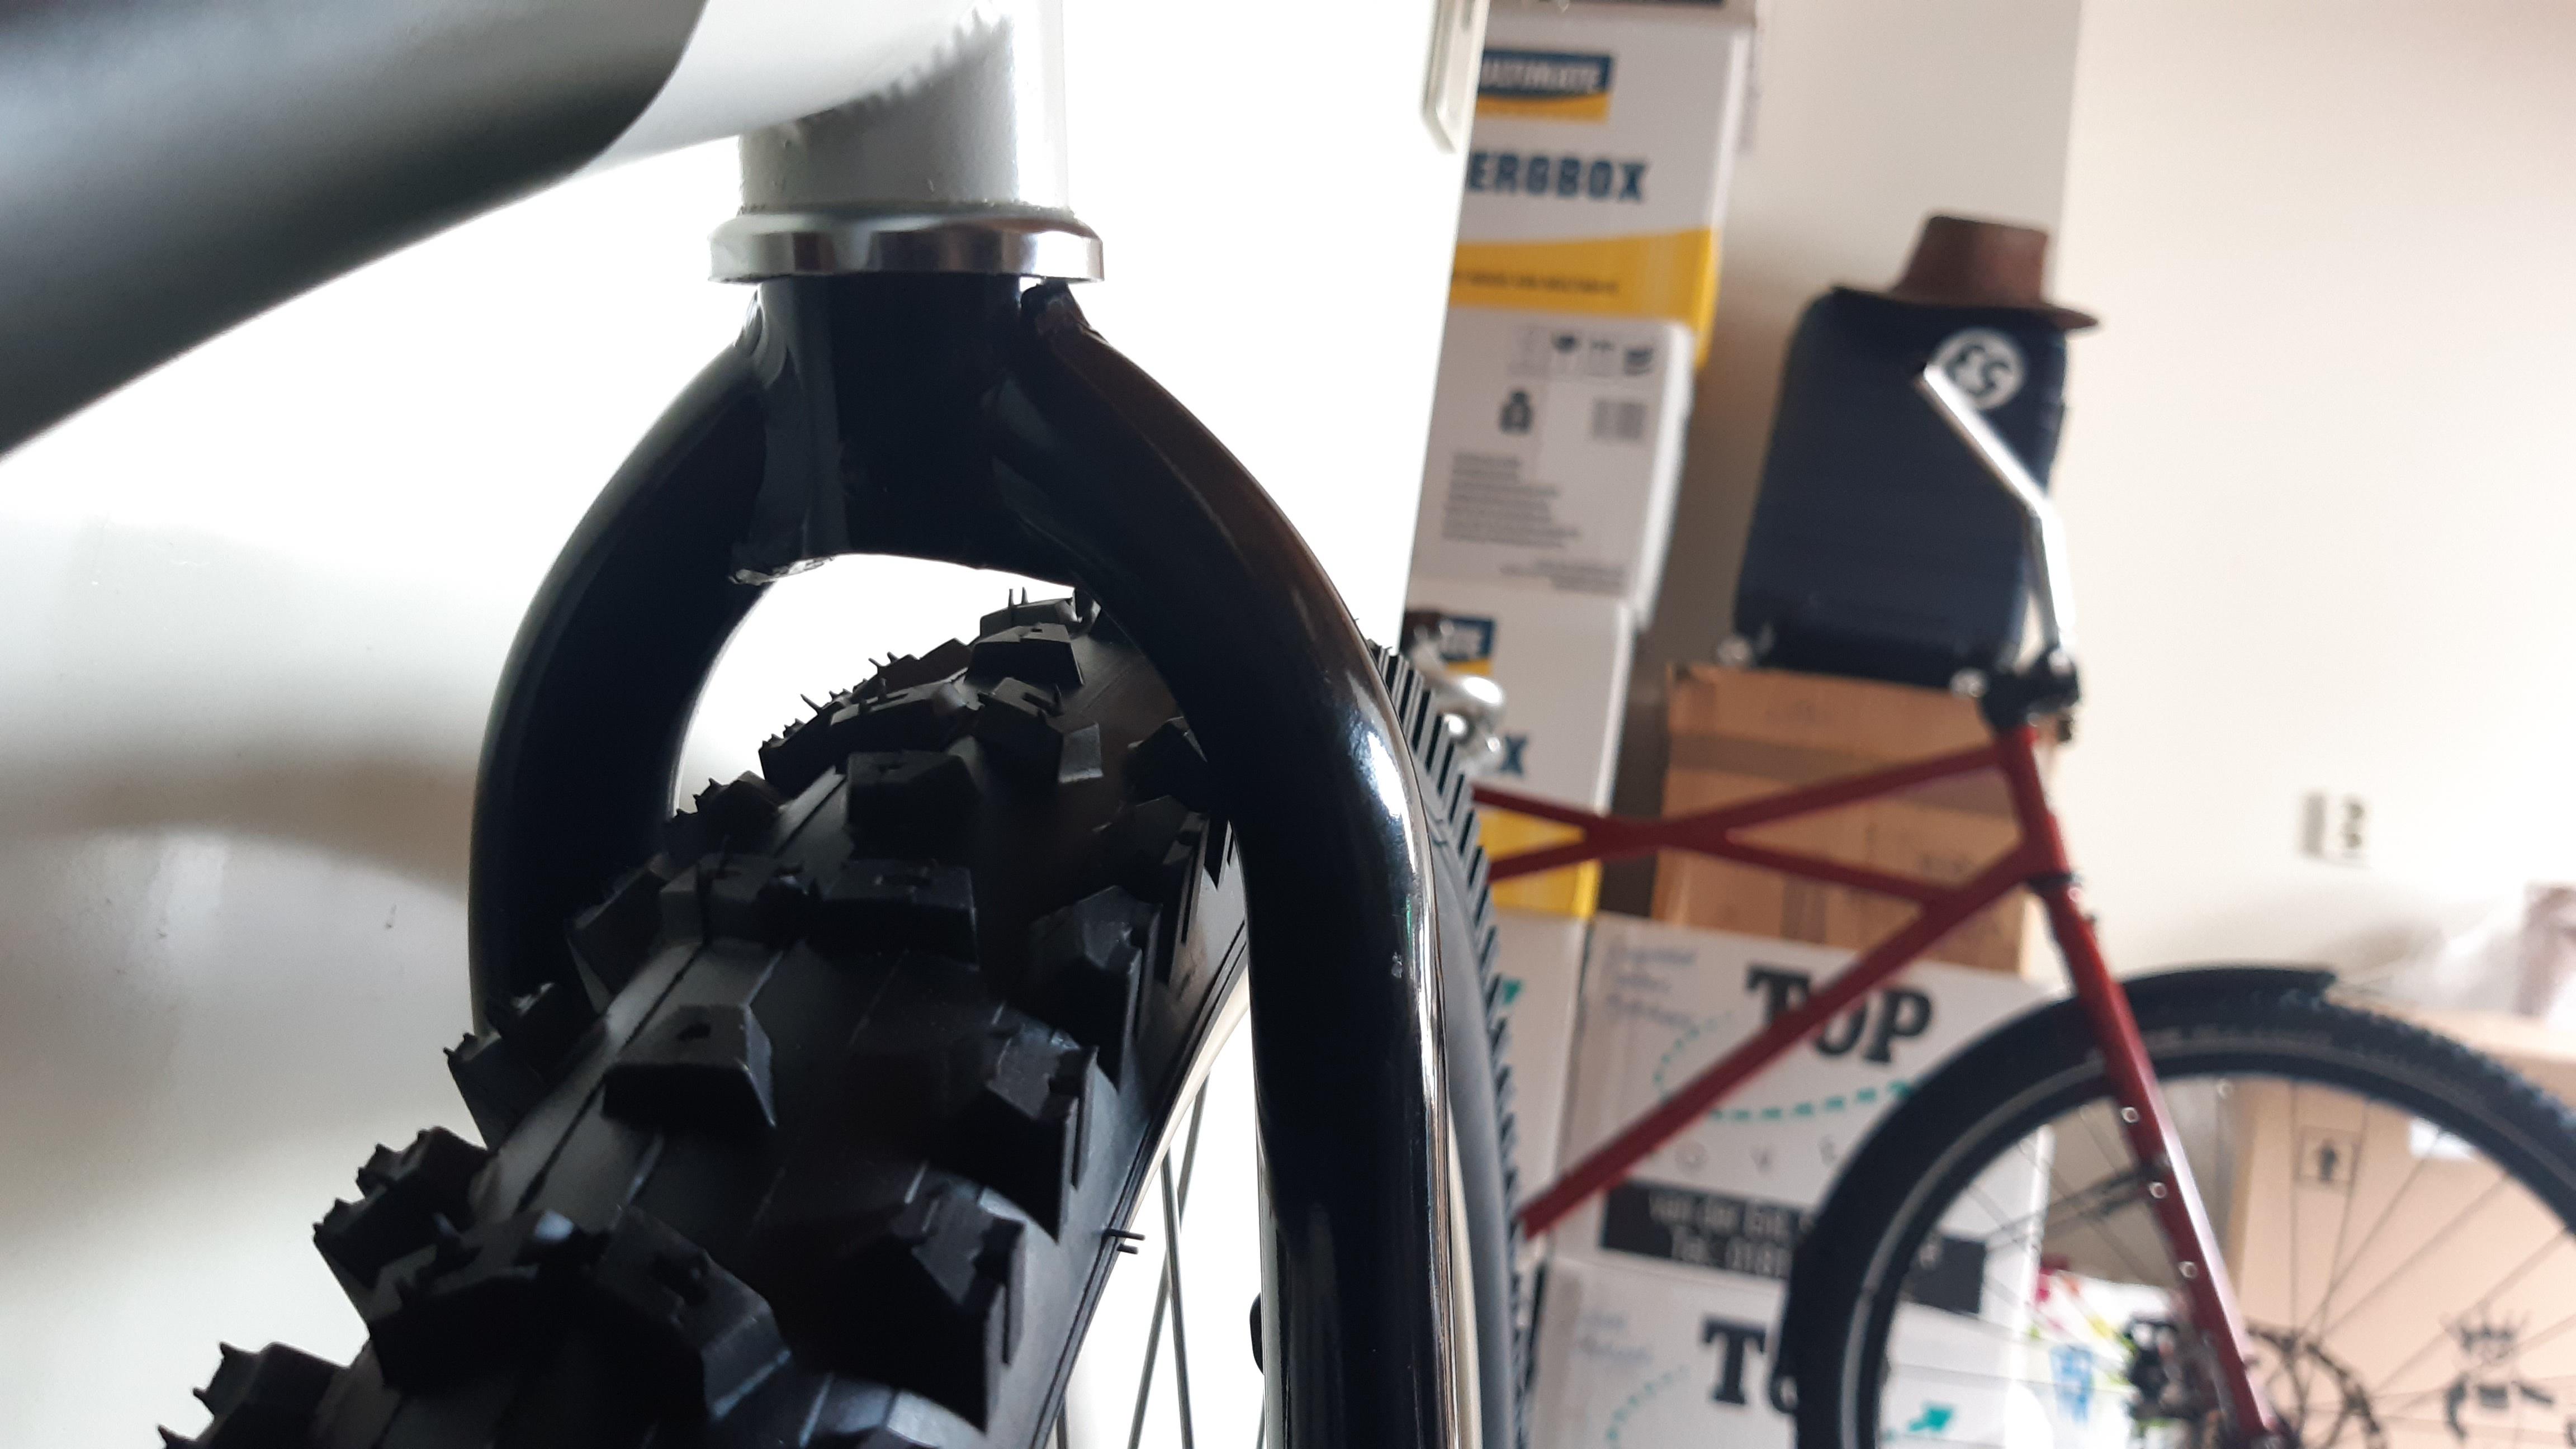
I tried the other fork which already had a drum brake tab. It is a "Gazelle" fork. Gazelle is normally quite good quality, so quite nice find. This fork is a bit longer, but it gives me more bottom bracket height.
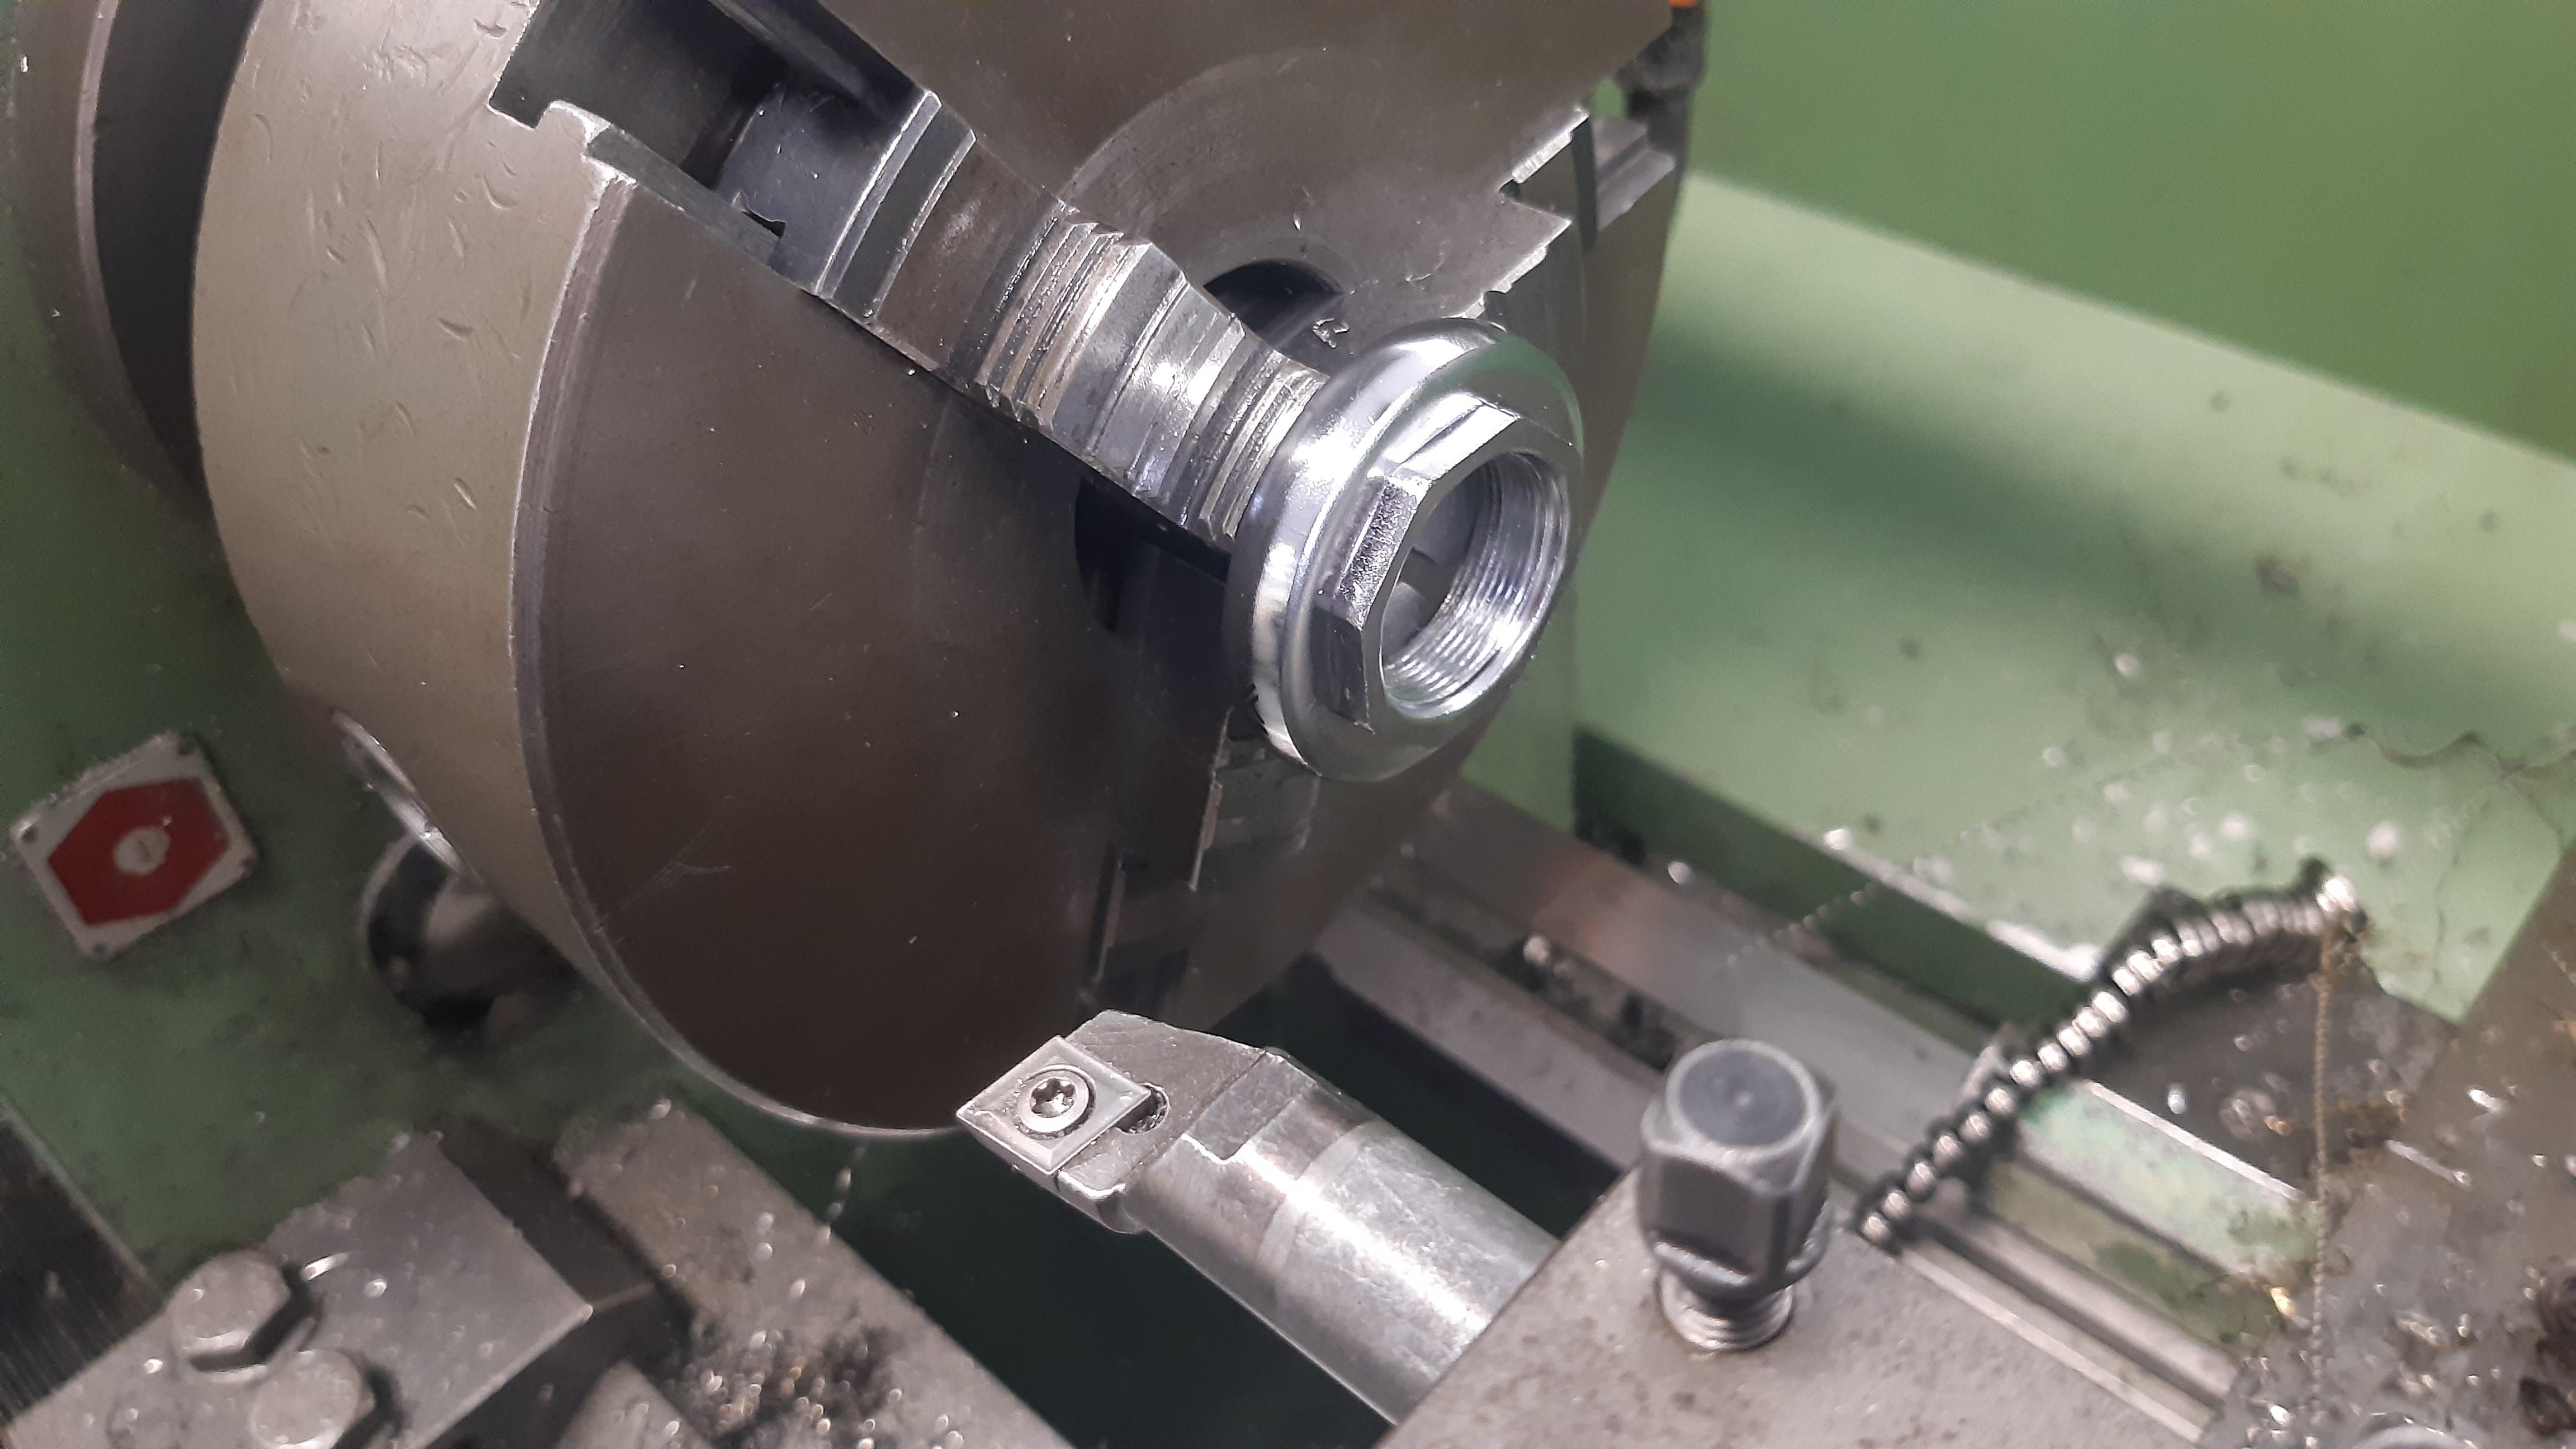
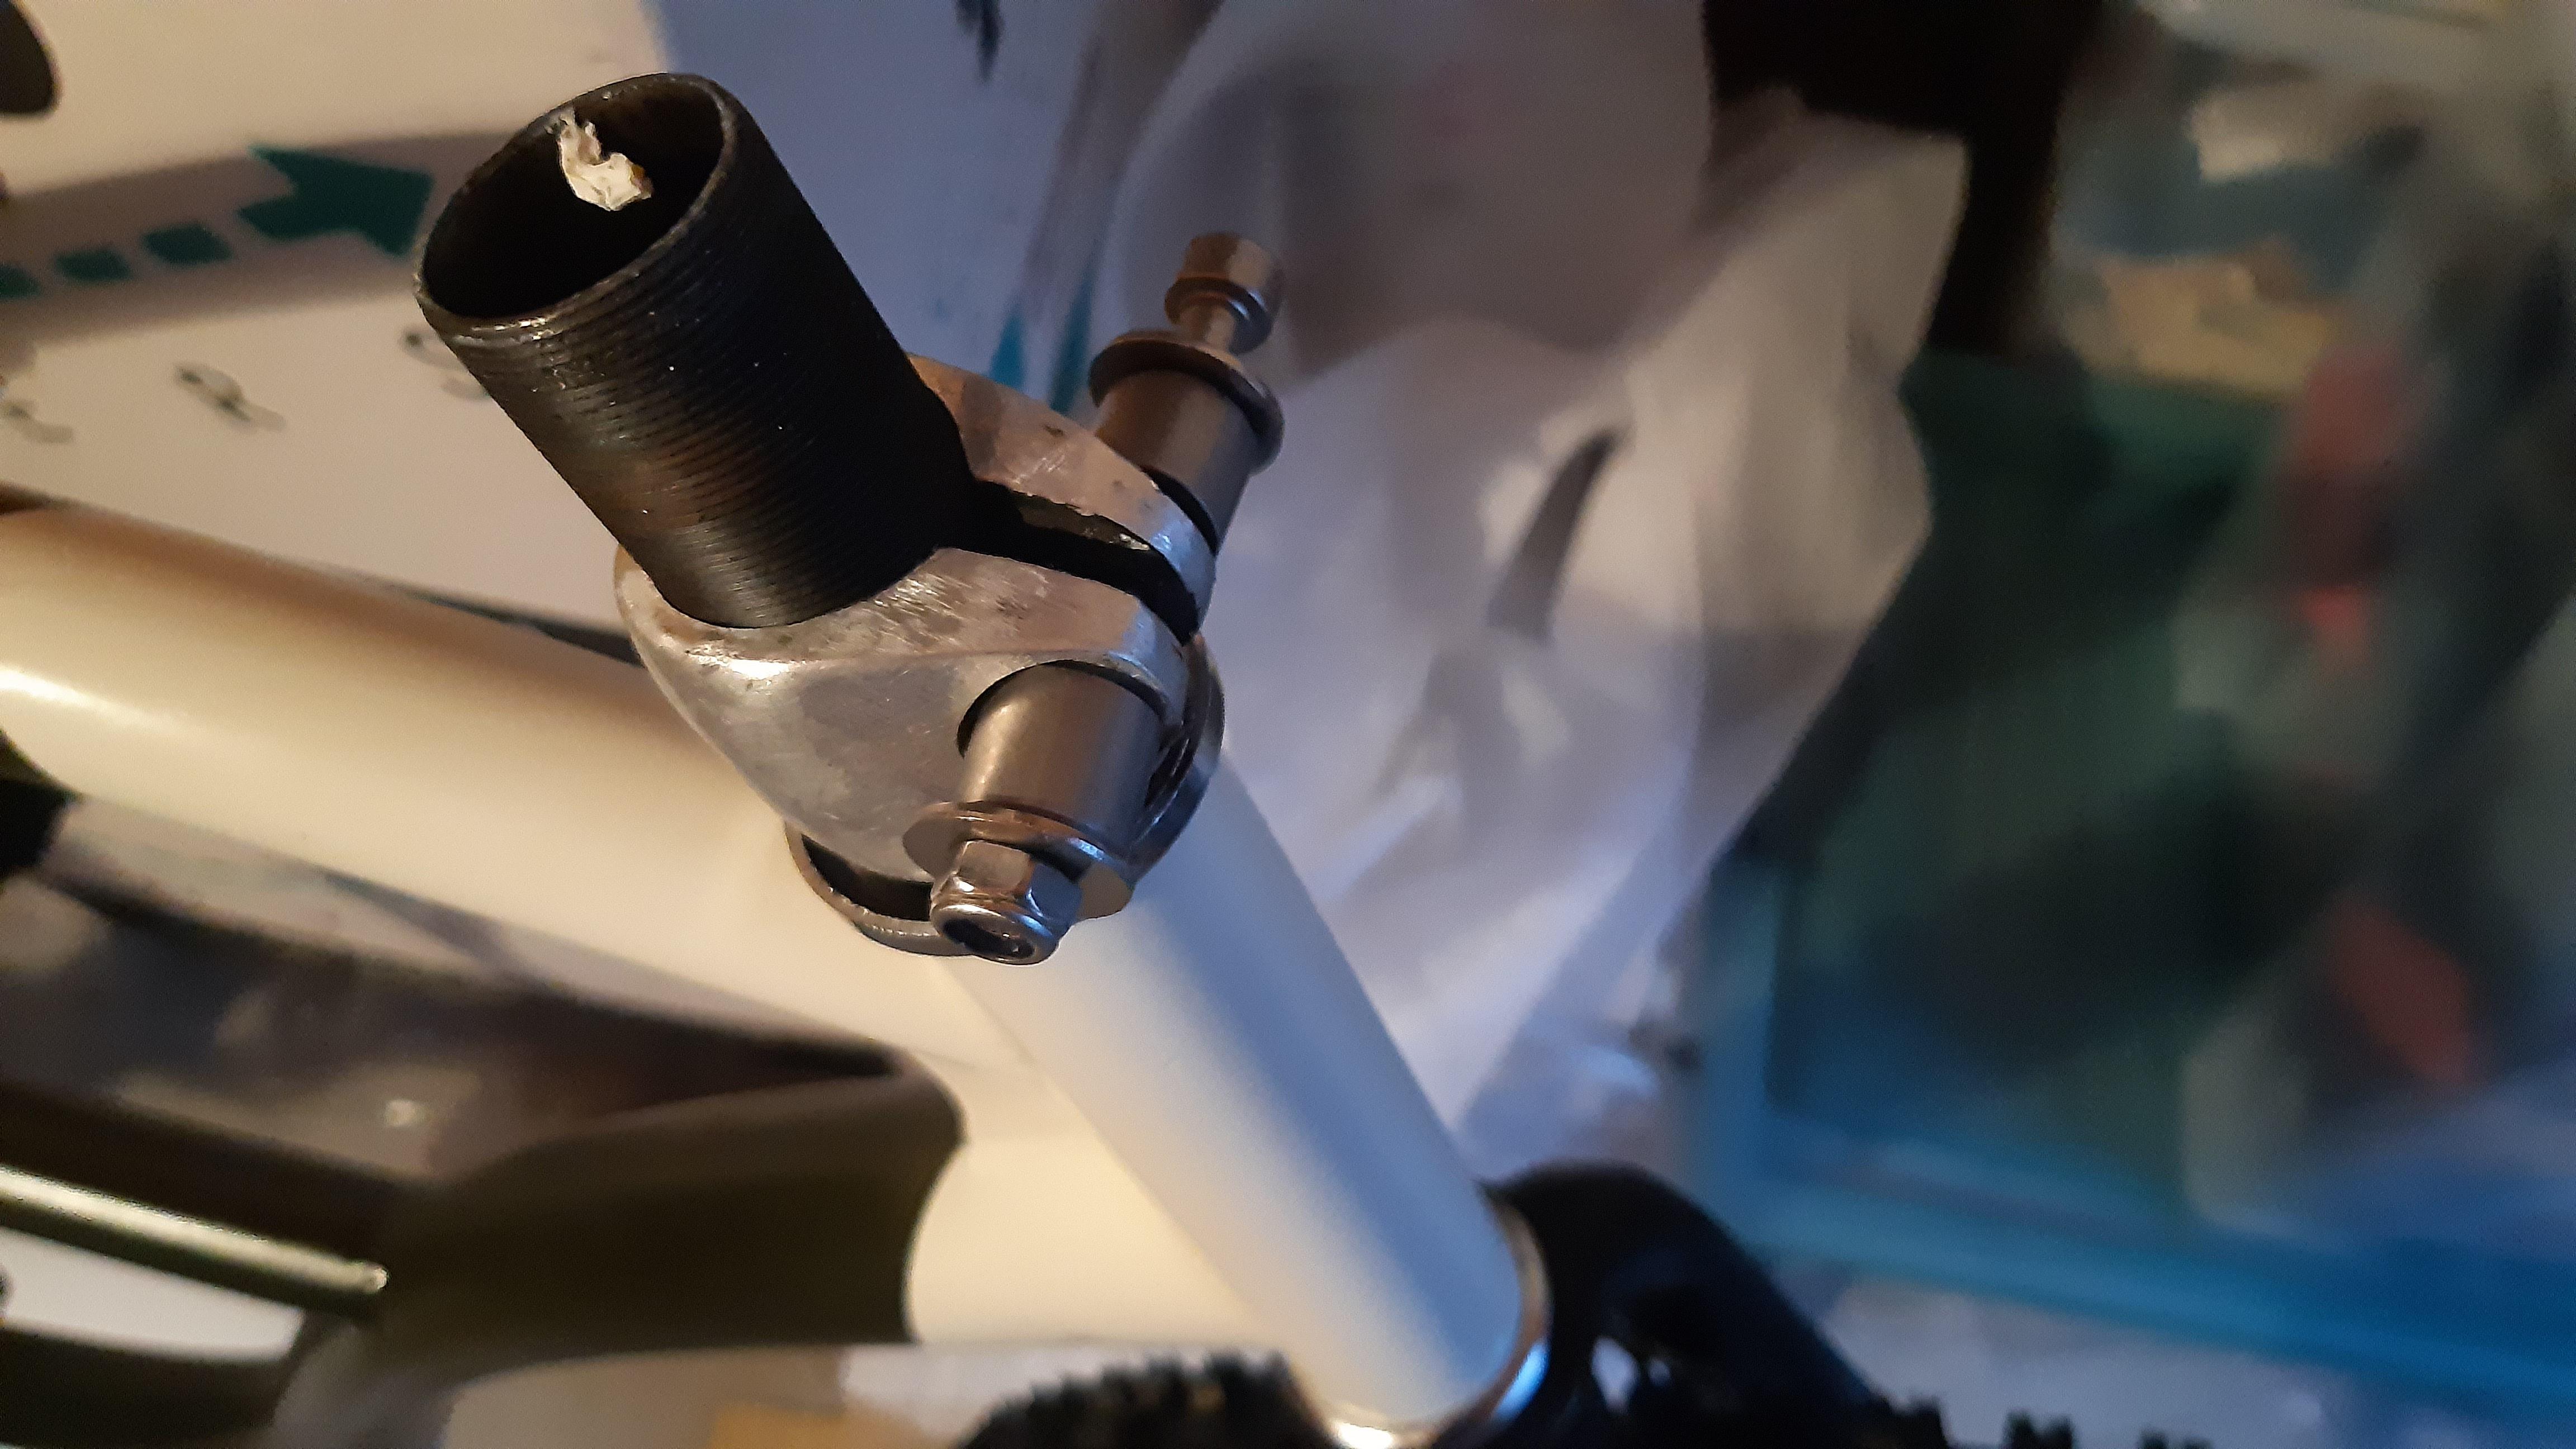
This fork did not have enough (15mm) thread, but I can work around that:

WD6tBHv.jpeg

Threads gone :bigsmile:

I cut a piece from an aluminum stem that normally holds the handlebar. It was a forged stem that waited in the trash for me to pick it up.
9umjFr2.jpeg


DVQI6bG.jpeg

Testfit

2LyXdhj.jpeg


YFhxzTp.jpeg

With truss idea, I think the handlebar should come down a bit.

j8xXwN6.jpeg


The stance is also quite different with this fork. Does anyone have a idea how this would affect ride quality?

Which fork to choose? The stance is very different!

QvegDNH.jpeg

Short "new" fork.

UfBsBTo.jpeg

Long "older" fork.
 
Thanks for the replies guys! The straight fork is 28" indeed!

@MattiThundrrr I read about the handling indeed, thanks!

So the plans for now:

Use the shorter fork:
  • Weld the drum brake tab.
  • Fit the fork.
  • Fabricate/finish the truss piece for it.
  • See if it fits my riding preferences.
  • Paint the fork, polish the truss.
Sidetrack:

I had some fun with parts while cleaning my attic of rubbish:

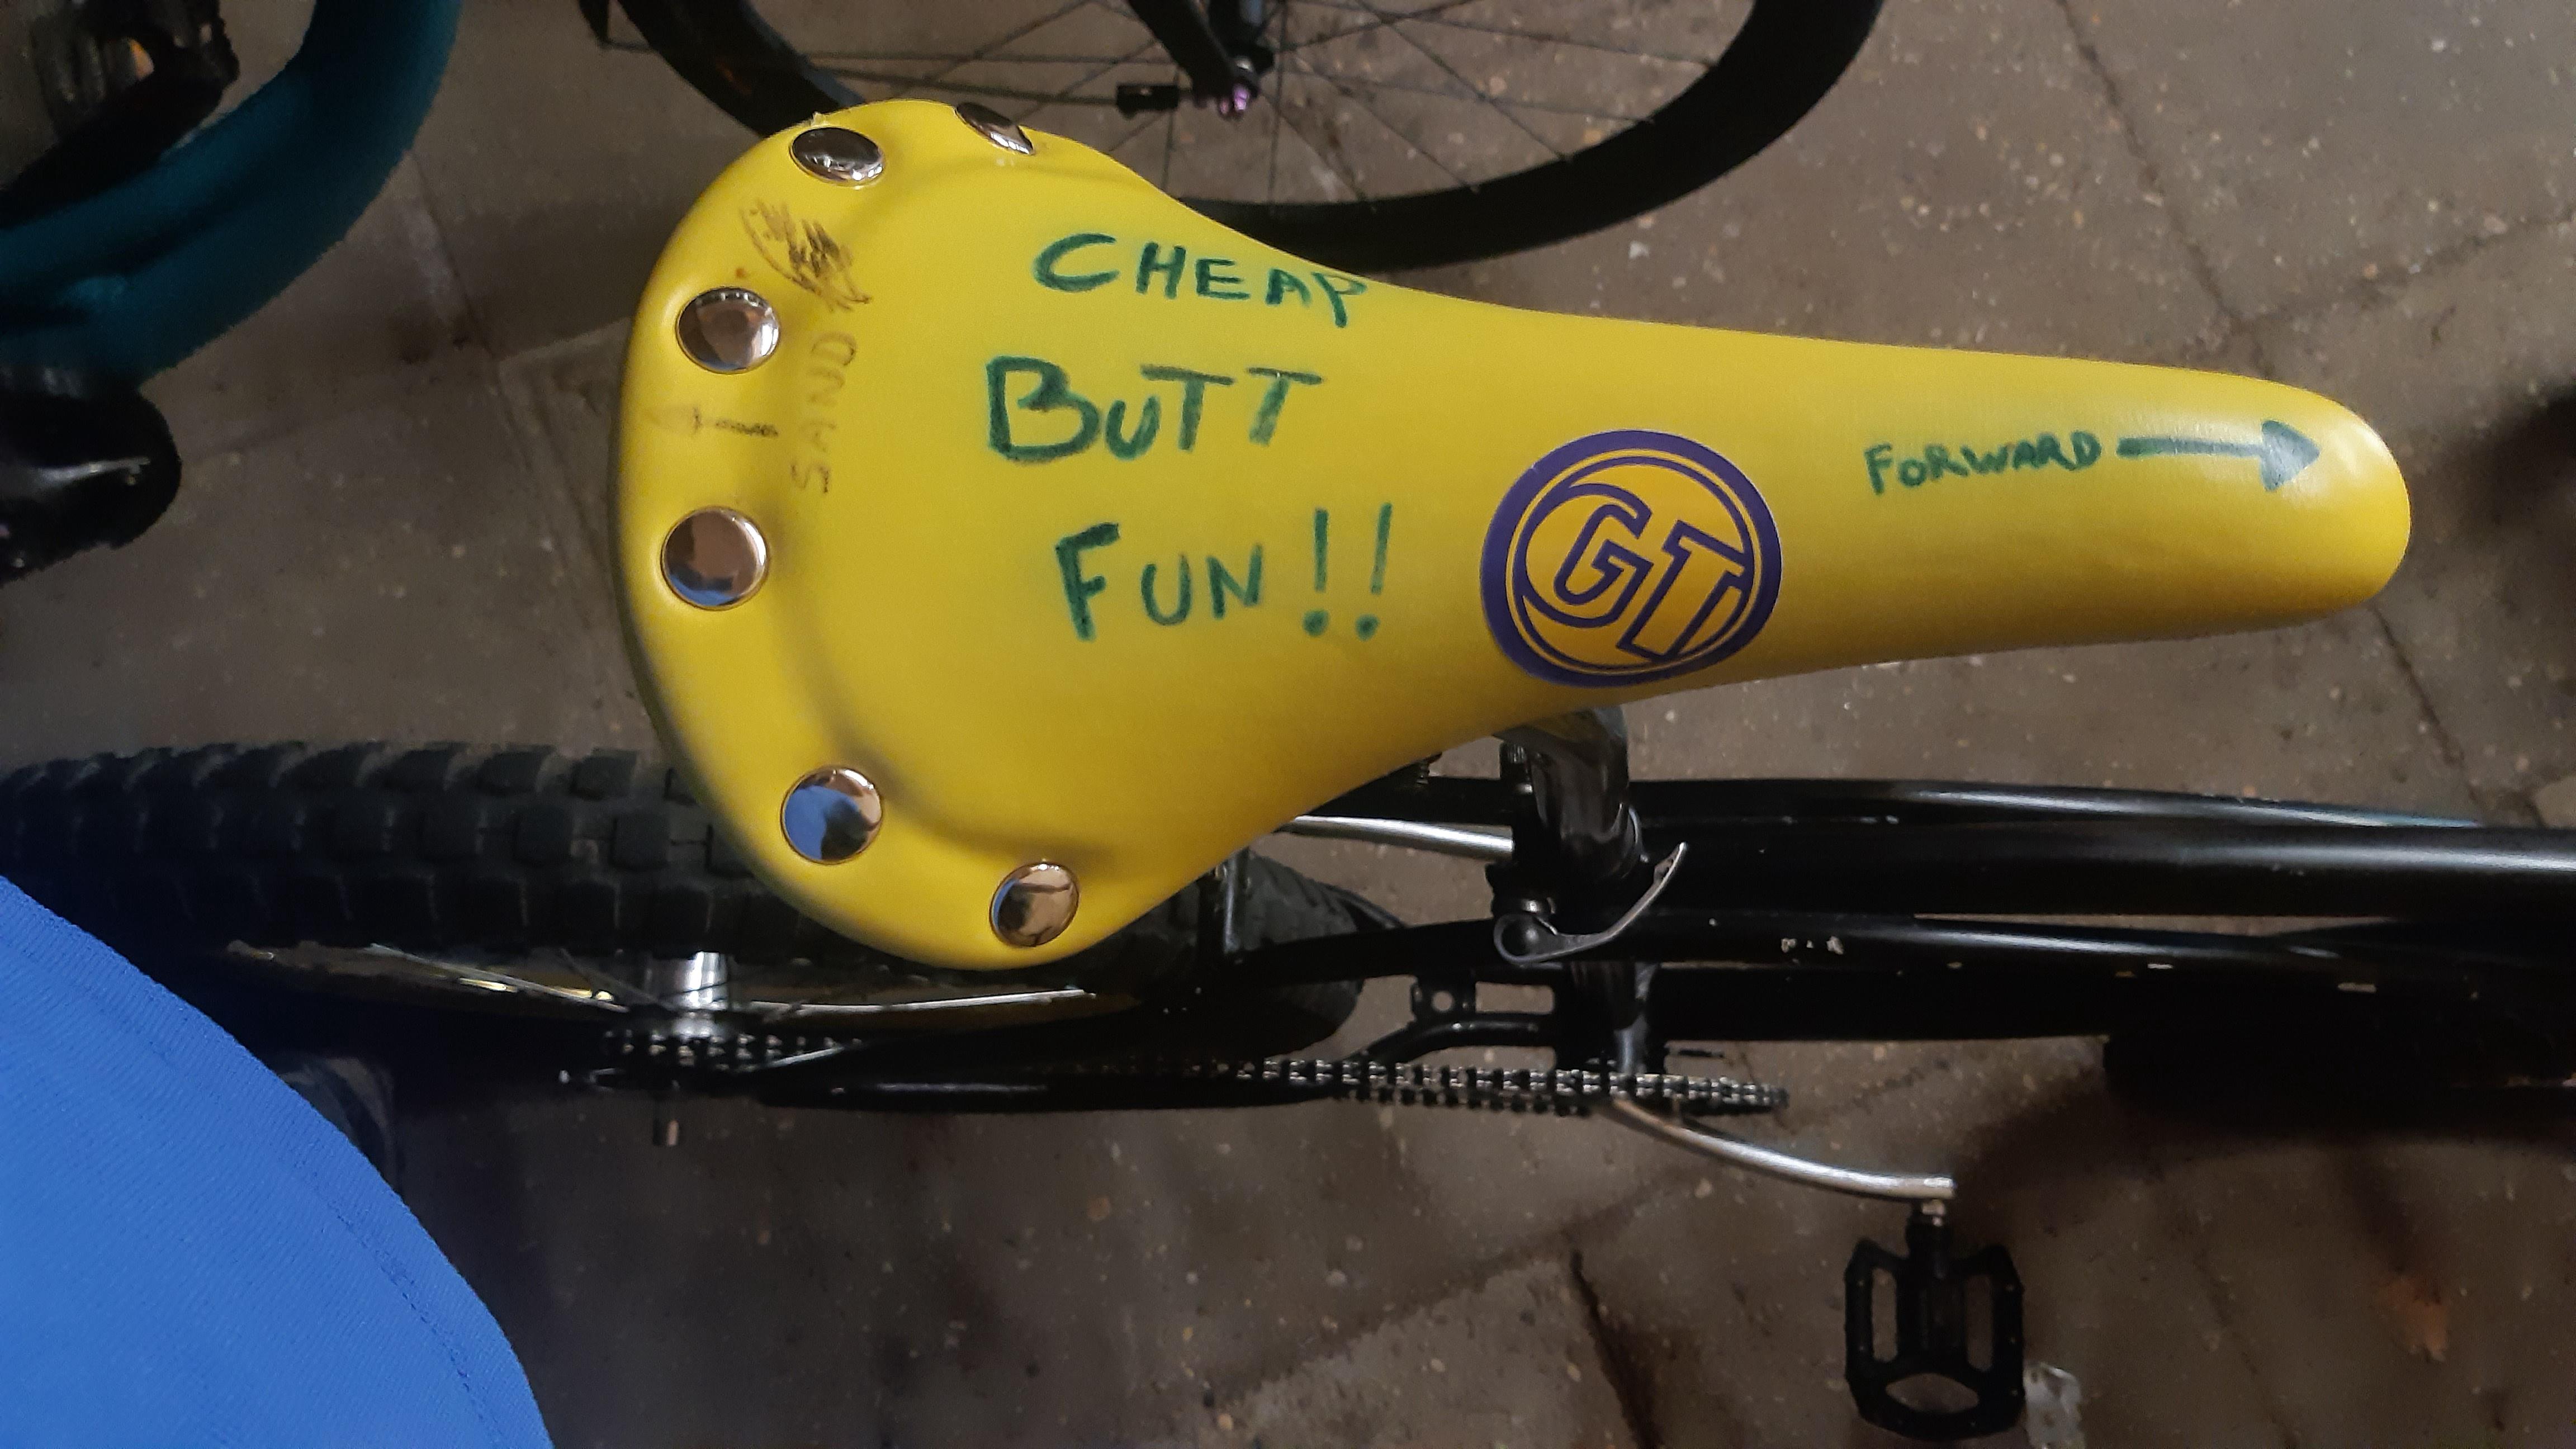
Found some grips and a old leather saddle for my other klunker bike:
KC1PdF5.jpeg

Old saddle :21:

DhRSDLl.jpeg

ZAYMNIL.jpeg

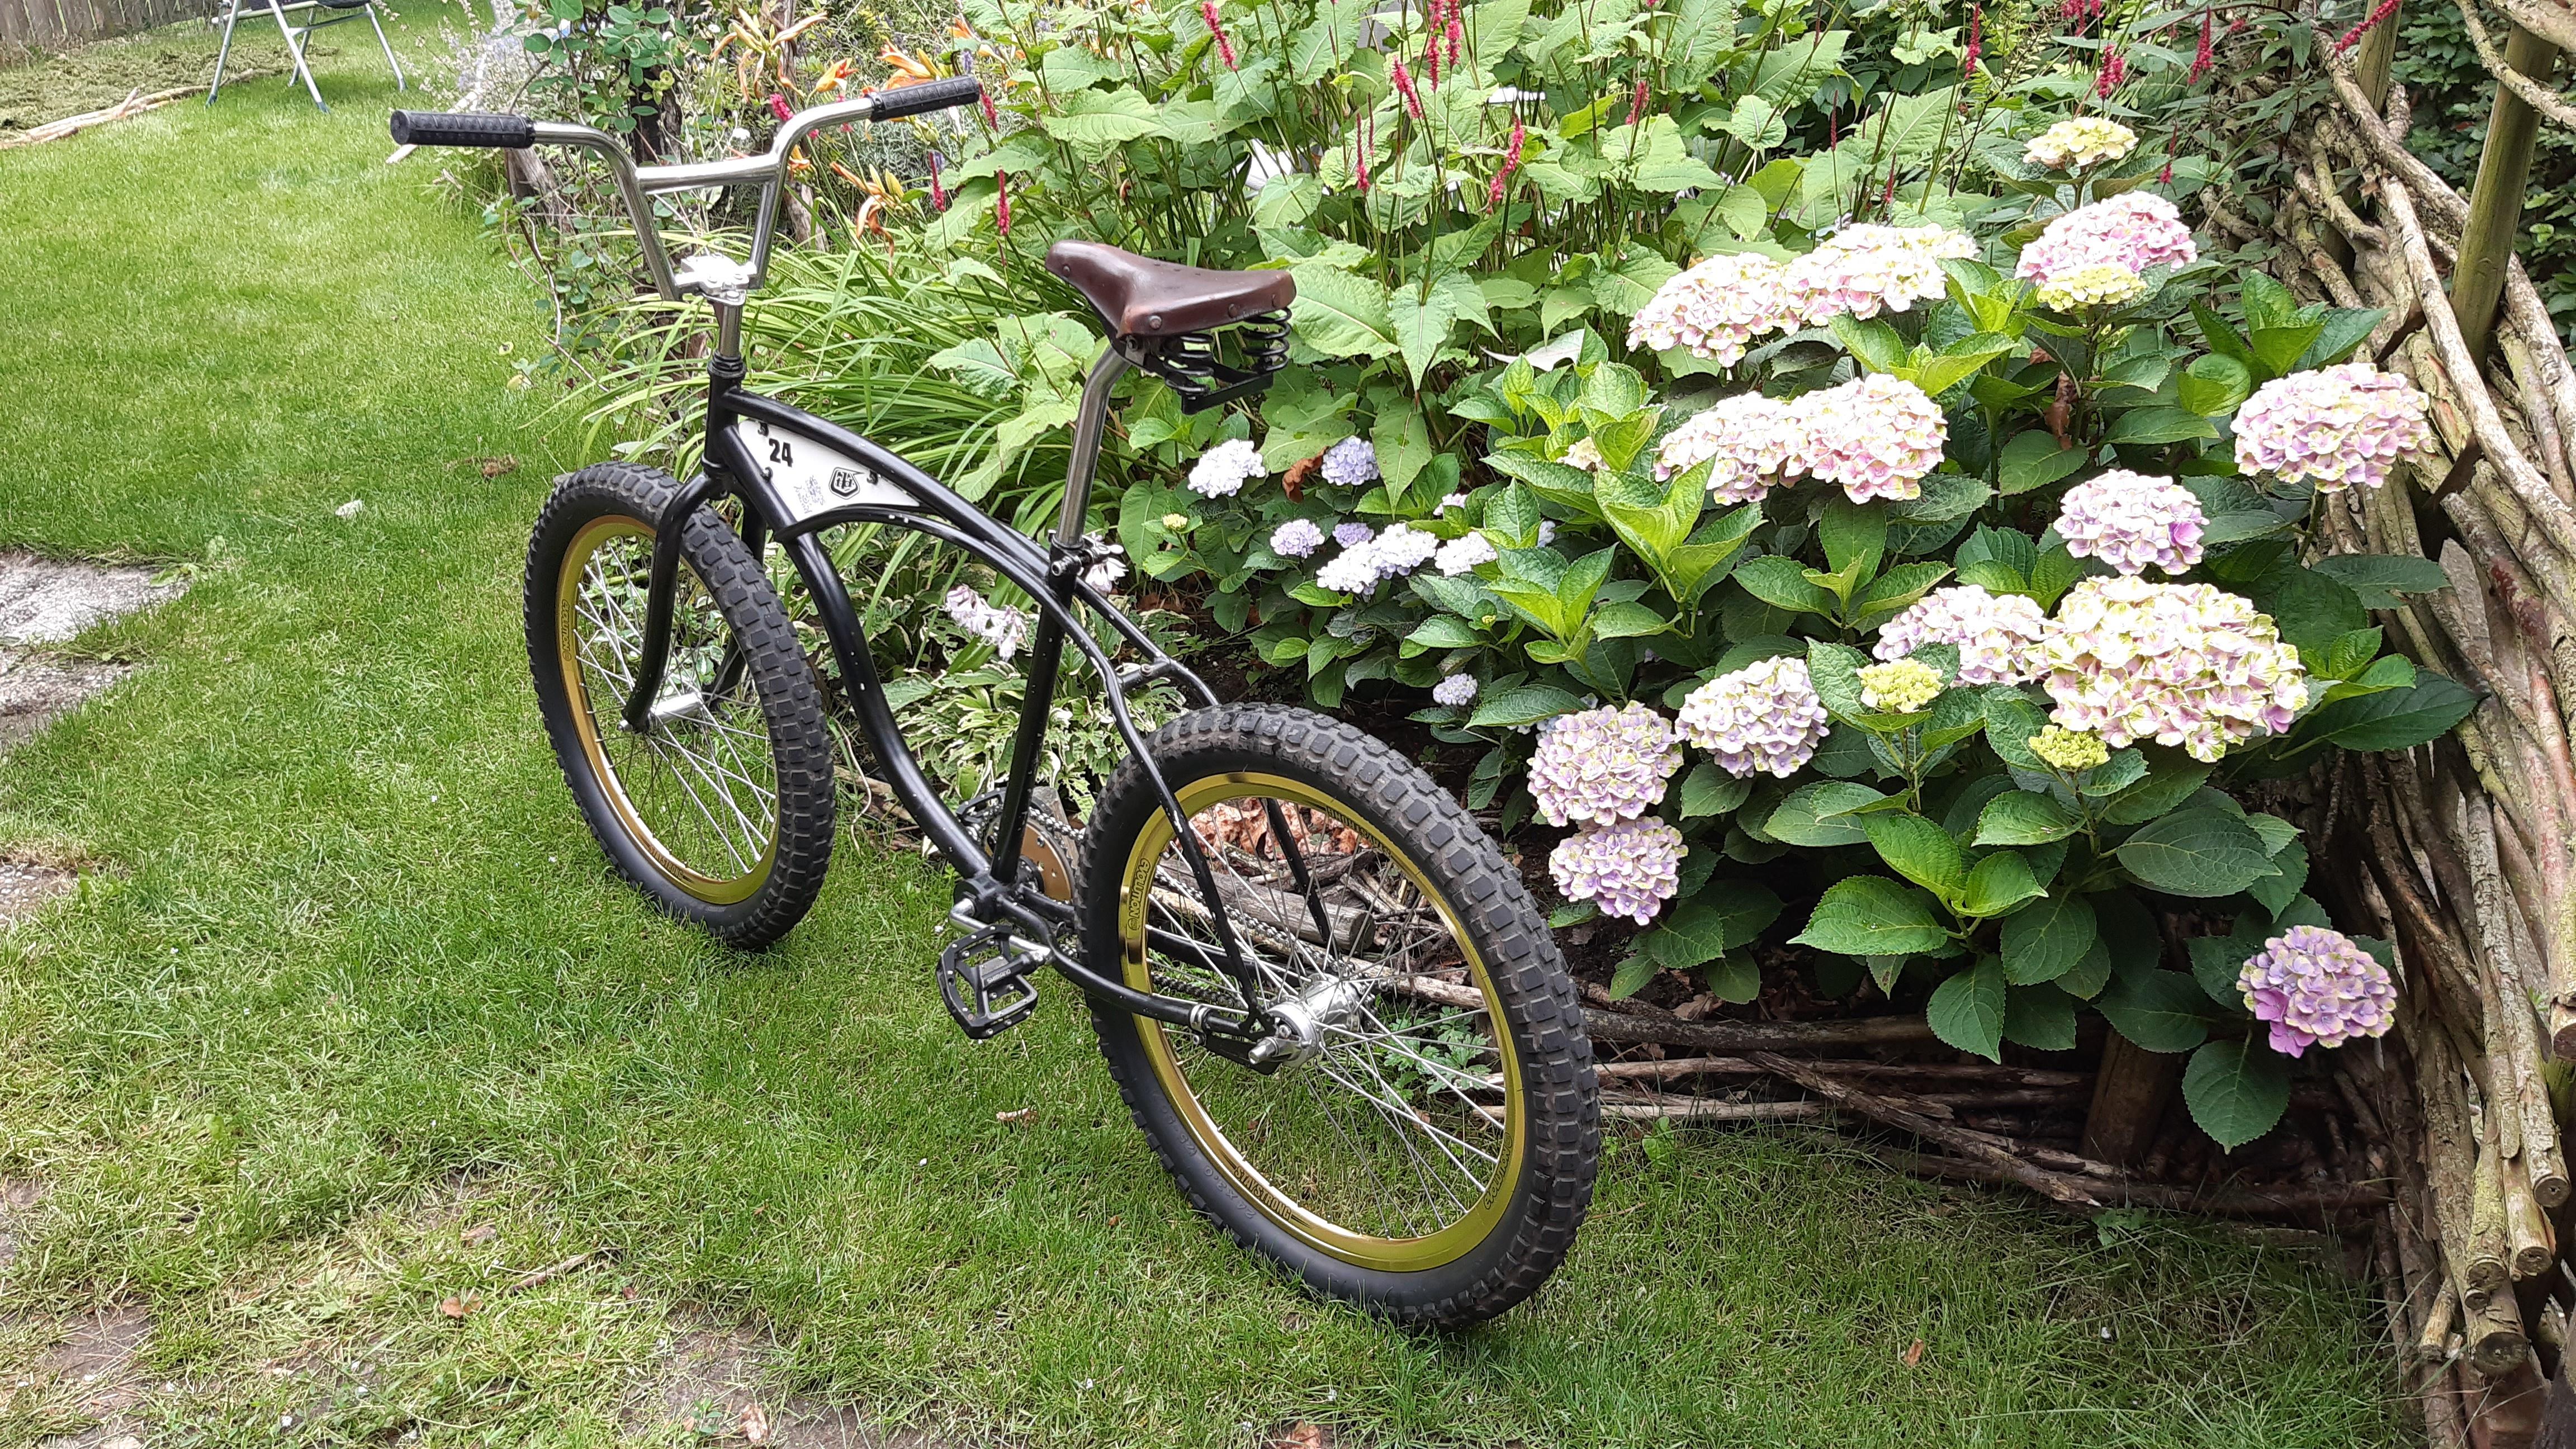
Leather saddle with black grips look nice!

s8qakT3.jpeg

3D printed dustcaps for the one piece crank.

k6vgw2H.jpeg

The elevated chainstay frame with the "builds" wheels.
Now I again notice how high that bottom bracket is! And a short top tube length.
Maybe I will sell this frame, because I do not really like the geometry. (I do like the looks of the retro elevated chainstay bikes!)
Those dust caps are killer pieces!!! Very clean
 

Latest posts

Back
Top