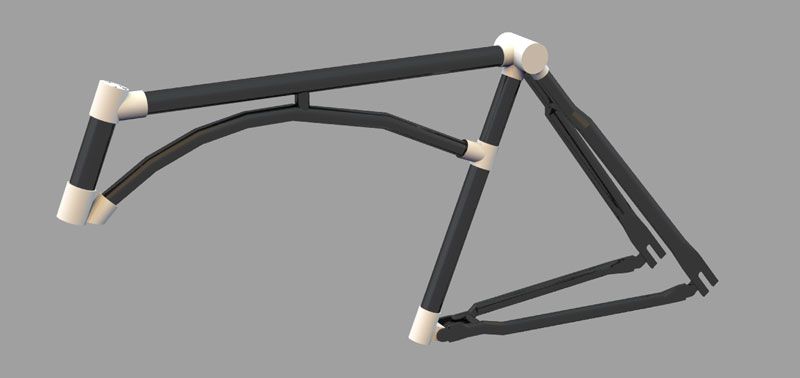
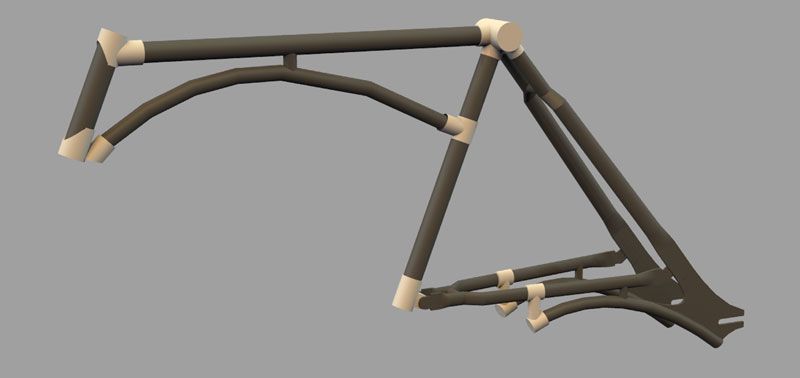
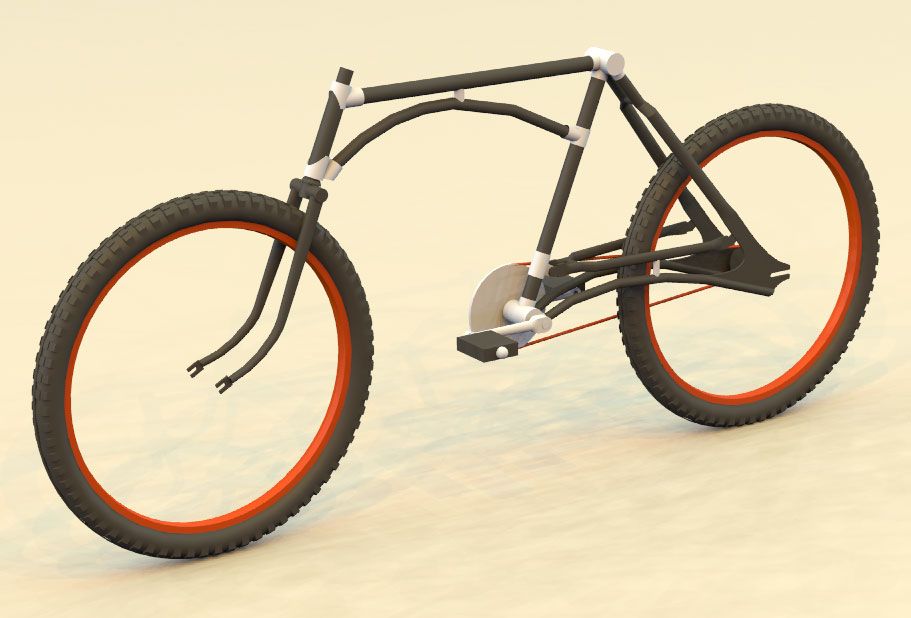
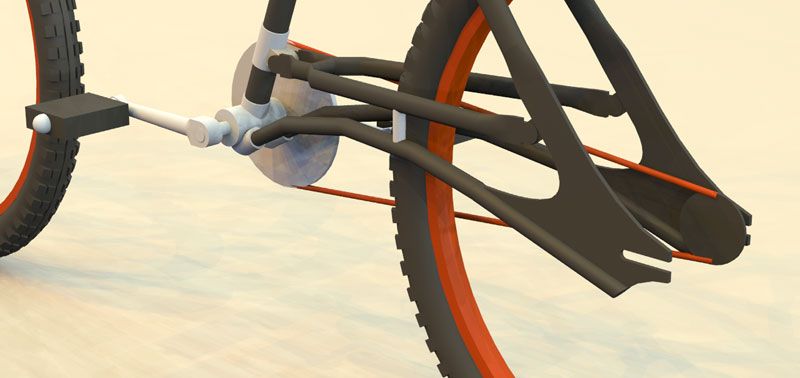
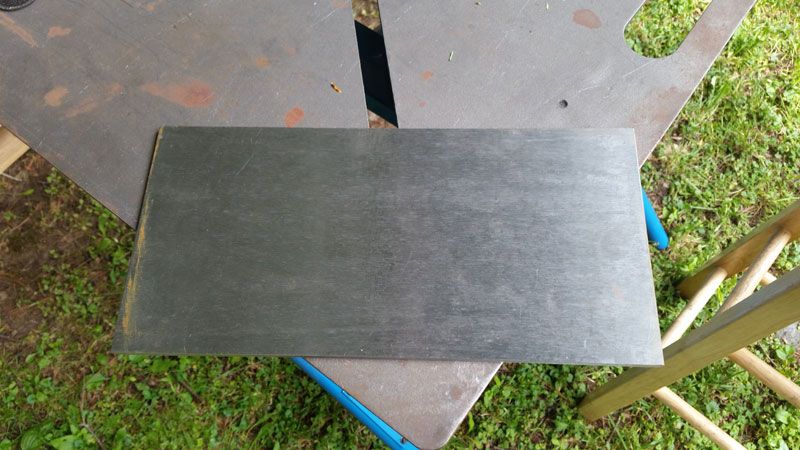
Okay, sparks have flown, grinding dust is piling up, and parts are taking shape. I figured I'd start with the easy parts. And by "easy" I mean parts that won't require the use of any artistic license: the dropouts. The original dropouts on the frame are 3/16" so I wanted to match this to make the transition to the new dropouts seamless. I played with the outlines and tried to arrange them so they fit on a standard piece. I started with a piece of 6" x 12" x 3/16" steel.
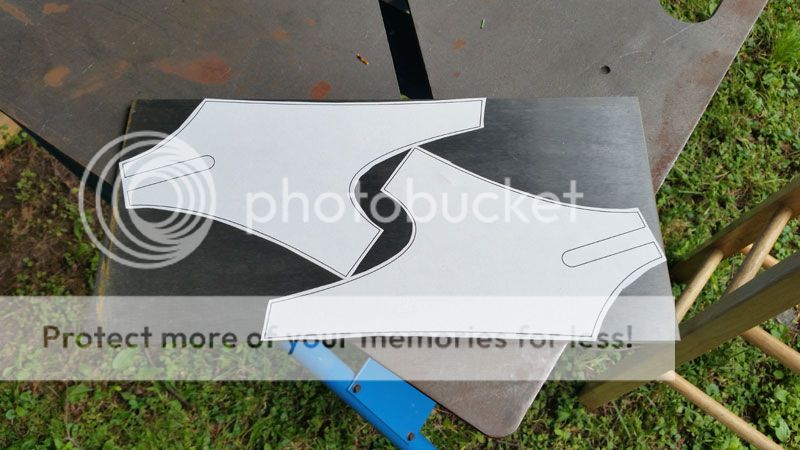
I printed and trimmed the templates, sprayed a little adhesive on the backs, and slapped them on the sheet.
Using the Dremel with a cutoff wheel, I started to separate the parts.
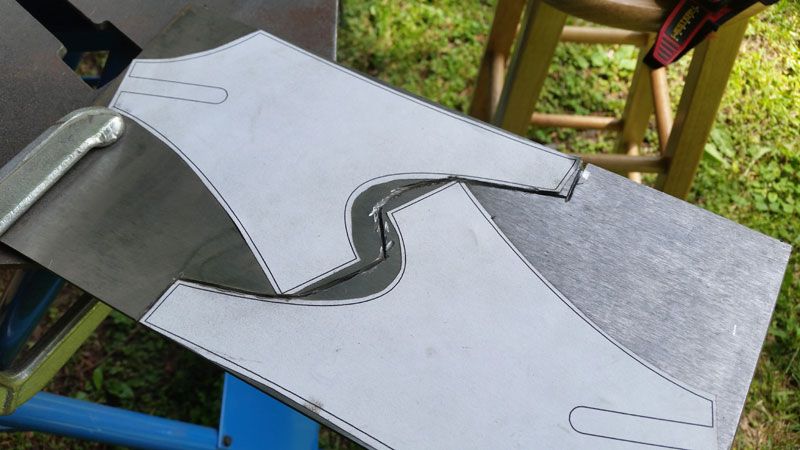
Once separated, I drilled a hole at the end of the slot in each plate to bolt them together. This allowed me to index the two parts so that I would end up with two identical dropouts after grinding. This task was going to take more than a Dremel, so I used an angle grinder with a cutoff wheel to cut out the basic shape. (Also, as a public service message: freshly cut shards are sharp enough and hot enough to RIGHT through Mechanix-type gloves. Use the correct PPE.)
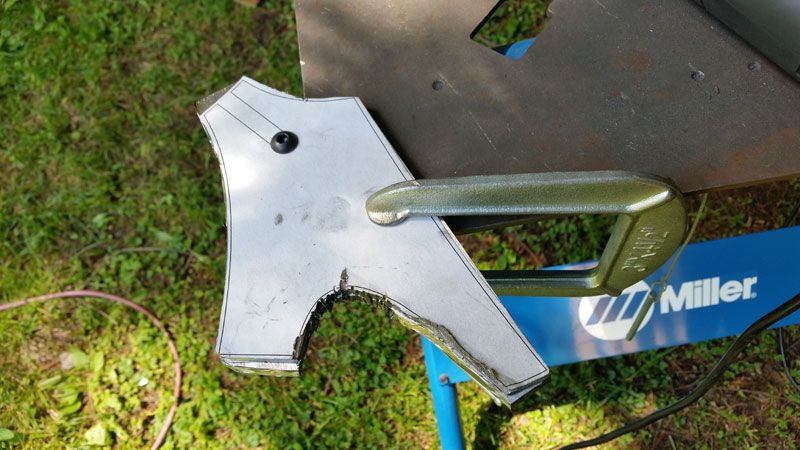
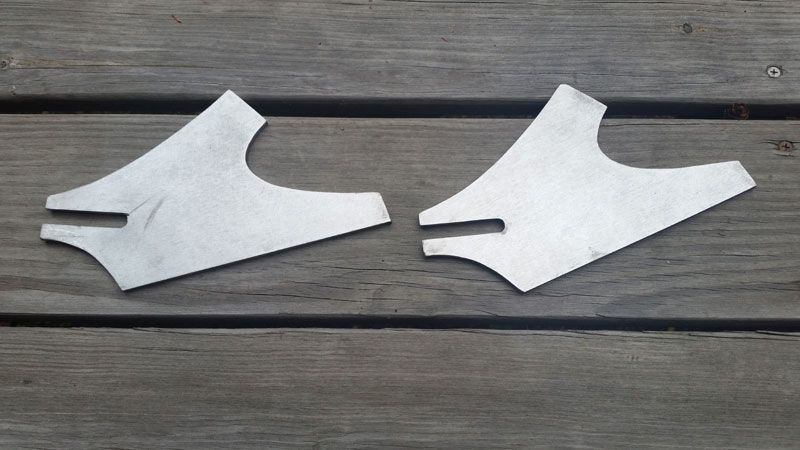
I swapped out a grinding wheel for the cutoff wheel, generated some sparks and dust, and ended up with some raw dropouts. I will put the final shaping on the bottom of the pieces once I see what the arc is going to be like in that area. I have learned that it's usually better to remove material than add it, remove the excess, and shape it until you can't see the
mistake "exercise in gaining experience". I will probably do the welding/brazing and then go back at it with a grinding wheel and files.
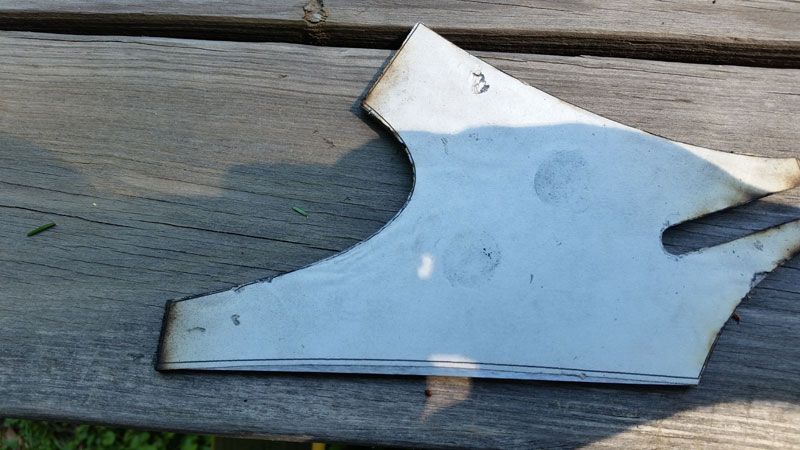
A quick buzz with the orbital sander removed the parts of the templates that were baked on by the heat from cutting/grinding.
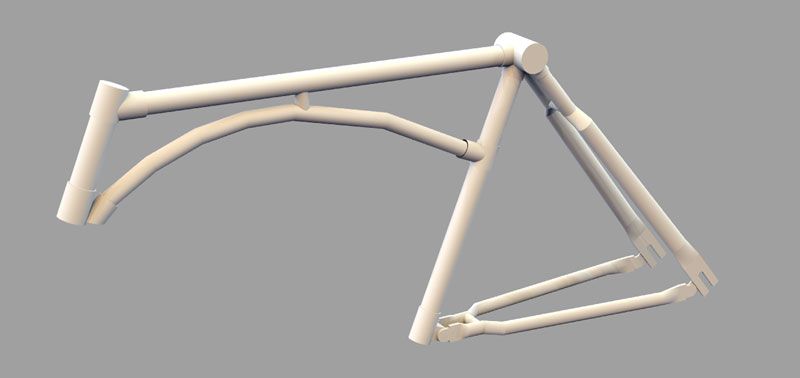
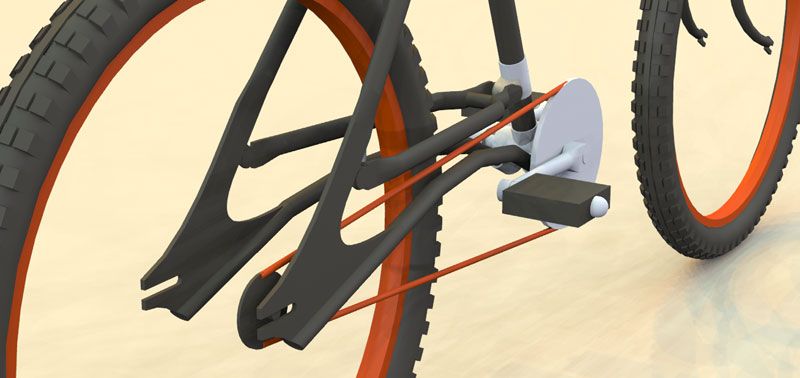
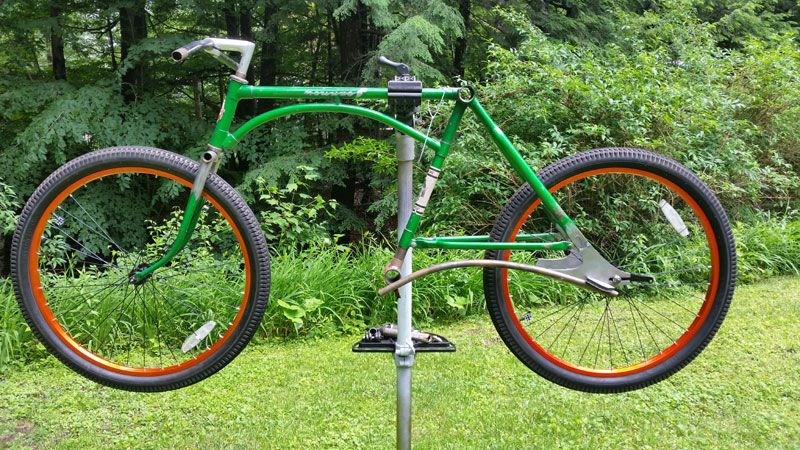
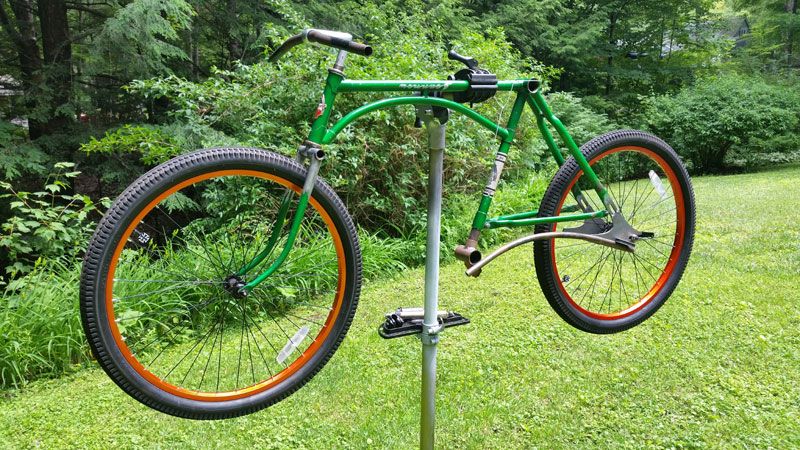
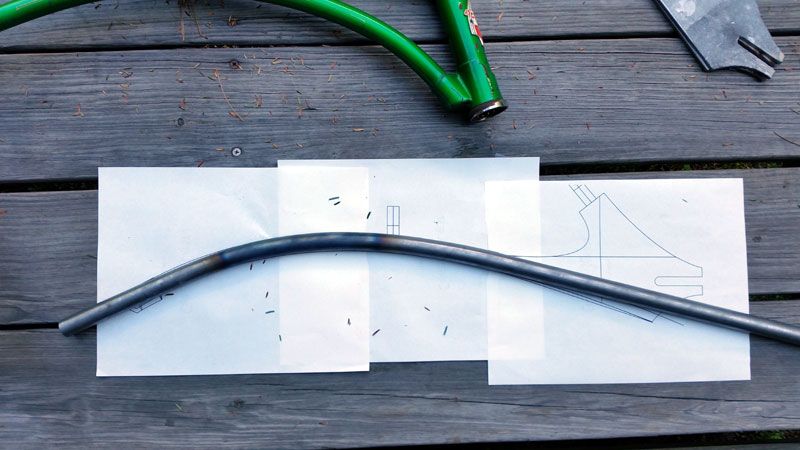
Okay, so now for something with a little less rigid of a template: the chainstay arcs. So apparently when I ordered the 0.75" tubing for the arcs I grabbed the first general purpose tube with a reasonable price. It turns out that it has a 0.188" wall.... This thing looks like a really early rifle barrel! One benefit to the super thick wall, though, is that it bent relatively smoothly in the cheap HF hydraulic bender. I over bent a couple of times, but a little heat from the MAPP torch and I could pull it back open. It was a process of bend, check against the printed template, bend in the next spot a little further down, recheck, repeat..... Here is a shot of one of the times I checked a bend against the template.
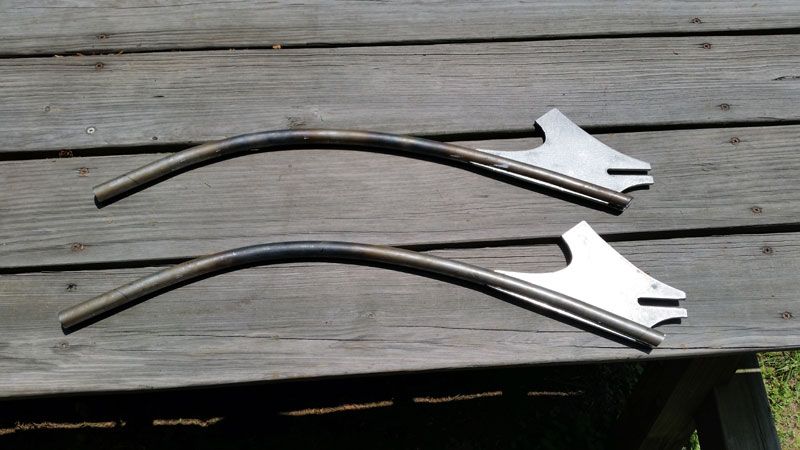
Once I had the arcs bent I needed to carve the slots for the dropouts. I wanted to do this after I had the bends so that I could get them perpendicular. I used the angle grinder and cutoff wheel to do the initial pass.
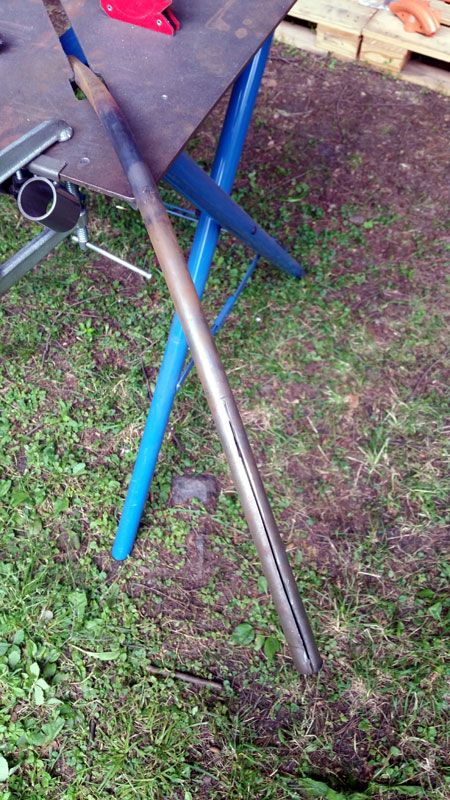
Using a thin grinding wheel and a whole lot of filing, I widened the slots so that the dropouts slide in smoothly but still have complete contact. And as a bonus, if this build goes belly up I'll have some wicked axes! You can see where the chainstays actually have some arc at the bottom of the dropouts and the material that will need to be removed. I also will need to cut each end of the arc to length.
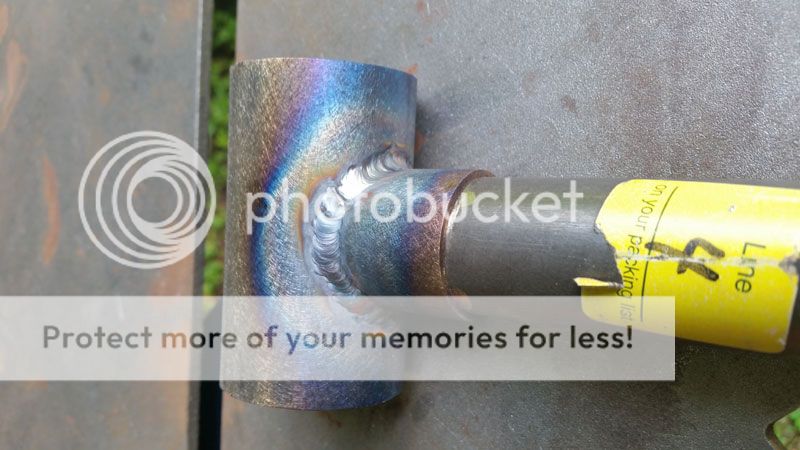
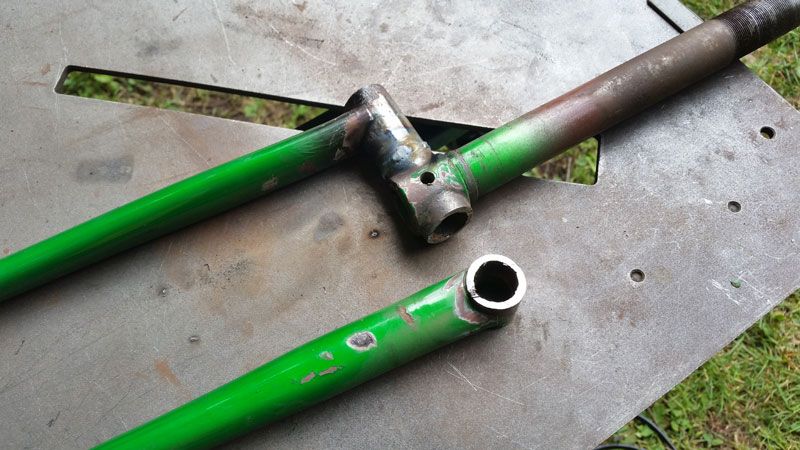
So now that I have the back half squared away I need to work on the BB. As I mentioned earlier I am going to make a lug that holds the arc & frame attachment points and then braze in the threaded shell. I cut a piece of tubing that had an appropriate ID to match the OD of the threaded shell.
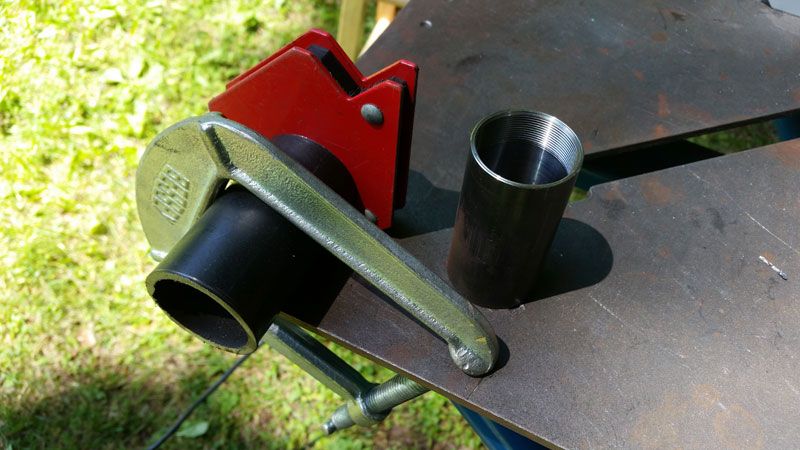
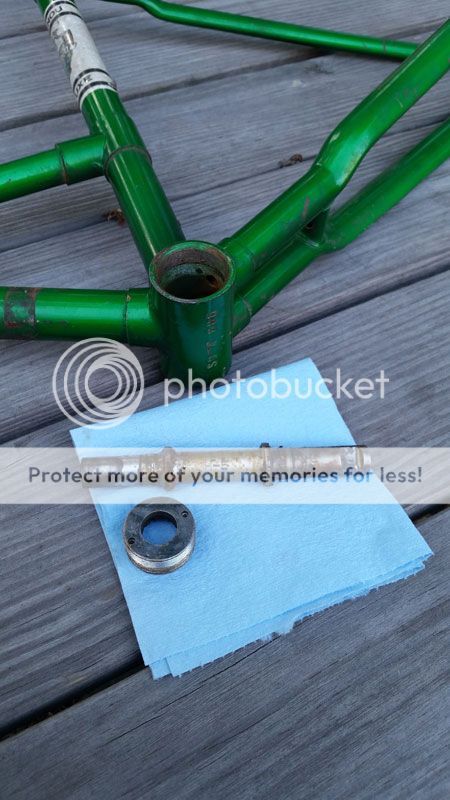
Before grinding/filing to size I realized that I needed to address the threaded piece first. The shell that I bought was just a hair long. The lock ring on the chain side didn't have full purchase on the threads. The other side wasn't countersunk so it looked like I could make up some room there.
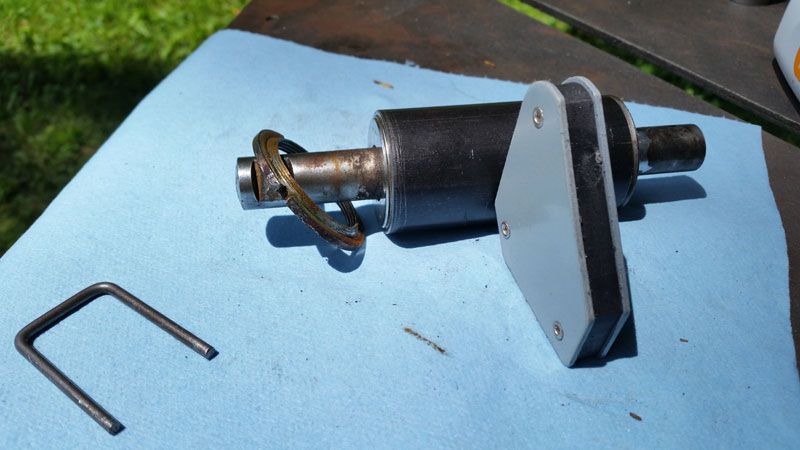
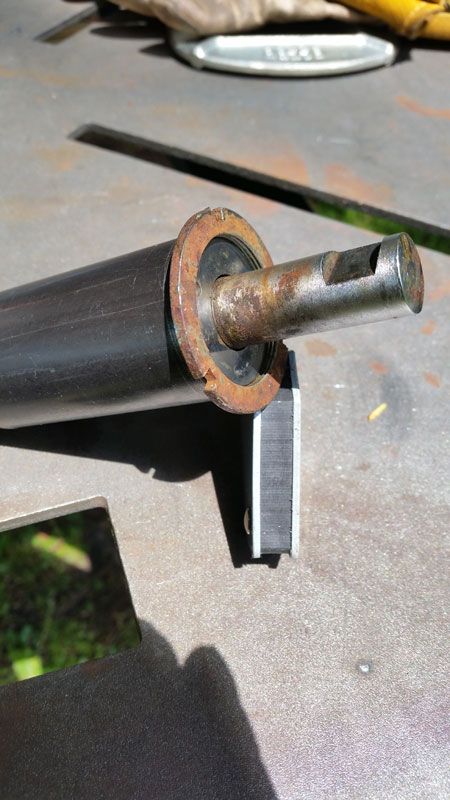
After a minute or two of hemming and hawing about hosing the threads, I
CAREFULLY countersunk the one side with a stone grinding cylinder in the Dremel. Going slowly, it took a couple of times to go far enough to get the insert to seat properly. I reassembled the BB and it wasn't going to bring the spindle over enough to bump the thread insert out far enough. So I ground the chain side of the shell down to expose enough threads for the lock ring. Again, I did this
SLOWLY and over multiple times.
I didn't take any pictures of the shell before I finished the lug sleeve. I finished the lug to a length that will cover the whole inner assembly. You can see how tight the lug sleeve fits around the threaded shell; it's the same OD as the threaded insert.
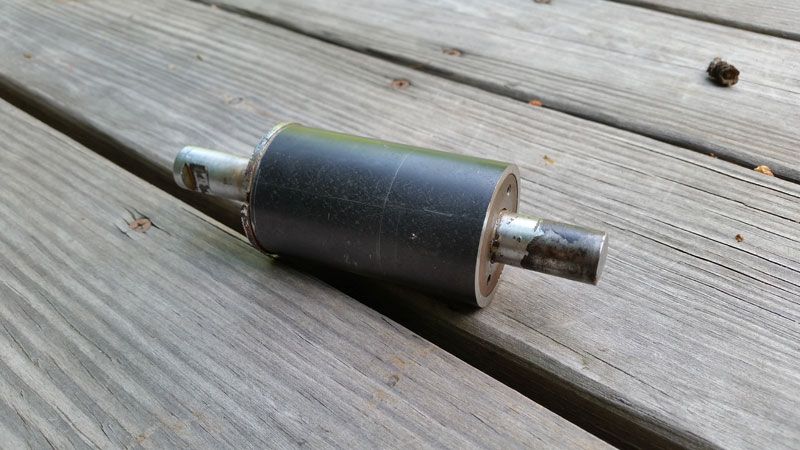
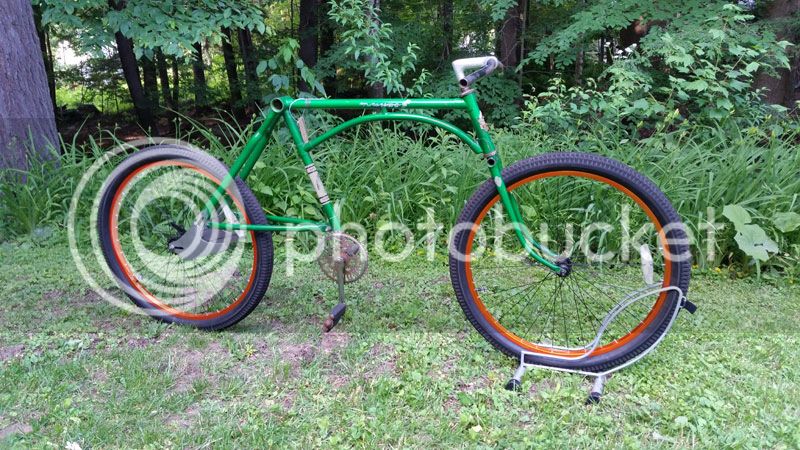
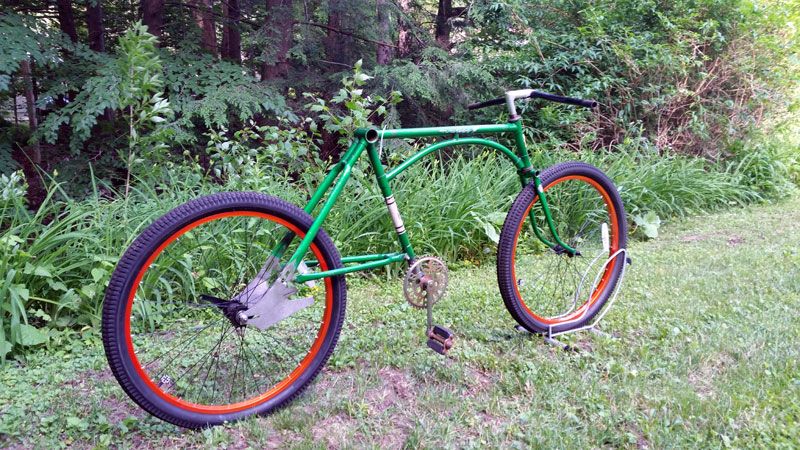
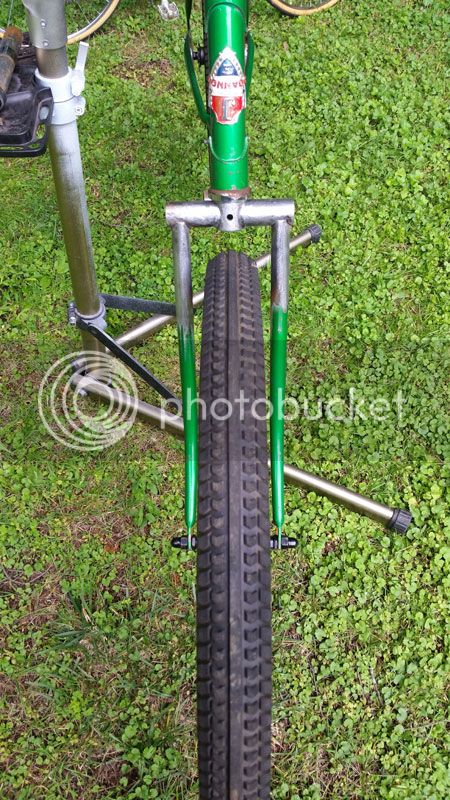
So that's where I sit for now. This weekend I'll probably get to the rest of the BB lug. I finished off my argon tank the other day welding up a kayak rack; so hopefully I can scrounge up a tank and weld the new dropouts to the old dropouts. If I can get that done then I'll be able to start attaching the rest of the new frame parts. I think that with how clean the arcs meet the new dropouts I'll braze them in for a cleaner look than welding. There is so much metal contact I don't think I need to be worried about it not being strong enough.
