The Renaissance Man
__CERTIFIED DIVER__ (Open Water & Open Dumpster)
Staff member
Moderator
Pro Member
This is one of my favorite pictures from all of the finished bikes this year. 
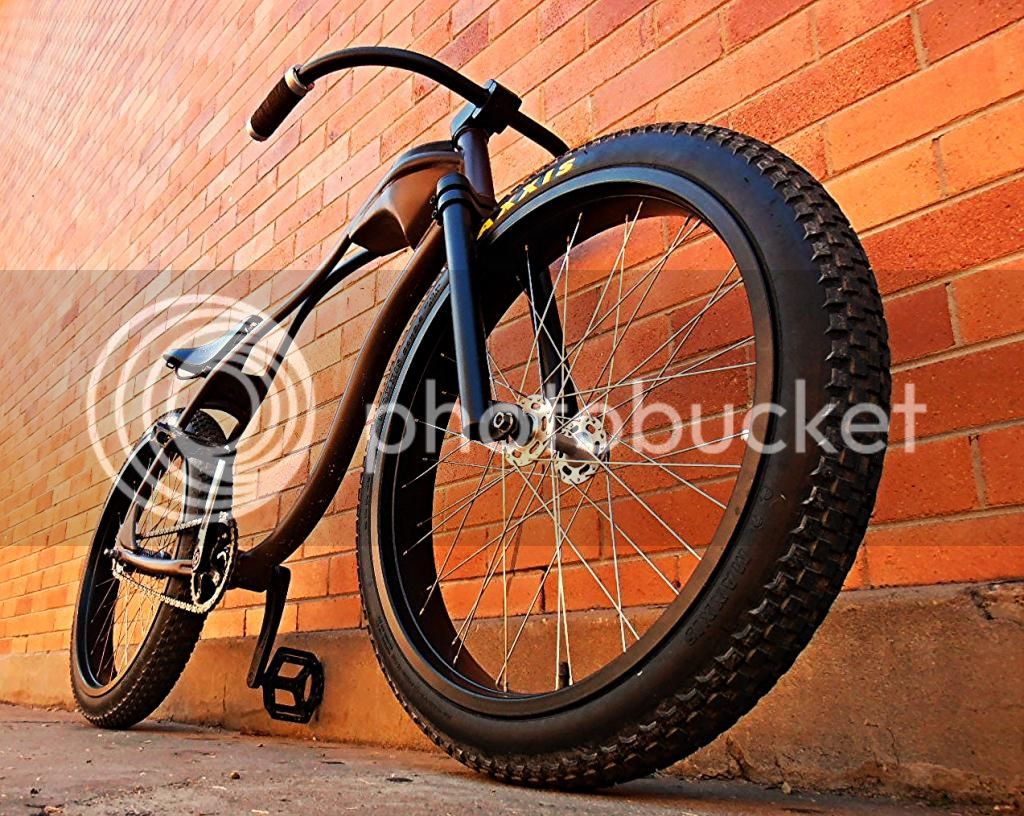


") . I was laying on my stomach to get this shot. Got lucky with the light coming through on the top left....... I didn't notice it until I got home and started looking through the pics. All the shots were taken with a 5 year old $90 Olympus camera.
. I was laying on my stomach to get this shot. Got lucky with the light coming through on the top left....... I didn't notice it until I got home and started looking through the pics. All the shots were taken with a 5 year old $90 Olympus camera.Thanks Renaissance Man


Oh my gosh I'd be overwhelmed I find a spot run around the bike clicking the photo button hopping for the best sometimes I win sometimes I loose.The finer details……..some are nit picky but speaking from personal experience they are things I look for. Humans are visual and sometimes the subconscious influences our intentions
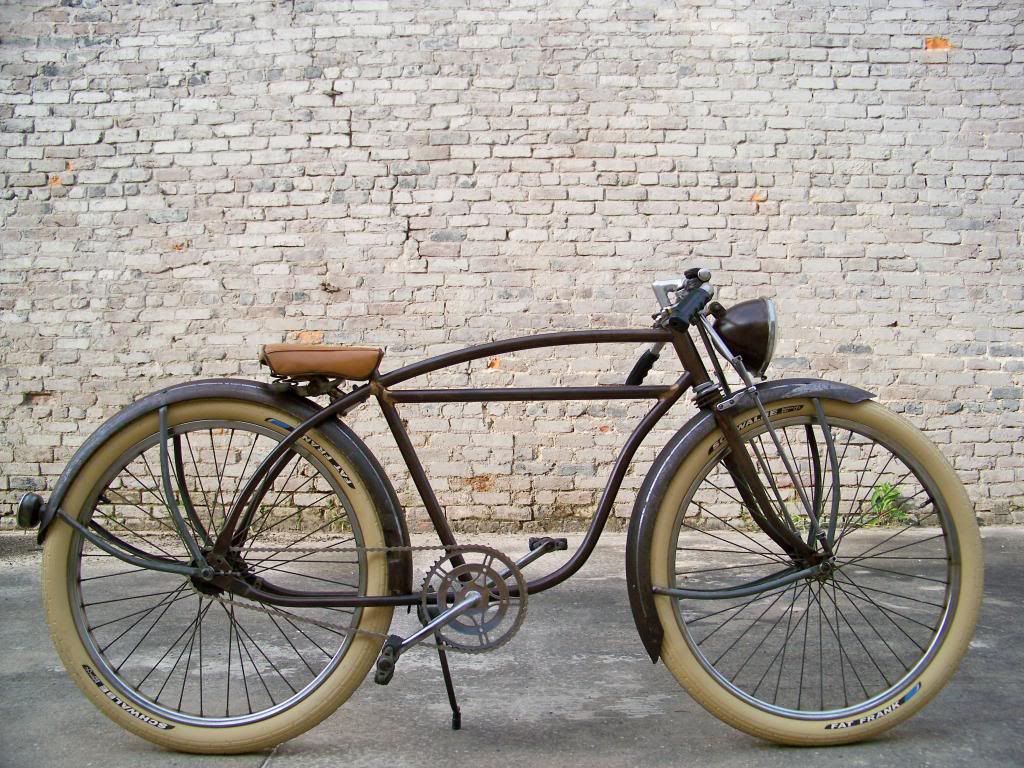
In most cases I prefer the front wheel and bars straight. Very rarely does a juxtaposed stance appeal to me unless it’s done with purpose
Cranks/pedals fully vertical or horizontal for photos
Even the littlest stuff like to rotate wheels to get valve caps, logos, etc positioned uniformly. Logos on sidewalls lined up properly on the rims in line with the valve stem or 180 opposite
Logos on sidewalls lined up properly on the rims in line with the valve stem or 180 opposite
Those are pro wheel assembly tips. The valves 180° opposite of the logos makes it easier to find the valve in a hurryCap'n A, I know what you mean. Back in the day as a part time bike shop employee (mid 80s to early 90s) I would have a few people "bang on my eardrums" because I was taking a few extra moments when assembling a bike and aligning the rim brand with the tire brand.
I brought my bike to a "pro" they made everything match but forgot to make sure my brakes didn't rub torn tire later won't do that againThose are pro wheel assembly tips. The valves 180° opposite of the logos makes it easier to find the valve in a hurry
That sucks. The kids don't know how to set up rim brakes anymoreI brought my bike to a "pro" they made everything match but forgot to make sure my brakes didn't rub torn tire later won't do that again
NopeThat sucks. The kids don't know how to set up rim brakes anymore


This also leads to a good point……. do not wait until the last minute. We have had so many times where weather or just the clock in general get the better of people. We will not extend the deadline so that you can get a sunny day in order to get your photographs. Start earlier, and take far more pictures than you think you’ll ever need. More options the betterCouple tips (two parts) on trusting your instincts with photo staging and final pic options.
PART 1:
You know your final vision better than anyone. Suggestions can be helpful and insightful, but sometimes they can divert you from your vision. If weighing design options. Always shoot your original choice first. This gives you the freedom to experiment and play with your original vision, and ensures you have photos without a time crunch.
Last buildoff, I was debating what color grips to use. My original choice (orange) fit the final vision I had for the build. Suggestions (upon invitation) were given, which I saw the potential in and wanted to try out. I took the bike out two days before the buildoff end date, to shoot it with purple grips. I got a ton of cool shots, but I just wasn't sold on the look. The following day I was going to reshoot with the orange grips. Well, time and daylight got away from me, so I wasn't able to shoot in as many of the spots I had chosen the day before. Though I was happy with my final shot(s), I was really pressed to try and get those shots. It would have been far less stressful if I had started with the orange, and took pickup shots in the purple.
View attachment 271519
View attachment 271520
View attachment 271521
View attachment 271522
View attachment 271523


 the background is secondary to the bicycle. It should highlight and not distract from your bicycle. "The mountain is beautiful, but I can barely see the details of your bike."
I would suggest to do some home work before setting out to shoot. We have all looked for inspiration and ideas for things pertaining to building the bike, so looking at pictures for ideas on how to frame a good shot is not very different. The real difference is looking at the composition instead of the subject.
Everyone has been making good points!
The one pet peeve that I have is using a brick or a big chunk of wood to raise the kick stand off the ground! A trick that I've used is a socket. I have a set of impact sockets that are black or I have wrapped one in black masking tape also to try to minimize the focus.
Here's an example...

Enter your email address to join: