Im just posting this in case if anyone like me is having problems brainstorming how to power their headlights (given the right circumstances)
If you have any questions, I am happy to answer them")
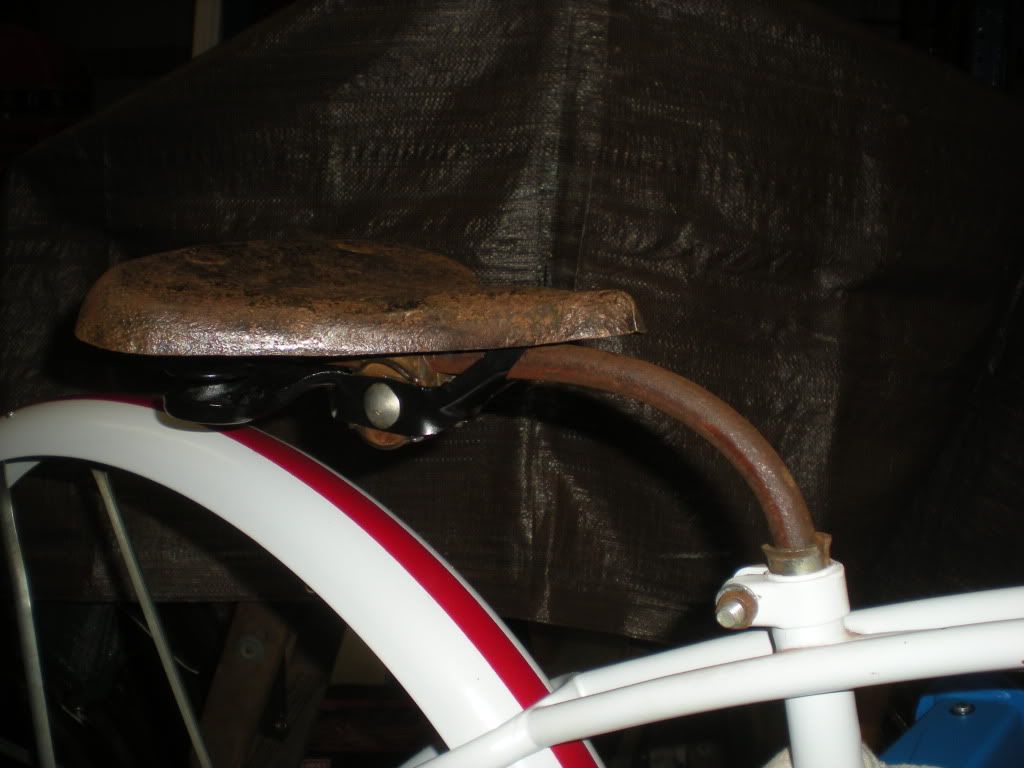
I wanted my lights to work on a bike but the battery ports were completely rusted up. I then realized that the perfect way to house two D size batteries would be to use an old flashlight. luckily, I didnt need to buy a new one because my dad had some old ones that didnt work very good. Reduce Reuse Recycle!!!
I didnt take pictures as I was building because I didnt want to lose my train of thought. so here is what I got.
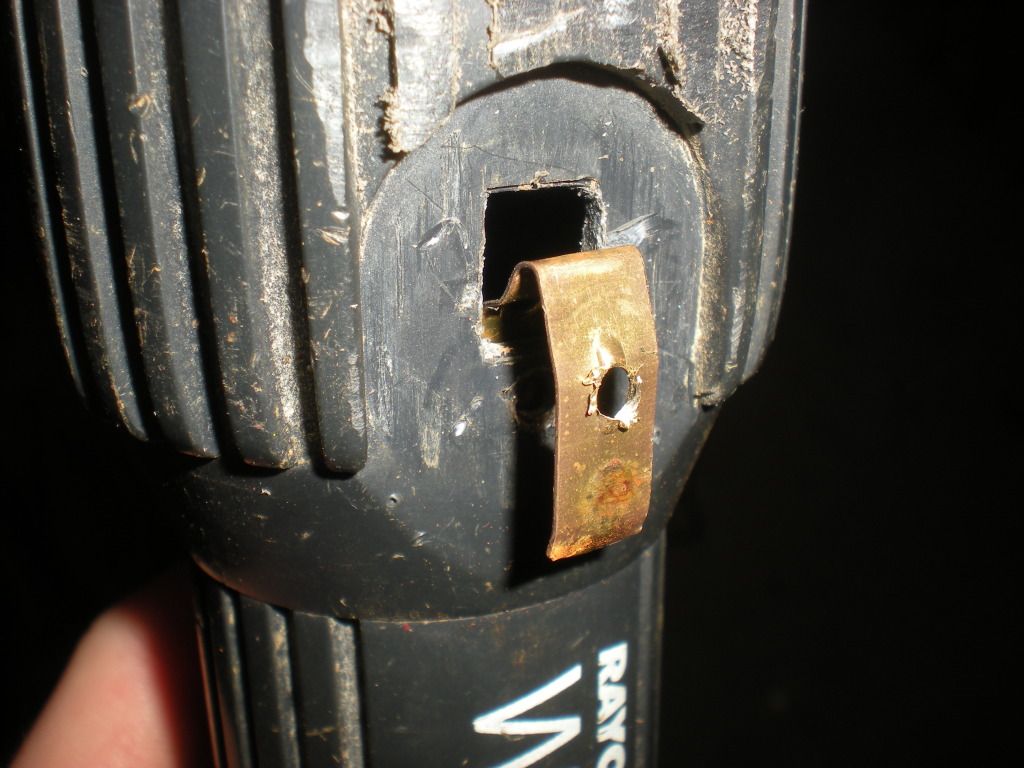
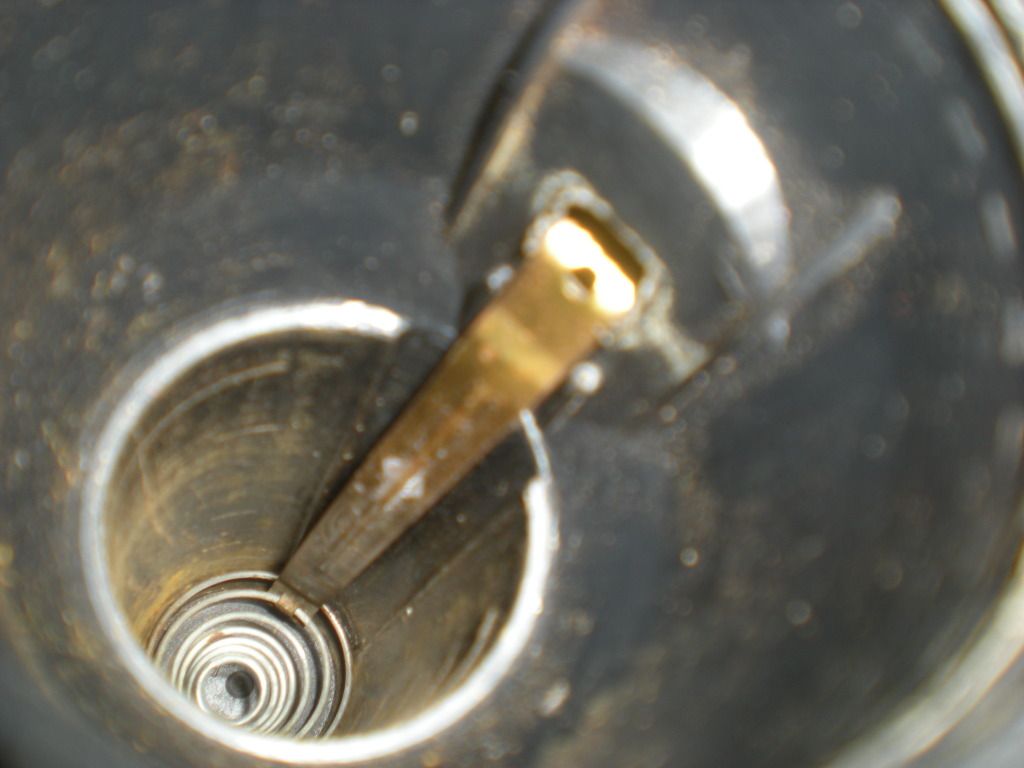
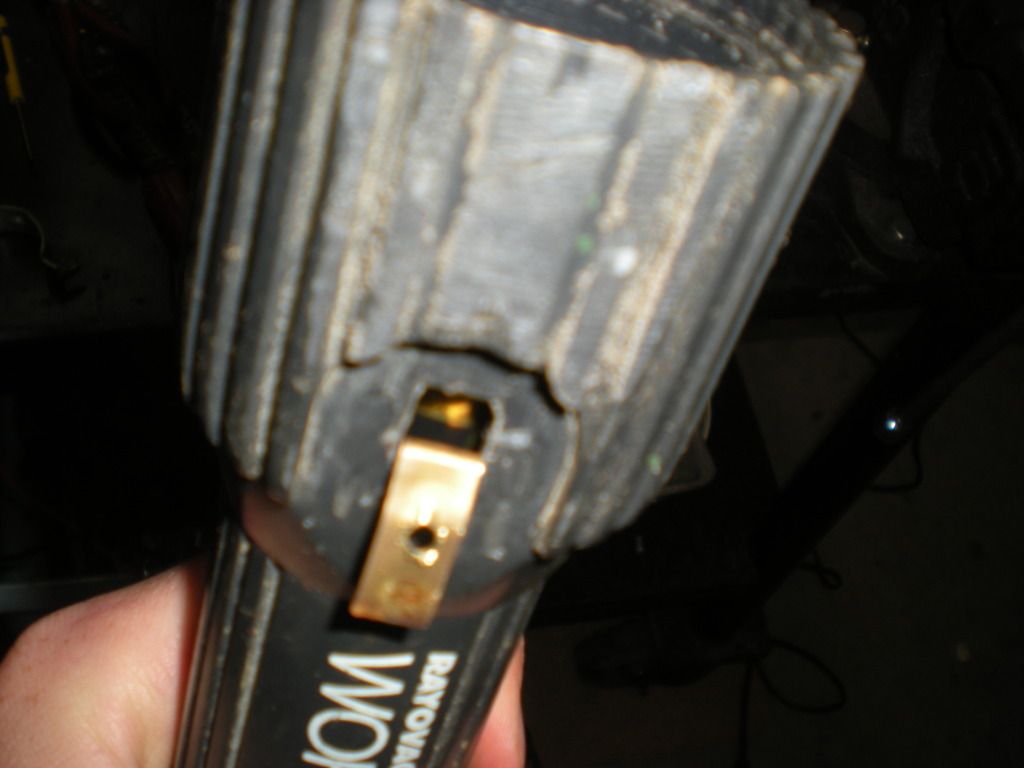
Here is the flashlight with the button ripped off. the brass piece is bent through the hole where the button went. the brass piece originally was straight inside the battery housing and attaches to the spring in the bottom of the flashlight.
I also drilled a hole in the tab for a ground connection. you will see that later.
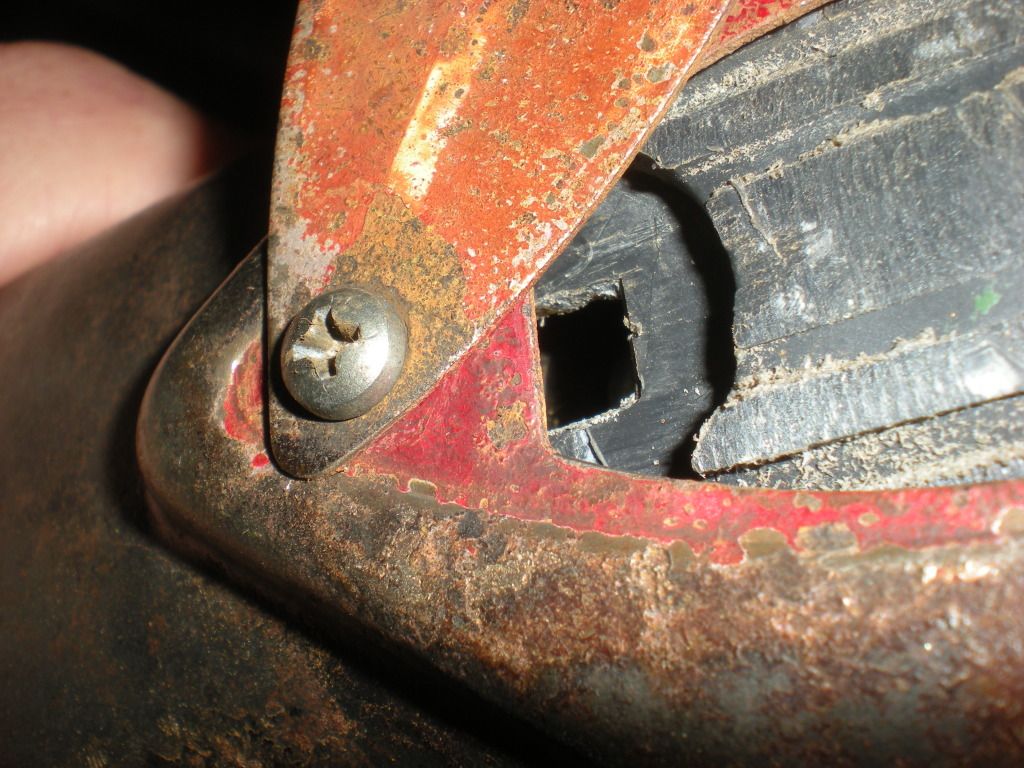
This is a cover that the batteries were originally mounted to. the screw that holds the cover on, is drilled through the brass tab, which is now ground. it also holds the flashlight in place because it is drilled through the plastic.
here is the back side of that cover. you can see where the old battery mount was. I grinded the mushroom off the rivets and pryed the mount off. I took a punch and hammer and mushroomed the rivet back out and pounded it flat with a hammer.
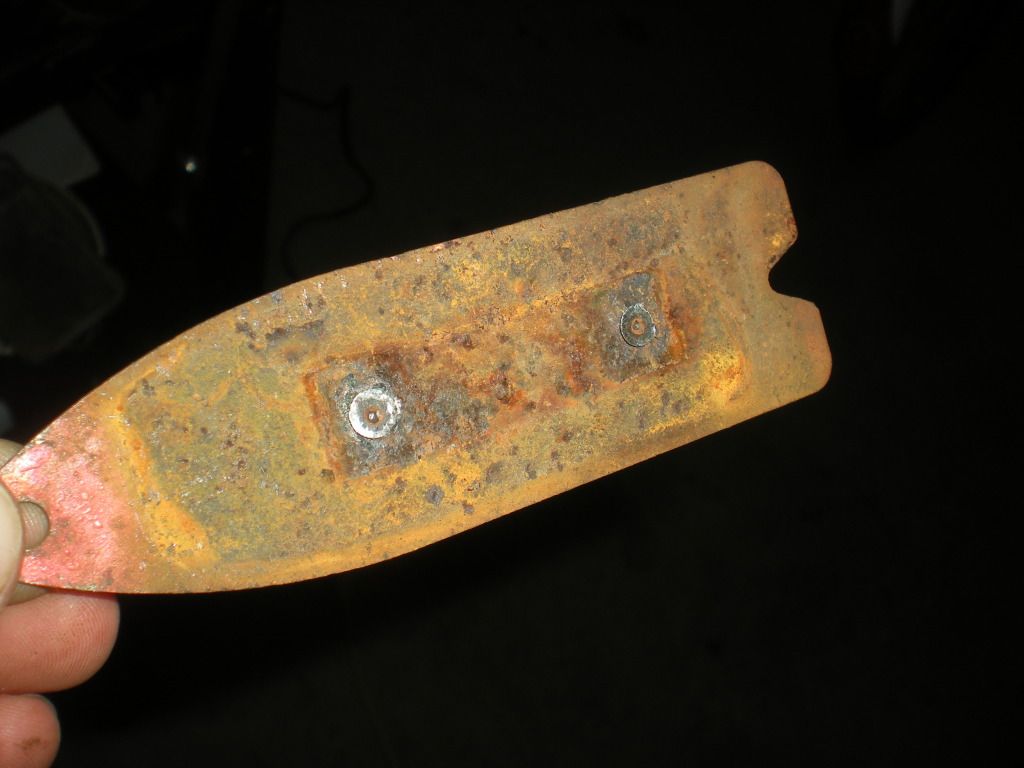
I also shaved part of the flashlights outside off for additional clearance.
here is the part that contacts the positive side of the battery and replaced the brass tab (which also touches the bottom of the lightbulb on the flashlight.) with one of these yellow things. I connected it to the wire and soldered it in place.
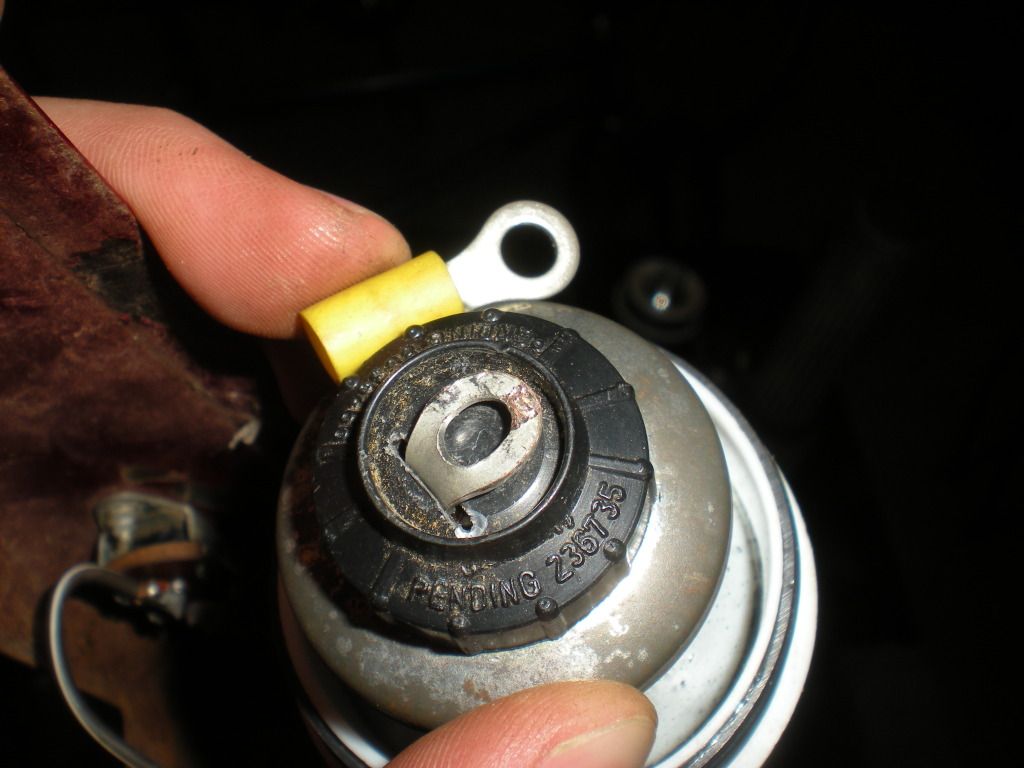
I had some trouble with this switch reading continuity in the off position after I soldered the new wires on but I think it was just a problem with my multi-meter.
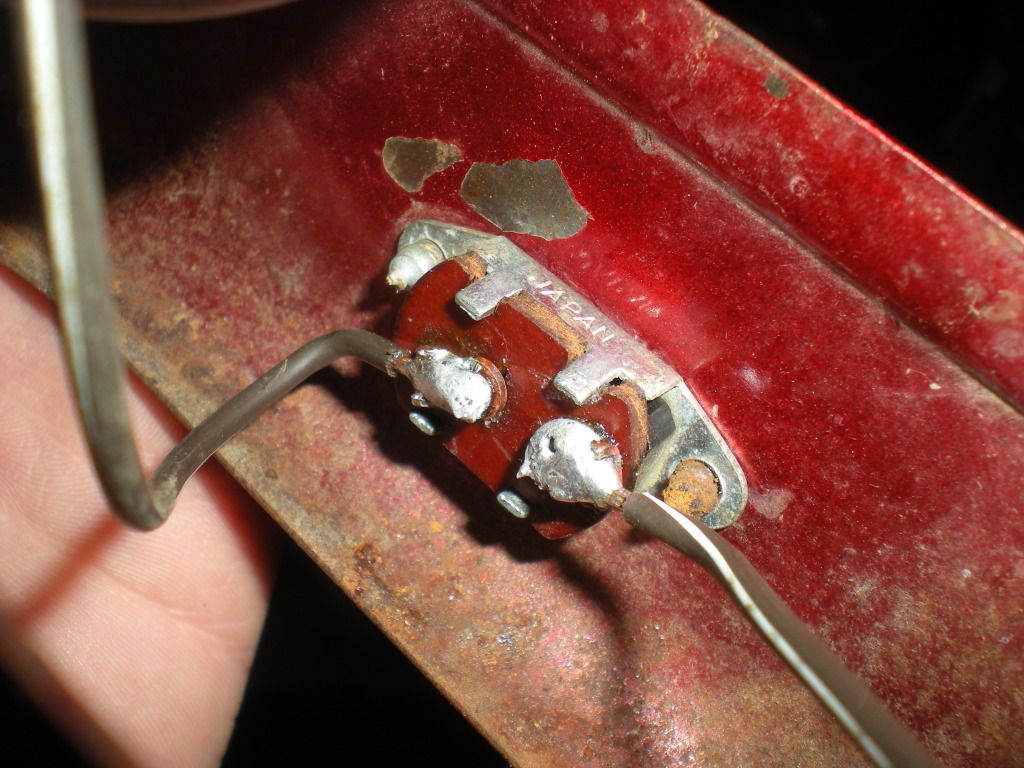
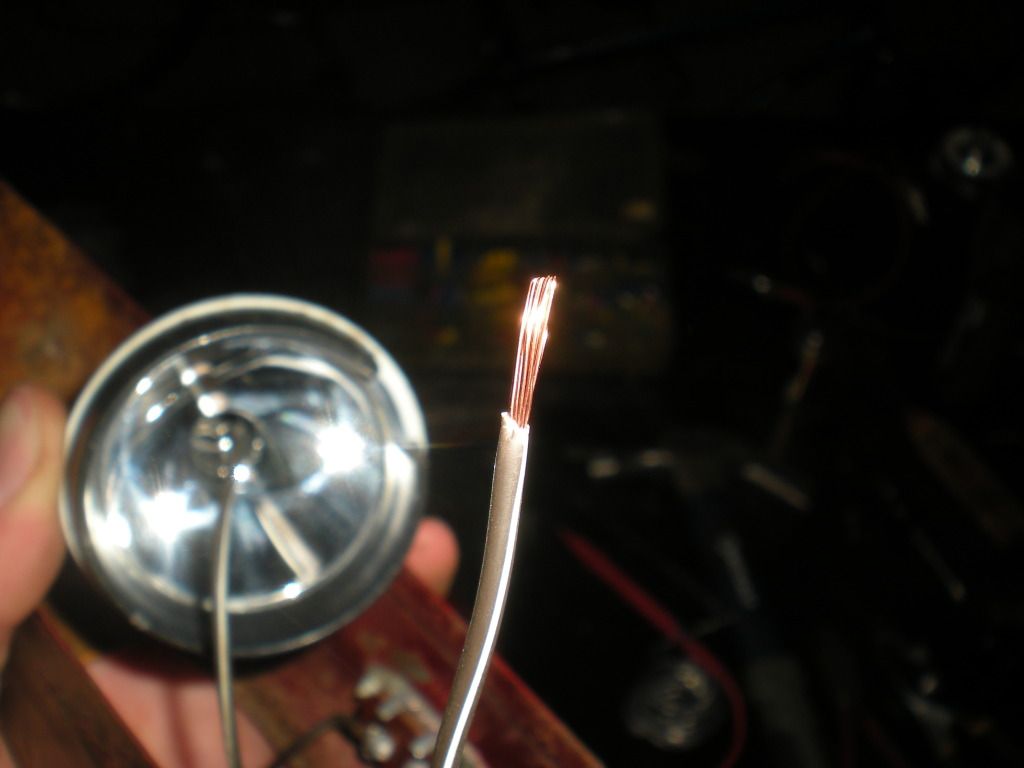
this wire I used is also much thicker than the old stuff.
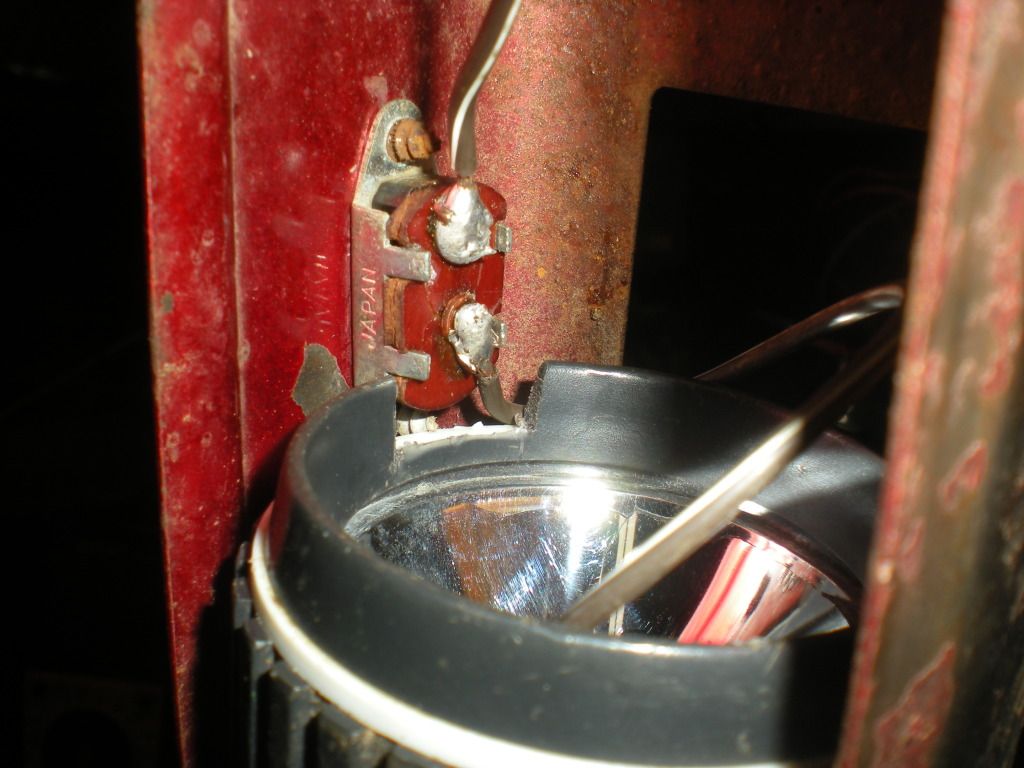
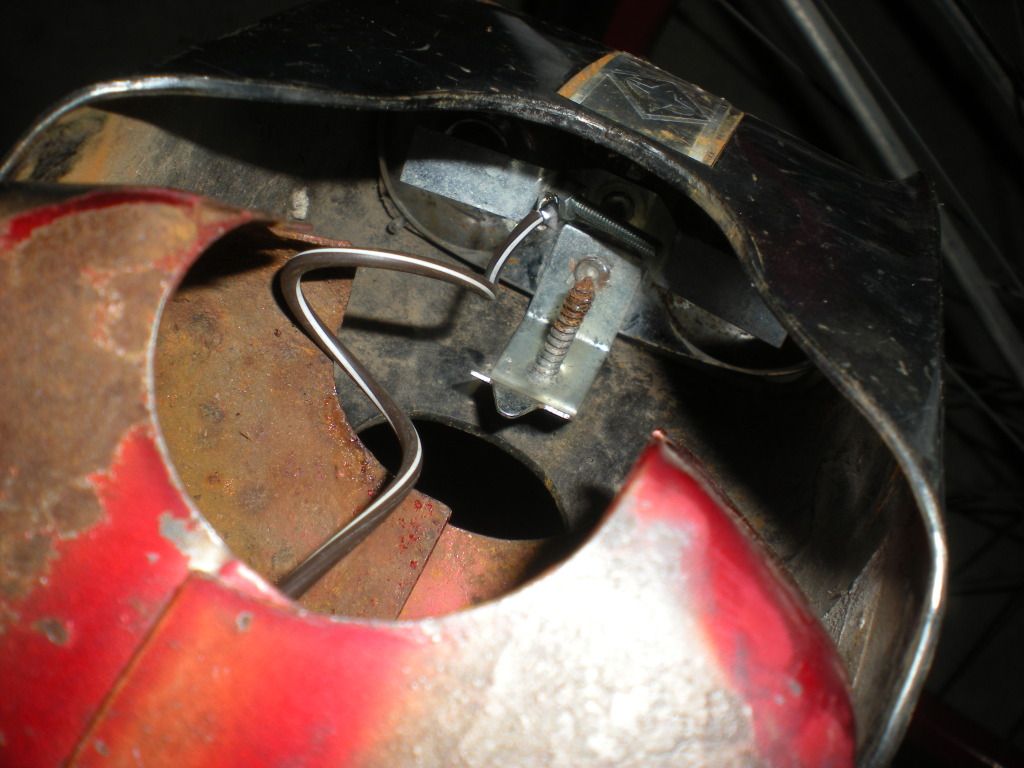
I wanted the batteries on the same side of the tank as the switch just to free up the two sides better for easier battery changes. that mean dealing with a clearance issue with the switch. it was quickly resolved with a hacksaw and pliers
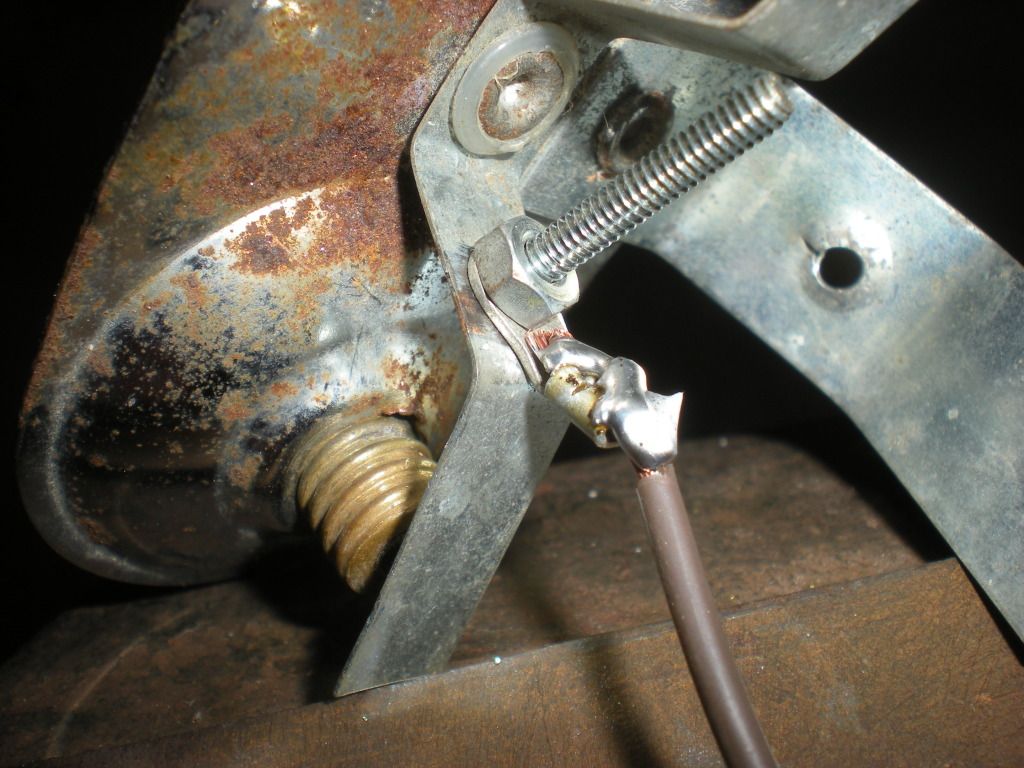
I grinded the old rivet from where the long screw is now and tightened another one of those circular wire attachment thingys. I got that soldered on.
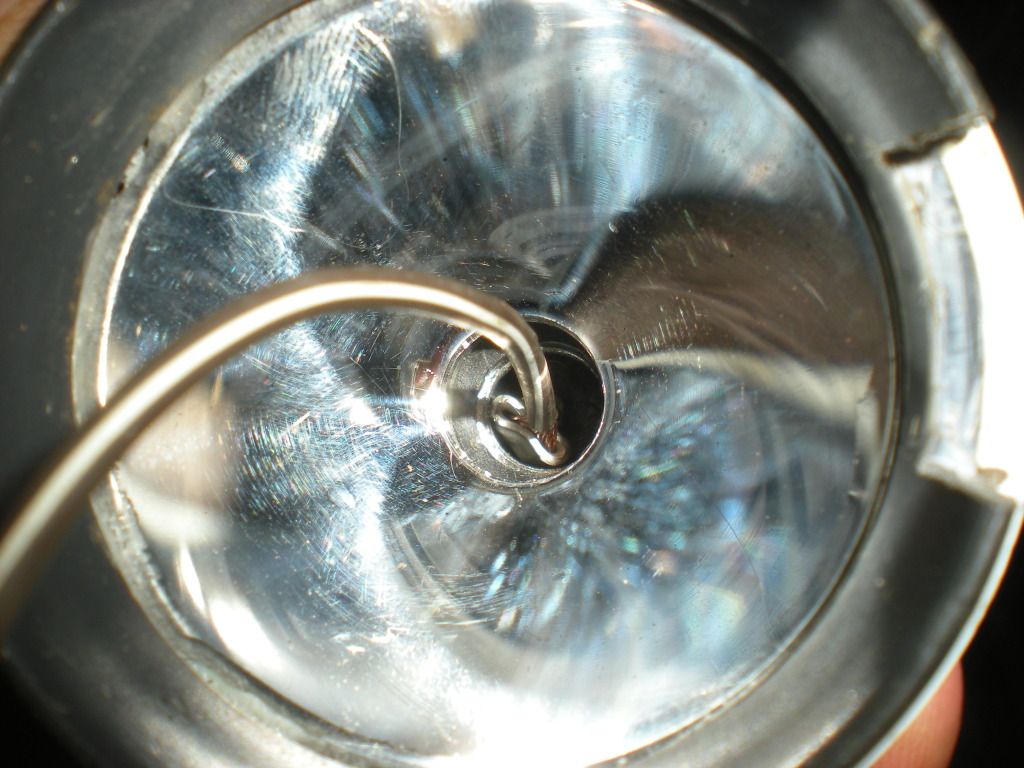
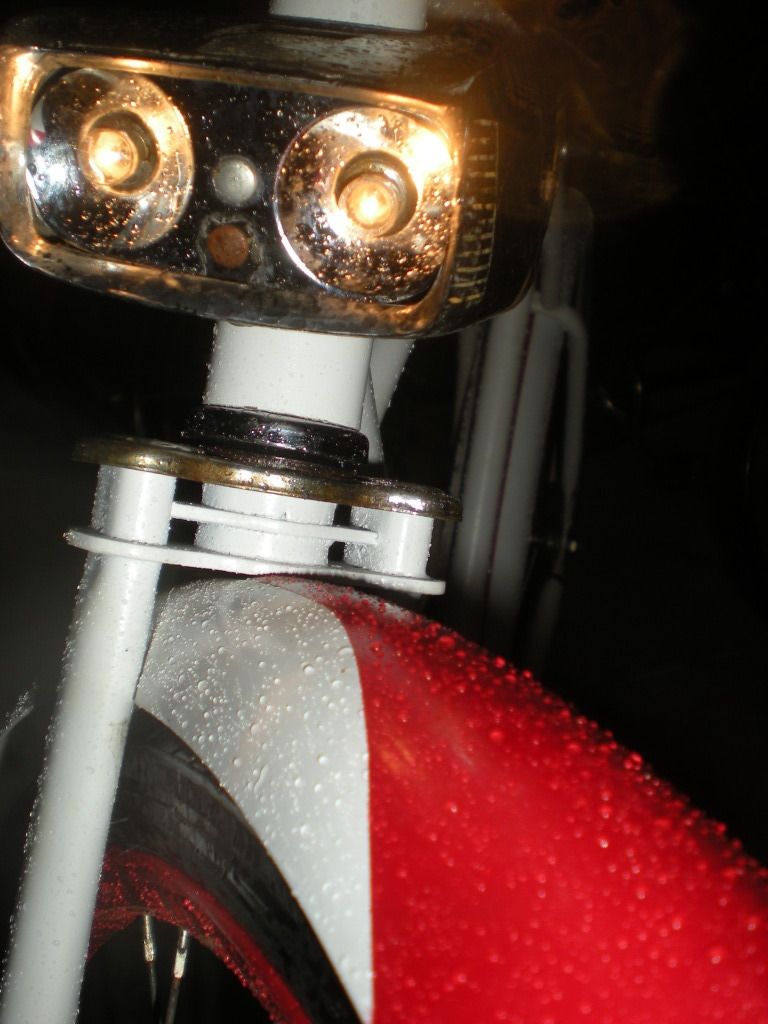
not sure what this picture shows, but it might be helpful.
here is the finished product

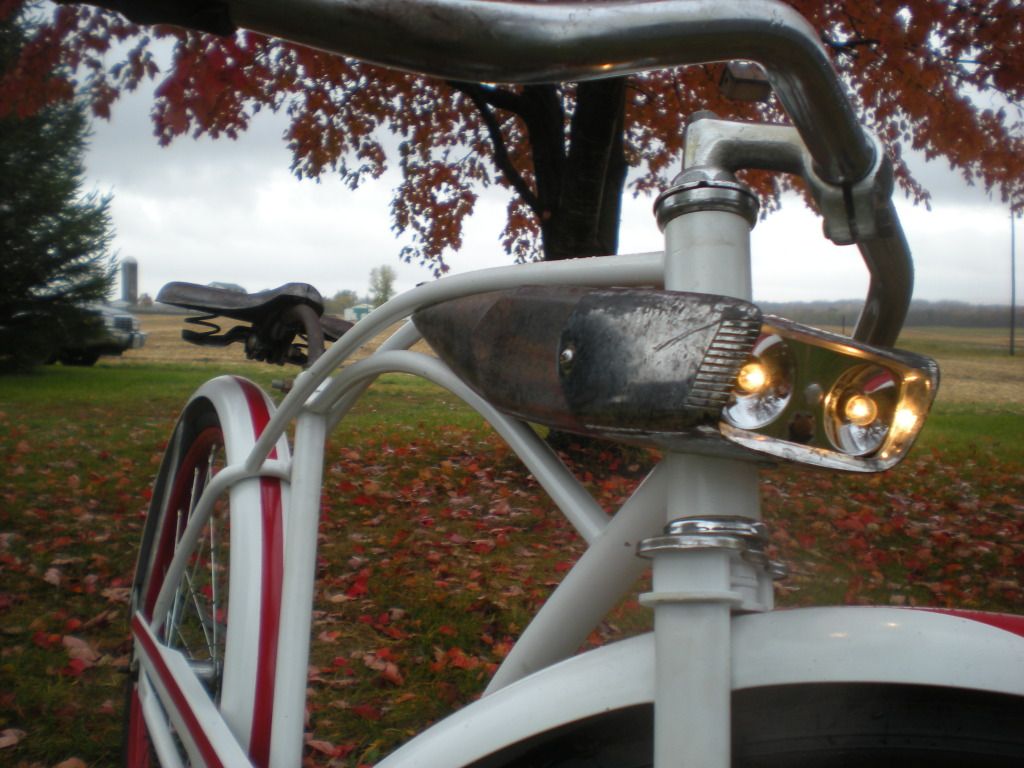
It isn't very bright, but I just really wanted to be able to operate them. it just adds a little bit of authenticity and it seems alot more complete now. I did this very low budget and only took me a couple hours. (I didn't really know what I was doing at first, so it took a little bit of problem solving on my part)
I hope you found this tutorial useful and understandable. let me know if you have any opinions.
-Craig
If you have any questions, I am happy to answer them
I wanted my lights to work on a bike but the battery ports were completely rusted up. I then realized that the perfect way to house two D size batteries would be to use an old flashlight. luckily, I didnt need to buy a new one because my dad had some old ones that didnt work very good. Reduce Reuse Recycle!!!
I didnt take pictures as I was building because I didnt want to lose my train of thought. so here is what I got.
Here is the flashlight with the button ripped off. the brass piece is bent through the hole where the button went. the brass piece originally was straight inside the battery housing and attaches to the spring in the bottom of the flashlight.
I also drilled a hole in the tab for a ground connection. you will see that later.
This is a cover that the batteries were originally mounted to. the screw that holds the cover on, is drilled through the brass tab, which is now ground. it also holds the flashlight in place because it is drilled through the plastic.
here is the back side of that cover. you can see where the old battery mount was. I grinded the mushroom off the rivets and pryed the mount off. I took a punch and hammer and mushroomed the rivet back out and pounded it flat with a hammer.
I also shaved part of the flashlights outside off for additional clearance.
here is the part that contacts the positive side of the battery and replaced the brass tab (which also touches the bottom of the lightbulb on the flashlight.) with one of these yellow things. I connected it to the wire and soldered it in place.
I had some trouble with this switch reading continuity in the off position after I soldered the new wires on but I think it was just a problem with my multi-meter.
this wire I used is also much thicker than the old stuff.
I wanted the batteries on the same side of the tank as the switch just to free up the two sides better for easier battery changes. that mean dealing with a clearance issue with the switch. it was quickly resolved with a hacksaw and pliers
I grinded the old rivet from where the long screw is now and tightened another one of those circular wire attachment thingys. I got that soldered on.
not sure what this picture shows, but it might be helpful.
here is the finished product
It isn't very bright, but I just really wanted to be able to operate them. it just adds a little bit of authenticity and it seems alot more complete now. I did this very low budget and only took me a couple hours. (I didn't really know what I was doing at first, so it took a little bit of problem solving on my part)
I hope you found this tutorial useful and understandable. let me know if you have any opinions.
-Craig