HUFFY SUPER STOCK BUILD OFF 2016

Rat Rod Bikes Bicycle Forum

Help Support Rat Rod Bikes Bicycle Forum:

This site may earn a commission from merchant affiliate links, including eBay, Amazon, and others.
I tried to post this last night, but the website was down...

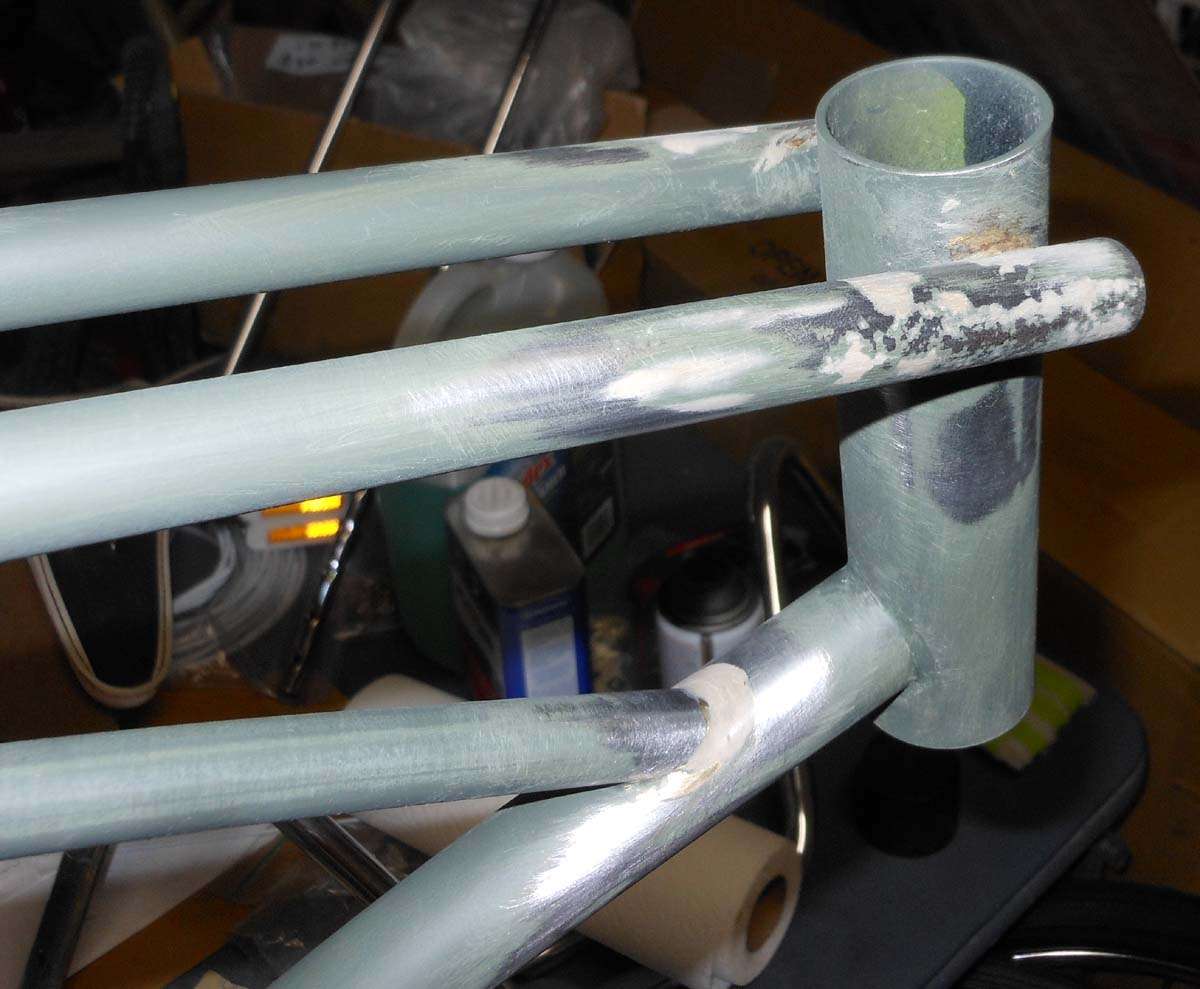
After I stripped the frame and sanded the really rough spots, I was bothered by a lot of the welds. Apparently someone was drunk as work in '69 when they put this frame together. The seat tube is twisted to the right a bit and a lot of the welds have a lot of excess brass dripped on around them. You may know that I am slightly OCD about stuff like this, so I attacked it.

I didn't get "before" pics on anything but underneath the bottom bracket. I filed down one side (on the right) to show the height of the "blob". You can also see how rough the metal is due to rust.
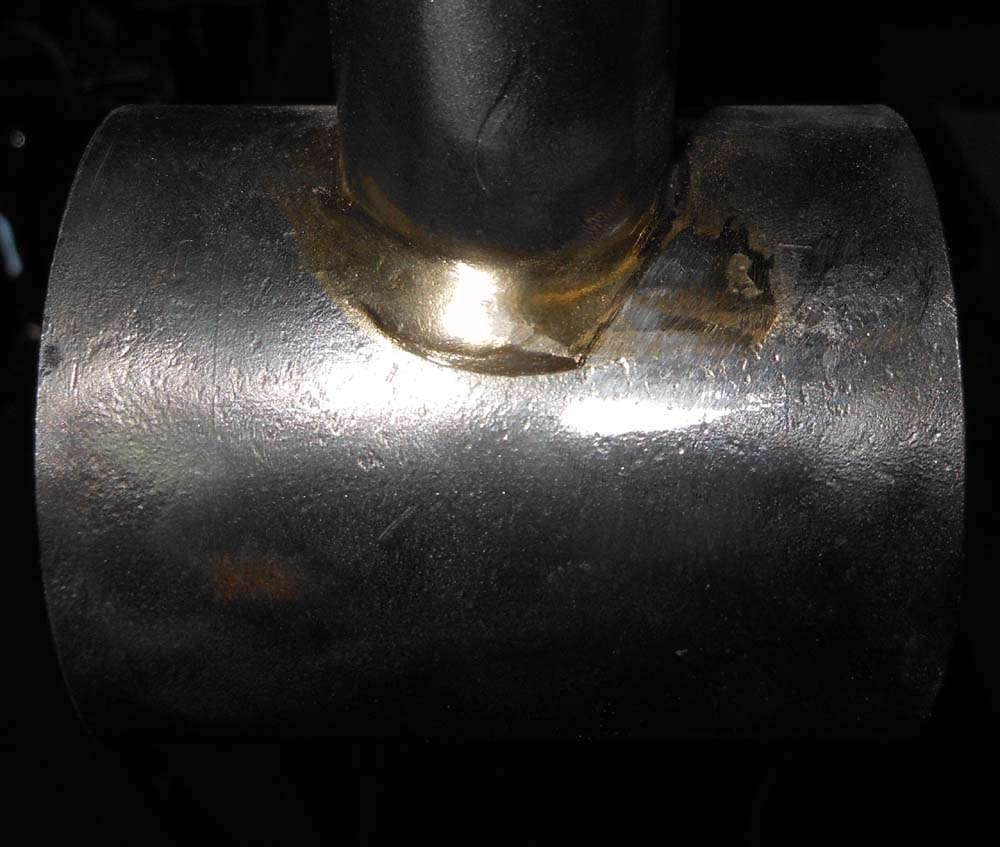
aNSVSq.jpg


Here's a "before" of the rear drop out.
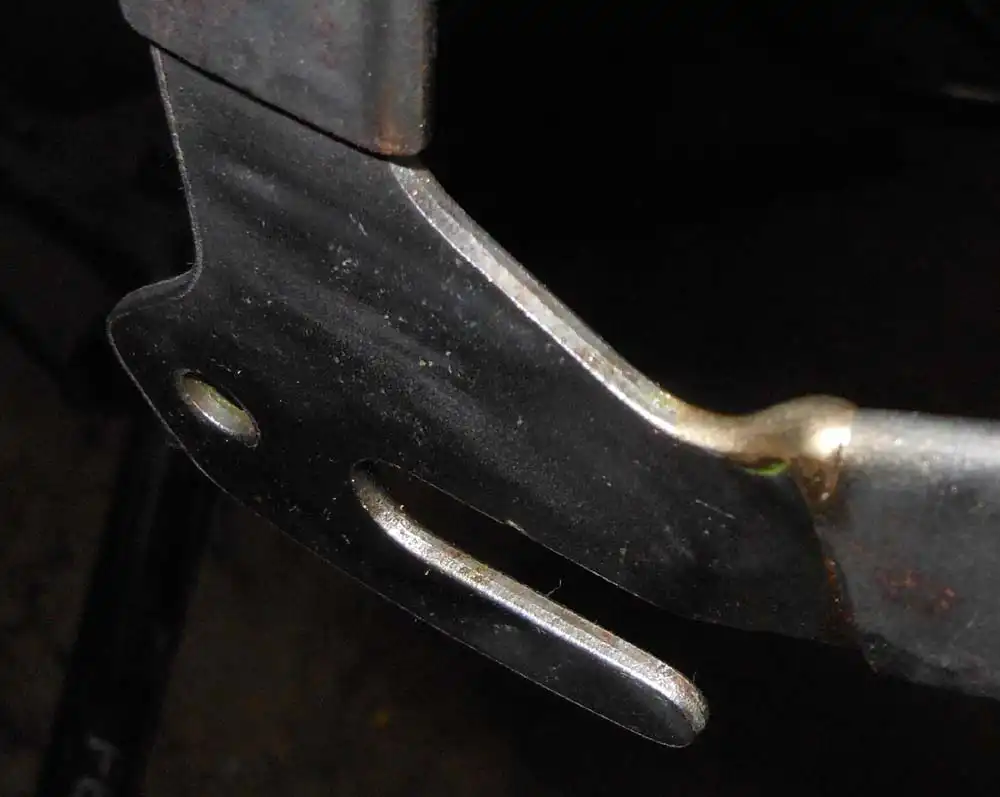
AuYwsq.jpg


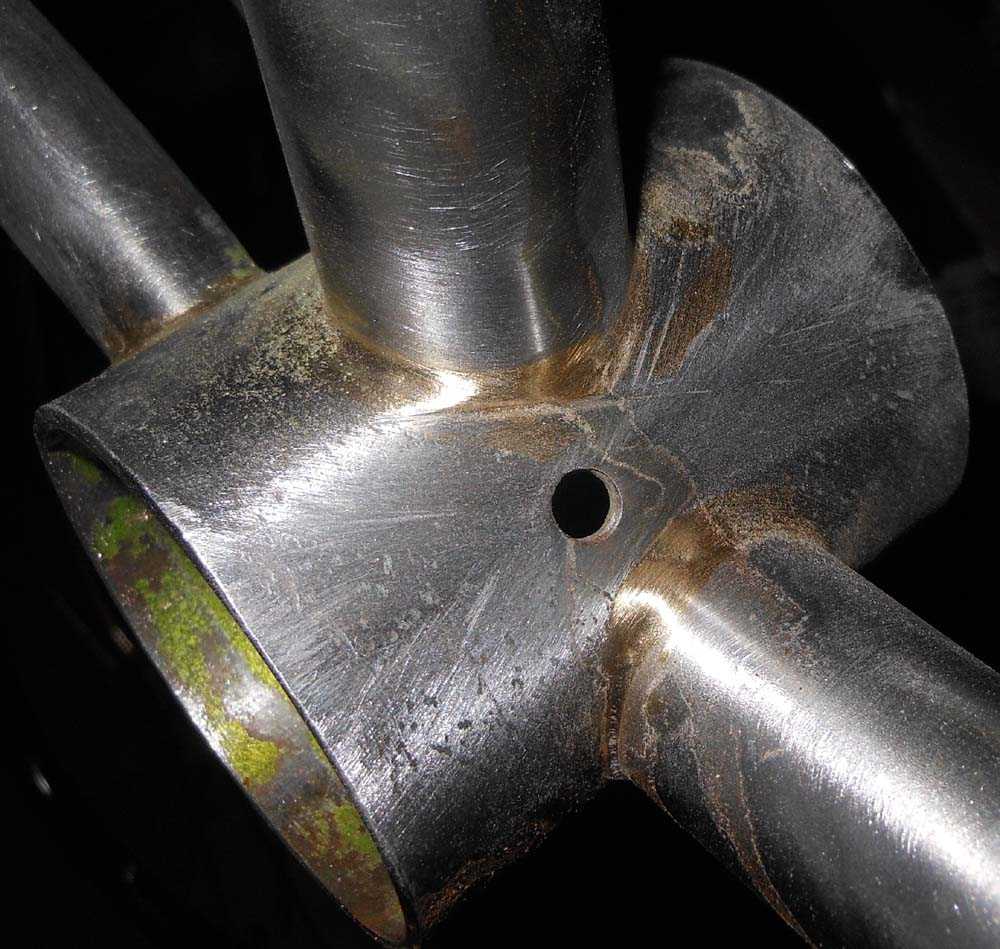
Here's the "after"s... Top of the bottom bracket. This is what really started this whole thing off because the chain guard mount bolts into the hole and I thought all the bumped up weld would keep it from mounting flush. It was really a mess and took the longest.
Ye13mf.jpg


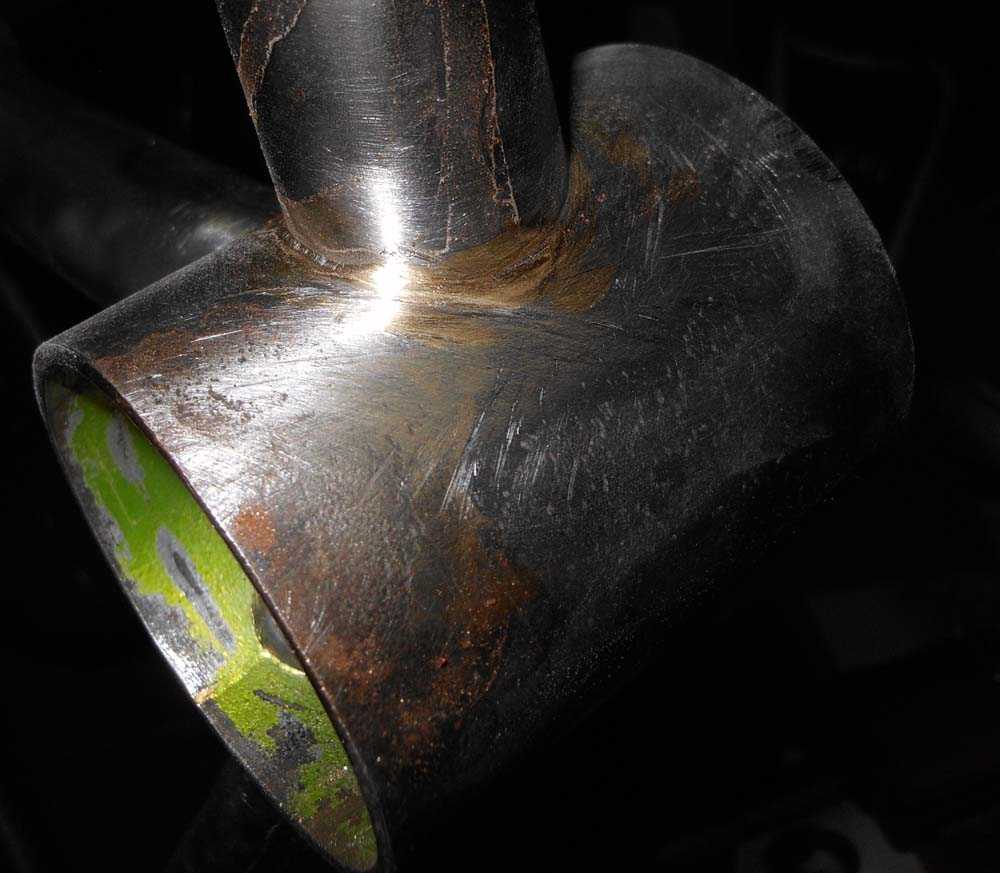
Here is underneath the bottom bracket, what you saw before.
G4if42.jpg


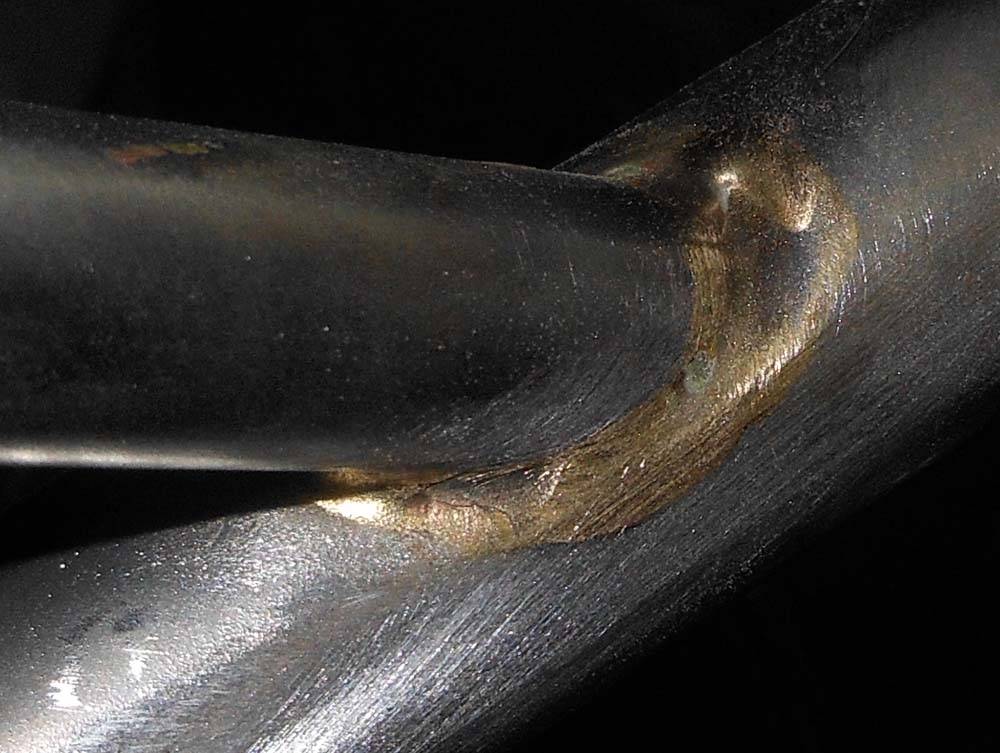
This is where the center tube meets the down tube at the front. There is a large pocket that you can see at the front that I'll have to fill in with filler. On the side is was all blobbed out.
kLgI3O.jpg


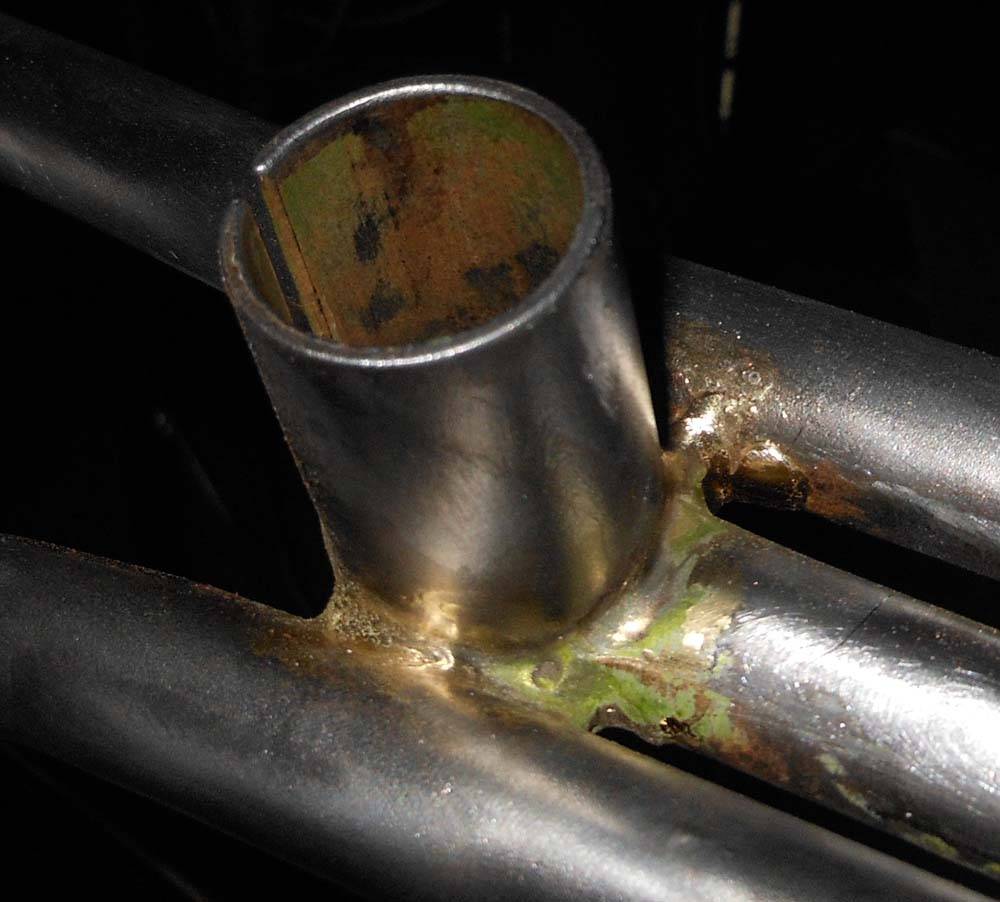
This is the seat tube. Where the top tubes attach, there was a "zit" inside. You can still see it at the top, and I realize I need to hit it a little better. It's in a tight spot, so tough to wear down.
dco7x8.jpg


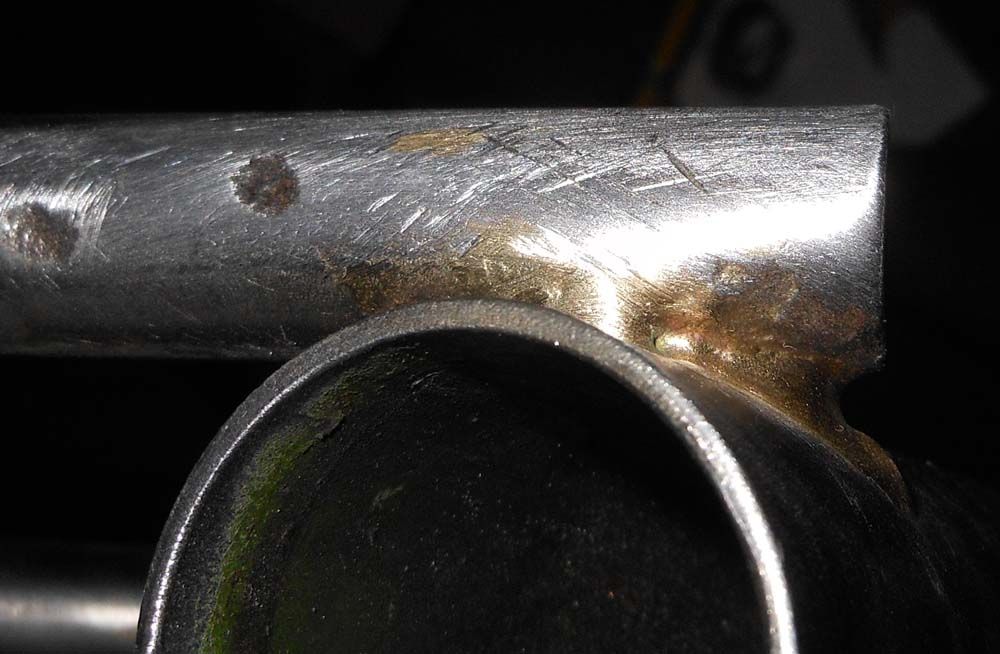
This is the very front. It had a big blob and it just had to have looked like crap when new. I couldn't tell because there was a lot of rust there. You can see the pitting into the brass. It's going to be a lot of fun smoothing out the filler in there! (You can see some other pits to the rear.)
mGRJGt.jpg


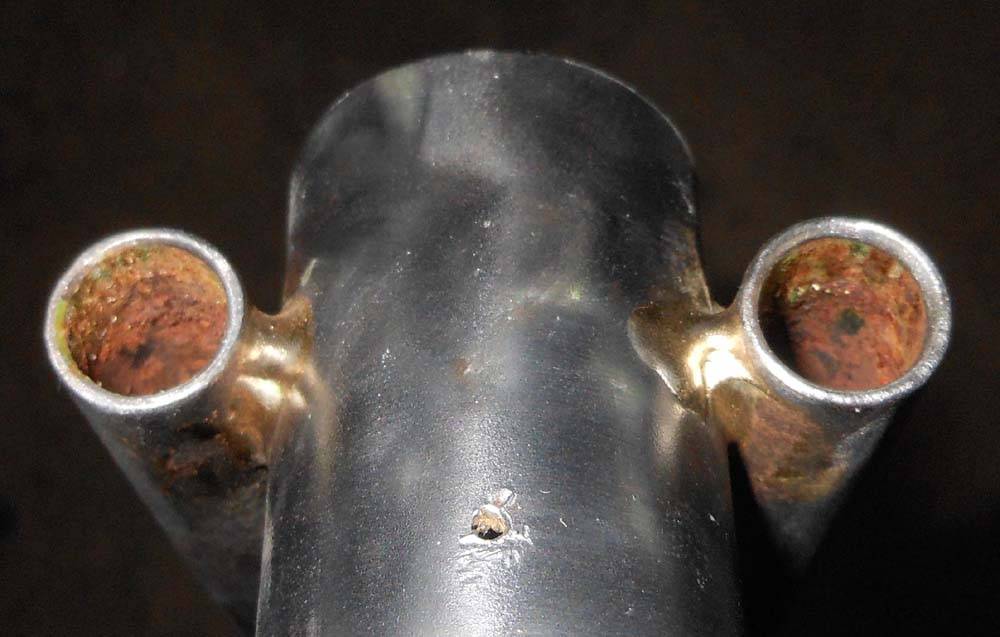
With that done, I realized another issue. I've done a lot of rust busting on the outside of the frame, but what about the inside? If you look down the top tubes you can see the rust.
shQoAP.jpg


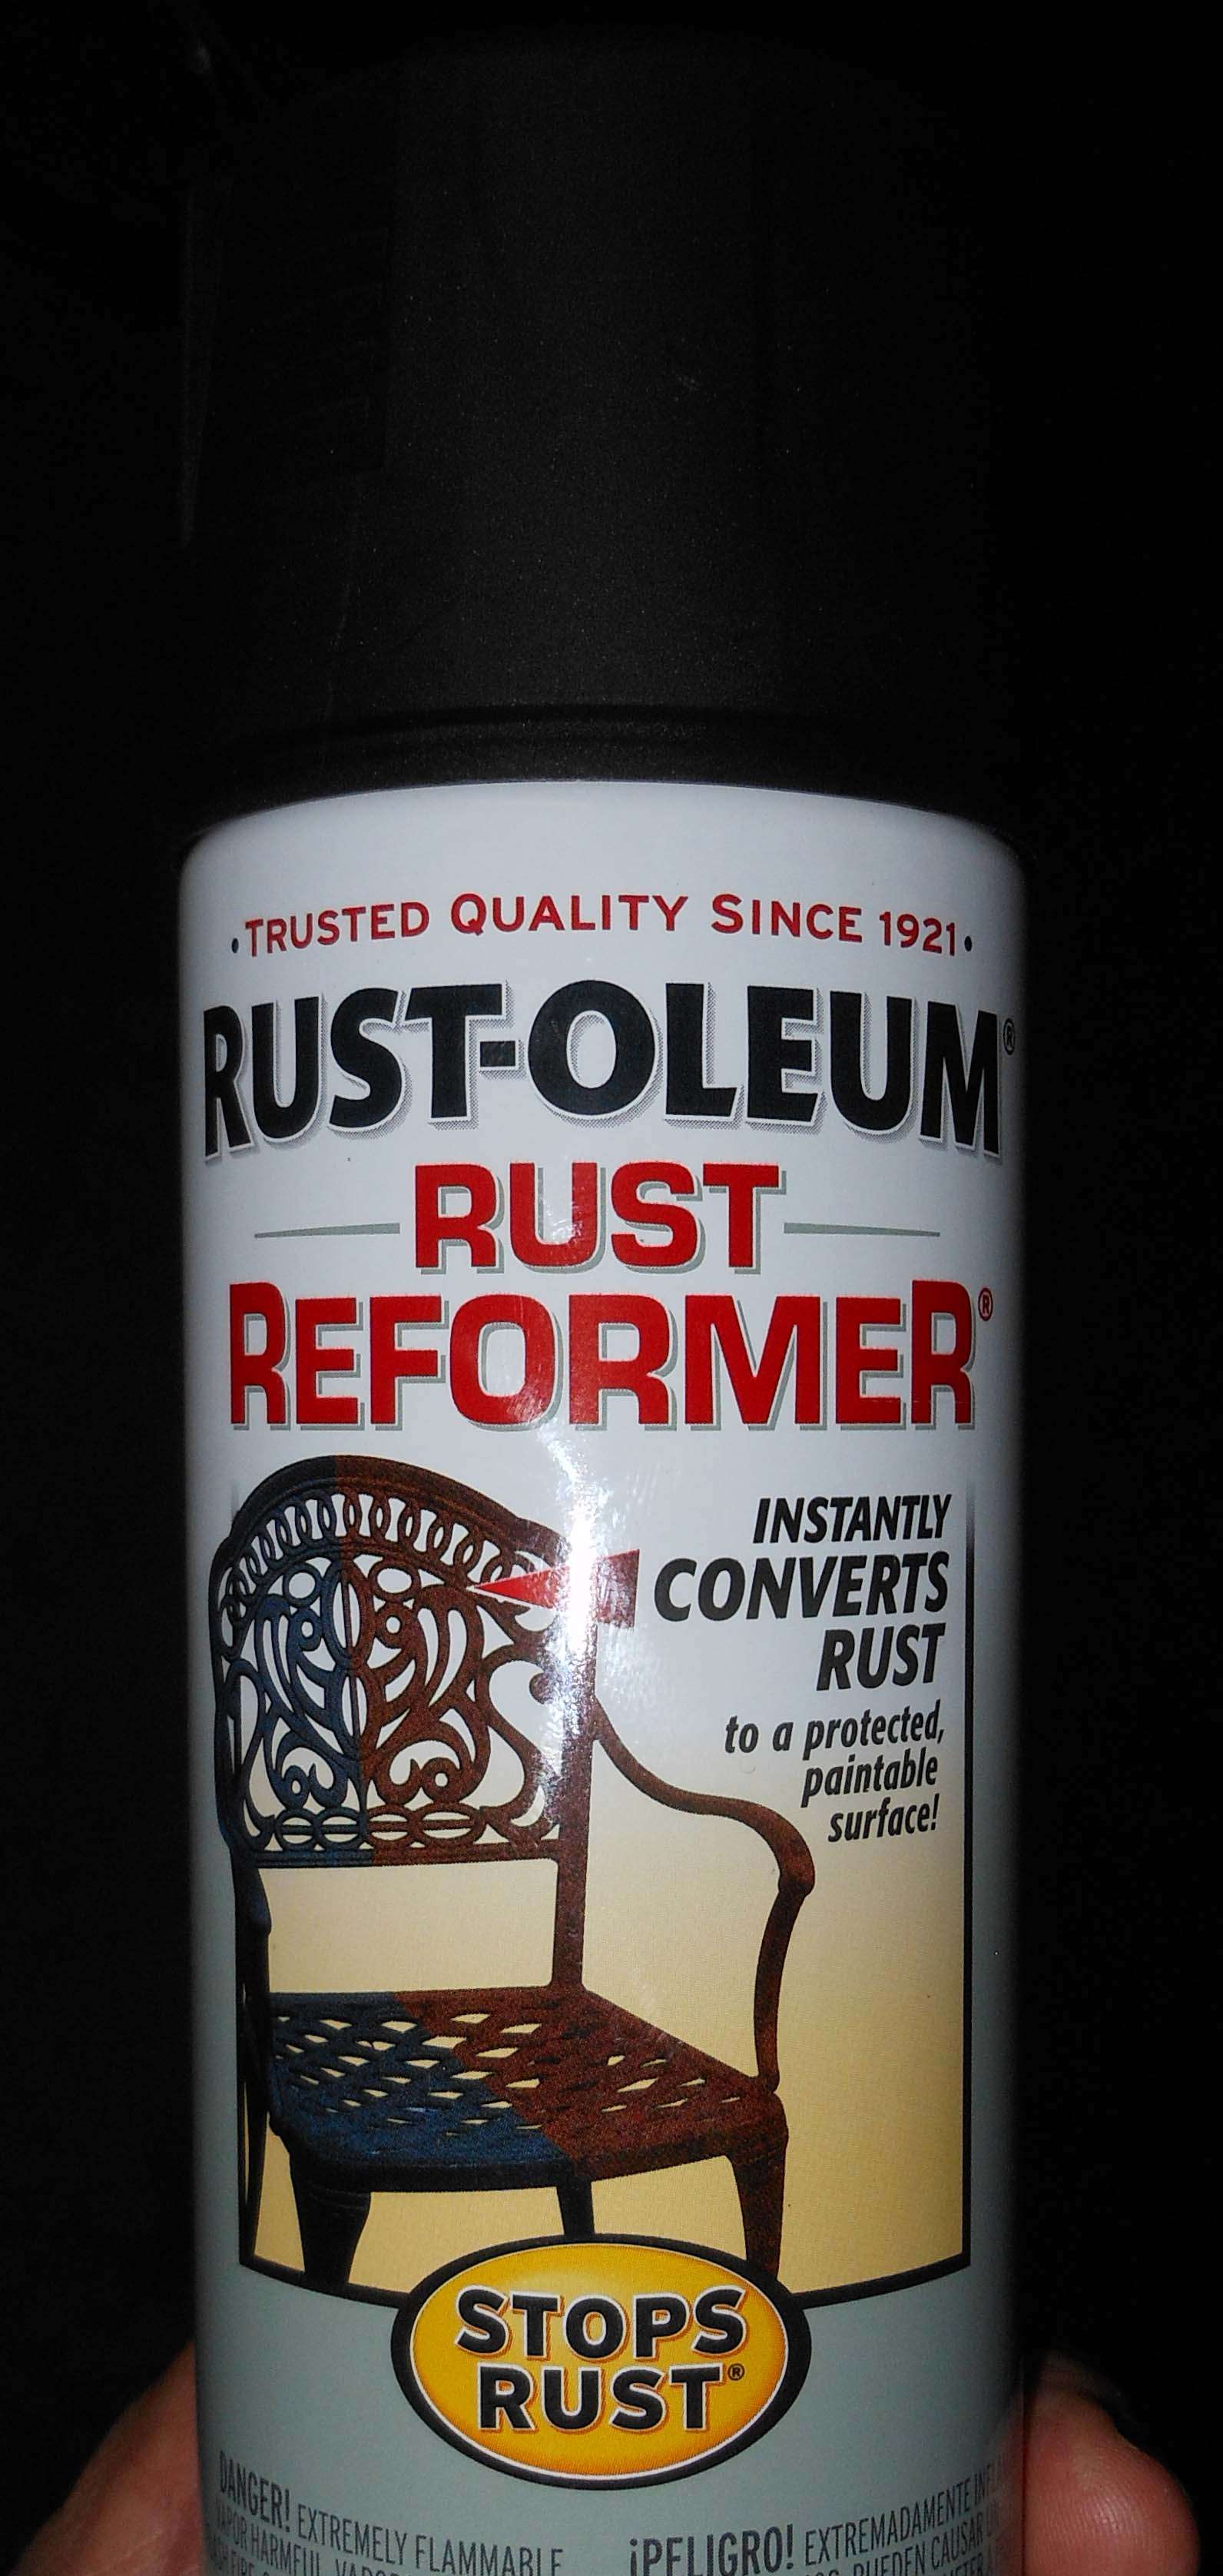
So I poured some acetone in all the tubes with hope of cleaning them out a bit, then I got some rust converting paint.
M4NXl8.jpg


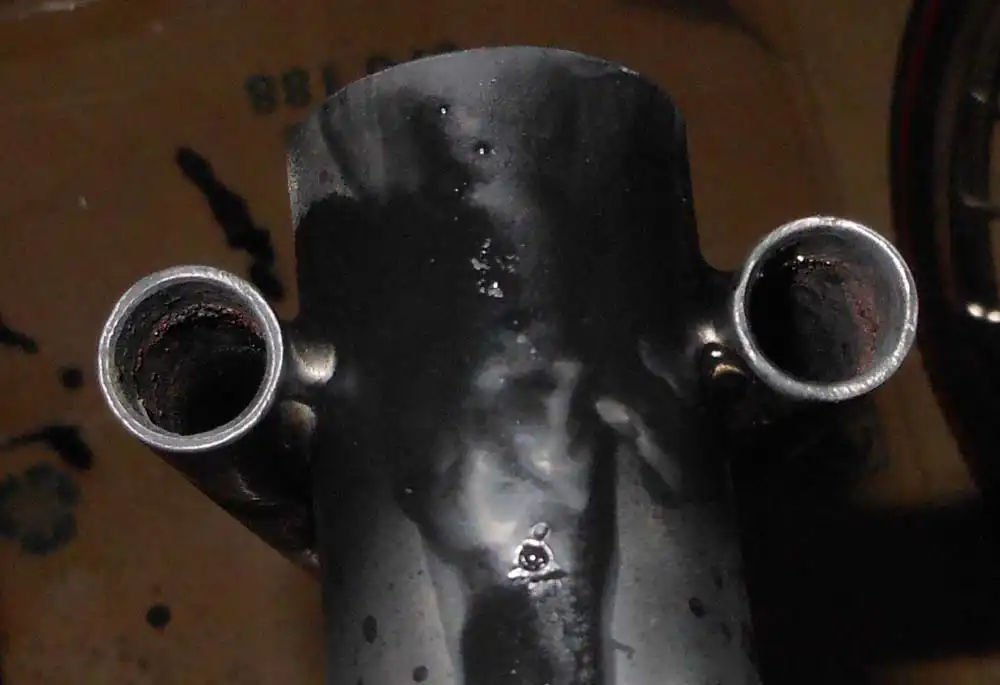
I sprayed into all the tubes as best I could, since most of them have their largest openings in the bottom bracket. I gave it one coat, and tomorrow I'll give it another. Hopefully that gives it enough of a converted inner surface to not be an issue.
Nut9I0.jpg


Tonight I'm going to spray a second coat, then I'm going to clean up the outside of the frame and start with the primer.
 
Tonight I finished cleaning up the frame and sprayed etch primer on all the parts. I'm going to let them dry overnight then I'll lay on the body filler tomorrow. I still have probably a week of "body work" on this rust-pitted frame before it's ready for paint. This is, by far, the most labor intensive frame I've had to deal with!

I also started on parts. I'm attacking the Flaming Stack because it needs a lot of love. It may not show in the picture really well, but the outside has a lot of rust speckles all over it.
d3hqDV.jpg


It's concentrated on the back by the "pipe".
gpj8ct.jpg


The inside is the worst.
XSUBvc.jpg


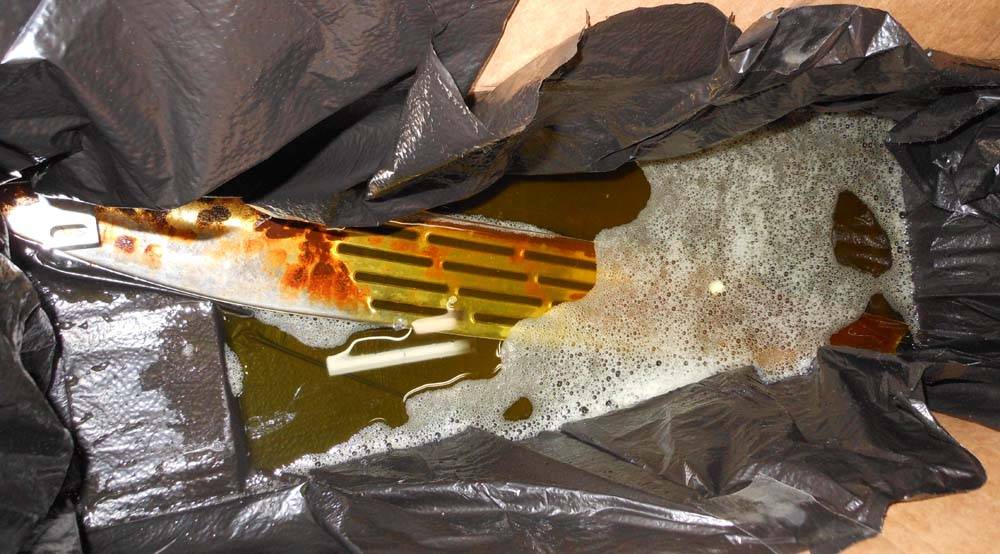
So... I made a "tub" long enough to hold it, but not too wide, by lining a box with a garbage bag, and I emptied out a gallon of EvapoRust into it. As you can see, that wasn't enough to cover it completely, so I tipped the box to work on the bad end, then tomorrow I'll tip it the other way to work on the front end. I don't think with the amount of rust damage I'll be able to polish the inside back to anything decent, so that's probably going to get primered and "chrome" rattle can. But the outside should clean and polish up well I hope.
fDxsL9.jpg
 
Old School didn't get snowed in or anything did he? Does he know he's in a contest? I feel like I'm singing naked alone in a karaoke bar! And we ALL know it's better to sing with someone else when you're naked in a karaoke bar, right?
I don't know about the karaoke thing, but we're in Ohio. He could have gotten snowed in, that's just how the weather works here.
 
Ok, ok I wasn't snowed in, only one day of snow as a last gasp of winter has hopefully passed into spring, now nonstop lawn mowing lol.
Wife and I have been watching grand kids all week, going home tonight so back at it. I'll get some pics up tonight or tomorrow with some progress hopefully but I am a little intimidated by Crash's bike so far. Crash is definitely a force to be reckoned with, the detail he goes to is unbelievable.
 
I pulled the flaming stack out of the Evaporust. I rinsed it off, gave it a gentle cleaning and here is the result.

xbFP4W.jpg

chbAxM.jpg


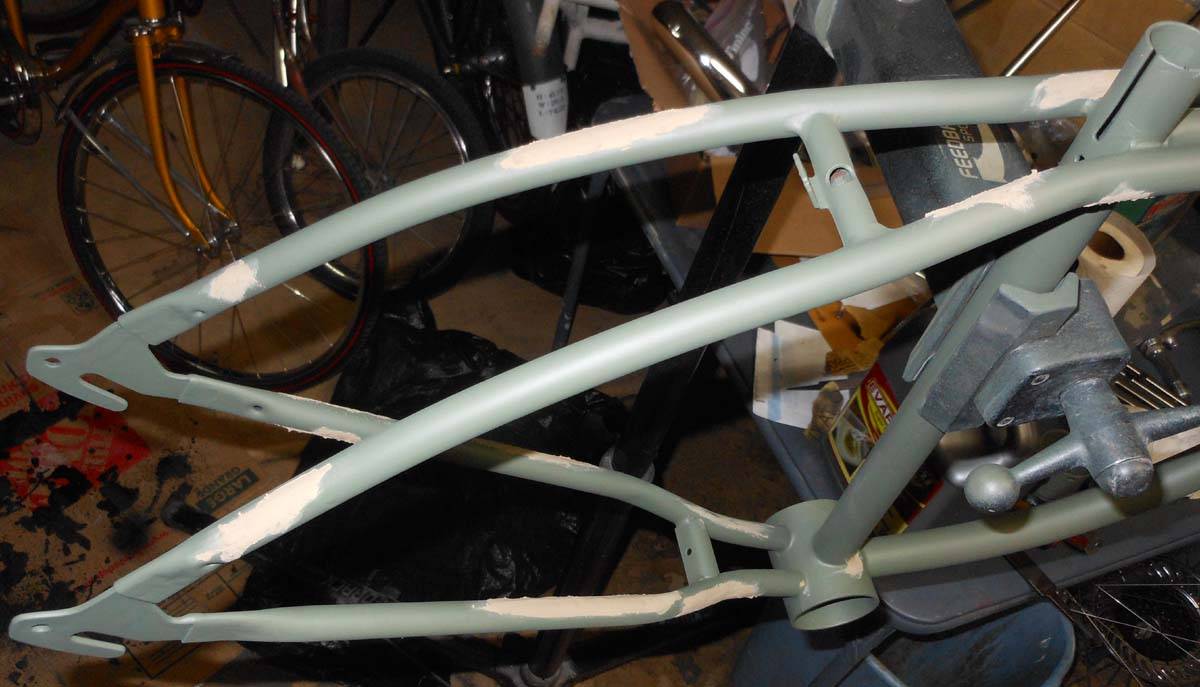
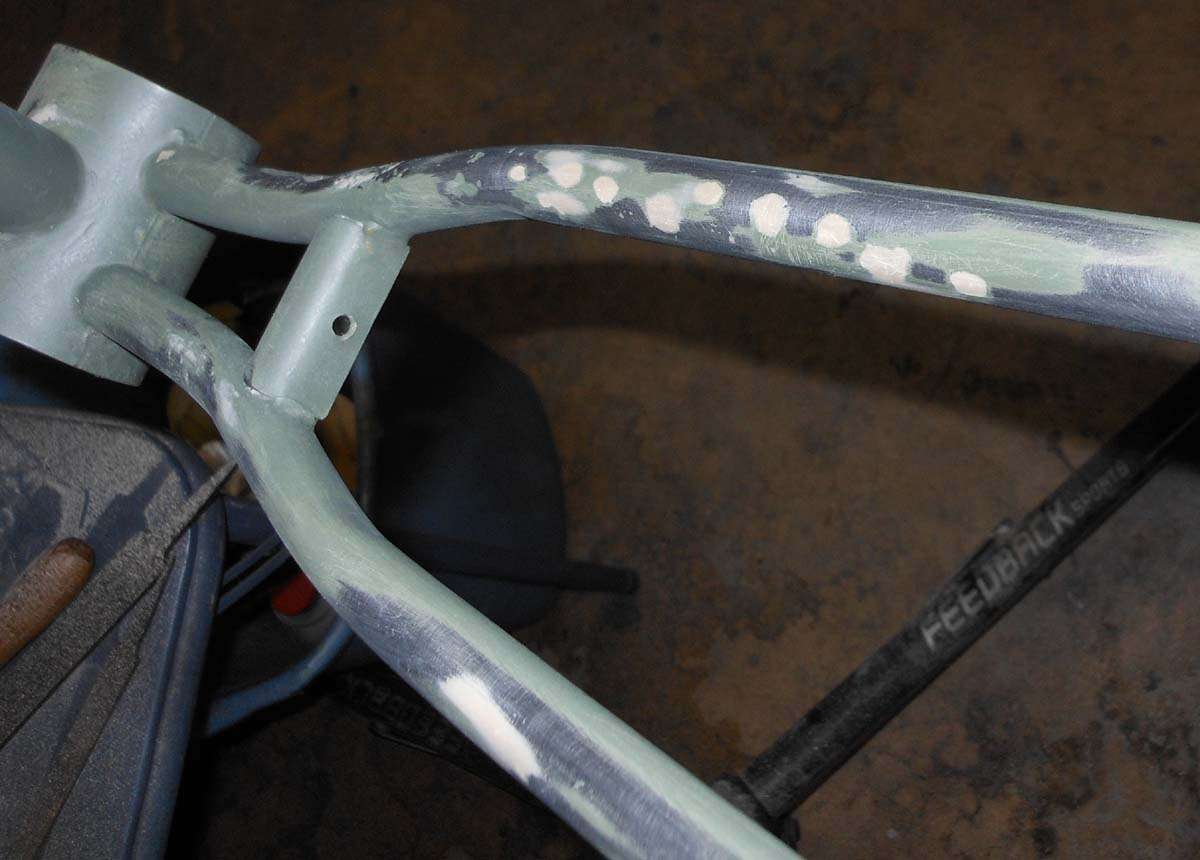
I put the first coat of etch primer on the frame then started laying on the body filler. Since the etch is olive green, and the filler is tan, it gave the frame a sort of camo appearance.

b9GmWN.jpg

AvrX6P.jpg


Now I have the tedious task of sanding them all down smooth, rebuilding where needed, hitting those spots with more etch, then working up the build primer. That all is going to take me about a week.
 
I feel like I'm interrupting the "No Budget Build Off" with an update, but since I'm in a "Single Man... Apparently No One Else Is Competing Build-Off" (SMANOEICBO#1), I need to keep this active.

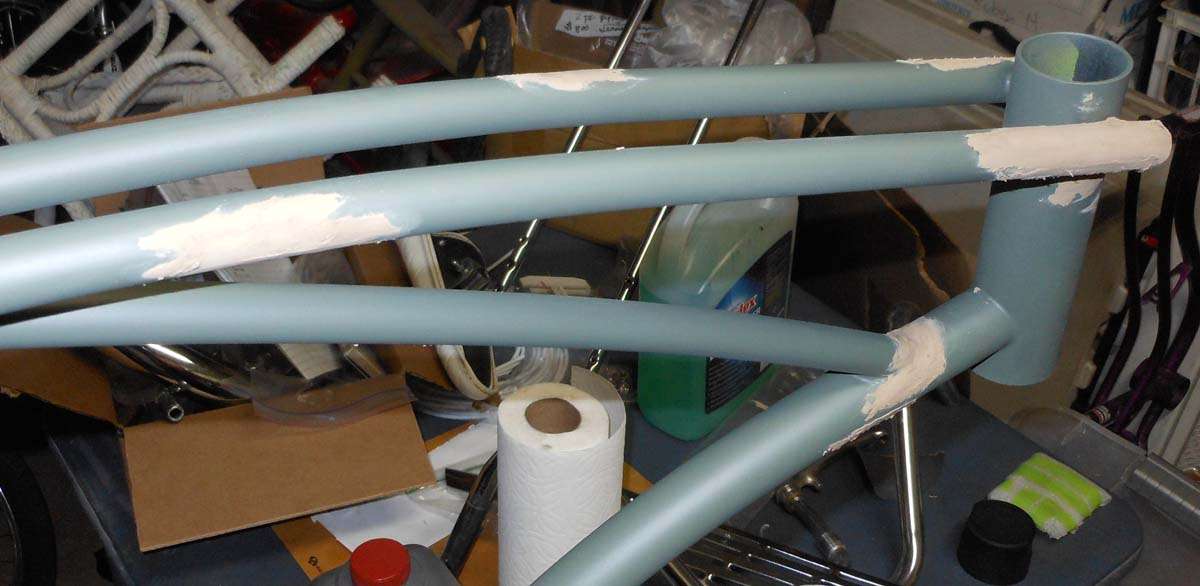
Much to my own surprise, I found enough time to work all the filler spots yesterday. Even though there were like 15, I found like 3 more spots I had missed before. So I filled and worked them as well. Here's the major areas.

QJO8El.jpg

32oE7N.jpg


And I smoothed out, primered and sprayed with "chrome" rattle can the back of the flaming stack. It came out pretty nice. I still have to polish it.
sbZoI6.jpg


I still have a ton of frame work to do. I need to respray the etch, make sure I smoothed everything well enough, then I'm probably going to put 2 cans of Build Primer over it. So... lots of work ahead.
 
You're making good progress CRASH, I'm looking forward to seeing this. You always do great work.

Oh, and the no budget build is over; just waiting for voting to end.
 
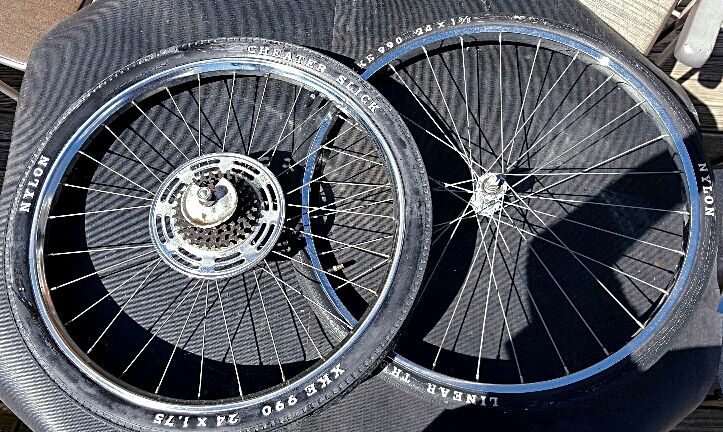
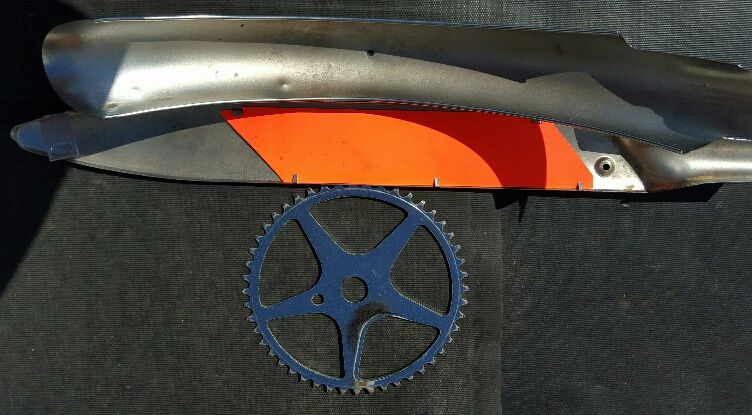
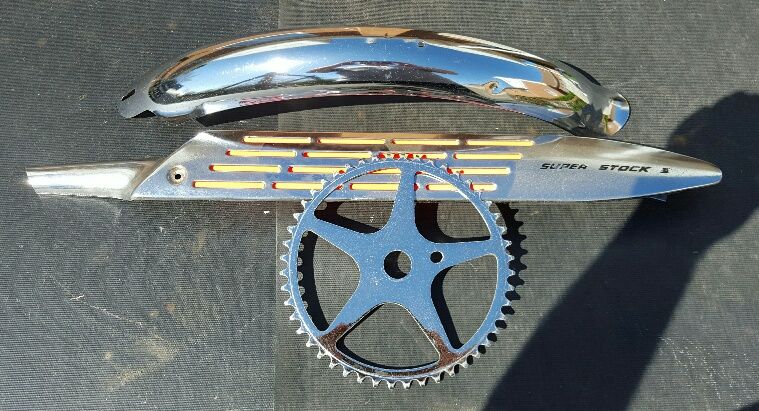
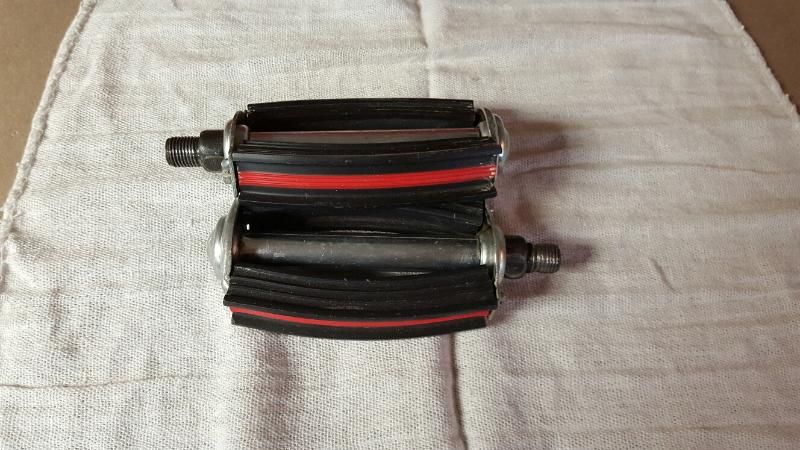
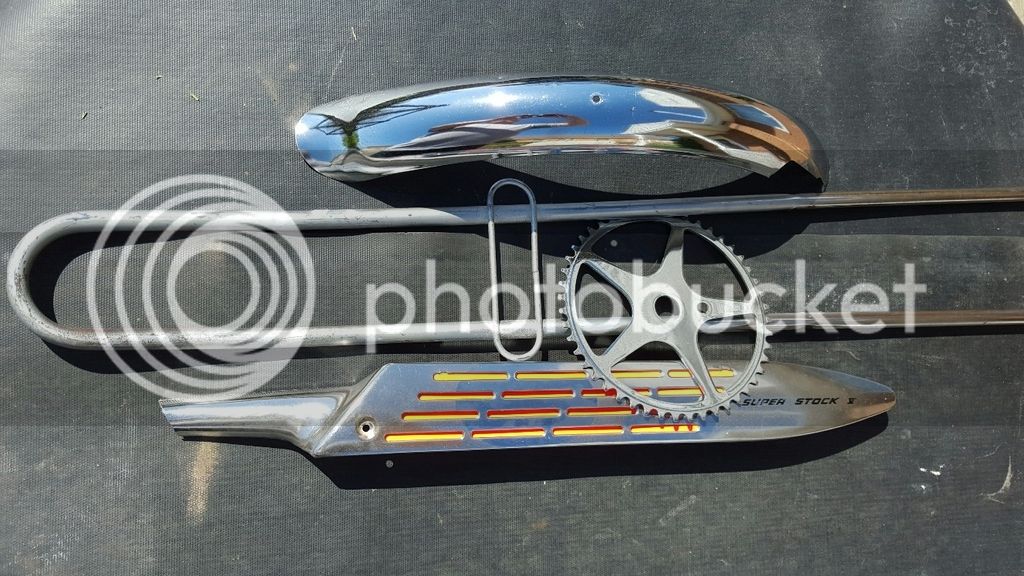
So I got started and mounted the tires and polished the rims, I'll do a final buff and polish when I get the bike assembled. I also glass beaded the backside of the chrome parts to remove the rust instead of using chemicals, I'll clear coat the undersides later, I also polished the back fender, crank, pedals, and chainguard. I tried to be extra careful polishing the front end of the chainguard so I wouldn't remove the Super Stock V decal until I'm sure I can come up with a replacement decal.


[URL=http://s1260.photobucket.com/user/sobe2112/media/chrome%20frpnt%202.jpg.html] [/URL]

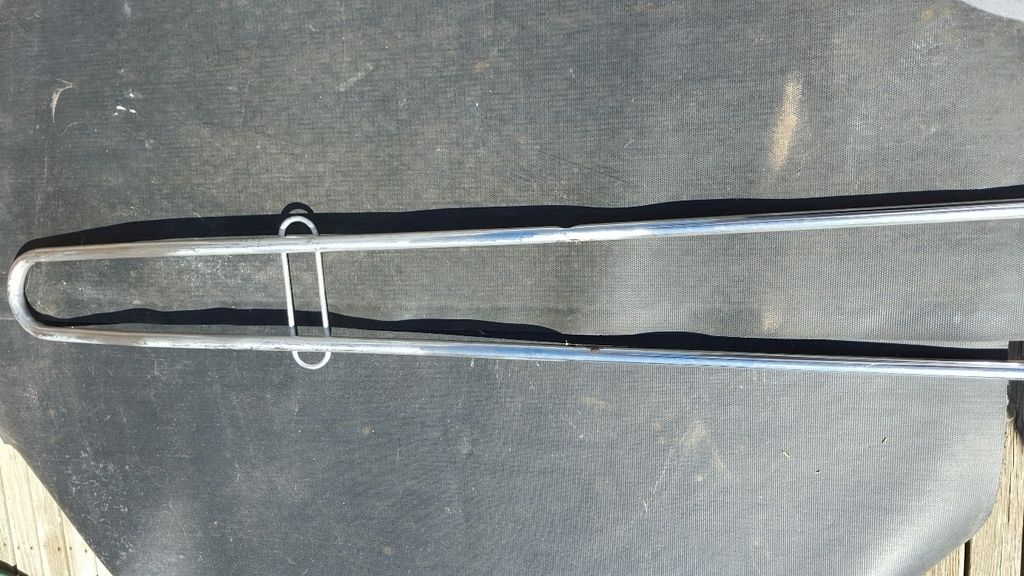
I had bought a bike a while back and after the deal was done and I was leaving the guy ran out and stopped me, he said hey I got some spare parts I don't need if you want them and he just gave them to me. This 48" sissy bar was with the parts so I decided to use it on this build, I'm going to send it out to be rechromed.


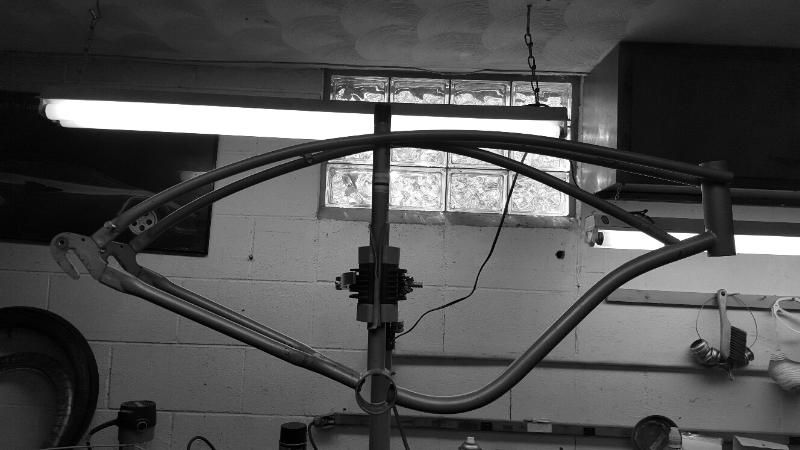
I agree with Falstaff, the colors are really cool so I keep changing my mind what color to paint my frame so until I decide and get it painted I'll go with this pic.

And I have some accessories I've gathered also to help me decide.

 
You tricky... trickster! Using black and white! I was actually planning on doing the same thing until the final reveal. Won't this be fun? The first black and white build off! LOL

Welcome! I love the tires! I decided to use my red lines for this build since they are "correct" for '69. But I really like the look of RWL. I'm using my RWL set for my daughter's Super Stock build since it will be a light custom.

I see you're ahead of me on the frame, as I suspected. Mine needs, by far, the most prep work I've ever had to put into a frame before. The Rail I restored was rusted, but didn't have the pit damage this one does. I'll work to catch up!

Welcome to the Build Off by the way! My name is Crash! :D
 
You bought one of those NOS RWL tires like I did, didn't you? If you have a trick for getting that white residue off them, I'm open to suggestions. My RWL has it, and my NOS dual red line has it as well.
 
You bought one of those NOS RWL tires like I did, didn't you? If you have a trick for getting that white residue off them, I'm open to suggestions. My RWL has it, and my NOS dual red line has it as well.
That's funny because I was going to post that same question about getting the white residue off the tires too. I tried several things and once they dried it came back, so I figured I would go see the guys down at my local tire dealer and see what they'd say.
Glad I stumbled across this today, this is a pretty cool idea :bigsmile:
 
...I tried to be extra careful polishing the front end of the chainguard so I wouldn't remove the Super Stock V decal until I'm sure I can come up with a replacement decal.
I may have a solution for you. I had a few stencils made, but they came out slightly larger than original. The good news is that weren't terribly expensive. The bad news is... there isn't another option that I know of. So, how about $400 for one or $750 for both? :D
Ok, seriously, PM me if you want one and I'll give it to you for what I paid.
 
Hey Crash, make sure you don't use etching primer over mud. Sooner or later it will fail. Don't want to believe me? I have about 20 years in collision repair. So much fun re-doing new guys crap.:headbang:
I didn't know that!! :13:

I just finished with the etch coat and started with the build coat!! There is so much "mud" on this bike... what do I do now? Sand it down and start over with just Build primer? Will that "grab" the metal well enough?
 
Back
Top