In the weeds (finished....maybe)

Rat Rod Bikes Bicycle Forum

Help Support Rat Rod Bikes Bicycle Forum:

This site may earn a commission from merchant affiliate links, including eBay, Amazon, and others.
Loving it!

Will you be adding the truss/stays back on the forks? Probably not a bad idea to add some from the rear dropouts to the seat tube either, I can imagine those rear stays bending down under weight...

Luke.
 
Loving it!

Will you be adding the truss/stays back on the forks? Probably not a bad idea to add some from the rear dropouts to the seat tube either, I can imagine those rear stays bending down under weight...

Luke.

That front would make me nervous, as well. I know some guys swear that the vintage forks are beefy enough to run without it, but yikes.

As to the rear, when I built my bike like that, the rear was fine as his is. No problem.
 
That front would make me nervous, as well. I know some guys swear that the vintage forks are beefy enough to run without it, but yikes.

As to the rear, when I built my bike like that, the rear was fine as his is. No problem.
the front forks never had trusses or maybe I used on another fork,I have 4 bent springer forks but somehow only 3 sets of trusses,these particular forks are by far the beefiest out of the lot and the heaviest,I cut the brake bridge out to fit the 26"wheel as these are ment to be for 20" wheels,mad? maybe but these seem to be well enforced and chunky at the fork crown pivot,they handle just fine,the rear feels solid enough,but til I get it all done I wont know may just run a bridge across the seat/chain stays
 
Those handlebars remind me of one of those small harps you see in old cherub carvings.
 
Doing the rear the way you did could open you up to those Genesis Super 32 wheels. I have a few of those laying around that I have plans for.
yer I would cut up an even smaller third rear and weld it on top of the second one to keep it low,that would look insane
 
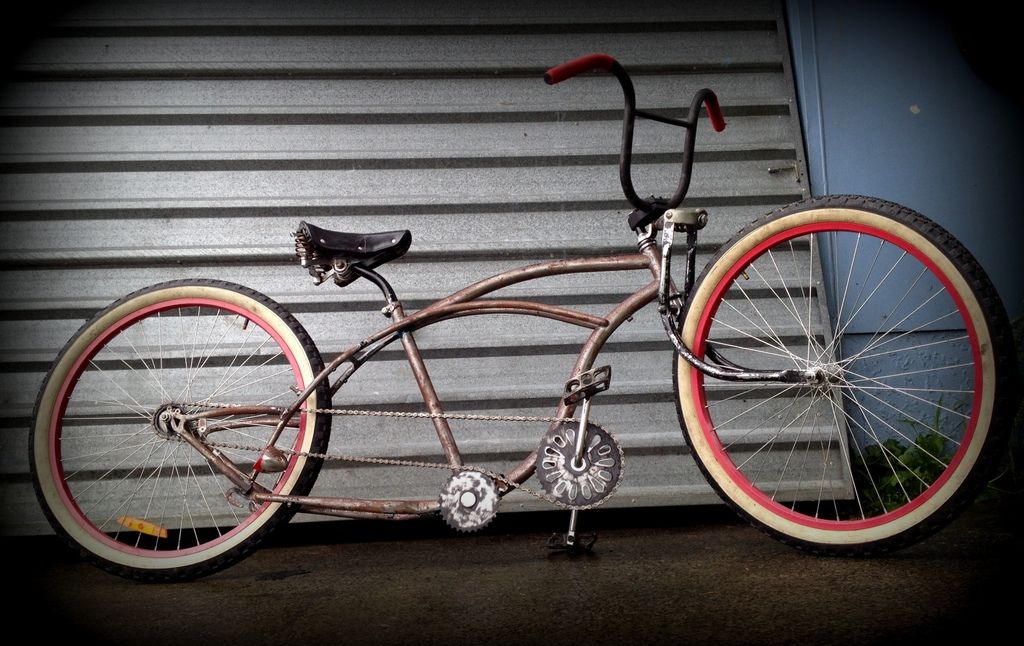
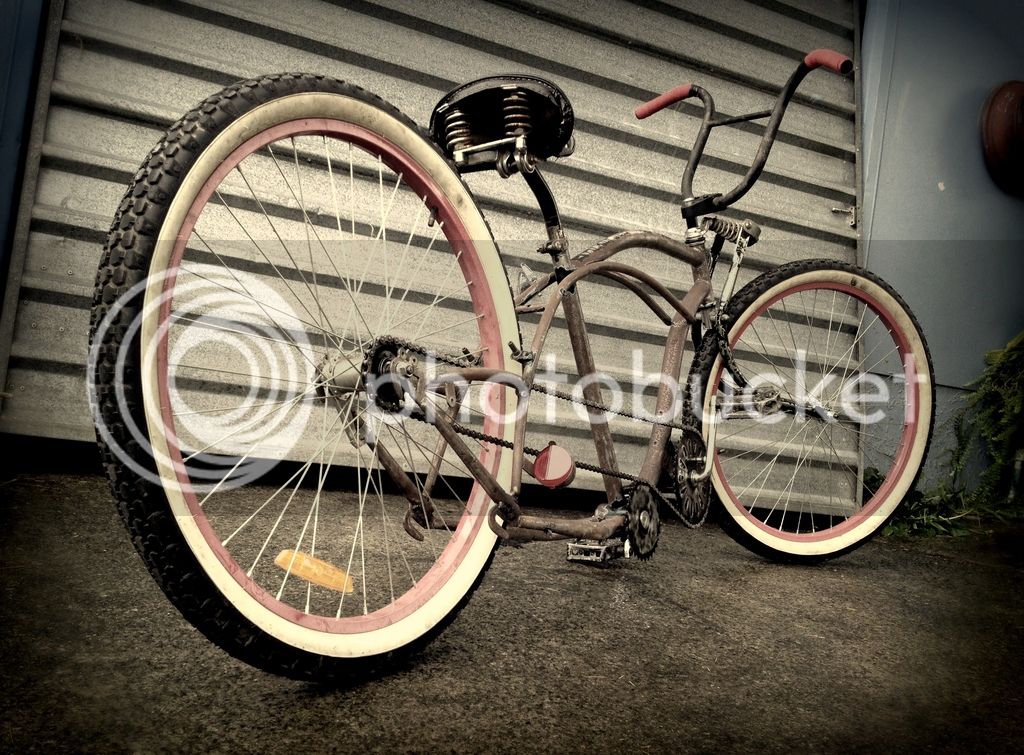
so this build is finished for now,ditched the gears and shifter for now,ultimately will put the shifter back on when I lace up my SA 3speed hub,but then I would need a brake which at the moment I like the clean lines without it,using a single speed pedal back brake wheel for now,ultimately feel like ditching the lower original BB chainring,I dont like it but maybe its just cos its not rusty yet
IMG_4184_zpsyakwmvkq.jpg

IMG_4186_zpselku8ez9.jpg

IMG_4187_zpssesf4pig.jpg
 
Looks good as it is!

Luke.
thanx,its annoying in a way because I think of lots of different ways to do the chain,was thinking of bolting a cog onto the original rear dropout and running the chain down to that cog then run along under the chain stay to the original chainring then up to the forward chainring so the chain runs with the frame,or leaving as is but cleaning up the frame by removing the lower part of the dropout plus the rear brake bosses and brake bridge plus even the seat tube,the frame is nice and solid with no flex from the actual frame itself but there is some flex from combination of balloon tires/springer bent fork/articulated steering either way its a cool bike to ride
 
Endlesschain,
Really cool build! I have a kids 20" bike with rather cool looking rear drop outs, and may try my luck at such a project. I was wondering if you have any detailed pictures of how the relocated BB was done? Thanks!
 
Endlesschain,
Really cool build! I have a kids 20" bike with rather cool looking rear drop outs, and may try my luck at such a project. I was wondering if you have any detailed pictures of how the relocated BB was done? Thanks!
yup,Im not sure if i saved the pics I took,may have deleted by mistake but I will be able to post some pics up of prossess
 
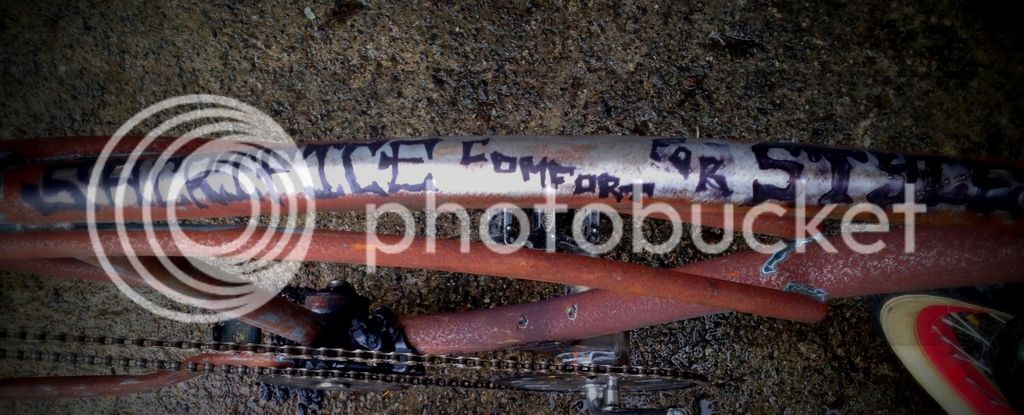
You nailed it, I'm with you with the statement for the nay sayers, "Sacrifice comfort for style" I'm with you on that cuz, really like
what you have done with the rear dropouts and the front forks
for that matter, way cool!

She's a beast mate!!!!!!
 
You nailed it, I'm with you with the statement for the nay sayers, "Sacrifice comfort for style" I'm with you on that cuz, really like
what you have done with the rear dropouts and the front forks
for that matter, way cool!

She's a beast mate!!!!!!
thanx,I have to do a drop outline in red for the lettering,I did have a nice red paint pen which works well when writing on bikes but alas I am sure my kids used it for something else,I love how the extra dropout rear has come out so I may do this for future builds,its interesting to steer this thing,you have about 5 feet from rear wheel to steerer tube and then about 2 feet from steerer tube to front wheel axle its very articulated,if your used to riding slammed bent springers it all good,my mate had a go,before he jumped on he reckoned it would feel like a raked out chopper with some flip flop........WRONG,I cracked up laughing as he was wobbling from side to side,as the angle of the front makes the steering want to stay centered and straight so you have to muscle the bars slightly "swing" the steering
 
Endlesschain,
Really cool build! I have a kids 20" bike with rather cool looking rear drop outs, and may try my luck at such a project. I was wondering if you have any detailed pictures of how the relocated BB was done? Thanks!
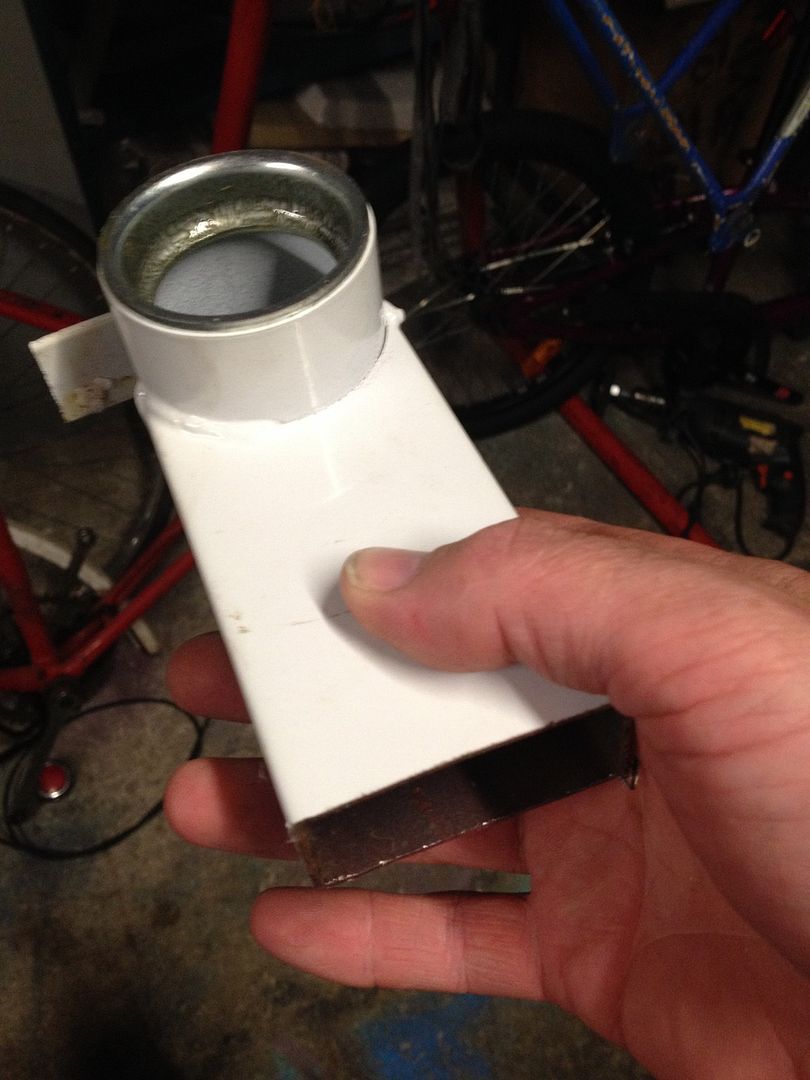
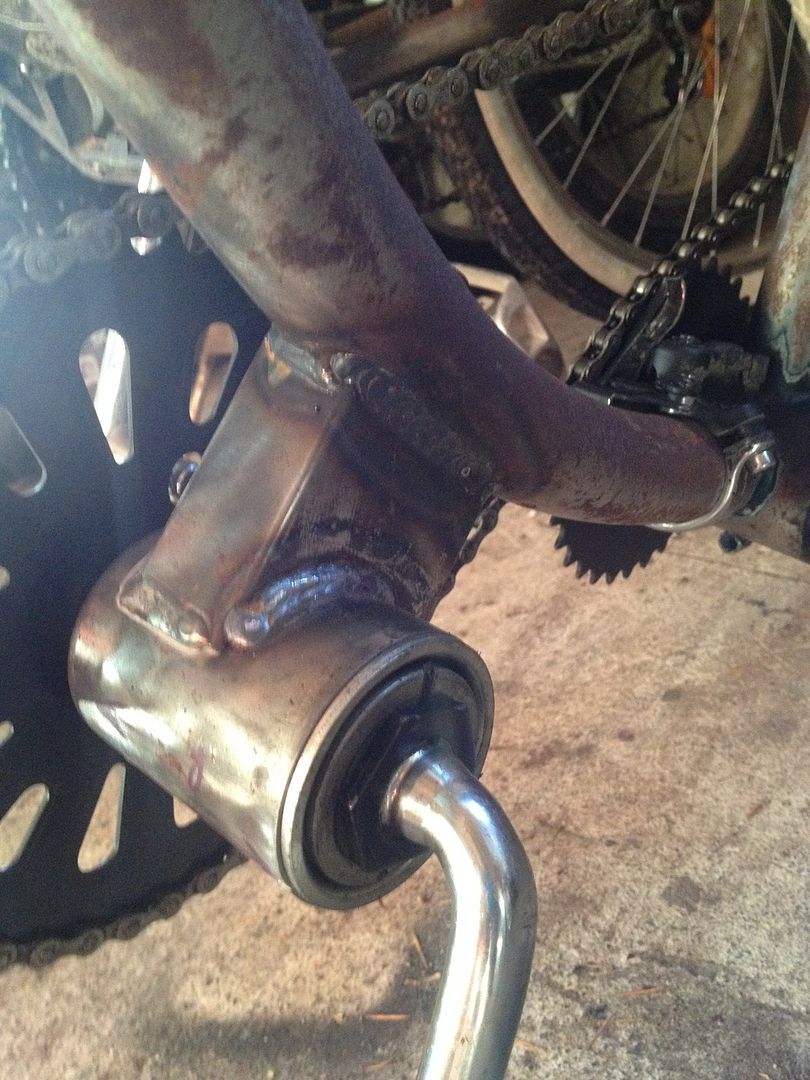
I used a BB from an exercycle because it had rectangle tubing it was relatively easy,I cut down the tubing to the length I wanted,I cut on an angle length ways and used a wide flat half round file to file the curve into the ends to match the curve of the frame,mounted it where it needed to be,marked it,and let the hot rod shop weld it up,I recommend buying an old exercycle mainly because the BB will most likely be welded to a single piece of tubing,makes it way easier to work with
IMG_4216_zpsmb1cu5sc.jpg

IMG_4217_zpse288krhc.jpg

originally only welded on 3 sides(factory) as there were no breather holes so drilled some holes and had my guy weld the 4th side for strength
IMG_4227_zpsy58difrz.jpg

it looks crooked in this pic but it isnt,its just the way the pic came out
IMG_4228_zpsfnthswnd.jpg
 
Thanks for the BB details. Inspiring! :)
all good,yer I lost the pics of the transformation,the hardest part was working out the best chainline as the exercycle BB tubing was already off center to the BB got it close,welded up and then saw that the chain rubbed on the original BB,no problem as I was going to angle grind a out a notch in the original BB but decided to run a small chainring instead
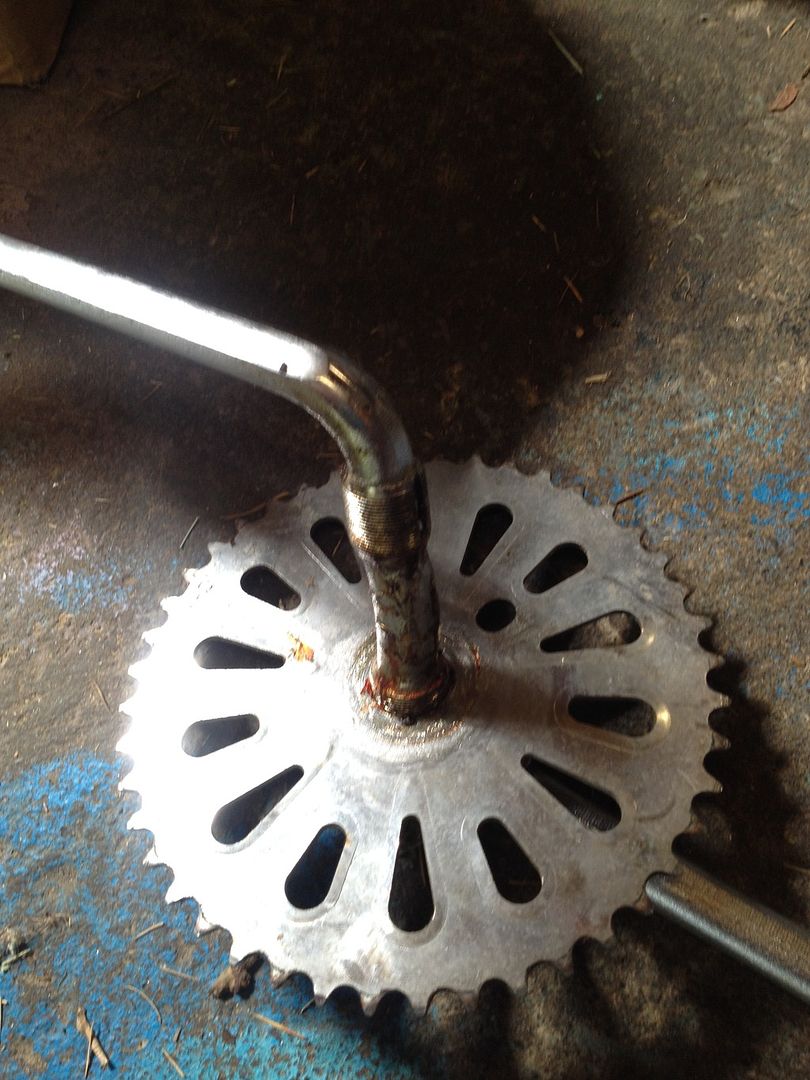
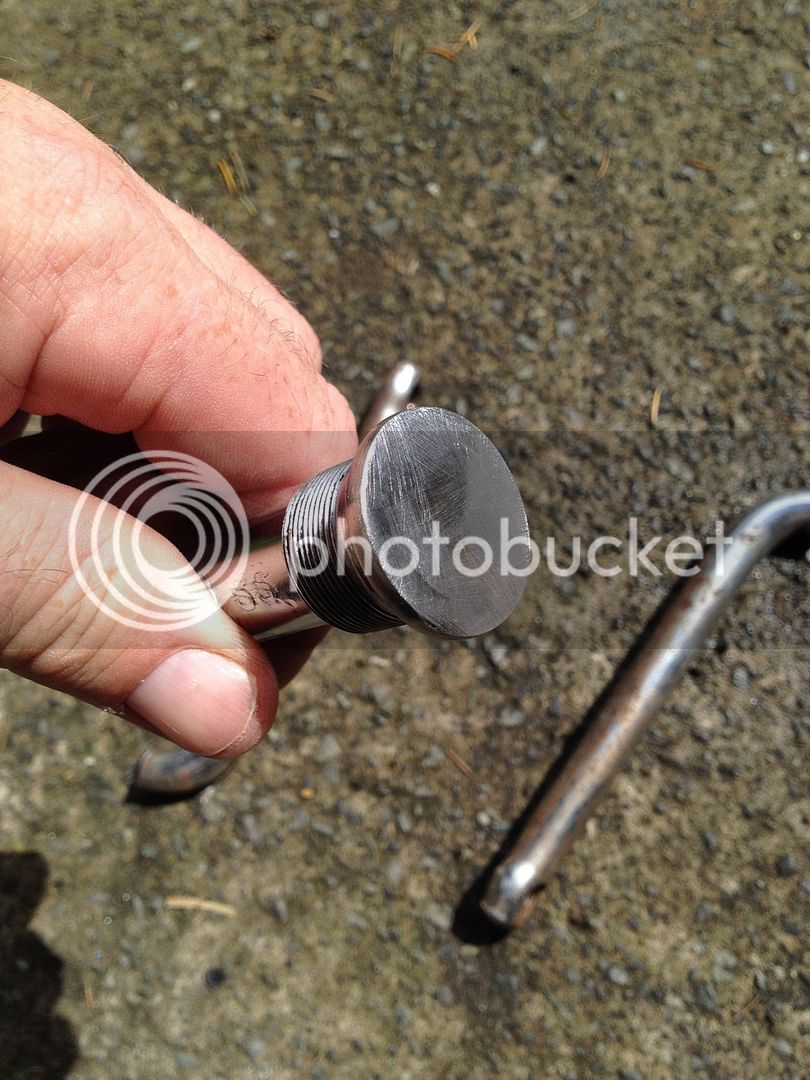
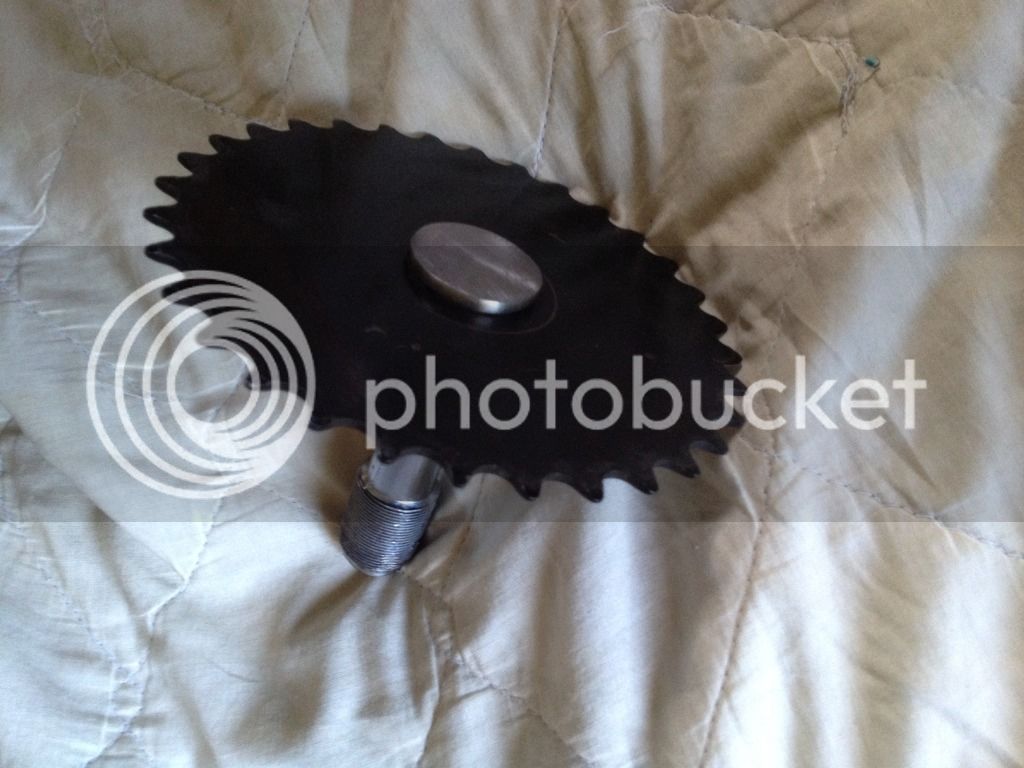
heres some pics of the small chainring set up
IMG_4157_zps5bfaduy5.jpg

cut up
IMG_4160_zpskyvzoxju.jpg

ground down and tidied with a strip disk
IMG_4159_zpscg0ugcrg.jpg

IMG_4158_zpseeydtdvf.jpg

finished
IMG_4161_zpsgjisn9wl.jpg
 
Last edited:
if you want to make it rusty real quick. Throw it into a container with a bit of ammonia in it. (if you want to accelerate it a bit grab a really rusty piece of scrap metal lob in there. It will contaminate the liquid with rust.) Will patina it quickly. I know a few rat rod car people who age parts by making a mystery spray which they haven't given me luxury of informing me what it is, I am guessing the main ingredient is ammonia.

(Ammonia based cleaners will rust guns in minutes. So it should great for your ratting escapades:113:)
thanx for that,will play around with some formula's that are amonia based,the frame is where its at,which is half rusty and half dull metal so will work on the chainrings and the fork,Im not a fan of the completely rusted brown all over look as I prefer to see dull steel as well so will probly spray bottle it on and then once at a stage I like will matte fix coat it as done on the rest of the frame
 

Latest posts

Back
Top