Junk Crafted HIGGINS - After competition minor modifications

Rat Rod Bikes Bicycle Forum

Help Support Rat Rod Bikes Bicycle Forum:

This site may earn a commission from merchant affiliate links, including eBay, Amazon, and others.
I had a small amount of time after work so i was able to get the adapters shaped and brushed
here are the adapter pics as promised

adapter next to swing arm
IMG_3793_zpsljb2fkei.jpg


adapter sitting in place on swing arm
IMG_3792_zpsrkzdcird.jpg


adapter bolted up to swing arm and springer
IMG_3794_zpsqjtuqbjd.jpg
 
I wanted to finish installing the springer but the rat trap stem is to long for the columbia headtube so i need to decide if i want to get it threaded all the way or use a threadless headset as an adapter

while i work out that problem i figured it was time to start on the zoomie side pipes

Like jasper87 did with motodromo special II
I am also going to be using handlebars for my pipes

Before cutting
IMG_3803_zpsrvmywm0d.jpg


after initial cutting
IMG_3804_zpsqi8xaru3.jpg


further cutting and mocked up next to the inspiration for the design
IMG_3805_zpsvt9gztfx.jpg


the higgins emblem is off the early 50's colorflow rear rack that i acquired a couple of years ago from onewheelsqueel
its just taking this long to finally use it in a 3D version of the popular higgins side pipe tank design
 
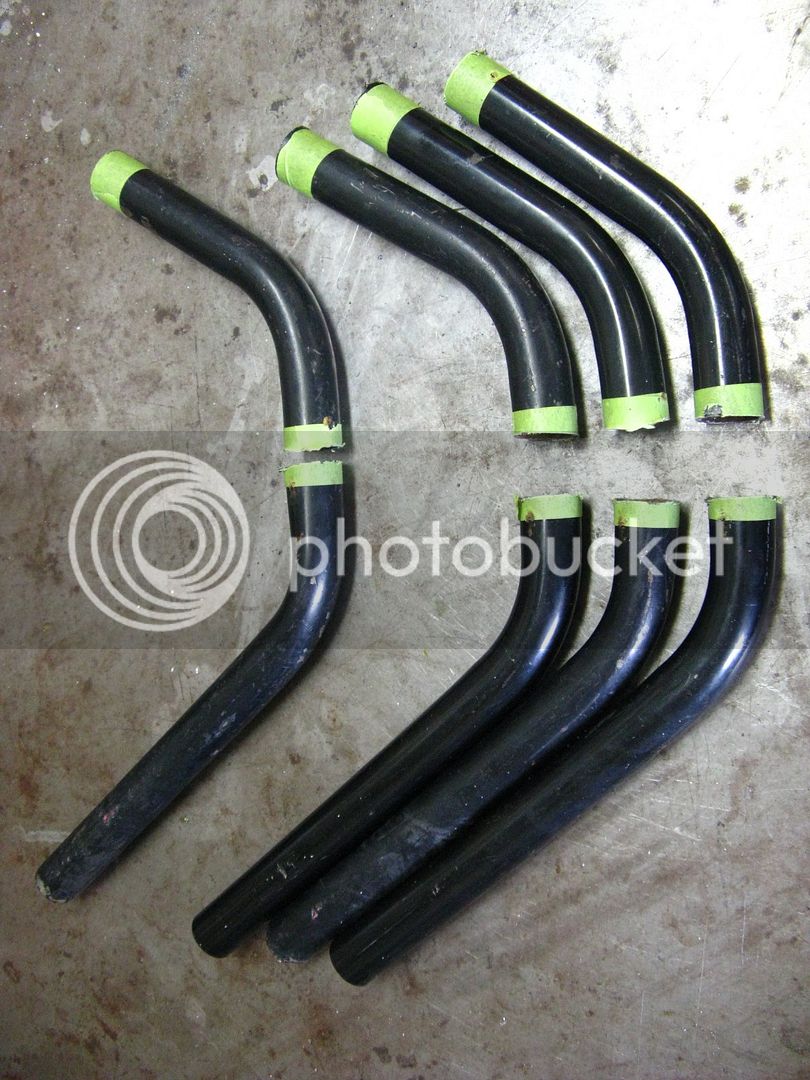
Well I wish I could say I have been working on the side pipes more but no
I have been busy at work so not much has been done
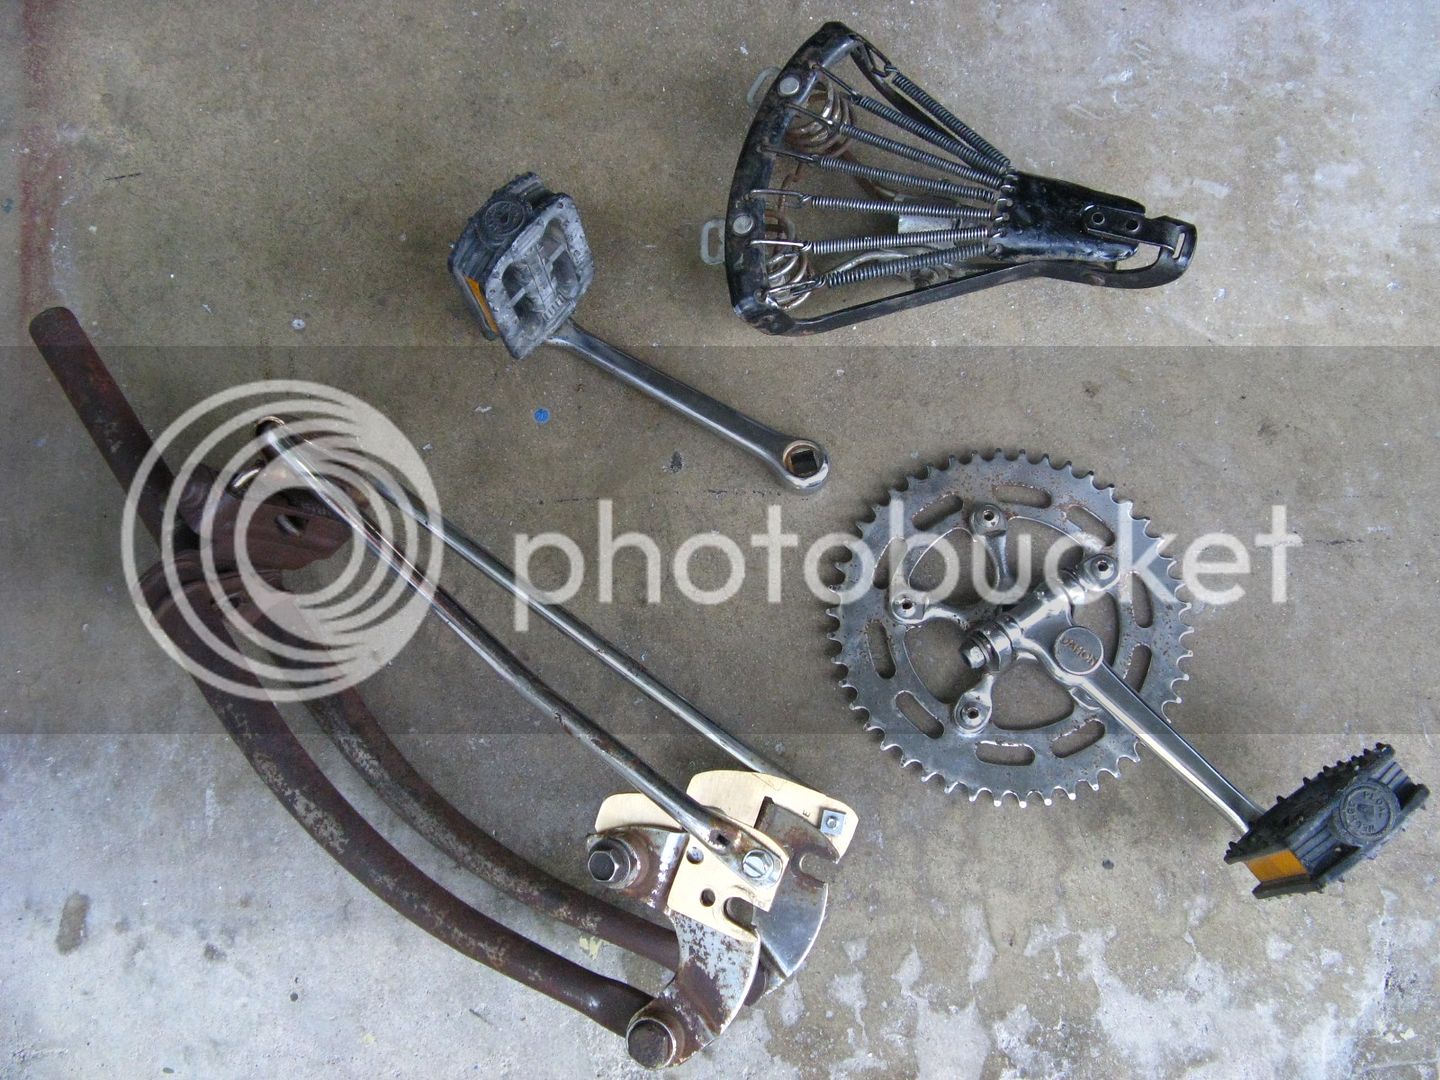
However the Long Beach Cycle Swap yielded some excellent parts that i can use
IMG_3807_zpsidfj8yii.jpg


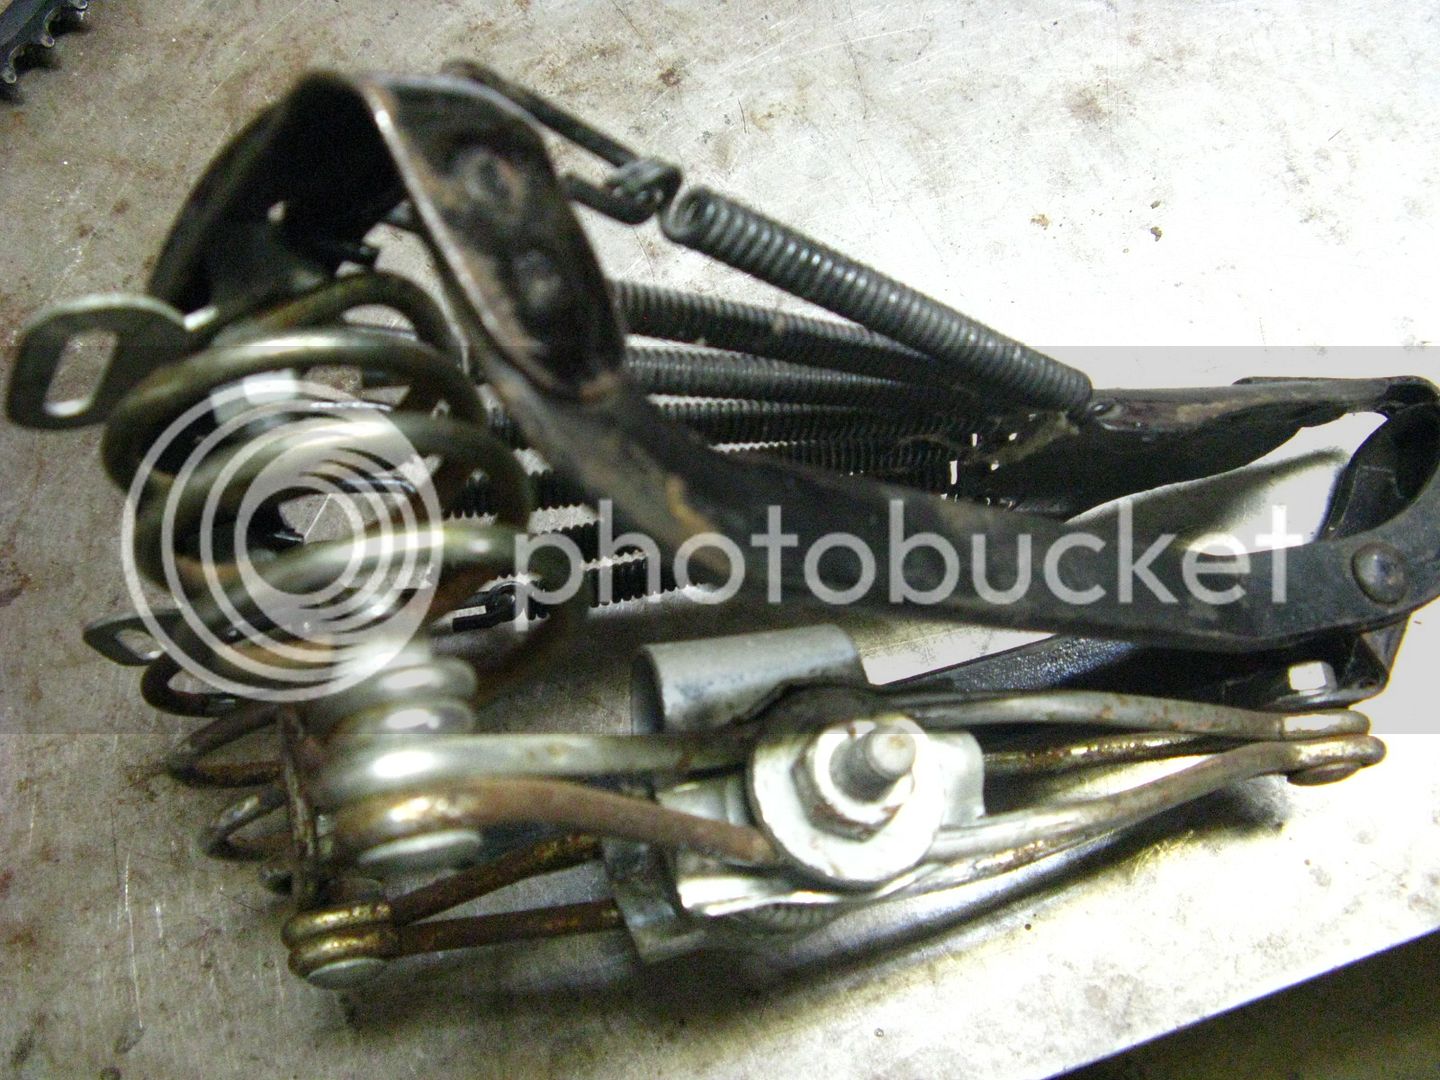
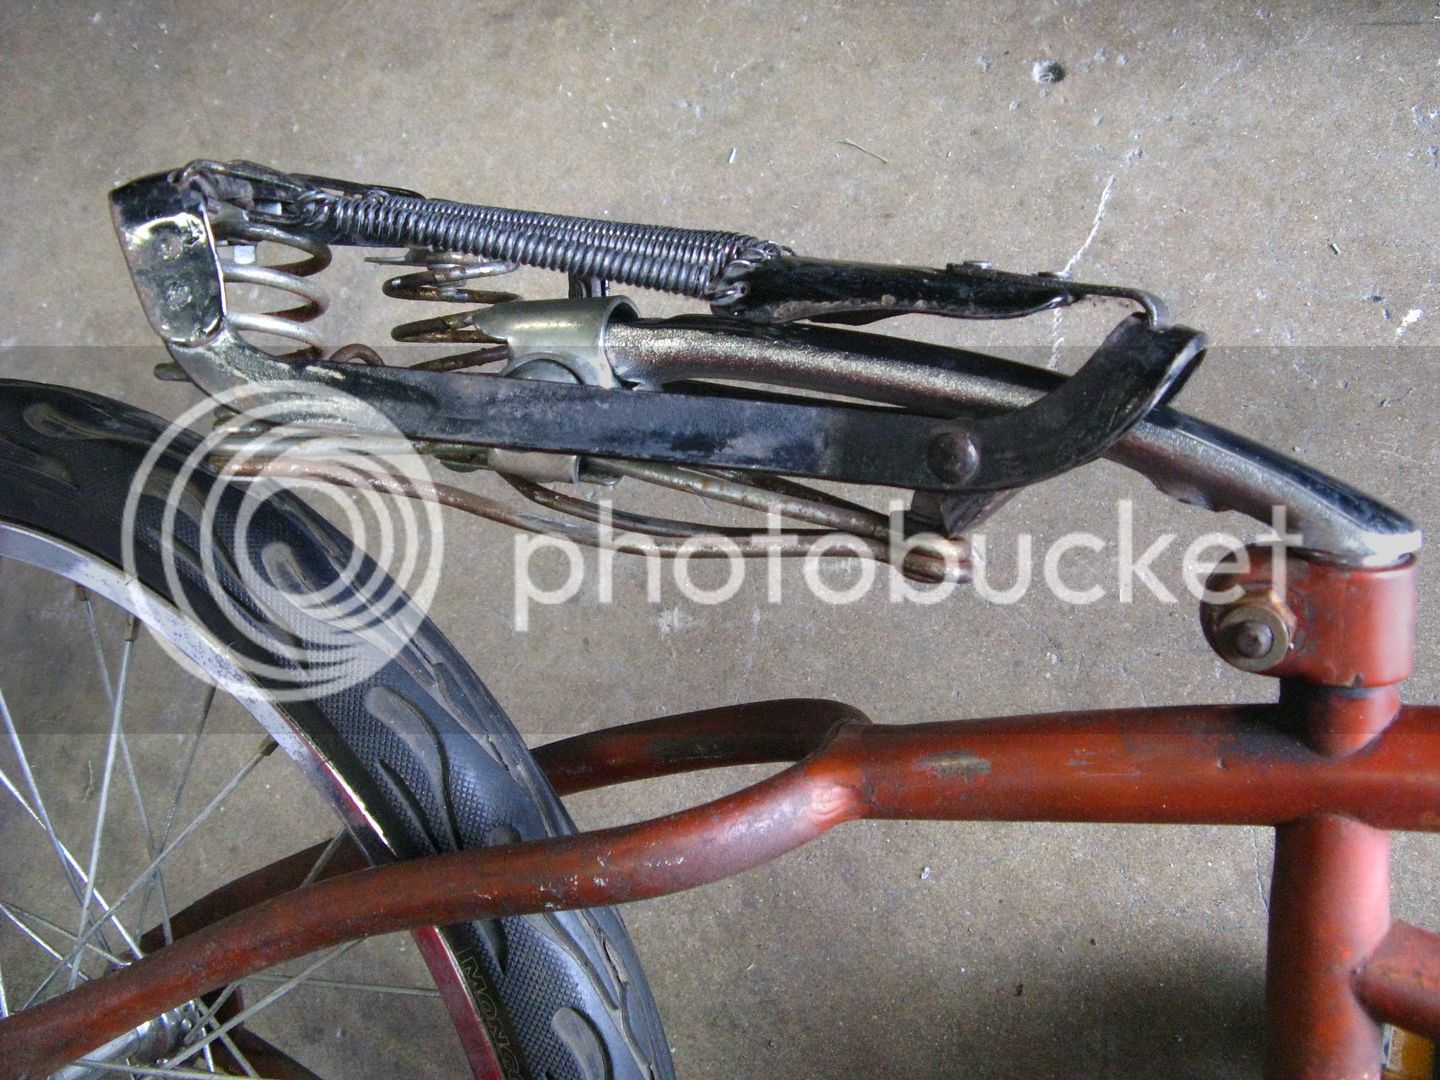
I don't know much about the seat but I had seen a bare seat like that used back on a build off bike (i think it was BB0 7)
I grabbed it for 5$ when i found out how comfortable it is even bare
so it should be good with whatever material i cover it with

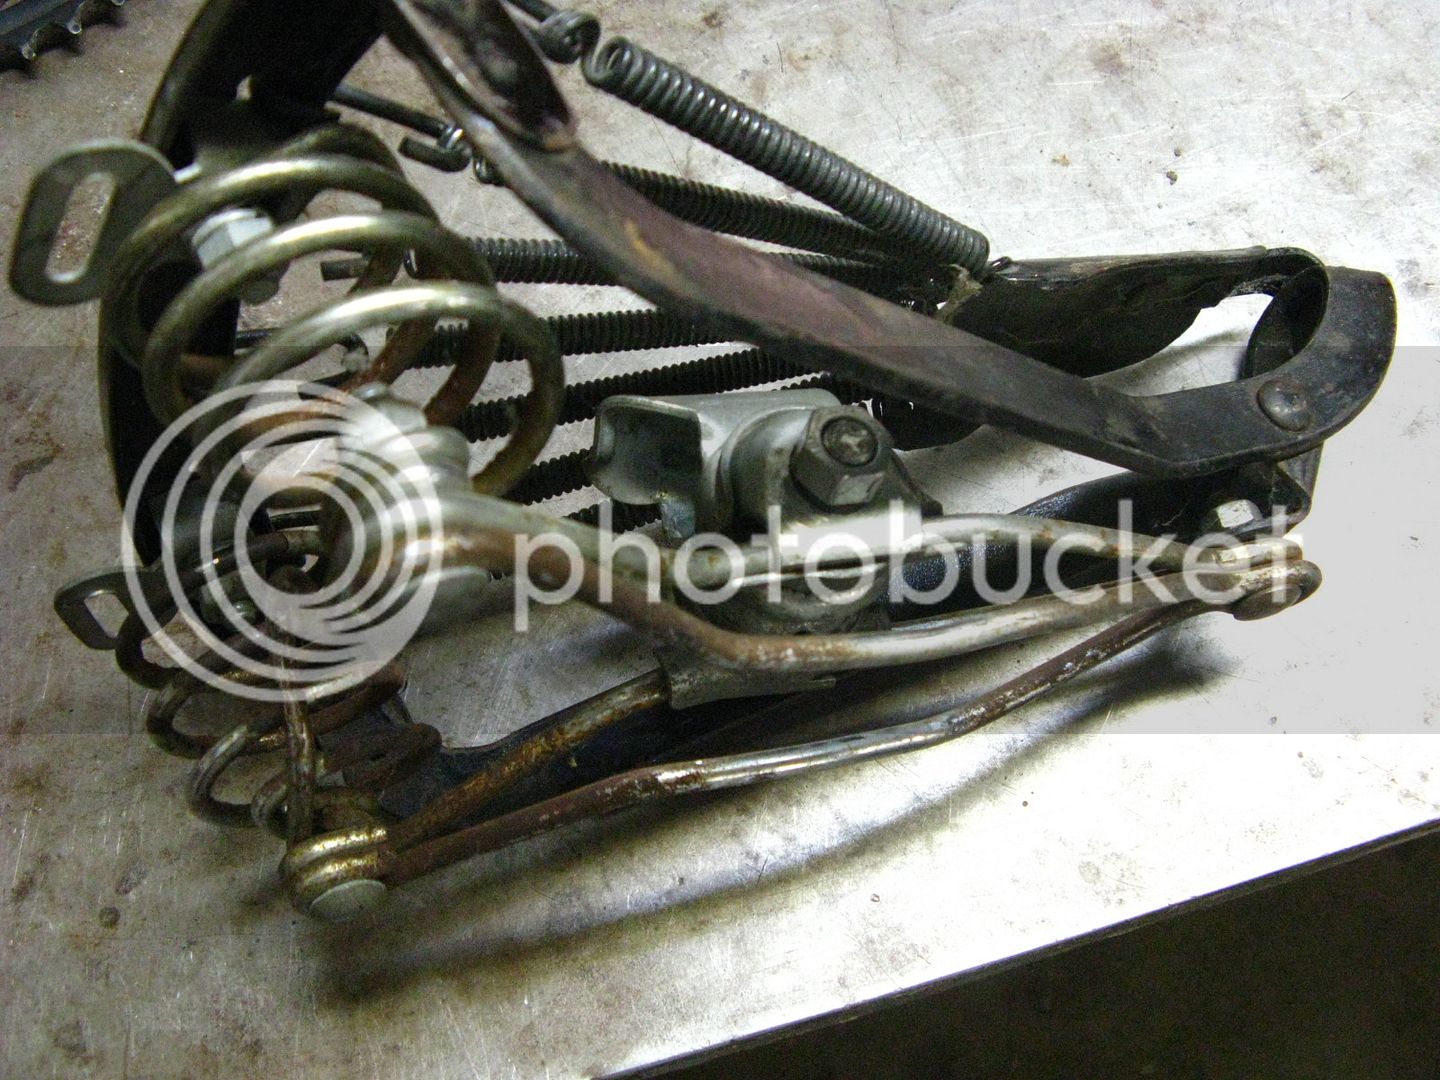
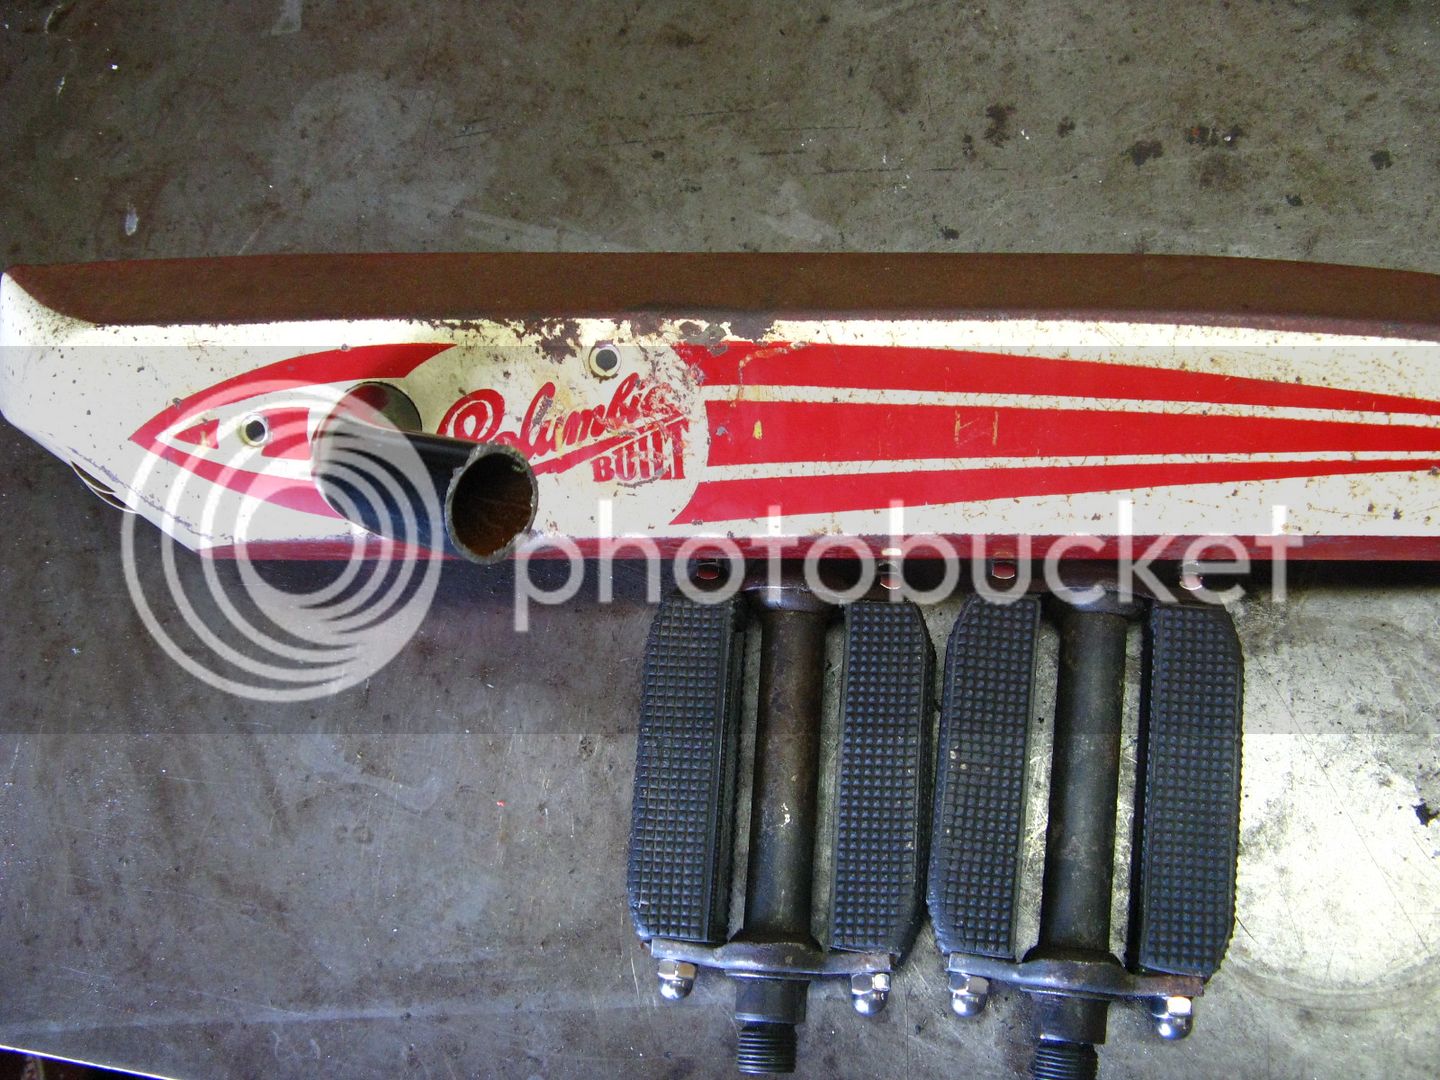
As for the rattrap I had to get it it was far rattier than my other two so it fits the build better plus it was 10$
*I took the pic is after I had cleaned it up but i wish i took a before shot but I didn't know it was that rusted
I think it used to be chrome at one time but its still hard to tell

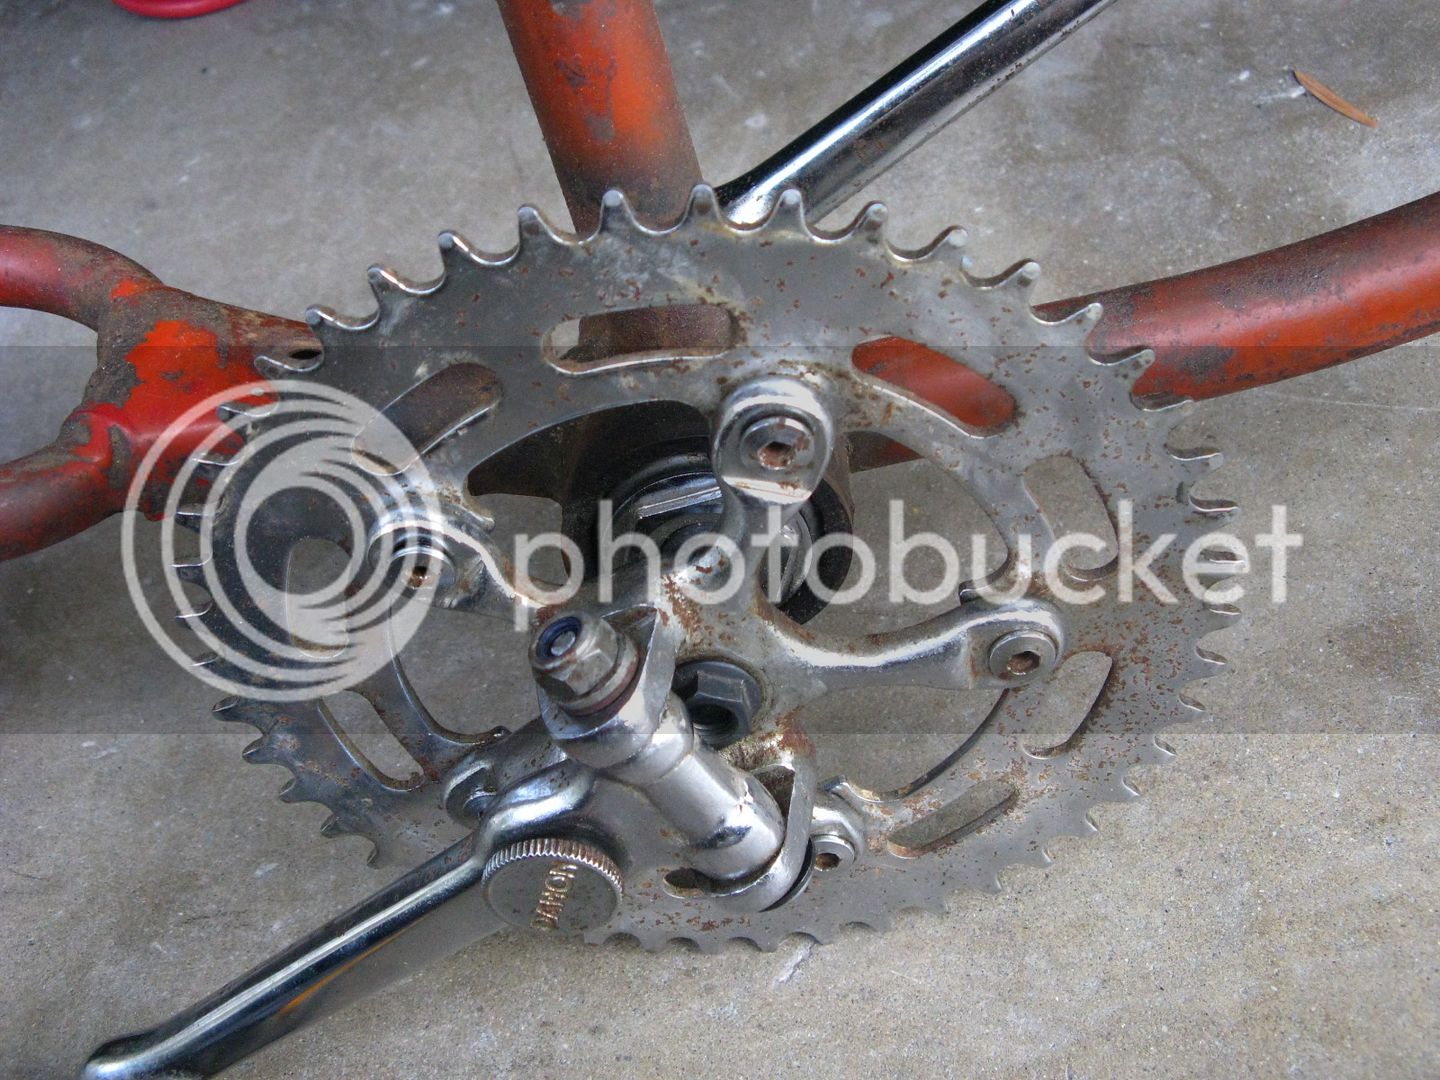
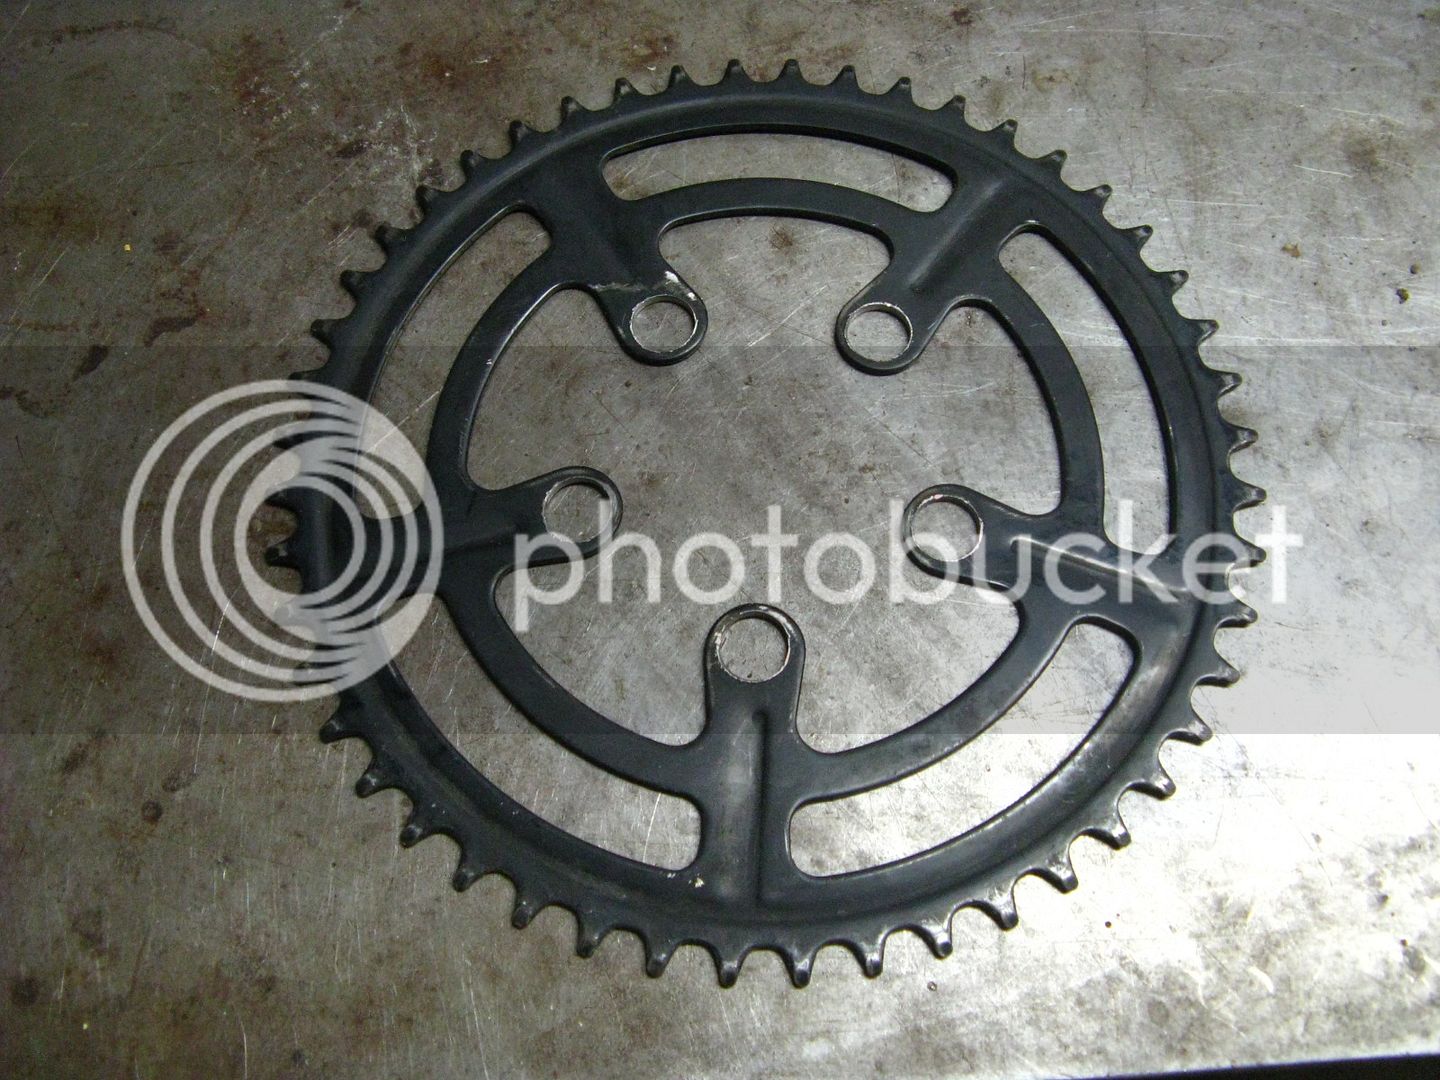
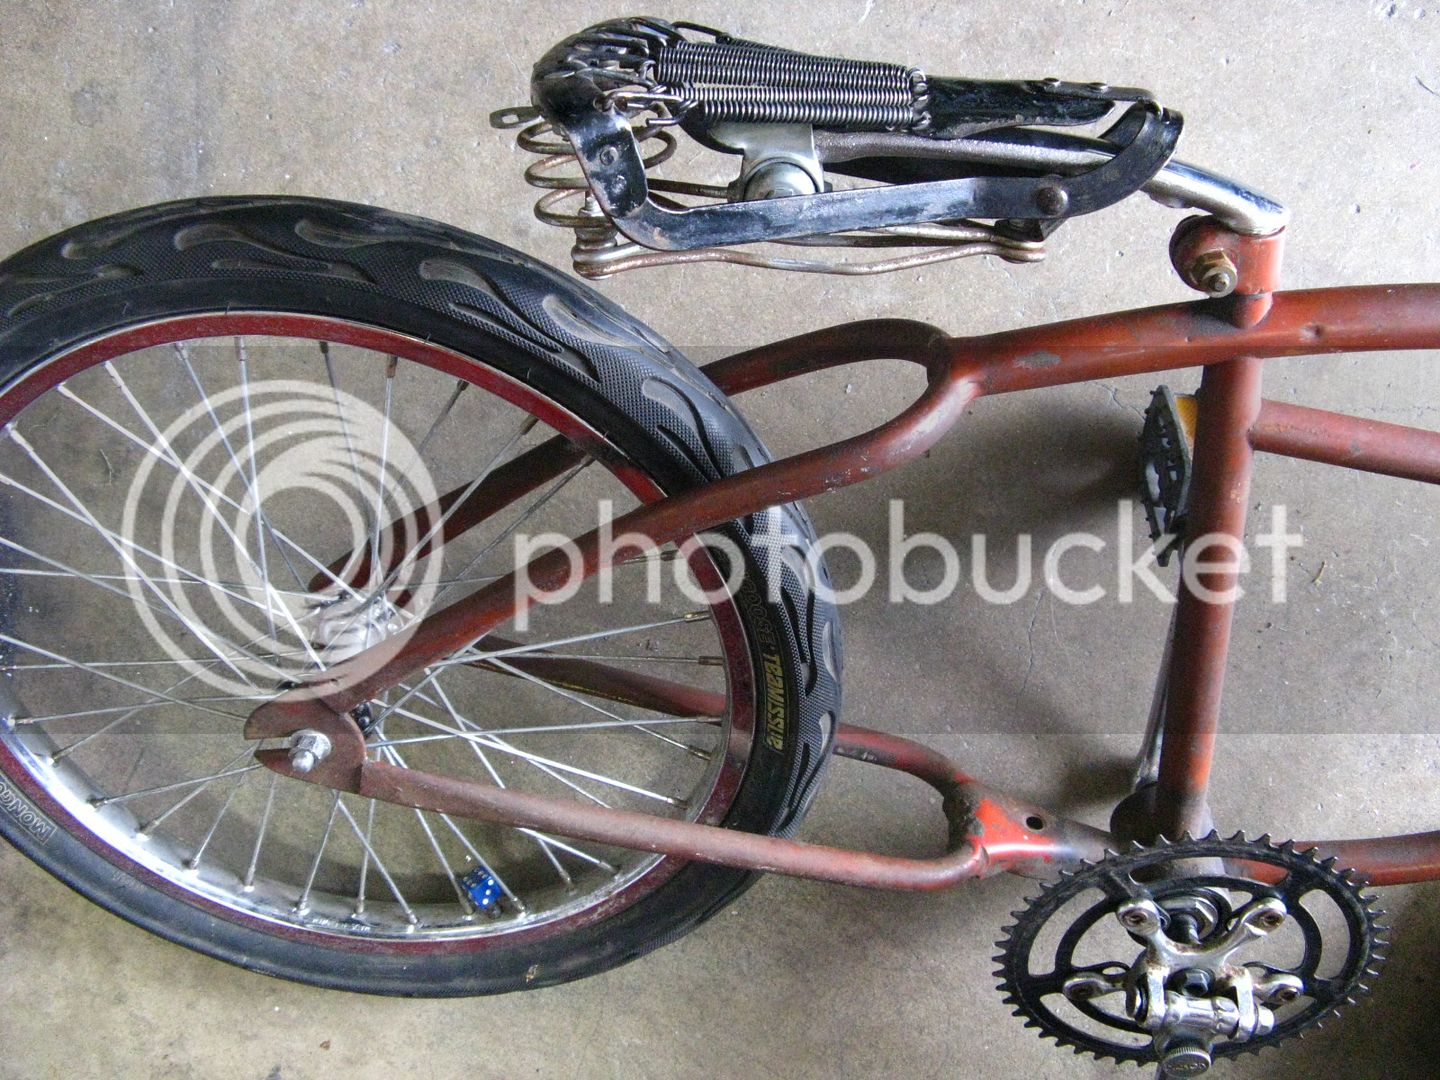
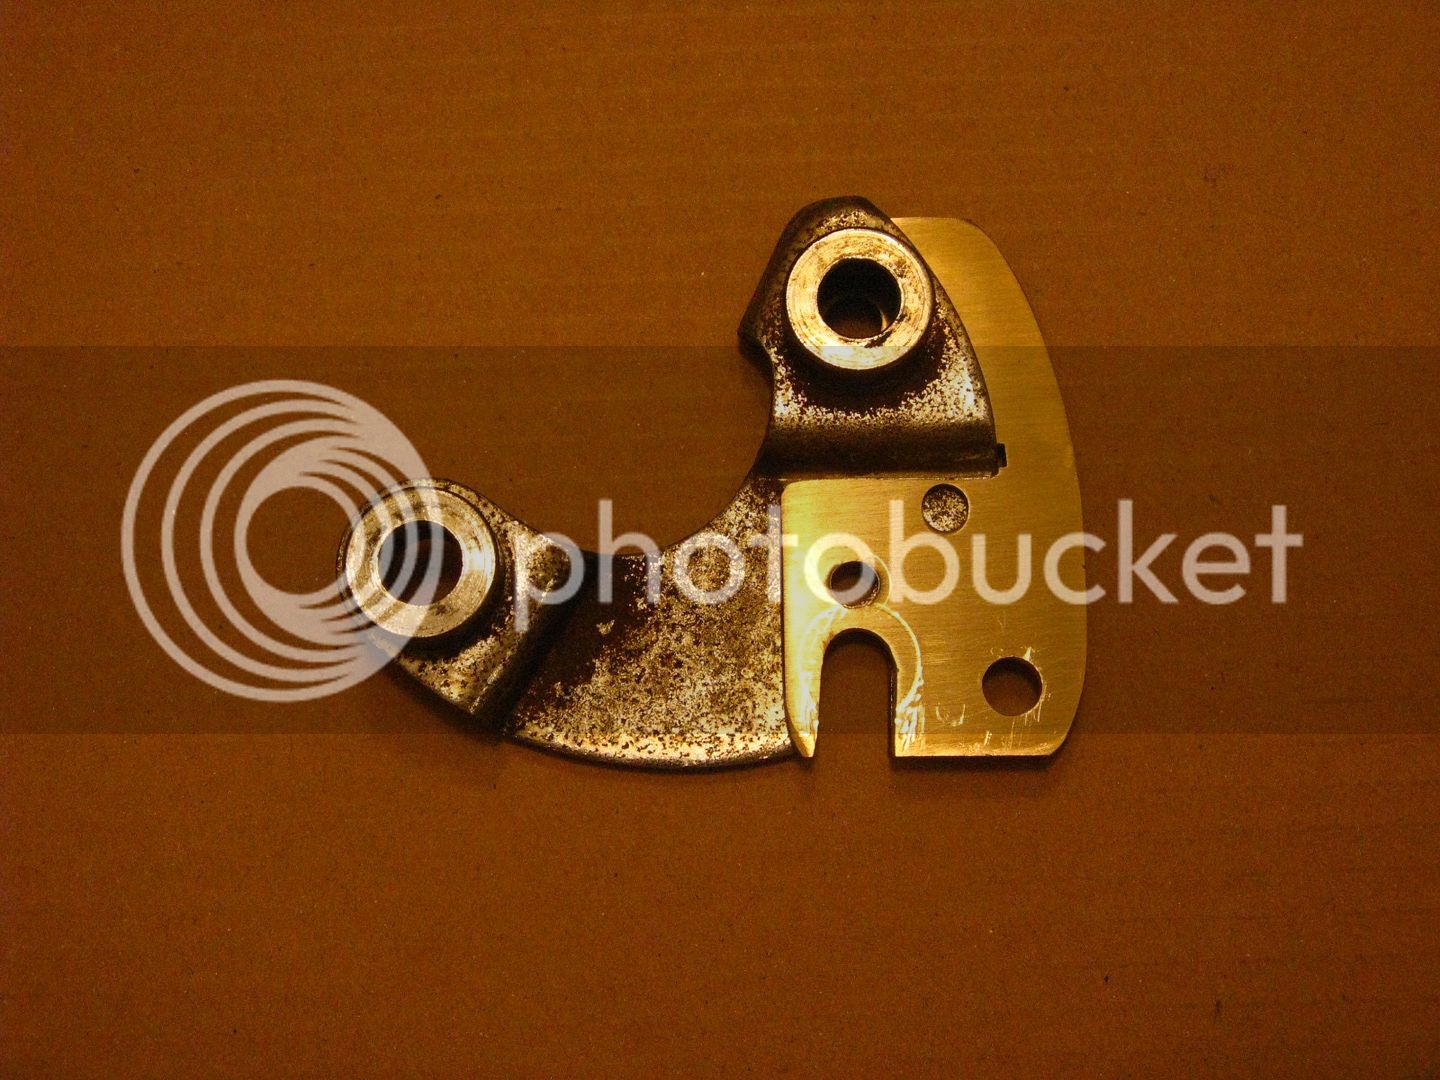
Last is the dahon crank and sprocket

IMG_3810_zpssczgw34l.jpg

This is off an early 80's dahon folding bike
I was looking for a unique sprocket (that wasn't rare and expensive) online when I came across a picture of one of these
From what I can tell no one here has used of these used before on their build
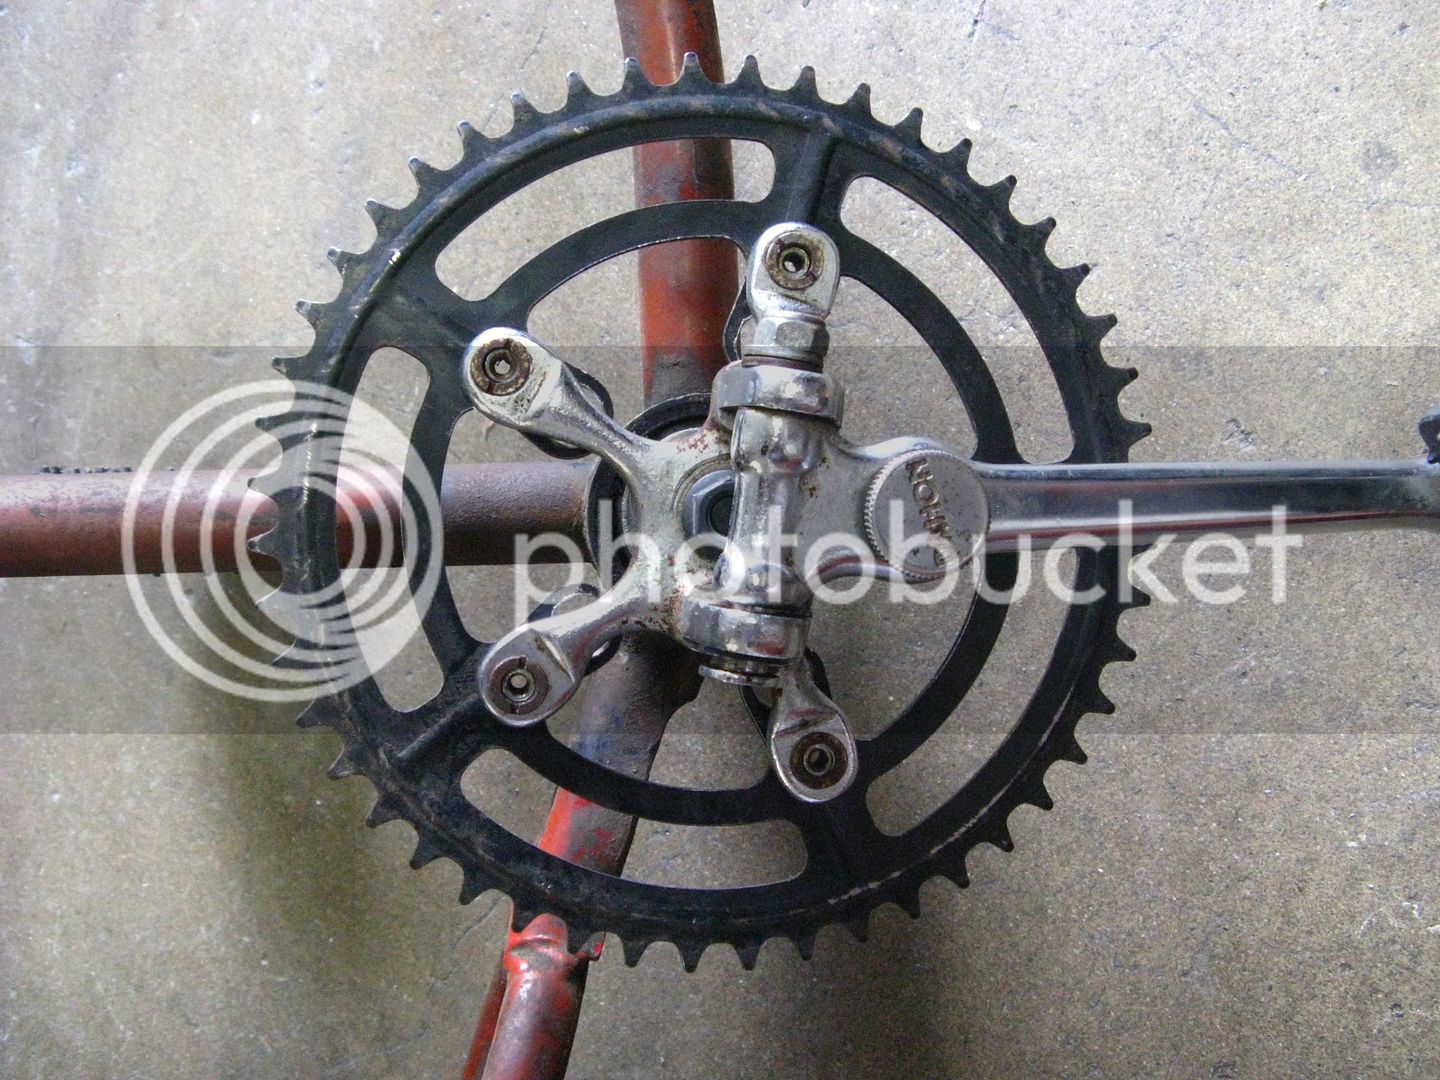
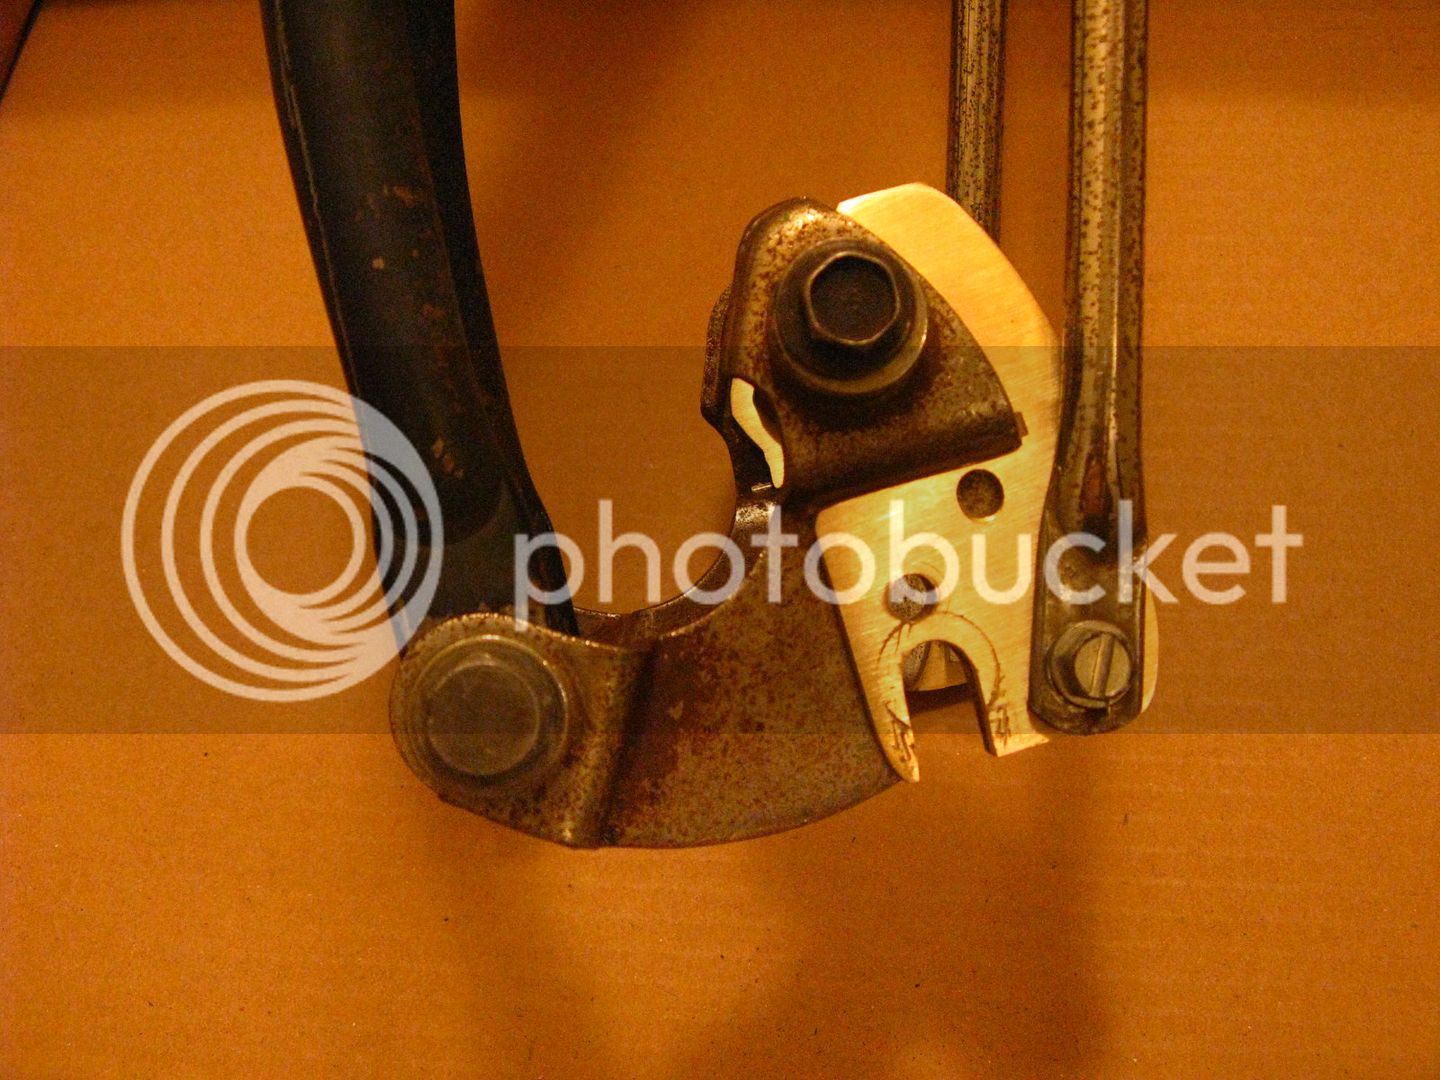
I really like all the bolts on the crank and how the spider is not a flat piece of steel
Of course i had to use a BB conversion since it is a 3 piece crank
I am thinking I would like to find a different chainring for it
A little side note if anyone wants to get one of these off a dahon
they cant come off with a crank puller you need to use something like a gear puller

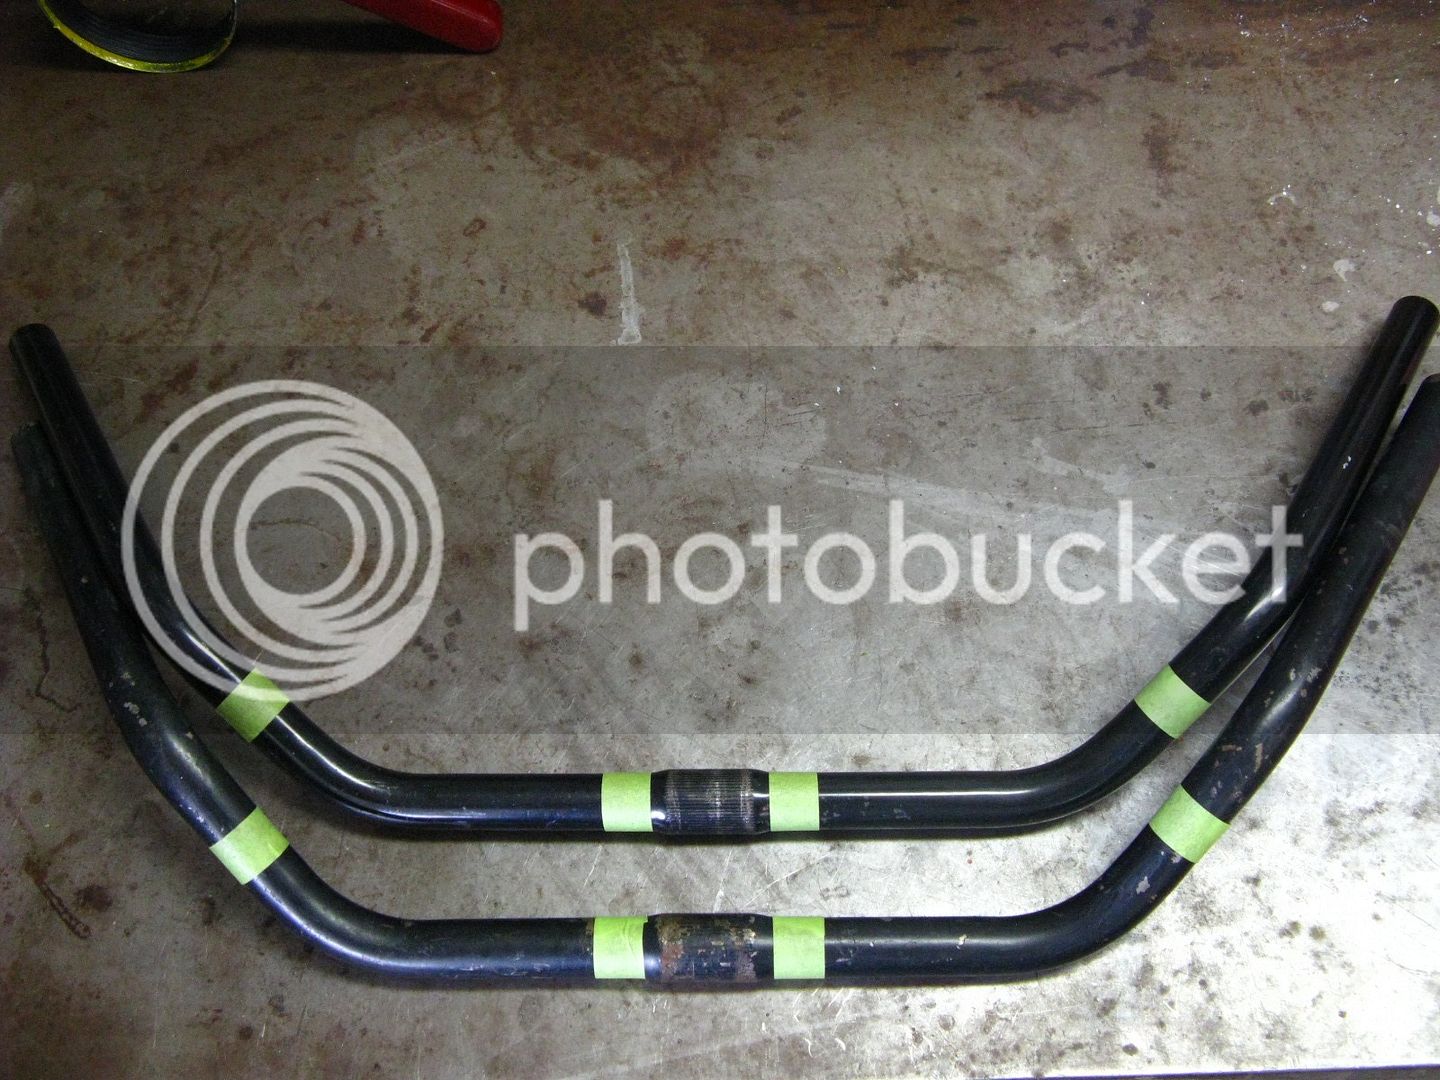
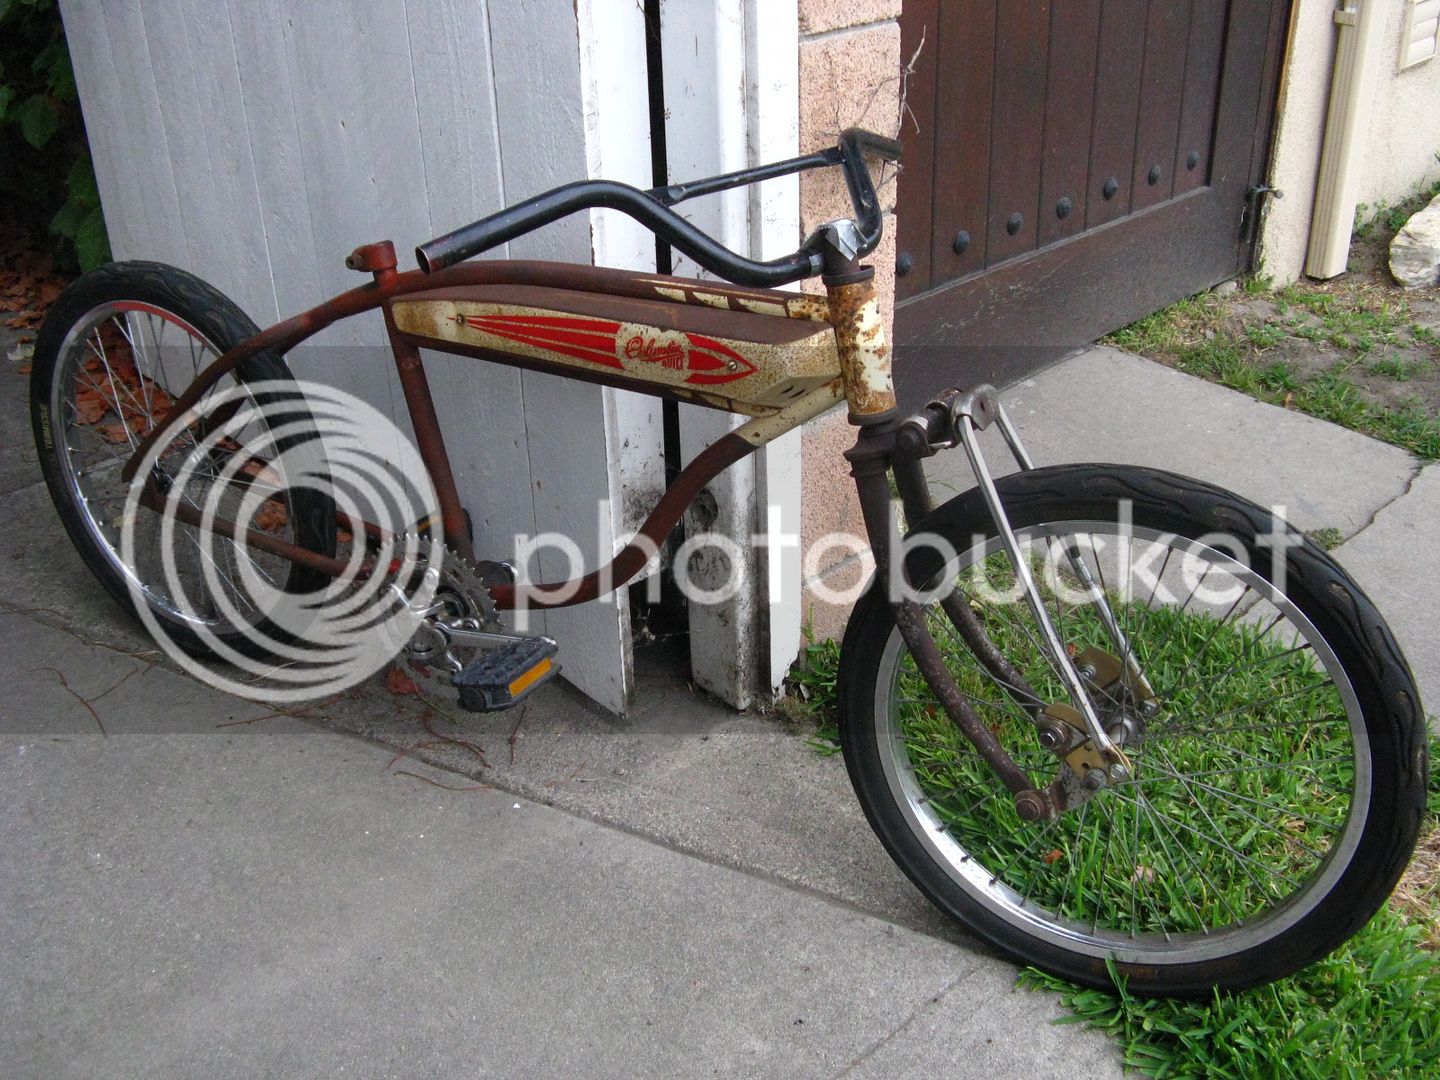
Finally i decided to do a rough mock up
I had to tape the bars on (the rattrap still has so much rust inside the stem i couldn't get a gooseneck in yet)

IMG_3811_zpsdximkbec.jpg


So with about a month to go i need to

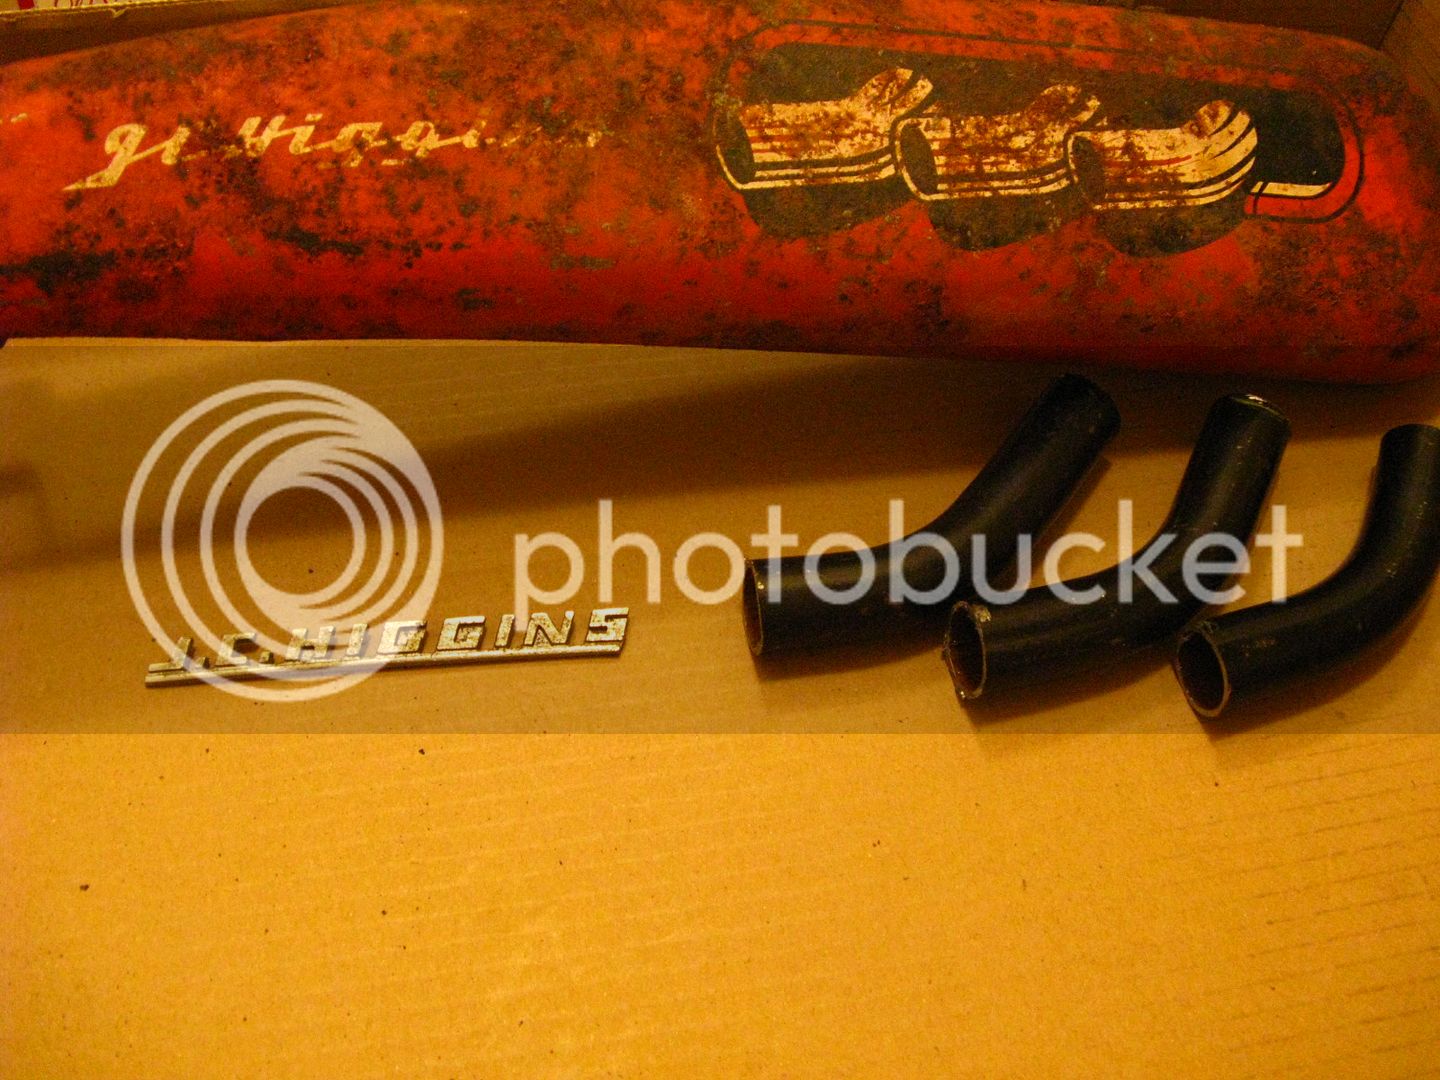
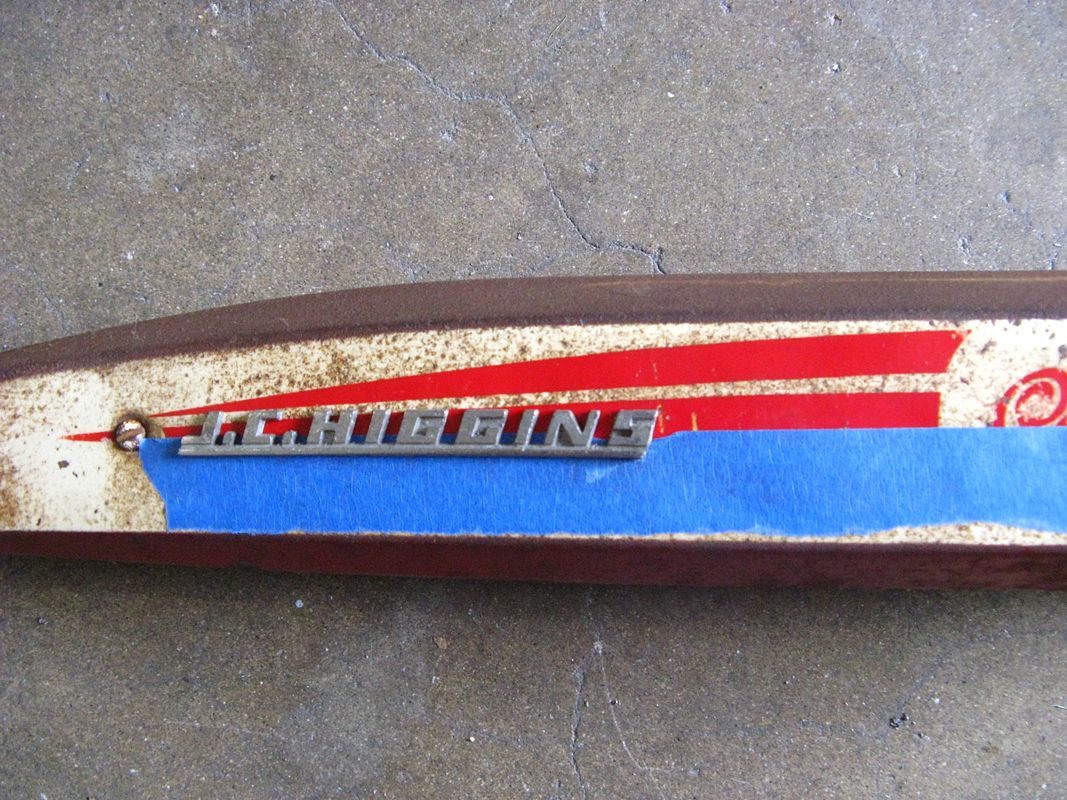
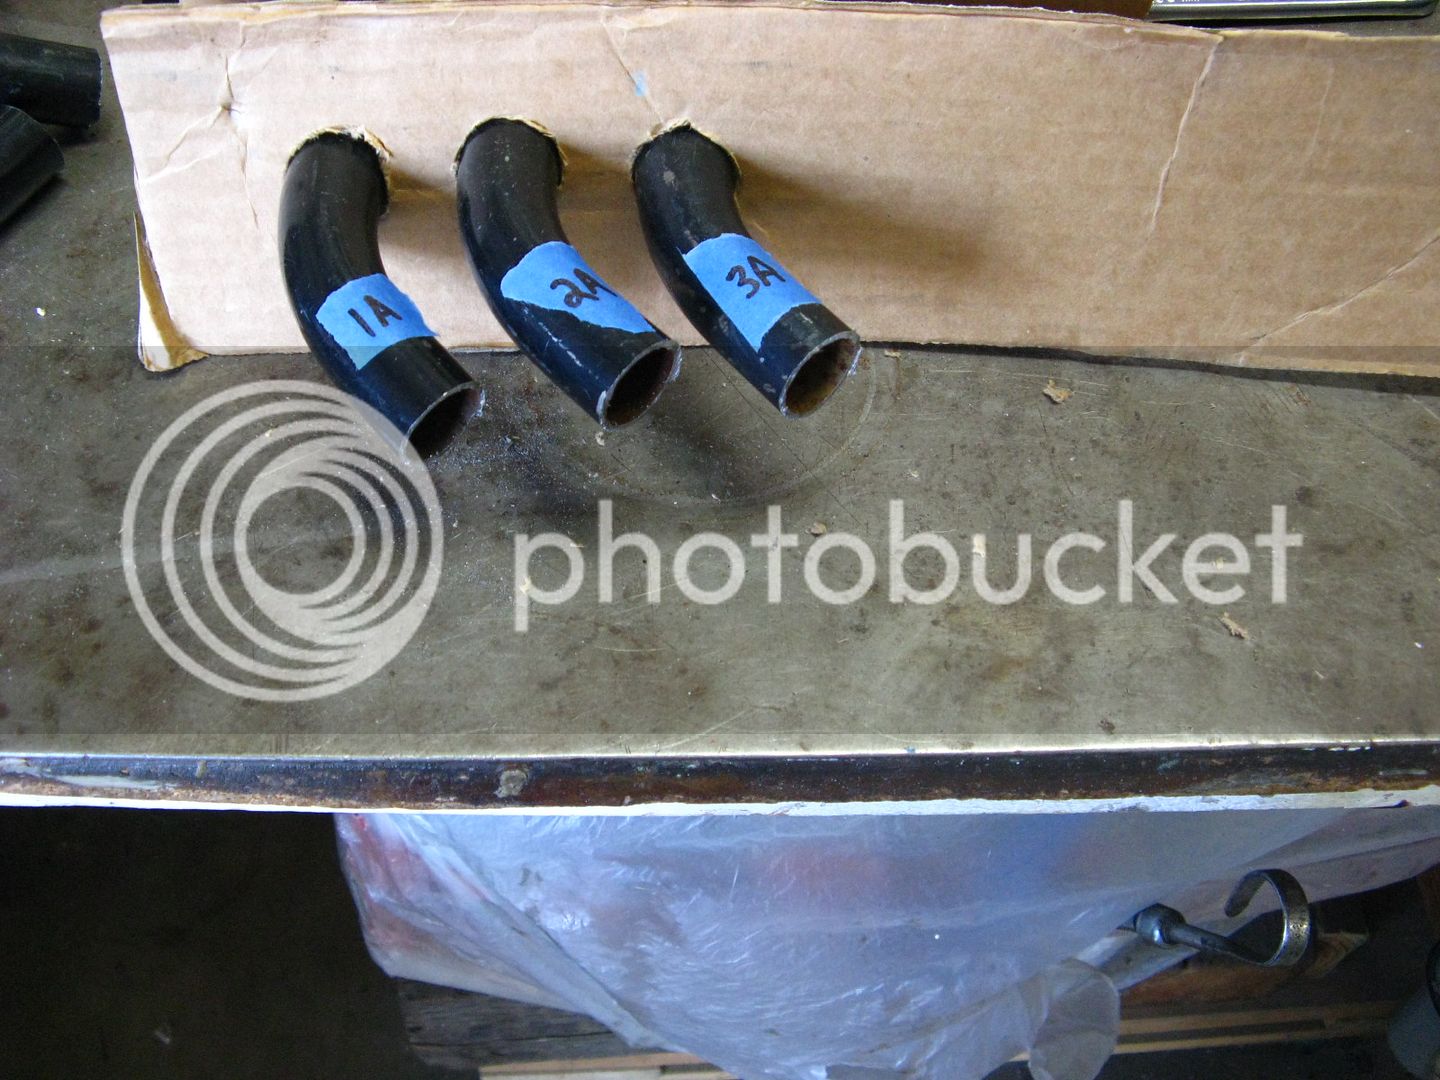
* finish tank with emblem and side pipes
* work on the rattrap so i can fit a gooseneck in it and get it re threaded
*get a 20x3 rear tire and rear wheel
*cover and mount seat

I think that is all :39:
 
I'm kinda sad you don't keep OG paint - Tank looks cool now.

Yeah if this tank was a 26" i wouldn't touch it
but since it is a 24" I don't feel as quite as bad (it was on epay for a while and was cheaper than most bike tank go for)

If i do it right I should still keep the OG base color only the Columbia script and white paint should be removed

Unless someone has another 24" Columbia tank that i could use :whistle:
 
So I have been doing small amount of stuff ever day but haven't had time to show the progress so this will be a bit long

1st off a small update on circle trek
got lucky at a local swap meet and picked up this size 650 aluminum navi fork f or 15$
head tubes a little short so i will need an adapter
IMG_3823_zpshcf06wcp.jpg


Now as for progress on the main build
I was not quite happy with how the stock chrome chainring on the dahon crank took away from the spider
I ended coming across this chainring that I modified for another project (that ended up not working out)

IMG_3817_zps92mrkswb.jpg


So I re-drilled it to fit the dahon spider
(I still need to cut the old holes off but that is for later)
IMG_3826_zpsl0bf0wx9.jpg


The next thing was the seat post
a while back I saw that one of the members made a lay back seat post by cutting up an old crank
So i had saved 2 that don't function as cranks anymore for just such an occasion
the straighter top crank 1/2 was either a murray or huffy
the curved crank 1/2 was from an electra
IMG_3829%20-%20Copy_zps7n68v5vj.jpg


When i first tried out them with the seat i noticed it sat to high because of how the seat post was attached
IMG_3814_zpsdeeunrow.jpg


I took of the double rail clamp and put on a single rail clamp on the top rail
IMG_3816_zpswmnkcd5j.jpg


Much better
so far i liked the curved crank best
as you can see i also ran the "post" through the nose of seat frame instead of underneith
IMG_3828_zps9tdx1sna.jpg


Here is a shot of the new crank and the seat setup so far
IMG_3827_zpsdbgwhroy.jpg


Don't worry I am still working on the tank but I only have the one so I want to take my time and get it right
but I did drill the holes for the emblems on at least one side
(not attached yet just resting in the new holes)
IMG_3824_zpsfejptqzp.jpg
 
Did you weld more length to the seat post so that it gets a little more bite inside the seat tube

I plan on it once I figure out which one I will be using but for now it is good enough for mock up purposes

Also a side note I was able to go to a newer bicycle co-op and be able to use their tap and die set to lower the threads on the rattrap
 
A little more progress to show on the side pipes

so before I go to far on the tank I want to mock them up
so drilled some holes in a piece of cardboard
IMG_3833_zpssrh8pgjv.jpg


Then mounted them in the holes
IMG_3831_zpsrdh0o0tw.jpg


Once I got the t set that matched the closet for each side
I marked them
IMG_3832_zpsb9zmu7k8.jpg


Here is one in the hole for the tank horn
I had to slightly drill it out to fit the pipe
IMG_3830_zpsetnhmerm.jpg


BTW the pedals that are holding up the tank are the ones I may end up using
It turns out the dahon crank needs the larger threads
fortunately I had these from another build
Unless I find another set that I like
 
Are you placing them perpendicular to the ground like the first pic or angled down slightly like the second?
Personally, I think they look cooler angled down

I am planning on placing them perpendicular (trying to mimic the higgins graphic as much as possible)
but we will see once the holes are drilled in the tank
and i start work on the mounting bracket
 

Latest posts

Back
Top