"shift it to the other last position"....I get it....Another option would be to shift it to the other last position and then drill out the hole that it is currently in so that the ball will pass through the hole. There would be not turning back though.
You are using an out of date browser. It may not display this or other websites correctly.
You should upgrade or use an alternative browser.
You should upgrade or use an alternative browser.
"King 'Cuda" (1972 Ross) *4-year UPDATE!*
- Thread starter CRASH
- Start date

Help Support Rat Rod Bikes Bicycle Forum:
This site may earn a commission from merchant affiliate
links, including eBay, Amazon, and others.
Today's Round Two...
I had the original fork, but as you can see in the original picture, it was bent back pretty good. I sent it to a friend to straighten, and he did a really good job, but I got an undamaged fork off the donor bike that is the exact same size, so I'm going to use it just to be sure that I am using a straight one. I wanted to make sure it all fit...
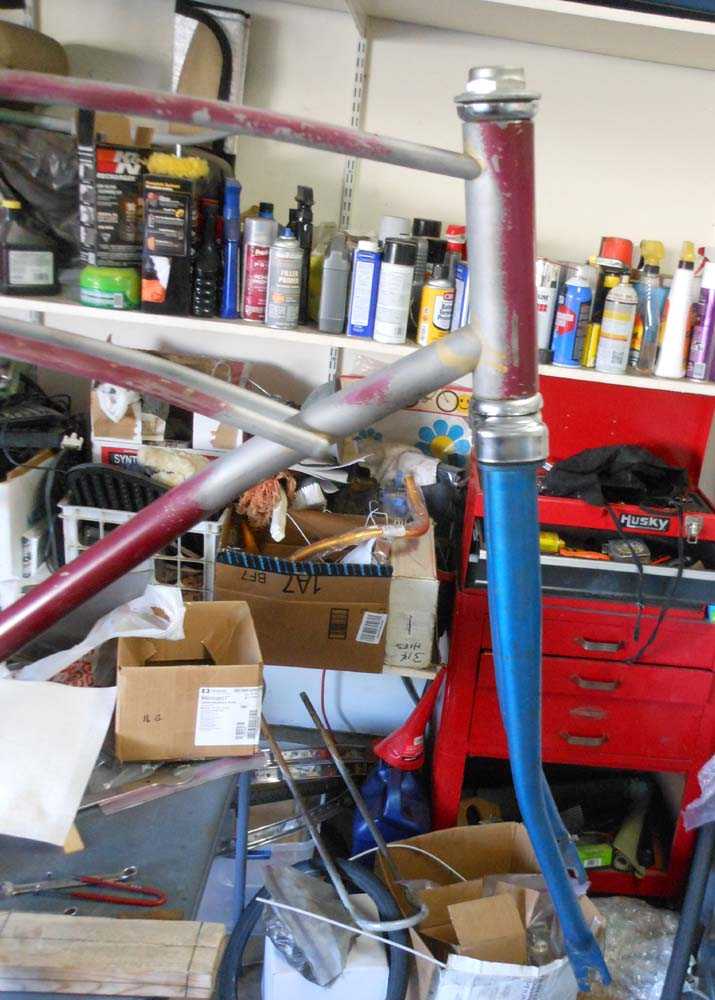
It fits fine. So I wanted to set up the front fender to see how it looks...
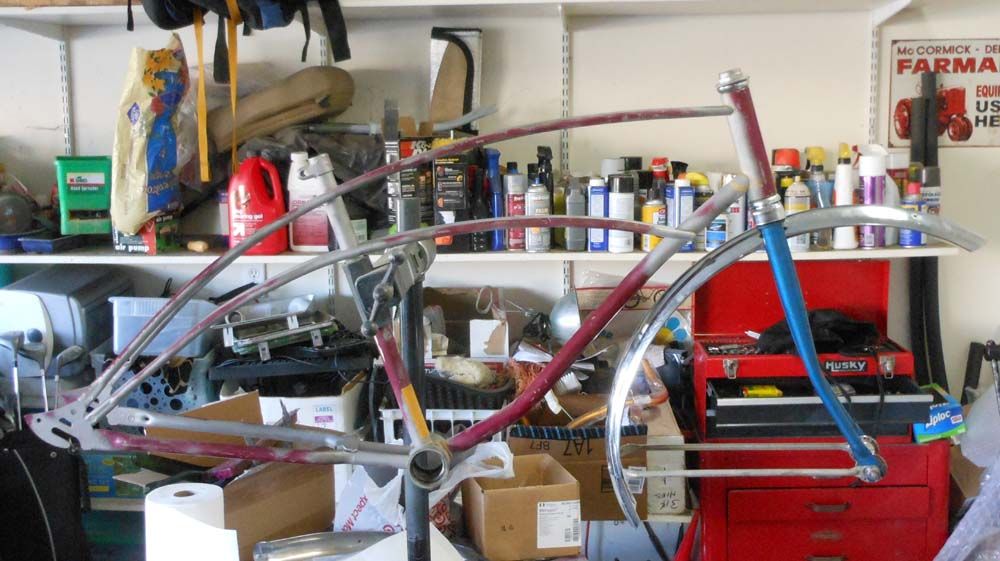
I'm not liking it. Of course the front is too long, but so is the back. It looks like an asphalt scraper. But I wanted to see it with the rear.
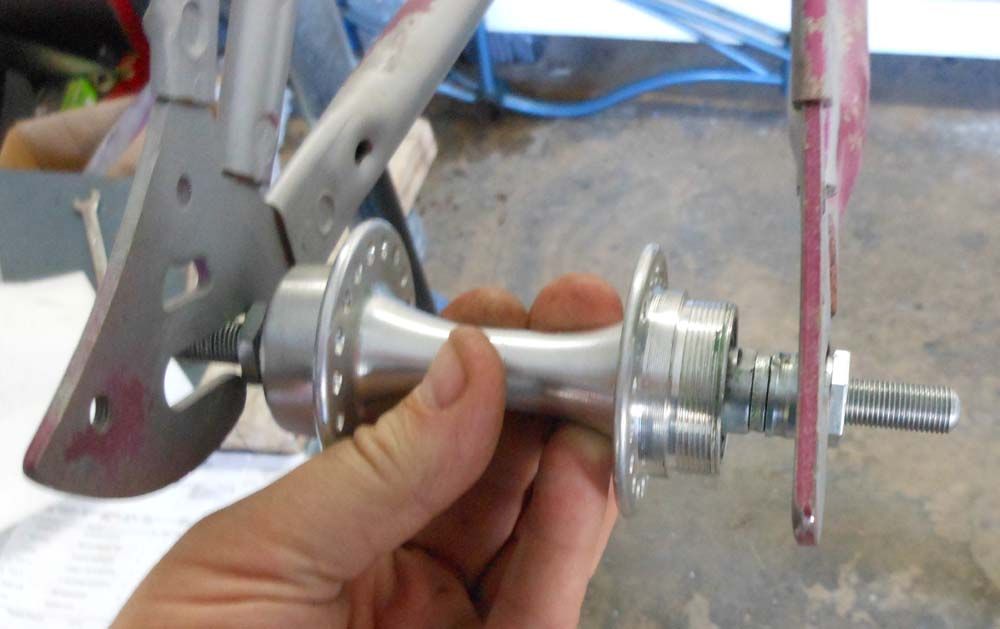
Before I can mount the rear, I need to get the rear hub squeezed in. As you can see, it's not too bad, but it needs a bit.
So, out comes the spreader...
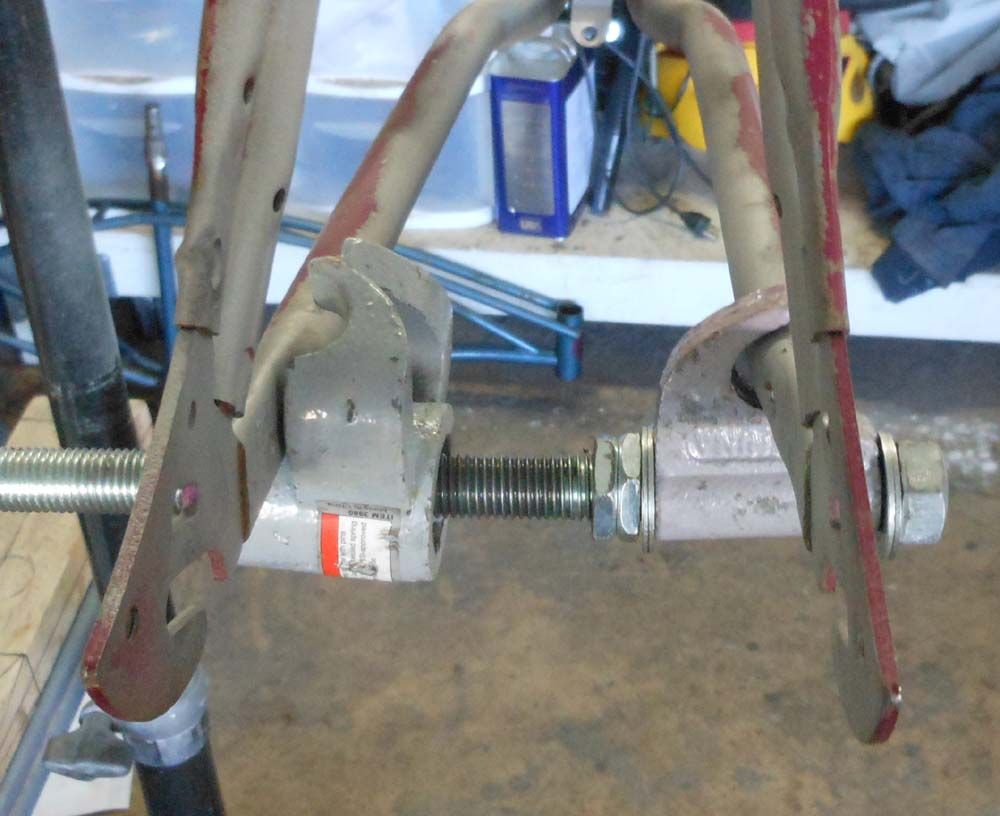
streeeeeeeeeeeeeeeeeeeeeeeeeeeeeeeeeech....
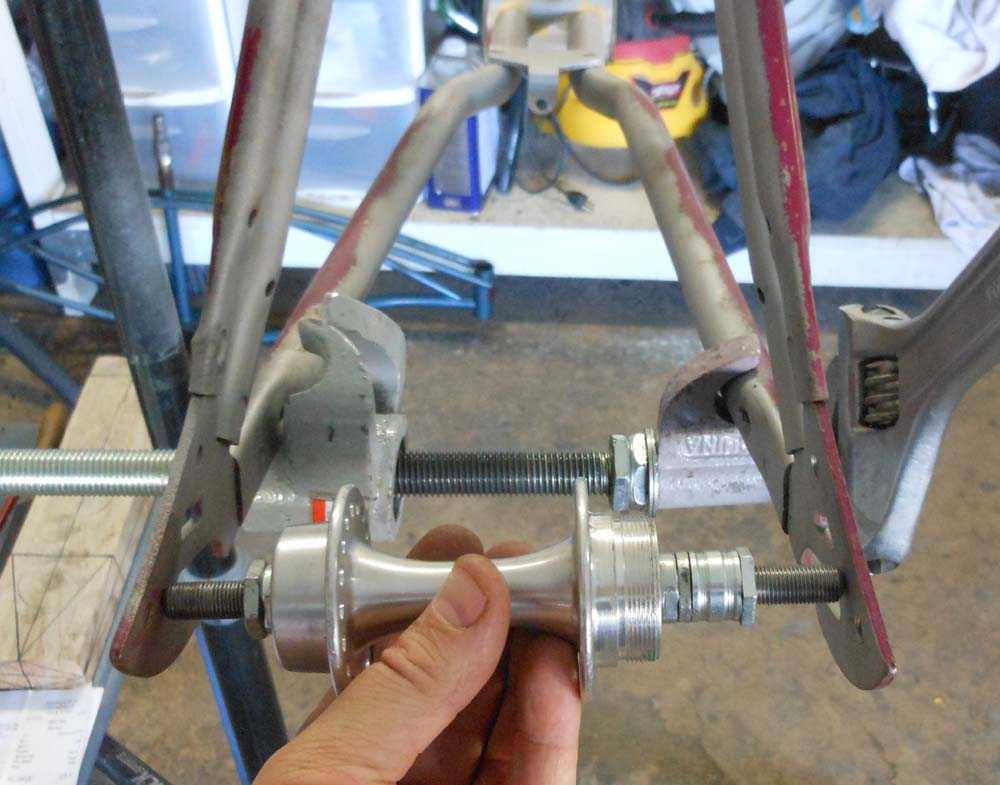
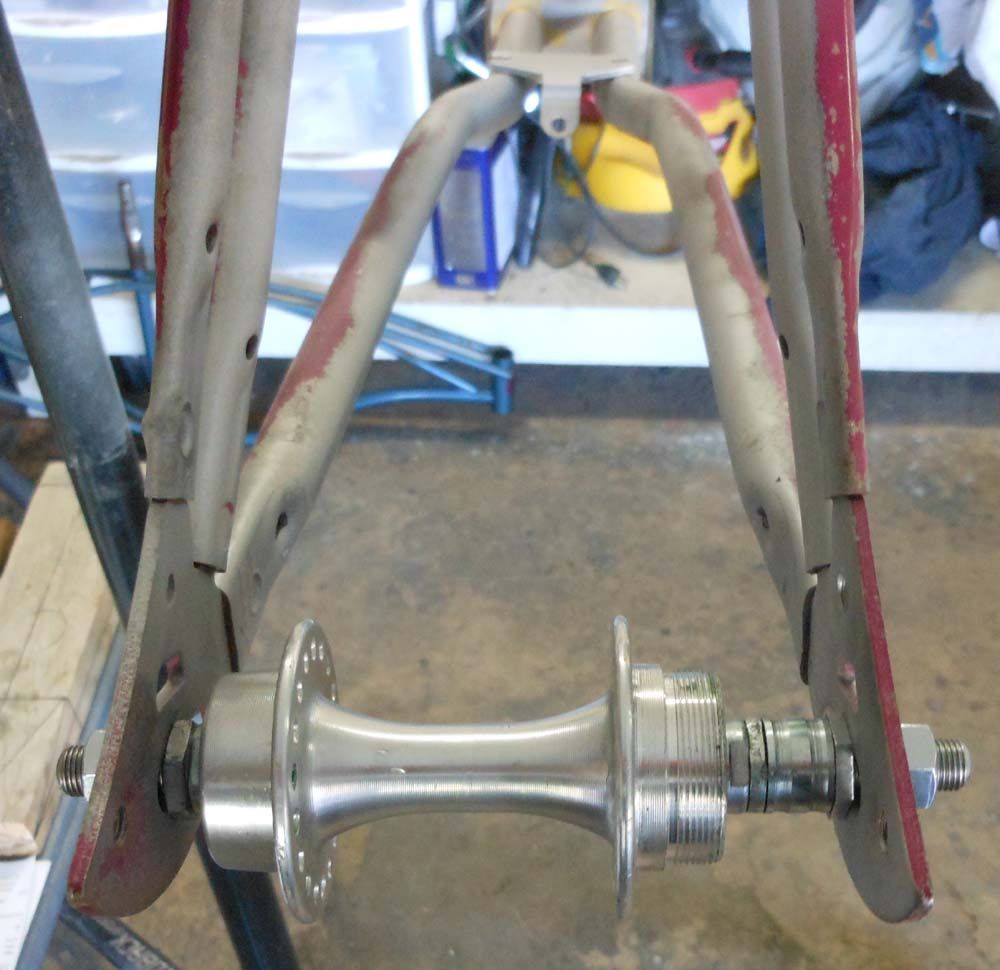
So, I overshot the mark a bit, but that's ok.
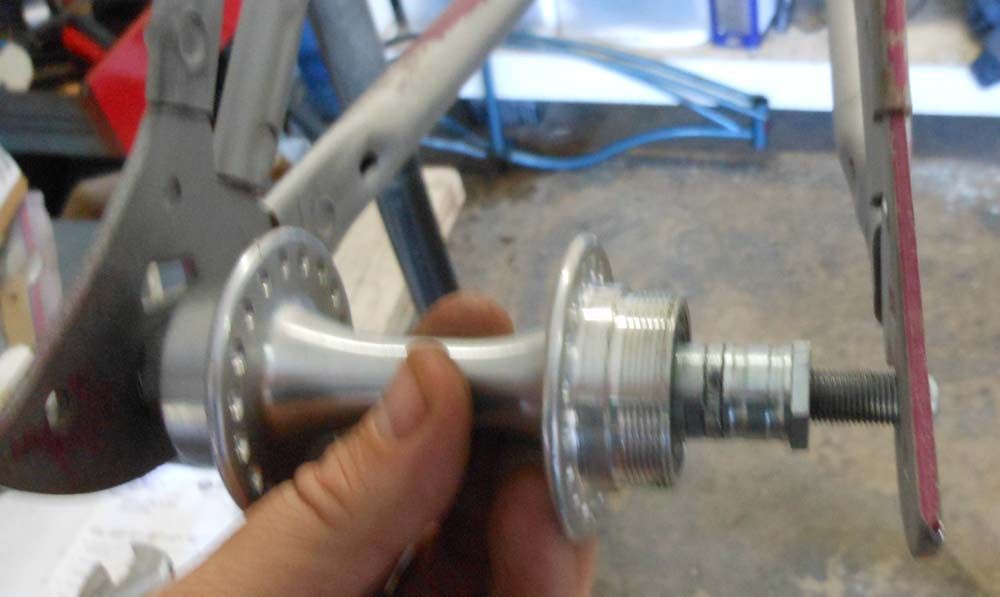
Just cinch it down
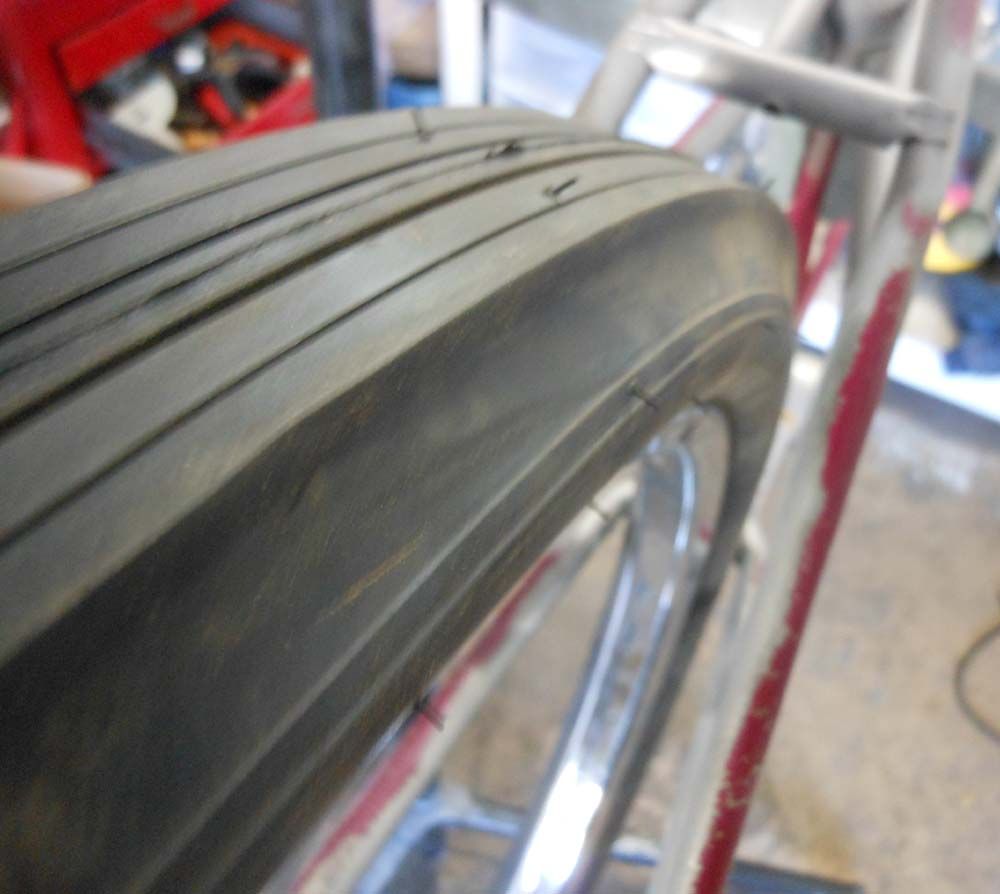
Before the fender, a quick check for tire clearance. Usually I build the wheels first, but I haven't measured or ordered the spokes yet. So I mounted the tire on the rim and checked it out... all good.
Just a second after I took that picture, the tube exploded inside. I still have ringing in my ear! It was a brand new tube, so I don't know what happened.

So, while deaf, I continued on... I took measurements of the frame and made adjustments to the rear fender so it fit right in.
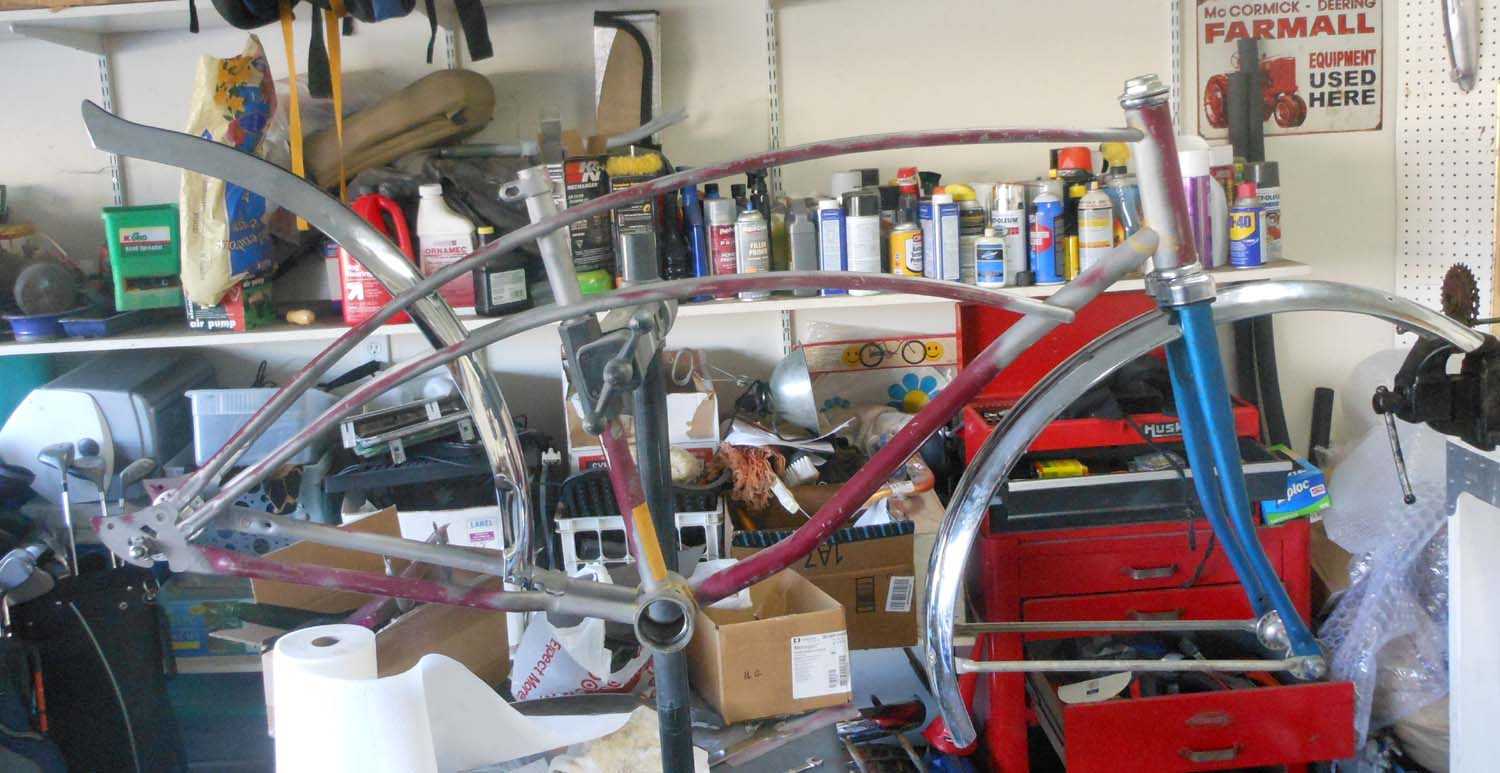
To make the front look more like the fender on the Barracuda I played with positioning.
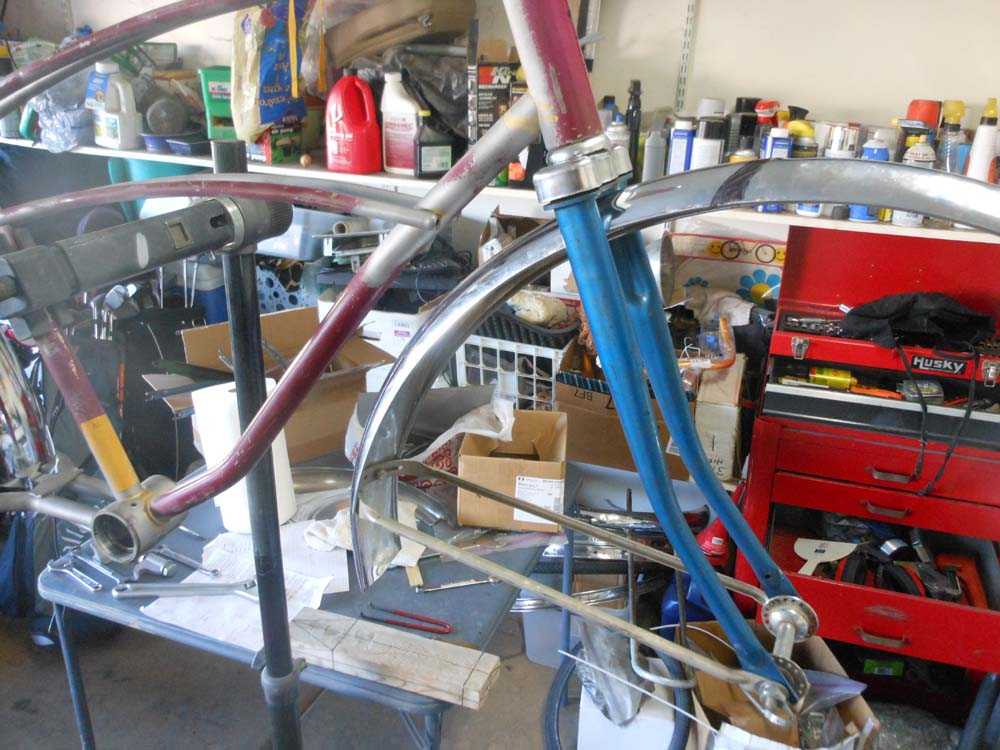
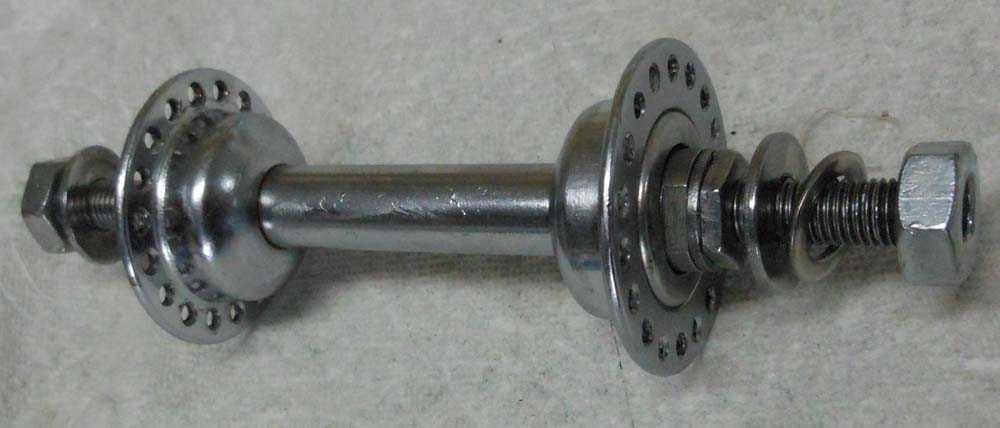
You can see the lines of where I'm going to cut it. I realized I hadn't ordered the braked, so I'll do that tonight. I need to drill in mounting holes then make sure they fit. I'll also measure for spokes tonight, but before I can do that I needed to overhaul and polish the front hub, which was seized. Now it's smooth.
I had the original fork, but as you can see in the original picture, it was bent back pretty good. I sent it to a friend to straighten, and he did a really good job, but I got an undamaged fork off the donor bike that is the exact same size, so I'm going to use it just to be sure that I am using a straight one. I wanted to make sure it all fit...

It fits fine. So I wanted to set up the front fender to see how it looks...

I'm not liking it. Of course the front is too long, but so is the back. It looks like an asphalt scraper. But I wanted to see it with the rear.
Before I can mount the rear, I need to get the rear hub squeezed in. As you can see, it's not too bad, but it needs a bit.

So, out comes the spreader...

streeeeeeeeeeeeeeeeeeeeeeeeeeeeeeeeeech....

So, I overshot the mark a bit, but that's ok.

Just cinch it down

Before the fender, a quick check for tire clearance. Usually I build the wheels first, but I haven't measured or ordered the spokes yet.
 So I mounted the tire on the rim and checked it out... all good.
Just a second after I took that picture, the tube exploded inside. I still have ringing in my ear! It was a brand new tube, so I don't know what happened.

So, while deaf, I continued on... I took measurements of the frame and made adjustments to the rear fender so it fit right in.

To make the front look more like the fender on the Barracuda I played with positioning.

You can see the lines of where I'm going to cut it. I realized I hadn't ordered the braked, so I'll do that tonight. I need to drill in mounting holes then make sure they fit. I'll also measure for spokes tonight, but before I can do that I needed to overhaul and polish the front hub, which was seized. Now it's smooth.

Here's an interesting problem. The Barracuda has a pretty specific hard to find sissy bar. I managed to find one that's close, with the top being the correct shape. But it's too short for a 26" build. So I am/was going to extend it. I found someone who had a pretty ratty sissy with the correct legs... or so I thought. I was going to weld them together at the right length and have it chromed. But... the legs are different diameter. In fact, the top fits into the legs. So... what do I do about it?
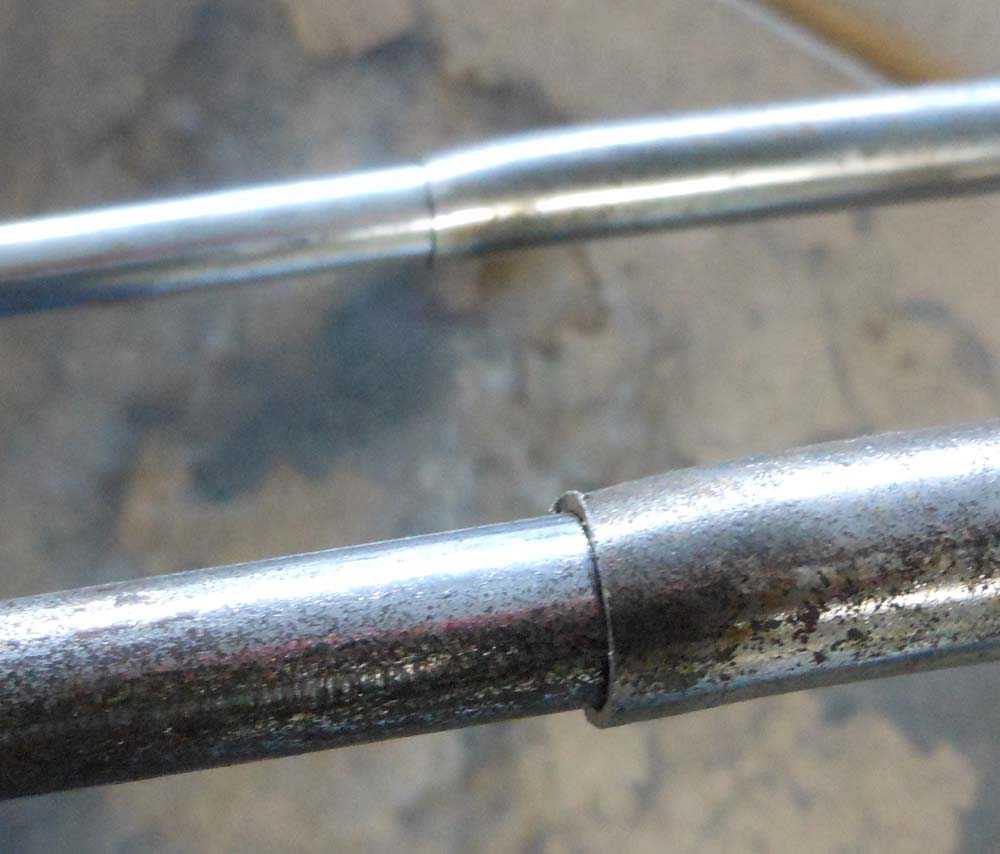

bolt that in there and cover the joint with springs ?Here's an interesting problem. The Barracuda has a pretty specific hard to find sissy bar. I managed to find one that's close, with the top being the correct shape. But it's too short for a 26" build. So I am/was going to extend it. I found someone who had a pretty ratty sissy with the correct legs... or so I thought. I was going to weld them together at the right length and have it chromed. But... the legs are different diameter. In fact, the top fits into the legs. So... what do I do about it?

That chain guard is an awesome score @firstyearchevelle is the man!
O wonder if there was a sharp edge on a spoke hole in the rim? Did you have rim tape in there?
Sissy bar is easy, just drill through both and bolt it, you could even add extra holes to adjust the sizing up and down!
Luke.
O wonder if there was a sharp edge on a spoke hole in the rim? Did you have rim tape in there?
Sissy bar is easy, just drill through both and bolt it, you could even add extra holes to adjust the sizing up and down!

This popped up while I was writing that^ great thinking!bolt that in there and cover the joint with springs ?
Luke.

$19.99
Electra Glide Wall Decal 2ft Long Sport Harley Davidson Bike Motorcylce Sticker Man Cave Garage Boys Room Decor
FatCat Wall Graphics

$249.40
$289.67
Kulana Lakona Tide Adult Beach Cruiser Bike, 26-Inch Wheels, 7-Speed, Silver
Amazon.com

$99.99
$108.99
Schwinn Toggle Quick Build Kids Bike, 12-Inch Wheels, Smart Start Steel Frame, Easy Tool-Free Assembly, Blue
easiness

$18.99
Old River Outdoors Bicycle/Motorcycle Chain Picture Frame 4" X 6" Photo - Faux Bike Chain
Old River Outdoors (USA Merchant)

$199.99
$229.99
Huffy Stone Mountain Women's Mountain Bike, Gray, 26 Inch Wheels/17 Inch Frame
HuffyDirect
- Joined
- Jul 30, 2013
- Messages
- 1,960
- Reaction score
- 2,753
"Aw! He went to Jerald!" I was about to suggest the same thing about the popped tube on your mock-up. No rim tape = sharp edges. As for the sissy bar, I'm not sure that a lap joint is entirely a bad thing. This is class II, so just disguise it.
Put the springs inside and add a little trombone oil and you're in business...
Carl.
sent from a phonebooth...
Carl.
sent from a phonebooth...
I really like this frame, it has great lines. It will make a great muscle bike
Sissy bar, weld it, blend it, chrome it
Looking killer already CRASH. I did the overspread on the junior last year. It will stay in that spot and spring out every time you take the axle off. Was thinking of correcting it when I tear down for paint. We can remind each other.
Short front fender in the mock up might be a good move. Might be tough to get the right look with the big one.
Springer sissy is nice to have if you ride it very much and easy to do when you're chopping them up.
Short front fender in the mock up might be a good move. Might be tough to get the right look with the big one.
Put the springs inside and add a little trombone oil and you're in business...
Carl.
sent from a phonebooth...
Springer sissy is nice to have if you ride it very much and easy to do when you're chopping them up.
This might fix your "over stretch" problem. Tighten the axle in place, then place your stretching tool a little farther back than you had it. Now put some pressure on it (you might have to test it a couple times) if you get it right, the axle frame slots will stay put, plus have a better fitting angle to them.
Got some photos from Terry of the shifter mount on an actual Barracuda. I think I'll be able to get close to this.
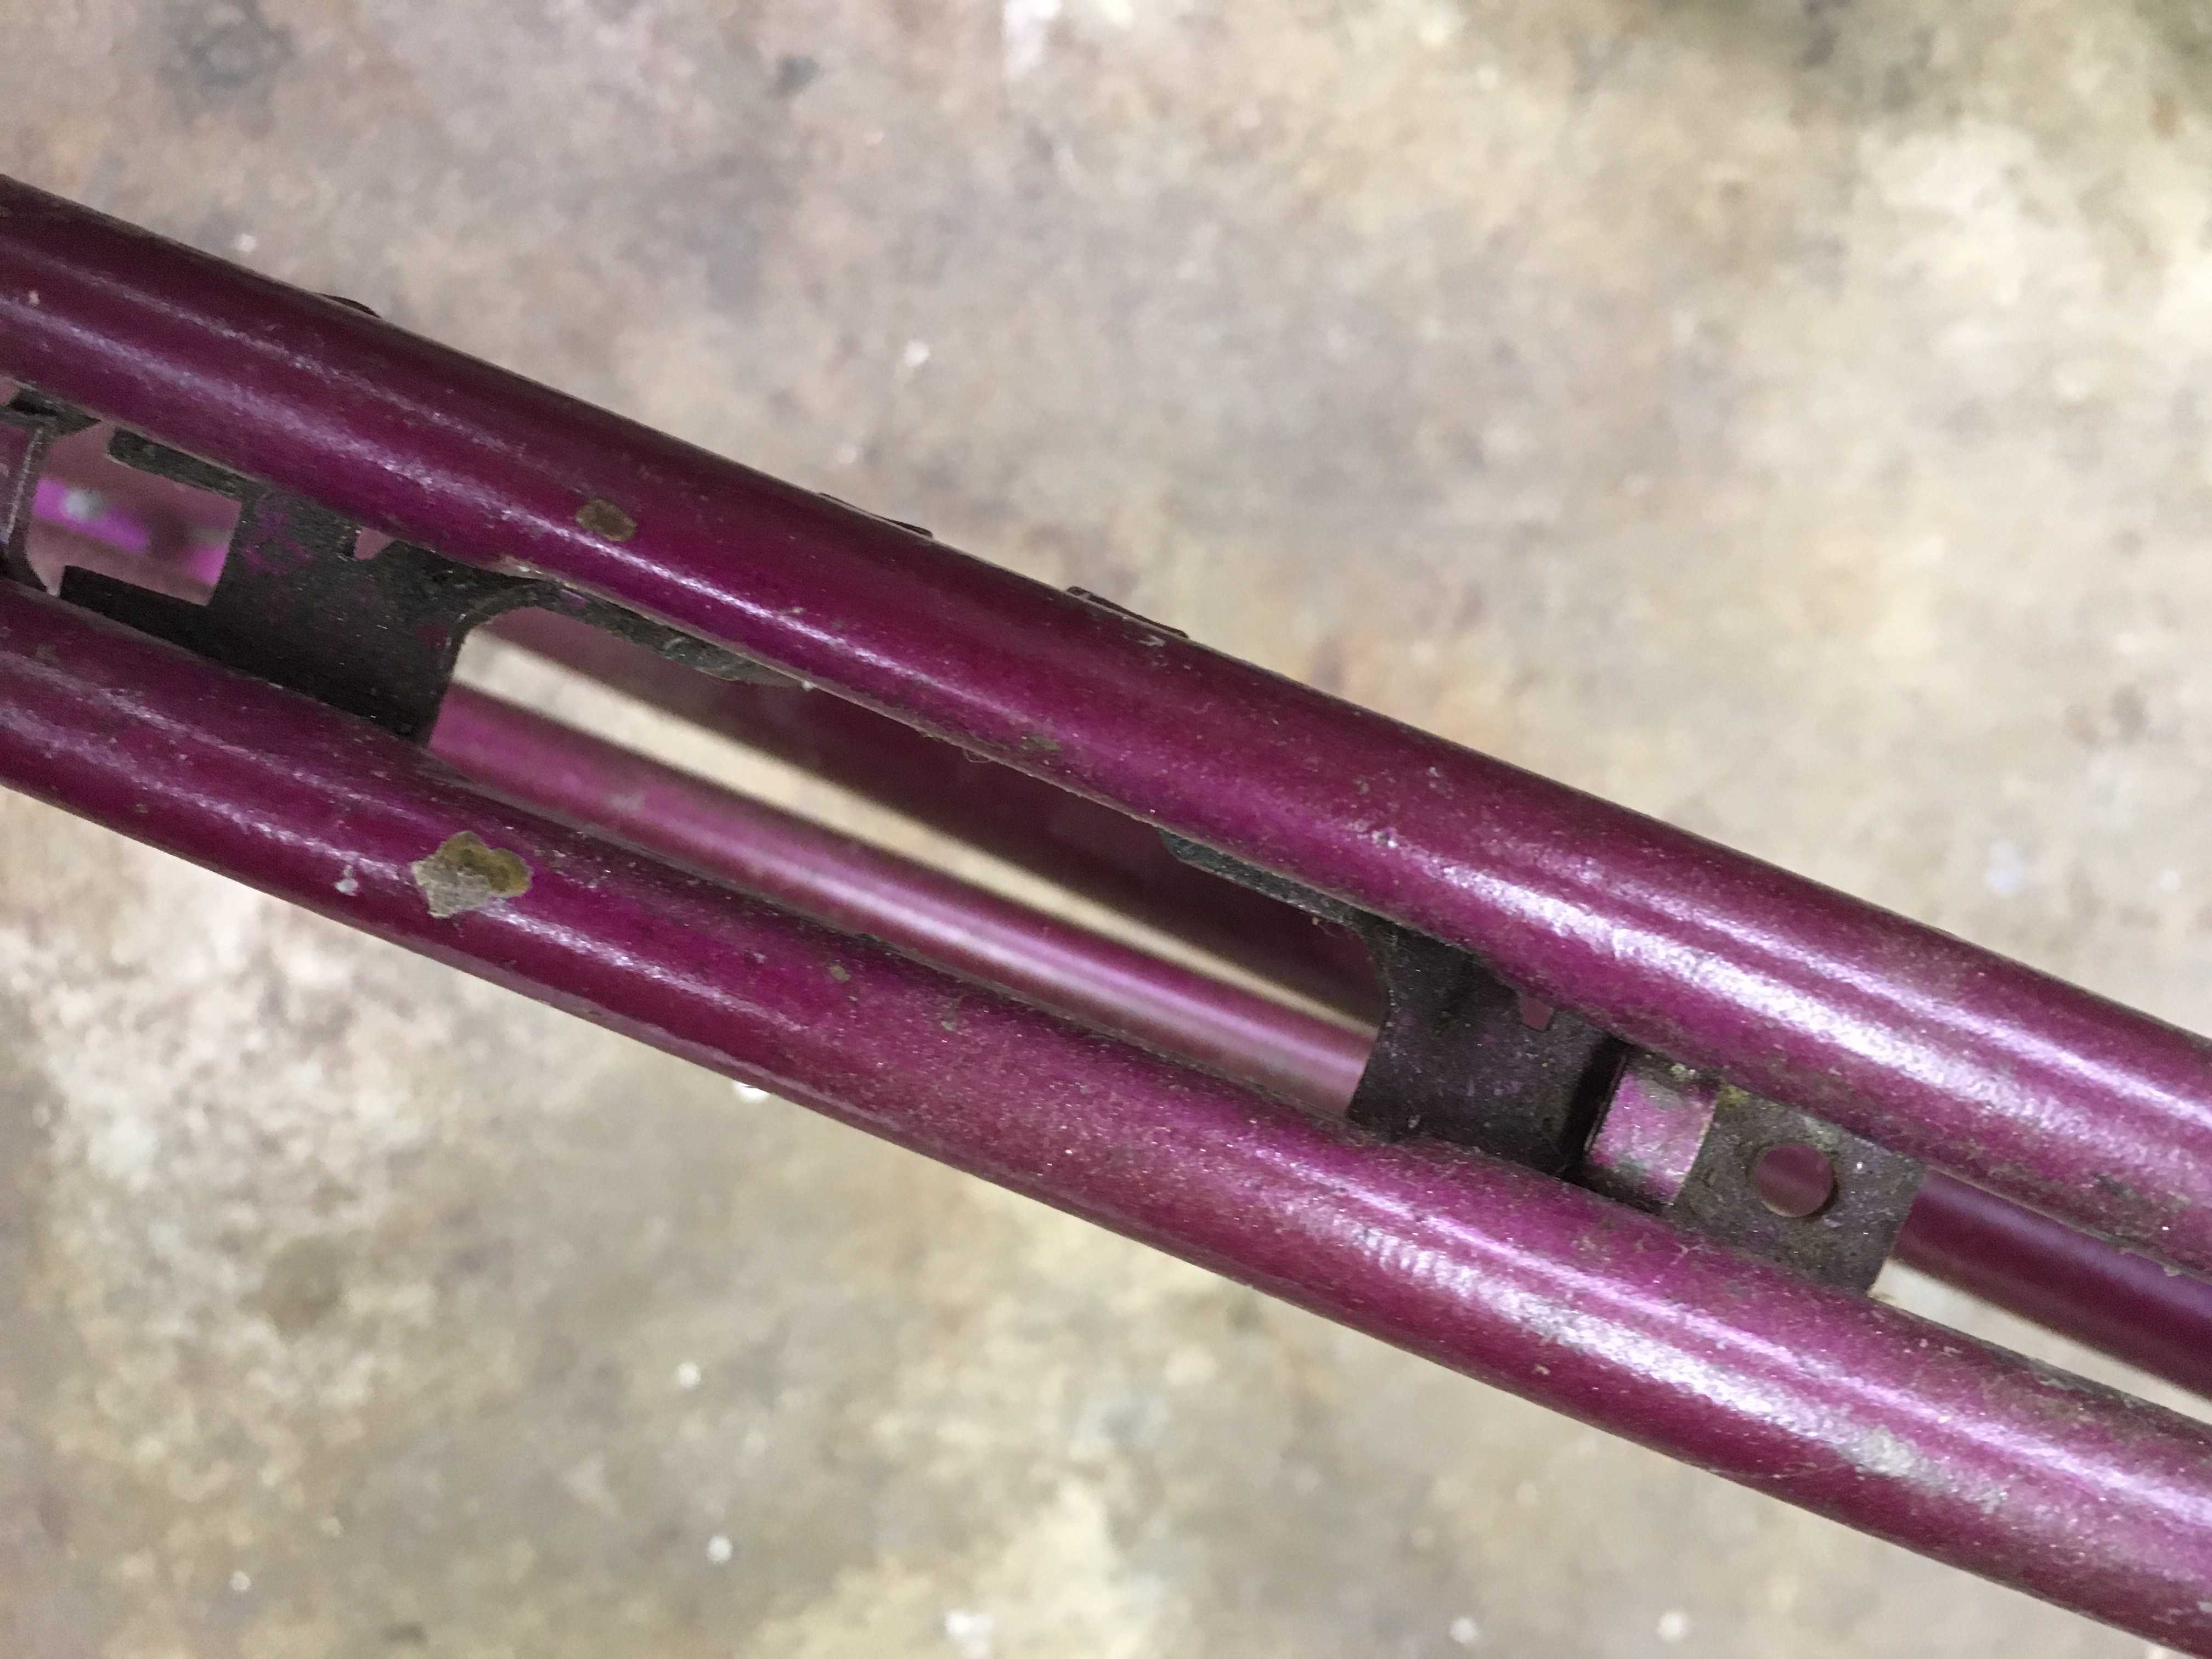
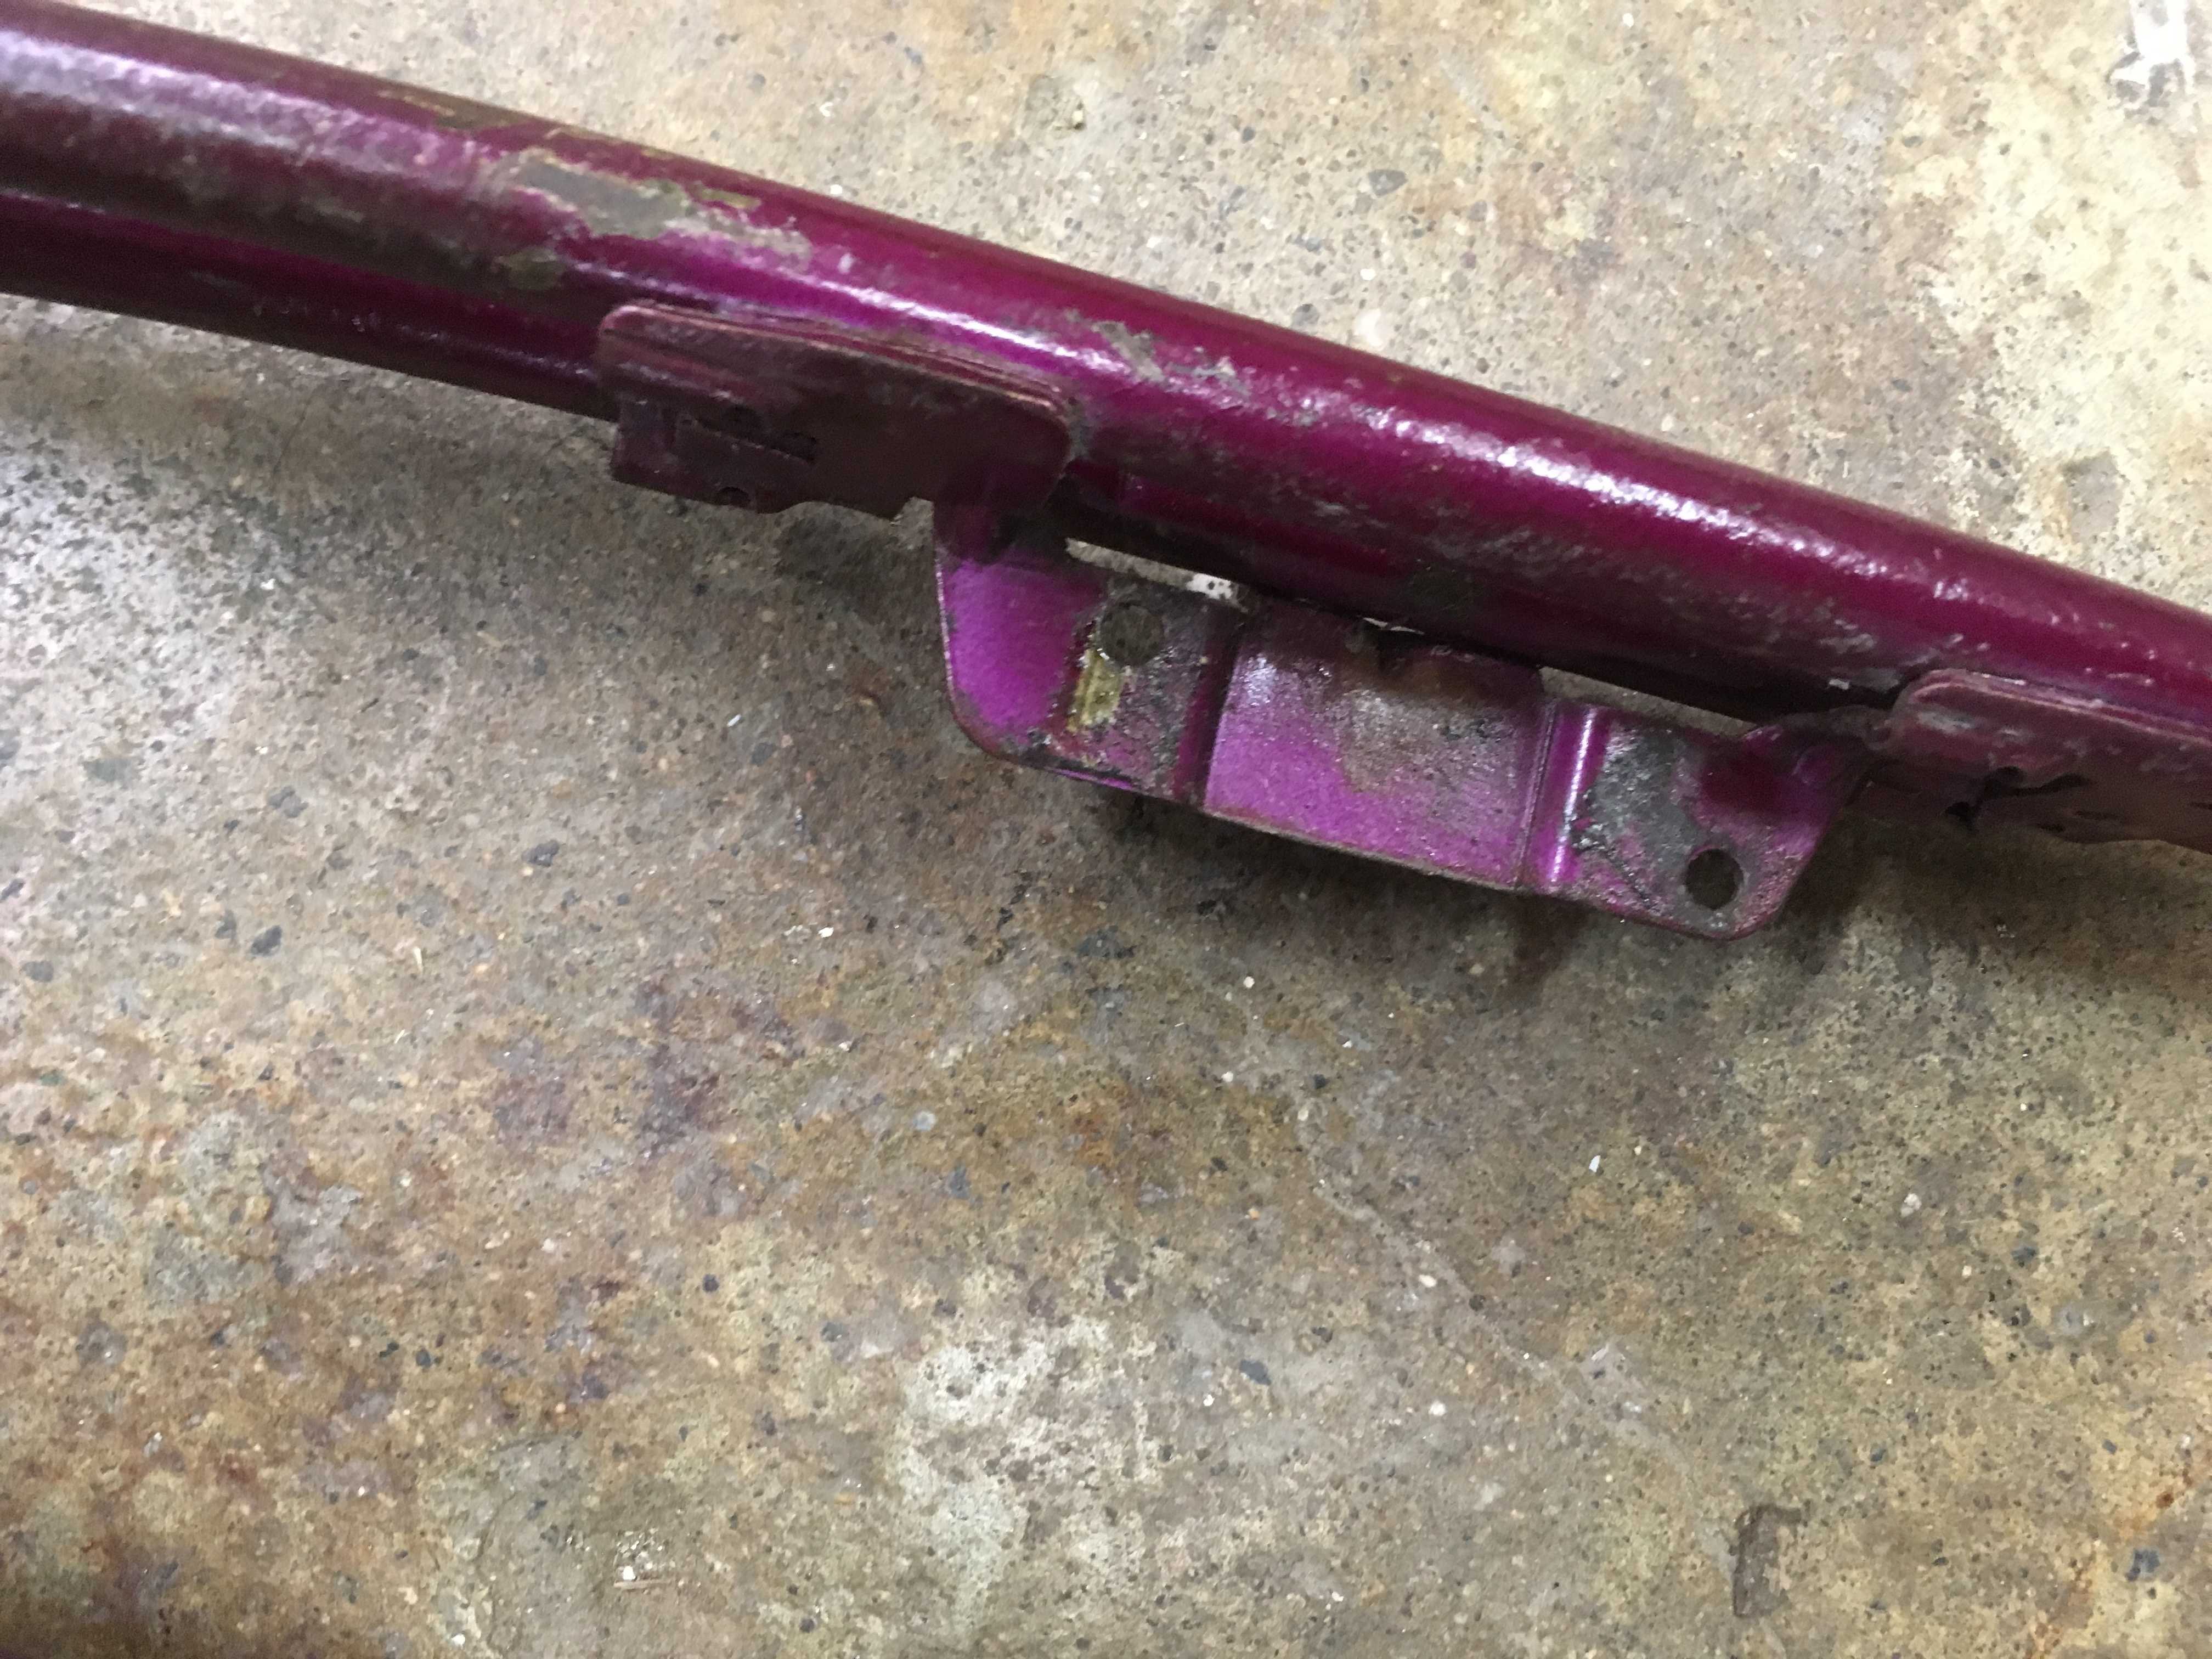
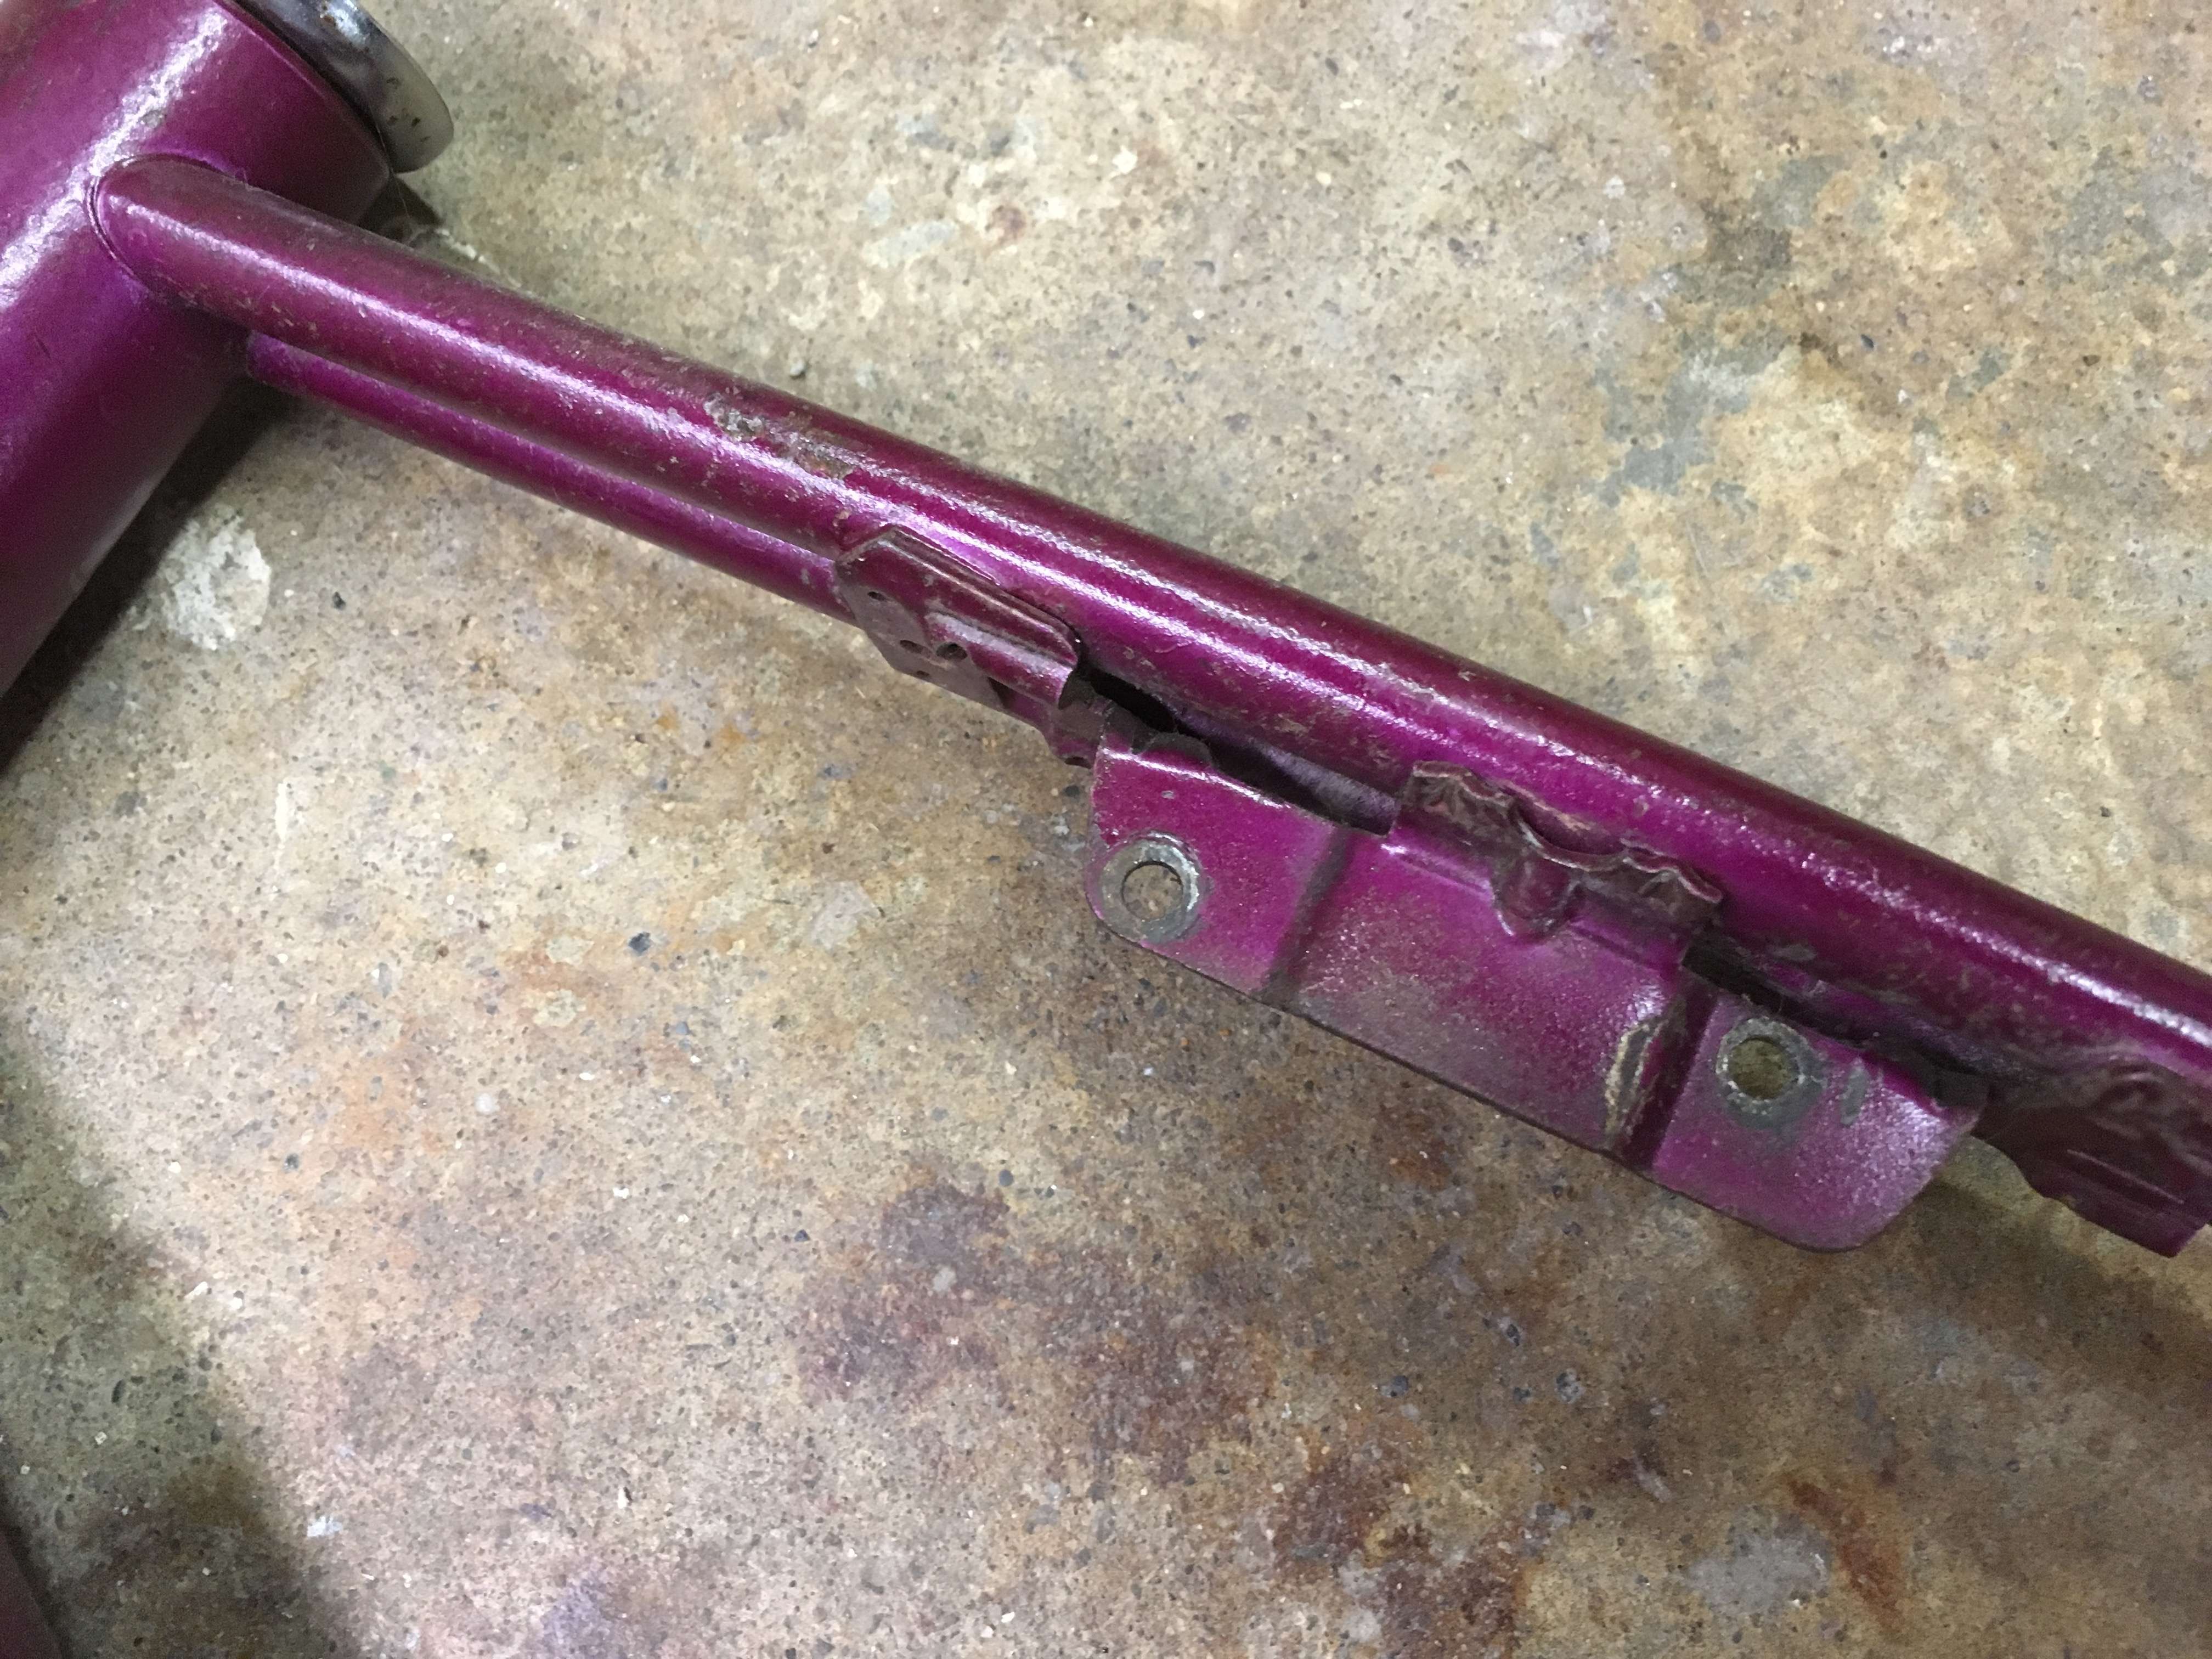


Perfect, just a matter of modifying your plate to match!Got some photos from Terry of the shifter mount on an actual Barracuda. I think I'll be able to get close to this.


Luke.
I ended up just getting $100 for it. Oh well.I'm certain this bike will be fantastic. Came this close // to making an offer on Monster Ray when it became available. That was an extraordinarily nice build.
furyus
Work has been kicking my rear, not allowing me much time to work. I've got a number of things going on for this bike, but here's what I can document.
Spokes arrived! These are for 4 wheel sets. (2 are for this MBBO)
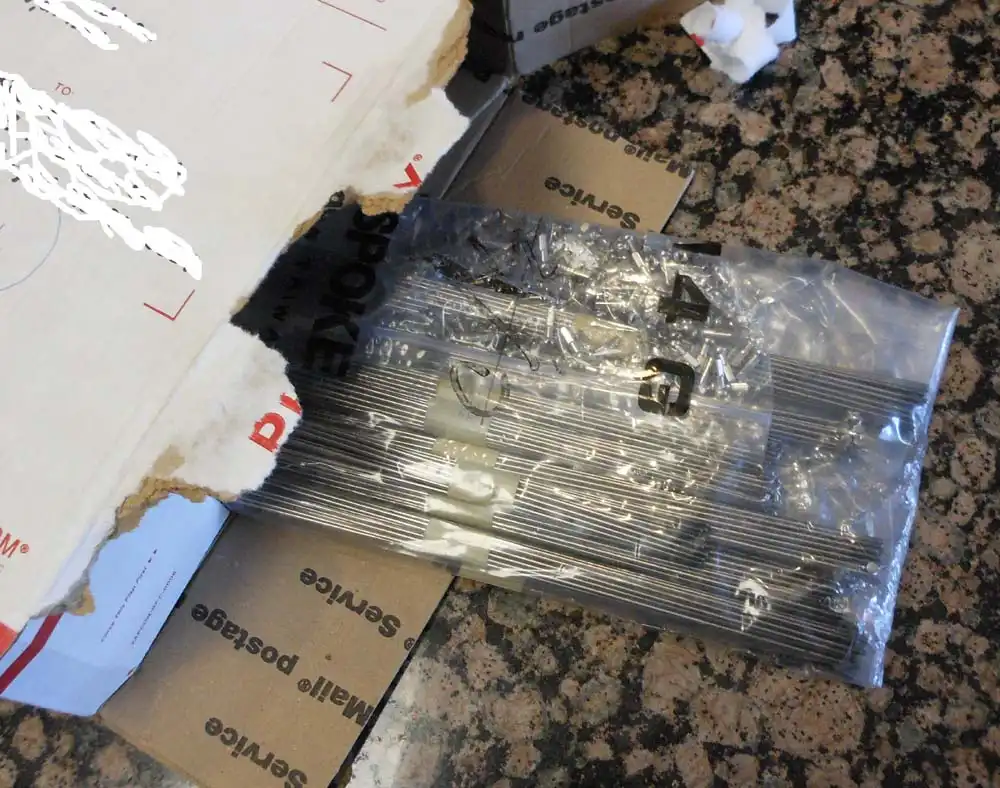
Which led to this...
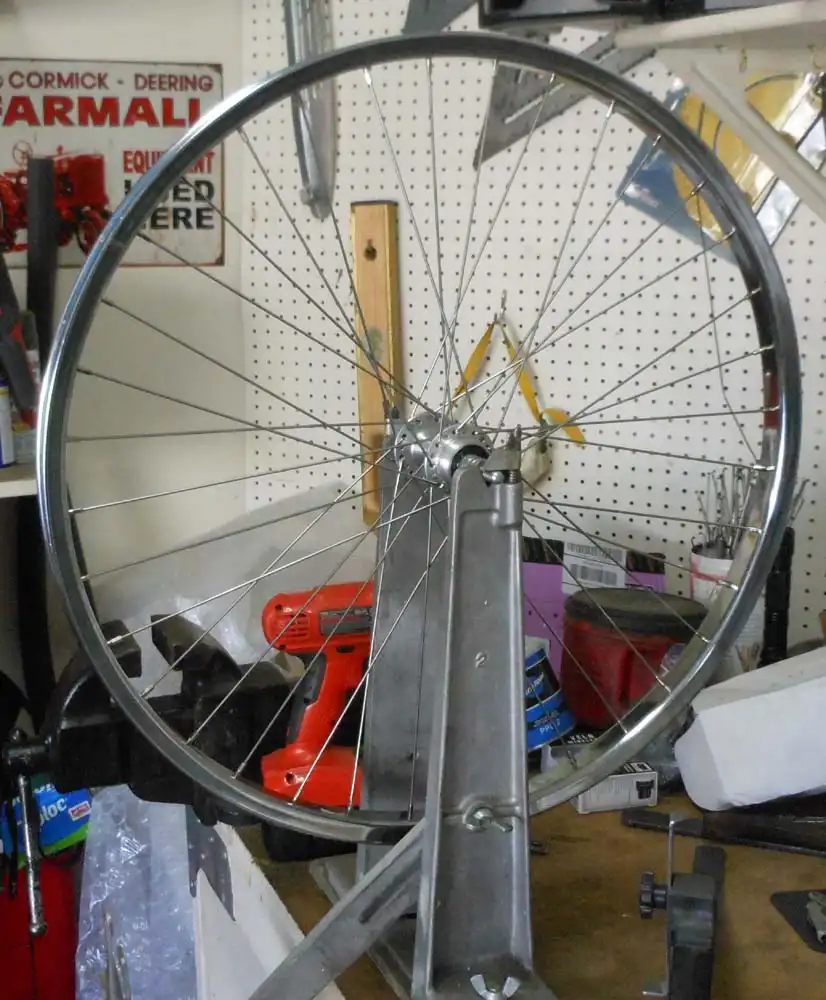
I put on the tires, and I purchased this front Duro 26x1.75 because of the tread pattern. It looked like the original. However, the sidewall doesn't give me the room I need for the project I have for it.
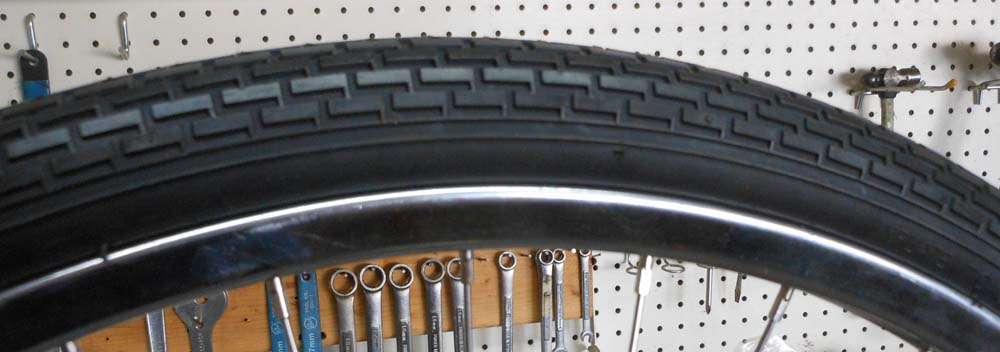

So I found this tire with a smoother side wall. The tread isn't as cool, but... compromise. I've gotta clean that gray stuff off too.

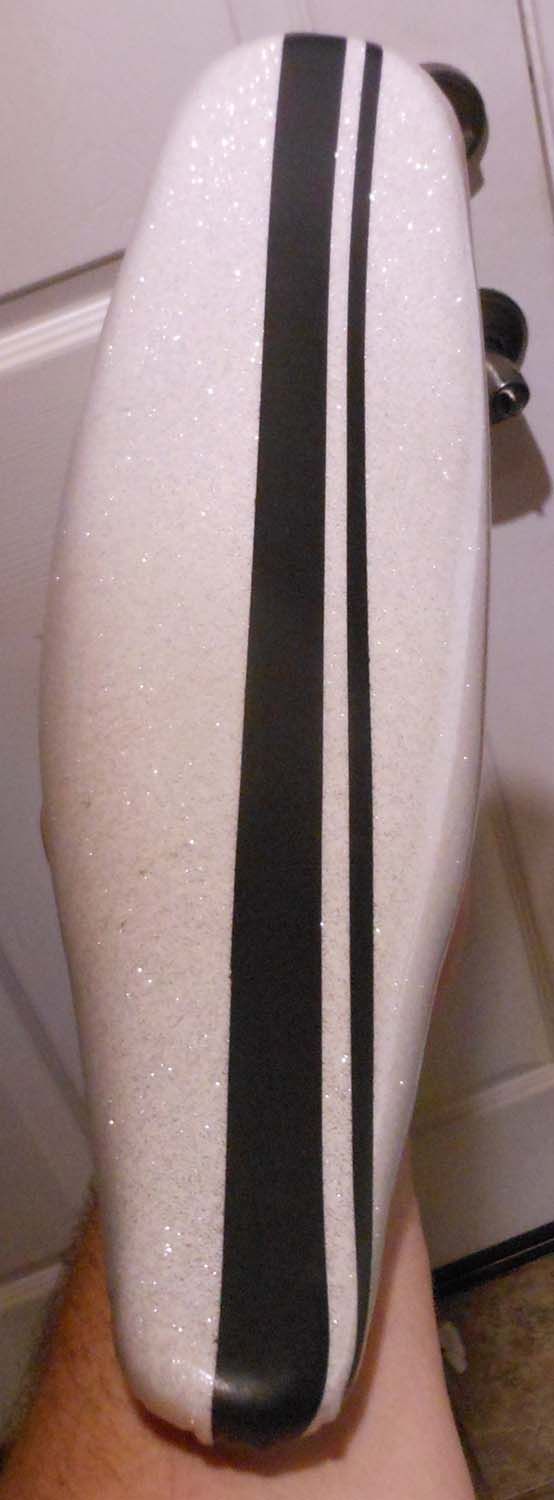
The seat got all done!
I'm working tonight. Need to make some major progress!
Spokes arrived! These are for 4 wheel sets. (2 are for this MBBO)

Which led to this...

I put on the tires, and I purchased this front Duro 26x1.75 because of the tread pattern. It looked like the original. However, the sidewall doesn't give me the room I need for the project I have for it.


So I found this tire with a smoother side wall. The tread isn't as cool, but... compromise. I've gotta clean that gray stuff off too.

The seat got all done!

I'm working tonight. Need to make some major progress!
I like the seat. Are the stripes sprayed on? I was thinking of something like this for Four-gone Conclusion.
I ended up just getting $100 for it. Oh well.
Really? after all of that work you did to it? (Monster Ray)
Did you sell it locally on CL Crash?
or was this a mate rate, as they say in Aussy land ?

franco


