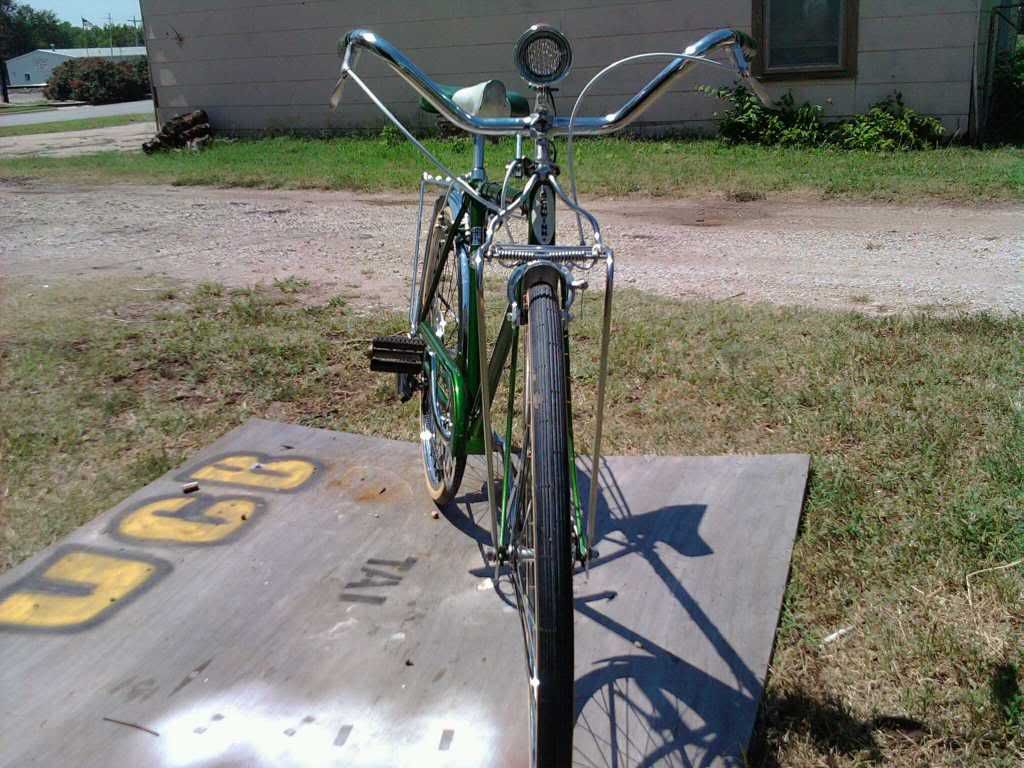
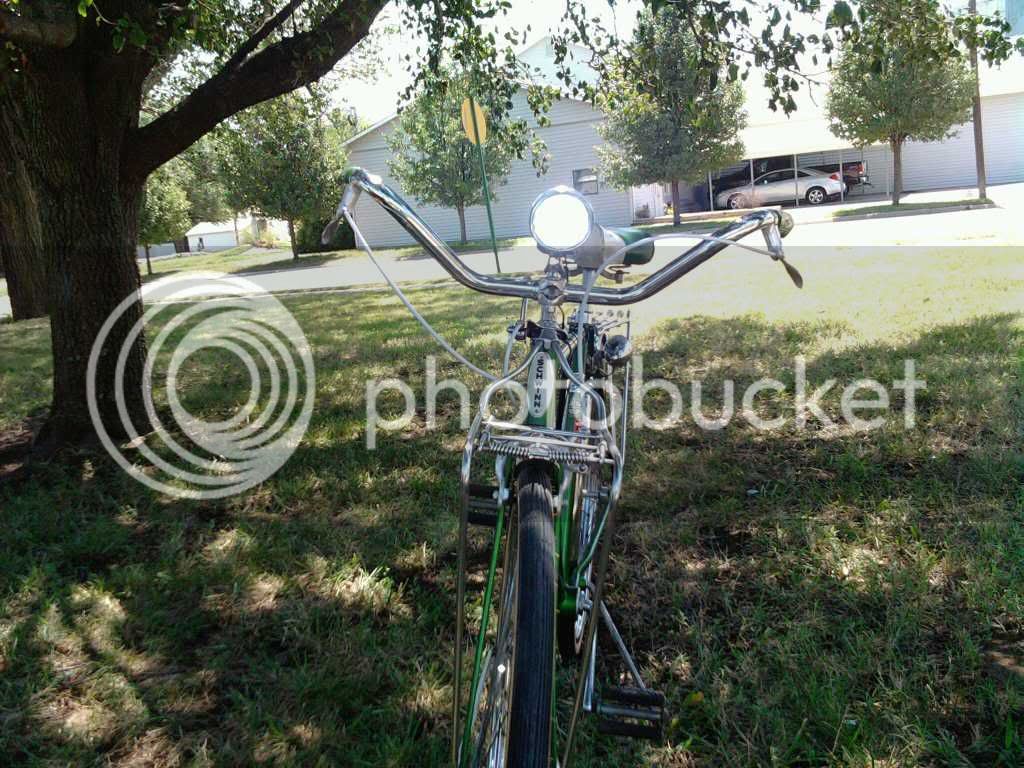
Cheap and easy LED conversion
Need:
Standard Lamp
LED flashlight
Soldering Iron and solder
Scrap wire
Drill with rasp bit
Starting with a simple battery powered light
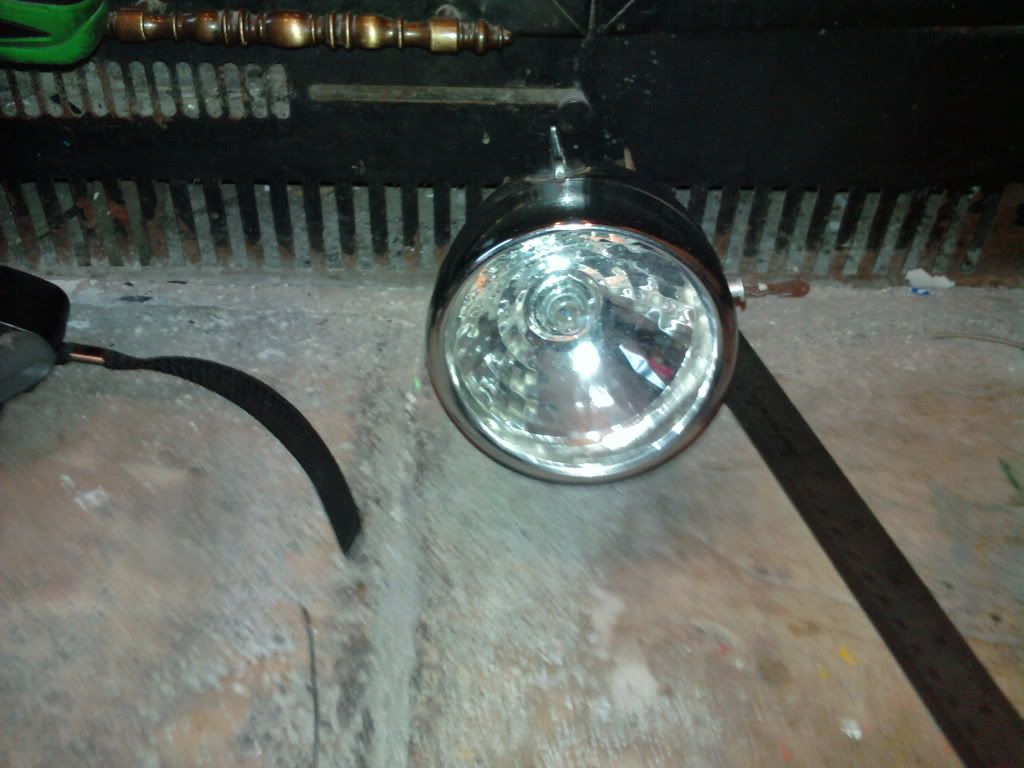
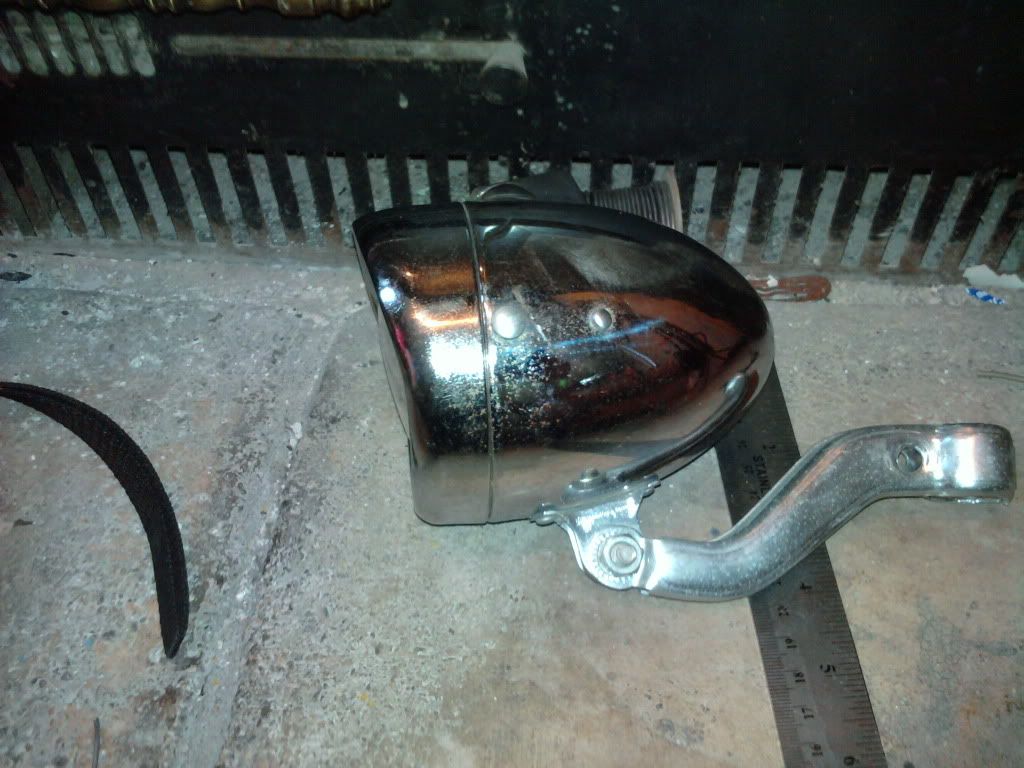
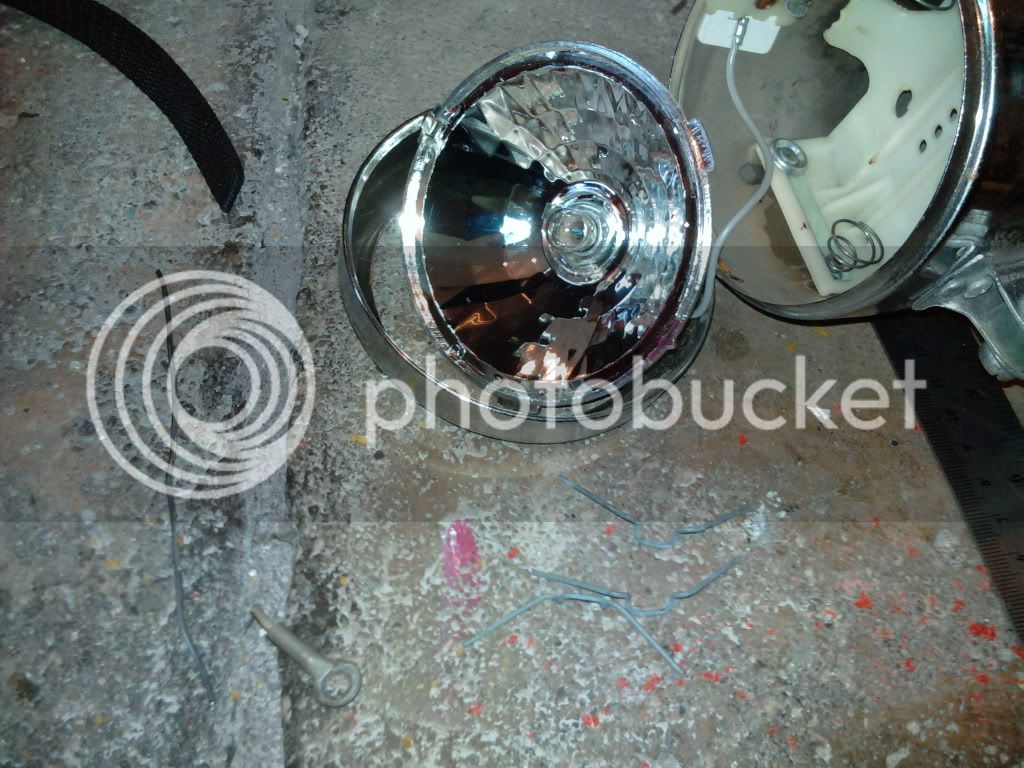
Open it up and remove the reflector and lens by popping the little clips around the edge out.
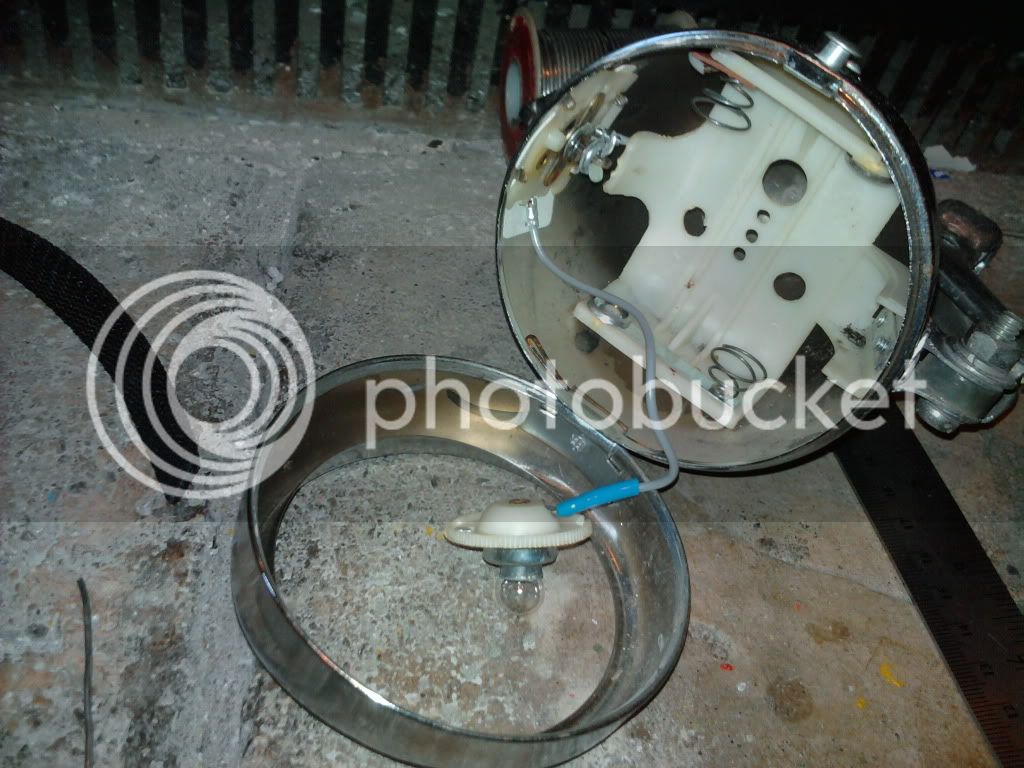
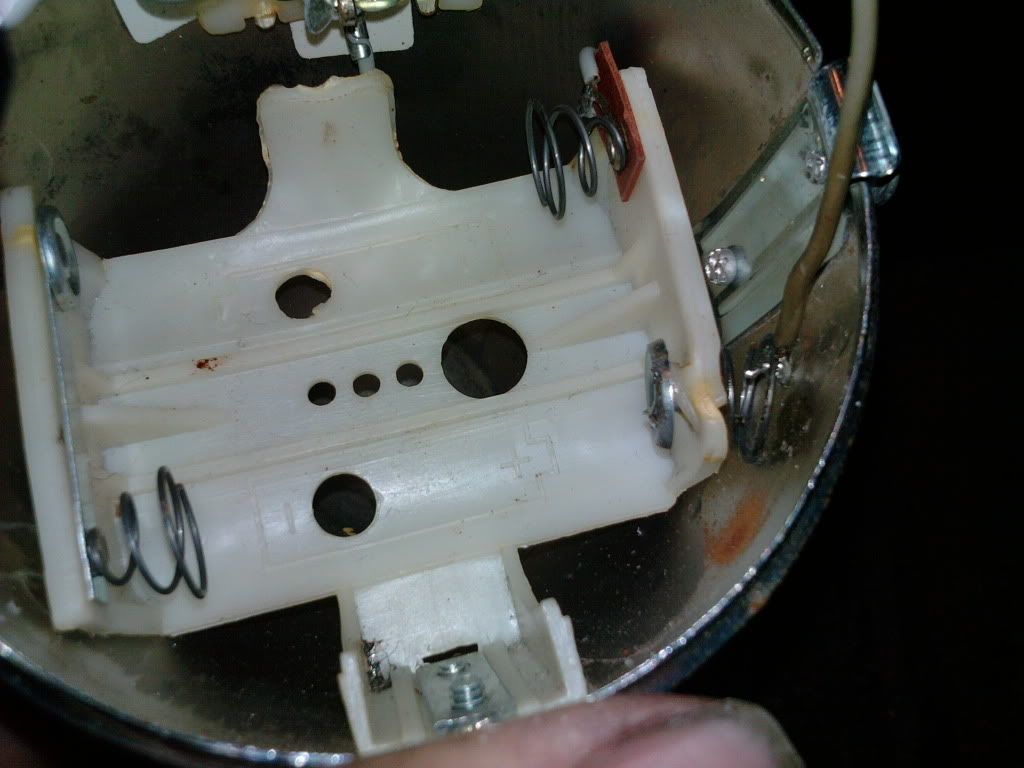
Here is the battery holder and original bulb
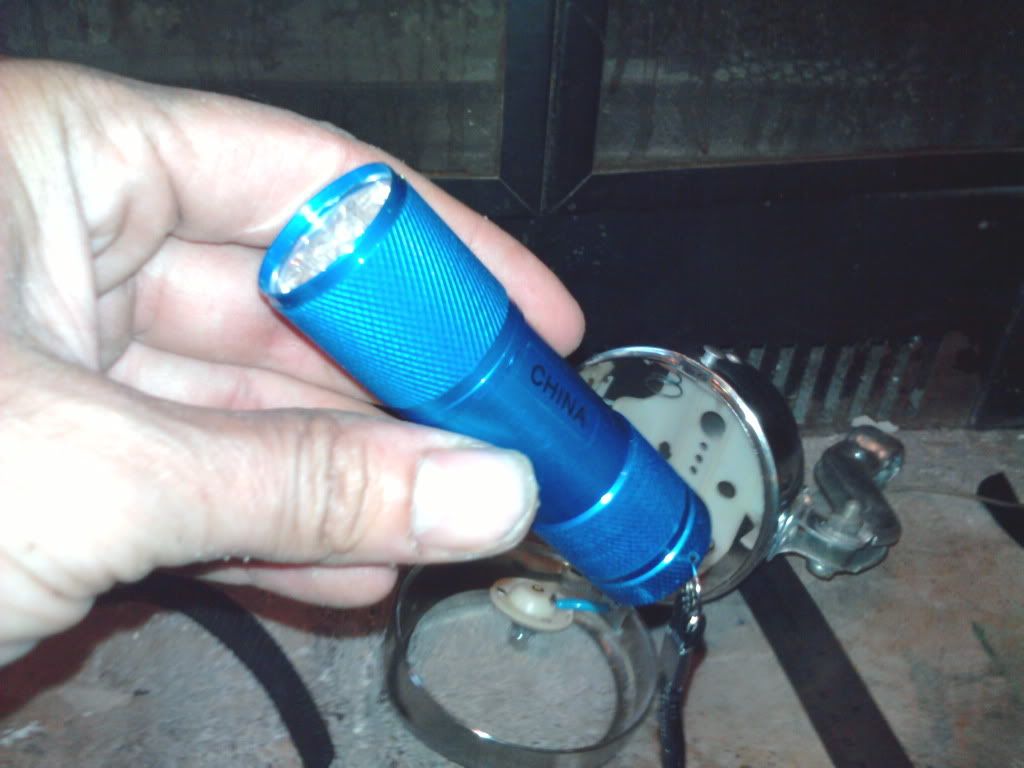
Donor flashlight. Got two for $3.99 at Harbor Freight
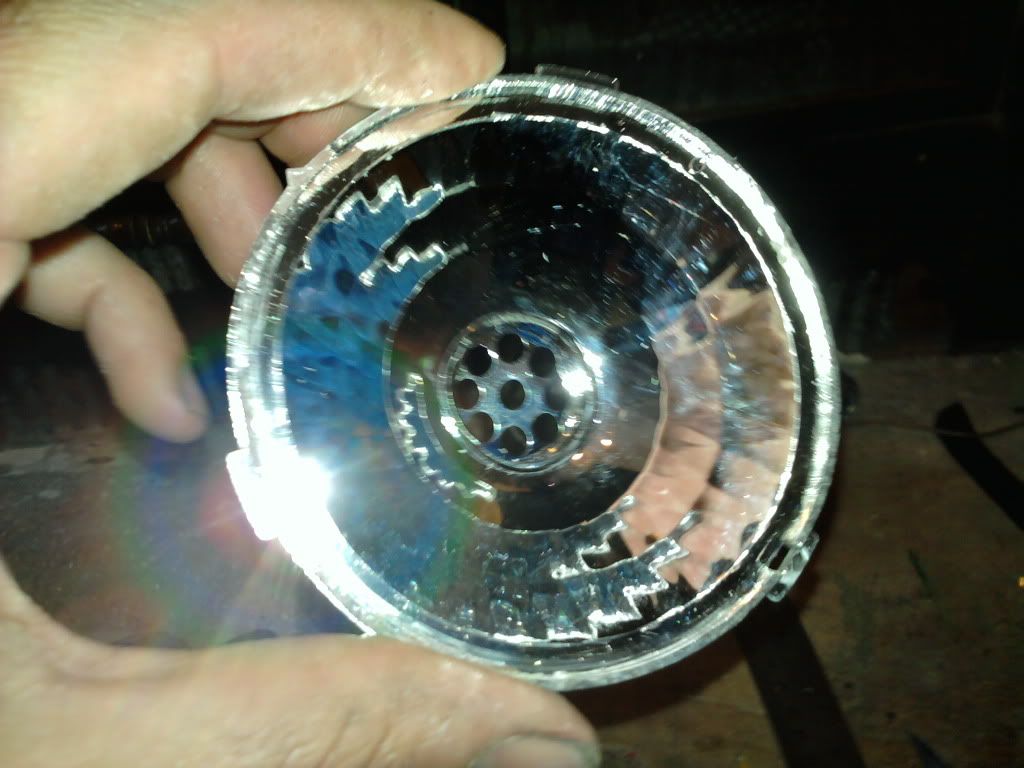
Remove the LED array and reflector. Some flashlights are easier than others.
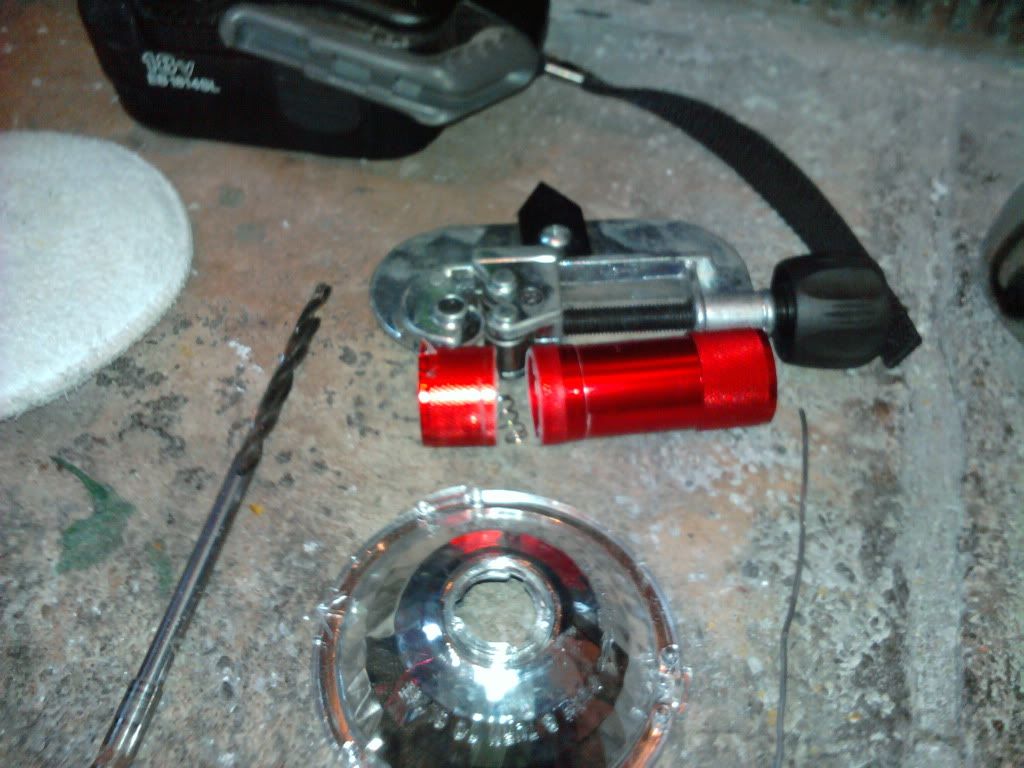
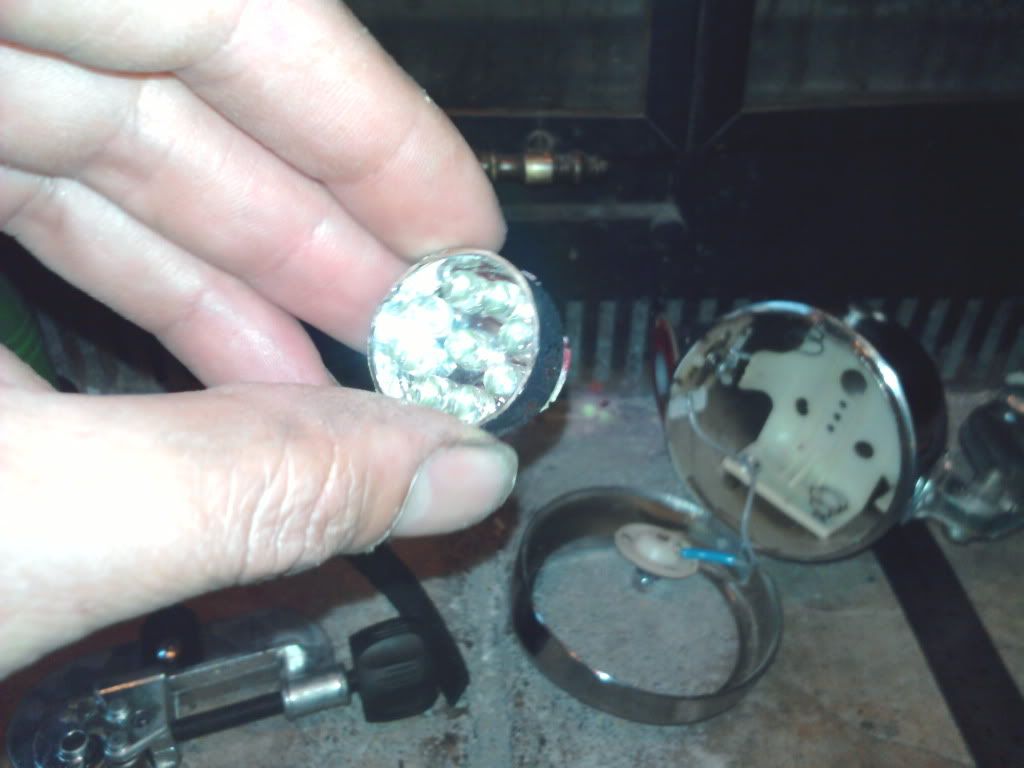
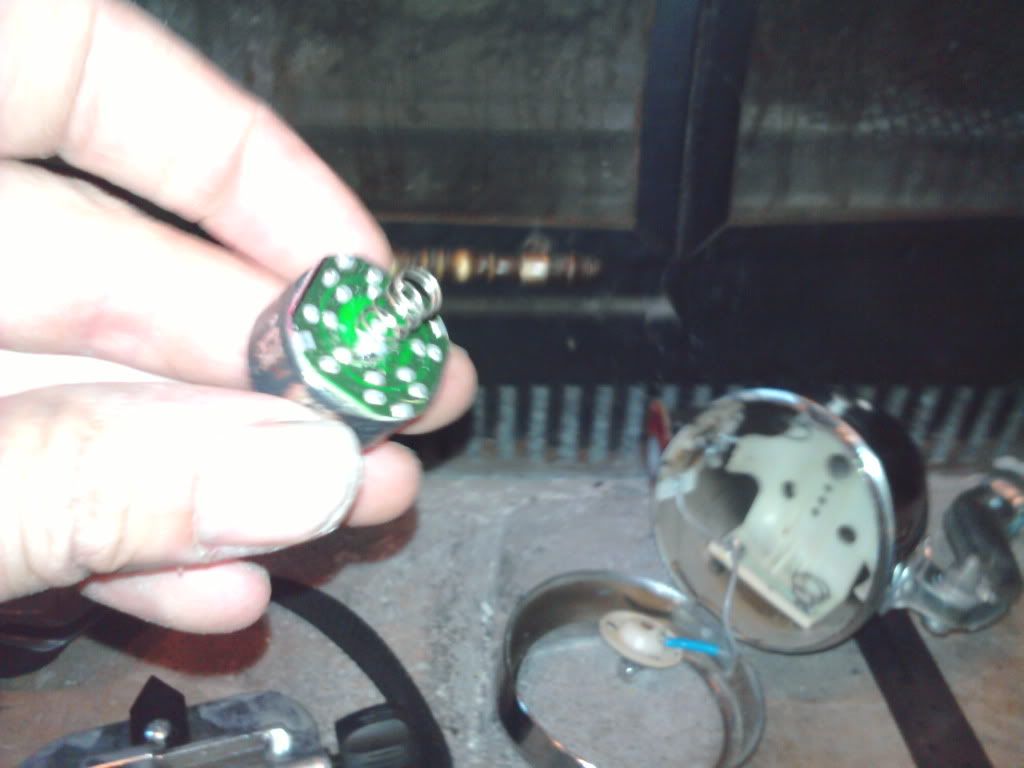
Grab your drill and rasp bit and grind out the reflector to fit the LED reflector snuggly.
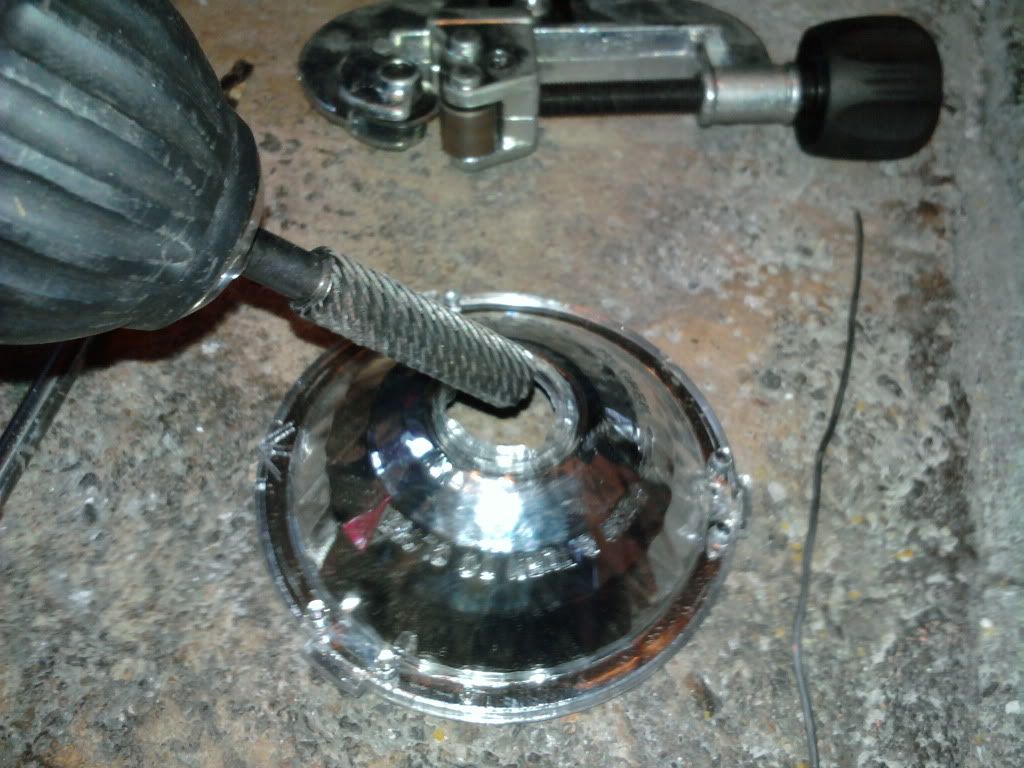
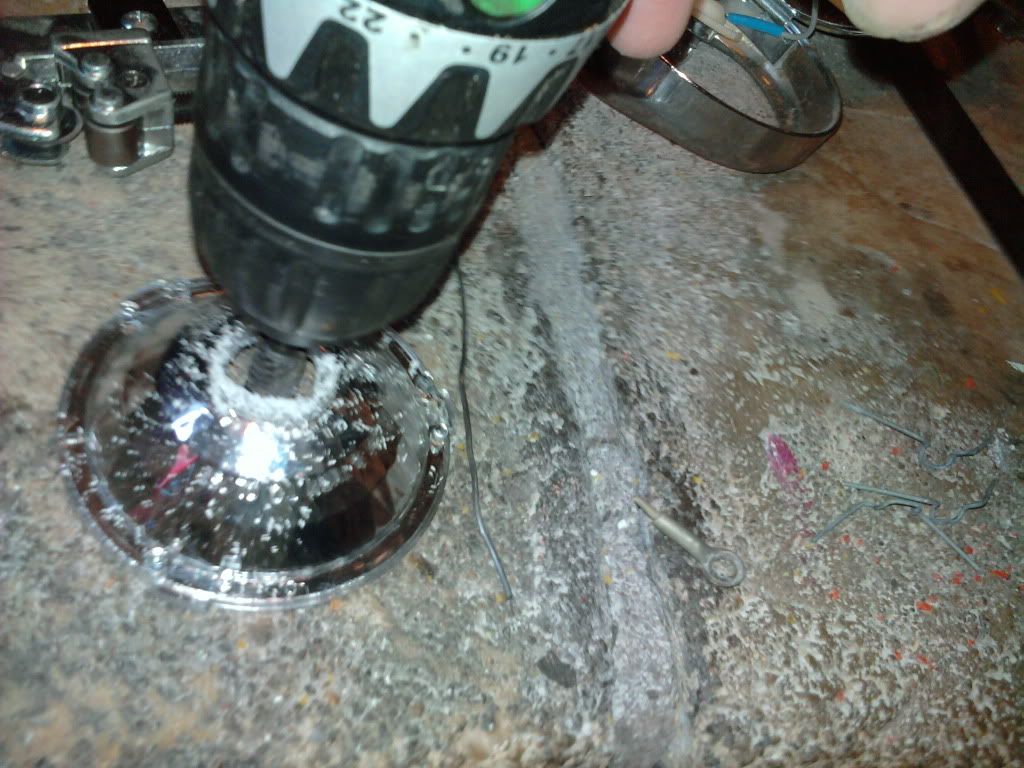
Scrape the chrome from the outside of the LED reflector. If you didn't grind out too much A little super glue will hold it in place.
****CLEAN THE REFLECTOR BEFORE APPLYING SUPER GLUE!!! If you don't the fumes from the glue will bind with finger prints on the reflector and then you have to deal with that. If your hole is too big then a couple wraps of electrical tape will snug it up.
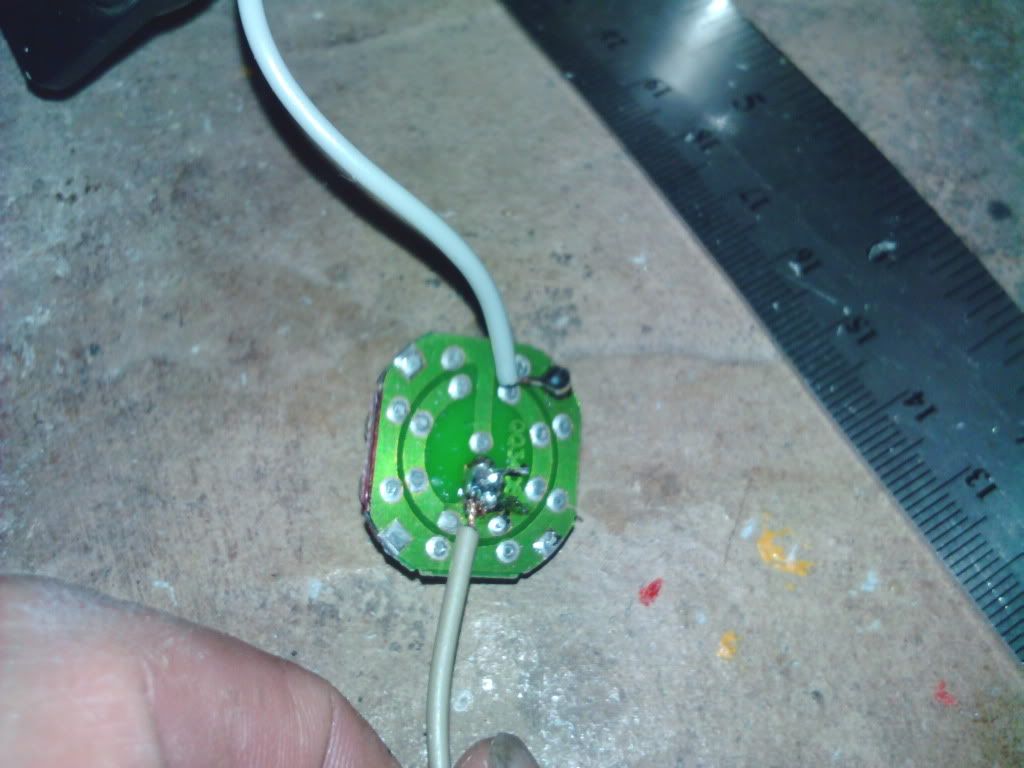
Now for the electrical. Pay attention to what was the positive and negative in the flashlight originally. If you reverse polarity you will burn up the LEDs. On mine the positive was in the middle and the Negative on the outside. Solder wires to both terminals. I used the original negative with the inline switch and the positive I soldered from LED array to the positive end of the battery block.
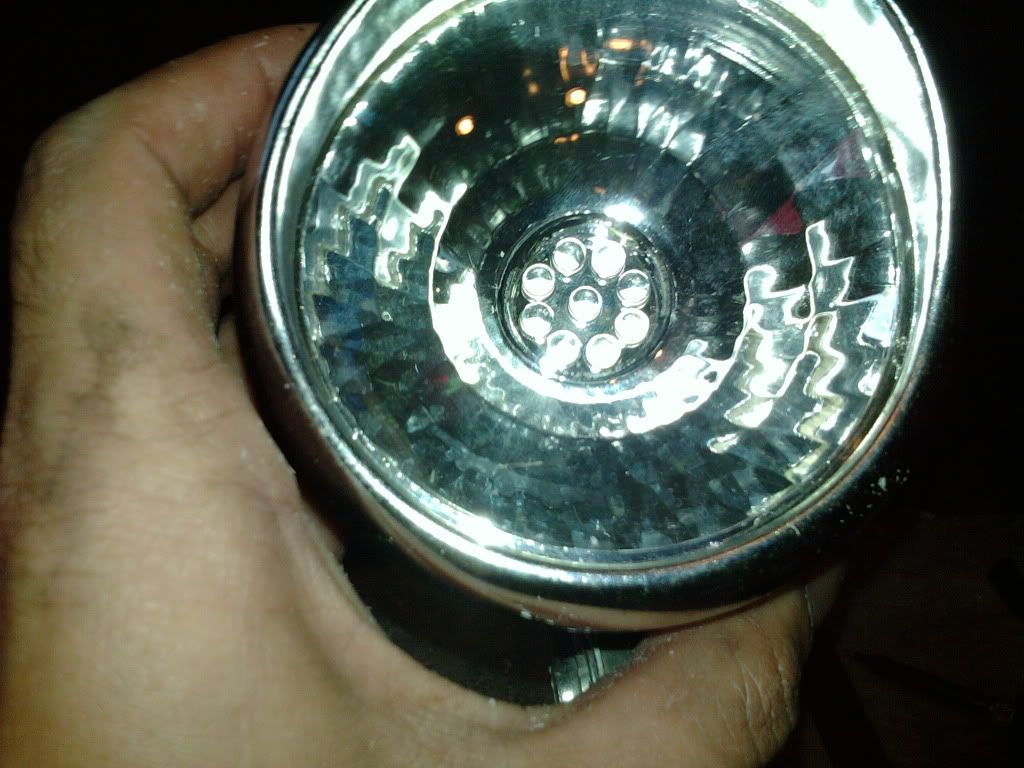
Insert the LED array into the reflector and secure it with electrical tape to hold it in and to cover the circuit board.
Need:
Standard Lamp
LED flashlight
Soldering Iron and solder
Scrap wire
Drill with rasp bit
Starting with a simple battery powered light


Open it up and remove the reflector and lens by popping the little clips around the edge out.

Here is the battery holder and original bulb

Donor flashlight. Got two for $3.99 at Harbor Freight

Remove the LED array and reflector. Some flashlights are easier than others.


Grab your drill and rasp bit and grind out the reflector to fit the LED reflector snuggly.


Scrape the chrome from the outside of the LED reflector. If you didn't grind out too much A little super glue will hold it in place.
****CLEAN THE REFLECTOR BEFORE APPLYING SUPER GLUE!!! If you don't the fumes from the glue will bind with finger prints on the reflector and then you have to deal with that. If your hole is too big then a couple wraps of electrical tape will snug it up.

Now for the electrical. Pay attention to what was the positive and negative in the flashlight originally. If you reverse polarity you will burn up the LEDs. On mine the positive was in the middle and the Negative on the outside. Solder wires to both terminals. I used the original negative with the inline switch and the positive I soldered from LED array to the positive end of the battery block.


Insert the LED array into the reflector and secure it with electrical tape to hold it in and to cover the circuit board.


