You are using an out of date browser. It may not display this or other websites correctly.
You should upgrade or use an alternative browser.
You should upgrade or use an alternative browser.
lets see those homemade tanks
- Thread starter buzzy
- Start date

Help Support Rat Rod Bikes Bicycle Forum:
This site may earn a commission from merchant affiliate
links, including eBay, Amazon, and others.
Dang Sexy !!
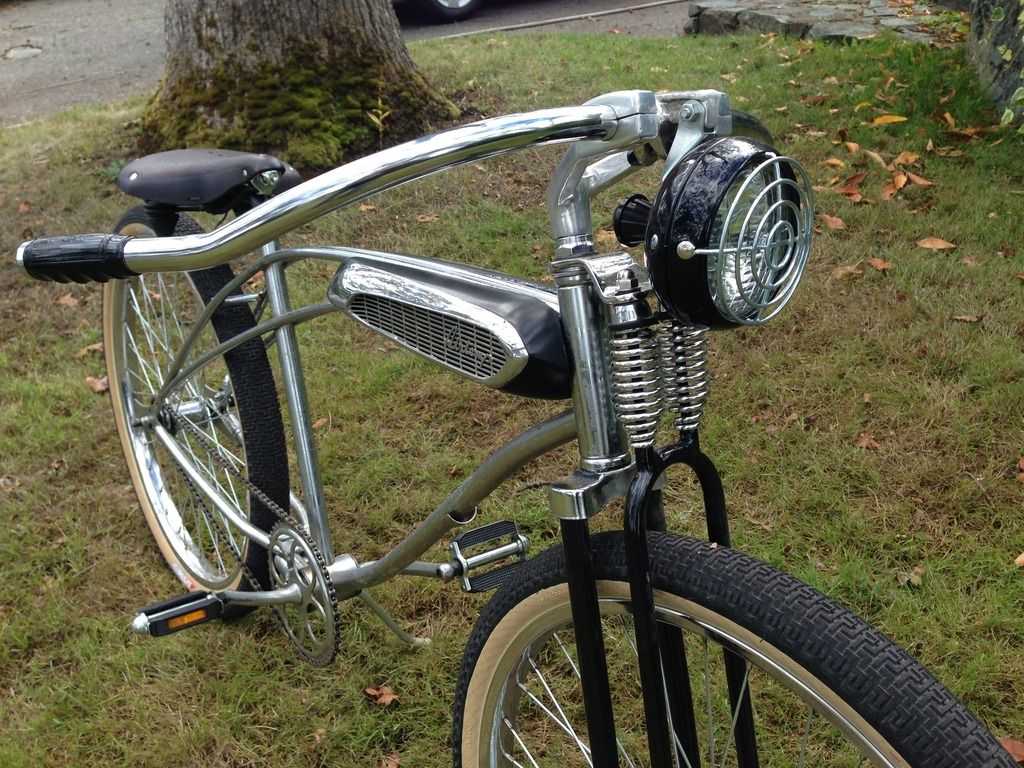
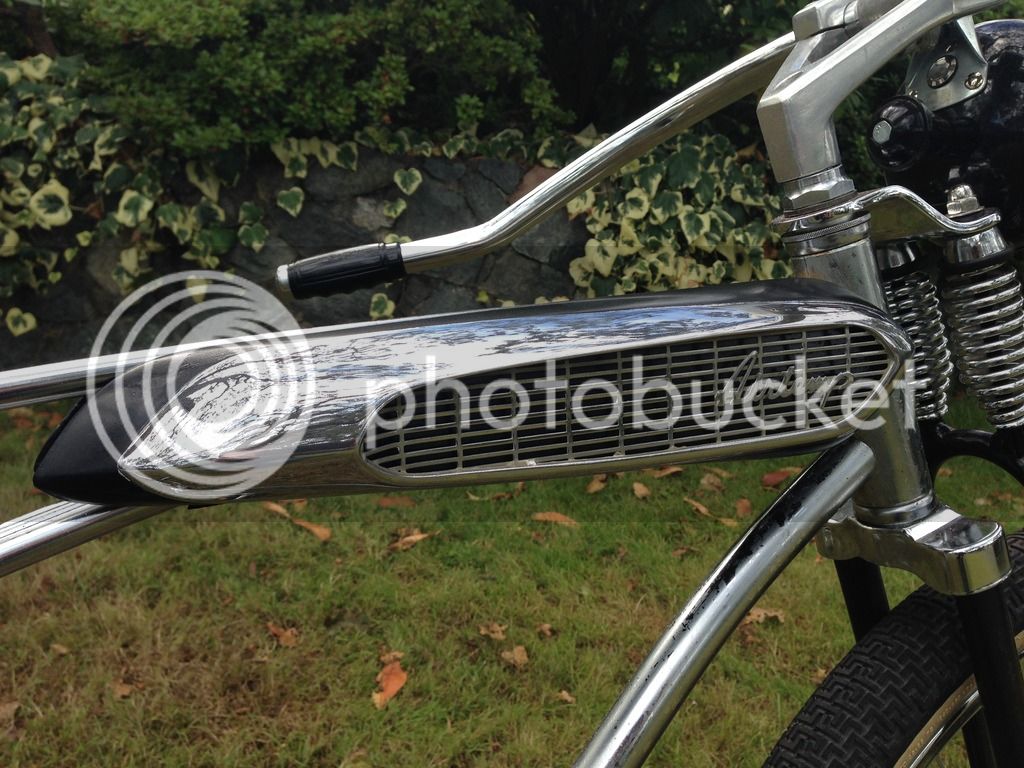
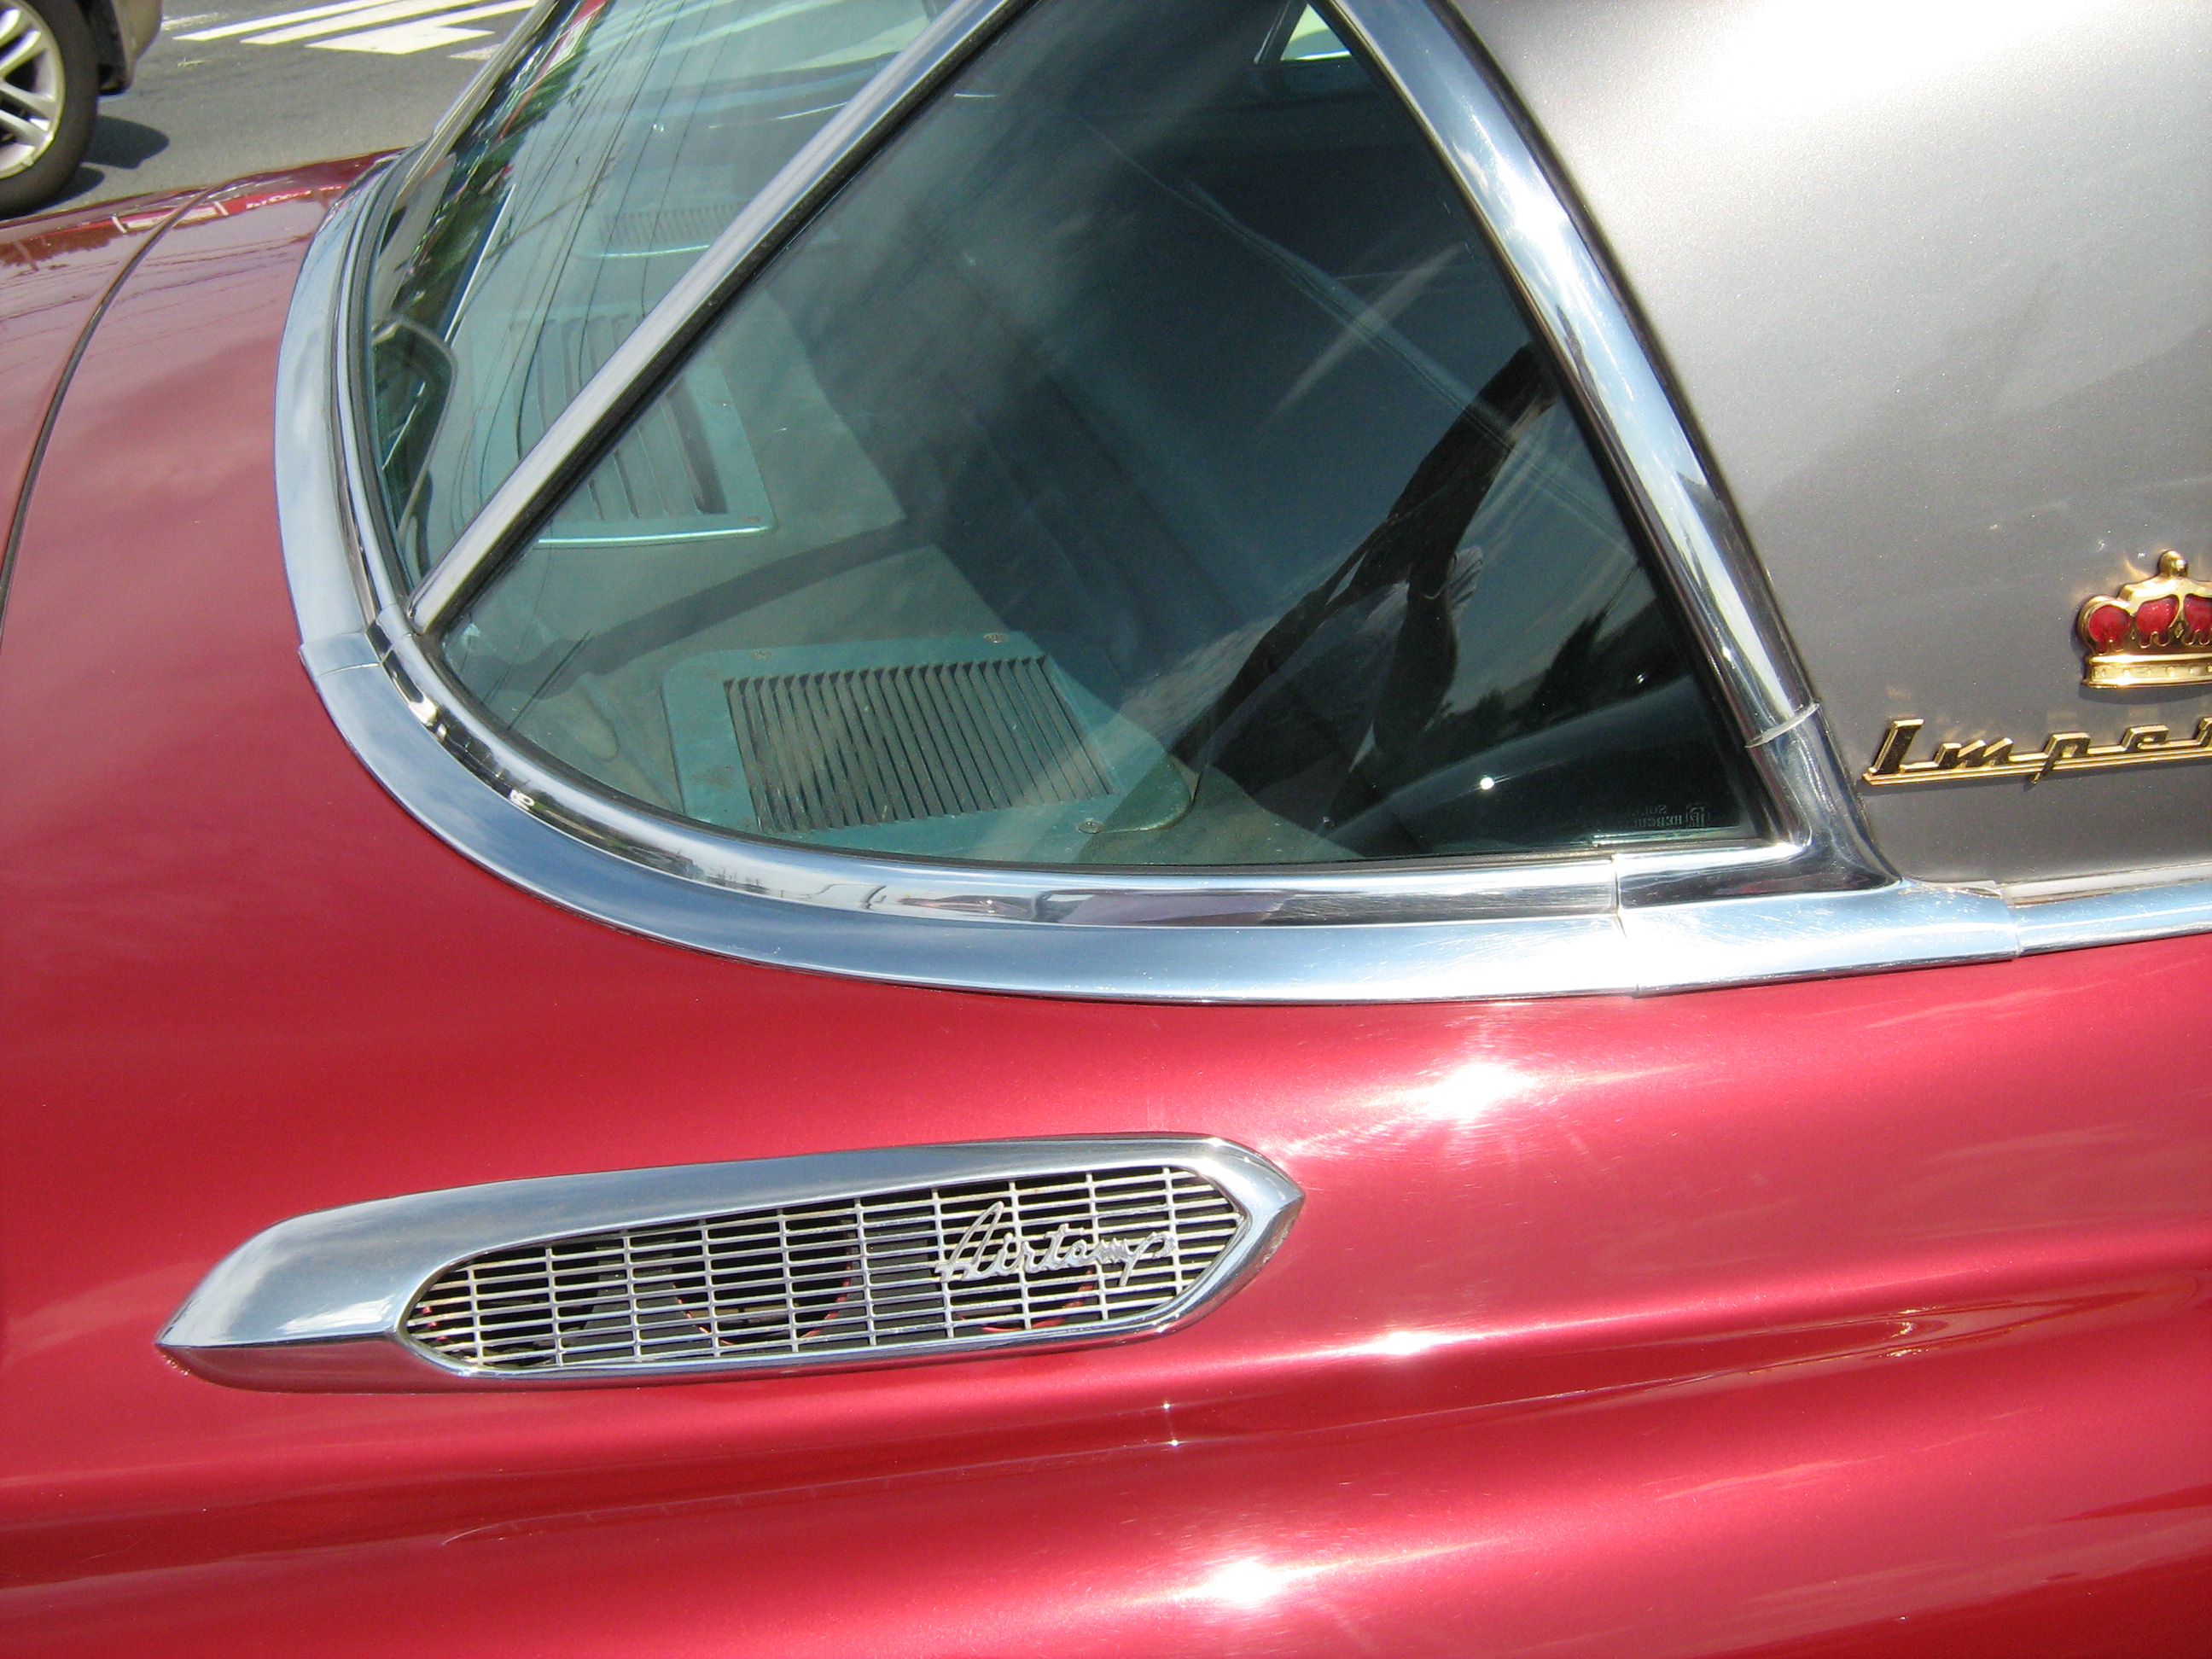
That is freaking rad. Is that from a cars grill
The Renaissance Man
__CERTIFIED DIVER__ (Open Water & Open Dumpster)
Staff member
Moderator
Pro Member
I had to Google it myself. Very cool.That is freaking rad. Is that from a cars grill

$19.99
Electra Glide Wall Decal 2ft Long Sport Harley Davidson Bike Motorcylce Sticker Man Cave Garage Boys Room Decor
FatCat Wall Graphics
fiberglass
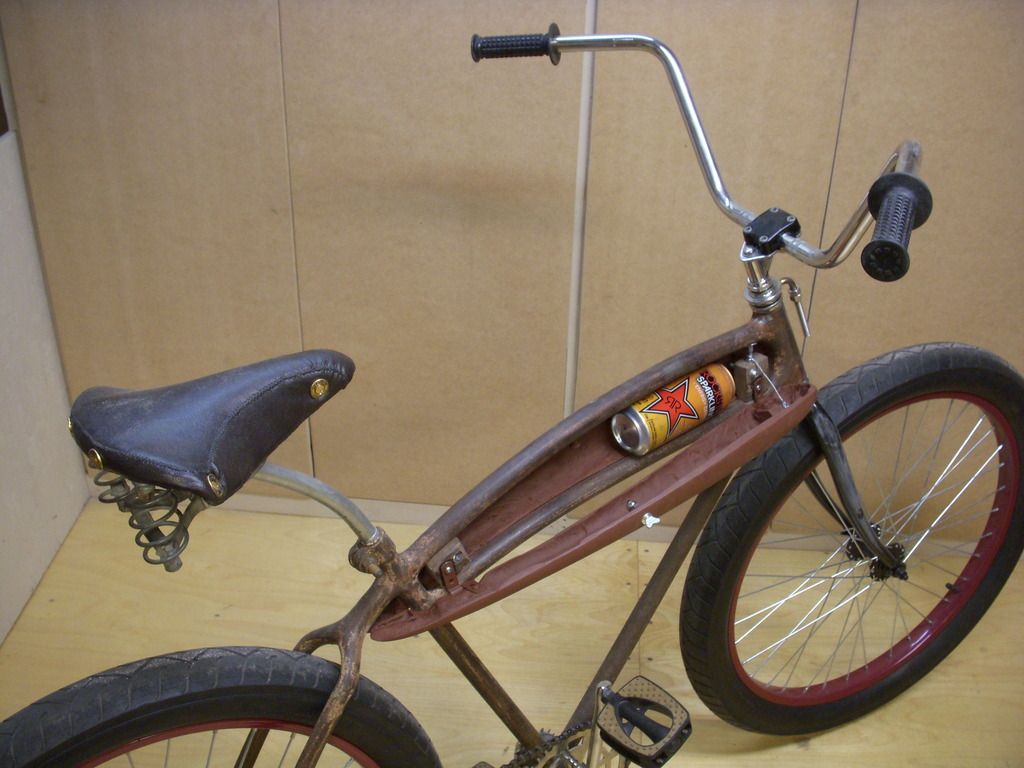
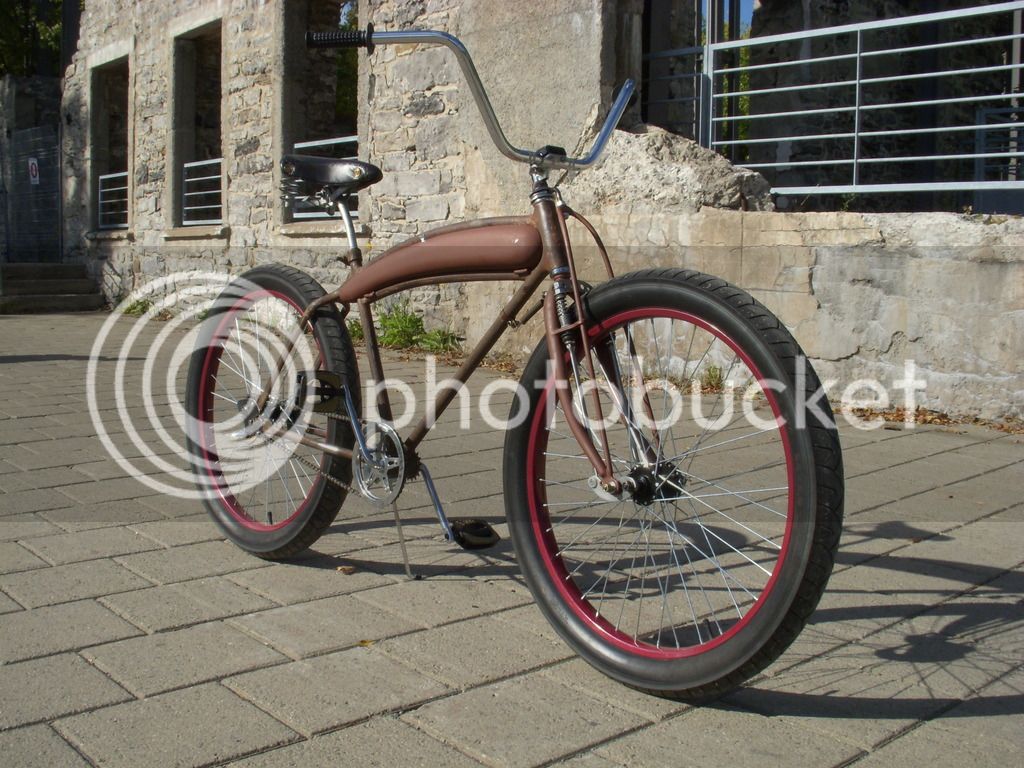
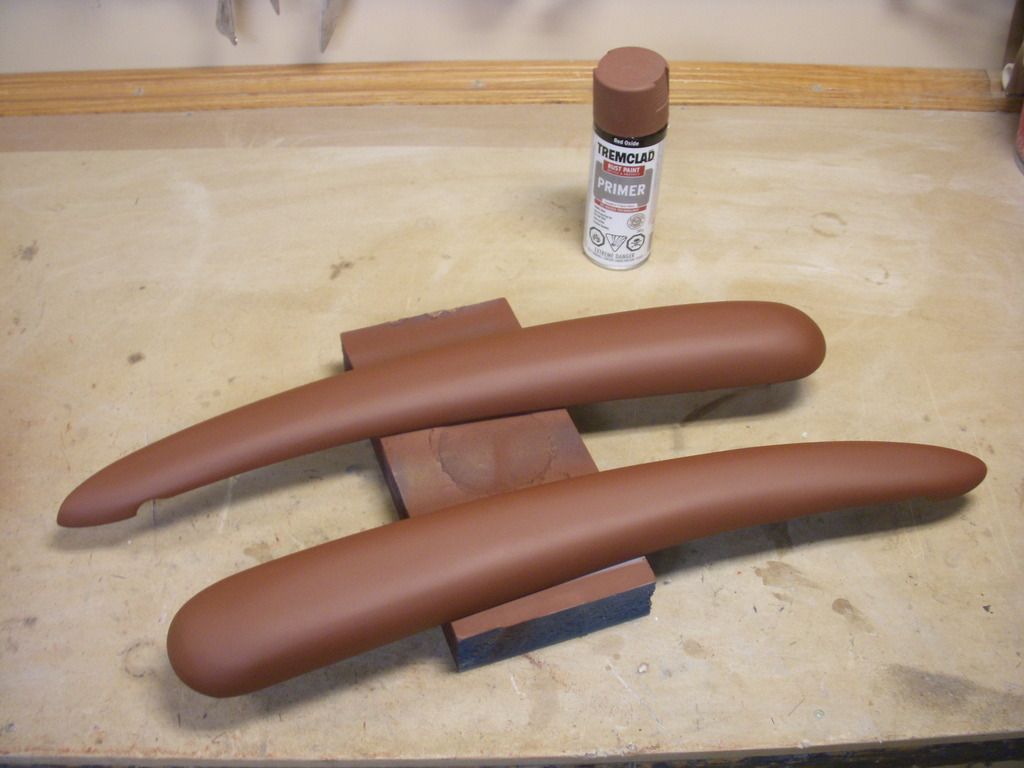
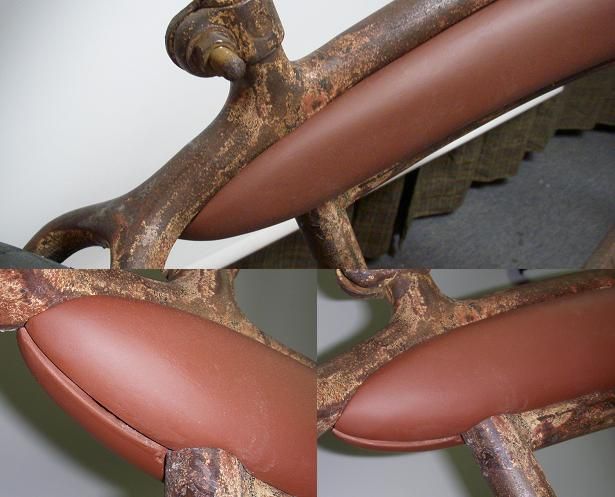
still some finishing to do but the structure is done , you can see how it was made here:
http://www.ratrodbikes.com/forum/index.php?threads/39-elgin-undead-custom.93745/


still some finishing to do but the structure is done , you can see how it was made here:
http://www.ratrodbikes.com/forum/index.php?threads/39-elgin-undead-custom.93745/
Last edited:
Plexiglass n Vacumn tubes


 Tweed battery powered guitar amplifier
 Well it was a bike tank, just not for this bike...

Carl.


Carl.
Awesome!Plexiglass n Vacumn tubes
View attachment 49708 View attachment 49709 View attachment 49710 Tweed battery powered guitar amplifier
View attachment 49711Well it was a bike tank, just not for this bike...
View attachment 49712
Carl.
The Renaissance Man
__CERTIFIED DIVER__ (Open Water & Open Dumpster)
Staff member
Moderator
Pro Member
Let's see some more!
Here's my latest home made tank...
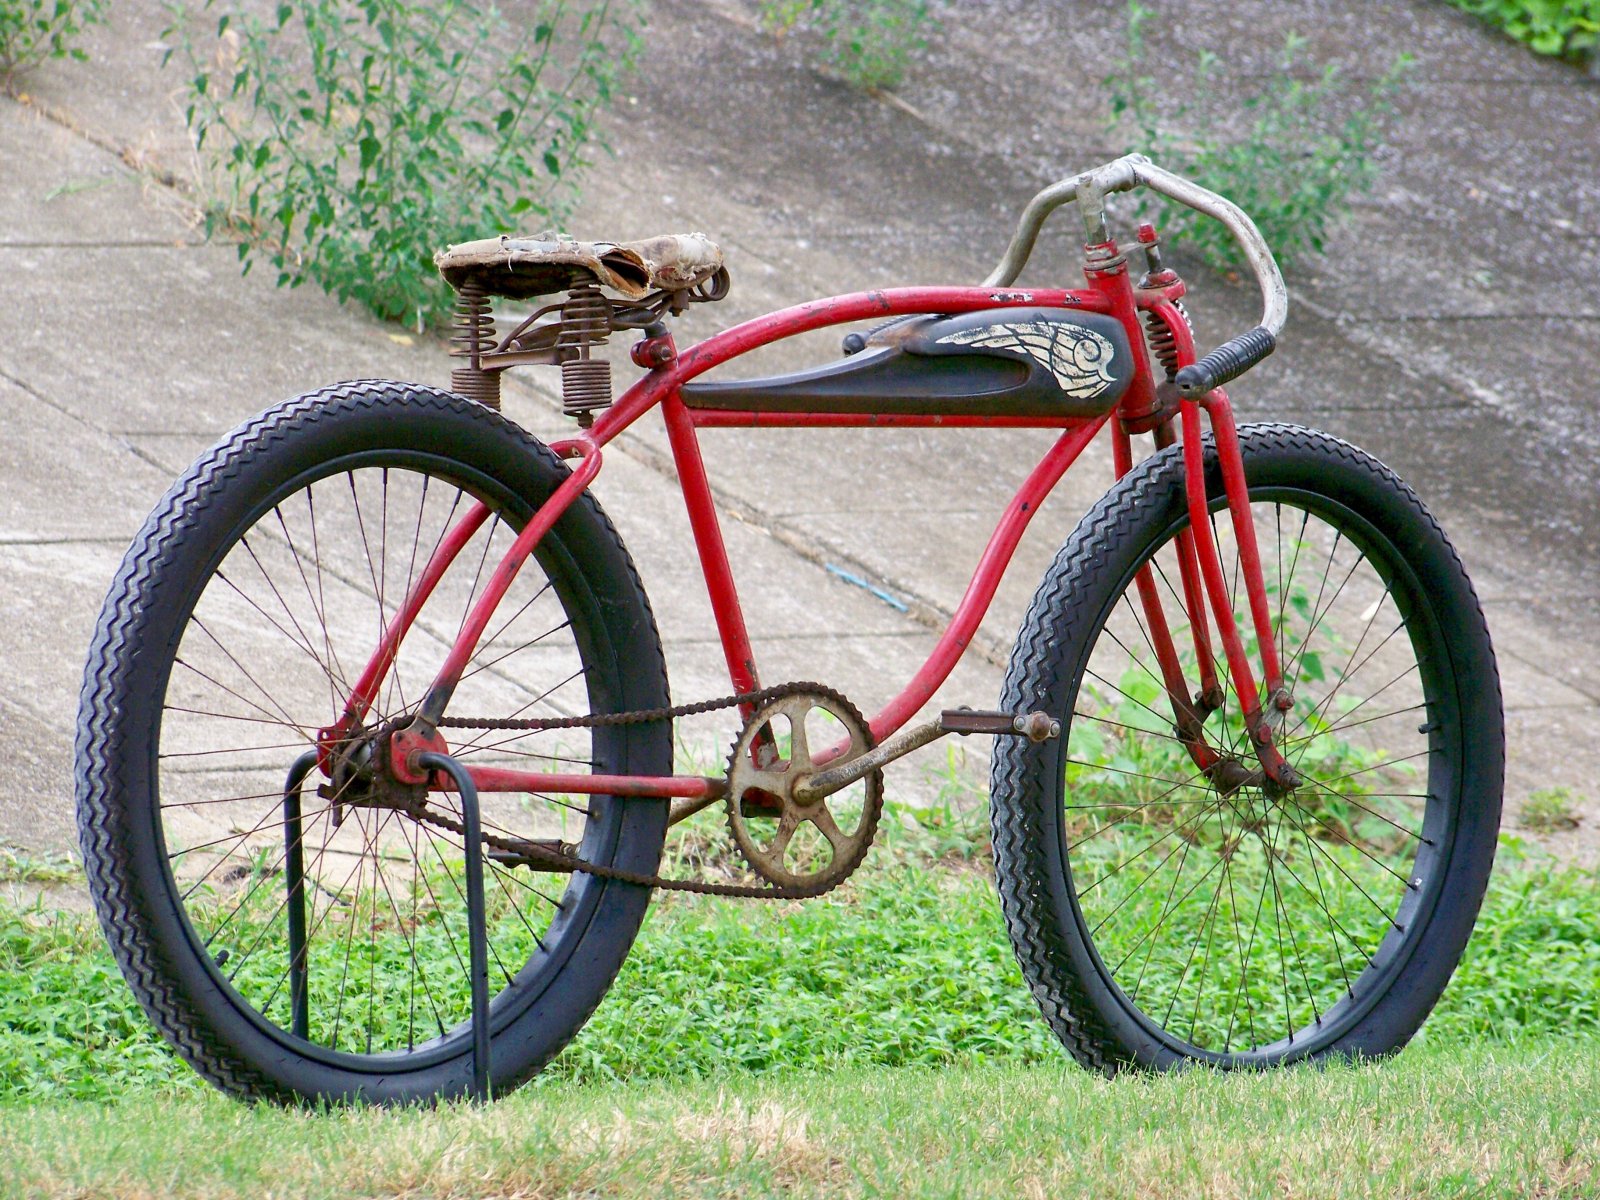
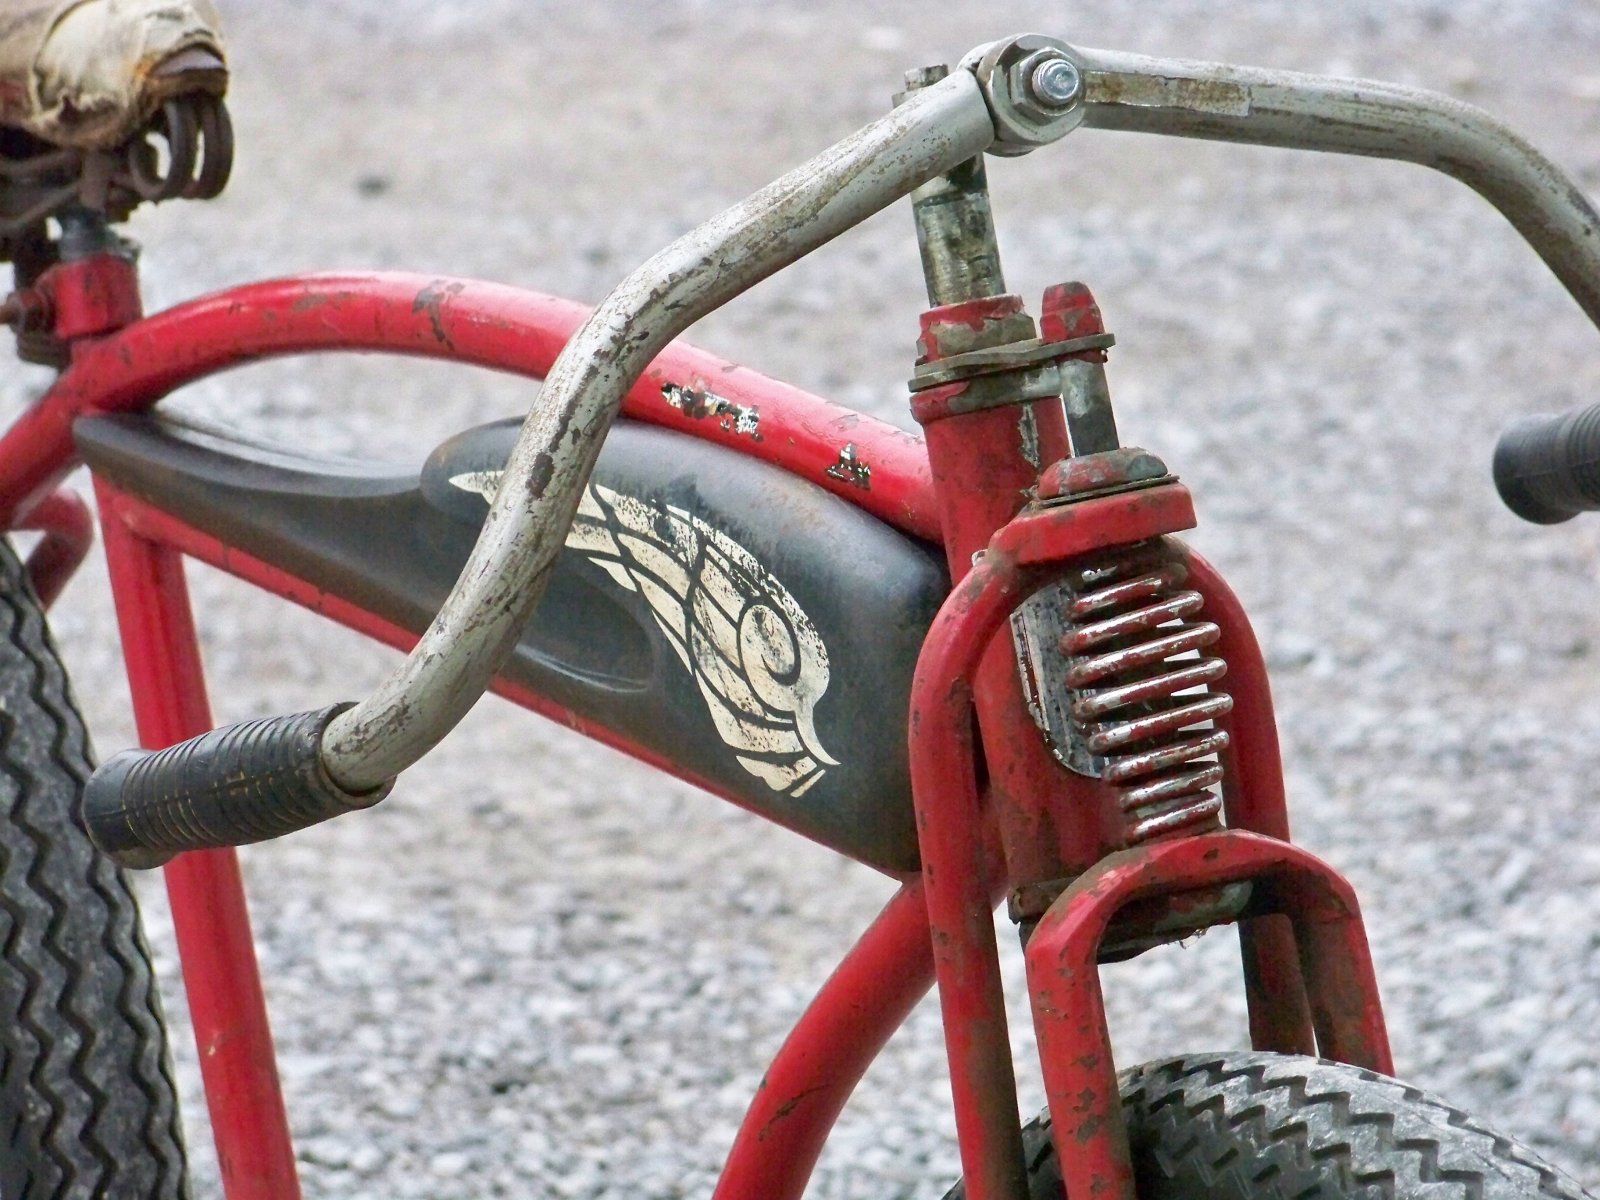
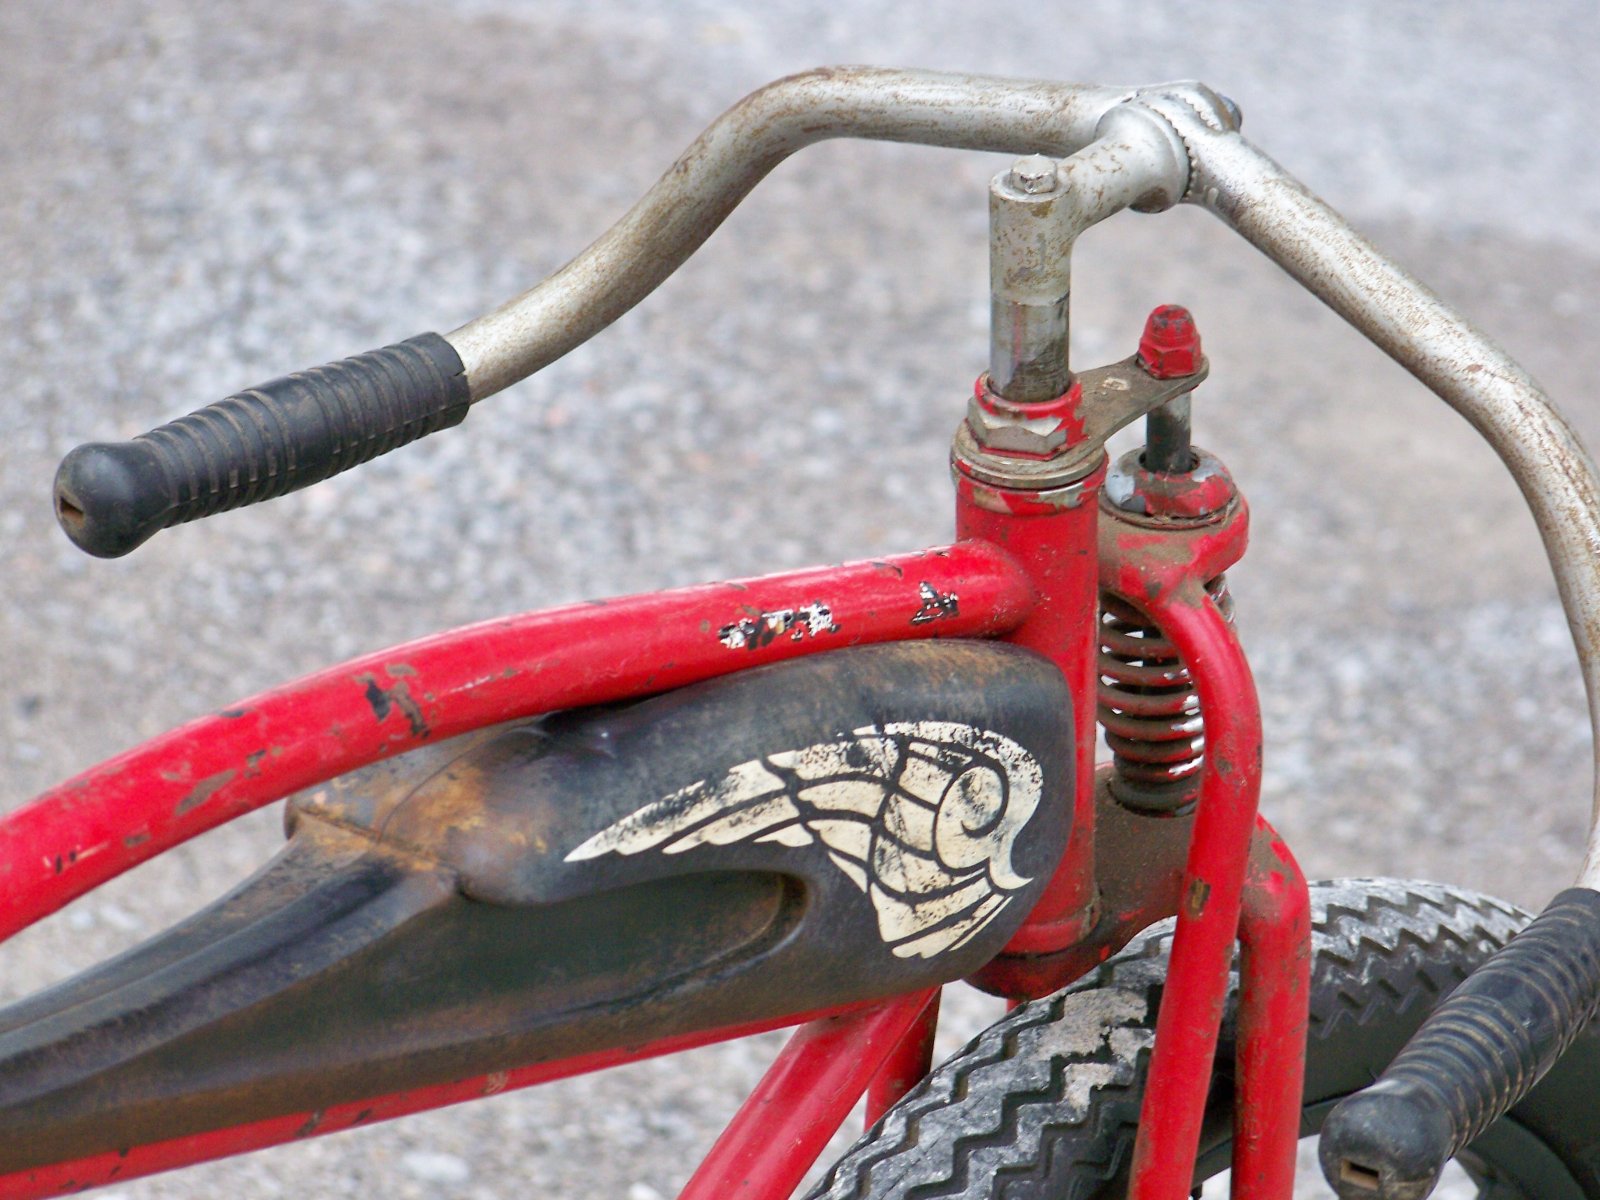
Here's my latest home made tank...
An idea I have for a cantilever frame. The space behind the goddess wings could house batteries for a hub motor. Can't figure if I'd have the arms go down the fork or stretch out to hold a headlight. I thought light up eyes, too, but might be kind of creepy and not bright enough to be useful.


The Renaissance Man
__CERTIFIED DIVER__ (Open Water & Open Dumpster)
Staff member
Moderator
Pro Member
How about arms at her sides that function as semaphores?An idea I have for a cantilever frame. The space behind the goddess wings could house batteries for a hub motor. Can't figure if I'd have the arms go down the fork or stretch out to hold a headlight. I thought light up eyes, too, but might be kind of creepy and not bright enough to be useful.
View attachment 64383
I really need to stop thinking about bikes.
NEVER!
Sent from my iPhone using Tapatalk
My latest tank , fiber glass , open with a hinge , closes with a key lock ,with integrated electric bike computer and on-off switchs


its all gonna get finished soon


its all gonna get finished soon
TRM tank, but the inside is modified.
This is the shifter for the SA 3-speed coaster rear. The switch for the light is in the center of the shift dial. The cable housing exits through its own tube located between the center of the top tubes and down to the shifter.

Wiring looks ugly, but I wanted to leave plenty of extra for Mk2, which will have more electrical features and a rear fairing. You can kind of see the 12V 2200 mAh li-ion battery in the nose. Oops, I just realized I forgot to shrink up the ends on those butt connectors!


To finish off the aero profile of the tank, I took some clear lenses off some cab clearance lights and sanded them down until they matched the diameter of the tank. Thanks to the diffusion lines built into the lens, keeping it even while grinding was easy. Behind the lenses are the 1" LEDs most people are using for these. Brighter than I thought they'd be! After too much deliberation on how to stick the lenses on, I finally realized hot glue was the perfect solution (and much easier than anything else I was planning to do, like plastic weld an internal tab and external seat for a screw).


This is the shifter for the SA 3-speed coaster rear. The switch for the light is in the center of the shift dial. The cable housing exits through its own tube located between the center of the top tubes and down to the shifter.

Wiring looks ugly, but I wanted to leave plenty of extra for Mk2, which will have more electrical features and a rear fairing. You can kind of see the 12V 2200 mAh li-ion battery in the nose. Oops, I just realized I forgot to shrink up the ends on those butt connectors!


To finish off the aero profile of the tank, I took some clear lenses off some cab clearance lights and sanded them down until they matched the diameter of the tank. Thanks to the diffusion lines built into the lens, keeping it even while grinding was easy. Behind the lenses are the 1" LEDs most people are using for these. Brighter than I thought they'd be! After too much deliberation on how to stick the lenses on, I finally realized hot glue was the perfect solution (and much easier than anything else I was planning to do, like plastic weld an internal tab and external seat for a screw).


Last edited:
Here's a tank I built from a Poplar board...

Here's the "tank" on my Huffy Parkside. I made it from styrene sheet...


Here's the "tank" on my Huffy Parkside. I made it from styrene sheet...


