(MBBO#05 Class1) 68 Vista Torino 500 (Everything is finished and as it should be!)

Rat Rod Bikes Bicycle Forum

Help Support Rat Rod Bikes Bicycle Forum:

This site may earn a commission from merchant affiliate links, including eBay, Amazon, and others.
Joined
Feb 22, 2008
Messages
264
Reaction score
575
Location
Denton TX
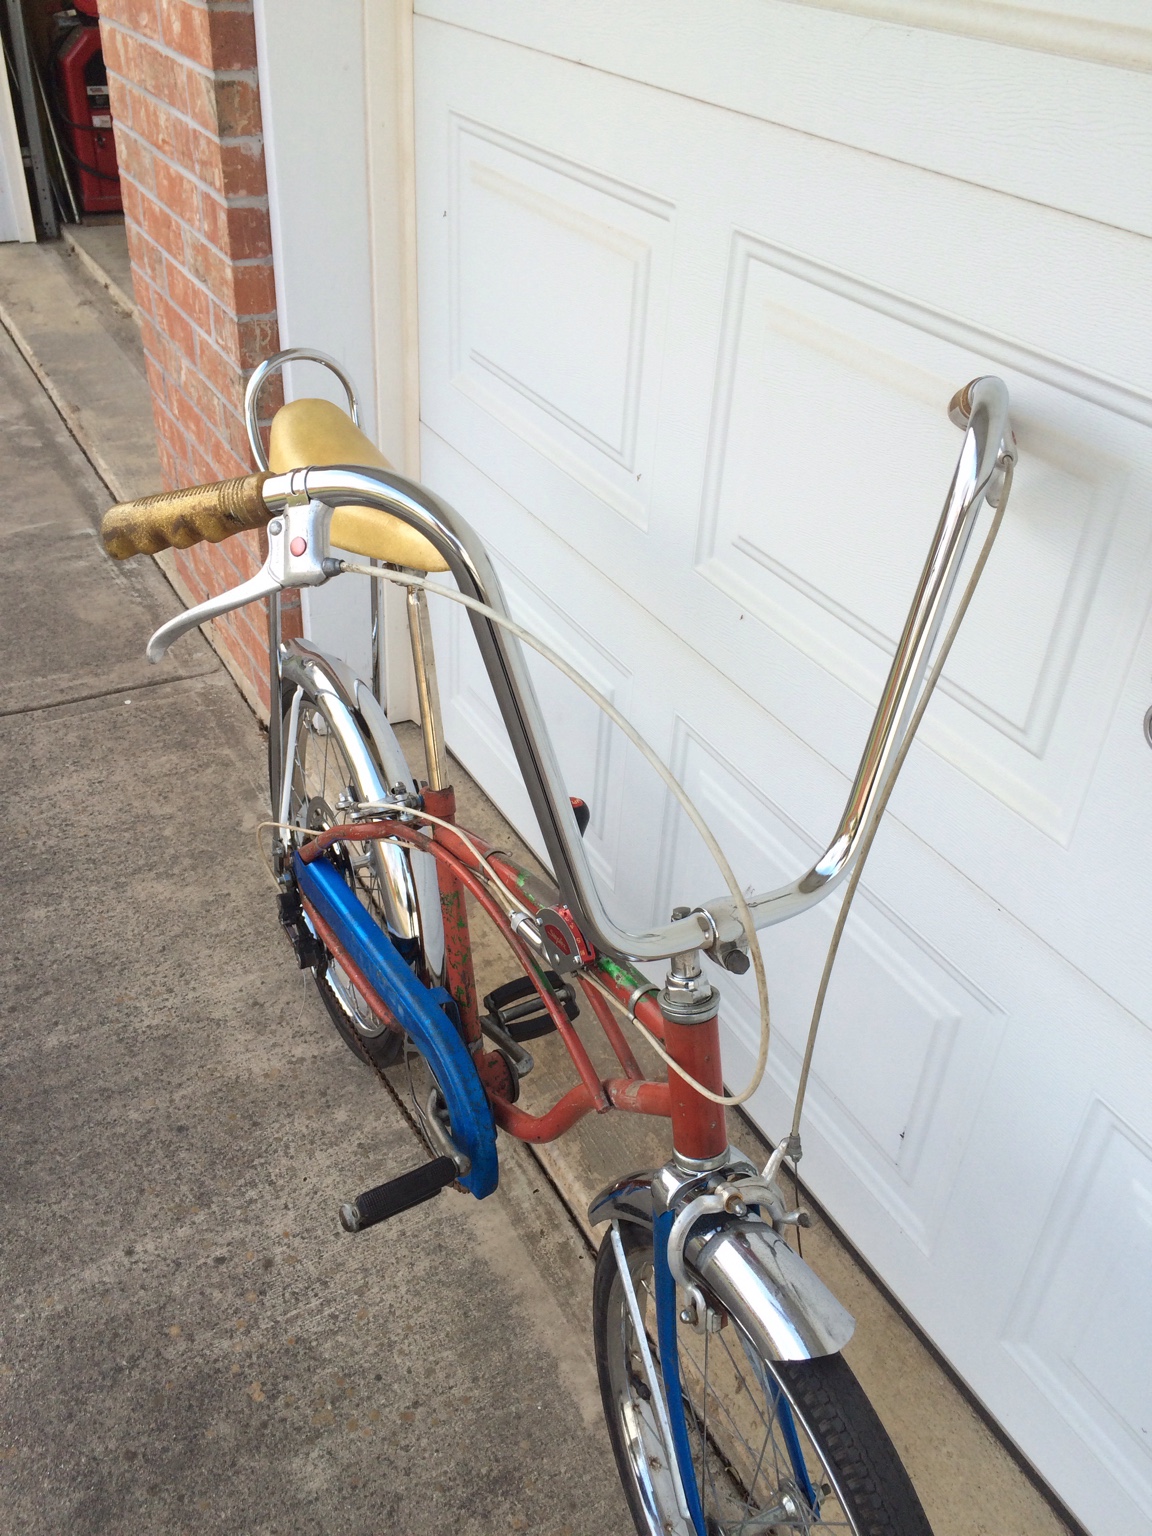
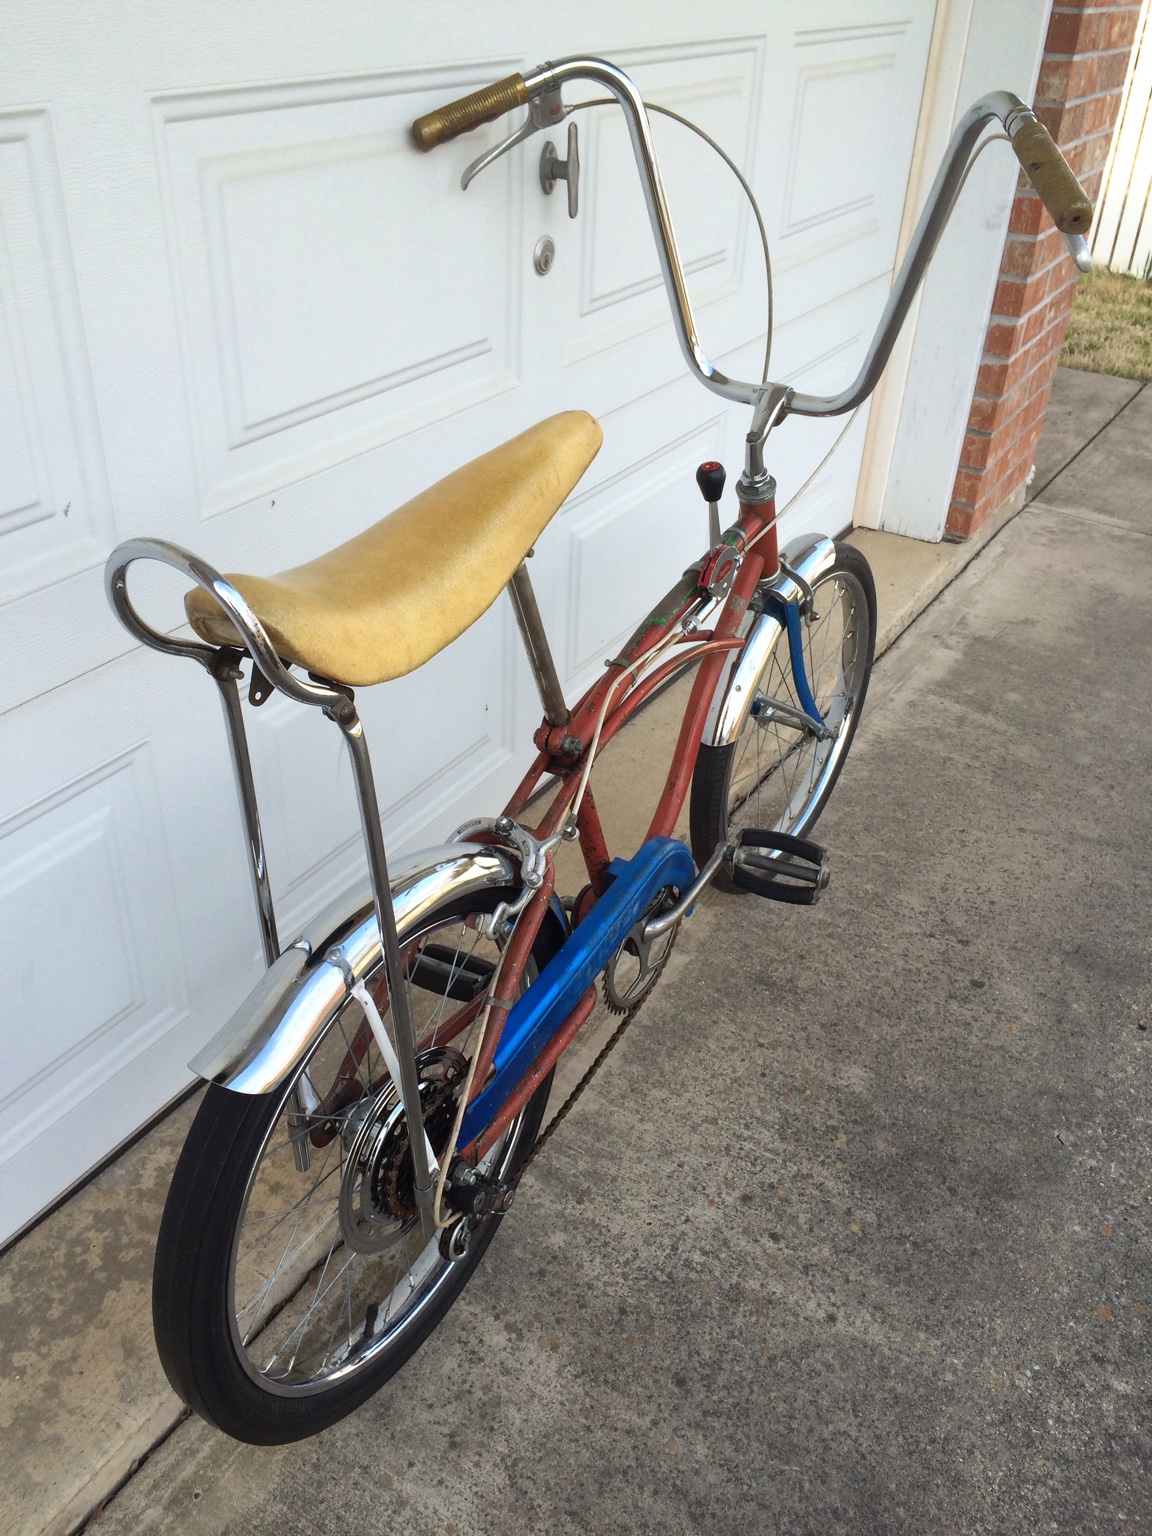
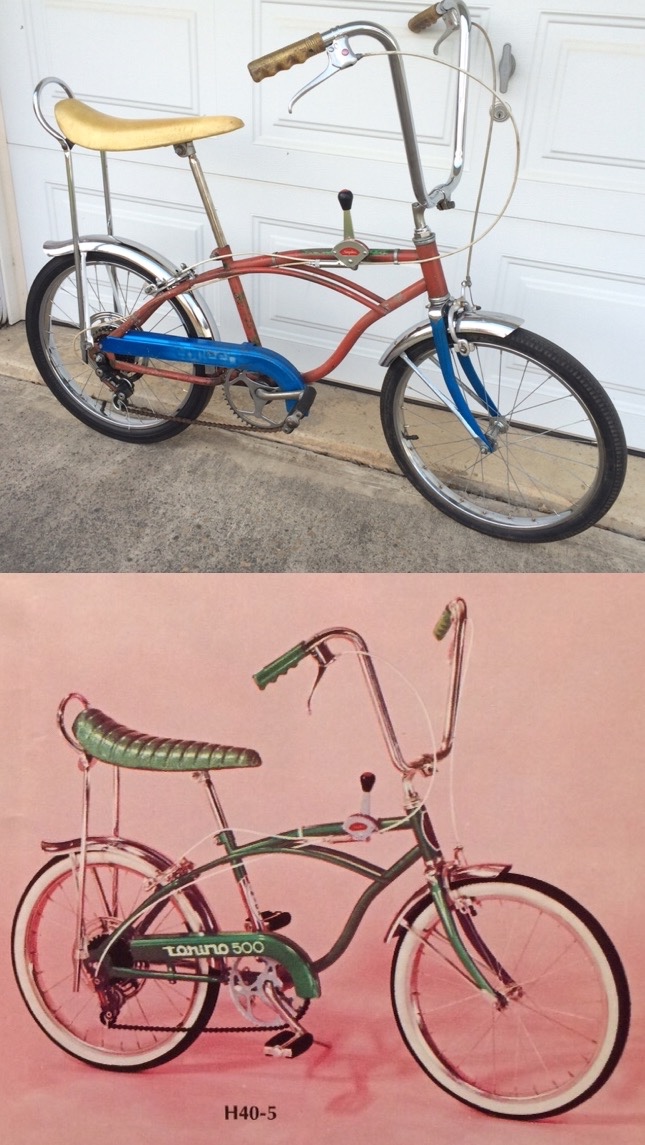
I've had this bike for a little while now and been collecting parts for it as I can find them. Over the last 3 days I started working on it to bring it to completion. I figured why not share it on RRB. This is what the bike looked like 3 days ago and what the the end result should look like.
3721e5487c90fcfb4c9ca53252ee299d.jpg


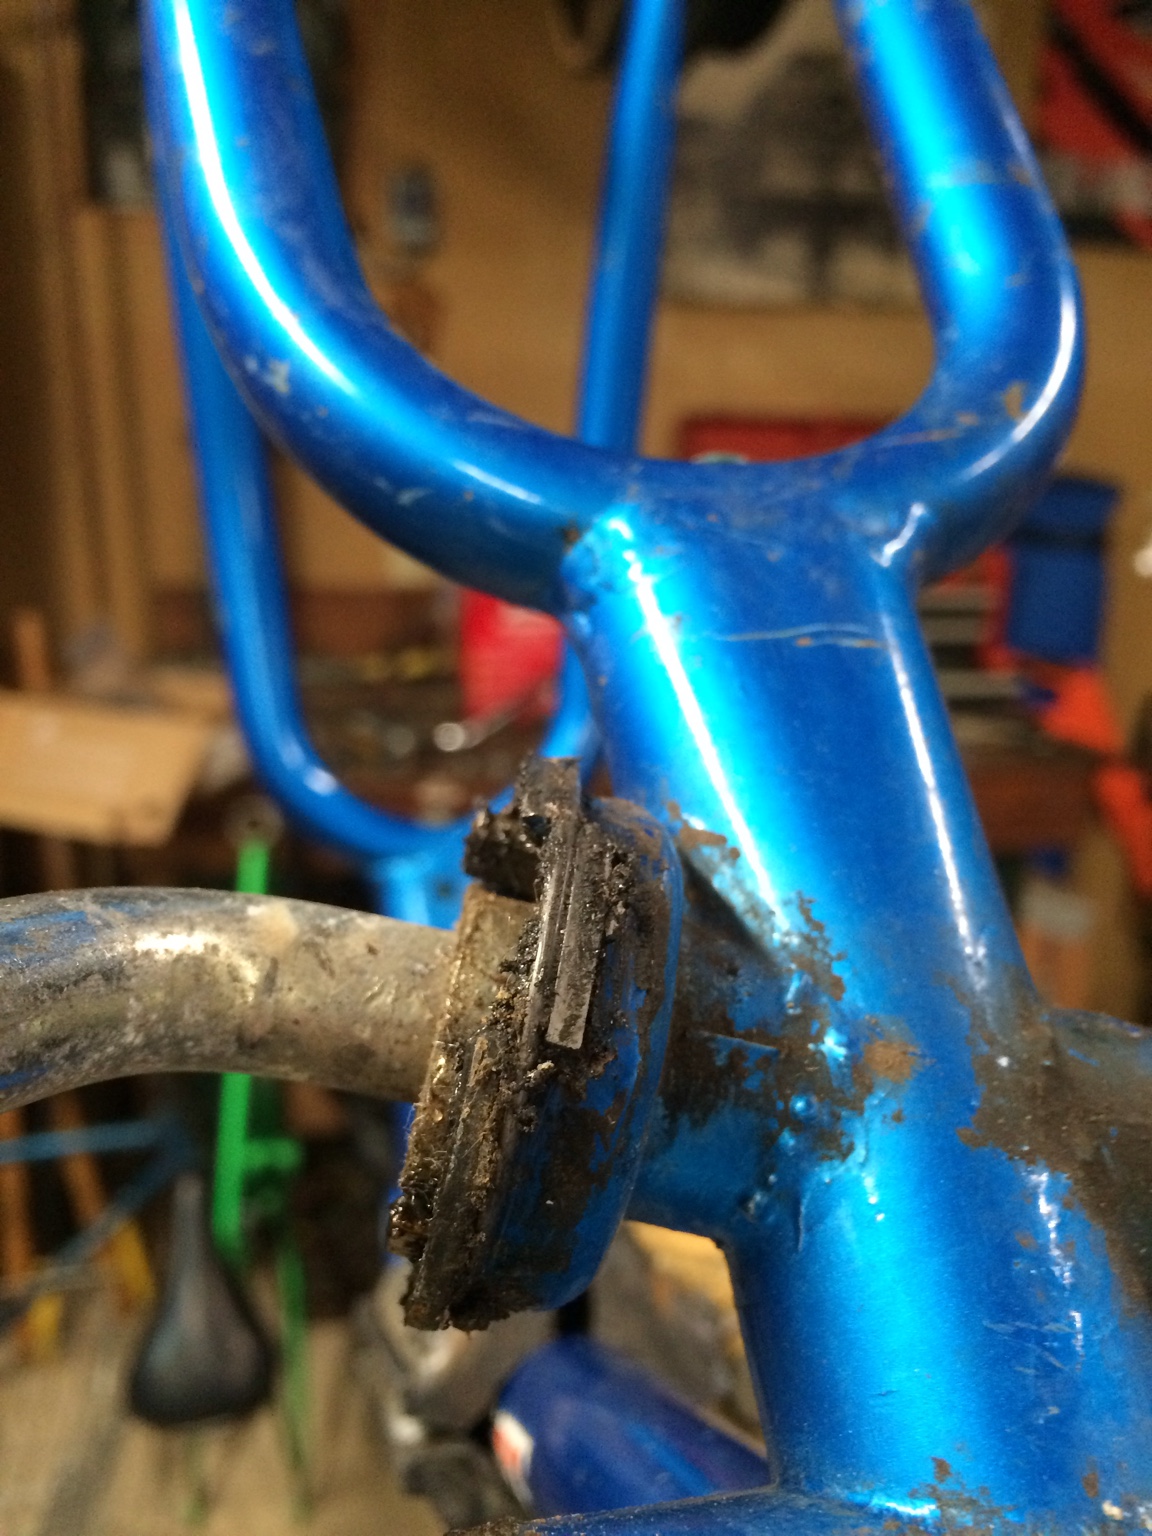
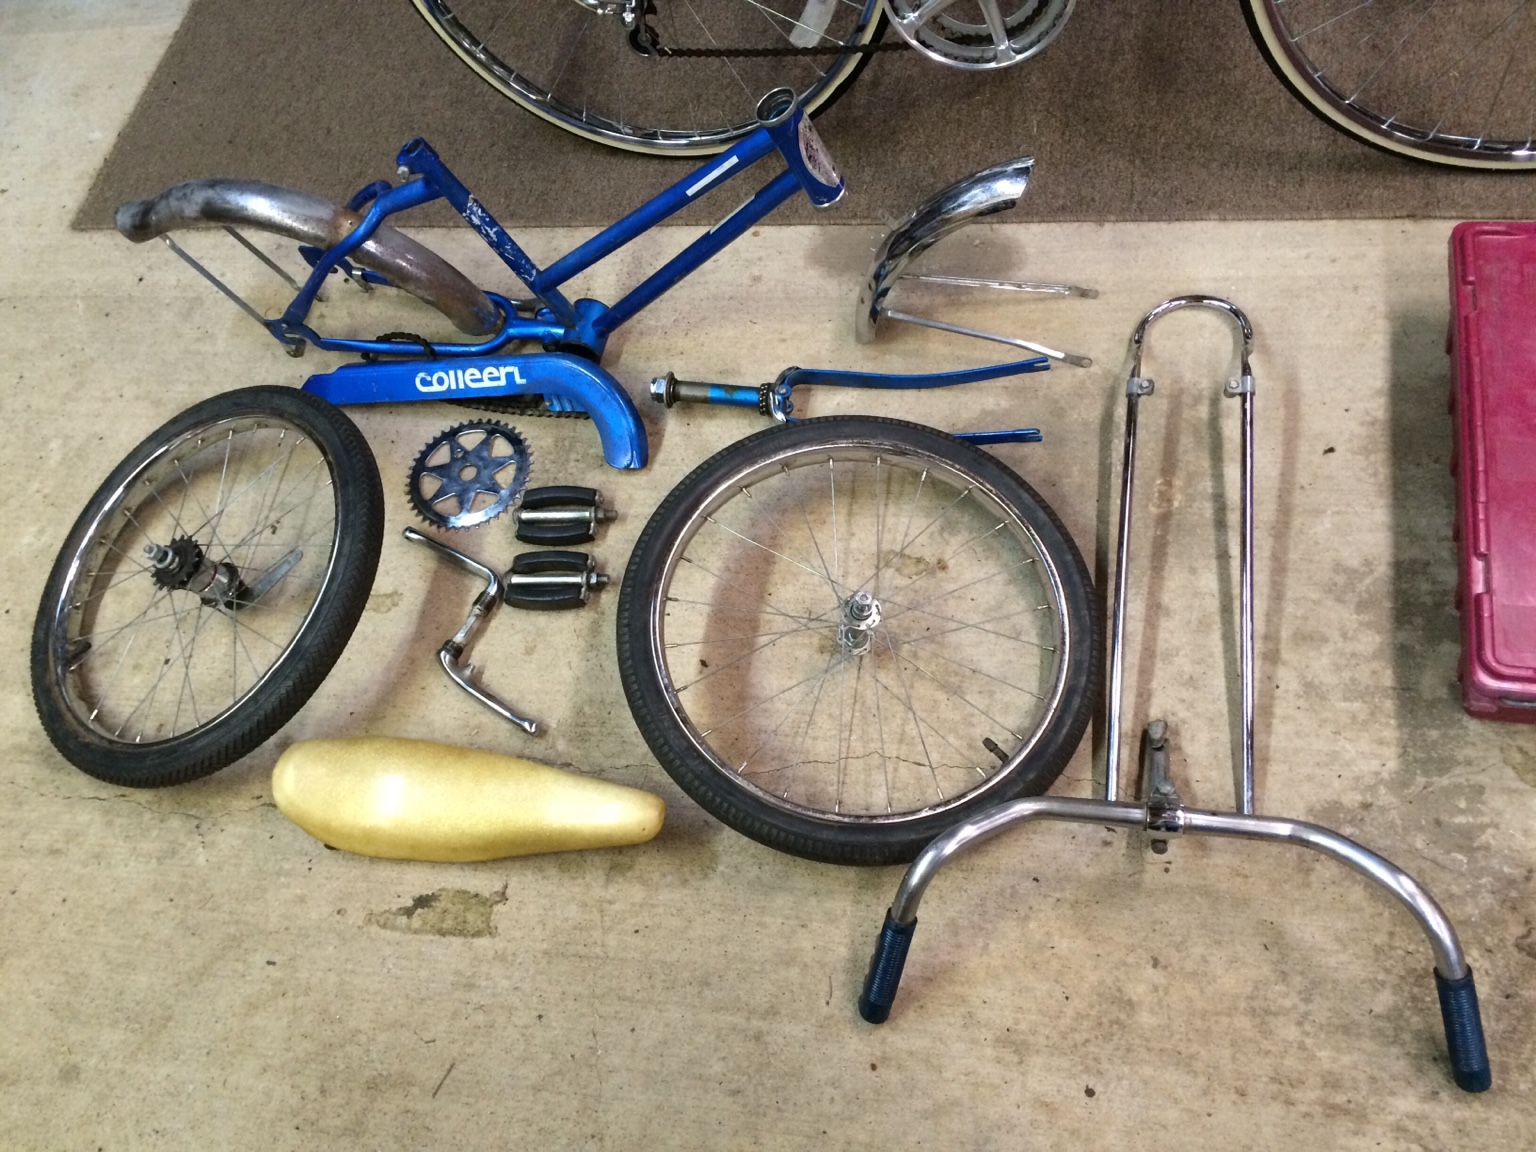
I will give a background on how the bike got to the condition you see in the photo. I had been looking for a 68 Vista Torino for a long time. I saw a girls Vista on eBay and noticed it was almost all the correct parts for a 68. Of course I bought it.
ce89b8aea3ab8b7c1448512b6513a669.jpg

This bike gave me the correct wheels, seat, sissybar, stem, chainguard, sprocket, crank and fenders. Many of these a one year only parts. Then months go by and I find a 68 boys frame. This was missing most of the parts, but it did have the correct 5 speed sprocket with it. So the game was on. I now had enough pieces to the puzzle to start putting it together.


Sent from my iPad using Tapatalk
 
watching this one with interest - looks like a good start.
I have a 500 in my build que,had frame damage and just recently cut out and repairing, so movves way up the que.
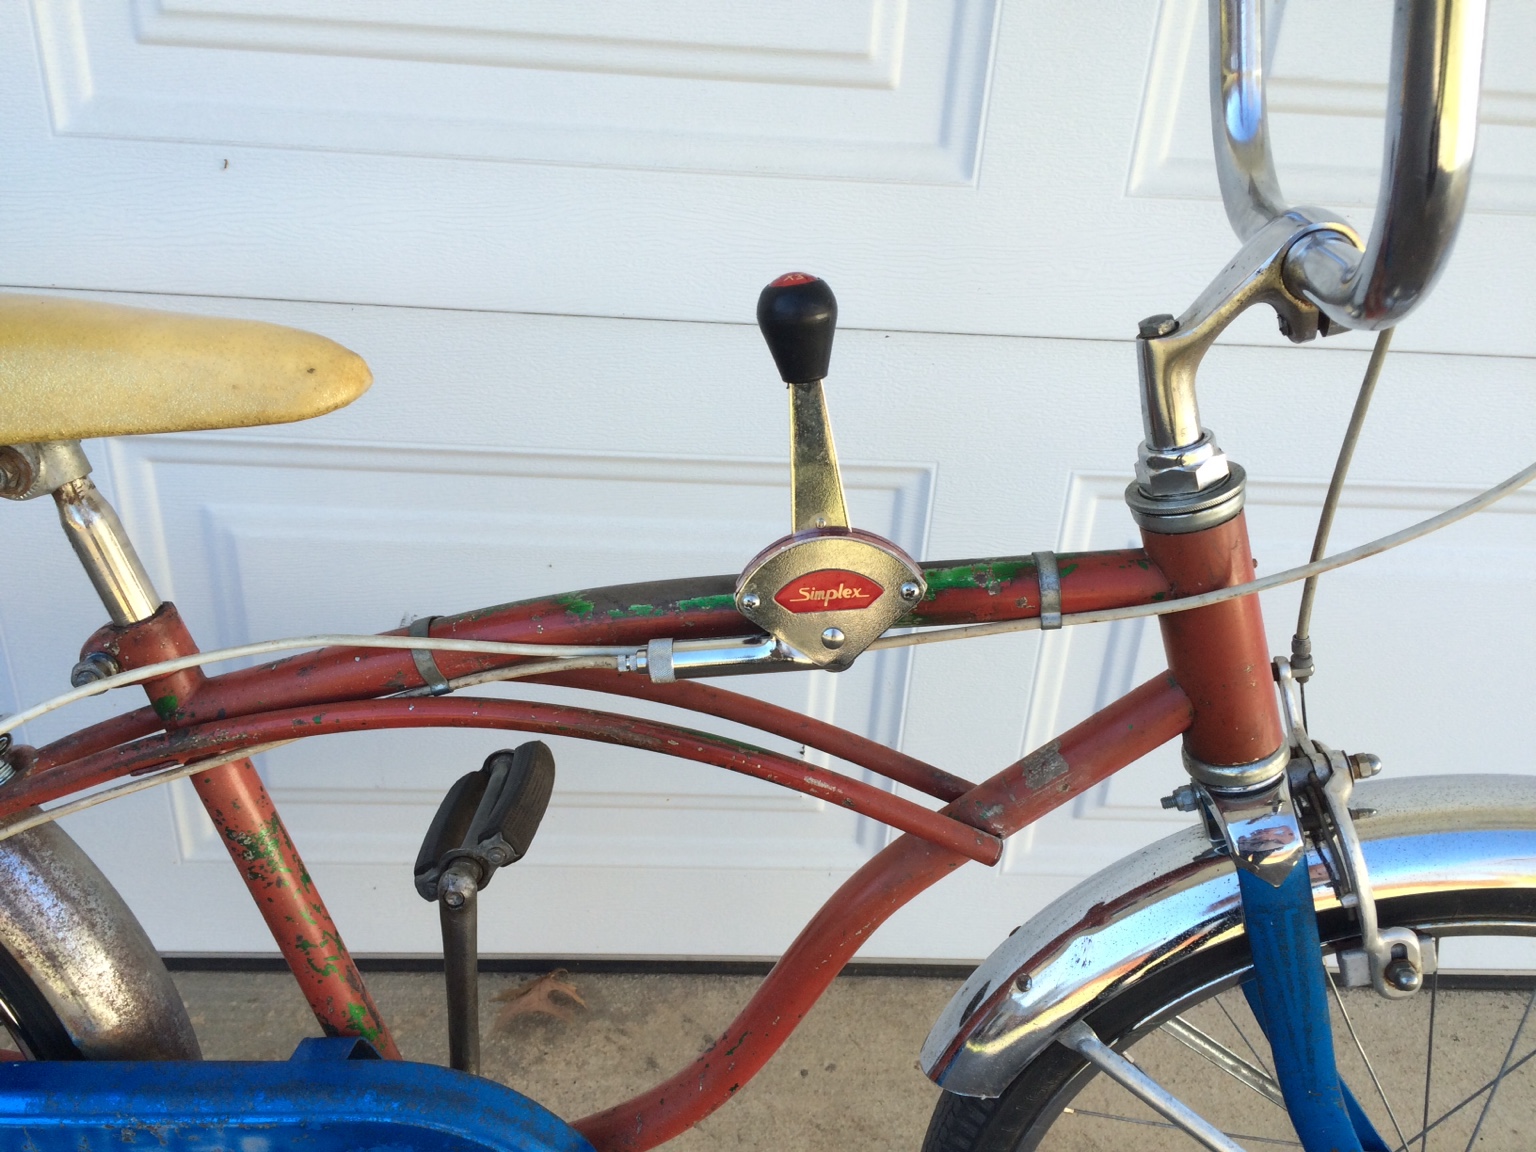
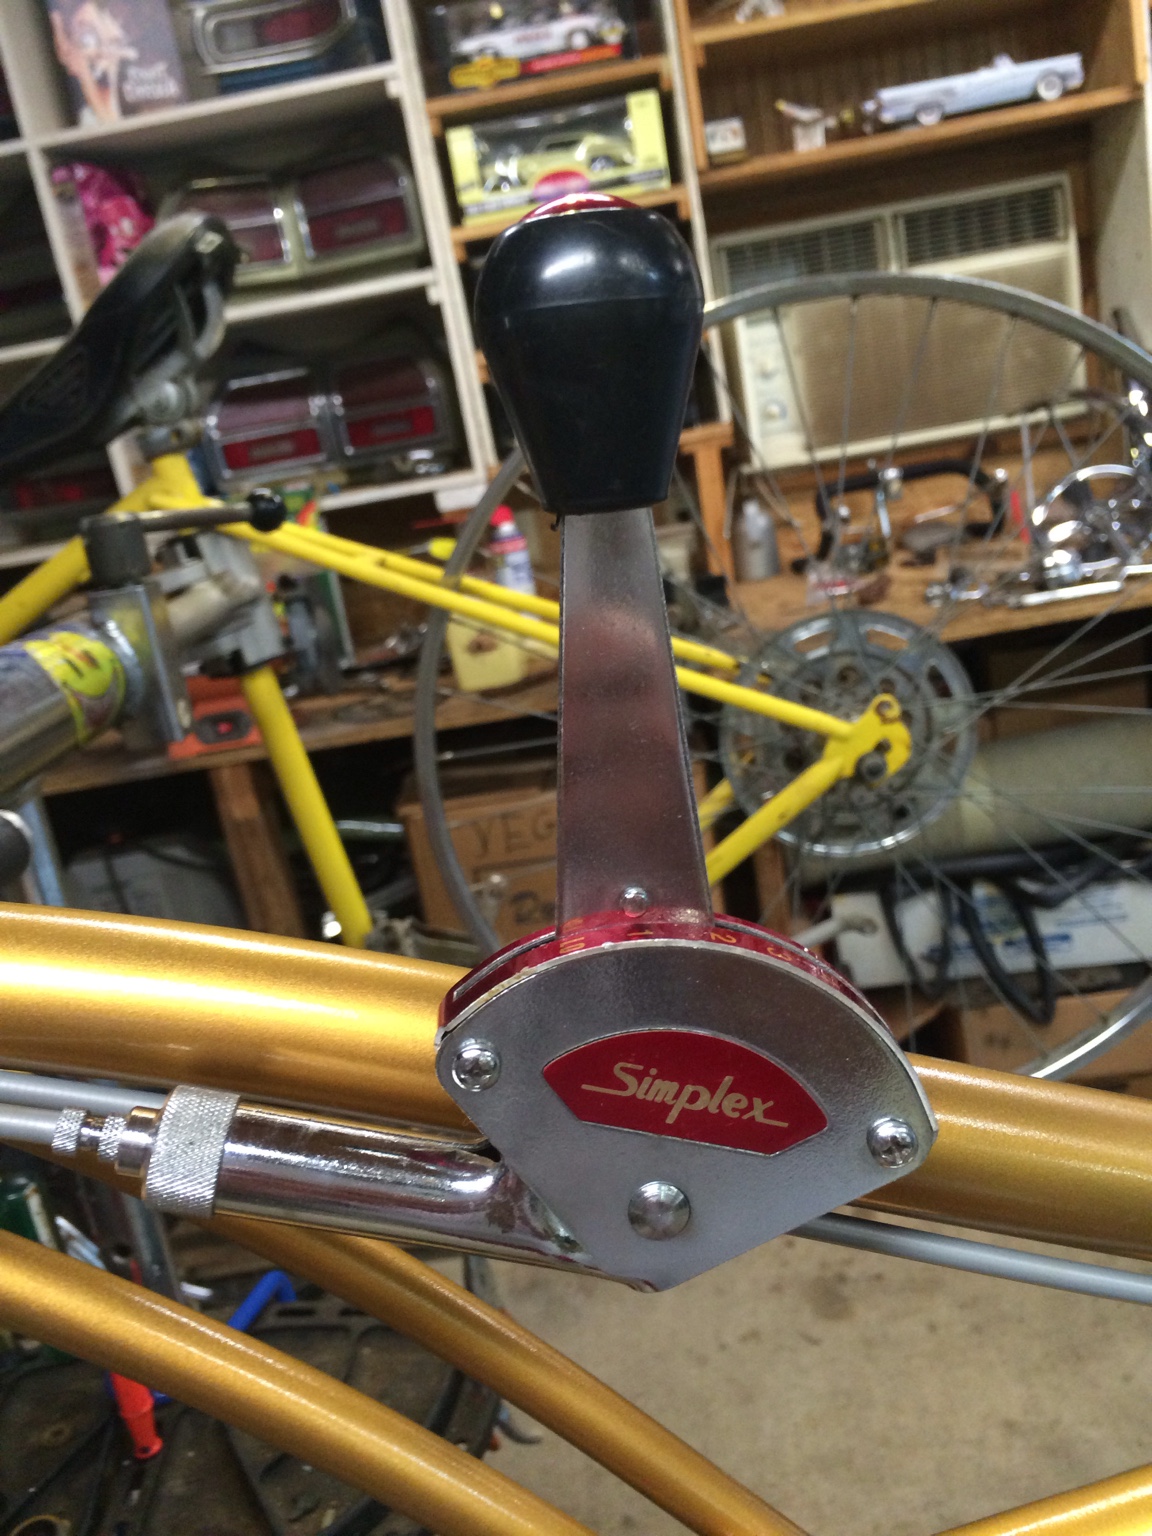
I find it interesting the 68 shown uses the Simplex shifter, nice units but seldom seen on bikes.
(note: are you having the decals made ? or know of a source ? as I need those for mine. A guy had guard decals listed a while back on ebay but did not grab one and not seen them offered since ).

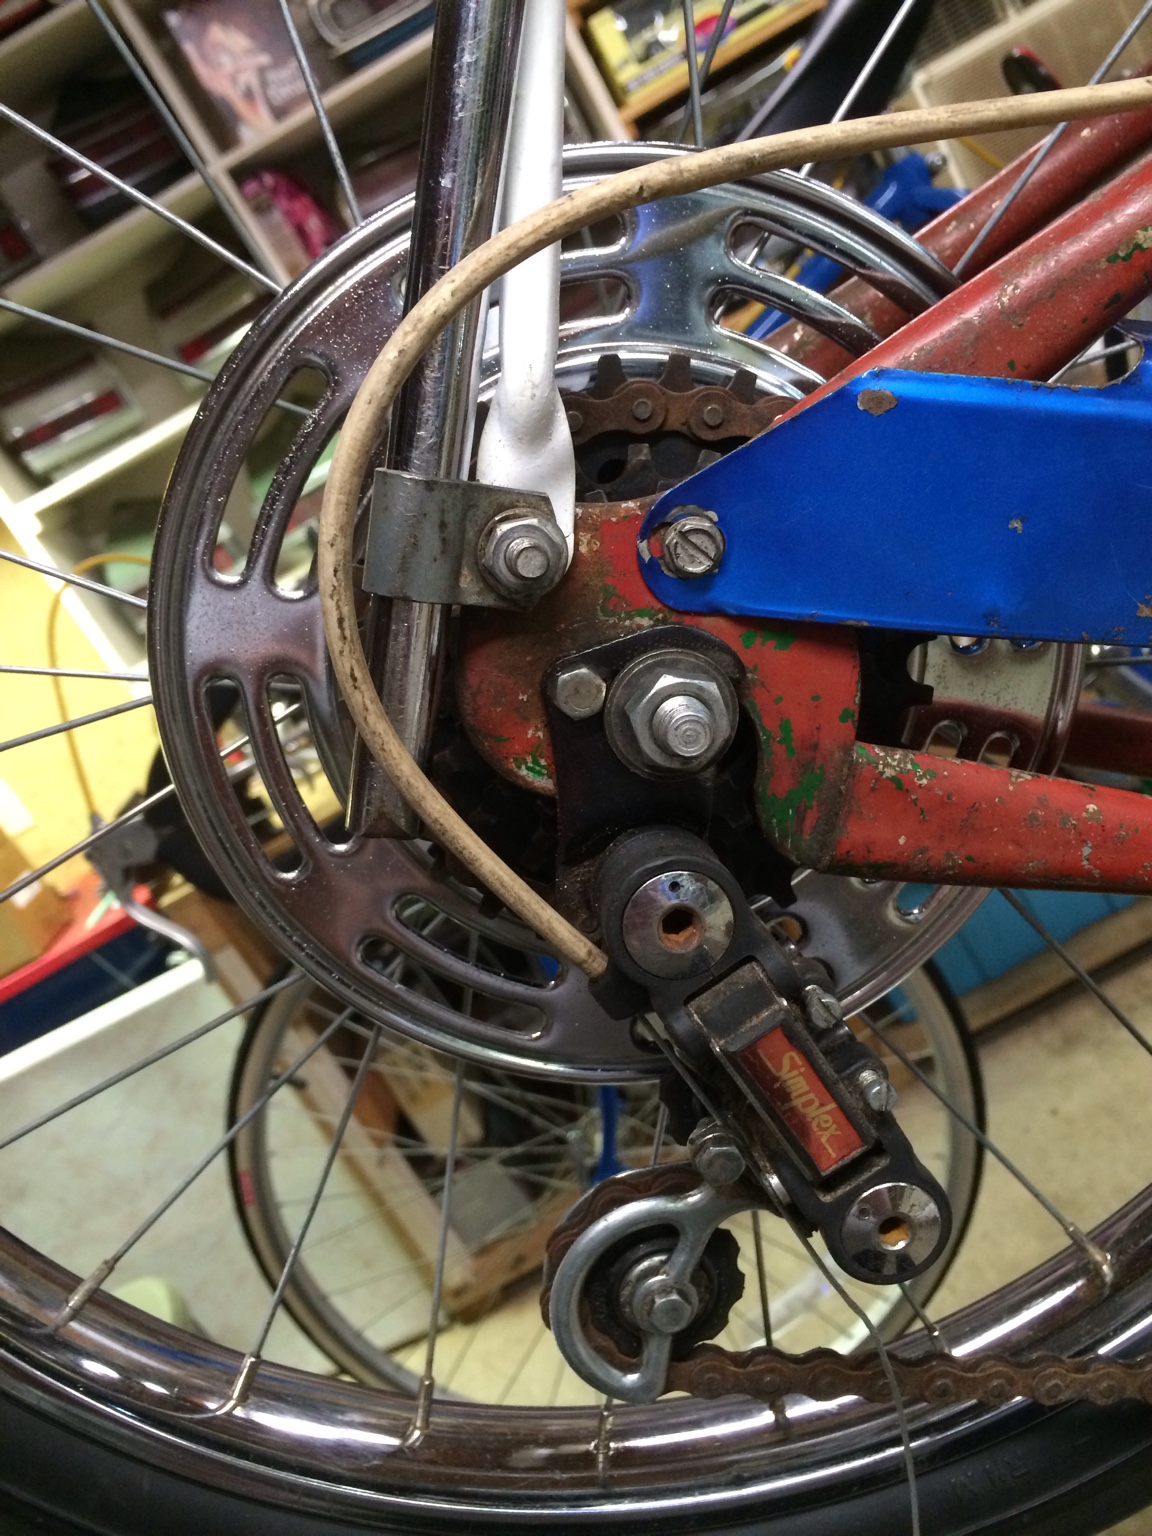
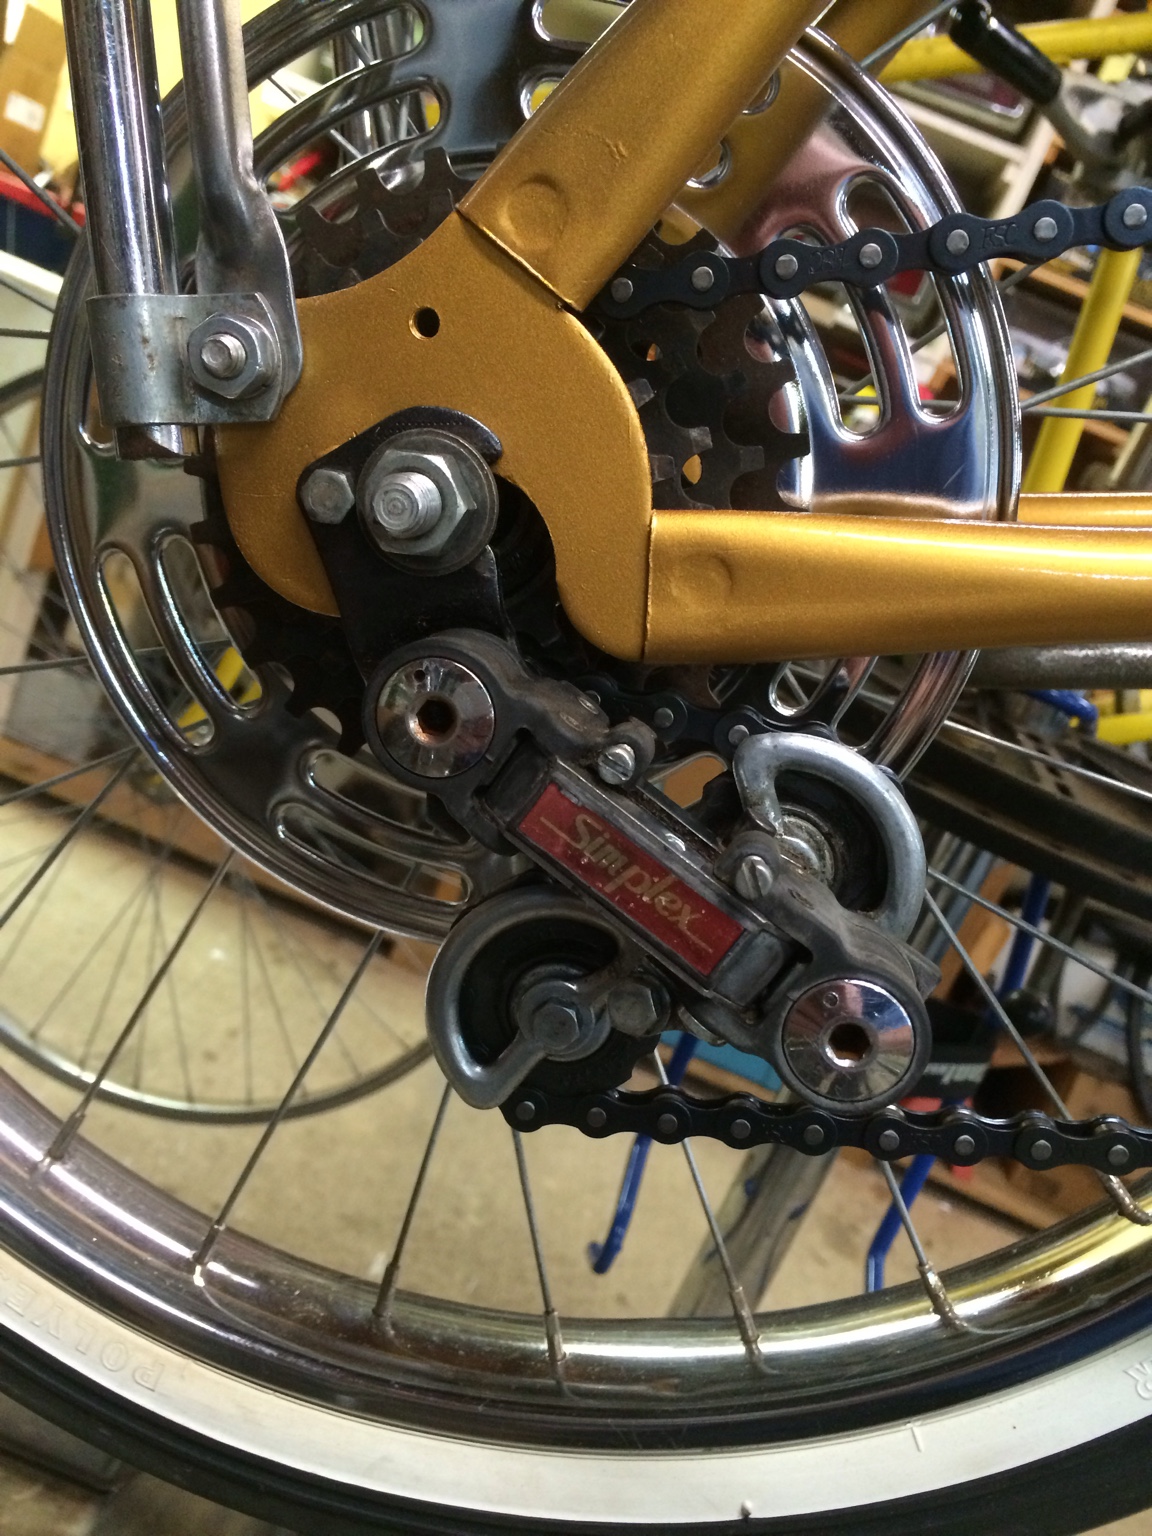
The Simplex shifter and derailleur were only used on the 68. The following model years all used the Shimano shifter and a Huret derailleur. The Simplex setup is a little tougher to set up, but once dialed in works beautifully.
I have seen the Banana chainguard decal on eBay and its still offered. I haven't seen the Torino decal though. I'm going to have them made locally.


Sent from my iPhone using Tapatalk
 
I built it up as the coaster version originally, decided to make it a 5 speed.
e35a67d84dcbf71dc52f71904f5d66e9.jpg

I lace the original rear rim onto Mallard hub. I didn't know what brand Vista used originally, but I felt Mallard might be a good guess because Vista liked to use the same component companies that Schwinn used.
036635bcd473234234fb6cdfb02884f7.jpg

86210e06e049723410c8ad83031de700.jpg


When I first converted it to 5 speed, I was using a Huret derailleur and a shimano shifter because hadn't acquired the Simplex components yet.
7992560a76bbe9d96c76447ea0890f0e.jpg
.
I used the Weinmann calipers and non ball end red dot levers.
4ba809e5d33338c4b770f9c0ad2b901a.jpg
e3bb8d3337ac9ad24d719be93c7200cf.jpg

So all this got me a riding beater bike.


Sent from my iPad using Tapatalk
 
Interesting info. I agree on the Simplex being a paion to set up, was tinkering with one today on my Puch-built Sears.

Not sure what Hubs Vista used either, got mine as a basket case,will have to snap a pic. I noted you used the 1020 brakes.not 1080 = good news that those are long enough.
Not sure the year on mine, but it has the BMA sticker so newer.
If/ when you get the decals done, let me know, could help with costs / buy a set.
 
Last edited:
Now that I had the Torino to riding condition I started looking for more of the correct parts for a 68 bike. I bought an NOS Simplex stick shifter from KevinM on this forum and a Simplex derailleur on eBay. I also picked up some new handlebars that were a very close match to originals from Clyde James Cycles here in the DFW area.
2bbc1f3ed7cf4071501709d0e50f6318.jpg
b250e081587d9fdbf40b7c80cc3254db.jpg

673eba7ac483f725403baa3f3d5a5d63.jpg

So now everything is pretty much worked out to have the right equipment. But, you can see a glimps of the rear fender in the shifter photo. There was no way to make this look good without rechroming. I ended up using a Sting-Ray fender for an S-7 rear wheel. It was a near match. The 68 Torinos used S-7 front and rear, so the Sting-Ray fender was a good match. The replacement fender has great chrome and no dents, but someone painted the stays white. I figured they were probably rusted under the paint.
6c0ad82fc5c0f65924810e2529a2919f.jpg


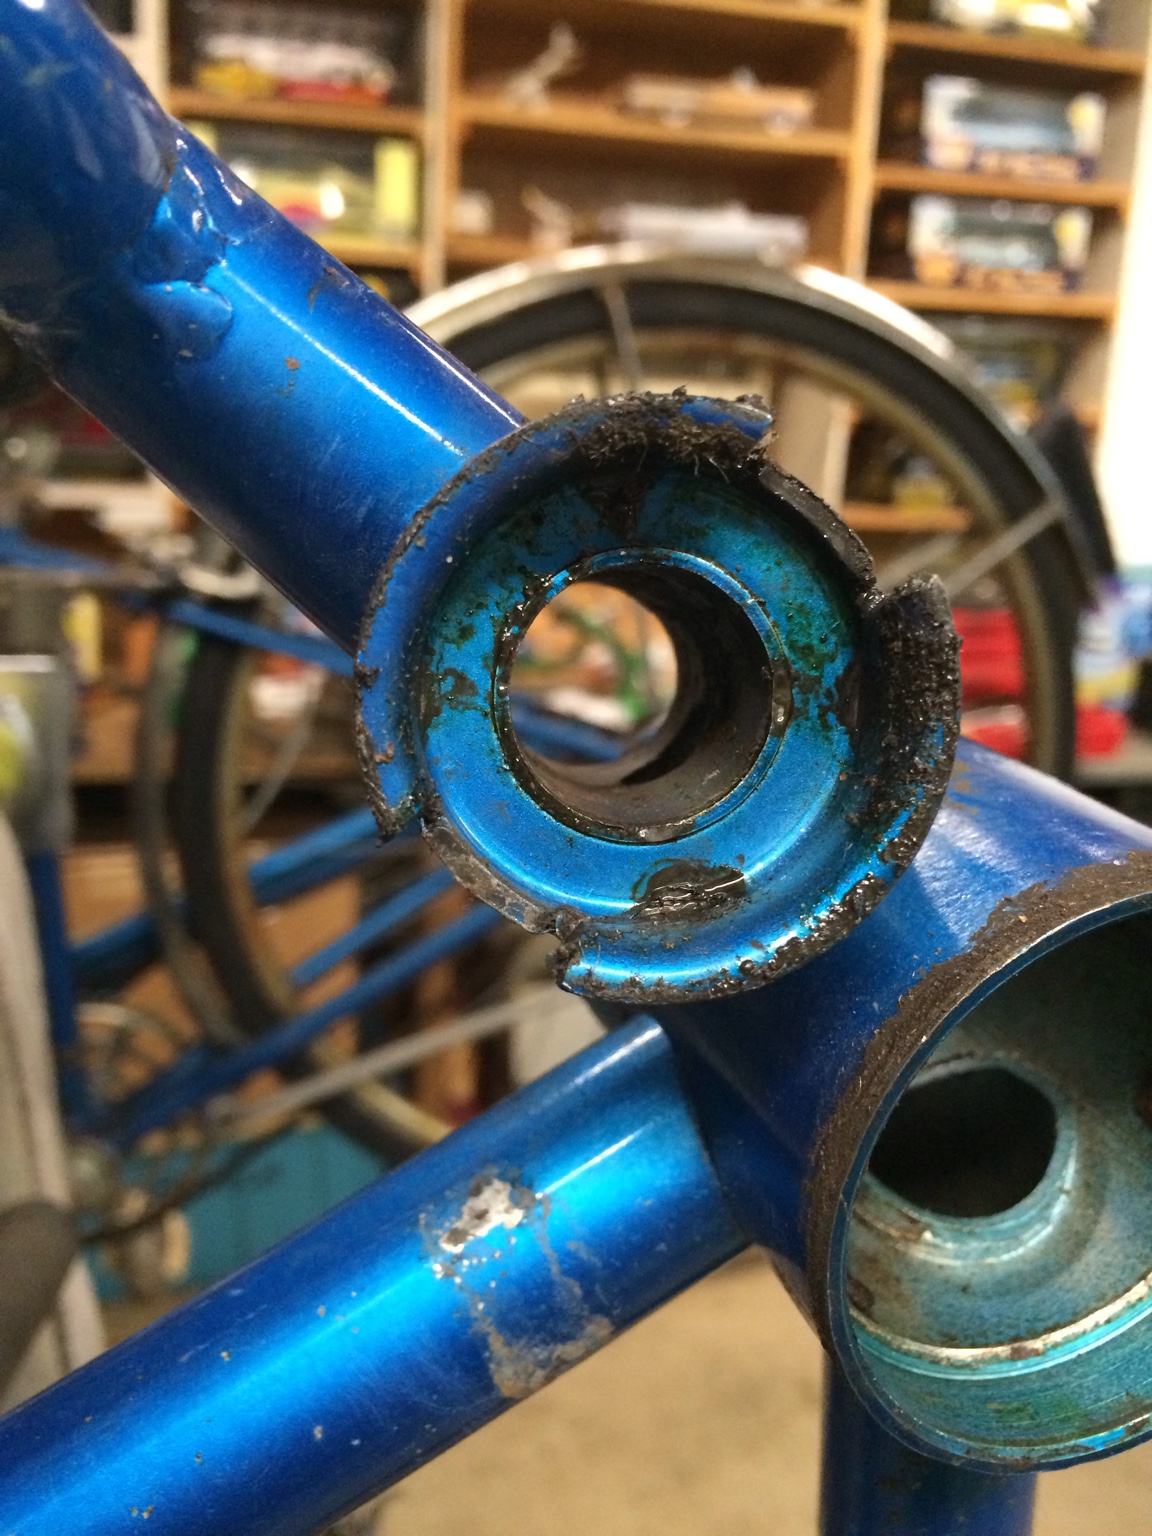
Now that I like all the pieces on the bike and I'm sure that once everything is cleaned and the frame has fresh paint, it should make a respectable looking bike. So I tore everything back apart. I had to take the frame to Clyde James Cycles for a need repair to the built in kickstand area. The blue girls bike donated one more part, the kickstand area of its frame.
76659552fb209d03cc2cc8018af8d525.jpg
d70ef5099f5ec3a3a2030743a80aa6cd.jpg

Once the repairs were made the bike sat dormant for a few months.
I kept watching eBay for a white wall 20x1 3/4 S-7 slick. I kept seeing junk or crazy prices. Then finally a few weeks ago an NOS Goodyear Grasshopper turned up on a Buy It Now. I was leery to buy because the seller didn't take PayPal. I took the chance and it was worth it. The seller is KustomKrates. He is a start shooter. Nice parts, fair pricing and fast shipping. Now that I had the hard tire to find, I went and bought a WSW front tire. So now it became time to finish it!


Sent from my iPad using Tapatalk
 
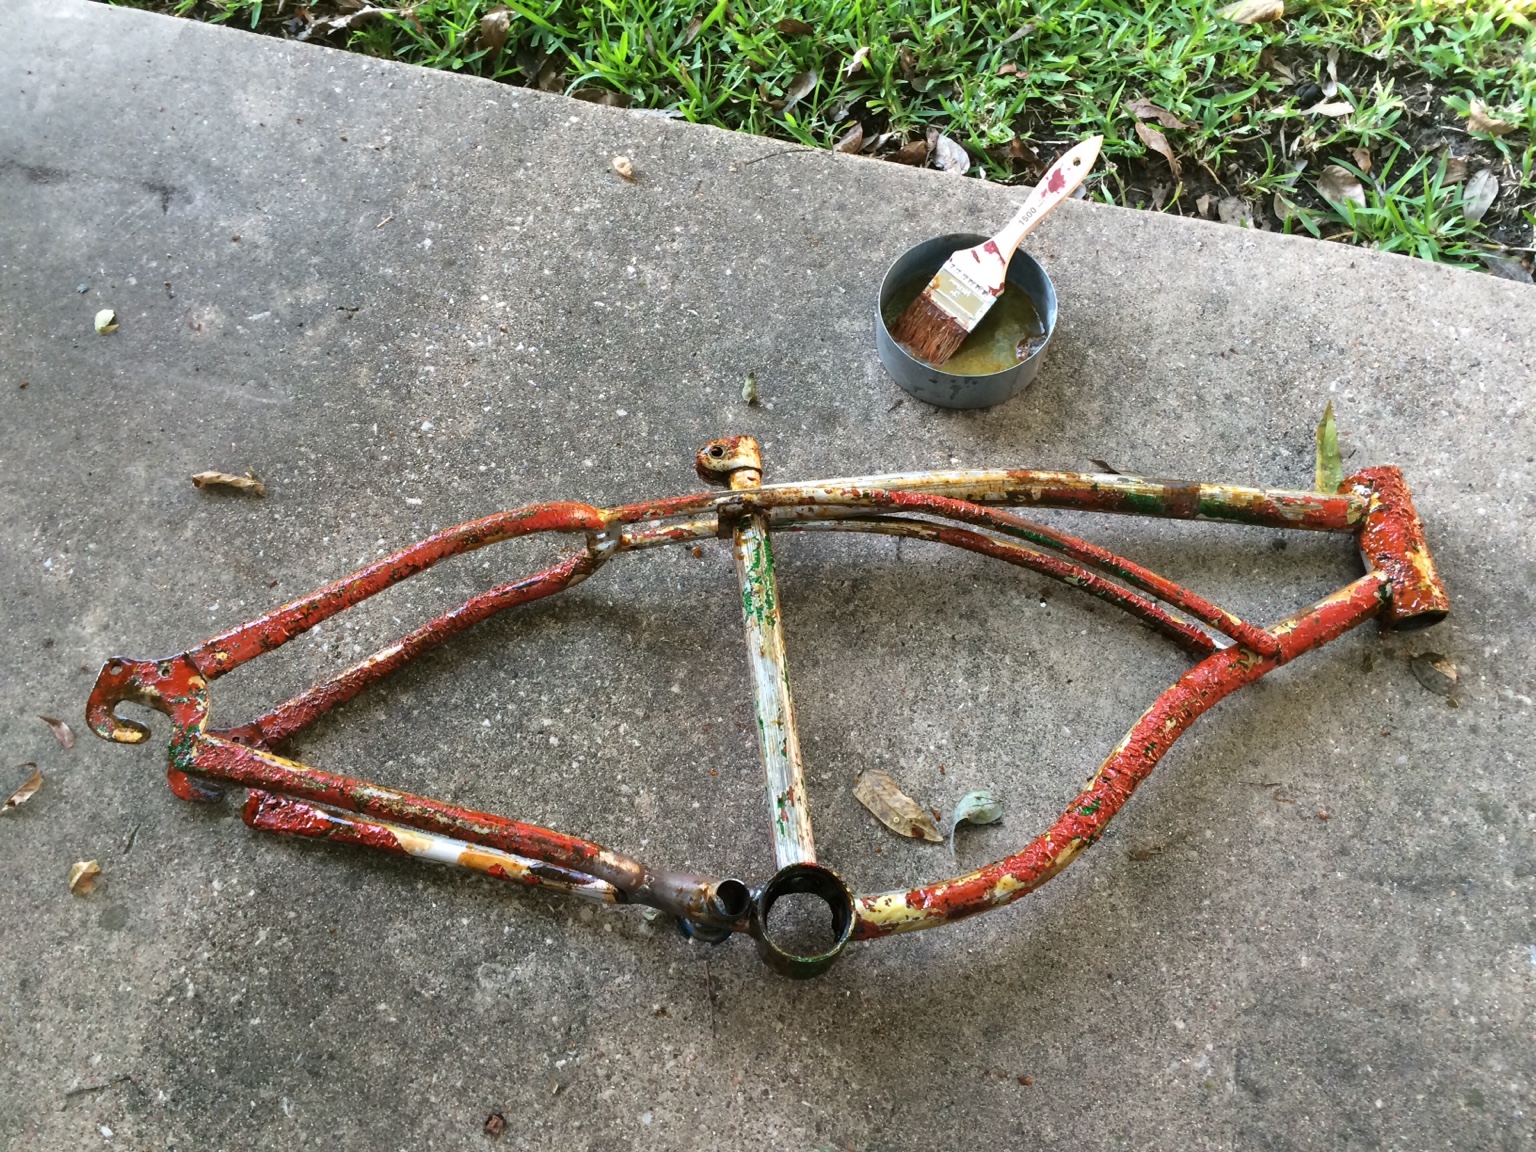
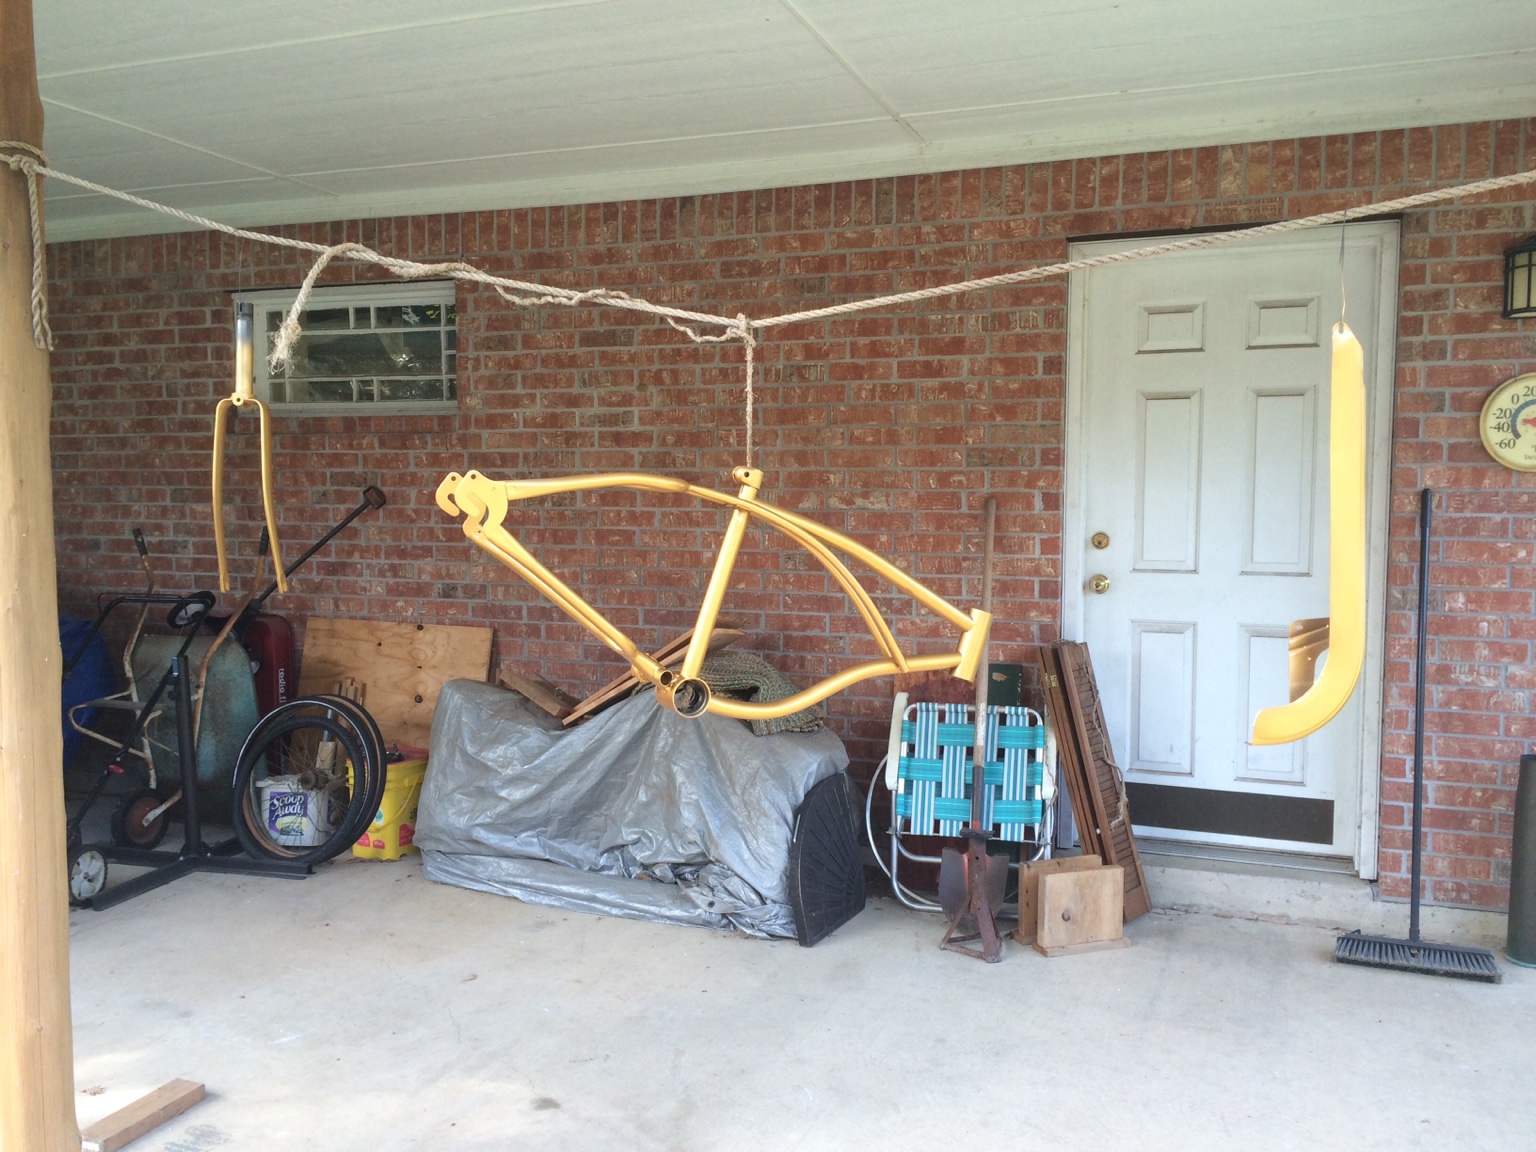
4 days ago I started on finishing this bike. I bought paint stripper and it took off the brush paint red and the original green and down to the bare metal. I tried this same stripper on I Fastback that I'm also doing over now. It wasn't strong enough to get to bare metal. It removed the blue color coat, some of the silver base and some of the primer. I used to use a product called Zing, but can't find it anymore. What product are any of you using?
cb8e6e5ed4aebae4d45b0efb49760f77.jpg
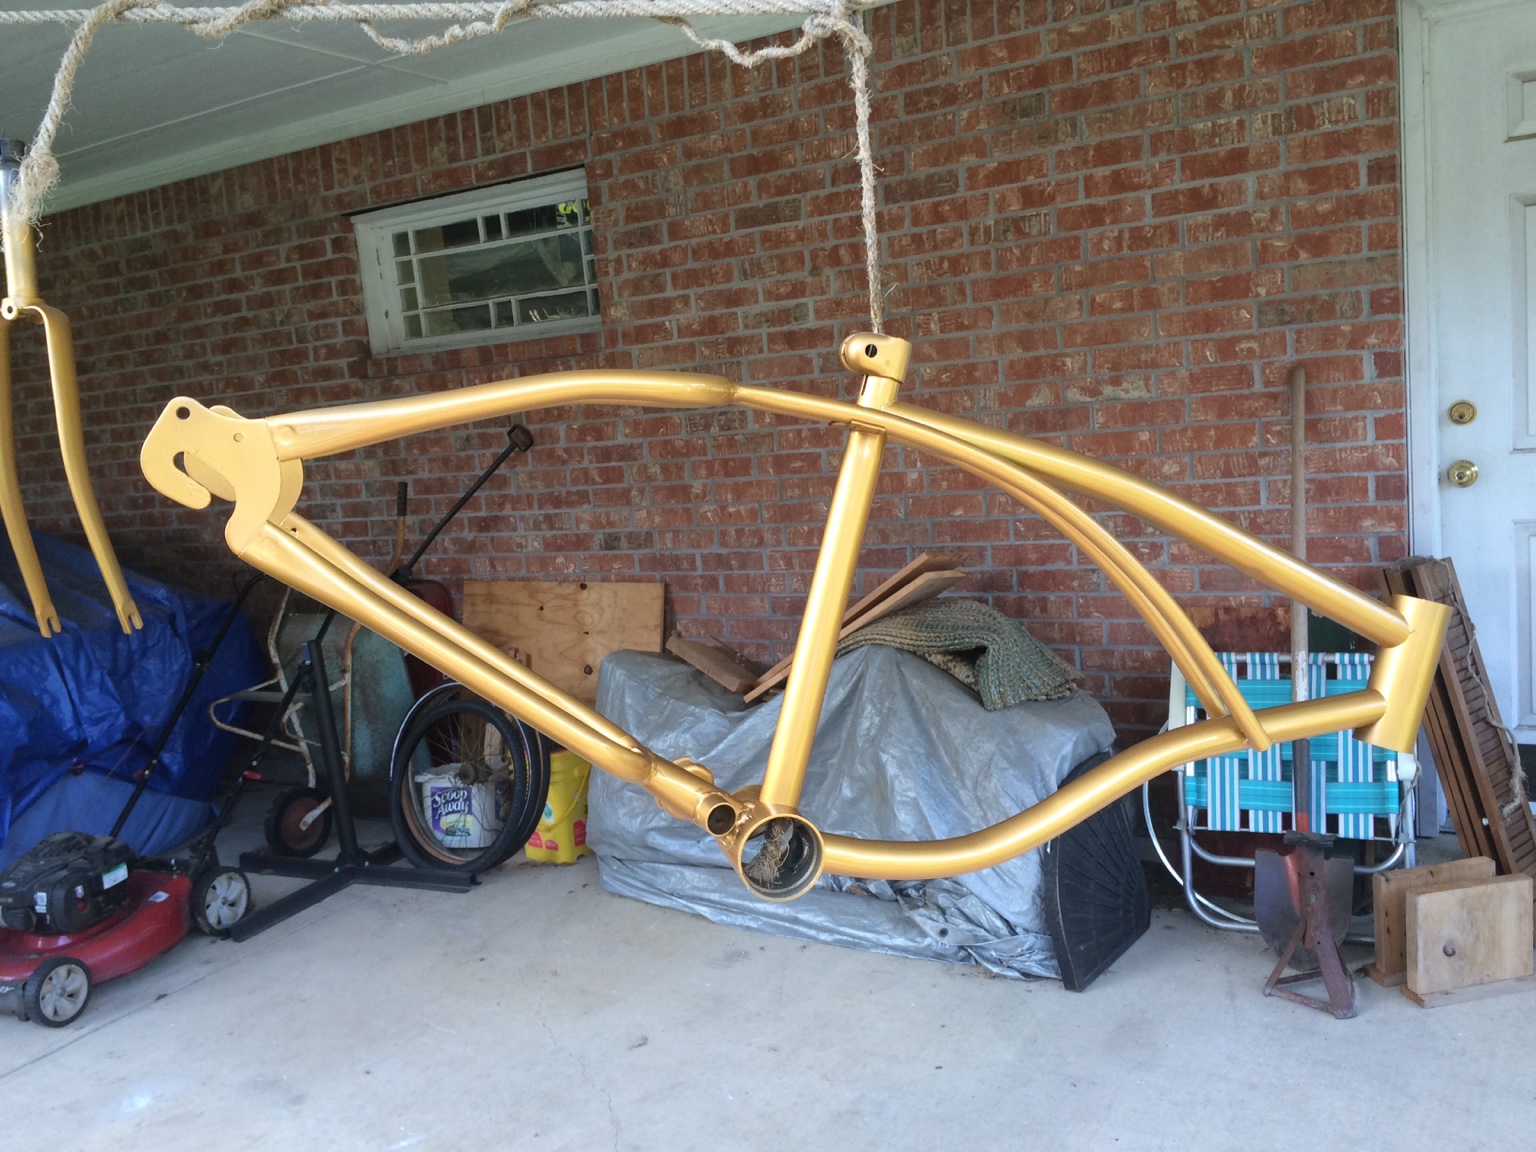
. I rubbed down the bare Vista frame with lacquer thinner to neutralize the stripper. Then I used etching primer, high heat engine gold and the cleared over it. I let the frame dry for 2 days before doing any assembly on it.
00a035b8edbae589eeade241d776355a.jpg
be57ef07acf9b7d548c5c0c390b013d3.jpg


Sent from my iPad using Tapatalk
 
If going to bare metal, I like to scuff with either a wire wheel of some hevy grit sand paper. This gives the stripper a better chance to get under all the layers instead of needing to leach vapor all the way under. Smaller parts do in a tub container. The issue w working stripper on bench is its vapor weighs more than air so it literally rolls off the table.
I was doing some large panels yesterday 8'*4'. I had it blocked off the ground w 1"runners half the backside was ready to scrape when I flipped it from trapped vapor ;)
Thanks. I agree with the method you suggest. That's why I liked Zing. I didn't have to do any prep. I just brushed it on and it never failed to go down to bare metal on anything.


Sent from my iPad using Tapatalk
 
Time to clean up some parts. Here is the crank assembly. I wash really crusty stuff in my parts washer and other items I will just use Simple Green and let them soak in the wash basin before scrubbing. I don't use steel wool. I use Chore Boy copper wool. It doesn't scratch. Then I clean with chrome polish.
113e49594b3a9c9c822e88014d53f33f.jpg

Here is everything together and in place.
781657b1c4115b36ad8d2fb2c3df0ba7.jpg

Next is the fork components.
47629ed4623f5cfbca50d0f0acc061fc.jpg

And then, fork attached to frame.
81833cf6b1c76433c4067c7386e5c3d1.jpg
.
Starting to look like a bike again.


Sent from my iPad using Tapatalk
 
As I said earlier, I am using a Sting-Ray S7 rear fender. The stays were painted white so I had some fun restoring them back to their cad look.
dcdcde316c9a88263e18a0e026bc4130.jpg

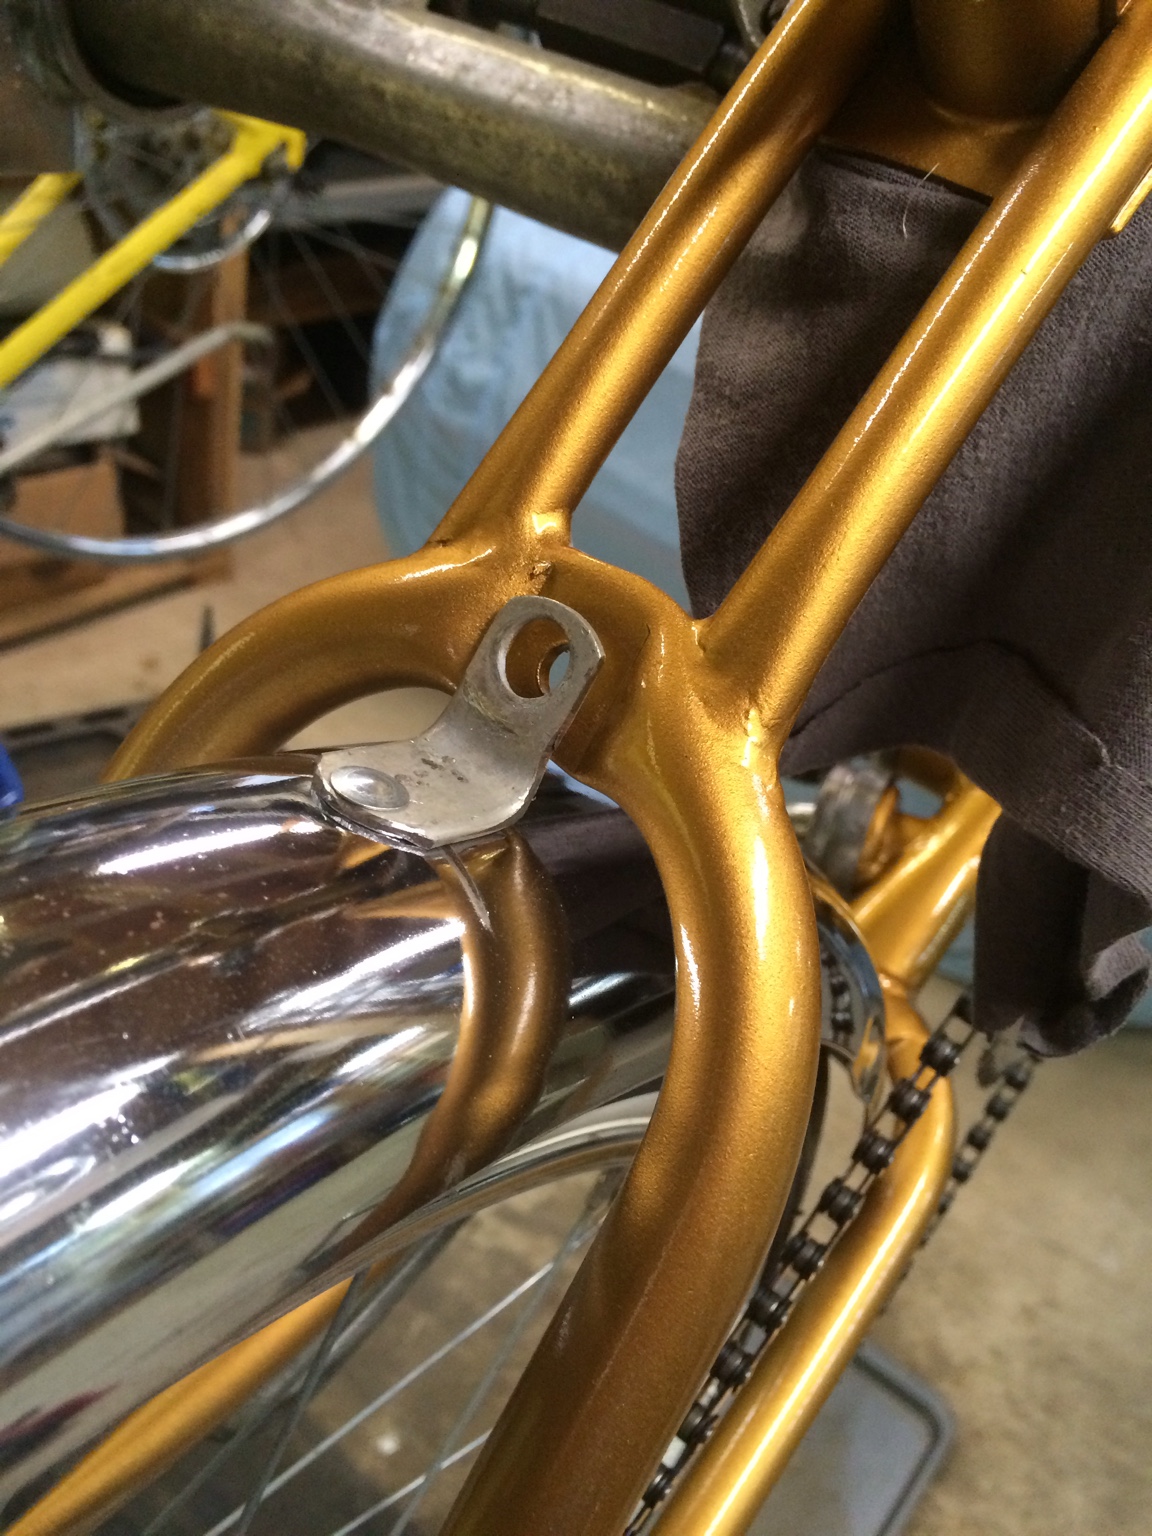
This fender was on a coaster brake bike so I had to make a bracket to hold the fender in the bridge location.
94cdadee011829f8cdce30729dc5ee03.jpg

Here the bracket is shown in location.
e24fe5200991cb2128de9290e6130305.jpg


Sent from my iPad using Tapatalk
 
I spy a whitewall on that rear tire.....whitewalls and gold and chrome...yummm.
:heart:
Ahh what good eyes you have!


Sent from my iPad using Tapatalk
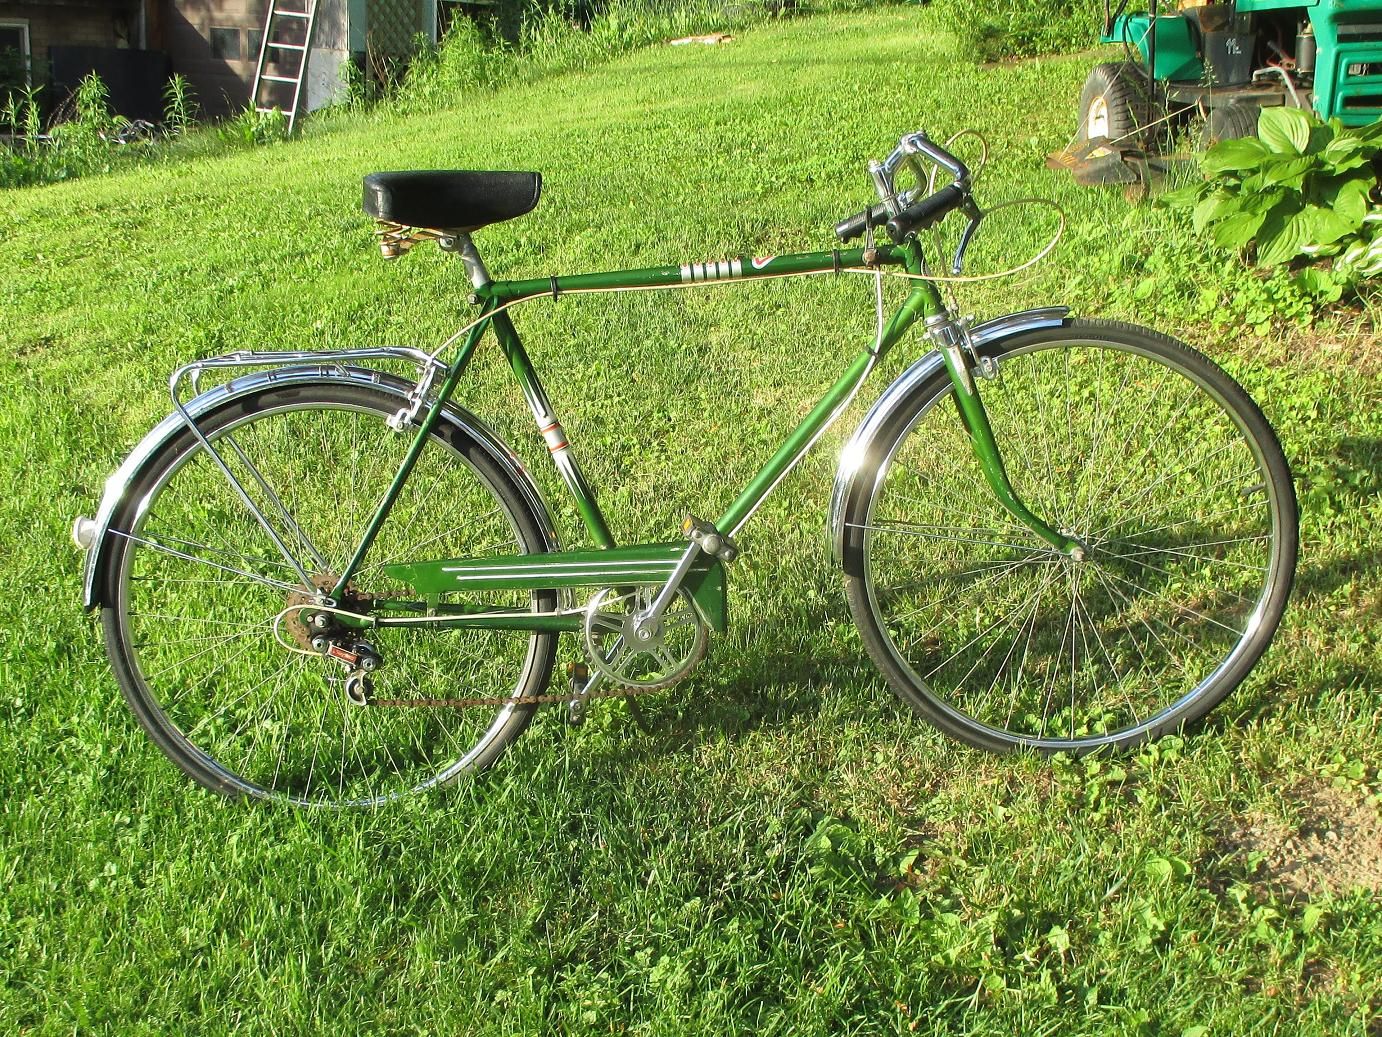
 
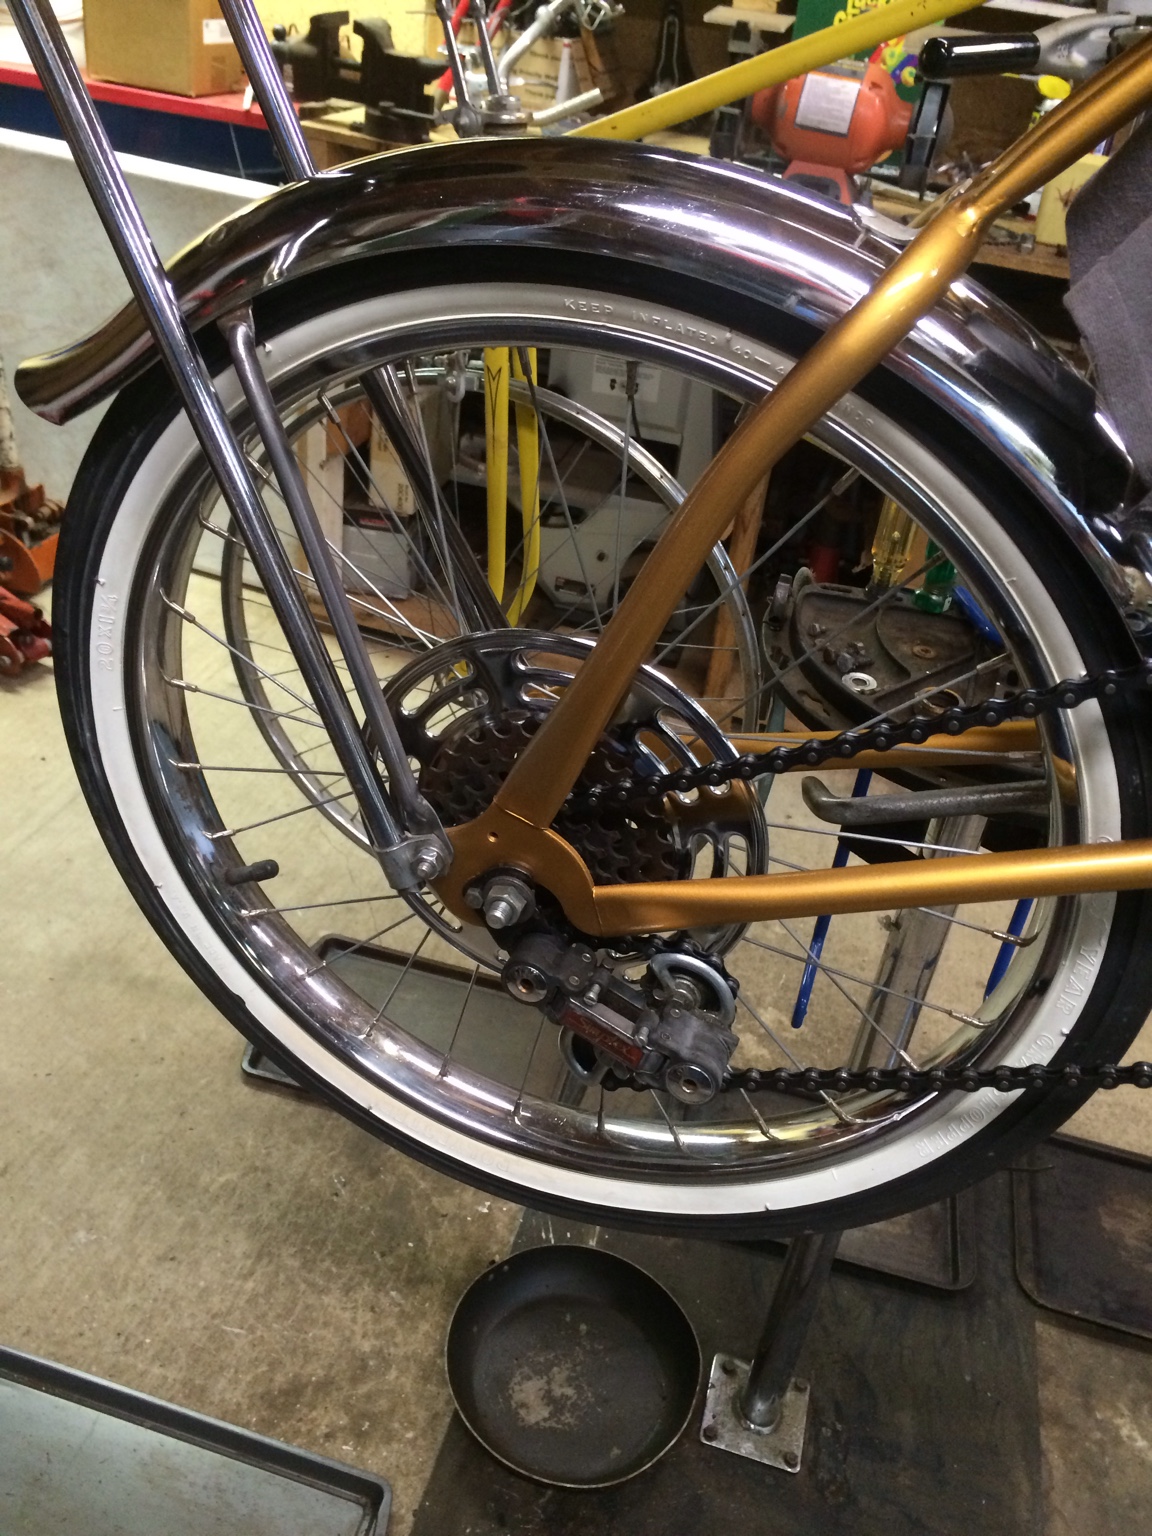
Once the fender was in place it was time to install the derailleur. Because of the design of the dropouts, the derailleur can't be mounted tight. It has to move to allow the axle to work itself through the channel and to the point it is seated. Then the derailleur can be tightened into position. I also remove the washer and nut from the axle on the derailleur side. So here is the back end of the bike coming together.
e03ce5337c8fcdb502cc932176d451f3.jpg
c2c7c40da3bcc28c46600d325cacd537.jpg


Sent from my iPad using Tapatalk
 
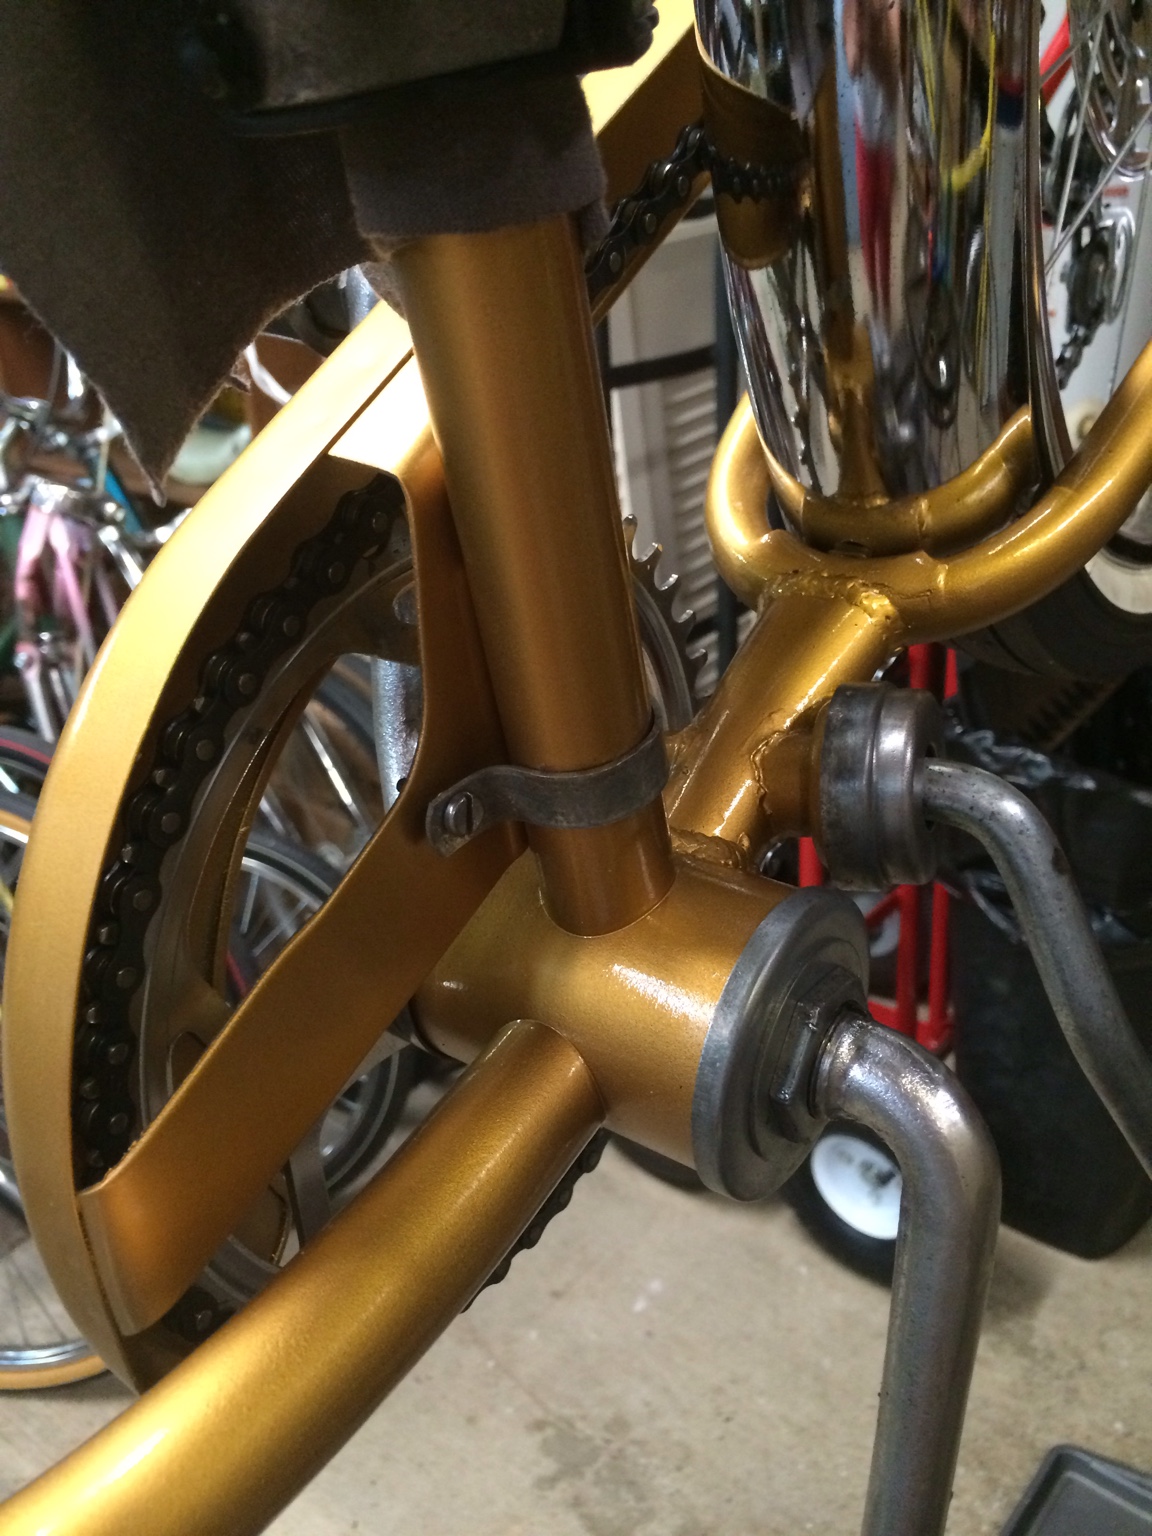
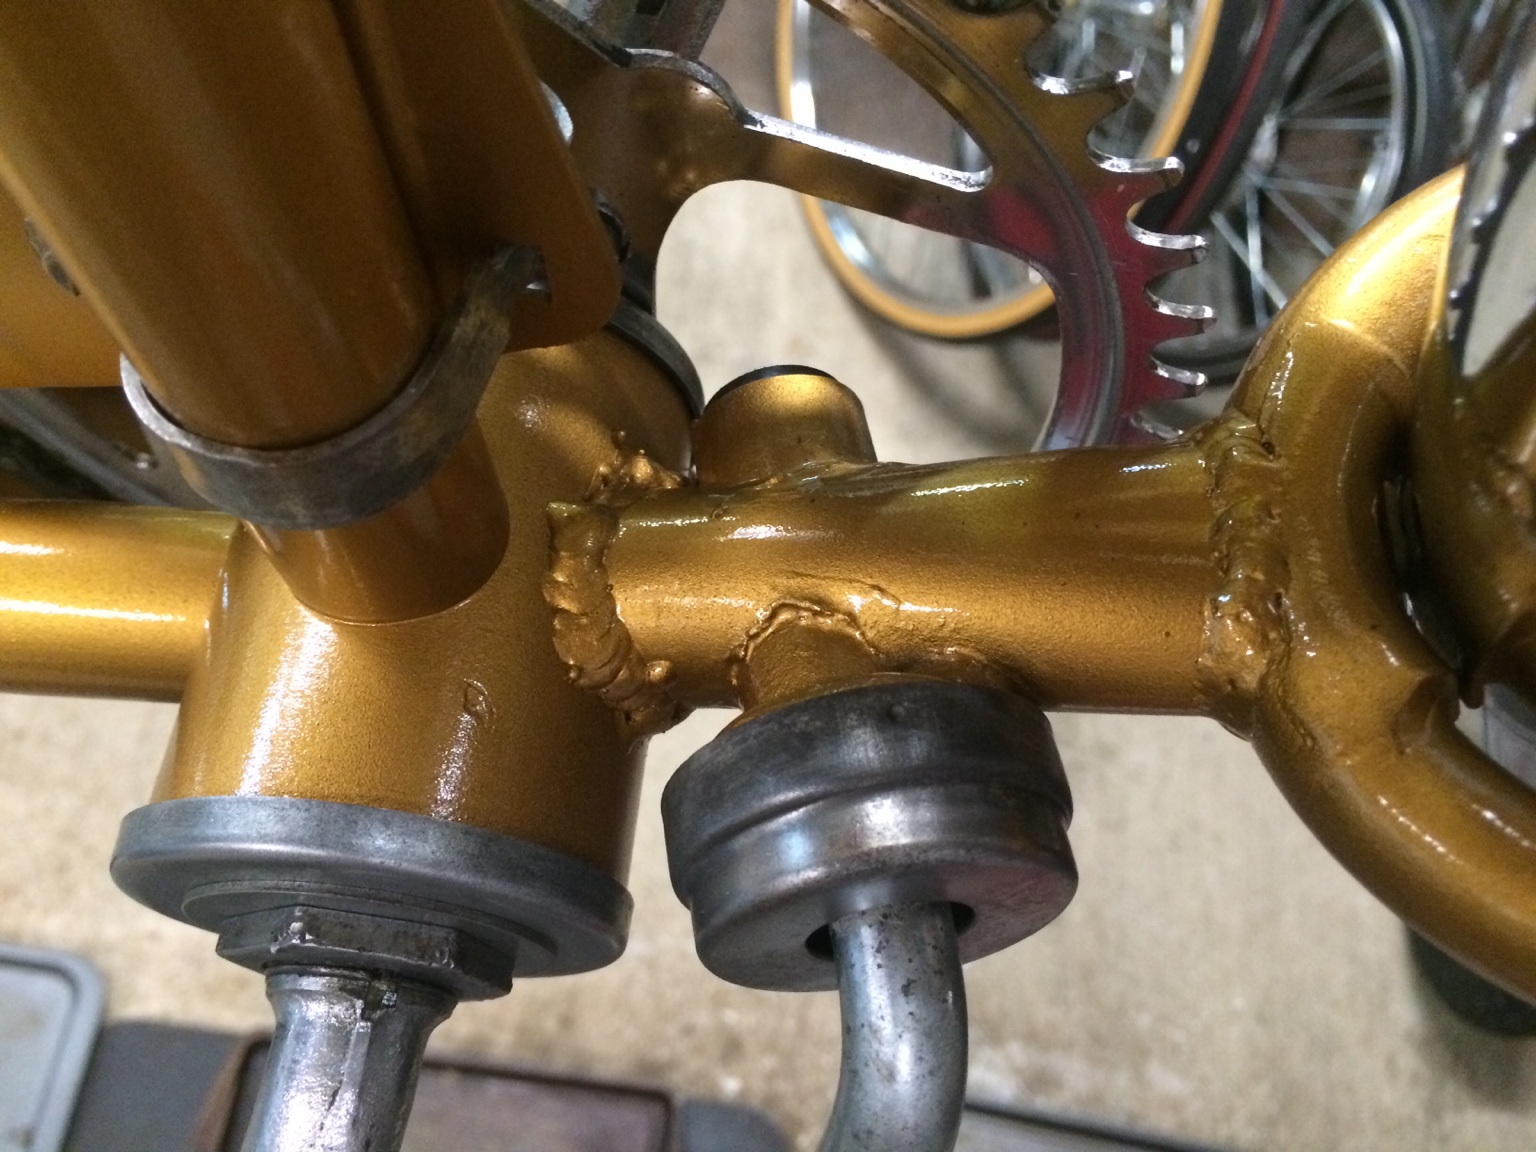
Time to put the chainguard on and show the kickstand details. This is the area of the fram the was repaired at Clyde James Cycles. A and yes I could have massaged the weld to be smooth as glass, but they didn't from the factory, so I didn't either.
f4584ad492e589b5668914443a0059c9.jpg
cd87282adceef7bd87fd7ead7ef80412.jpg

80a36278f48ded256cf46fcd3028aa6a.jpg
a9113958d70deb7b18bb2db41a6f6389.jpg

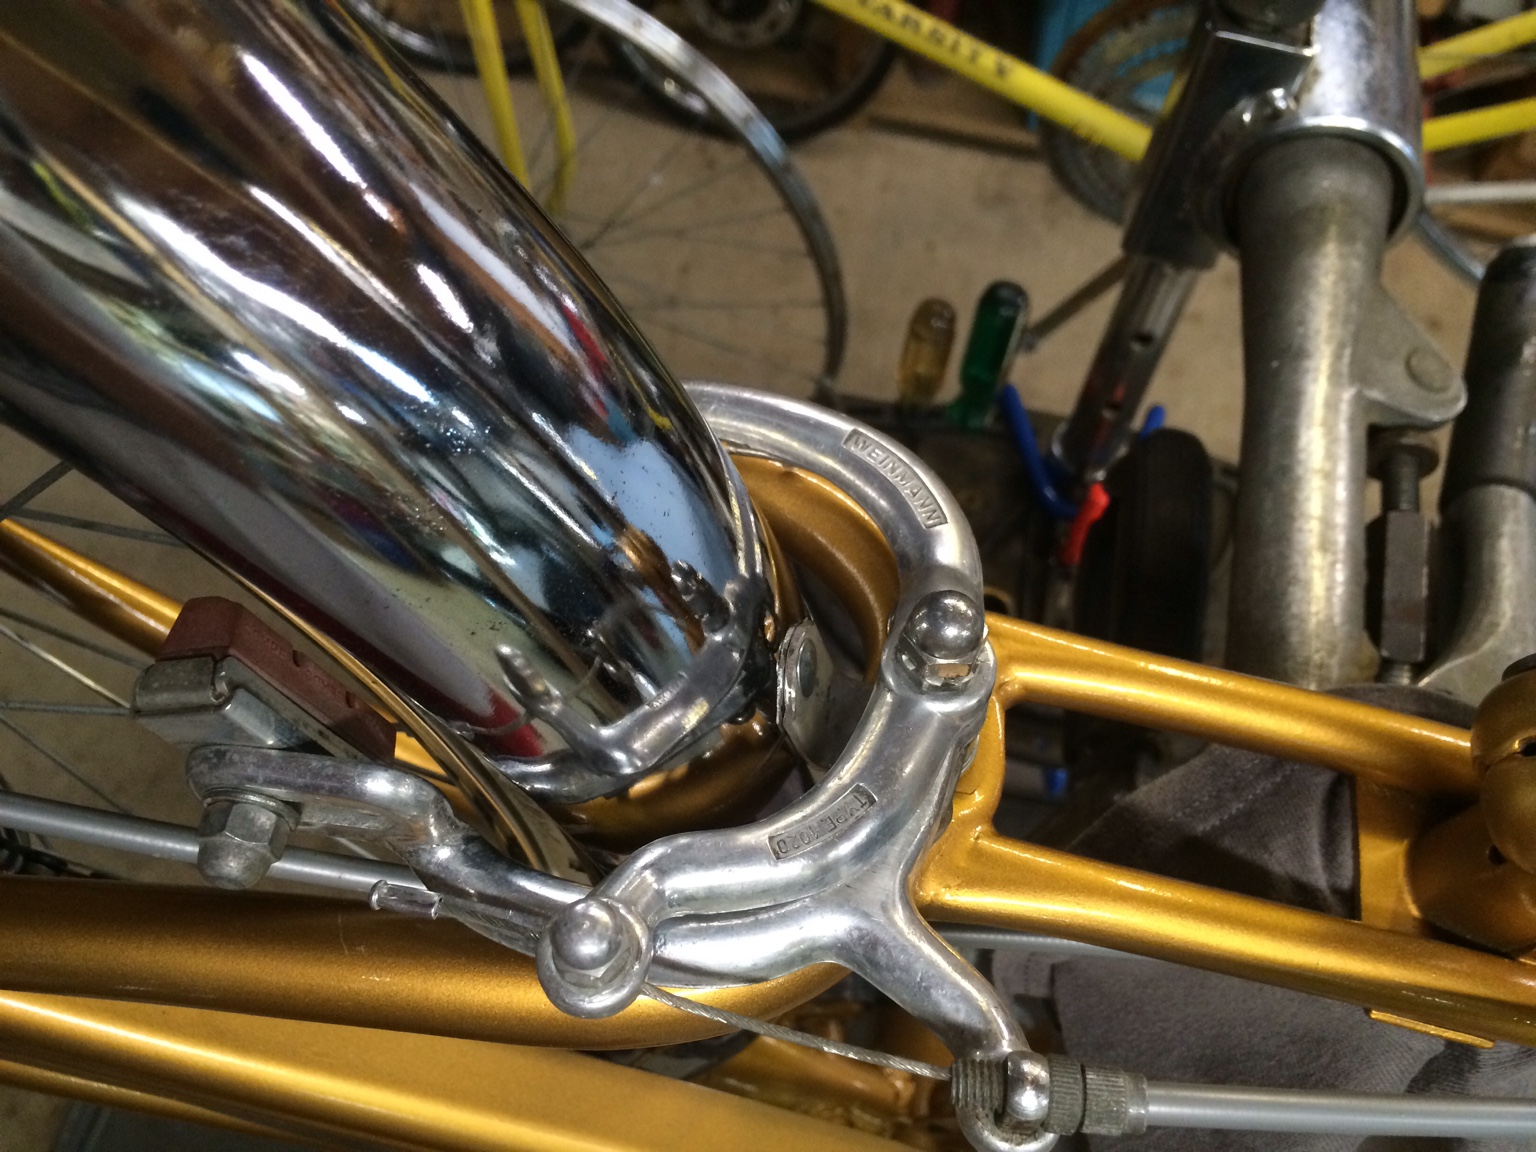
Closeup off the brakes in place.
89f171be7acd1505b97f7fcd29ca8316.jpg
25f6536b3225ffabd2832fa24ed62d1c.jpg
914fef09f6d32b2c98d0400af8451ea9.jpg

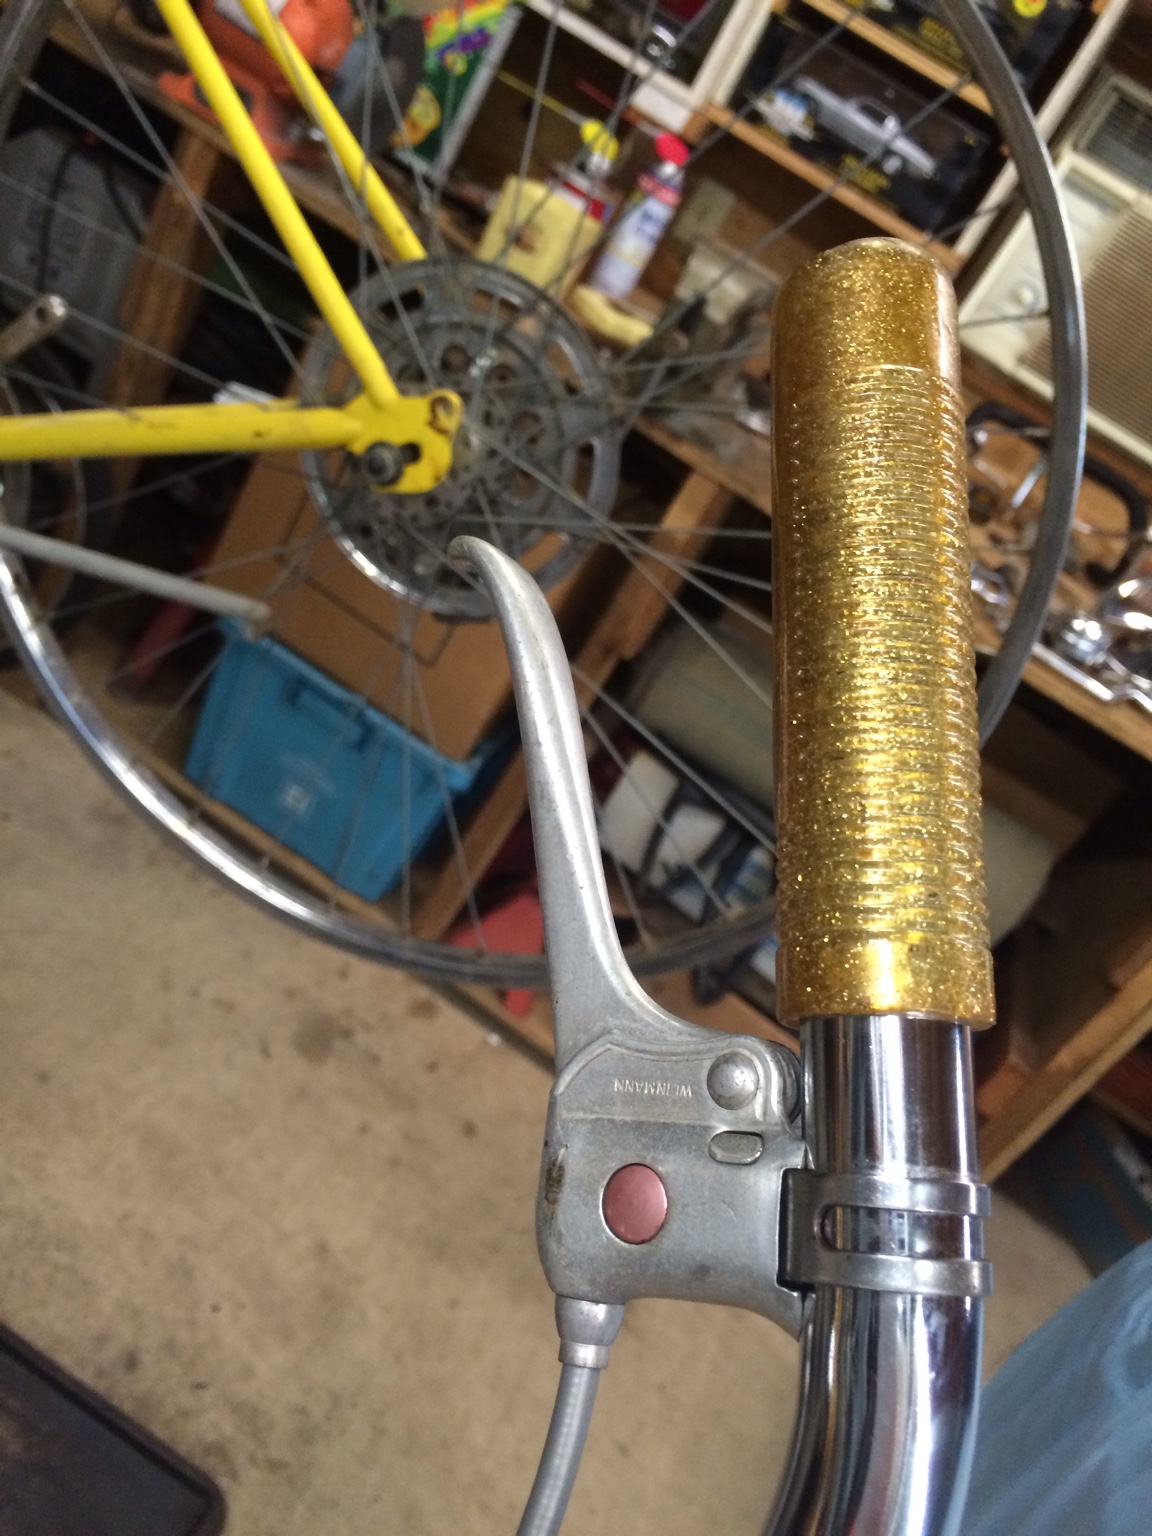
The gold grips came with the boys frame. Strange because the boys frame was hand painted red over the original green. I guess this bikes destiny was to be gold!

Shifter back were it belongs, adjusted and working properly!
674c59e26714d9eea18c8576476952f4.jpg


Sent from my iPad using Tapatalk
 
Back
Top