Well I didn't take any before or during photos. Here is a 'before' I got from the www.
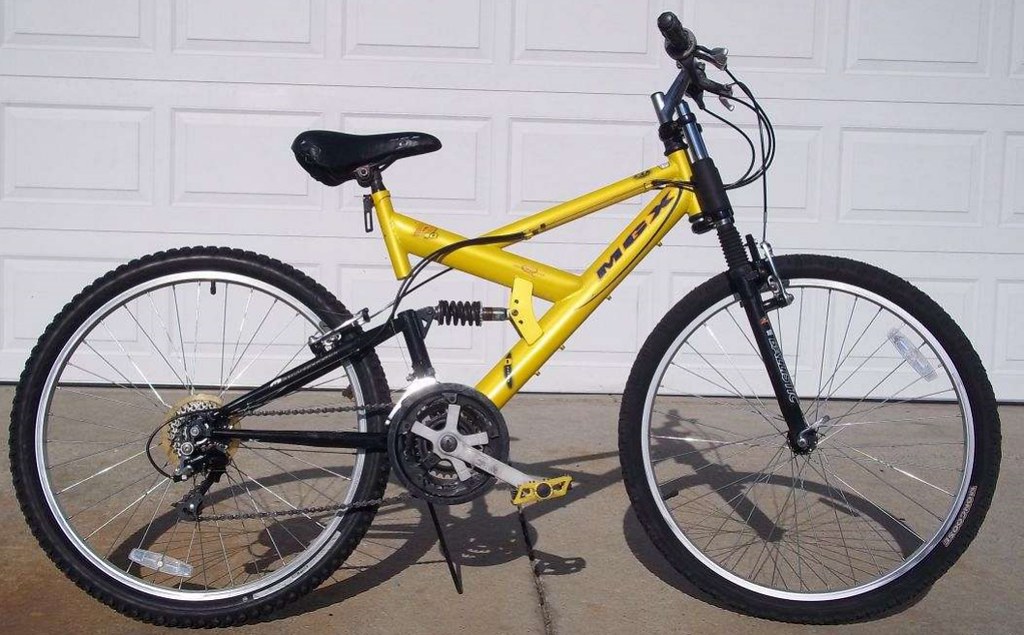
The donor bike was being scrapped out at the local bike coop a couple years ago. I decided to rebuild it as a single speed bike. After 2 years, I got around to working on it some more. The frame is all steel.
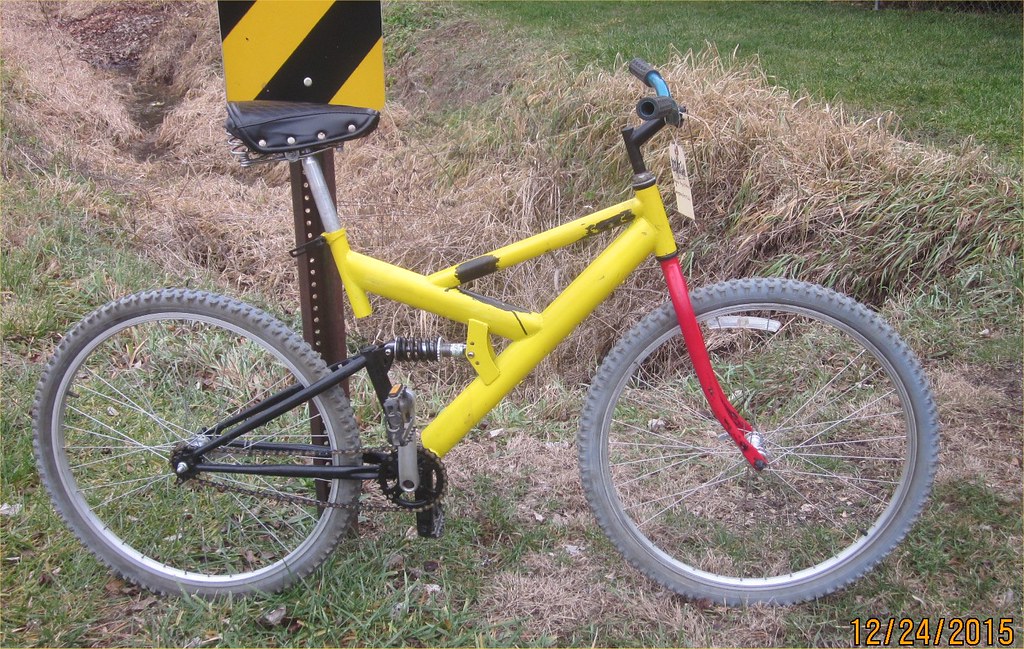
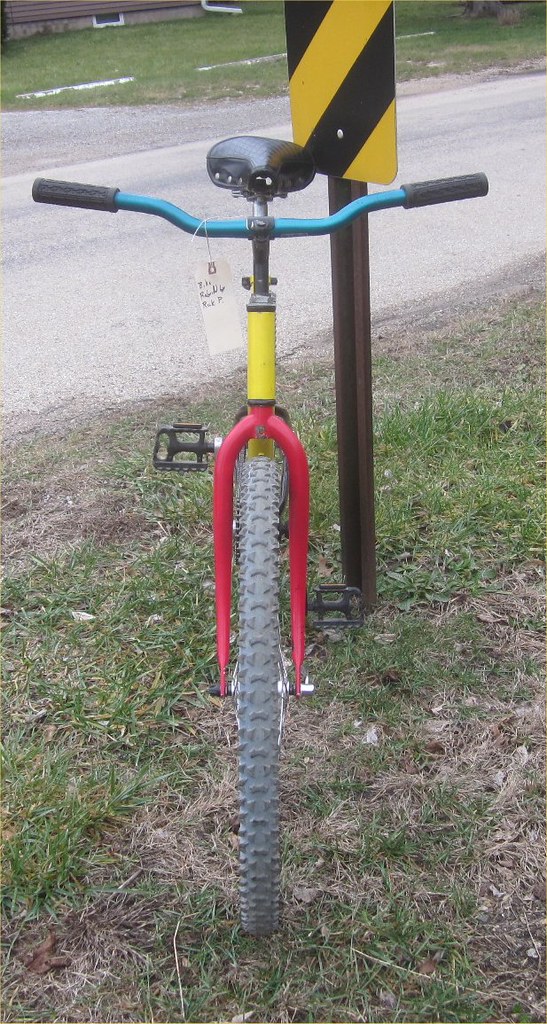
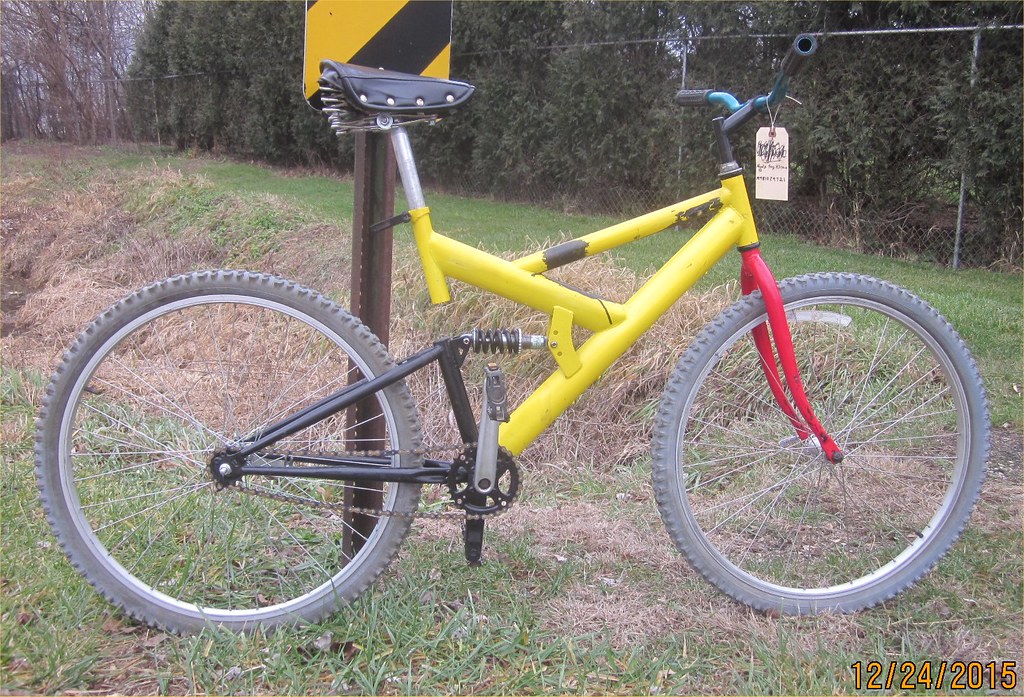
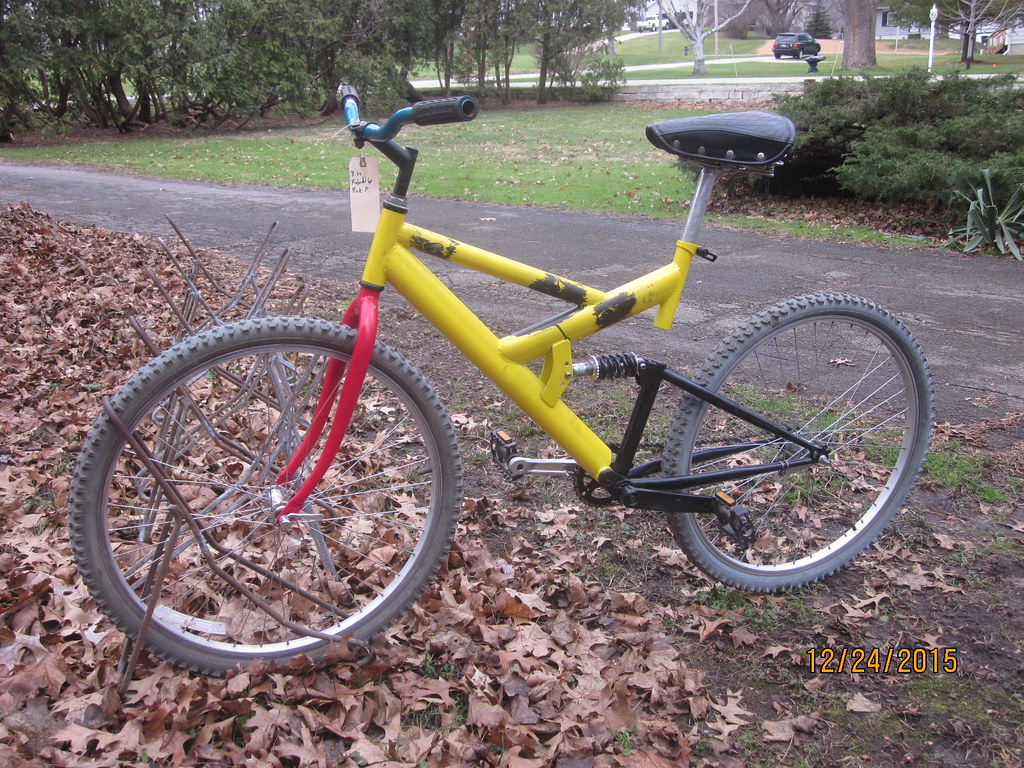
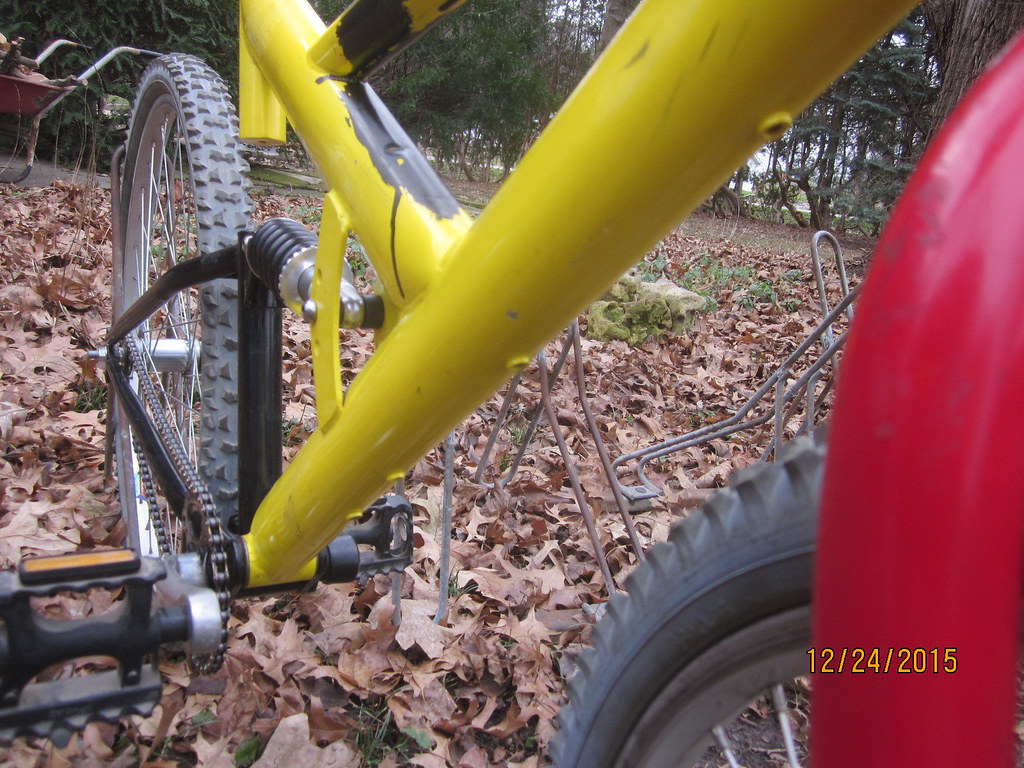
I used the angle grinder to remove the cable stops and rear brake studs. Touched up the paint with black. I know I don't have that color of yellow to match so I used black on the yellow. yeah, it's ugly. To keep the ugly theme going I went with a red rigid fork, purple handlebars, grey tires, 1 silver crank, 1 black crank, etc.
I built the rear wheel with a coaster brake hub spoked to alloy rims. Front wheel has a QR axle.
Crank arms. Well most of these cheap bsos have chain rings riveted or welded together. Some of those rivets look like bolts but are not. Riveted rings are easier to remove. Angle grinding off the heads of the rivets leaves an easy tap out with a punch. The spot welded rings mean grinding the unwanted rings to oblivion. That leave the 1 ring that is swaged to the arm. Sometimes its the large ring, some swaged the middle ring, some swage the small ring, some swaged 2 rings. So you need to select a crankset that will have the 1 ring size you want. In this case it's about a 38 or 40t. Also, the cranks with the smaller rings swaged on mean a better chain line.
The rear suspension on this bike is an URT so varying chain tension isn't a factor BUT the vertical dropouts are a problem. Trial and error got me a 16t that works well without too much chain slack. The 18t and 15t didn't work. I used a brand new chain that isn't worn. Another method of getting the chain slack just right is to test fit a bunch of worn chains to find one that is just right.
A brief test ride late at night (no decent photos possible) revealed the gear ratio is okay. I need to change the top headset race to make it ready to go.
More photos soon.
Rick
The donor bike was being scrapped out at the local bike coop a couple years ago. I decided to rebuild it as a single speed bike. After 2 years, I got around to working on it some more. The frame is all steel.
I used the angle grinder to remove the cable stops and rear brake studs. Touched up the paint with black. I know I don't have that color of yellow to match so I used black on the yellow. yeah, it's ugly. To keep the ugly theme going I went with a red rigid fork, purple handlebars, grey tires, 1 silver crank, 1 black crank, etc.
I built the rear wheel with a coaster brake hub spoked to alloy rims. Front wheel has a QR axle.
Crank arms. Well most of these cheap bsos have chain rings riveted or welded together. Some of those rivets look like bolts but are not. Riveted rings are easier to remove. Angle grinding off the heads of the rivets leaves an easy tap out with a punch. The spot welded rings mean grinding the unwanted rings to oblivion. That leave the 1 ring that is swaged to the arm. Sometimes its the large ring, some swaged the middle ring, some swage the small ring, some swaged 2 rings. So you need to select a crankset that will have the 1 ring size you want. In this case it's about a 38 or 40t. Also, the cranks with the smaller rings swaged on mean a better chain line.
The rear suspension on this bike is an URT so varying chain tension isn't a factor BUT the vertical dropouts are a problem. Trial and error got me a 16t that works well without too much chain slack. The 18t and 15t didn't work. I used a brand new chain that isn't worn. Another method of getting the chain slack just right is to test fit a bunch of worn chains to find one that is just right.
A brief test ride late at night (no decent photos possible) revealed the gear ratio is okay. I need to change the top headset race to make it ready to go.
More photos soon.
Rick
Last edited: