My 1st stab at a B.T., in 1 weekend, progress

Rat Rod Bikes Bicycle Forum

Help Support Rat Rod Bikes Bicycle Forum:

This site may earn a commission from merchant affiliate links, including eBay, Amazon, and others.
Joined
Dec 7, 2007
Messages
276
Reaction score
8
Location
Ottawa, Ontario, Canada
Rating - 0%
0   0   0
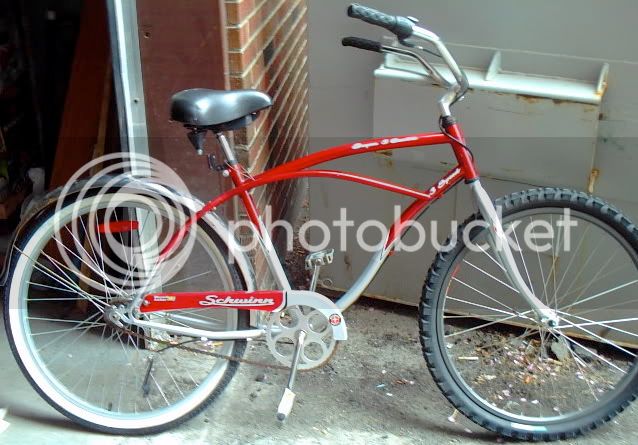
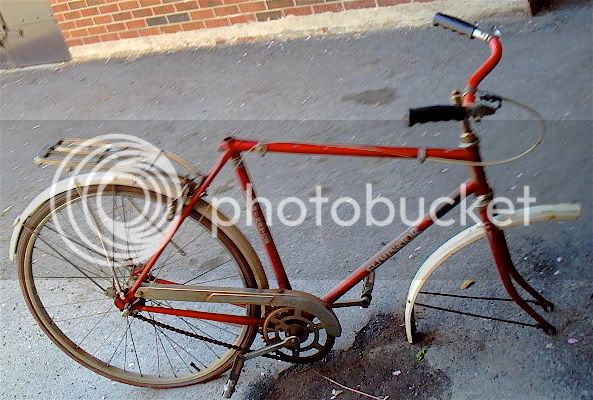
Checking out all the rides you all have built inspired me to take a shot at it. All I have invested in this project so far is time, I traded a girls mtb for the Schwinn I used as the basis for the build. It was in worse shape than I originally thought, but what the heck, you don`t find cantilever frames everyday up here! :wink:
beginning.jpg

brokechainmissingindicator.jpg

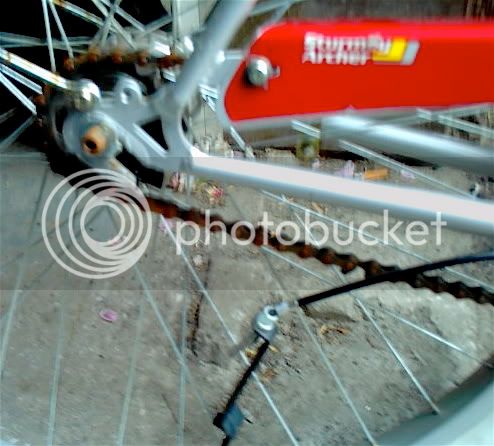
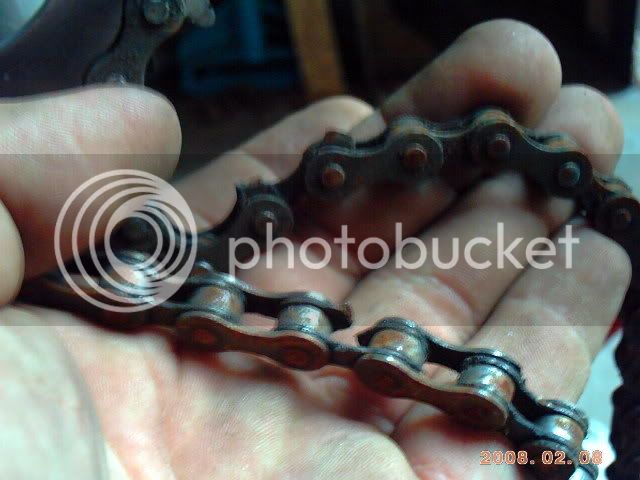
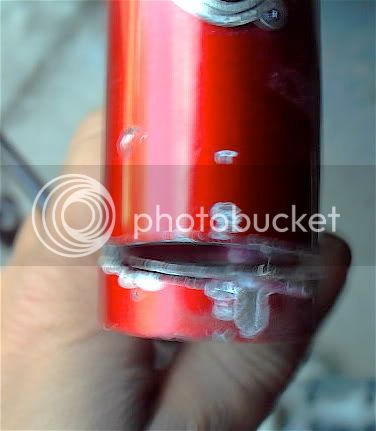
Anybody ever seen a chain do this?
chainbroketwice.jpg

crookedfender.jpg

chewedseat.jpg

splitgrips.jpg

I really hate the mtb fork schwinn decided to stick on the front of this model, so it had to go. My 1st donor bike however, looks like it hit an immovable object at some point in its life.
1stnecknogood.jpg

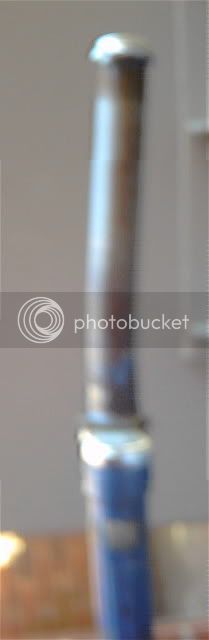
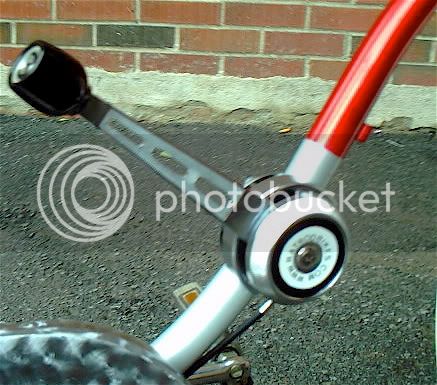
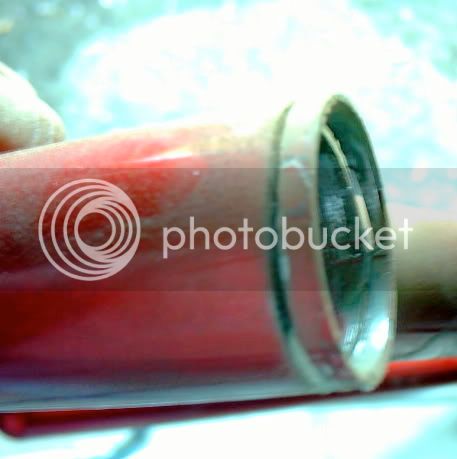
I then tried to fit a chopper type triple tree set up, but the center neck tubing was too large a diameter. So, I scrounged up another donor, a 60'ish-70'ish Norco Eliminator ( I may well resurrect this frame yet, the graphics are too 8) ) It too presented a few challenges.
donorbike.jpg

donorshort.jpg

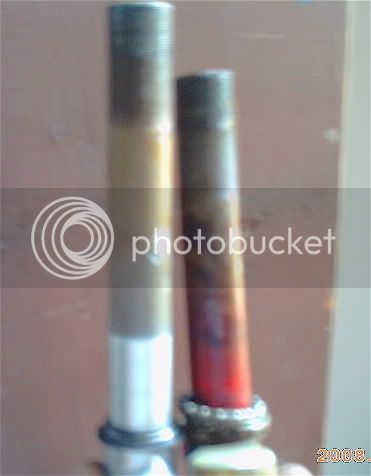
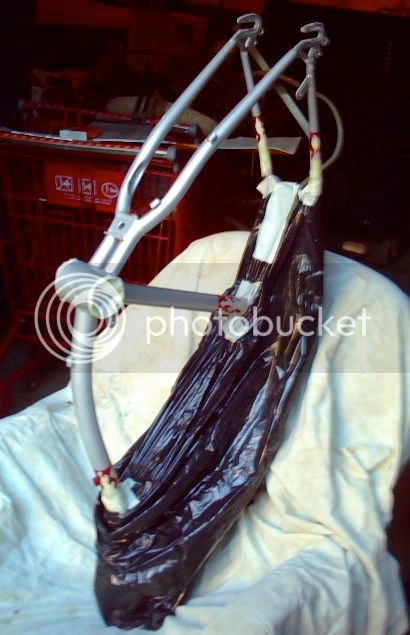
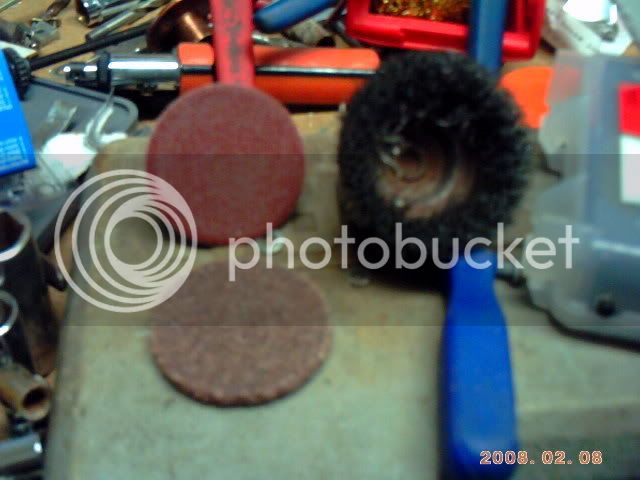
Seeing as my donor fork was too short, the frame had to give a little up, top and bottom. Turns out that my Dremel with the cut off wheel was more accurate than the recprocating saw.Peeled most of the decals off the frame while I was at it.
solution1.jpg

solution2.jpg

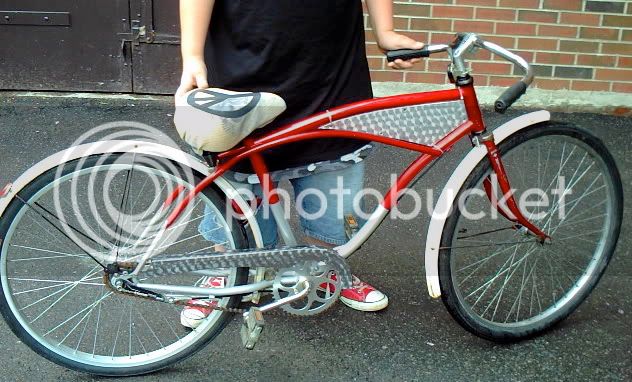
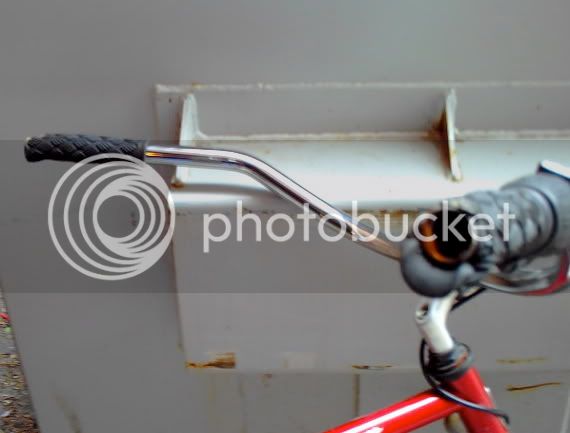
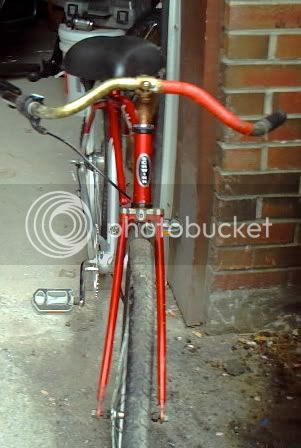
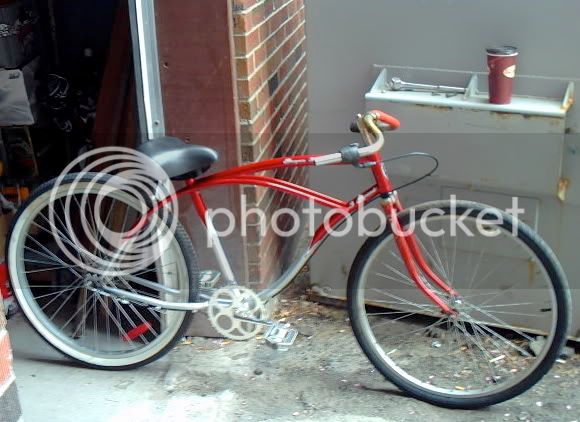
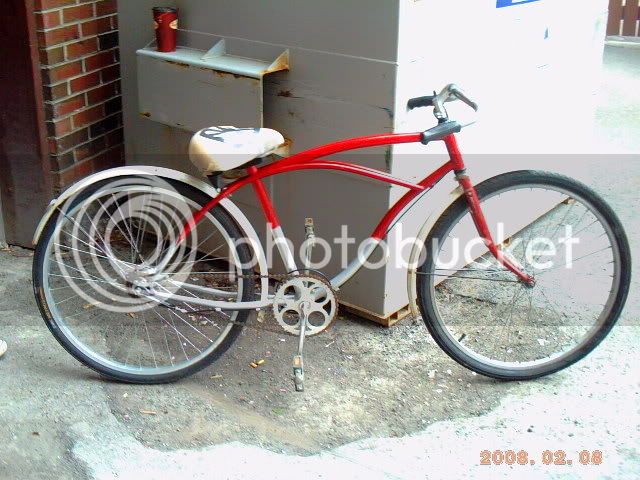
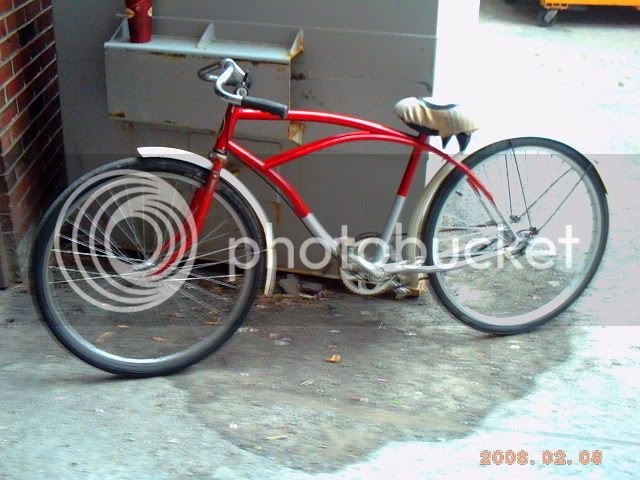
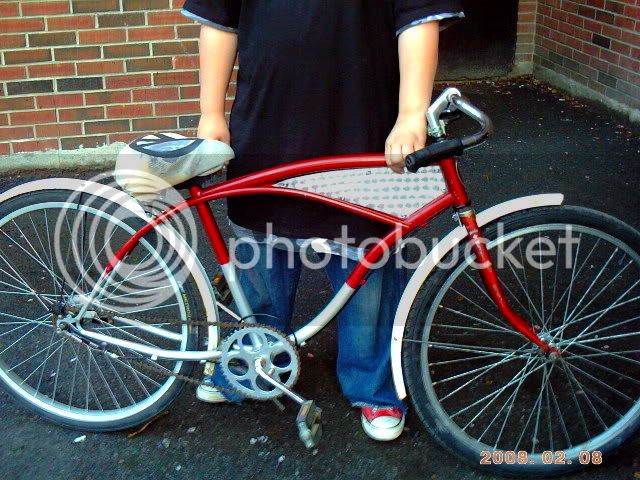
Its mock up time, the half red bar is courtesy of a former owners decision to wrap the bars in red electrical tape. Thankfully, the glue had all dried up, so a razor blade, followed by brass wool and wd-40 got rid of the yellow gunk. Decided to toss the twist shift set-up, and mount the norco thumb shift on the neck, just under the handlebars. Left the messed up chain on for now.
1stmock2.jpg

1stmockup.jpg

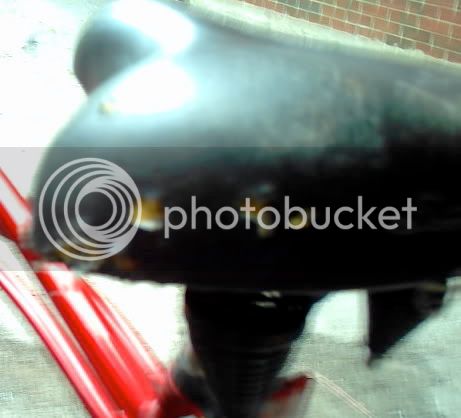
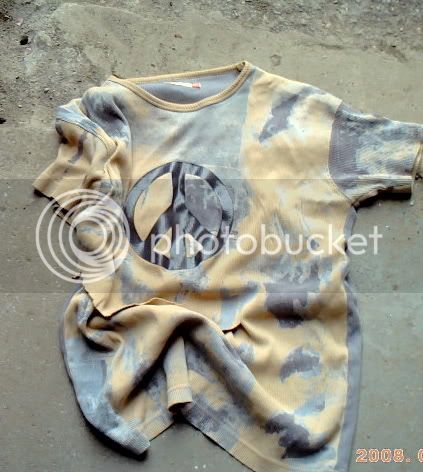
I used a spare gooseneck for a seatpost to lay the seat back, then trimmed this down and laced it up for a seat-cover.
nuseatcover.jpg

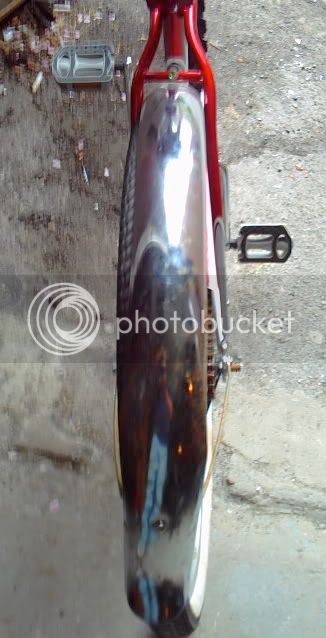
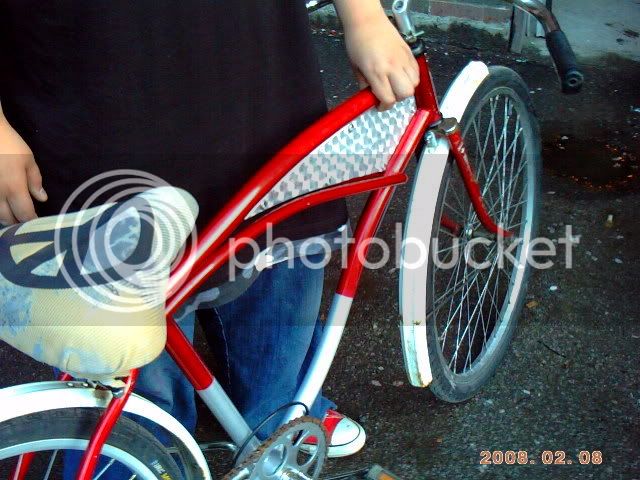
I had just placed the front fender on to get a feel for how it would look, when Mike came home. He convinced me to put fenders on it, donor Norco again.
almostdone.jpg

almost2.jpg

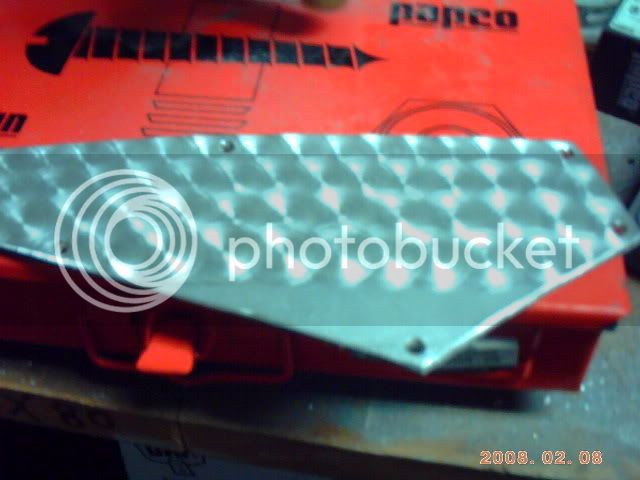
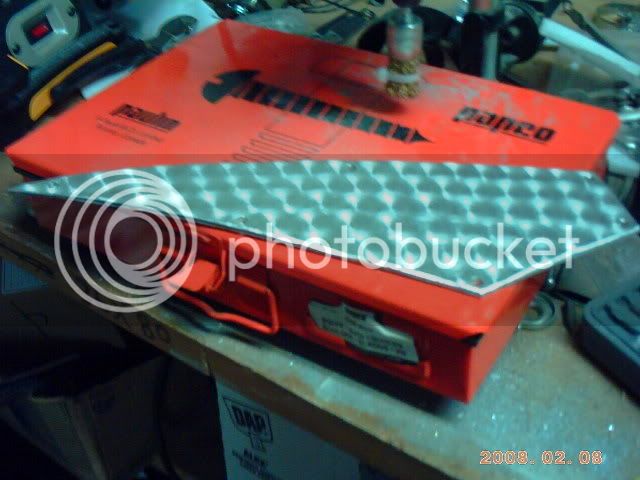
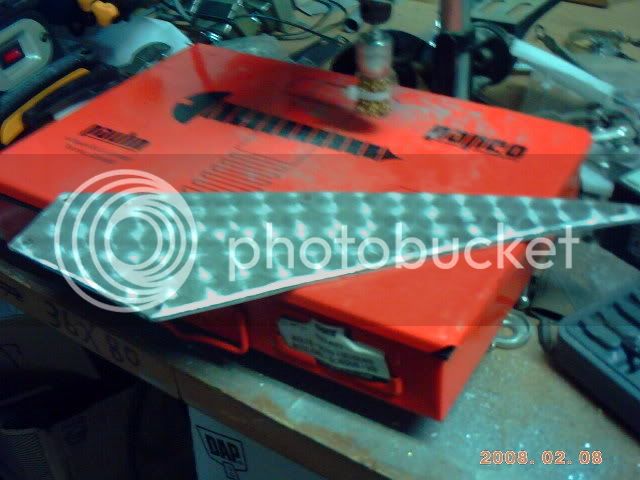
I quit on it about 7 pm tonight, right in the middle of fabricating the frame inserts. My hands were just plain too sore to keep working the snips, so i'll finish them tomorrow. Total time, 2 hours Fri. night, 6 hours Sat, 6 hours today.
More pics to come,
Rick
 
Re: My 1st stab at a B.T., in 1 weekend

That is crazy the chain broke like that. Shows you the quality that Schwinn is up to(or lack there of). nice job on making the fork fit. That headtube cut must of been quit a bit for the little dremel. People have talked about cutting the headtube, but I think you may be the first to do it.

Looks good -I hope you didnt reuse that chain. :wink:
 
Re: My 1st stab at a B.T., in 1 weekend

Nice job. Like the new fork much better.

Warning about trimming the head tube. Be certain first that the thickness of the head tube is the same all the way. Doesn't increase where you will be cutting it. Your bearing cups will no longer fit. Done that once.. or twice.

In other words on some head tubes the thickness of the metal decreases where the bearing cups fit.
 
Re: My 1st stab at a B.T., in 1 weekend

Thanks guys, this will probably get torn apart for paint, but once I got my hands on it, I couldn't resist the urge to start ratting it down :mrgreen:
Clancy, I did put that chain back on for the mock up, and even took it for a couple of test rides. When I stood up on the pedals and started cranking in 3rd gear, I was SURE it was going to pop, and i'd end up balancing on the pedals, but it held up ?!!? I will have to replace it though.
With all the frame surgery that takes place here, could I really be the 1st to carve on a neck?

Randy, I used the ol' eyeball to make sure what I had planned would work before slicing and dicing. I may just end up buying a 26' springer for this thing, so I can put those old Norco forks back on the eliminator. Problem is, now that i've cut the frame, i'll have to shorten the fork neck. Lets hope the schwinn springer has plenty of threaded area to work with. Going to invest in a cheapy disk grinder while i'm at it, too.

Gerry, i', thinking the silver portions are going to go white. I'll mask off some scallops or darts for eye candy. Might as well hit those fenders while i'm at it. Do you have any sources for balloon tires in your neck of the woods? None of the l.b.s's I visited seem to stock anything except mtb or road type rubber.

Also, anybody have a shortcut for painting aluminum rims without removing + respoking them?
Rick
 
Re: My 1st stab at a B.T., in 1 weekend

So, when I left off, I had tired hands, and no angle grinder. Went and bought one, and a few accessories to finish off the frame insert.
This winter, the snowplow left me a present, a sign from the curb. Being the recycler that I am, I put it to good use.
oldsign.jpg

cuttoshape.jpg

I had to make 2 pieces, and used 2 sided tape, so that I had bare aluminum showing to work with.
The set-up I used for my 1st try at engine turning, i've owned this little drill press jig for years, and that 1/4 black n decker has been in family for decades.
pressnwirebrush.jpg

I tried a few different sanding discs, abrasive pads, sandpapers, and wire brushes, but settled on a solid core wire brush for the best overall pattern, its the one chucked into the drill. Note the zip tie on the wire brush, I wanted to keep the pattern nice and tight, worked out well.
tools.jpg

Test patternz :wink:
testing.jpg

Found the spacing I liked, pencilled on some guide lines, and got down to it.
started.jpg

fewpasses.jpg

dunrightside.jpg

dunleftside.jpg

Couldnt wait to see what it was going to look like in the frame, so I had Mike mock it up for the pics.
mocked2.jpg

mockedone.jpg

I also recycled the allen head fasteners from an old kids 2 wheeled folding scooter, and gave them a quick shot with the wire brush as well. I'm thinking i'm going to hang it from the frame with some perforated copper strapping, (the kind used to hang plumbing from the joists in houses) either polished up, or turned like the panel. Next step, the graphics ! :mrgreen:
I'm liking the look so much, I might even do the chain-guard the same way.
I actually think this thing`s headed in the right direction, low-down, low-buck, and low-profile, like me lol
Rick
 
Rick, Nice job with the tank plate. I did a tank plate with a street sign but I peeled,scraped the sticker off. Your way looks much easier.
 
Awesome job with using what you got, I love my dremel tool its like the swiss army knife of tools :D 
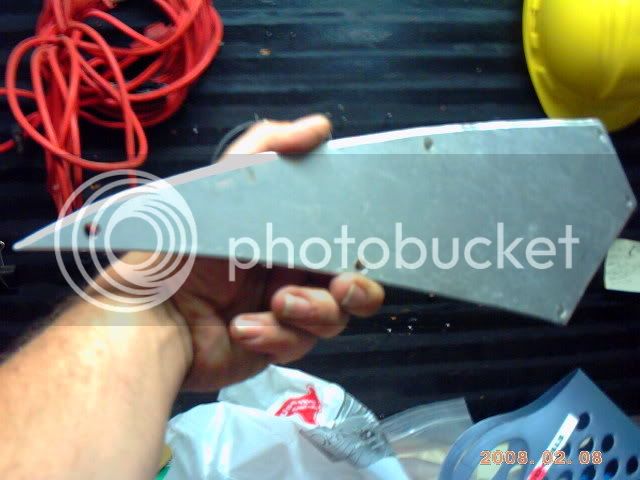
i never tried cutting through a headtube with one tho, haha, now you just gotta paint and you're done :p
 
Great build! If the seat cover slides around on you when you're riding the bike try a little spray adhesive before sewing it back down.

Turns out that my Dremel with the cut off wheel was more accurate than the recprocating saw

What's your secret? Whenever I use the Dremel it looks like an earthquake hit.
 
Hey all, sorry for the delay in replying. I had lost my hi-speed net connection, and am now on a free (but slow) dial up. This forced me to switch back to my old apple g3, which I had retired due to old age, but have since resurrected, simply because it has a modem which my newer computer doesn't have.
This old g3 doesnt have iphoto either, so I still have to work out a way of uploading my pics for posting :?
Anyway, since the last post, I finished the mock up completely. I switched shifters again, and am now using a stingray 3 speed shifter, mounted to the lower frame tube halfway between the neck and chainguard.
I liked the engine turned look so much, I also decided to "decorate" the chainguard the same way.
I've also done up the graphics for the frame panel insert, and have repainted the lower half of the bike white, with some hand masked flames, which I then outlined in orange and fire red.. The fenders have also been repainted, and I will be pinstriping them in black. Lastly for paint, will be a blending in of some cayenne red over the schwinn red.
I may yet swap out the seat for a white one. Photos to follow as soon as I can get them up,
Rick
 
Love the engine turning on the tank insert and chainguard. Next time try a wood dowel, works great and keeps it's shape. Sensor taught me that.
Does that shifter say ratrodbikes.com on it? How cool!
 
I realised I left a few questions unanswered, so in order, here they are;
Clancy, I couldn't think of an easy way to remove the scotchlite from the sign, it gets baked on, and even when torched off, leaves a glue residue. So, I figured the 2 panel sandwich would work best, and take less time than scraping and sanding.
Cleveland, thanks for the spray glue idea, the seat cover was simply laced on, slip cover style. It seems to stay in place o.k, but I recently aquired a white springer seat, so I think i'll switch over to that instead.
The trick to getting the dremel to cut straight is in the direction that the wheel turns. Once I've cut into the tubing, I let the tool do the work, and cut with the direction of the spin. That allows you to keep the cutting wheel balanced on the "edge" of the metal you're cutting.
Evil, Yes it does say http://www.ratrodbikes.com, I used some sign vinyl and cut the black and white circles, then used rub-on lettering to spell it out. Hope you approve, Steve!!
If I follow what you're saying, I'd use the dowel and glue the sandpaper to that? I had tried a similar approach, but wasnt happy with the pattern, or the spped at which the paper wore down. So, I bought a cone shaped wire "wheel" and zip tied it to that it wouldn't spread out under pressure from the drill press.
I got even more use out of it last night, but i'll save those details until it's put together.
Had a little snafu set me back, after hanging the frame for paint overnight, I found it on the ground the next morning. The twine I used snapped. :( One of the cable stays took the big hit and was crushed flat to the frame. I spent a few hours today straightening and touching up the paint that got hurt as well. Off for clear coat, and reassembly this weekend.
Rick
 
Back
Top