My 2nd welding project - Tall bike

Rat Rod Bikes Bicycle Forum

Help Support Rat Rod Bikes Bicycle Forum:

This site may earn a commission from merchant affiliate links, including eBay, Amazon, and others.
Joined
Aug 8, 2011
Messages
70
Reaction score
5
Rating - 0%
0   0   0
Been a couple months since I completed my 1st frame modification involving a welder (stick). I'm a newbie welder, but she's still holding up so I think I'm ready to go on to welding project #2. Well, not ready in the sense that I'm a more proficient welder, but just ready to start hacking away again :)

I'm trying to keep the welds simple and to a minimum. So this time I'm going for a basic tall bike, working with a group of kids that come to our church's weekly bicycle ministry.

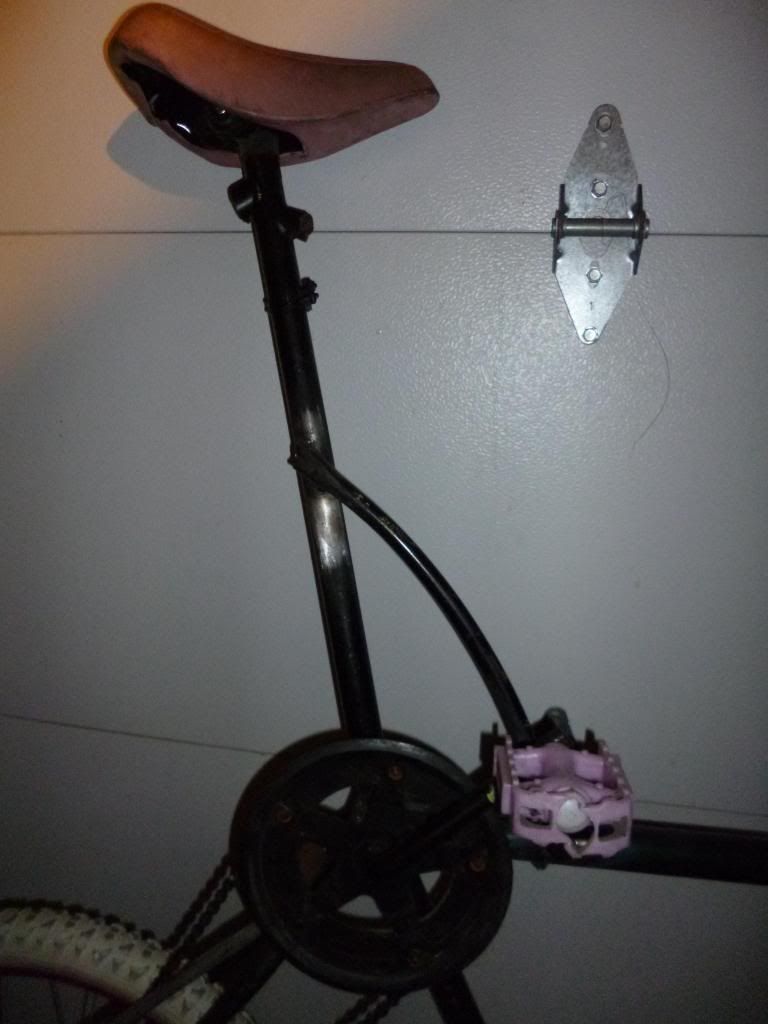
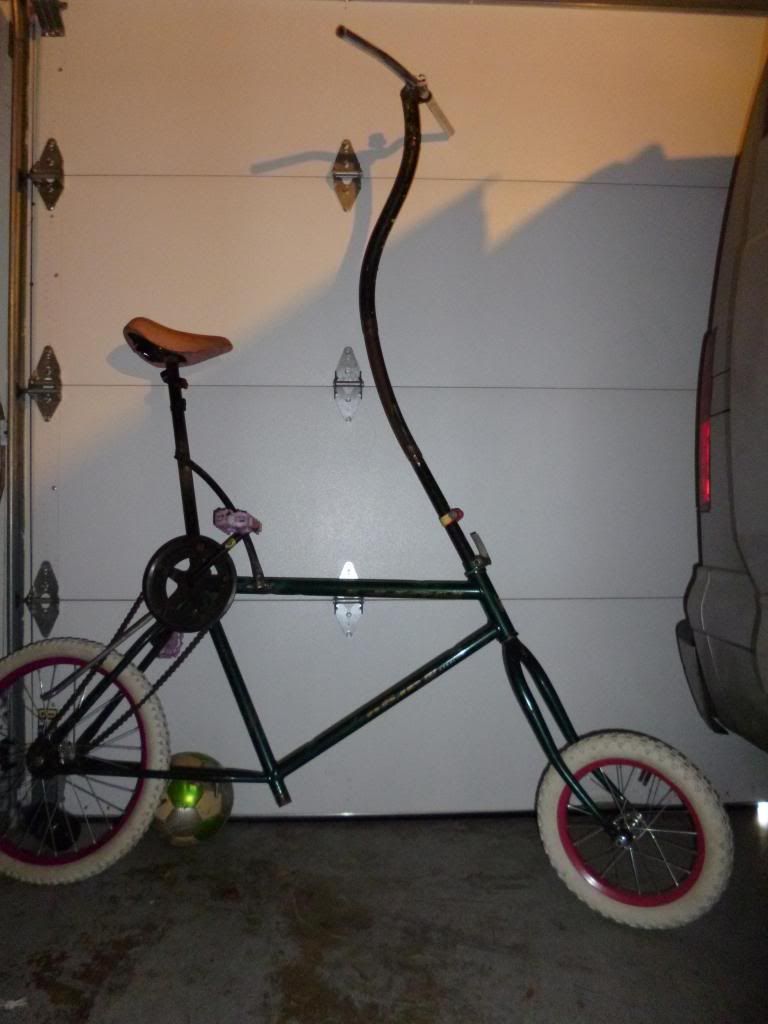
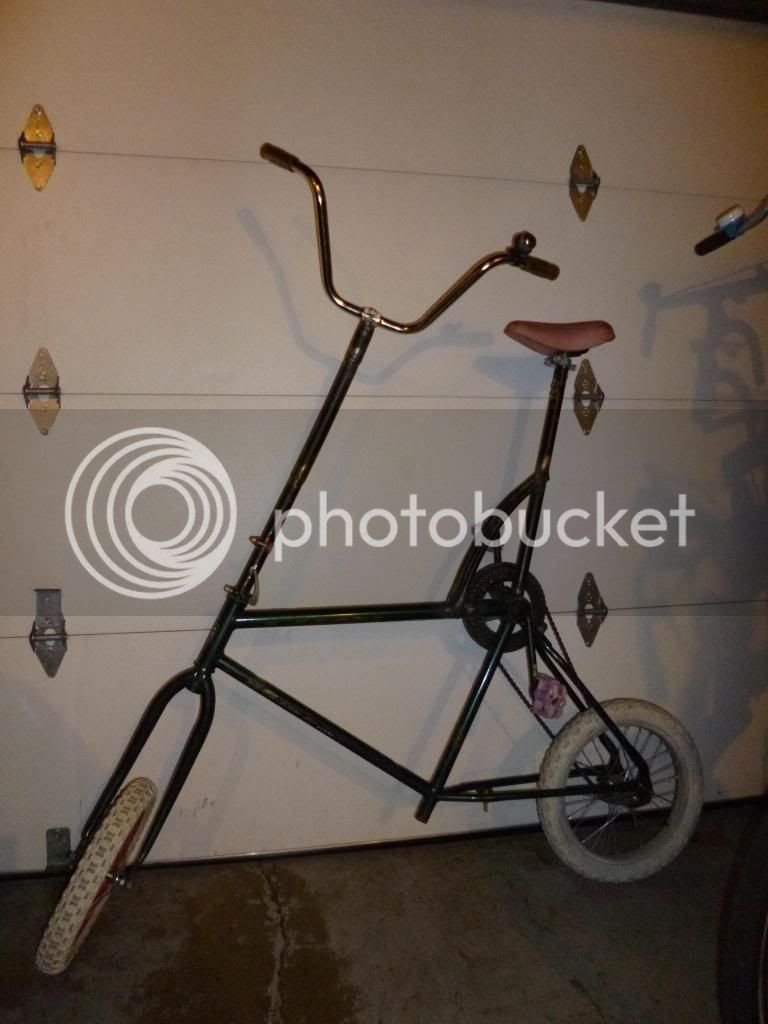
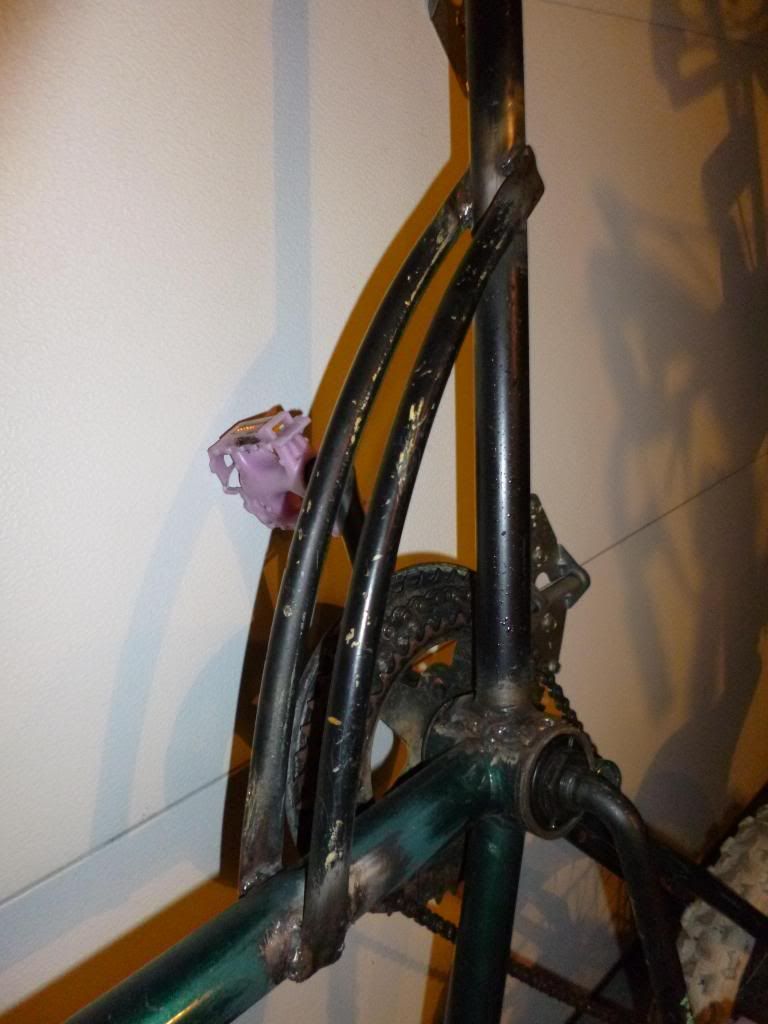
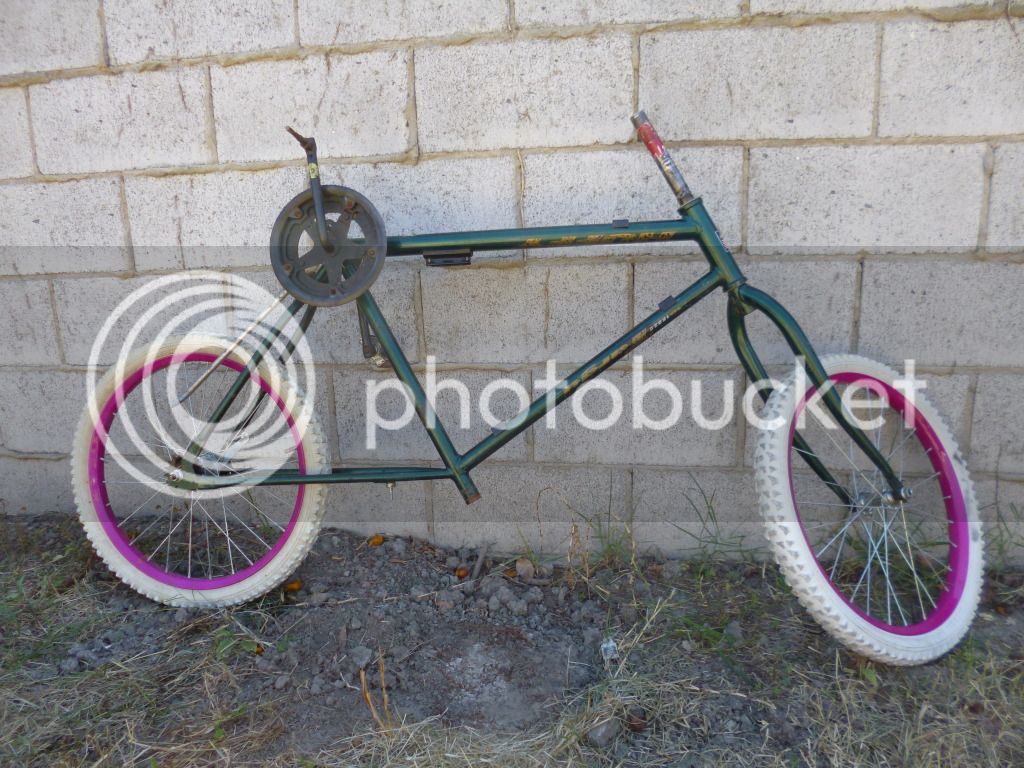
So here's the flipped Huffy frame to raise the bottom bracket. Keeping it as is for now. I think this has a bit too much rake, making it harder to ride, but I'm not gonna mess with it. We'll see.

P1000454.jpg


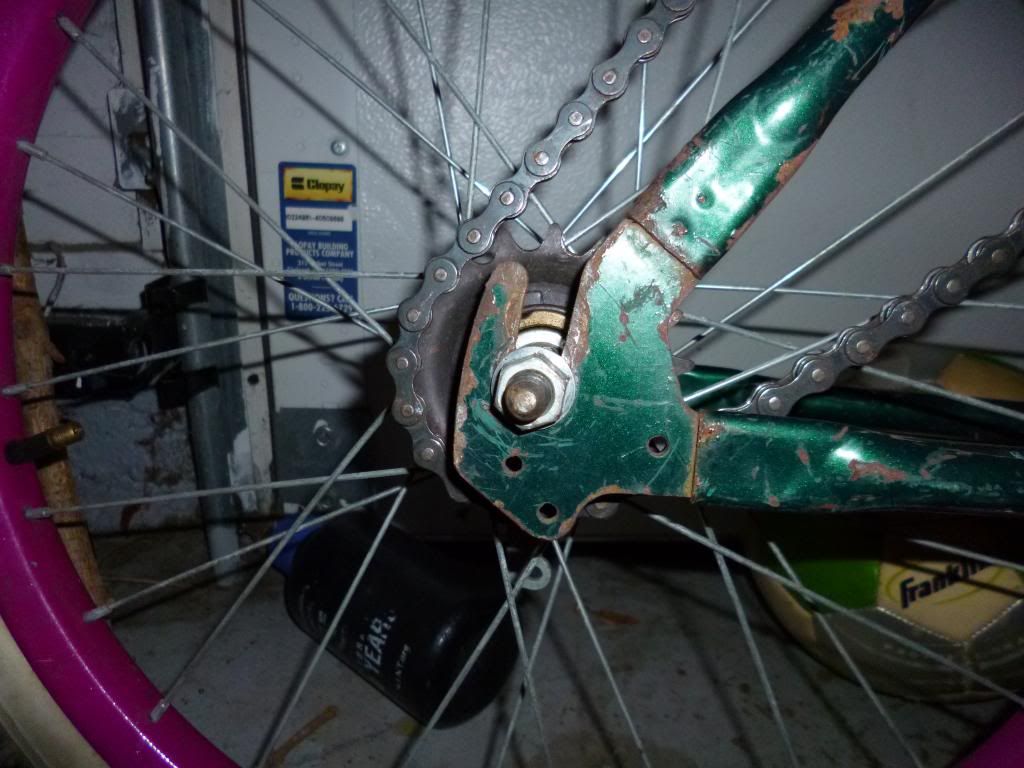
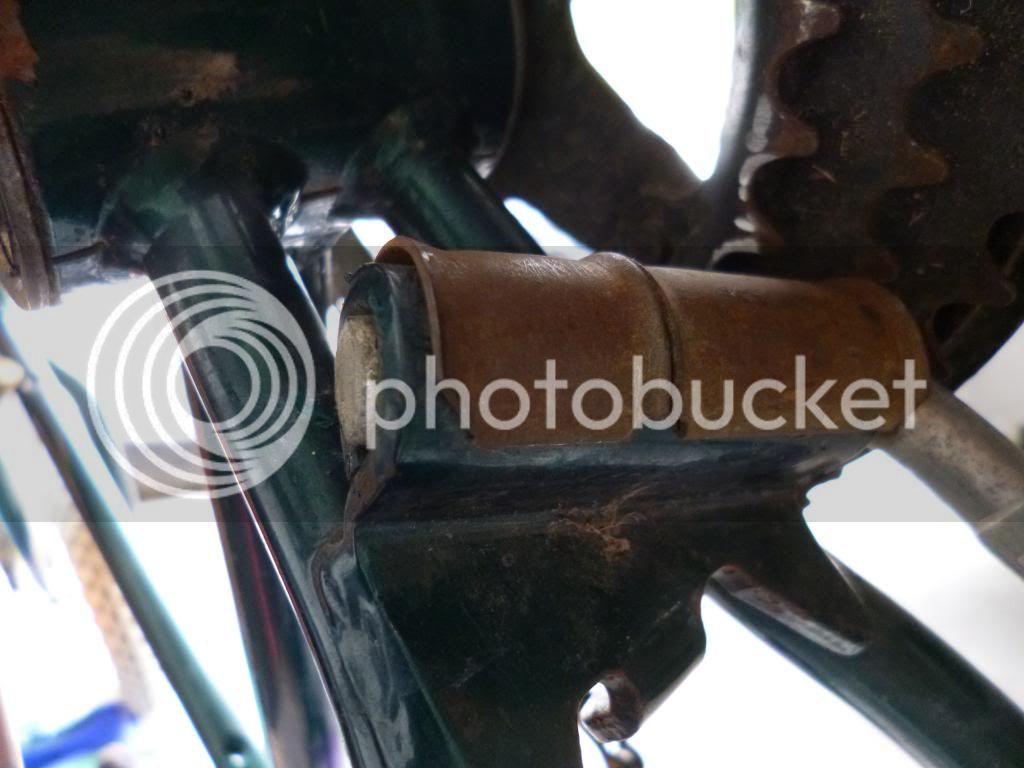
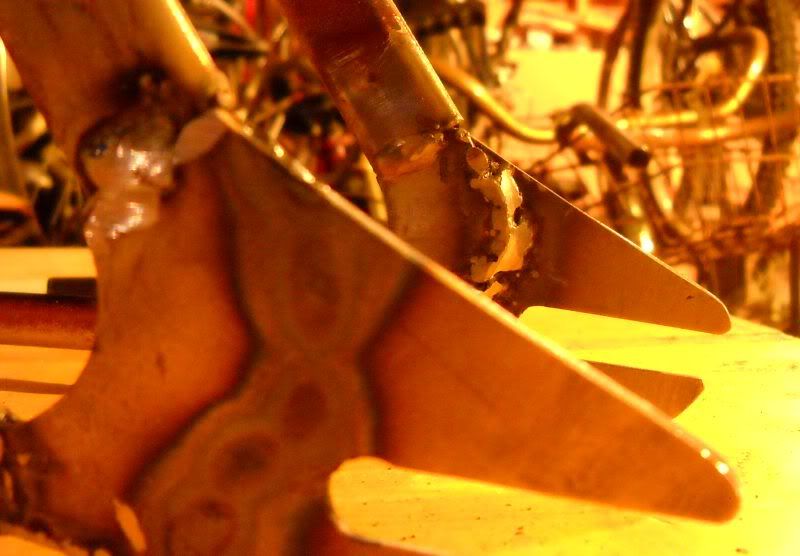
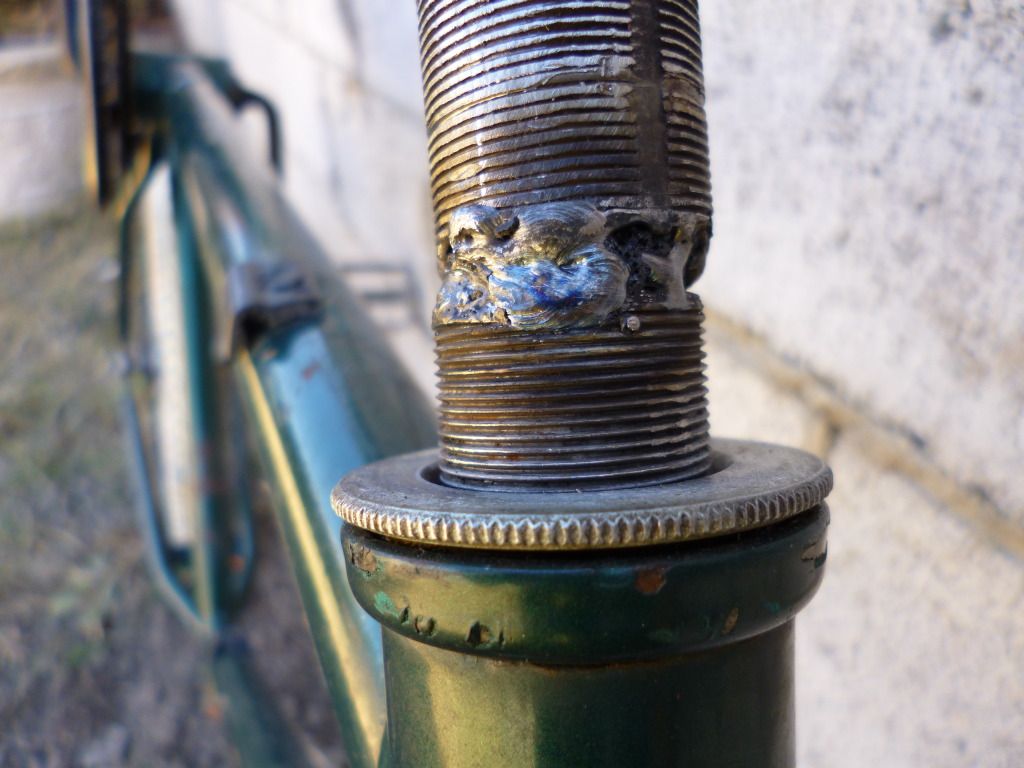
Instead of stacking 2 frames, I figured it'd be easier to just make a super long stem. I needed to extend the steerer tube a little for some holding power. Inside this extended steerer tube is the bottom of a stem for added support. This is not lined up well, but it works. And as you can see, I'm not lying about being a subpar welder.

P1000455.jpg


So here's the stem/handlebar. Made from 3 pieces of a cruiser frame welded together. Luckily all 3 pieces were slightly different diameters and fit nicely into each other. That usually never happens to me. This will get clamped (using a couple seatpost clamps) onto the extended steerer tube. I needed the curves in there since the rake of the head tube would've put the handlebar behind my head.

P1000456.jpg


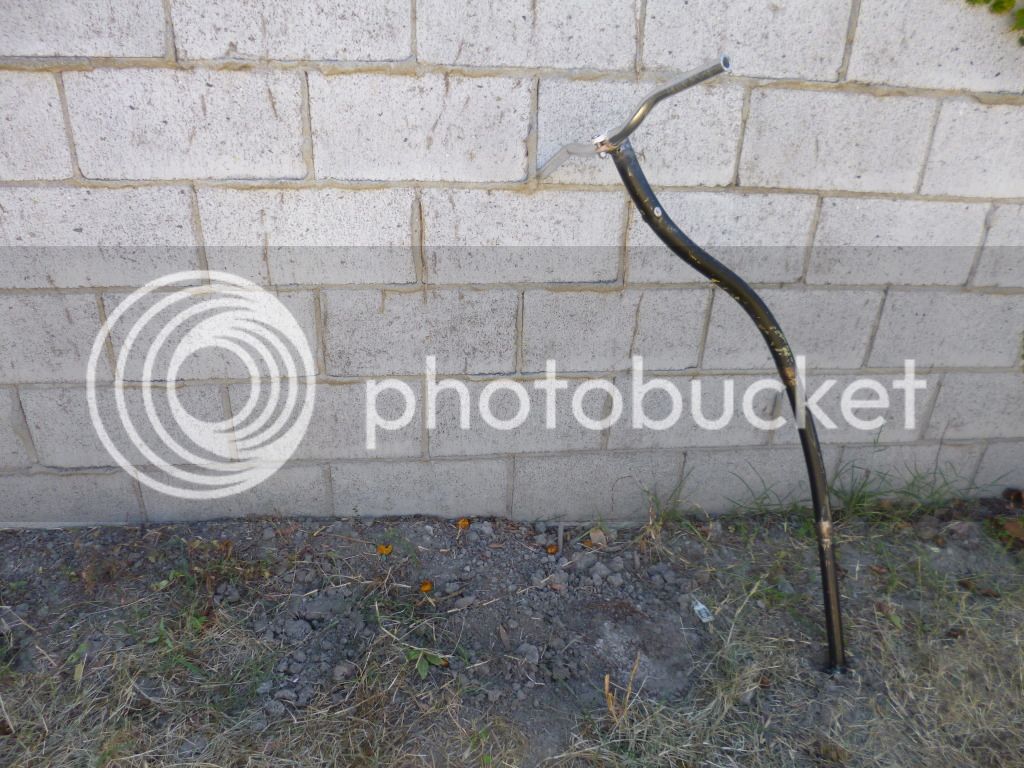
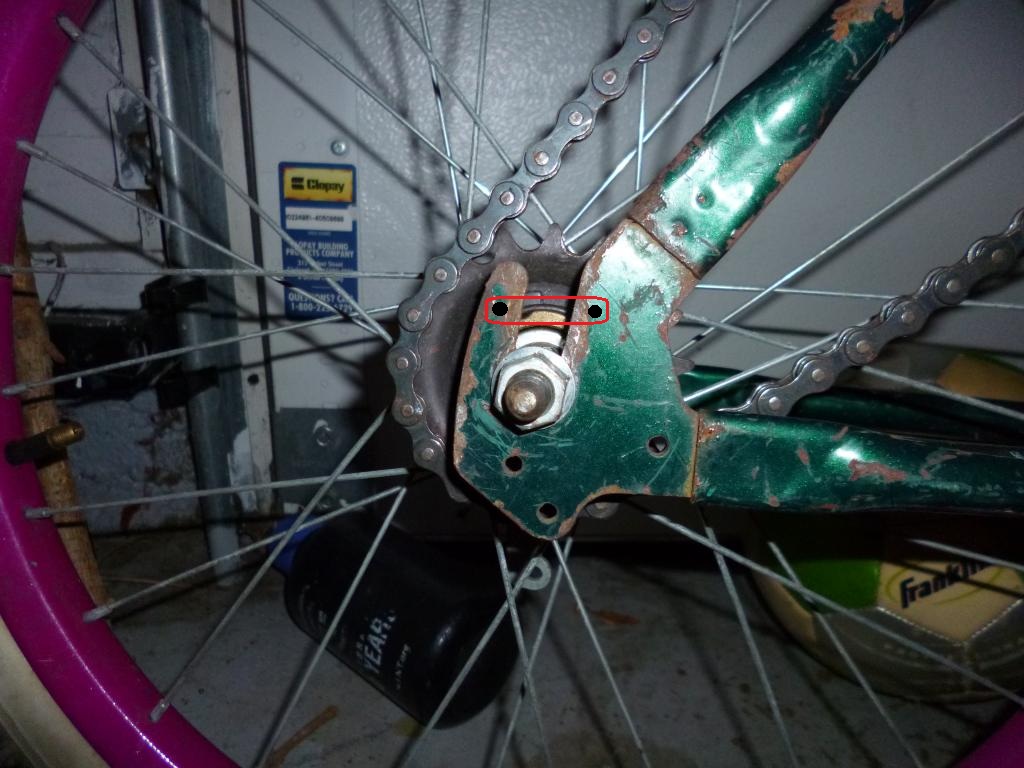
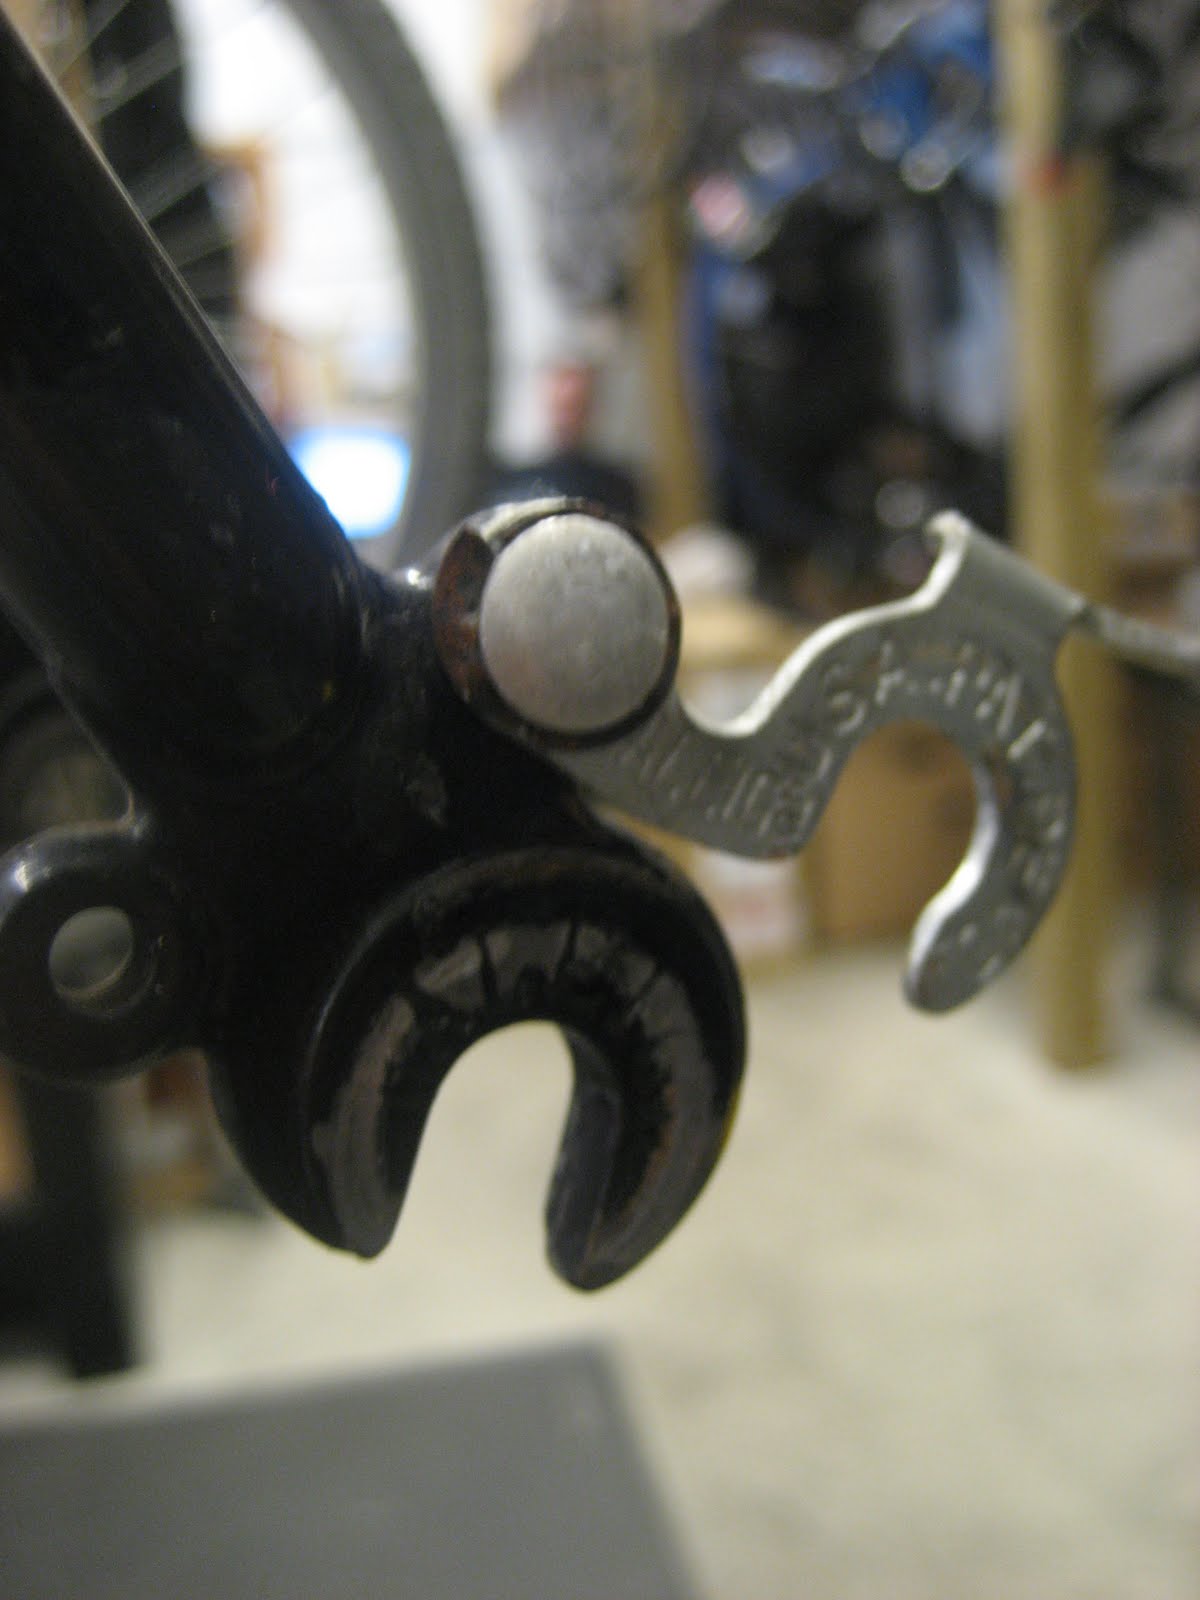
Remember the stem I cut apart for the steerer tube support? I salvaged the clamp part and welded that on to this long stem. So far, this is my biggest fear... since the clamp has no bottom part extending down into the stem, it's really only the weld holding this in place. Given there will be some downward force as I try to mount and dismount, I could potentially lever this piece off so this weld has to be solid. If it happens to fail (and I survive) I suppose I'll stop being cheap and weld on a complete stem for added support.

P1000457.jpg


So you may be able to envision that this won't be a pretty bike. It's gonna be freaky ugly and probably only marginally rideable. But it's a learning process and who knows, I may get lucky!
 
A flap sanding wheel will make the welds really pretty. You can weld a fork steer tube to make it longer and sand the weld down til it looks like it never happened.
 
Been awhile since I posted. Didn't even realize there were responses. I must not have clicked that "notify me" thing.

Thx for the tips on cleaning up the welds. Gonna leave them for now. Weak, I don't want. But ugly, I'm ok with that!

Here is a high school kid (one of the braver ones) on the inaugural ride. In addition to the fear factor of being up high, the rake/trail is indeed making the steering floppy. So we'll see if a smaller wheel up front will solve that, before resorting to cutting up the head tube.

Otherwise, it's fun! Next step will be slapping on a seat tube (with some sort of seat stays) and repositioning the rear dropouts (they point up right now making it dangerous if the wheel were to come loose).

P1000490.jpg
 
Welded on a seat tube and a seat stay. Will probably add an identical seat stay on the other side. All these extra tubing was from a donor cruiser.

P1000549.jpg


And here she is with the smaller front wheel to minimize the head tube rake. Lazy man's way of fixing the floppy steering, which is not very comforting when your head is 10 ft from the ground. Definitely much easier to ride now.

P1000551.jpg


Next major modification will be this rear dropout, which as you can see faces upward. Again, not reassuring when your head is 10 ft above ground. I'm thinking of just welding on dropouts from the donor bike, instead of cutting this one up and reconfiguring. Seems like I'd have more surface area to play with, thus stronger weld.

I'd love to hear other ideas for eliminating the risk of the wheel coming out of the droput... I'm all for easy solutions. Maybe I just leave as is and reinforce it somehow.

P1000552.jpg
 
Maybe just drill a hole on either side of the dropout opening and bolt a cross-bar inbetween to close the gap?

Something like this:

UAIGc.jpg


Surely not ideal, but at least it's a bit of security.
 
use one of those "lawyer tabs" from a front wheel:

!BdDF2w!!Wk~$(KGrHqYOKiIEq5ClsvdlBK3Kk1zb8g~~_35.JPG


or maybe fab this up:

IMG_7906.JPG
 
I am usually not a tall bike fan, but that steering column is a work of art.
Looking sweet! This one has some great style points rather than just stacking frames on top of each other.
 
kingfish254 said:
I am usually not a tall bike fan, but that steering column is a work of art.

"Work of art" may be pushing it, but thx! I may try different handlebars too to give it a little more flare.

Mad Scientist said:
Maybe just drill a hole on either side of the dropout opening and bolt a cross-bar inbetween to close the gap?

I was thinking about that too. That may be my route. Thx for the confirmation.

Btw, I need a couple other ideas...

1. I neglected to screw on the locknut of the threaded headset before welding an extension on to the steerer tube, so it's just the adjustable race and I can no longer put on the locknut. Of course it loosens up once in awhile. Any clever ideas on keeping that adjustable race in place?

2. Anyone know how to take this kind of kickstand off? Haven't really tried prying, yanking, and bending yet, so I figure there must be a little trick to it!

P1000557.jpg
 
Those rusty pieces are springs. Pry them off then there may be a pin holding it or it may just slid out. Huffy
 
Or get a 3 speed hub and leave the kickstand where it is as your suicide shifter! :p :shock:
 
When I did my flip bike (which I still haven't finished :x :roll: ) I cut away most of the old dropout and welded the new dropout to what was left. It worked pretty well, I mean, you know how my welding is but... it was a fairly easy weld and is wicked strong.

MBdropoutsweldedon.jpg


With the headset, maybe Loctite?

Bike looks great BTW, glad you found a kid to try it out :lol:
 
cman said:
Those rusty pieces are springs. Pry them off then there may be a pin holding it or it may just slid out. Huffy

Will give that a try. Thx!

jackdaw said:
I cut away most of the old dropout and welded the new dropout to what was left. It worked pretty well, I mean, you know how my welding is but... it was a fairly easy weld and is wicked strong.

OK, if you say so! That was definitely be my preference. Just wasn't sure how safe it'd be welding the dropouts like that. But if you had success with it, I may give it a go. The donor bike I have though doesn't have the same type of dropouts so it'll be interesting to see how they fit together.
 
I realized the long curvy stem made it hard to control, so I cut it down to something more reasonable and it's super easy to ride now. The long stem looks straight in this picture but there's a slight curve near the top. I think the lines look much better now too. The small wheels also make it easier to mount so I think I'll keep it that way.

P1000590.jpg


Supports for the seat post. Donated seat stays from a cruiser. I think the placement of the seat, coupled with the smaller wheels makes this wheelie-happy! Kinda cool, but also gotta be careful on the quick acceleration. Wheelie bars?!

P1000591.jpg


In previous pictures you'll see the upward facing dropouts (since this is an upside down frame) so I wanted to change them to either rear facing (track bike-like) or the standard forward-facing horizontal. Instead of cutting and working with the existing dropouts, I decided it'd be easier to add on donor ones. Problem is that I never ever never ever learn to "measure twice, cut once" no matter how much I've been burned.

For one, I was planning to weld the top right of the dropout in this picture to the chainstay, but obviously the cut doesn't match. For another, a 26" wheel doesn't fit since the dropouts are too forward. Fortunately I intended to use a smaller wheel anyway, but still, a "doh" moment. My excuse this time is that I was in a rush :)

P1000596.jpg


I think I have the main pieces in place but there's a lot of fine tuning to do. So slowly but surely we'll get her done, maybe even painted one day. No matter how ratty it looks though, it's sure fun to ride.
 
Back
Top