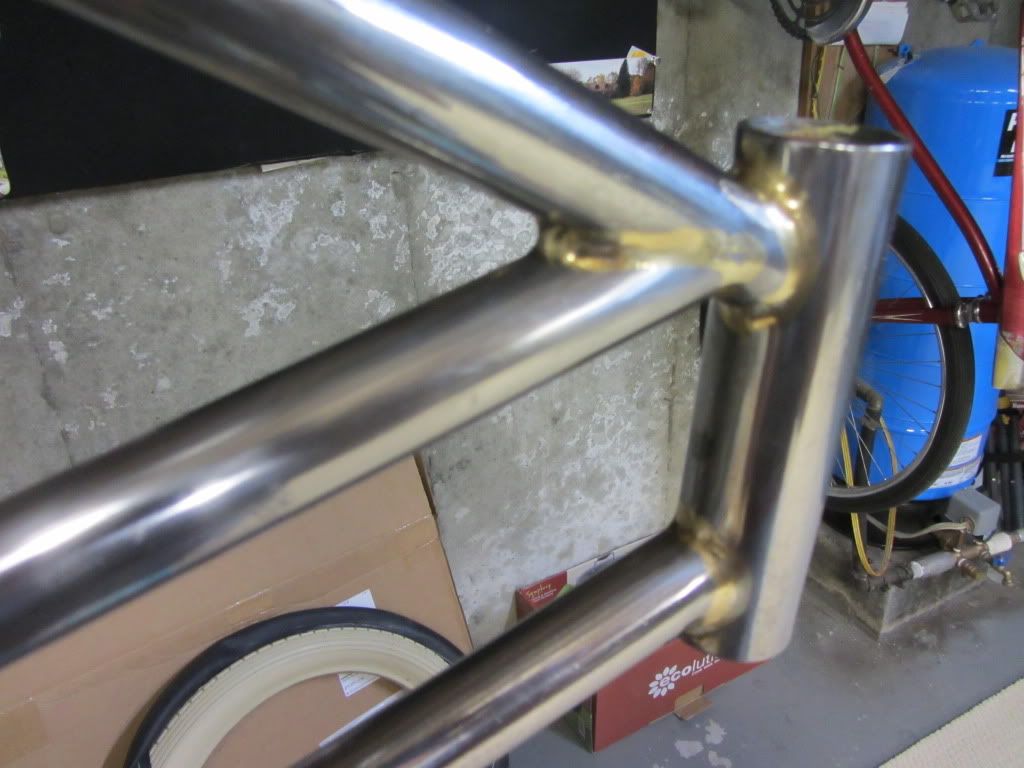
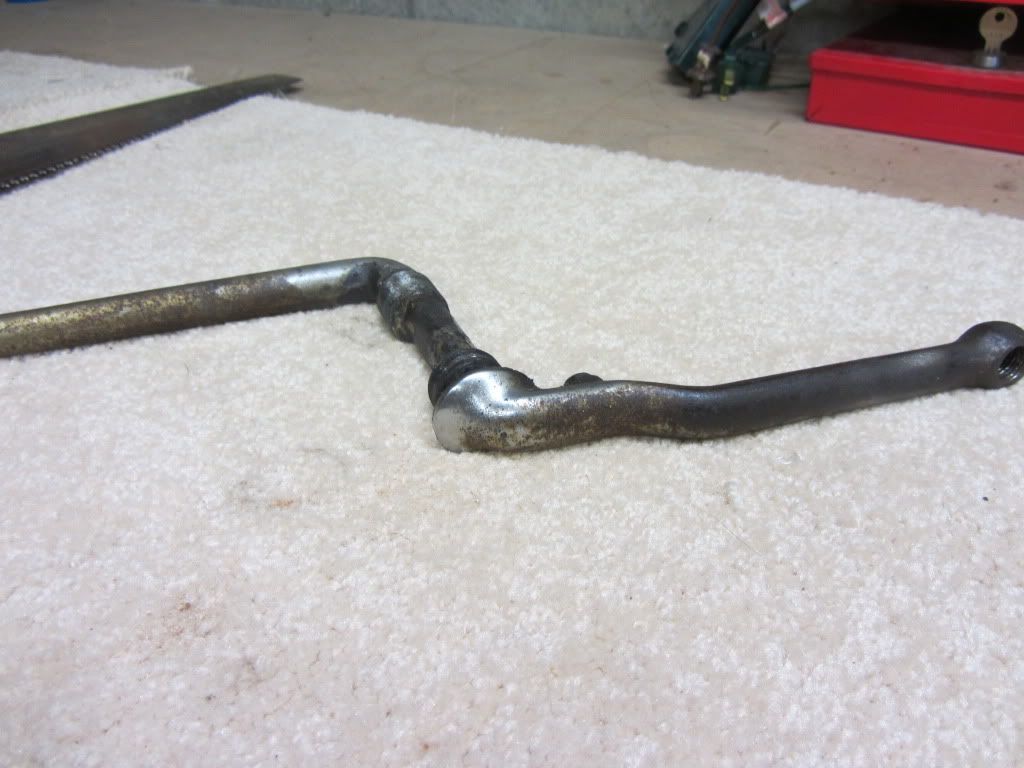
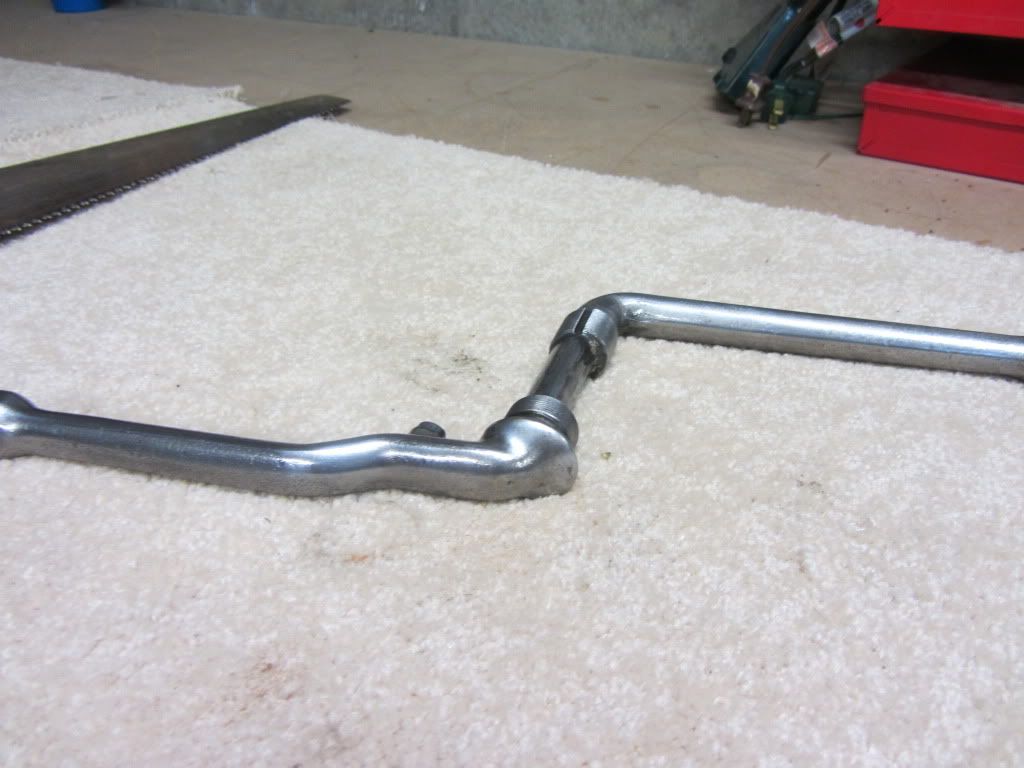
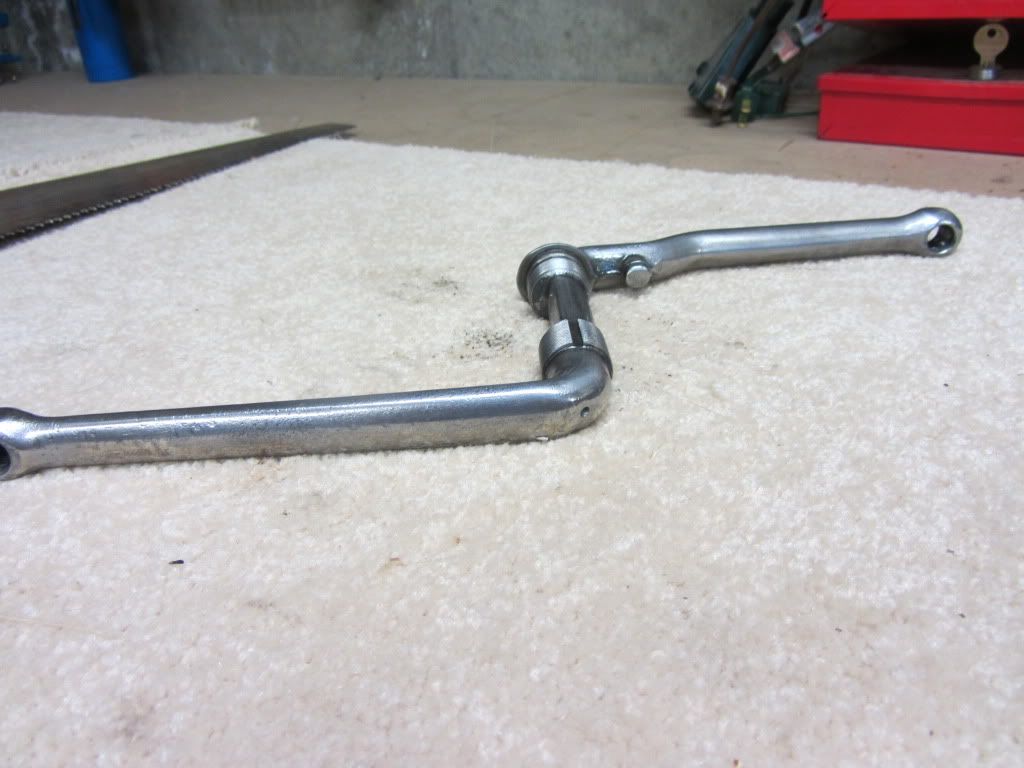
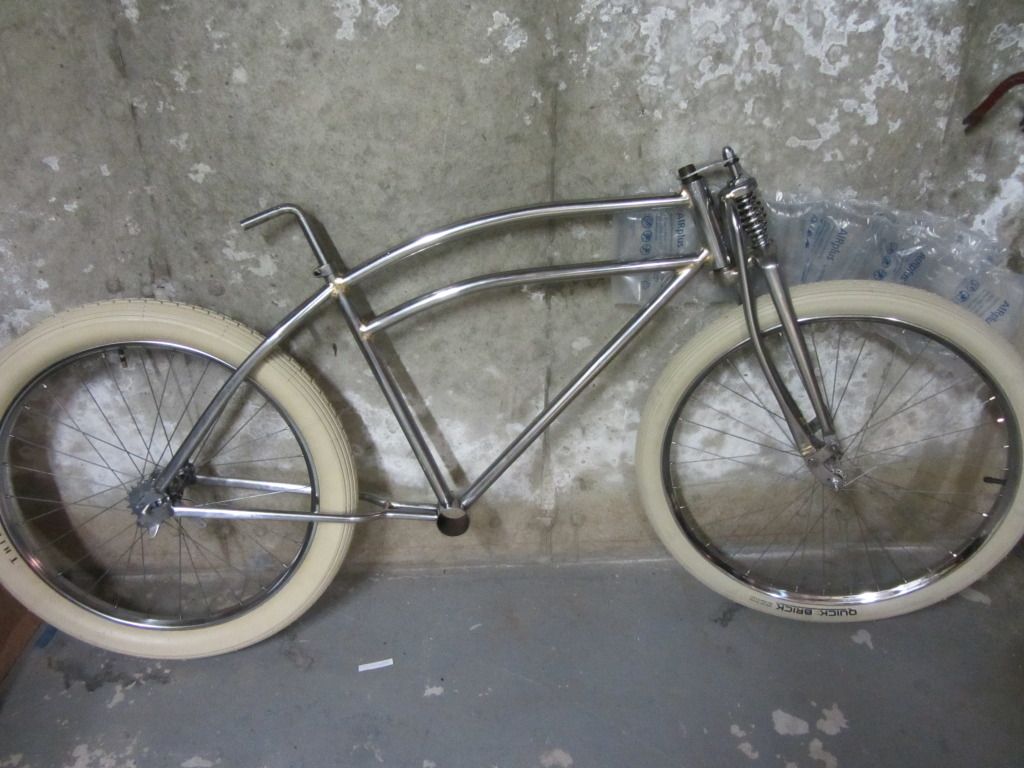
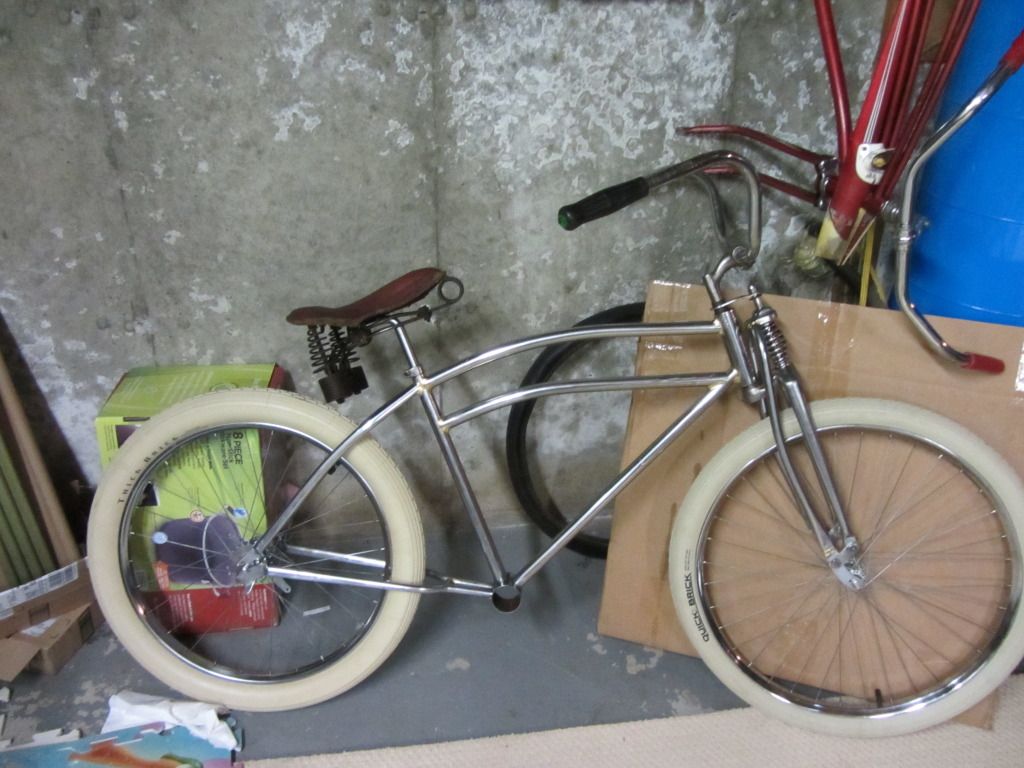
Obscured----Last Update 8-4----

Rat Rod Bikes Bicycle Forum

Help Support Rat Rod Bikes Bicycle Forum:

This site may earn a commission from merchant affiliate links, including eBay, Amazon, and others.
Re: Still Obscured

Chips_Mahoy said:
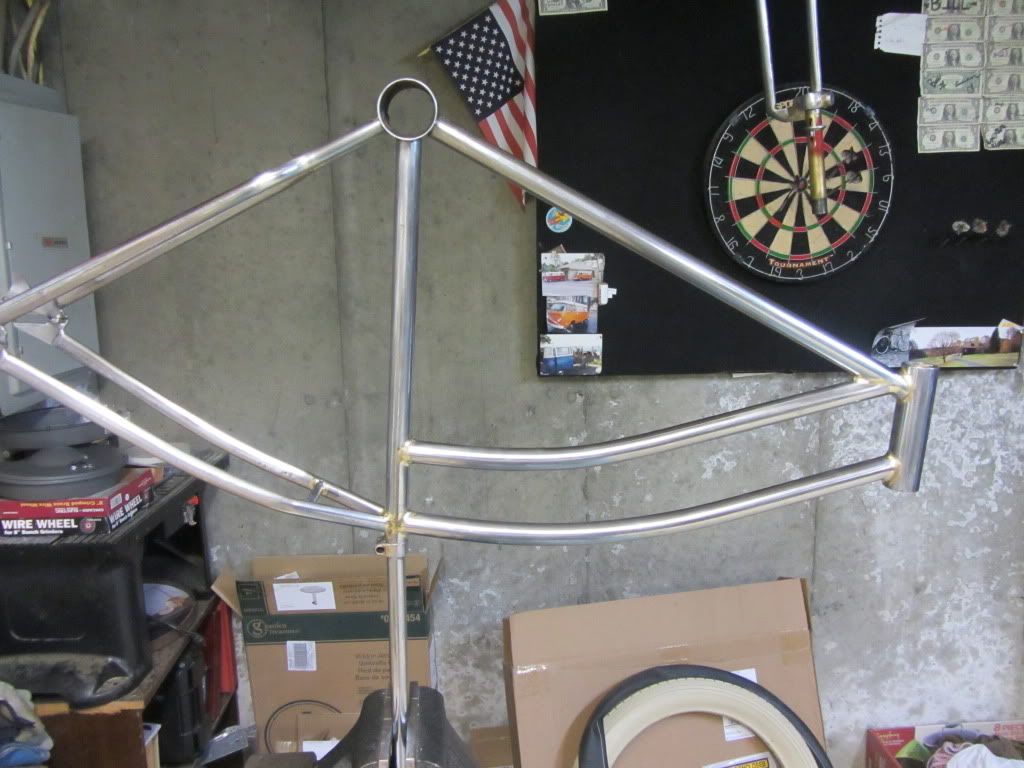
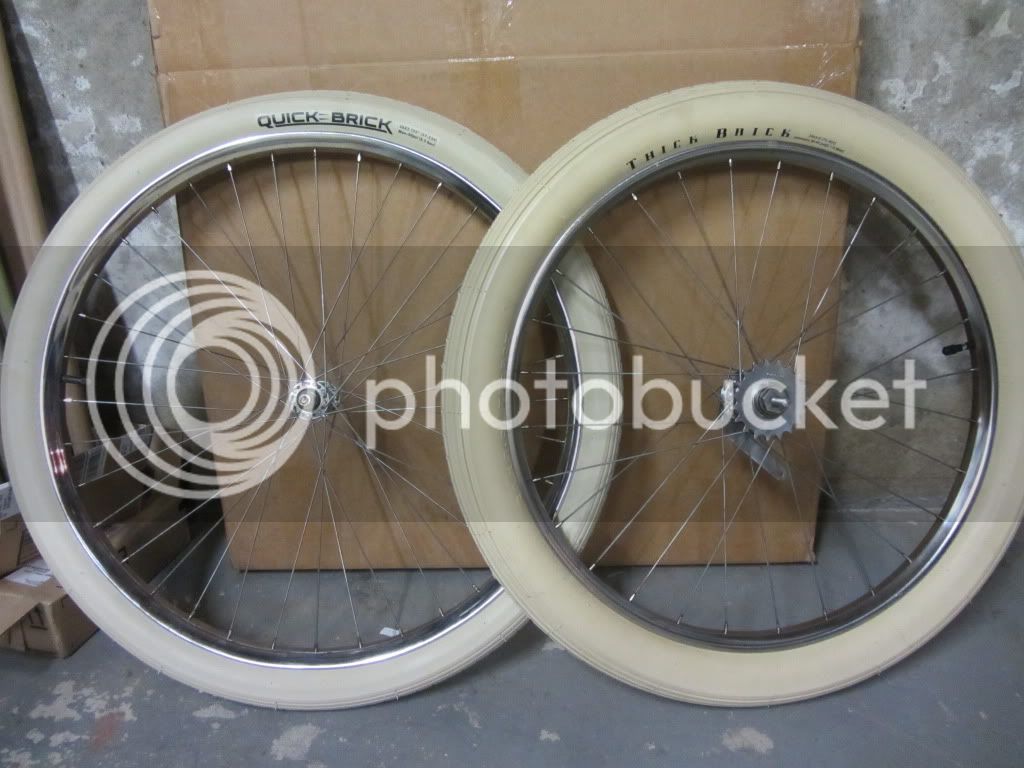
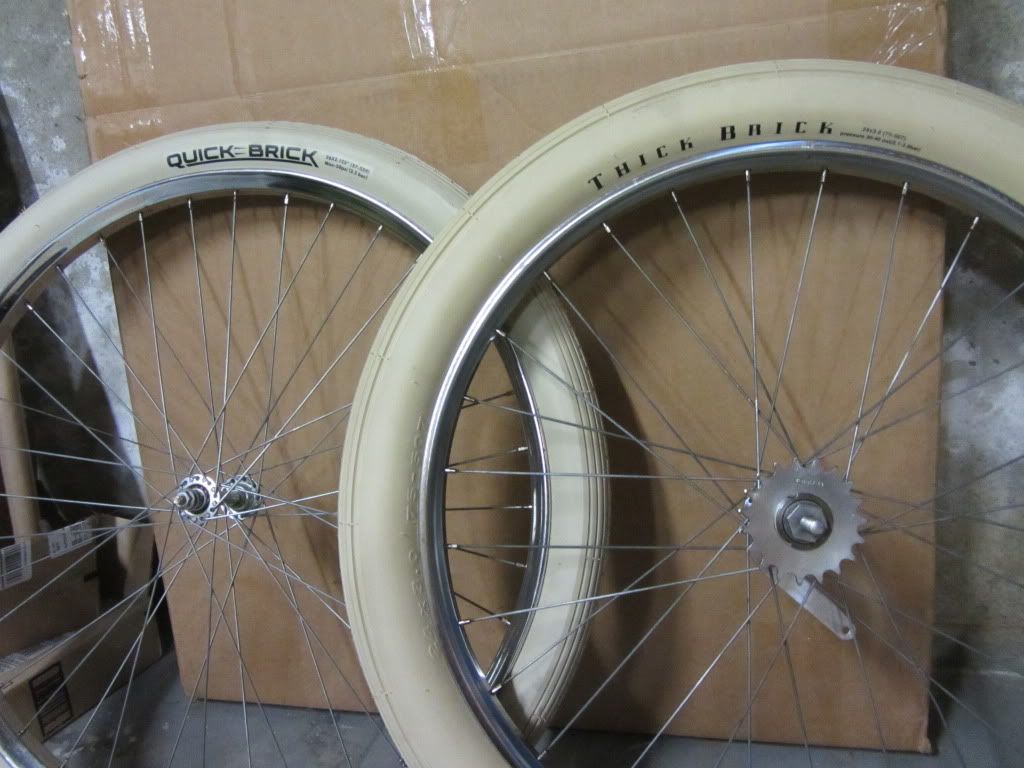
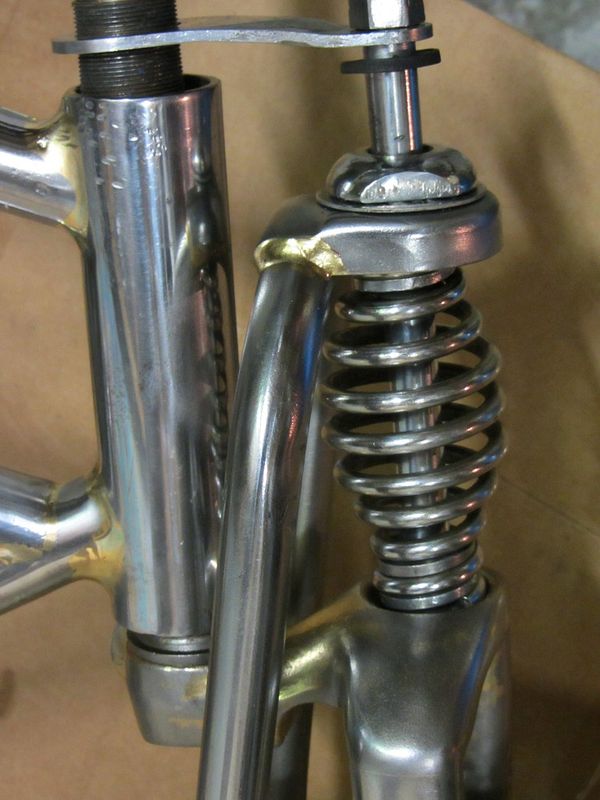
I had the same issue with my forking clearance problem with my Thick Bricks. It was suggested to me that i do what you're talking about with cutting, flipping and rewelding the piece back in but I didn't want to cut anything. It was also suggested that I cut the top on each sideofthe steer tube and widen it to spead the fork tubes wider apart. I didnt want to do that either. I ended up going to a friend's shop and taking a couple scrap pieces of a 1x3 piece of pine and putting one on easch side of a tube, placing it in his giant bench vise and giving it a couple good go's. That compressed the tubes some but not enough. So I took the pine pieces and went to a different friend's shop with bigger tools ( :D :D :D )! I ended up using his big 'ol hydraulic press (for his dump trucks), used the pine pieces as "cradles" since they had already compressed themselves to the shape of the fork, and SLOWLY compressed the fork tubes until I was happy with them. The tubes didn't crack or split and the tires fit fine now. I did have to do some bodywork to smooth out a couple spots where I didnt have everything lined up perfectly, but I can deal with that since it was my first time.

Good idea, I'll have to give it some more thought. Do you think if I was careful I could pull this off without having to do bodywork? I'm going for the bare metal thing so bodywork could be another issue.
Thanks for the idea. Got any pictures of yours?
 
Re: Still Obscured

highship said:
Chips_Mahoy said:
I had the same issue with my forking clearance problem with my Thick Bricks. It was suggested to me that i do what you're talking about with cutting, flipping and rewelding the piece back in but I didn't want to cut anything. It was also suggested that I cut the top on each sideofthe steer tube and widen it to spead the fork tubes wider apart. I didnt want to do that either. I ended up going to a friend's shop and taking a couple scrap pieces of a 1x3 piece of pine and putting one on easch side of a tube, placing it in his giant bench vise and giving it a couple good go's. That compressed the tubes some but not enough. So I took the pine pieces and went to a different friend's shop with bigger tools ( :D :D :D )! I ended up using his big 'ol hydraulic press (for his dump trucks), used the pine pieces as "cradles" since they had already compressed themselves to the shape of the fork, and SLOWLY compressed the fork tubes until I was happy with them. The tubes didn't crack or split and the tires fit fine now. I did have to do some bodywork to smooth out a couple spots where I didnt have everything lined up perfectly, but I can deal with that since it was my first time.

Good idea, I'll have to give it some more thought. Do you think if I was careful I could pull this off without having to do bodywork? I'm going for the bare metal thing so bodywork could be another issue.
Thanks for the idea. Got any pictures of yours?

I would think that If you make the cradles long enough to do 1 tube at a time, and the steel used in the press was also long enough, AND if you've got it shimmed and secured level, I think theoretically it could be done. We talked about that after the fact. Dont forget to wrap everything in tape too for protection.
 
Re: Obscured

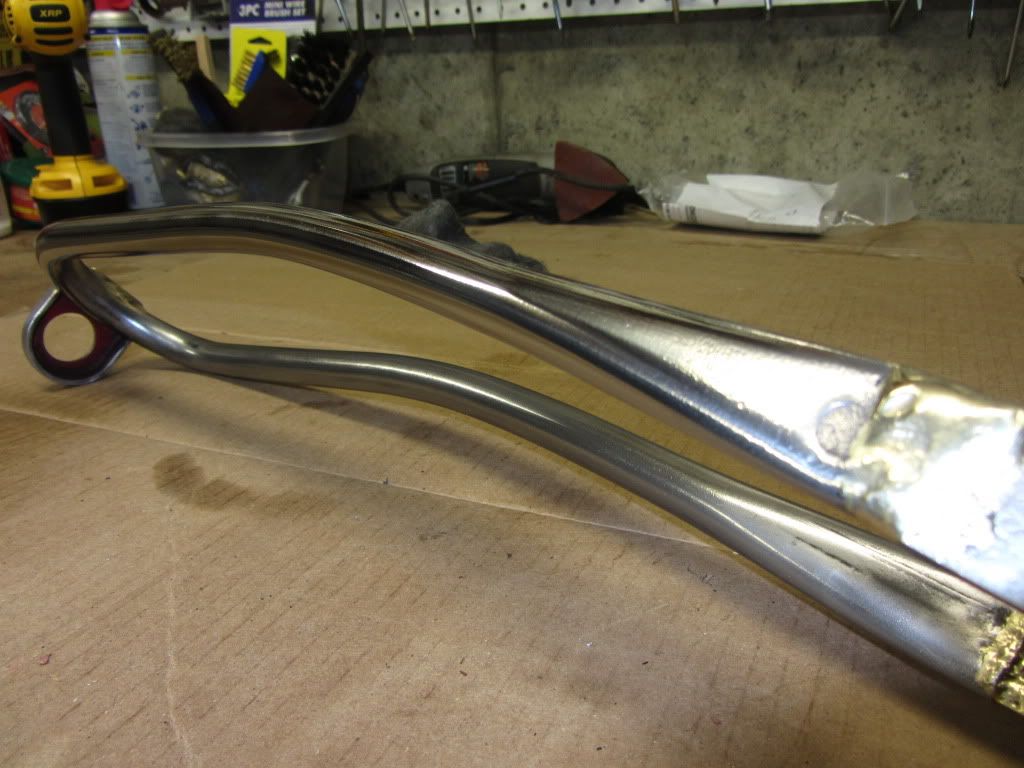
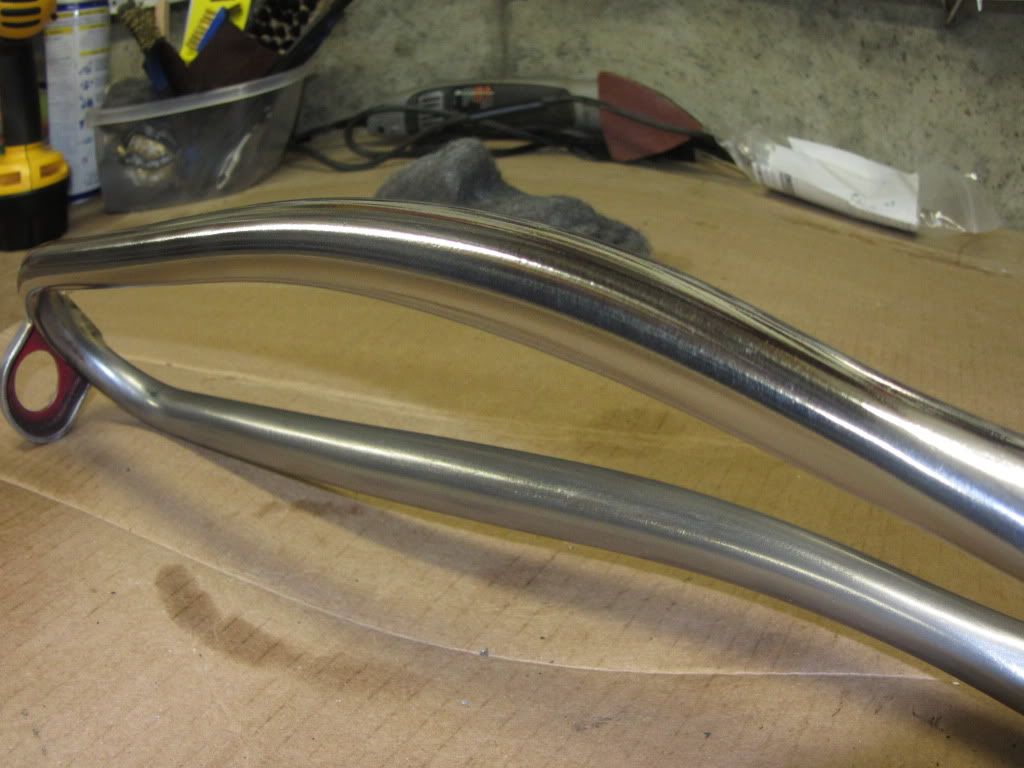
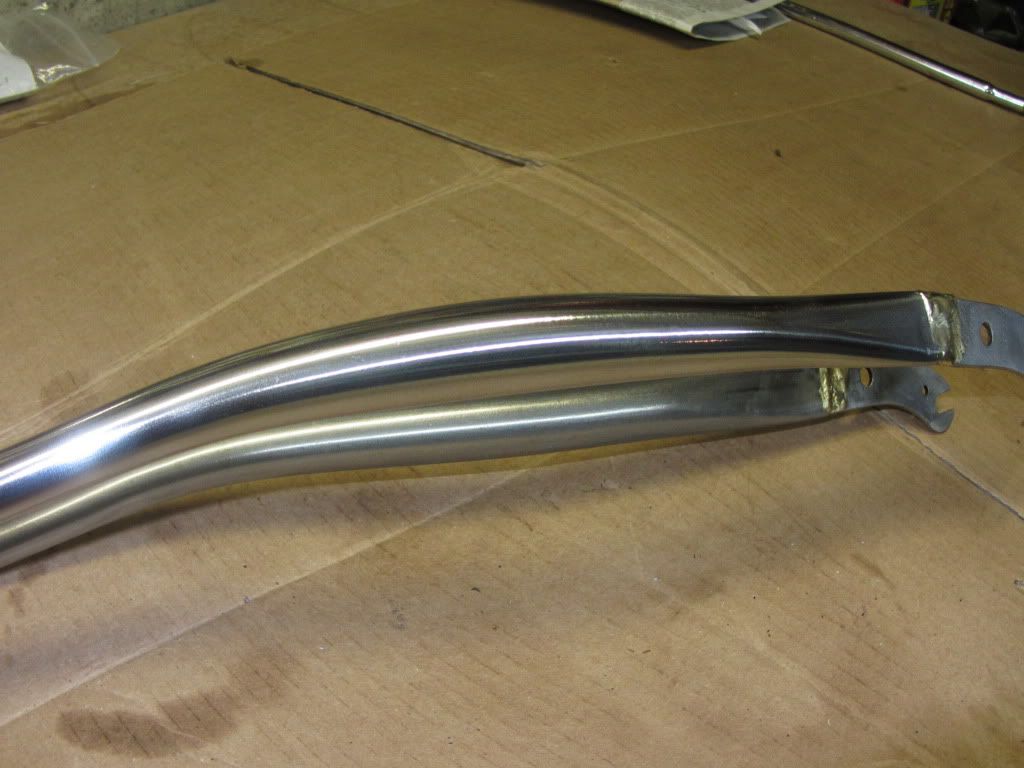
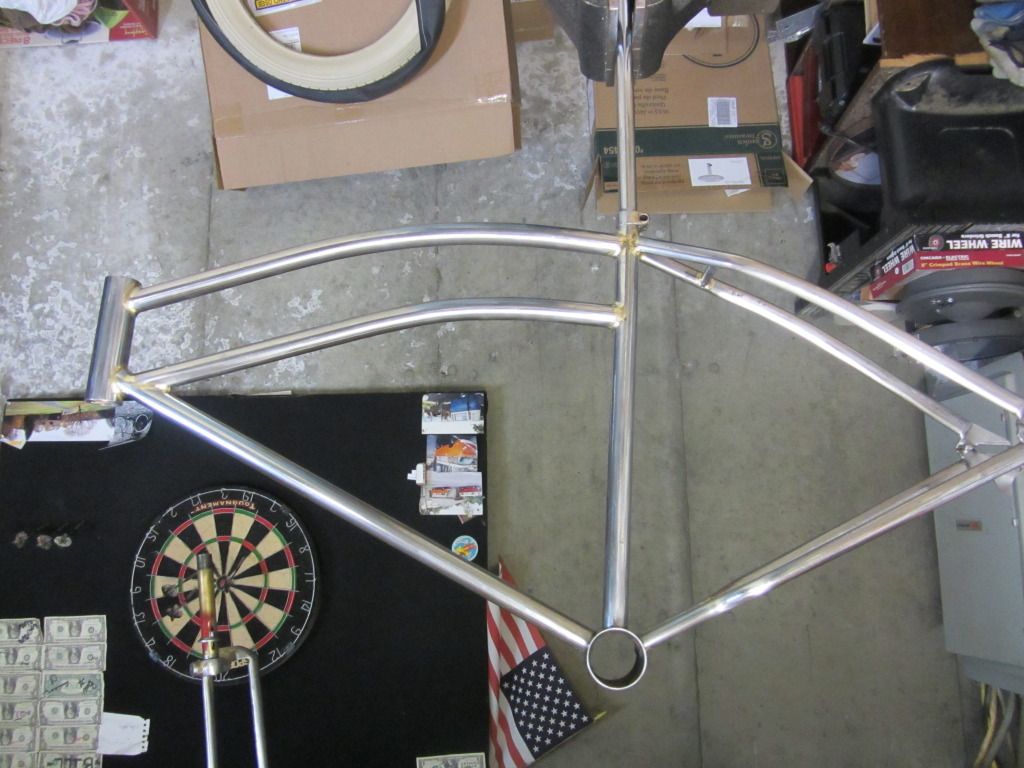
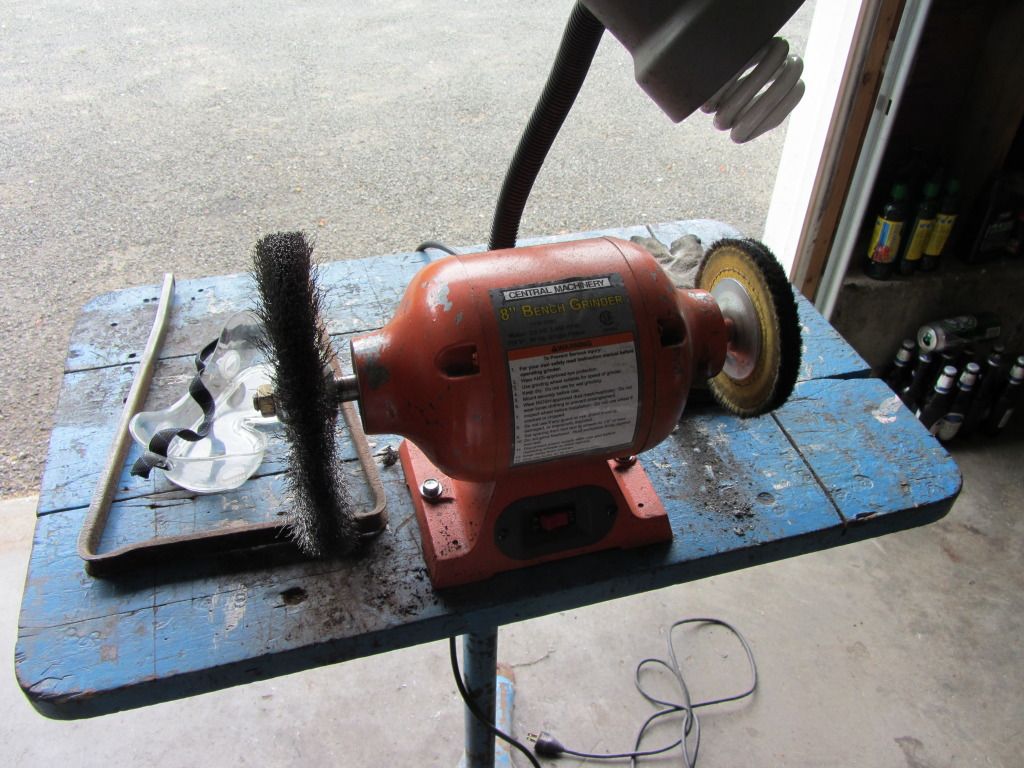
Not a lot done but I think I have at least figured out how to get the frame polished the way I want. I have a couple more grits to go but its starting to get there... Man, does this take time. Probably some tool out there that would do this in 30 seconds but all I am working with is a bench grinder and a drill. Only one of the bars is pollished so far and it's not done.
IMG_0450.jpg

IMG_0449.jpg

IMG_0448.jpg

Sorry about the pictures, I guess I had it on fish eye.
I figure this will take me to just about the end and then I will have a day or two to put it together :lol:
 
Re: Obscured Updated With A Picture

Shiny and curvy!!
Lot of tough work getting that level of shine!!!
 
Re: Obscured Updated With A Picture

Wow that's shiny!! :shock: Looks great...I think you sanded more than me, but after 21 hours I got bored...and SORE :(
 
Re: Obscured Updated With A Picture

I have actually improved the shine a little too :D
I started with chemical stripper then it went...
wire wheel
fine brass wire wheel
sand with 220
sand with 300
sand with 600
black rouge on buffer
and finaly
white rouge on buffer

In the areas that didn't have pitting or deep imperfections it's looking pretty darn close to chrome.
I'm really hoping I finish this but I have a lot left to do. All that I have really done so far is work on the polished componets and yes I was bored at the 21 hour mark too and the 10 hour mark and the 80 hour mark... but I'm pushing on.

Thanks for the idea with the quick brick, I have one on order.
So it will be a thick brick in the rear and a quick brick up front.

I'll get some more pictures of the polishing process soon, stay tuned.
 
Re: Obscured Updated With A Picture

The Freaky Bunnies are getting hungry for an update!!!!!!

bunnyteeth.jpg
 
Re: Obscured Updated With A Picture

Oh I was waiting for that, I thought you guys had left me out.

Well, here is the update... I will never build another bare metal bike again after this :lol:

Here's where I'm at, been sanding and polishing my little fingers off since the day this thing started. I have managed to do a couple little things in between while I rest all of those body parts that get sore when you are polishing for hours on end. Heres what its looking like so far...
IMG_0626.jpg

IMG_0627.jpg

I will be polishing most everything that is metal and rusty...
IMG_0631.jpg

IMG_0633.jpg

IMG_0634.jpg

I did the seat post too but I forgot to get a picture.
I'm thinking I would like to use the smaller chain ring just to make pedaling a little easier that and I like it more.
IMG_0632.jpg

I have it polished but forgot a picture of that too...
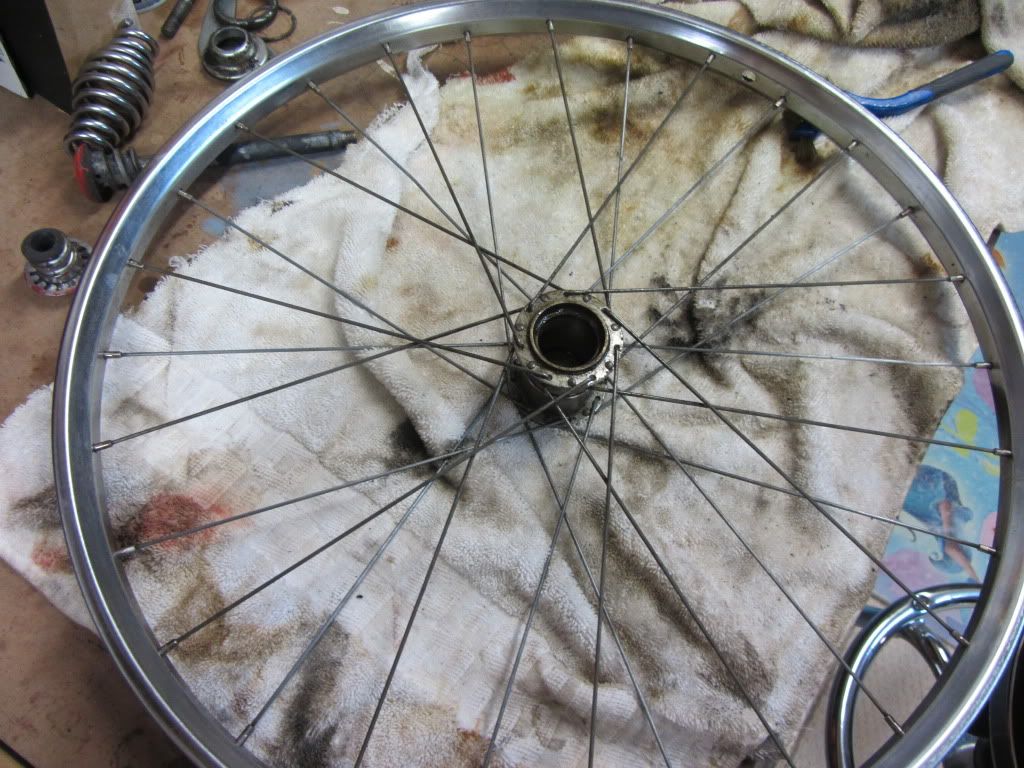
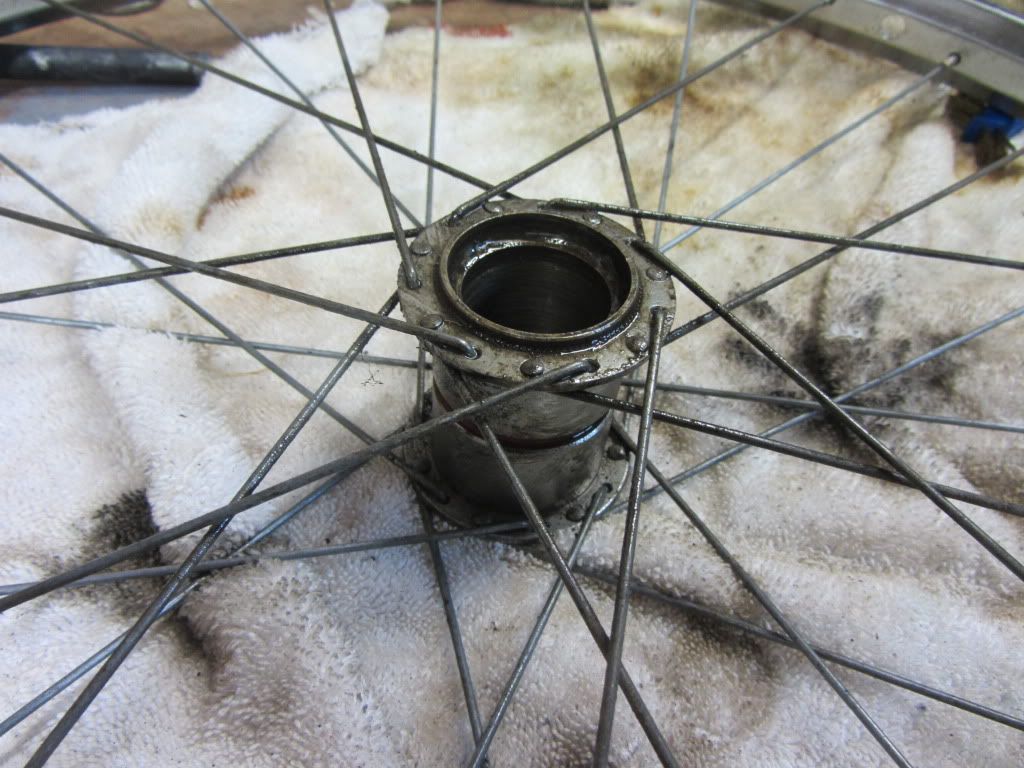
Here's the rear wheel, before and afters. Not sure what I'm going to do yet as far as skip in the front and 1/2 in the rear but I'll figure something out. I was going to do the cut off every other tooth trick but I have been advised that it might not give me the results I'm looking for. Maybe I'll make a sprocket for the rear :roll:
IMG_0622.jpg

IMG_0621.jpg

IMG_0620.jpg

IMG_0624.jpg

IMG_0623.jpg

IMG_0625.jpg

IMG_0630.jpg

this one MIGHT be the front, not looking very promising though.
IMG_0629.jpg


I also landed a few more parts but still need to find some more stuff.
I guess thats it for now.
 
Re: Obscured--The Bunnies Got Me Update 7-2

Definitely didn't forget you, just tried to give you more time to get some feeling in your fingertips so that you could type up you update. :D

That polish work is simply AMAZING!!!! :shock:

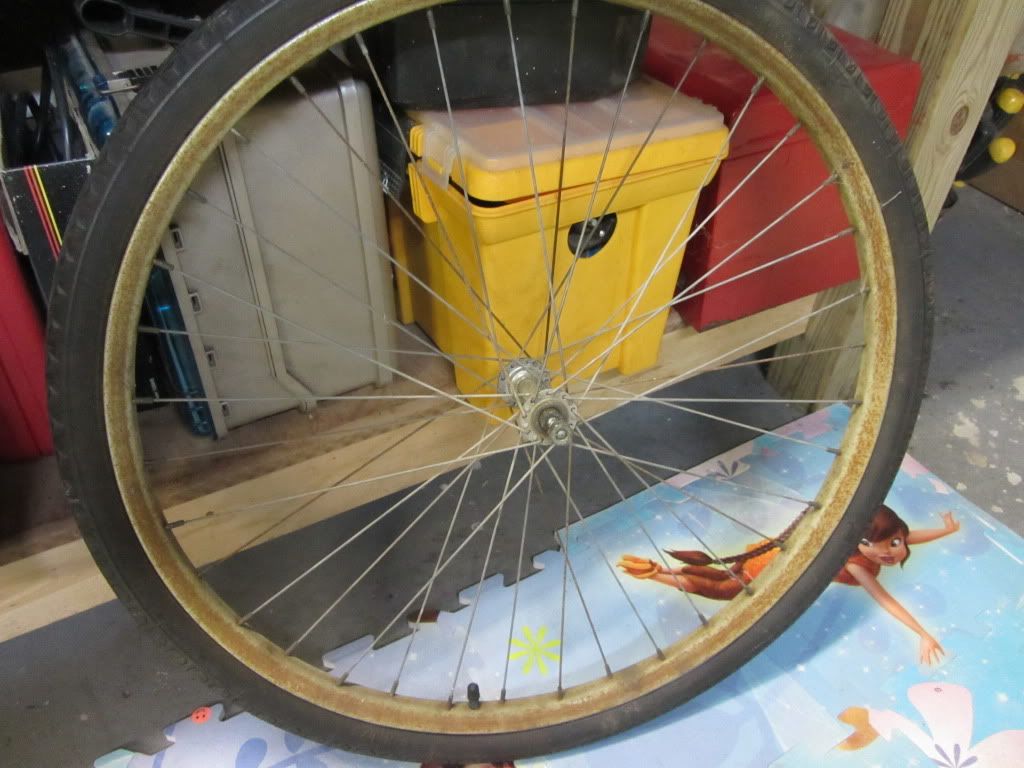
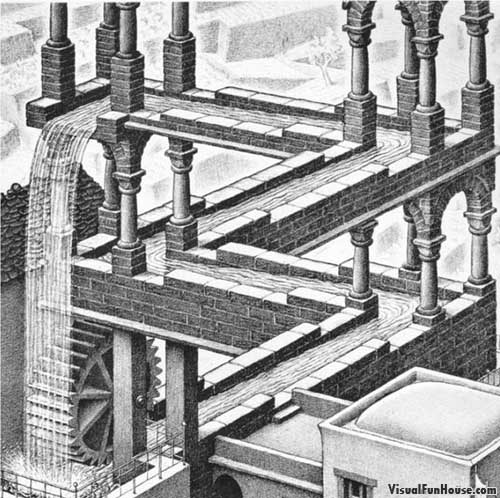
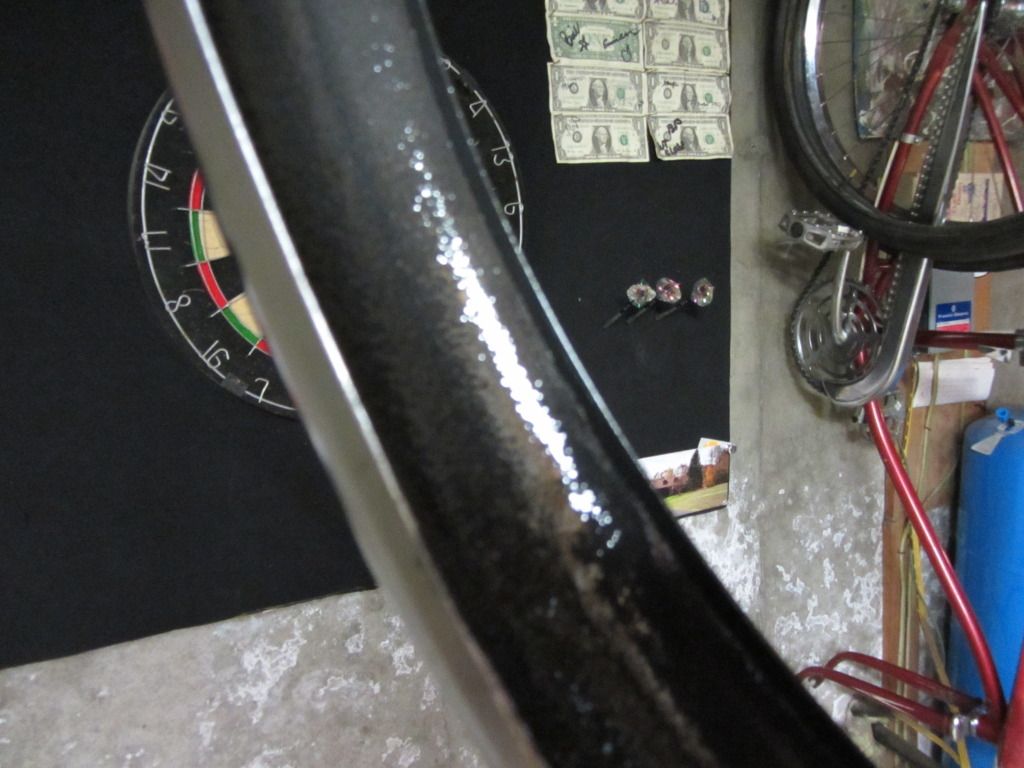
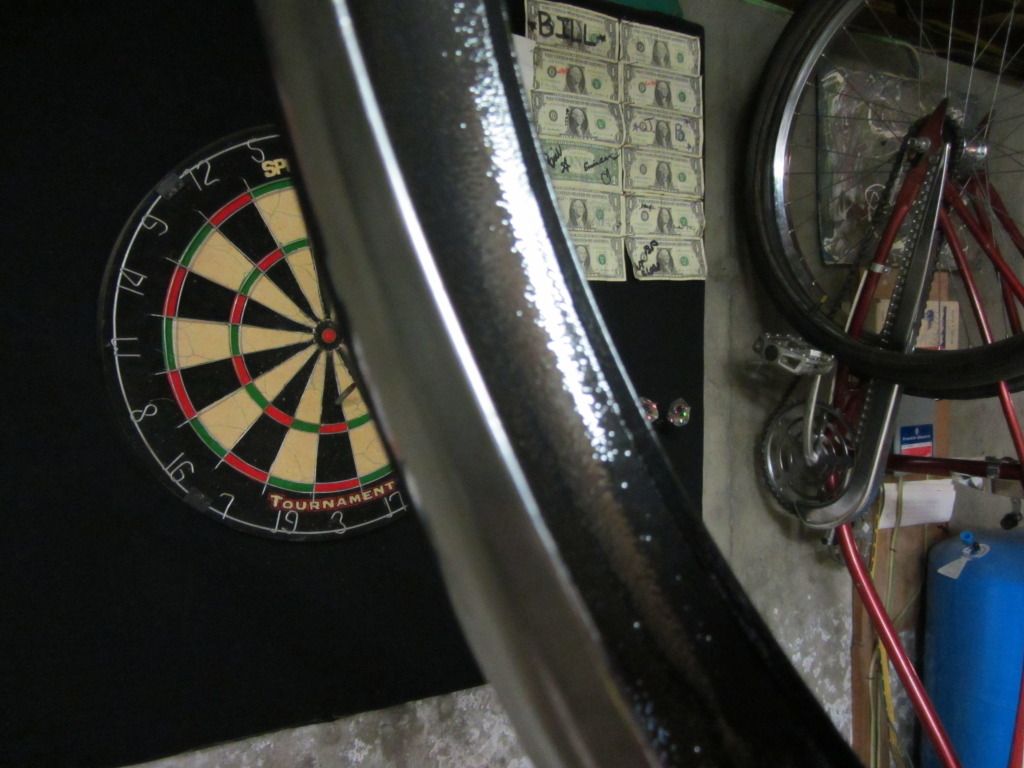
There is a weird transition optical illusion between two of your photos. As I scrolled down, I was like what the heck is wrong with his rim. It looks like you have an "S" (or even "Escher") shaped rim.

IMG_0625.jpg

IMG_0630.jpg
 
Re: Obscured--The Bunnies Got Me Update 7-2

kingfish254 said:
It looks like you have an "S" (or even "Escher") shaped rim.

I don't know what you mean :oops:
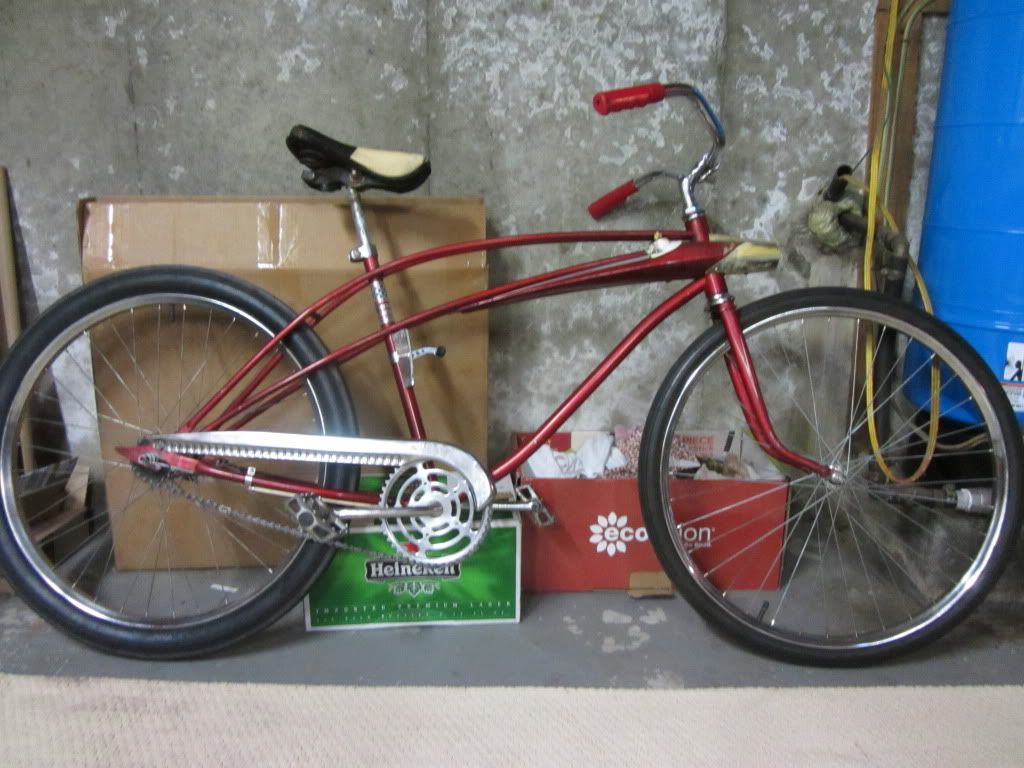
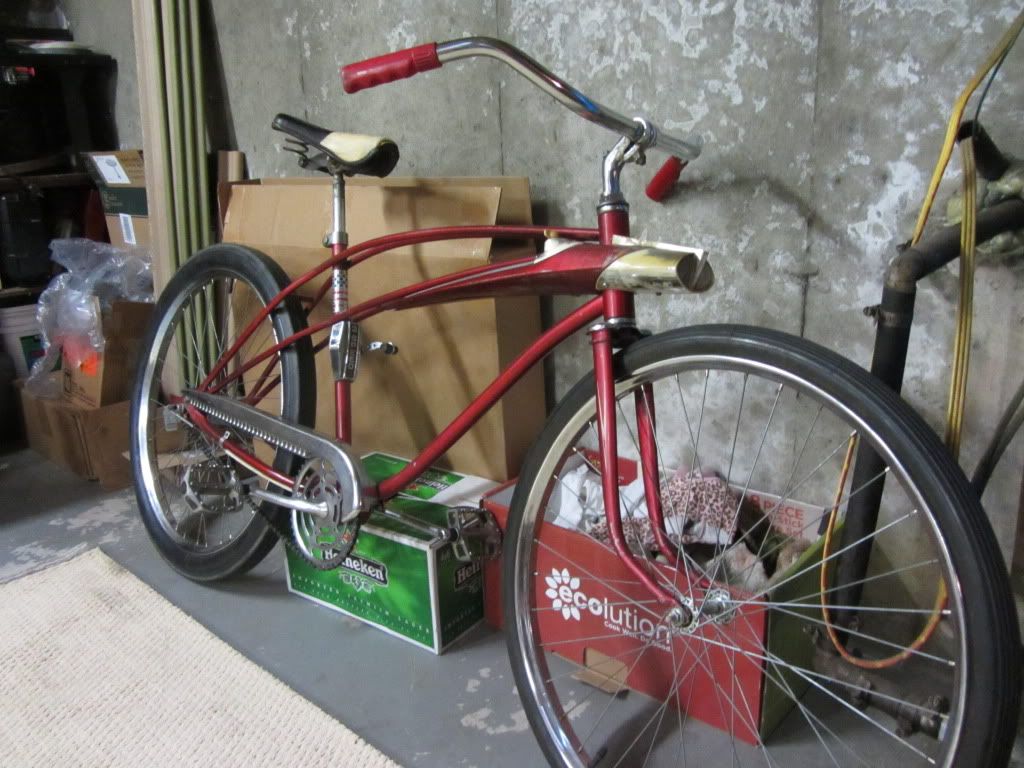
Not really sure what it came from just had it hanging in the shed with the other hundred or so. Of coarse there was no 26" match that was in good shape. I might have to steal it from the bike you see hanging in the background :|
 
Re: Obscured--The Bunnies Got Me Update 7-2

highship said:
kingfish254 said:
It looks like you have an "S" (or even "Escher") shaped rim.

I don't know what you mean :oops:
Not really sure what it came from just had it hanging in the shed with the other hundred or so. Of coarse there was no 26" match that was in good shape. I might have to steal it from the bike you see hanging in the background :|

If you look at where the two photos meet, it kinda looks like it is one photo where the rim starts curving to your right and then turns to your left like an "S". Just an optical illusion sort of like the artist MC Escher.

mc_escher_origional-waterfall.jpg
 
Re: Obscured--The Bunnies Got Me Update 7-2

Wow, awesome work Adam!! :shock:
 
Re: Obscured--The Bunnies Got Me Update 7-2

that frame looks beautiful pollished like that!! very nice work!

Easy E
 
Re: Obscured--The Bunnies Got Me Update 7-2

Thanks everyone. Heres some more...

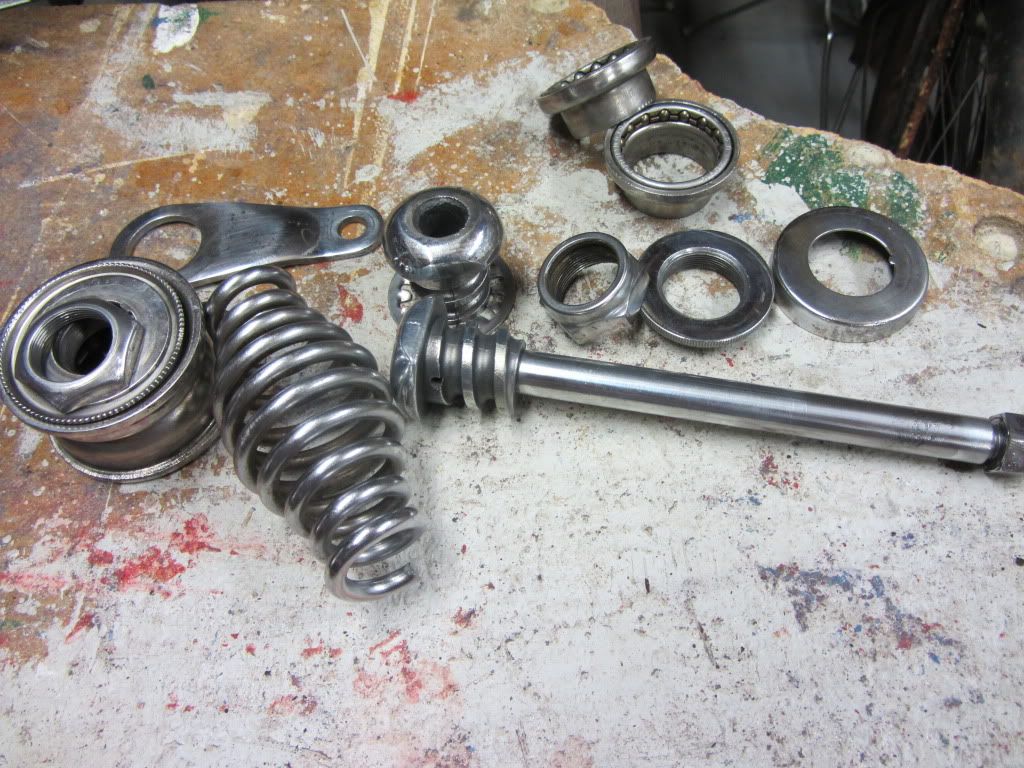
Polished up these parts :arrow:
IMG_0675.jpg

IMG_0676.jpg


Got these put together :arrow:
IMG_0679.jpg

IMG_0680.jpg

Unfortunatly I had to rob the front rim from a bike I was working on. This was the bike that I was tinkering with
while waiting for the build off to start. All I have left is a new seat and some different bars. I guess I can now
add a front rim to the list. Any one have a 26" rim that looks like these?
IMG_0677.jpg

IMG_0678.jpg


Now here is the best part, I made a great discovery.
Most of my free time is spent with my 3 year old and very rarely does she let me mess around with bikes.
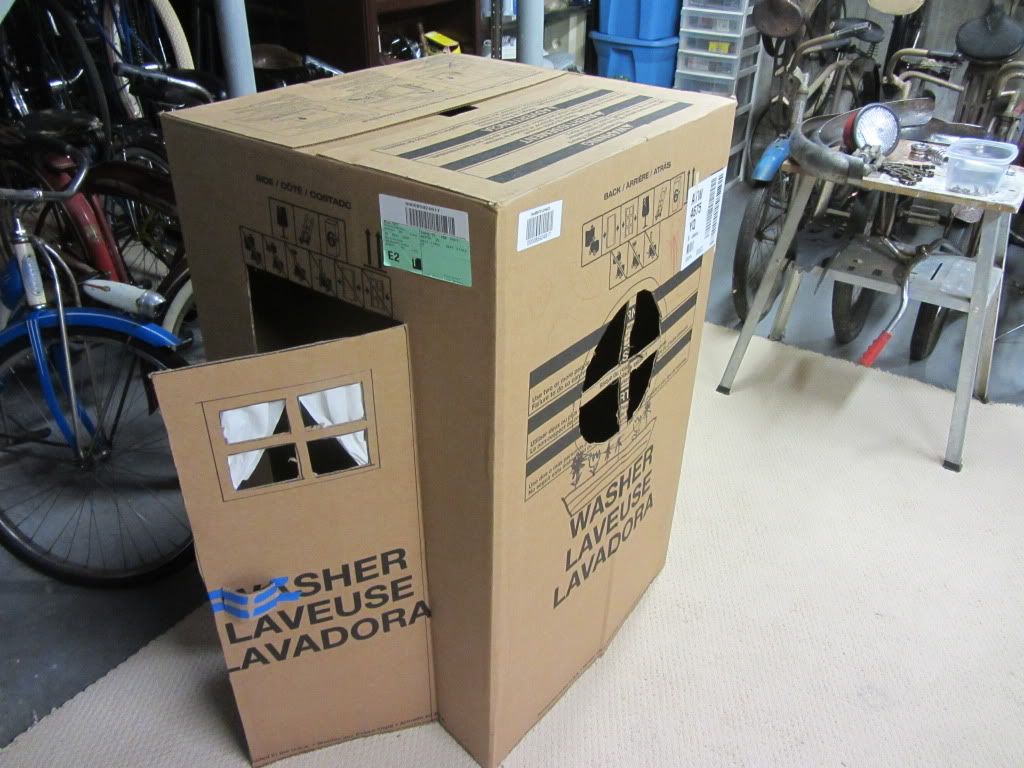
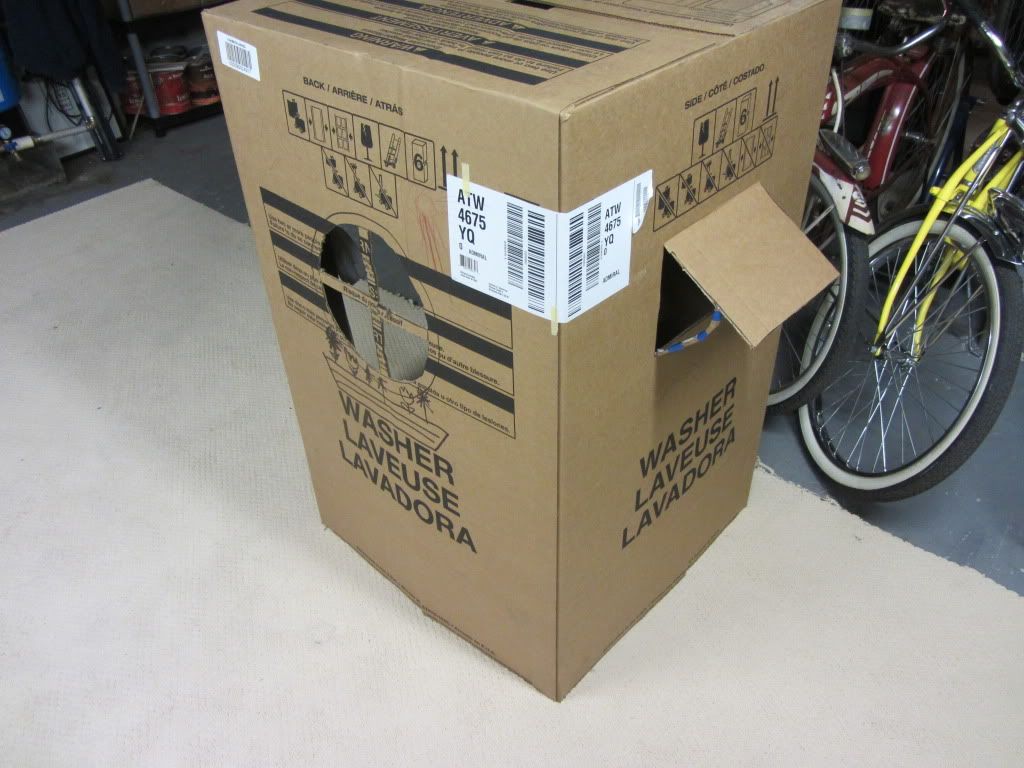
Well... I had this box kicking around so we made a little house gave her a bucket of markers and was good to go on the bikes
for three strait hours :shock:
IMG_0681.jpg

IMG_0682.jpg


Were getting close to the end :shock: I'm not sure I'll make it :shock:
 
Re: Obscured----Update 7-9----

You'll get it done man!!!!! I am anxious to see a rolling chassis!!!!

I also love the Spaceliner. I honestly never get tired of that frame. Nice shifter placement!!!!!

But the best part of this update was the cute house for you little girl!!!

Bravo!!!
 
Re: Obscured----Update 7-9----

ok its getting real close now :shock: unfortunatly I won't be able to get everything done but I think I will have it far enough for an entry.
this will be the last update before you see it in the completed section (hopefully).
big learning curve here for me with this polished frame, took me a lot longer then I ever had anticipated. To top it all of once I had it nice and polished I cleared it and it looked like a mat finish :x stripped all the clear off again which is why I won't be getting everything done that I had hoped to.

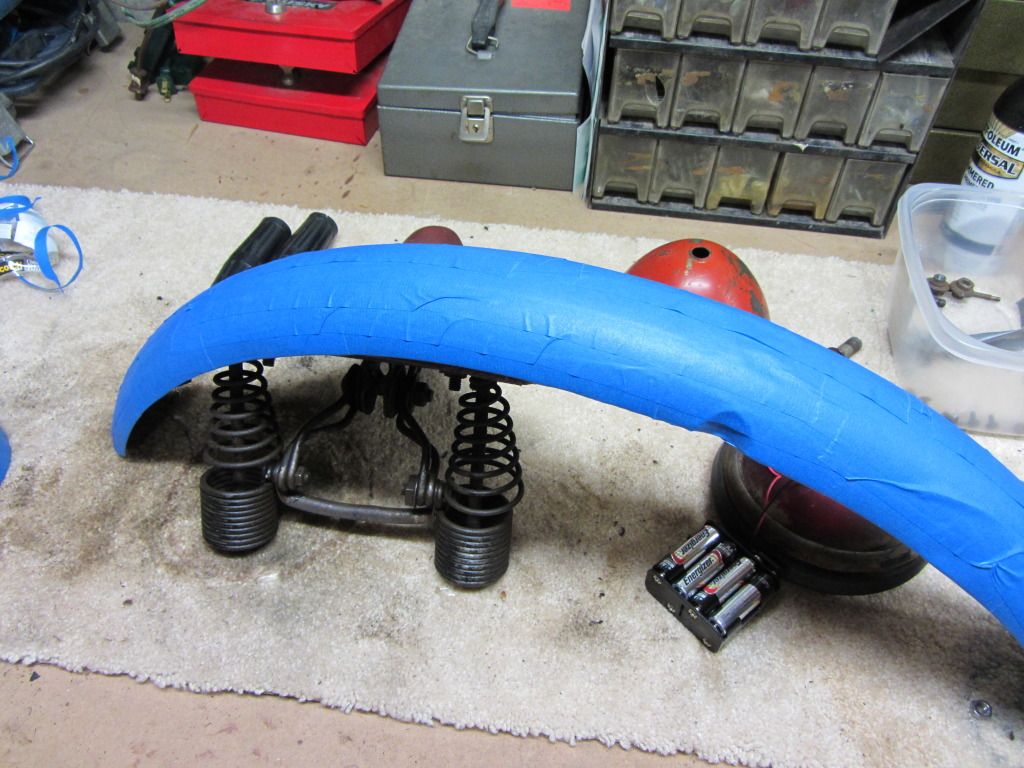
Fenders getting polished
IMG_0964.jpg


got lazy on polishing so I painted the underside of the fenders with that hammered paint
IMG_0966.jpg

IMG_0968.jpg

IMG_0967.jpg


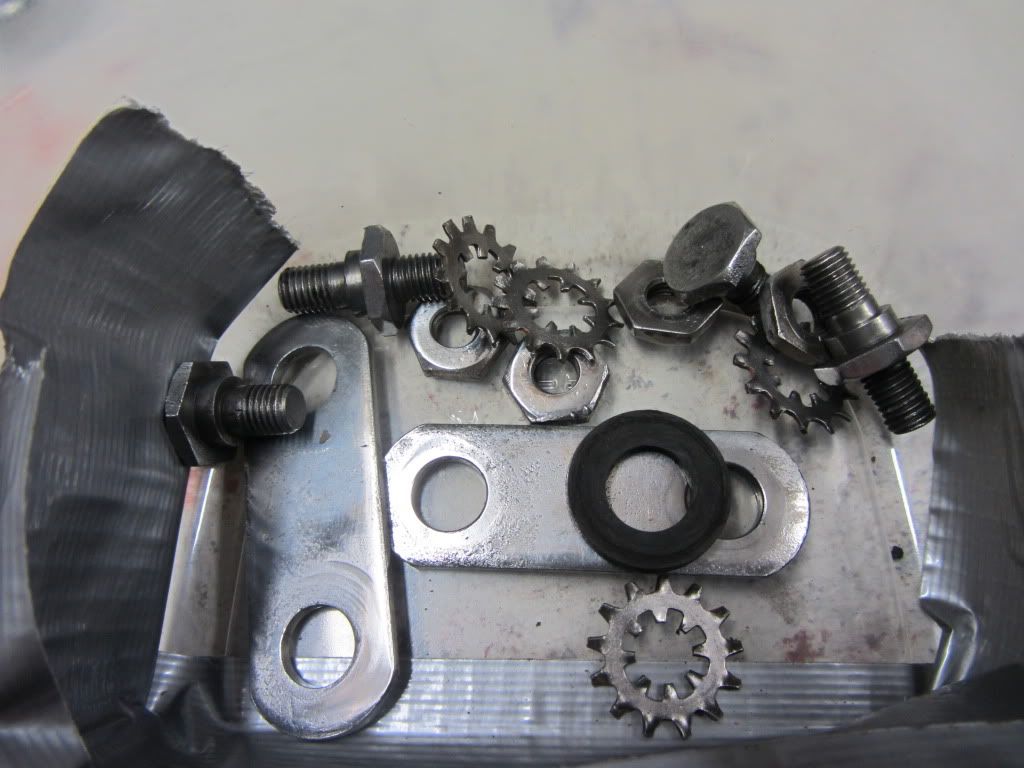
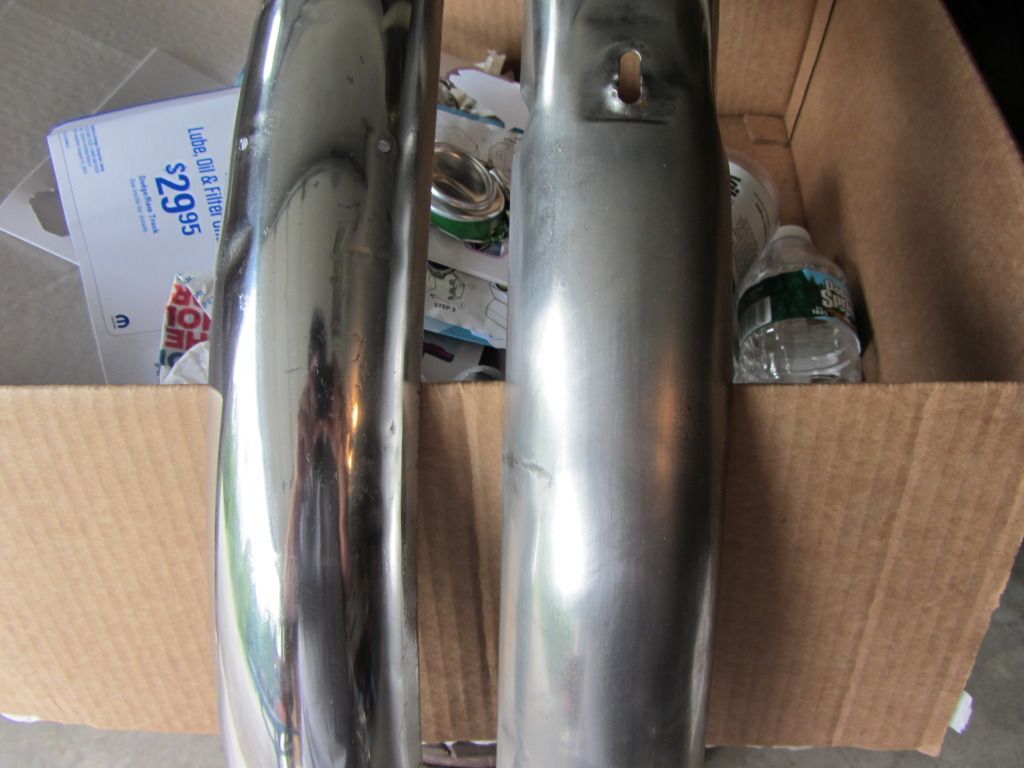
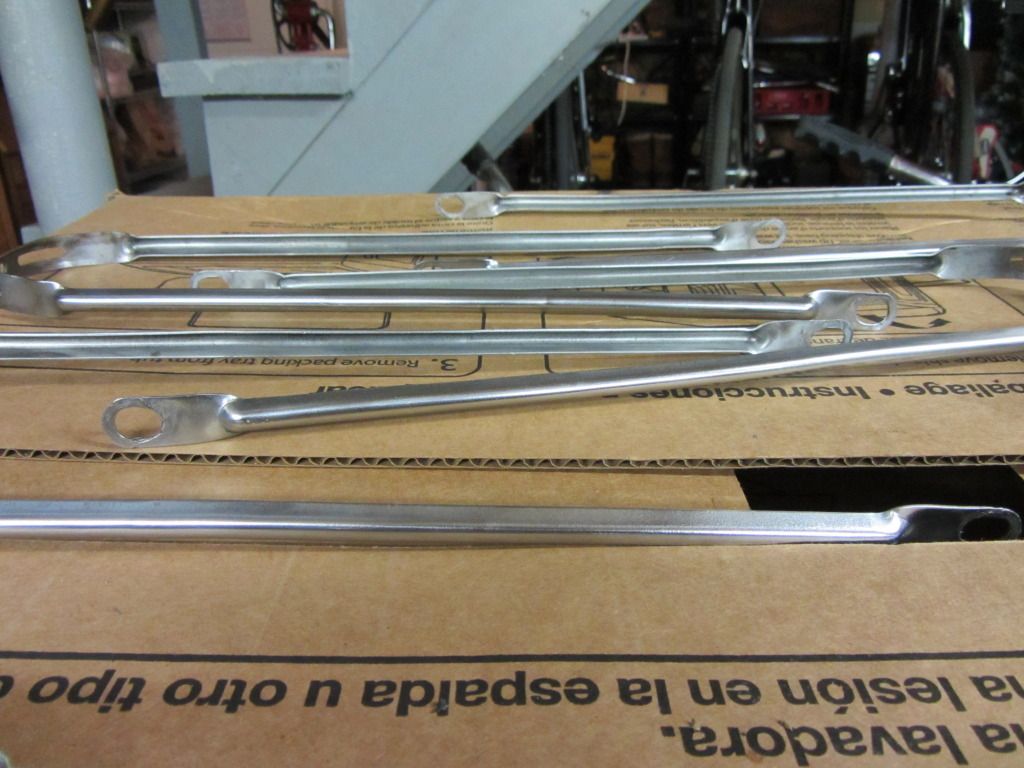
fender braces polished
IMG_0962.jpg


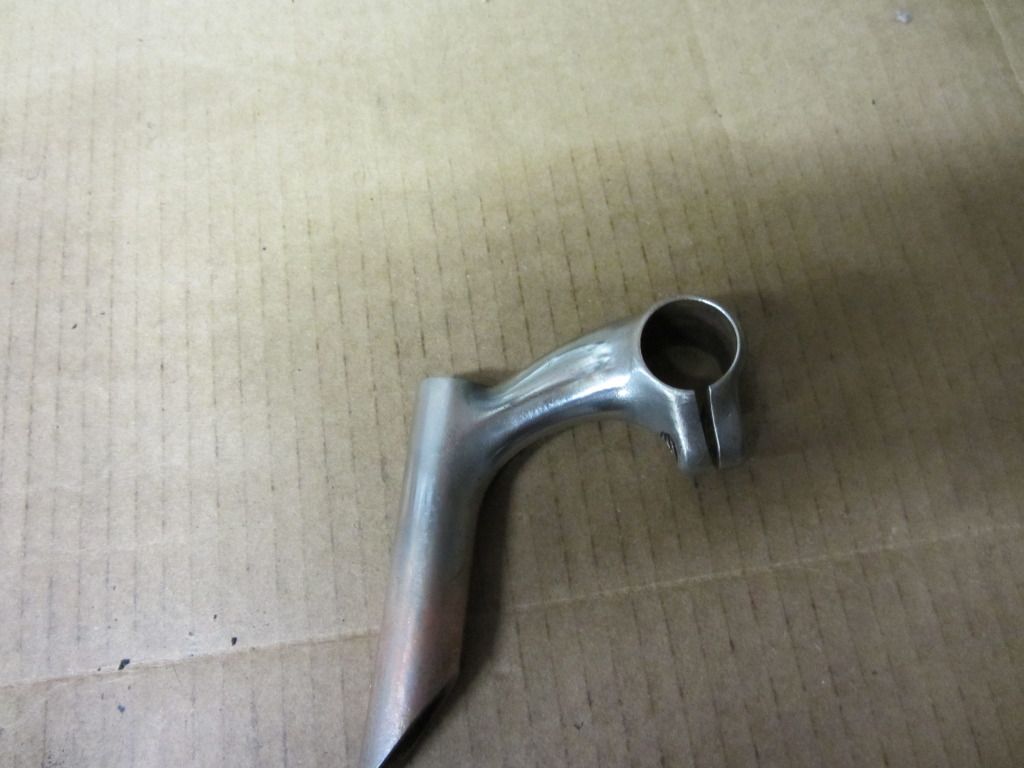
stem polished
IMG_0961.jpg


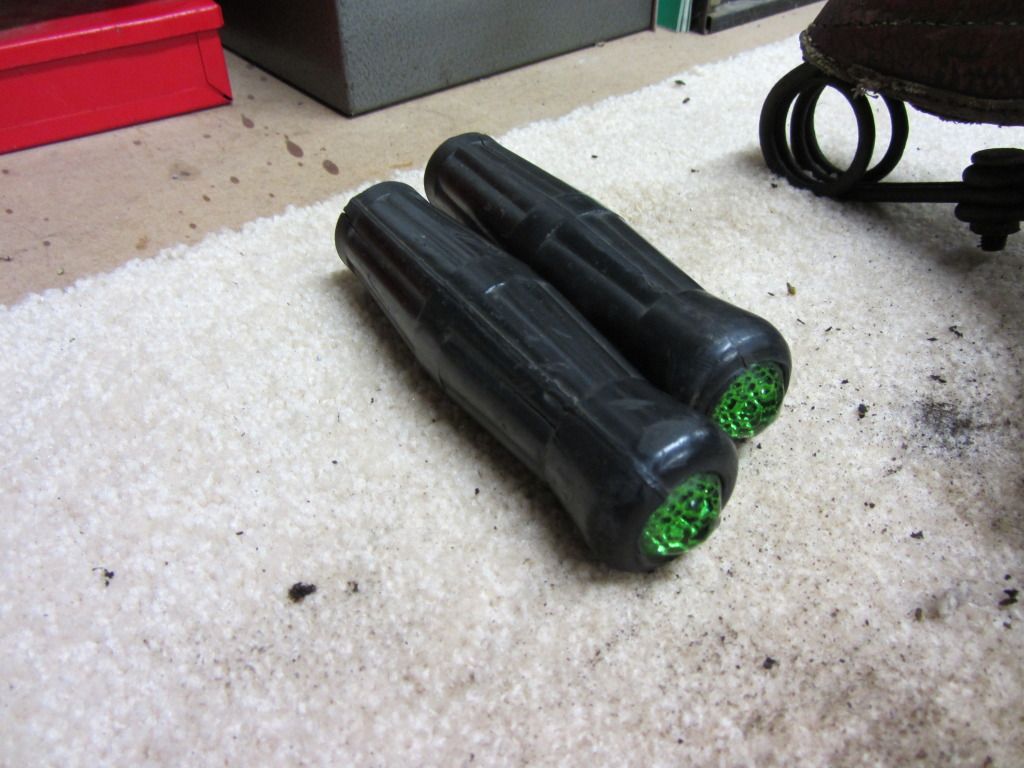
grips... maybe
IMG_0963.jpg


more polishing
IMG_0626-1.jpg

IMG_0957.jpg


all done with this... and sand paper
IMG_0965.jpg


couple of mock ups
IMG_0959.jpg

IMG_0956.jpg


Im not sure the bars are going to make the cut. Will have to go rumage through the shed for some otheres along with a few other bits.

Well off to the basement to try and get a few more things done.
 

Latest posts

Back
Top