Old homemade Pennyfarthing basket case

Rat Rod Bikes Bicycle Forum

Help Support Rat Rod Bikes Bicycle Forum:

This site may earn a commission from merchant affiliate links, including eBay, Amazon, and others.
Joined
Feb 18, 2011
Messages
123
Reaction score
75
Location
Wylie, Texas
Rating - 0%
0   0   0
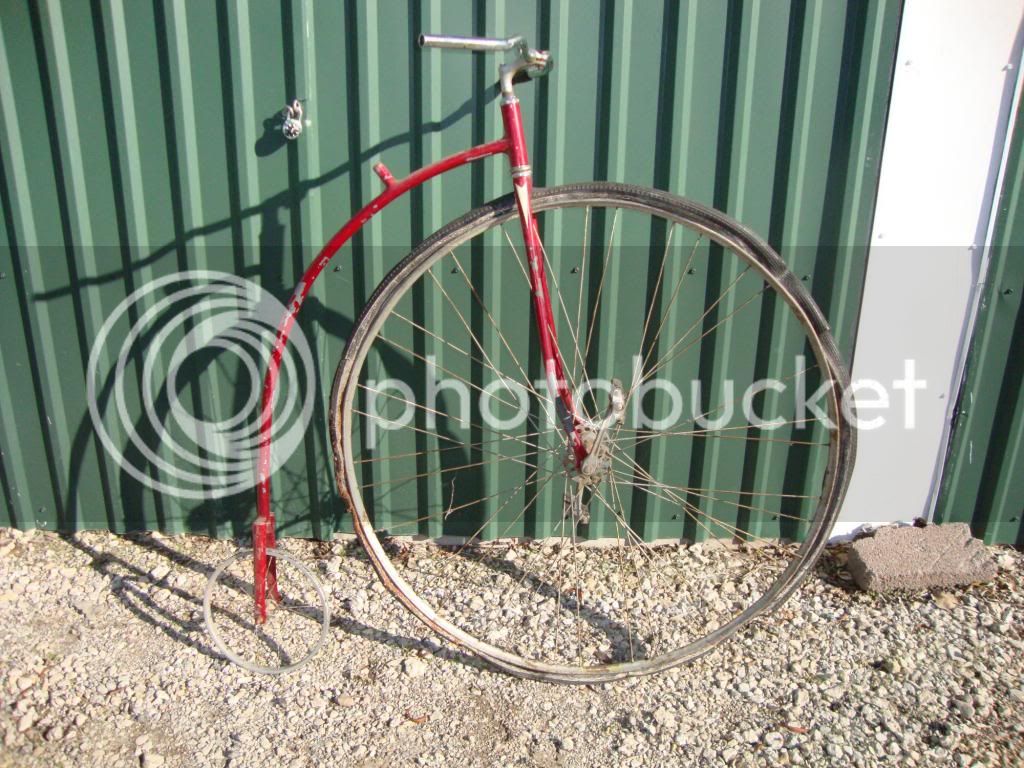
I bought this thing over 15 years ago. It is in bad shape. Looks like it was shop built back in the 40's or 50's. It had old handlebars that where nothing but rust and the hand grips where made of bakelite. The seat was also too far gone to save. I wish I had gotten some photos of it when I first got it. I started on it back when I first got it then lost interest. the frame is made from galvanized pipe all brazed together at every joint same with the forks. Someone put a lot of time into this when it was first built.
DSC04139-Copy_zpsd178ef78.jpg

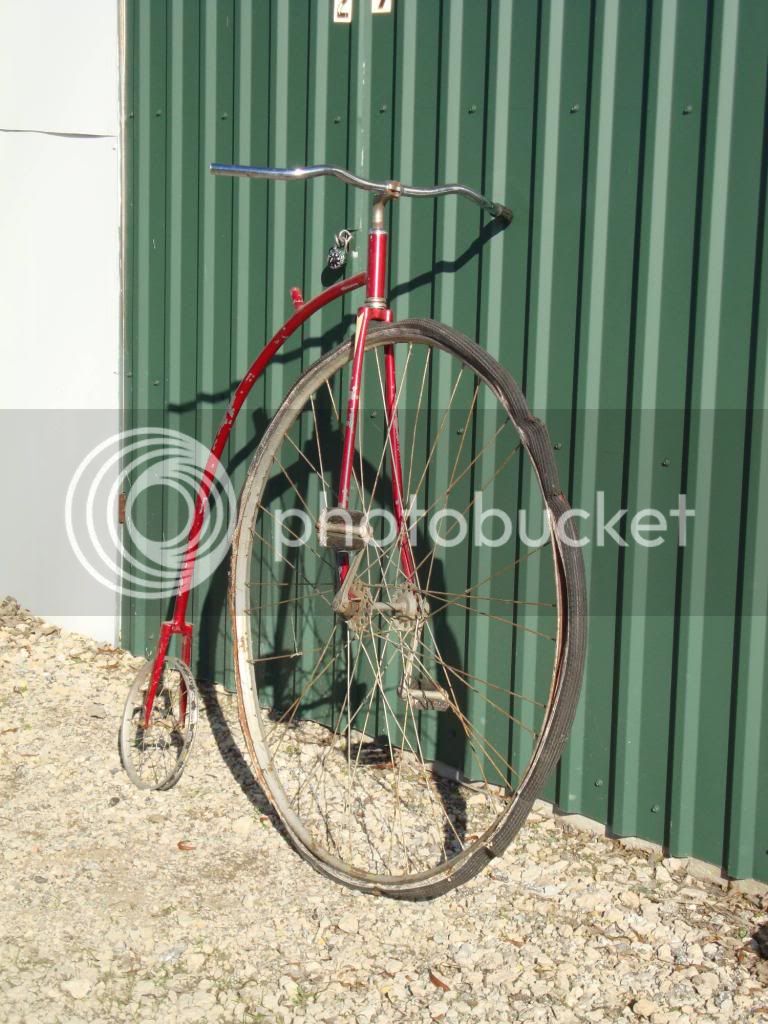
I found these handlebars (Dallas handlebars is what the old guys called them). I think them look appropriate.
DSC04140-Copy_zps4961360e.jpg

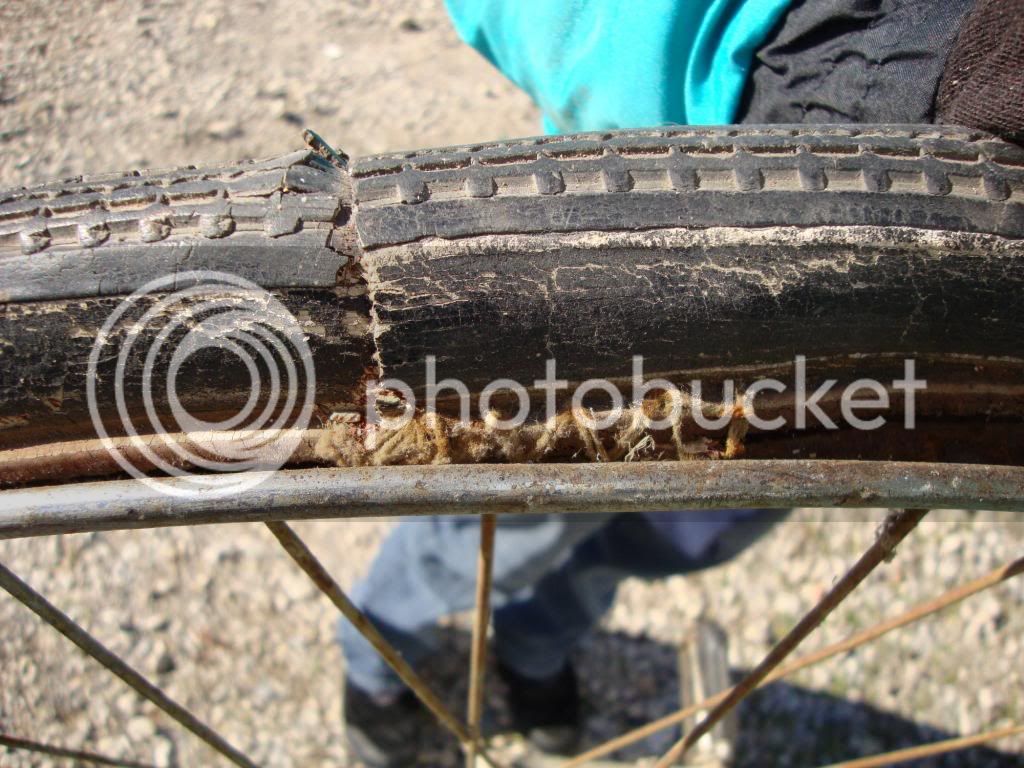
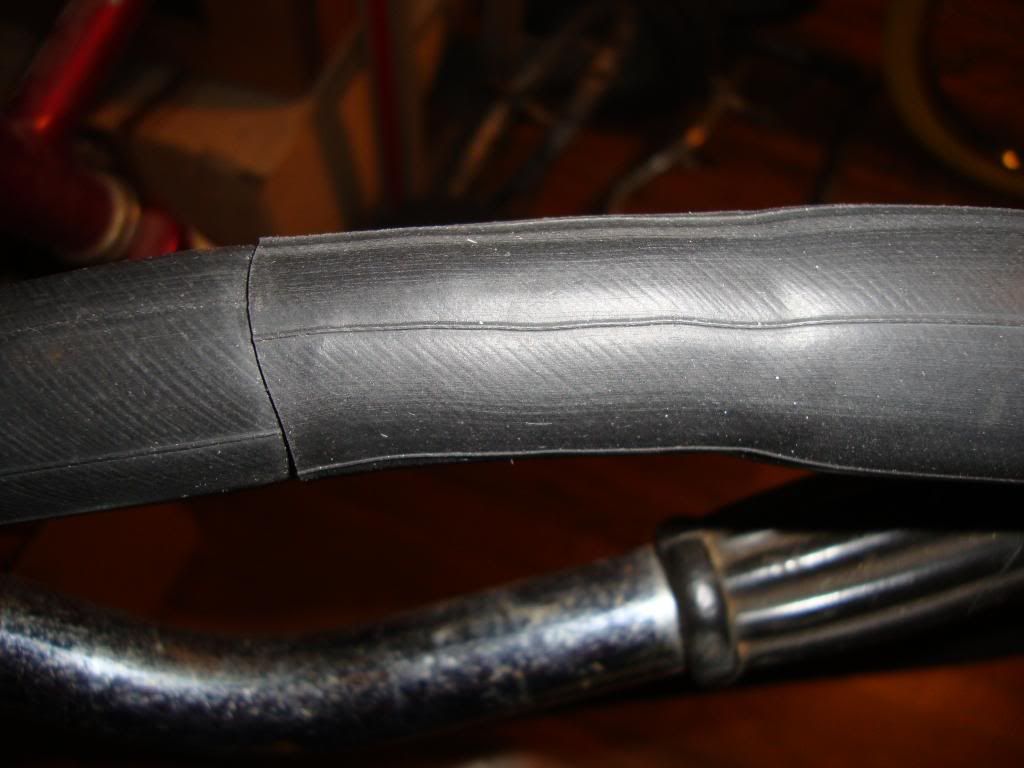
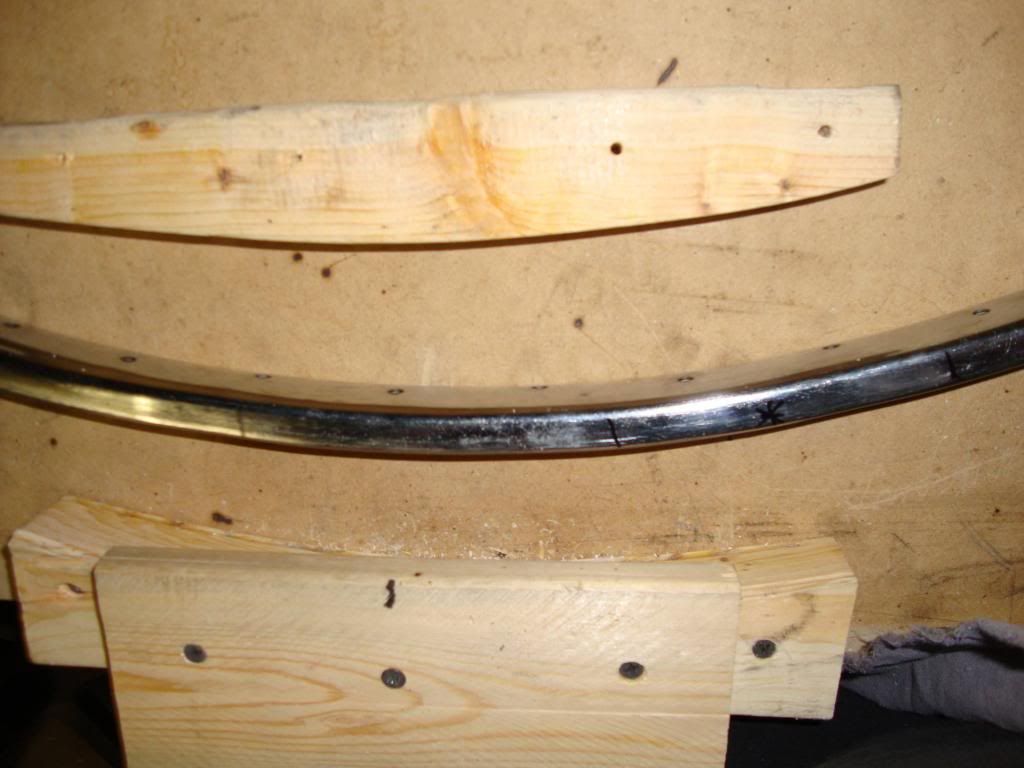
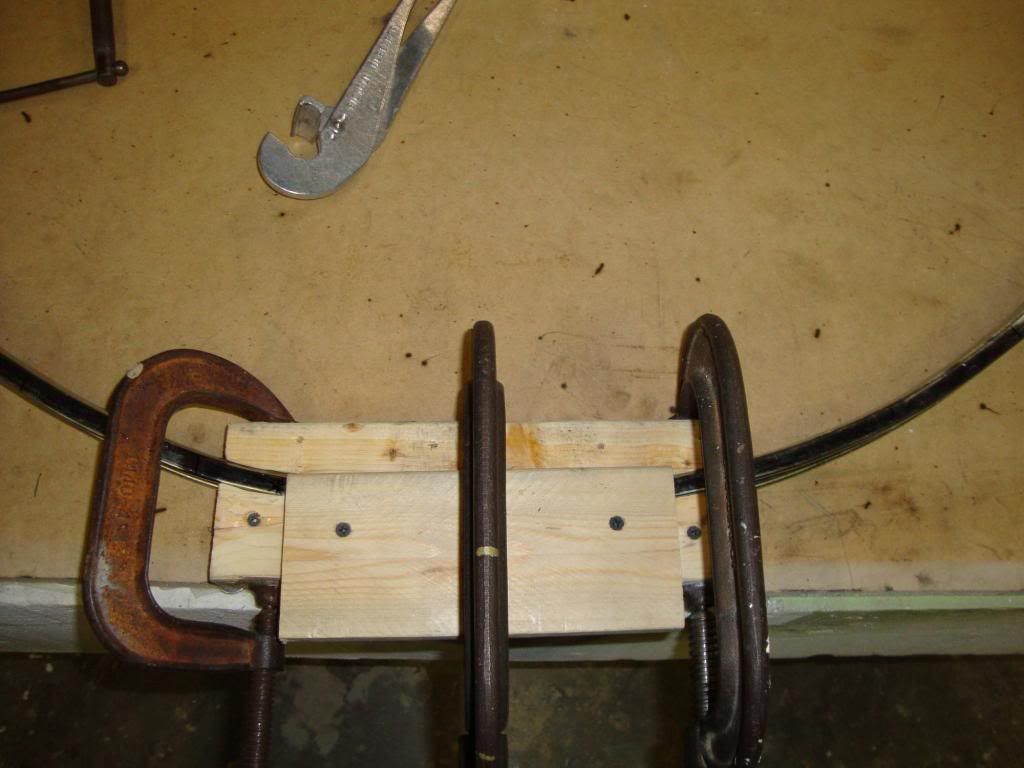
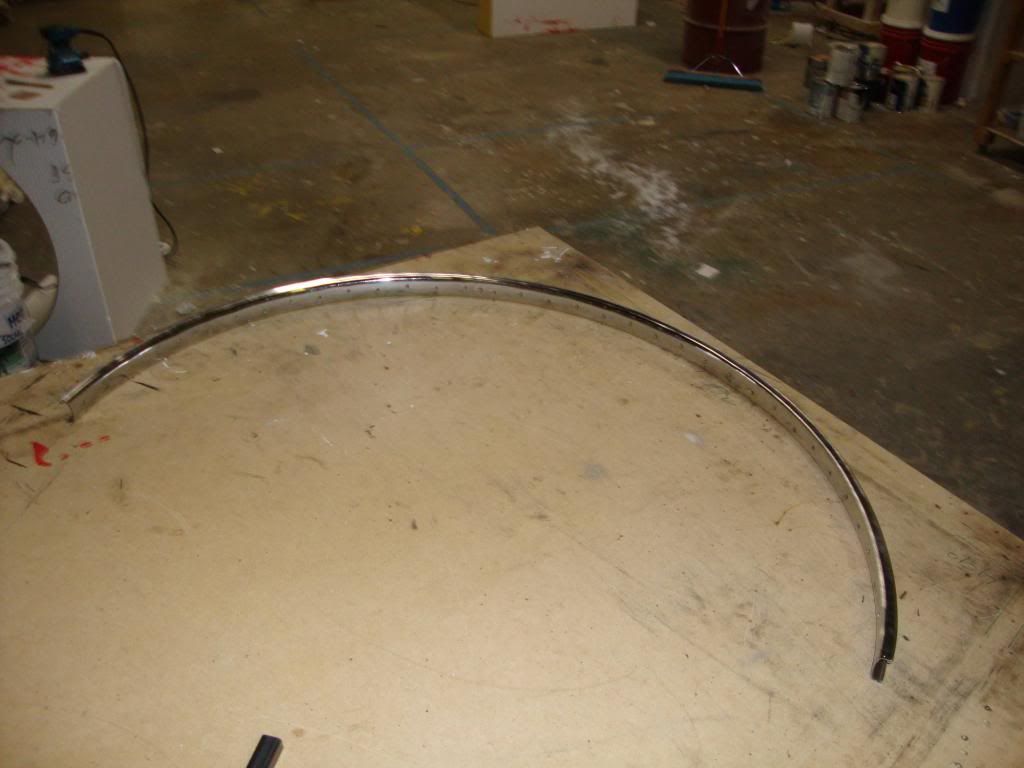
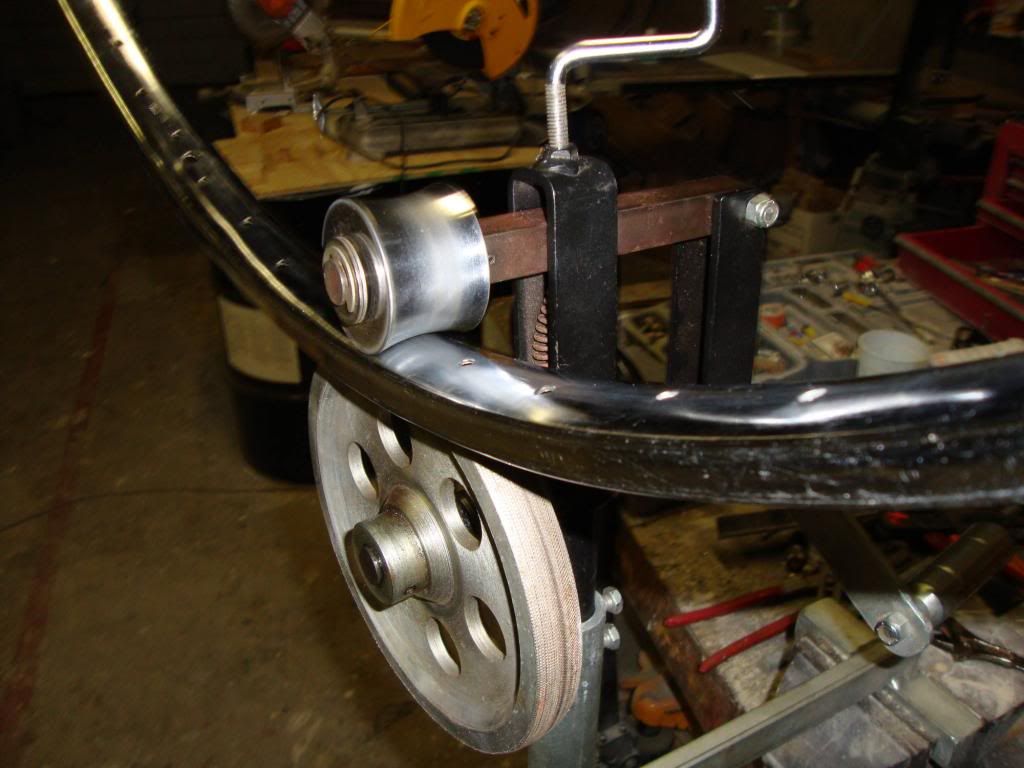
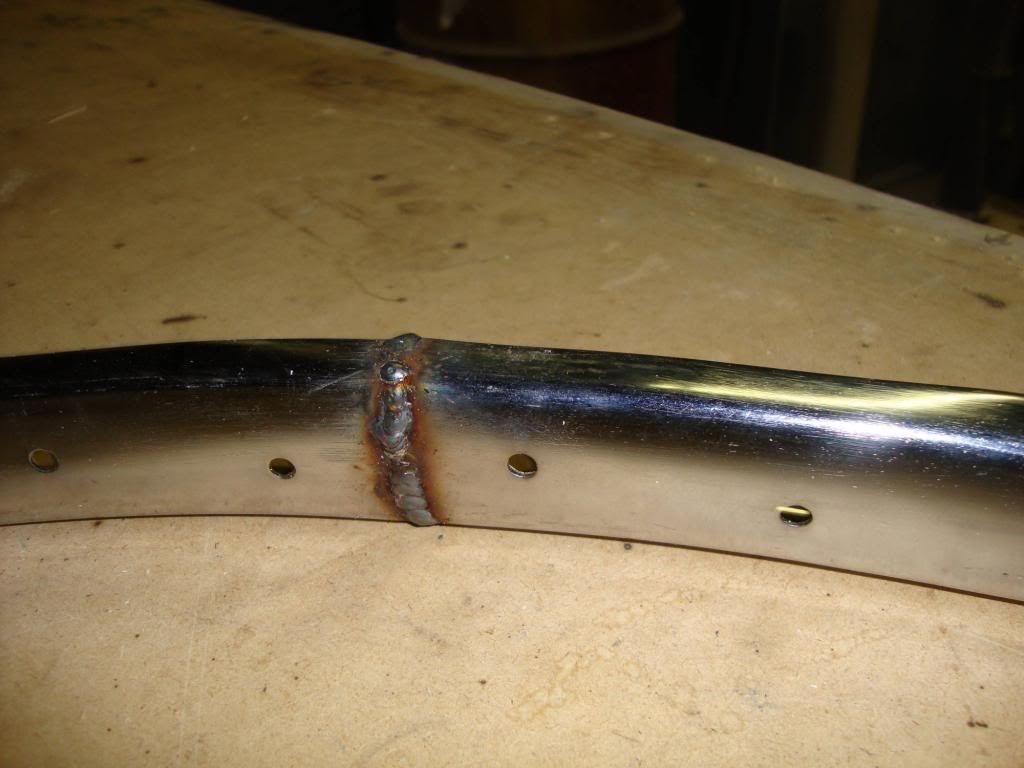
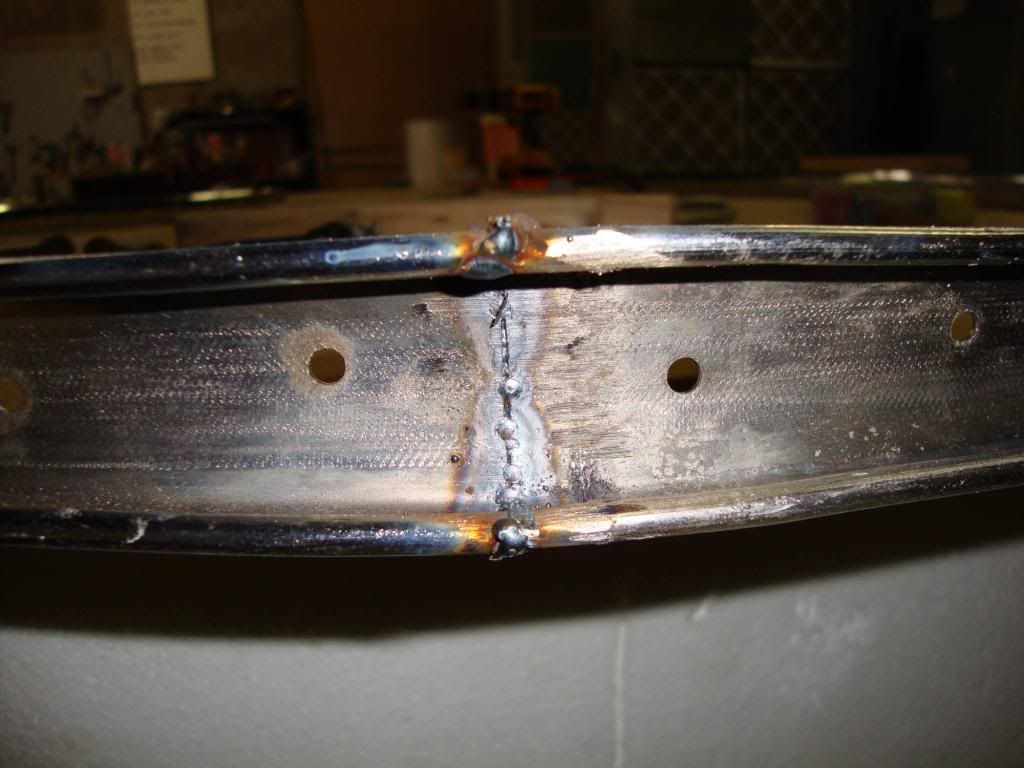
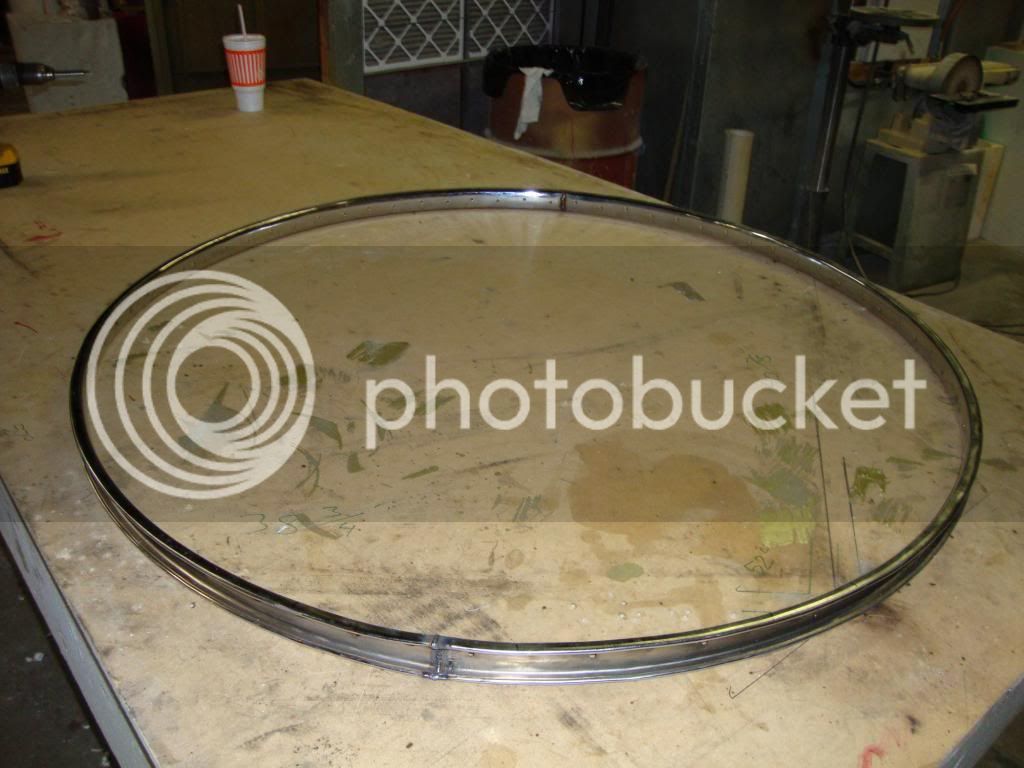
The front rim is made from two rims welded together.
DSC04148-Copy_zps6284cff5.jpg

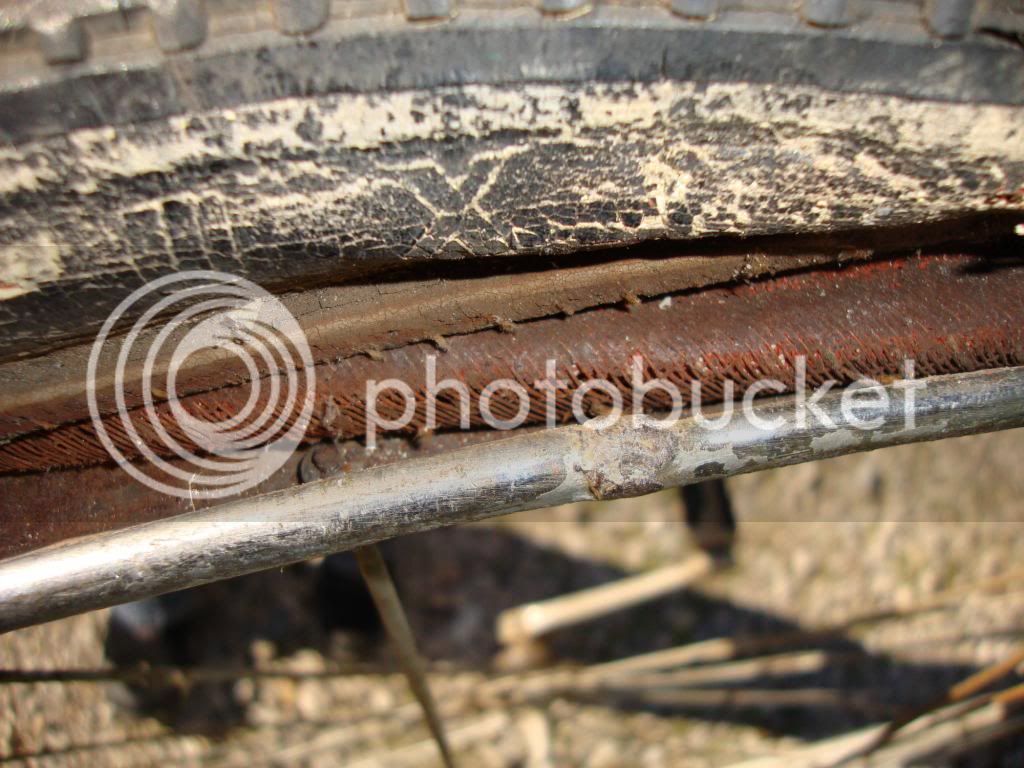
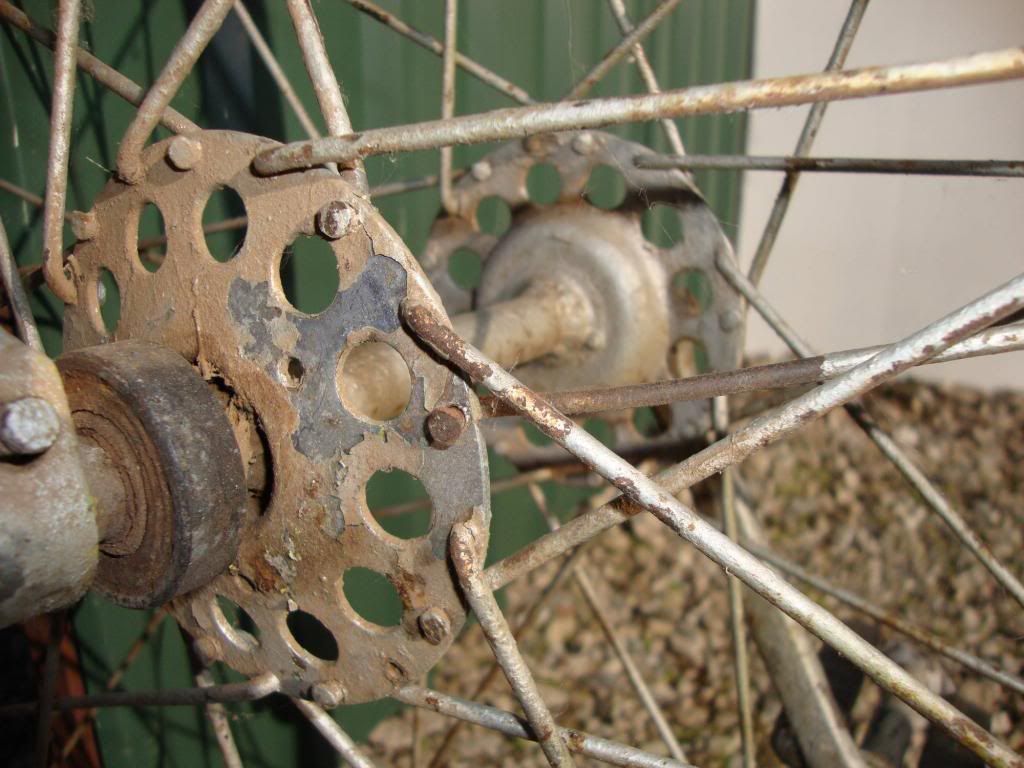
The hub I can't identify but appears to be modified to work.

DSC04146-Copy_zps92cc581c.jpg
 
gcrank1.. I think your right. That's why I never went very far with the first time I started on it. I thought maybe I would attempt to copy what they did but with a more modern approach.
 
One was to make it a little more rideable would be to glue some solid rubber tires on it. Like the rear tires on a wheelchair. They wouldn't have the right look, but it would probably work...
 
One was to make it a little more rideable would be to glue some solid rubber tires on it. Like the rear tires on a wheelchair. They wouldn't have the right look, but it would probably work...
I have seen a video on how to put rubber on the rim for a tire and I may just do that. I order some parts yesterday so I can get started on a new front rim. My plan is to replicate most of the bike but modernize it. The original bicycle will be saved has a static display like gcrank1 suggested.
 
At a shop I used to work at we had a unicycle with a 6' wheel. It had 2 wheelchair tires glued to the rim. It worked well my boss would do 50 mile rides on it regularly.
 
Tonight I have managed to make some progress on this build although not a huge amount progress but a step in the right direction. In this build I plan on making my own 48" wheel and a sewn together pneumatic tire. What you see in the picture is my first attempt at cold vulcanizing an inner tube back together after I cut it in half with a pair of scissors.
DSC04185_zps779b041f.jpg

It has held air for four plus hours now. I even held it under water and could not get it to leak. Hopefully this means I can vulcanize multiple tubes together to form one large 48" diameter tube.
 
Last edited:
I'm not knowledgeable on vulcanizing, but I can say that there is a huge difference between a tube holding air, and a tube holding air while inside a tire/rim with about 35-40 pounds in it. However, a tube that size would be difficult to test until the rim and tire are in place as well.
 
I'm not knowledgeable on vulcanizing, but I can say that there is a huge difference between a tube holding air, and a tube holding air while inside a tire/rim with about 35-40 pounds in it. However, a tube that size would be difficult to test until the rim and tire are in place as well.
The tube I cut was for a 27" tire after I cut it, it was to small to put back in that tire how ever I am testing it. We will know tomorrow my test tube no pun intended is in a 26" tire with 35 lb of air. I will test ride in the morning if it still has air in it.
 
Last edited:
Another thought: I've seen extruded closed-cell foam "noodles" sold as no flat tire liners. They're a bit pricey, IMHO, when purchased as a specialty bike item, but you could fashion the same thing out of a cheap pool noodle from the dollar store. For this application, it might offer the best compromise between solid and pneumatic.

http://www.instructables.com/id/Quick-tip-4-Installing-No-Mor-Flats-on-your-Bic/
 
Well my cold vulcanizing attempt failed the tire was flat this morning before I could test it. I don't have access to the old school vulcanizing tools used by the gas stations long ago. The solid rubber tire or the closed-cell inserts are sounding better and better. My rims won't be in for about two weeks. I ordered two 26" rims to make the 48" rim.
 
The 26 inch rims I ordered came in. This weekend I will start making the 48 inch rim using the two 26 inch rims. This is the fun part all the fabrication. I like to repurpose old and new bicycle parts making them into something I need for what ever I,m building.
 
Well I got started on my 48" rim. The first thing was to measure the diameter of the two rims I'm starting with (approximately 22 and 1/2 inches). I plan to cut both rims just opposite of the valve stem hole close to the factory weld if not on it. The diameter of the rims is important because I need to determine the radius of my new wheel. Allowing for the material lost from making one cut to each rim and doing a little math the final radius will be approximately 22 and 7/16 inch. I will be making two jigs or forms used to achieve the desired radius of the new rim.
Radiusforms4_zps90fa487b.jpg

Each form has two halves the inner half has about 1/2" smaller radius than the outer half. The outer half of the form you see here has only a 21 inch radius. The rims need to be formed in steps or they can wrinkle along the edges. The second form (not pictured) has a radius that is about two inches larger than the final radius you need. The rims tend to spring back a little after being released from the forms.
clamped6_zpsf0defb7b.jpg

I used three c-clamps to clamp the two halves together. These forms are made from scrap wood I had in the shop. The board on top of the outer half is to help prevent the rim from wrinkling. Each rim is clamped in the forms moving only two inches at a time. It is very tedious work but it must be done little by little to get good results.
Rimhalf5_zps62cea716.jpg

This one rim after the forming is done.
Fenderroller3_zps7171ac45.jpg

I didn't like how the spoke holes looked after the rims were formed so I ran them through my fender roller to smooth them out.
weld1_zps05c56a1b.jpg

I'm Mig welding these and they are so thin of a gauge it wasn't easy.
weld2_zps5f41a6d5.jpg

This is the back side. After looking at the weld it had pretty good penetration but I went ahead and welded over this side too.
Rim7_zpsaeccc8aa.jpg

I still have to clean up the welds but it turned out fairly round. Now I can get started on the hub.
 
Last edited:
Back
Top