BO15 Sharp21 and the Snoozer Cruiser

Rat Rod Bikes Bicycle Forum

Help Support Rat Rod Bikes Bicycle Forum:

This site may earn a commission from merchant affiliate links, including eBay, Amazon, and others.
Joined
May 5, 2020
Messages
31
Reaction score
66
Location
Texas
Rating - 0%
0   0   0
Hey gang! Occasional lurker, first time builder. Found my way here a while back when I realized that Bike Rod n Kustom wasn’t being updated anymore.

I’ve done a few bikes in my day but nothing major. Picked up this bike a week ago then discovered the build off had just started so figured I would take part! It won’t be a fancy build, but I’m hoping to come out of this with something cool.
c36f0eabbf0384f0c18e21016e5e4b7f.jpg


On the stand
30789a6a83ece5811888f51a6834724c.jpg


And got it mostly stripped down tonight. Happy with the progress so far.
38f508e72a8b1dcc5a8d57695c58421f.jpg


Not sure what direction this is going to go yet, but looking forward to the ride!


Sent from my iPad using Tapatalk
 
Welcome to the best custom vintage rat rod bike site on the internet!
There is no better way to fully get in the mix with the community here than to be a part of the annual RRB Summer Build Off. Ideas, suggestions, questions, and solutions abound here!

RaT oN~!
 
Thanks for the FB link! When I was still working at sea I would spend hours on BR&K. I had saved an article with instructions for building a springer fork but have never been able to find it again. Attempted to build it once but was too young/dumb/lack of funds... Maybe I'll attempt one again for this build...?
 
That’s a pretty bike to start with. That All black wheelset looks cool!
 
Have fun and build something cool!
 
Frame and forks are prepped for paint! I also got the fender bobbed and most of the shiny bits cleaned up.

As the wheels are all black I’m thinking to do the frame in black, then the forks and fender in in a different matching color. Maybe orange, or royal blue. A bit of white striping. Thoughts?

4a3164af604180c5628ad136a9d40f7f.jpg


Sent from my iPhone using Tapatalk
 
But more progress today before heading back to work.

Stripped down the seat to get ready for paint and recovering. I’ve had a piece of interior grade leather for a long time now so am going to use it on this project.
41858a10b87564d1482d661afef4ad42.jpg


Cover off
c2d9eb4c233367a3529900adc6684f9e.jpg


Pieces ready for cleanup
fead8933894104e714ddee96eac804de.jpg


Making a template
29806cc3c54004d945009a4992a263a5.jpg


And leather cut out
ee3c6e621688f22df69a3854c6c0ddbc.jpg


Time for a few days back in the real world. I’ve got a small shopping list that I’ll pick up on the way home, then moving into paint!


Sent from my iPhone using Tapatalk
 
I like your process on the seat recover / hardware paint! Looking forward to the result. I guess you could say......
waiting for wknd.jpg
 
I was going to just flip it over and spray it, then figured I’d better do a proper job of it. If the recover goes well I’m gonna start saving seat pans and do some more. We have a Cricut at the house that will do leather embossing so will try some designs next!


Sent from my iPhone using Tapatalk
 
Lots of progress today! First I set up my paint booth
3c5f3c3916274e43c81916bfd5f42b13.jpg


Hit everything with primer. The frame got a dark grey and the forks and fender got cherry red.
4108766b120a91a7cfb5bd5ed2b00636.jpg


Finished up with some clear
e19dbc11a28ace4cb4853787d6637f90.jpg

1c373c9cb8755ea55eec603620856fe3.jpg

fdddd2d8bc244dd3e68bf455ee96ce68.jpg


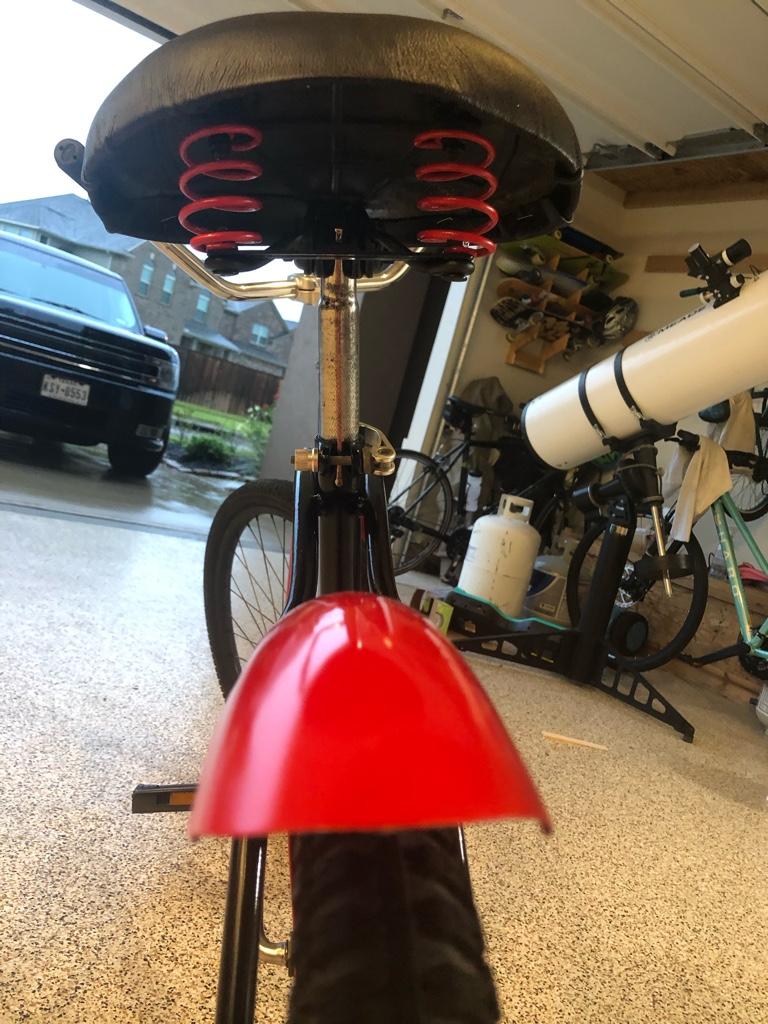
Next, the seat hardware was shot with my secret weapon; epoxy appliance paint. I did the springs in red though
c41c9bd314894d2be221854a5edfe8a4.jpg


Everything finished and back inside
38cac6e6b7990393732dbb22b48d8cfc.jpg


I’m working on the chain guard now, which should be done tomorrow. Oxfo, steel wool, repeat. Once that’s done I’ll let it all cure for a few days while I finish the seat. Then it’ll be time to assemble.


Sent from my iPhone using Tapatalk
 
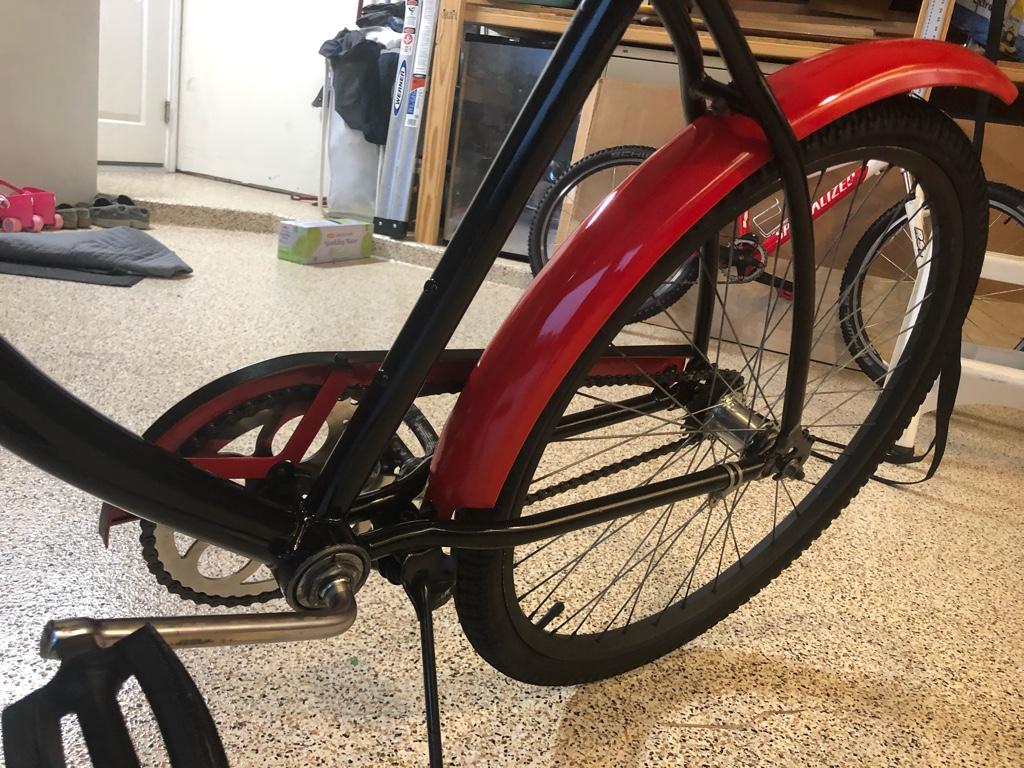
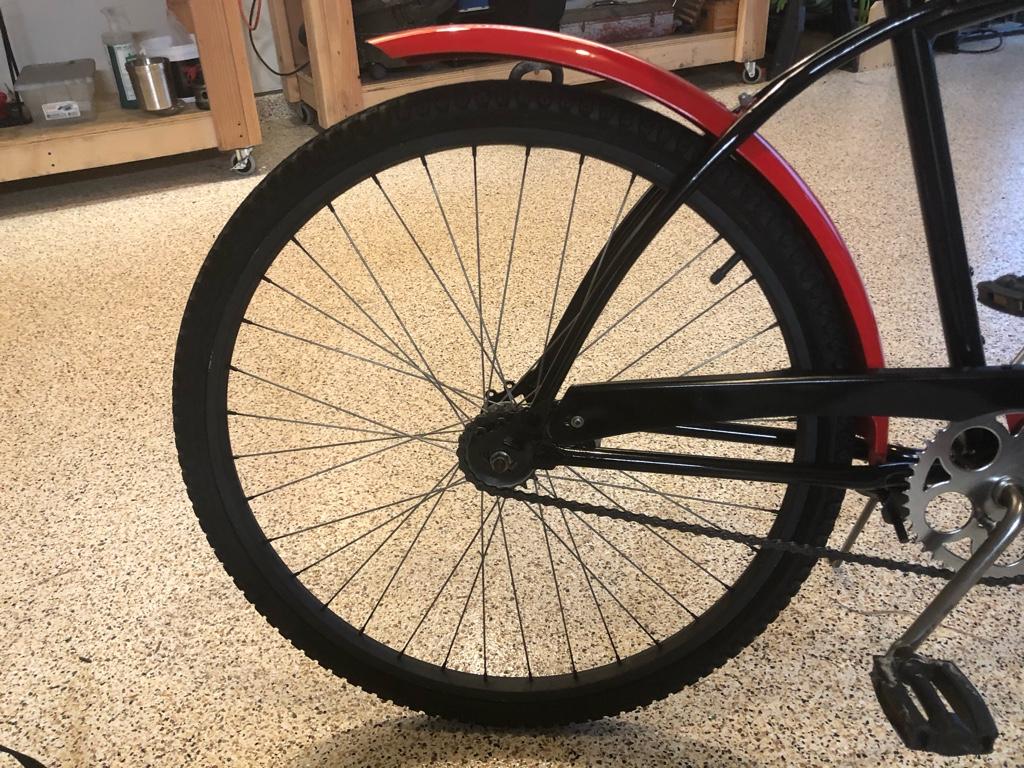
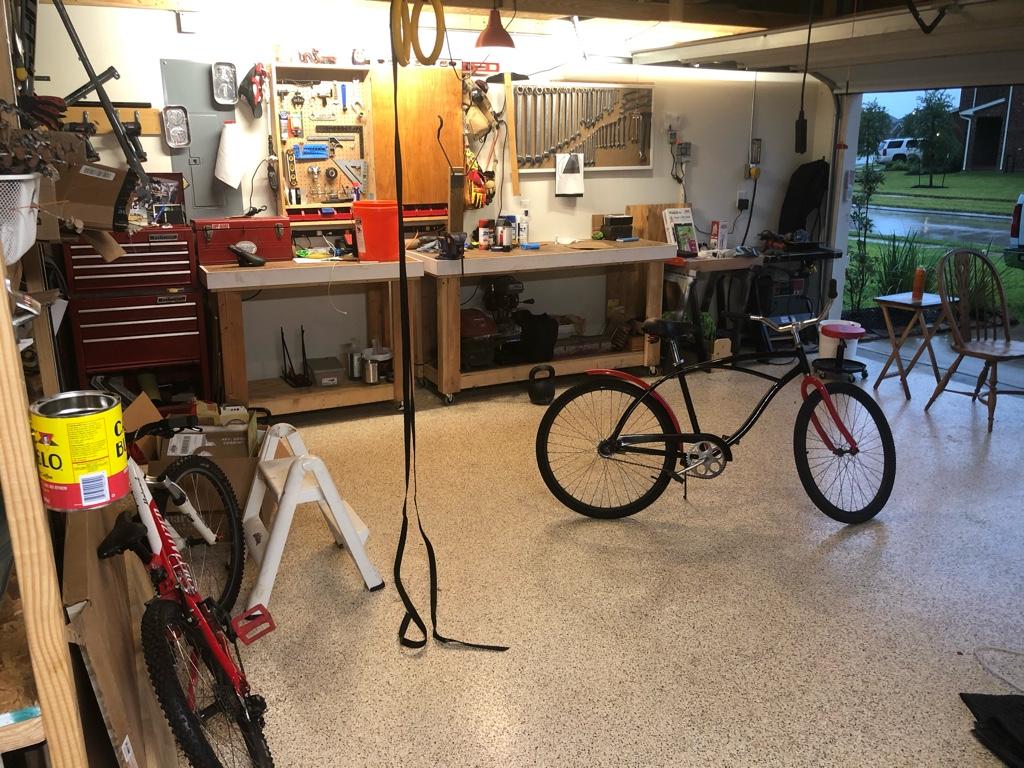
After that I went straight into assembly. Next thing I knew, the bike was done

dda15b23507381a4eb01e75cdca23fec.jpg


b354b4680c2951ae0d64c2b527fe4bfe.jpg

514d23aeec454b32d046bb3f27c0b8e8.jpg

d85d43dc63ed1874b127a8898bb1dffb.jpg

8c93a925cdf38d110e89872f3075fc9f.jpg

09067a792add3c0c8d0bd6dc700a92b1.jpg

a562e50d7045f1cd02762577ca03cc2c.jpg


I feel like a red scallop in the top tube would really pull it together. I’m going to sit on it a few days, but otherwise it’s done.

It’s nowhere near some of the builds here, but it got me off my ... and finished a build, so I’m calling it a win.


Sent from my iPhone using Tapatalk
 
Great color combo and paint work here! If you wanted to, a fender brace placed about 3" in from the end could pull that tail down for a closer fit to the tire all the way around.

Congrats on diving in and taking on a build for this RRB Build Off!
 
Great color combo and paint work here! If you wanted to, a fender brace placed about 3" in from the end could pull that tail down for a closer fit to the tire all the way around.

Congrats on diving in and taking on a build for this RRB Build Off!

I’ve got the original brace, but probably should have done the fab before paint! I’ll keep that in mind for the next one.

That went really well. Think maybe I’ll start a class 2 build next...


Sent from my iPhone using Tapatalk
 
Thanks guys! I'm real happy with the result. It was more cleanup than kustom, but I've always loved painting and fixing so this was fun. Bikes are so satisfying to work on as they come together quickly.

I've got one more bike that is going to get a similar treatment, then am going to try something a little more ambitious!
 

Latest posts

Back
Top