Sweeeet
- COMPETITIONS
- THE COMPETITION ARCHIVES
- RRBBO OFFICIAL COMPETITIONS
- BUILD OFF 10 - (2015)
- BUILD OFF 10 BIKES
You are using an out of date browser. It may not display this or other websites correctly.
You should upgrade or use an alternative browser.
You should upgrade or use an alternative browser.
SOLARIS
- Thread starter oxyjansen
- Start date

Help Support Rat Rod Bikes Bicycle Forum:
This site may earn a commission from merchant affiliate
links, including eBay, Amazon, and others.
I have forgotten how to build a bike for $300. I will be watching.Not free! I wish. I just blew almost $1500 to buy parts to finish about 6 bikes. This one will be a bit over $300 total when its done.
- by Gigmata
- Joined
- Feb 8, 2011
- Messages
- 87
- Reaction score
- 39
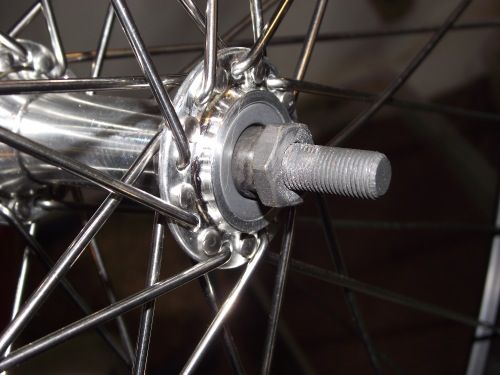
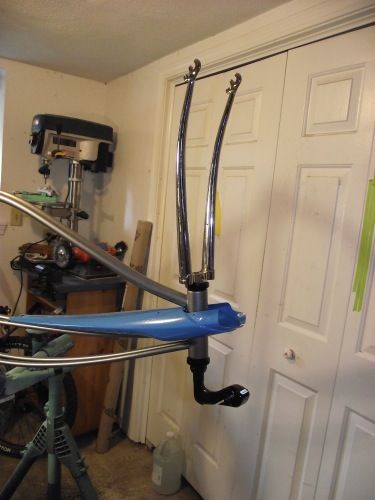
Finally got to threading and cutting the fork. The heavy re-chrome gave me some issues, as the crown needed to be filed to accept the race, and the front axle needed flat spots filed in it to fit the axle in the dropouts.
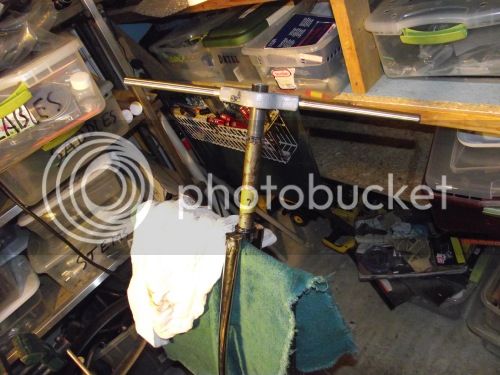
Got the head set reducers (1 1/8" to 1") and headset in as well:
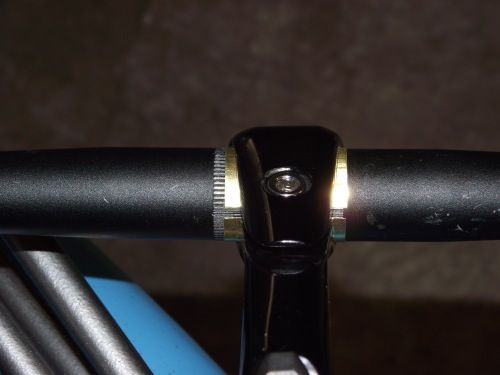
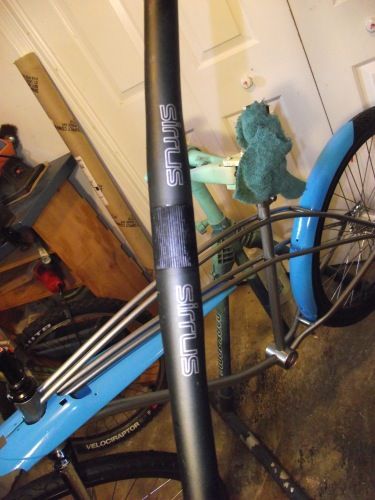
Ended up making a brass shim for the stem, as it appears to be set up for drop bars, and was 0.4mm larger than the flat bar, which needed cleaning, and some touch up to make it acceptable:


Got the head set reducers (1 1/8" to 1") and headset in as well:


Ended up making a brass shim for the stem, as it appears to be set up for drop bars, and was 0.4mm larger than the flat bar, which needed cleaning, and some touch up to make it acceptable:


Glad to see you found some time to get back on this one.
- Joined
- Feb 8, 2011
- Messages
- 87
- Reaction score
- 39

$18.99
Old River Outdoors Bicycle/Motorcycle Chain Picture Frame 4" X 6" Photo - Faux Bike Chain
Old River Outdoors (USA Merchant)

$99.99
$108.99
Schwinn Toggle Quick Build Kids Bike, 12-Inch Wheels, Smart Start Steel Frame, Easy Tool-Free Assembly, Blue
easiness

$199.99
$229.99
Huffy Stone Mountain Women's Mountain Bike, Gray, 26 Inch Wheels/17 Inch Frame
HuffyDirect

$249.40
$289.67
Kulana Lakona Tide Adult Beach Cruiser Bike, 26-Inch Wheels, 7-Speed, Silver
Amazon.com

$19.99
Electra Glide Wall Decal 2ft Long Sport Harley Davidson Bike Motorcylce Sticker Man Cave Garage Boys Room Decor
FatCat Wall Graphics
- Joined
- Feb 8, 2011
- Messages
- 87
- Reaction score
- 39
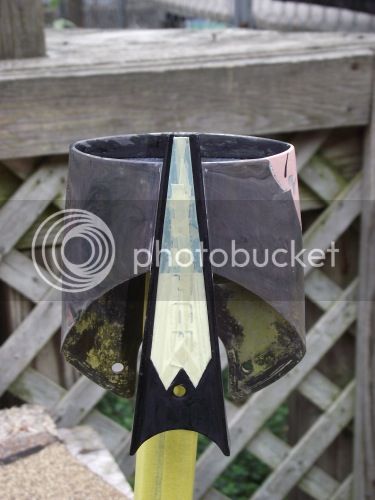
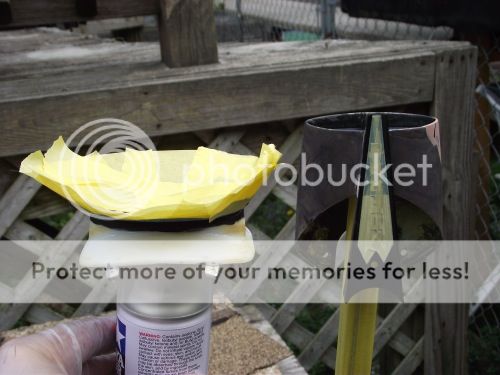
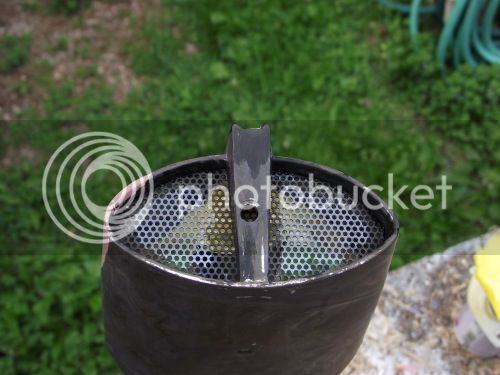
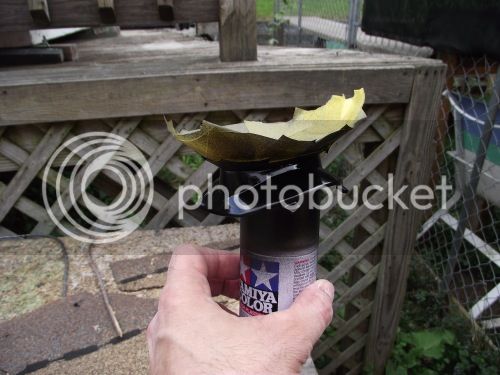
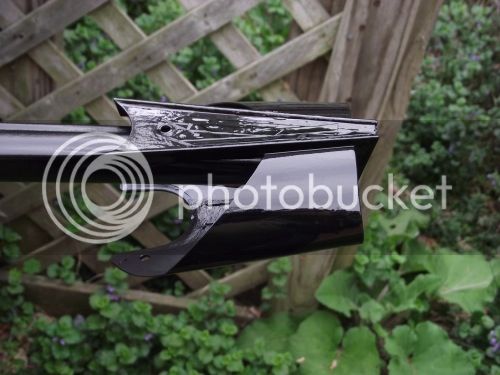
Did a little painting: As insane as it sounds I have like 8 hours of repair, prep, and painting into the bezel and control panel, and their still not perfect. Took a little creative work to salvage the decals.
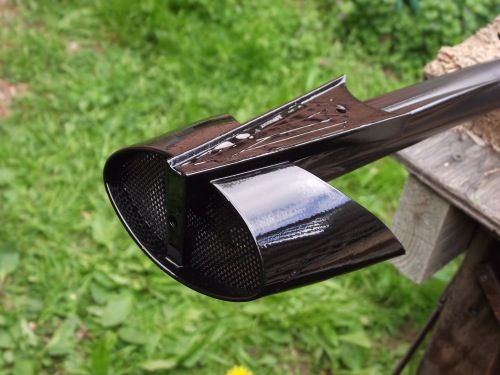
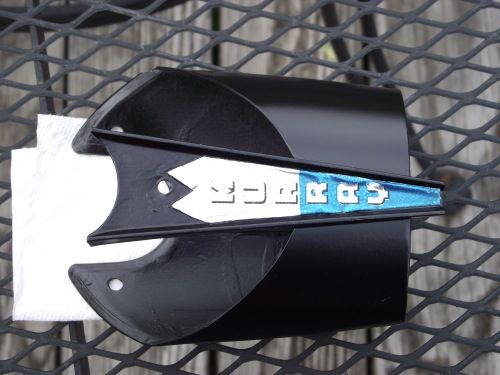
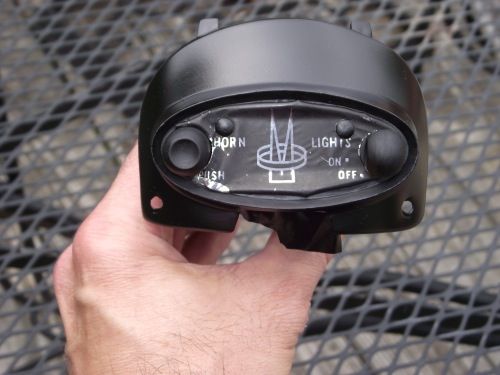
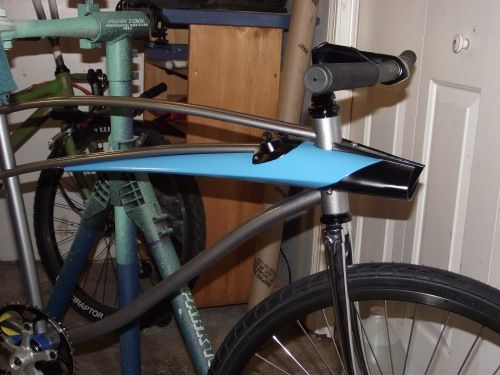

Pressed in the Truvativ cups:
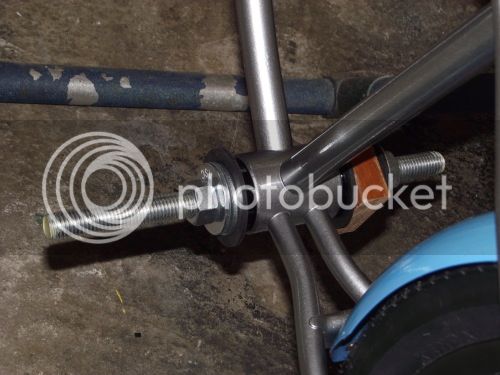
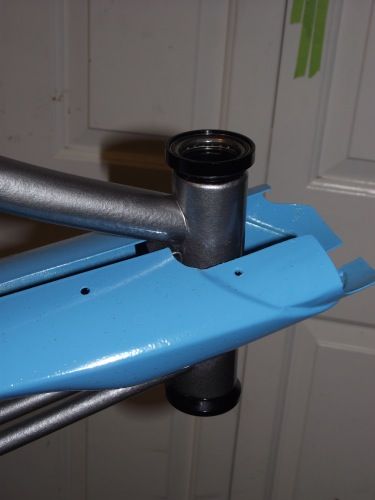
First, I had to dremel inside the bb to allow the bolts to pass thru the gusset and tubing ends. Second, I would strongly suggest running a Dremel lightly thru the shell where the cups press in. It seems like their going to slip right in till you get about 1/2 way, then it gets tight. I forced them in patiently in hopes they will never creak, but a smidge more clearance would have been nice. Since the bolts need to line up, and it goes together 1 cup at a time take extra care to line the 2nd cup up right. Mine moved slightly, and I had to put a little pressure on the last screw to bend it in place. Lastly I found that getting the cups in all the way was alot to ask for, and they sat a little out of sink from each other. I tried a sealed UN55 bb, and due to slight misalignment the inside of the alloy bb cup got a bit of a shave. So, I pressed the cups once again putting pressure to one side (offset) to get the cup to sit a bit more flush. I then decided to use an early 80's vintage 3 piece bb to allow a little wiggle room getting the cups in. Needless to say it was a PITA!
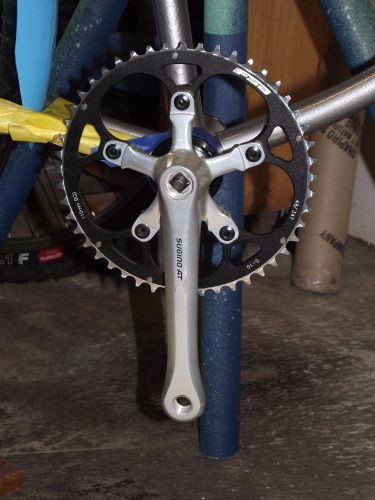
1984 Sugino AT crank with FSA 48t chainring:


Pressed in the Truvativ cups:

First, I had to dremel inside the bb to allow the bolts to pass thru the gusset and tubing ends. Second, I would strongly suggest running a Dremel lightly thru the shell where the cups press in. It seems like their going to slip right in till you get about 1/2 way, then it gets tight. I forced them in patiently in hopes they will never creak, but a smidge more clearance would have been nice. Since the bolts need to line up, and it goes together 1 cup at a time take extra care to line the 2nd cup up right. Mine moved slightly, and I had to put a little pressure on the last screw to bend it in place. Lastly I found that getting the cups in all the way was alot to ask for, and they sat a little out of sink from each other. I tried a sealed UN55 bb, and due to slight misalignment the inside of the alloy bb cup got a bit of a shave. So, I pressed the cups once again putting pressure to one side (offset) to get the cup to sit a bit more flush. I then decided to use an early 80's vintage 3 piece bb to allow a little wiggle room getting the cups in. Needless to say it was a PITA!
1984 Sugino AT crank with FSA 48t chainring:

That is some serious commitment!Did a little painting: As insane as it sounds I have like 8 hours of repair, prep, and painting into the bezel and control panel, and their still not perfect.
Luke.
The devil is in the details, and your details and hard work are shining through!!!
- Joined
- Feb 8, 2011
- Messages
- 87
- Reaction score
- 39
Thank you! I tend to take my bikes too far, and this one is no exception. I guess having the time to do it is why I don't mind.
I have this gorgeous chrome pintle (half link) chin I want to use, and realized yesterday their made for bmx bikes, and are a good 8-10 inches short. So, to Ebay I went and got lucky to find 2 that matched (they appear discontinued). With the new gear ratios and short sliding dropouts the chain is either too tight, or too loose with a standard chain. And, the pintle looks so big and cool I just just see a reason to compromise on the build! Now I'll have a spare!
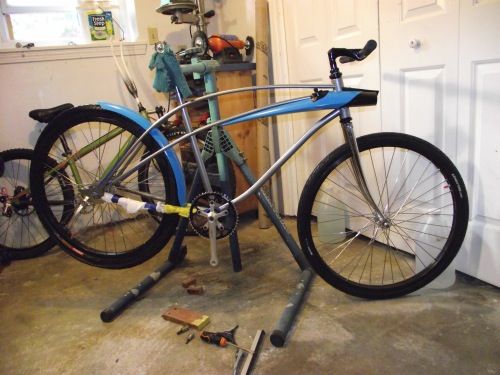
Getting close:

Yo, what's up with this sick liner?


