SOUTHERN FLYER

Rat Rod Bikes Bicycle Forum

Help Support Rat Rod Bikes Bicycle Forum:

This site may earn a commission from merchant affiliate links, including eBay, Amazon, and others.

The Renaissance Man

__CERTIFIED DIVER__ (Open Water & Open Dumpster)
Staff member
Moderator
Pro Member
Joined
Nov 24, 2012
Messages
10,418
Reaction score
29,548
Location
The Tropics of Alabama
SouthernFlyercover_zps2874668f.jpg


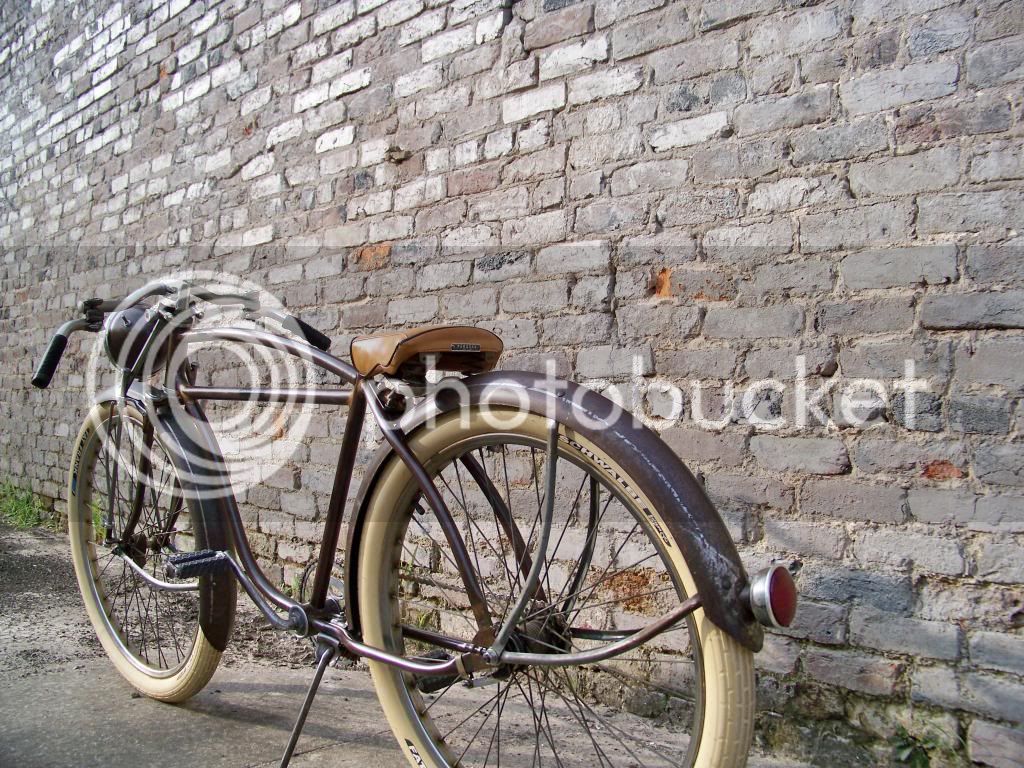
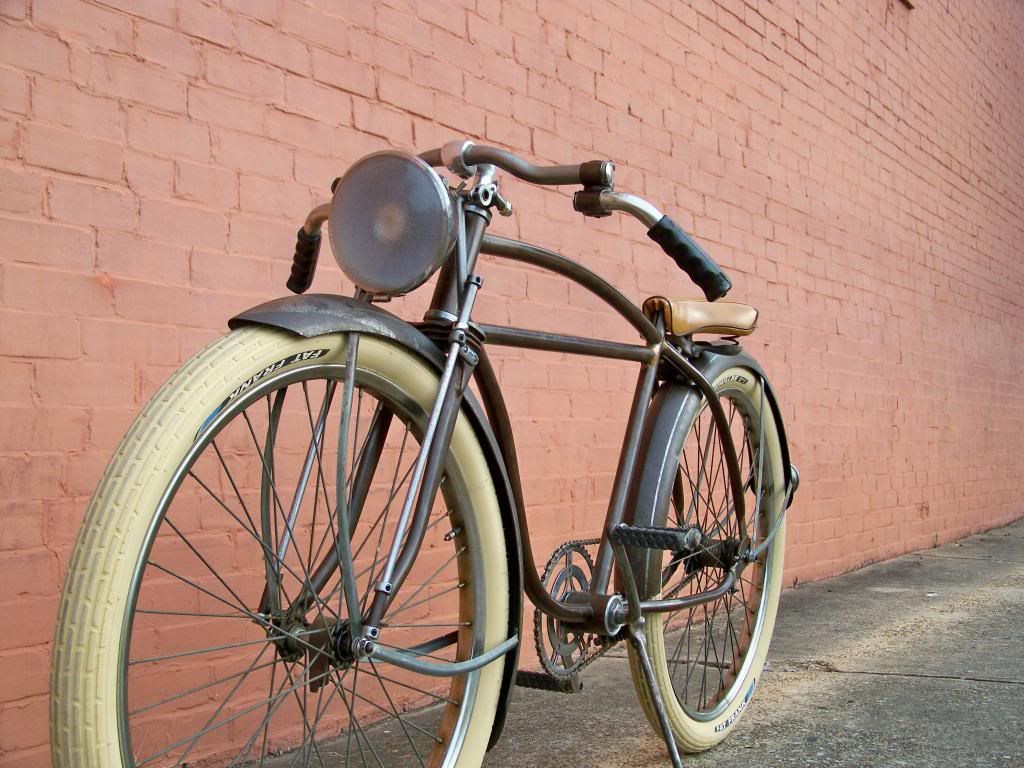
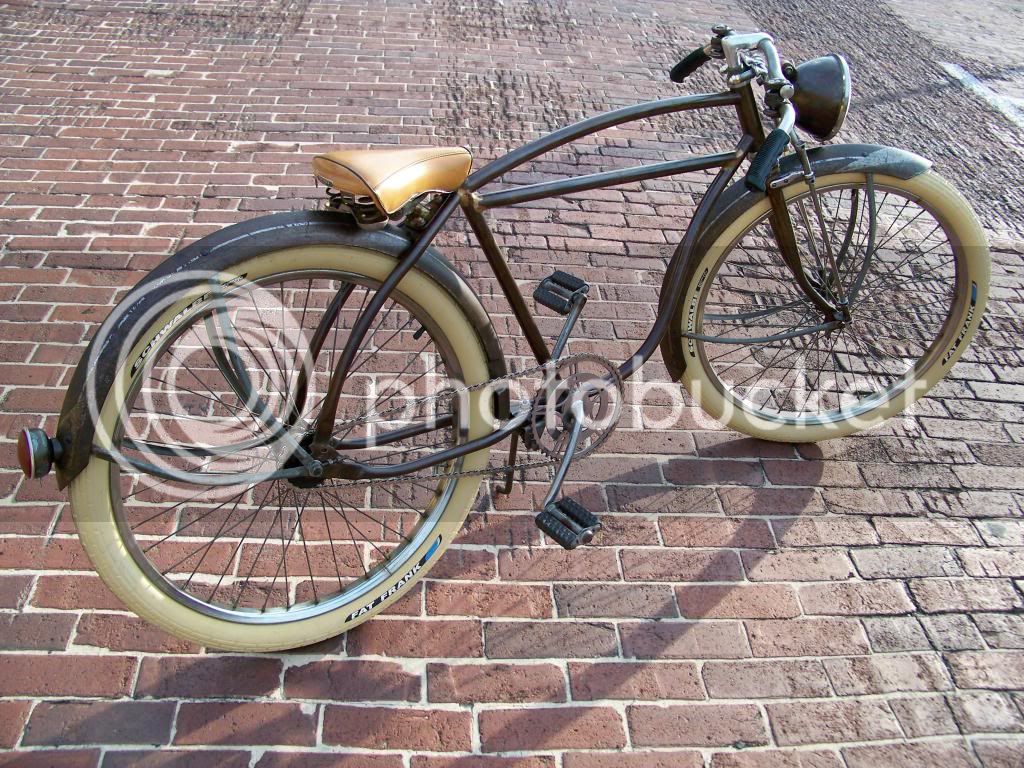
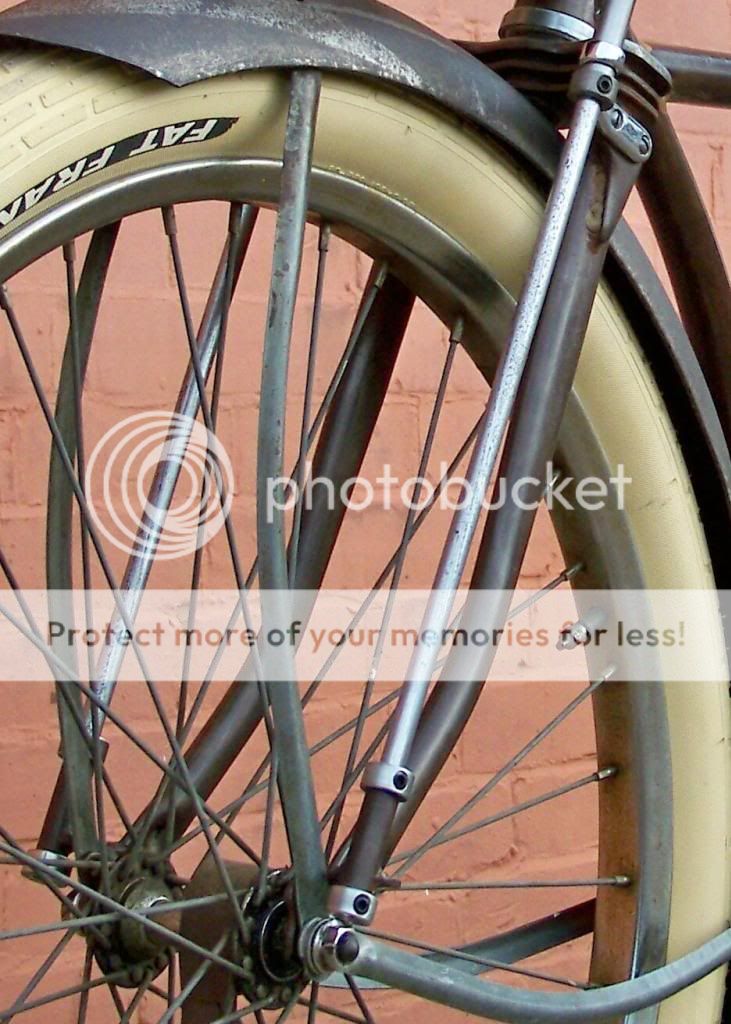
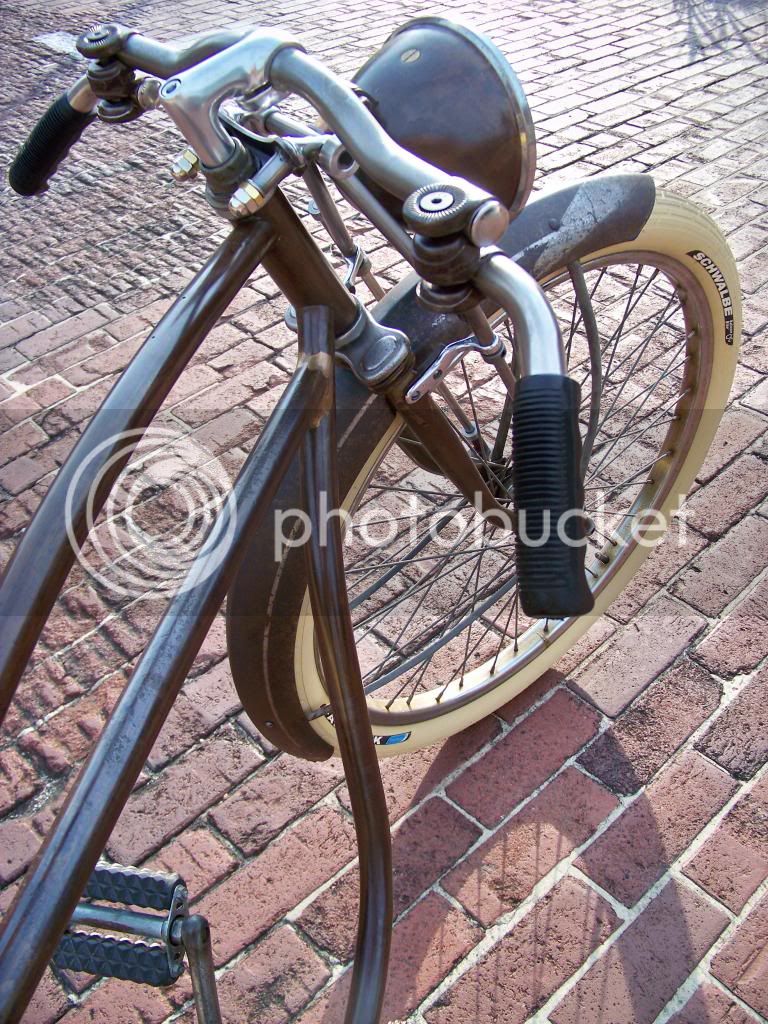
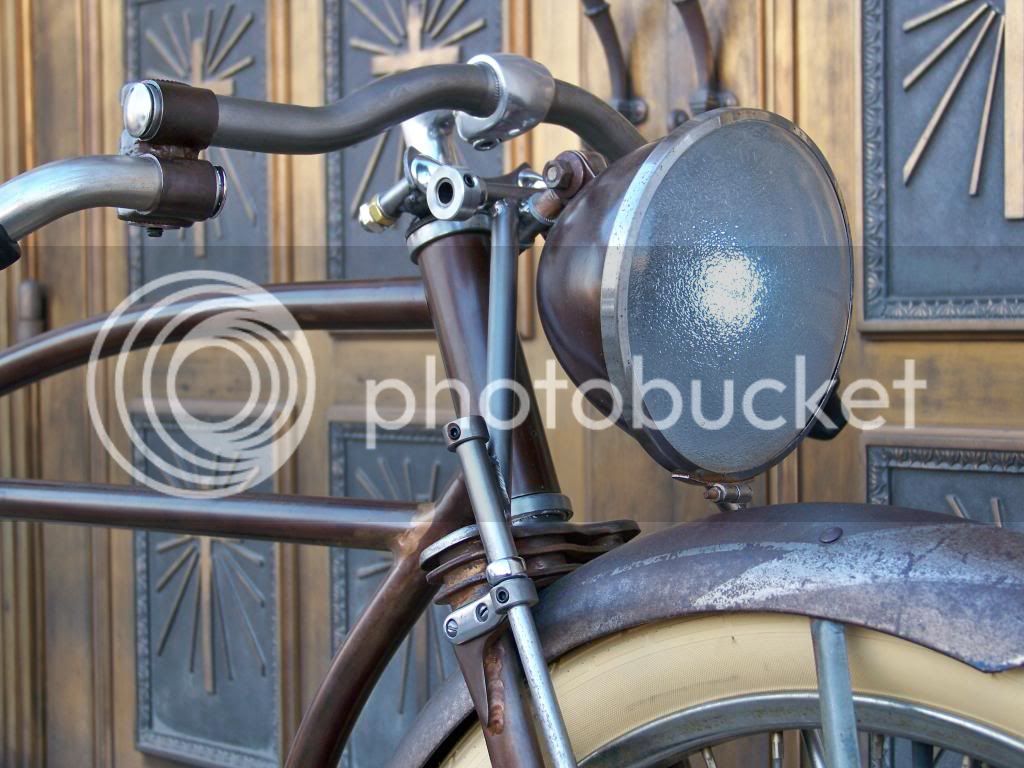
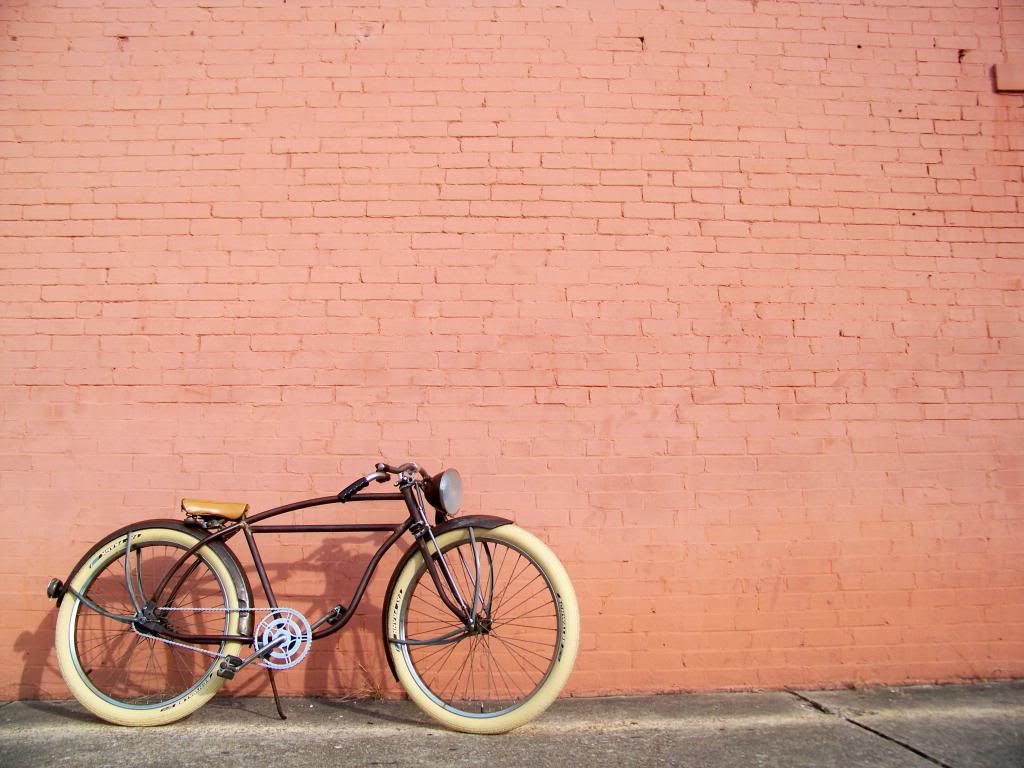
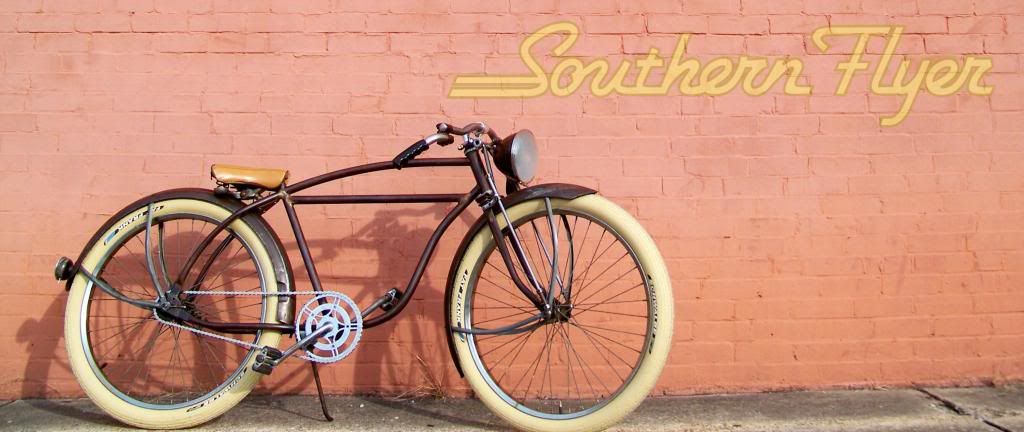
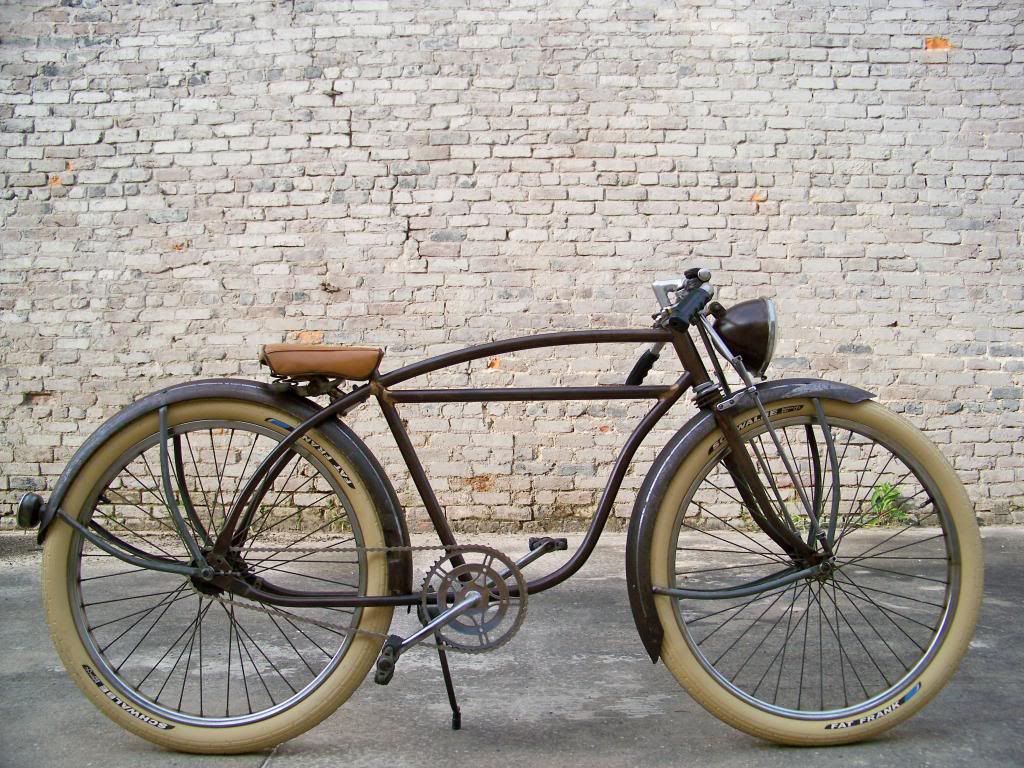
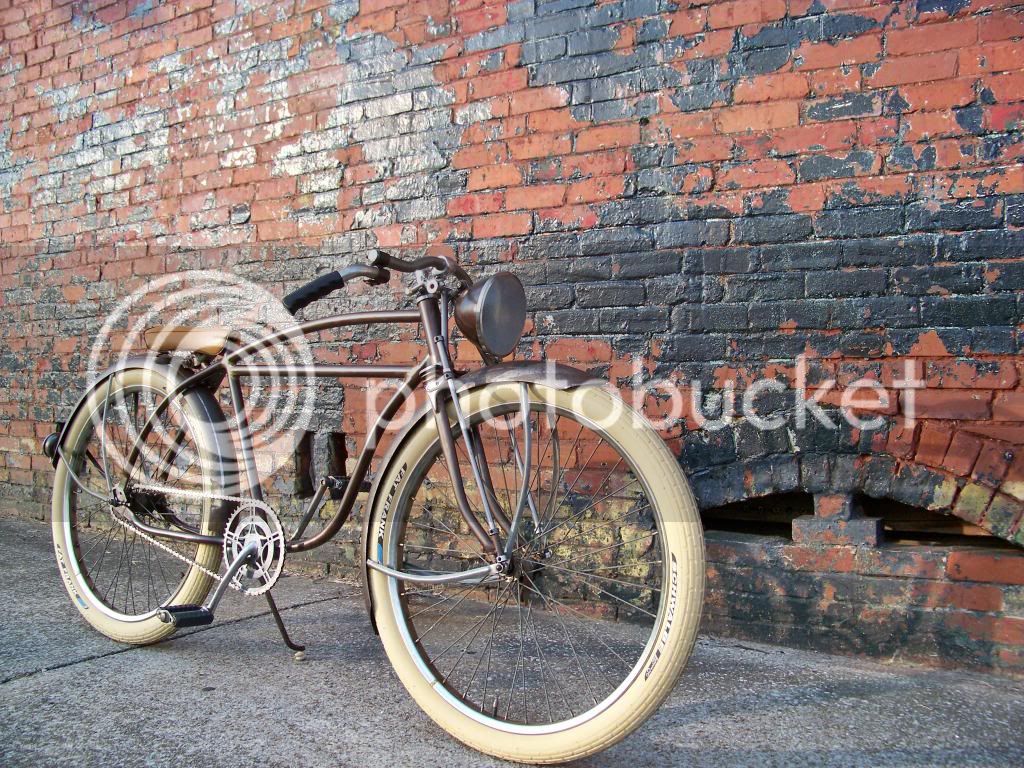
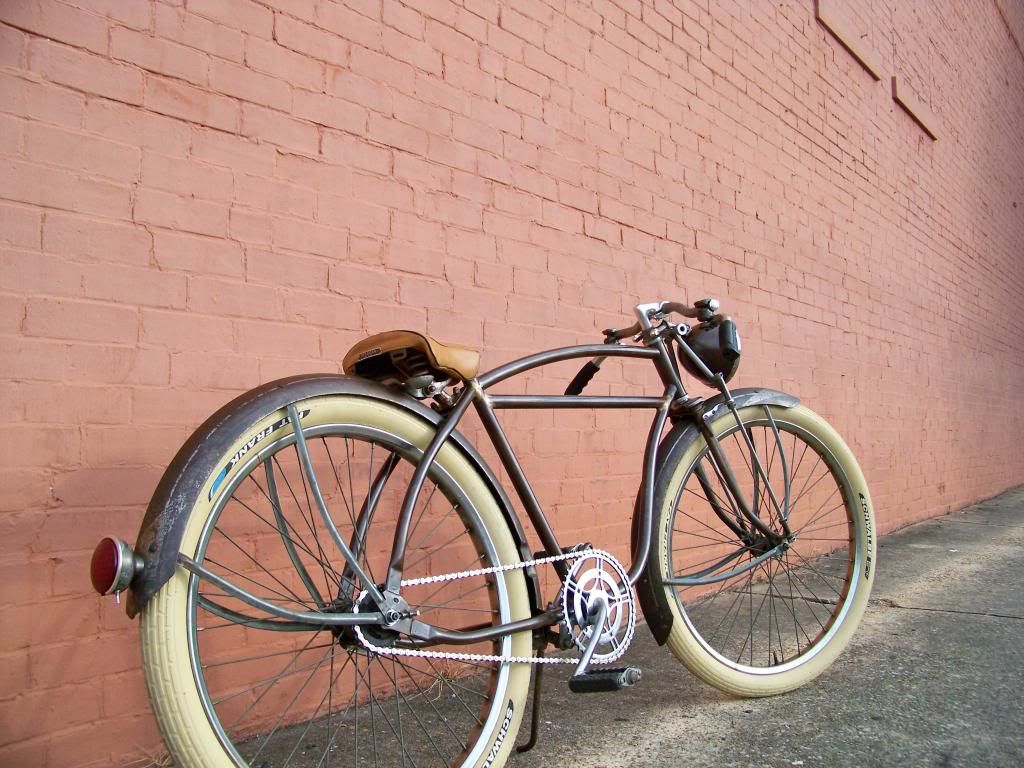
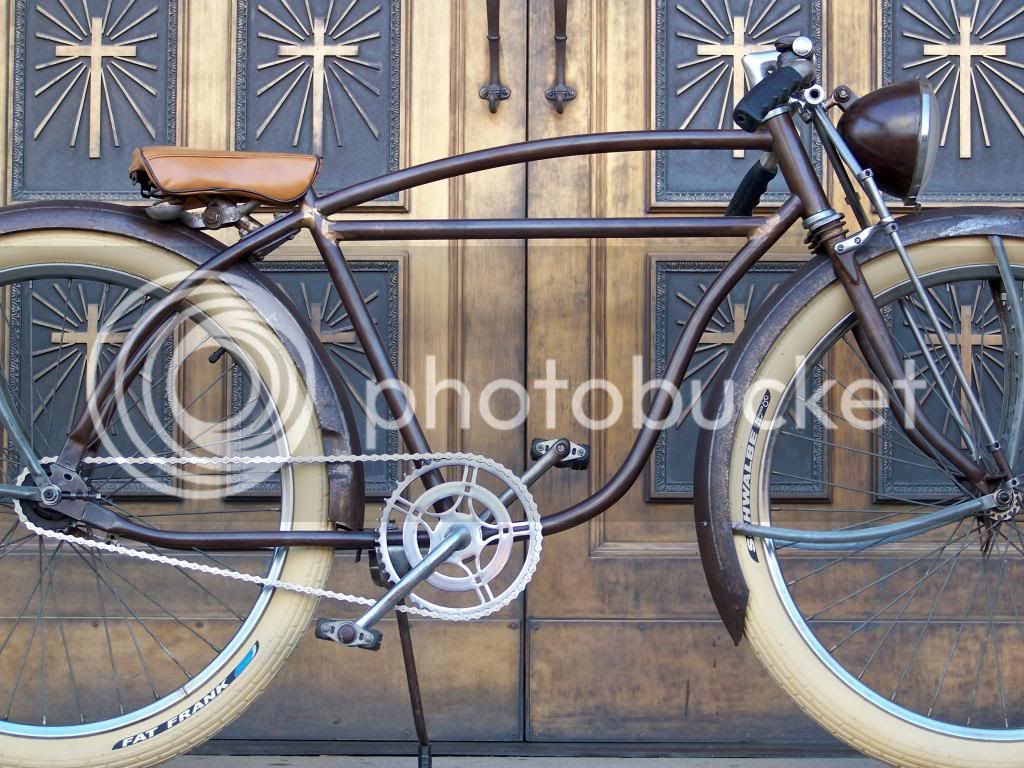
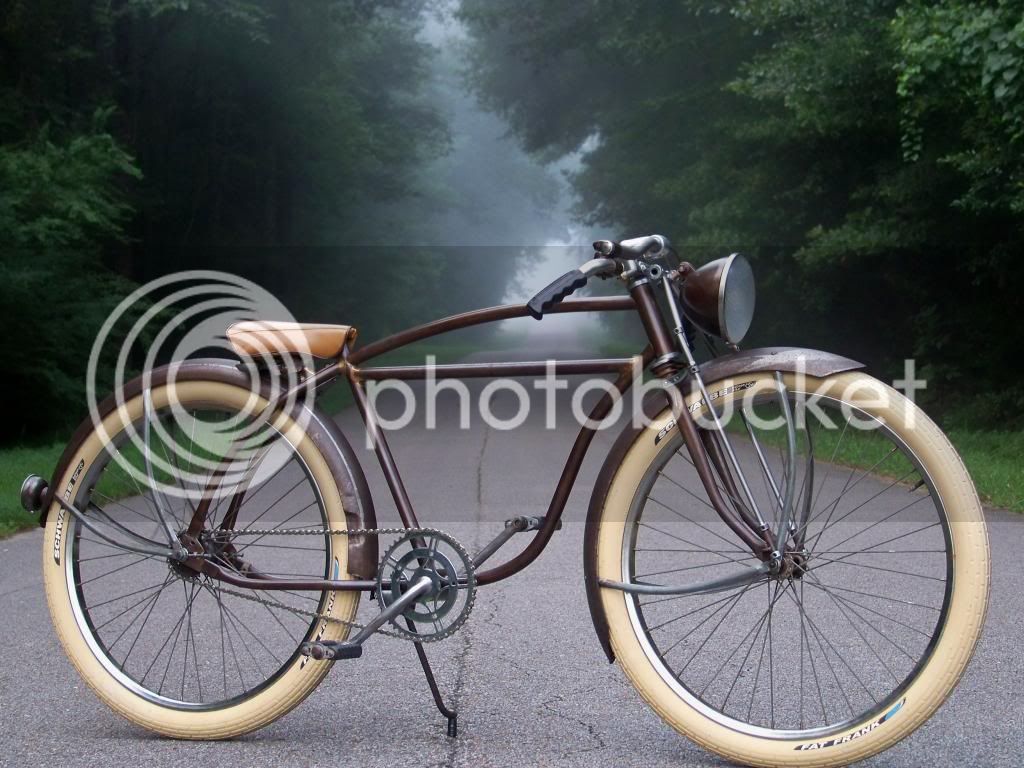
The inspiration for 'Southern Flyer' came from those beautiful turn of the century motorcycles that were simple by todays standards yet built to be tuff and last indefinitely in the hands of a person that was expected to maintain it himself. Those machines where designed to perform in harsh environments, yet had graceful forms that followed their function. This is what I tried to emulate with all the components that I envisioned one might expect to find on a bike from that bygone era.
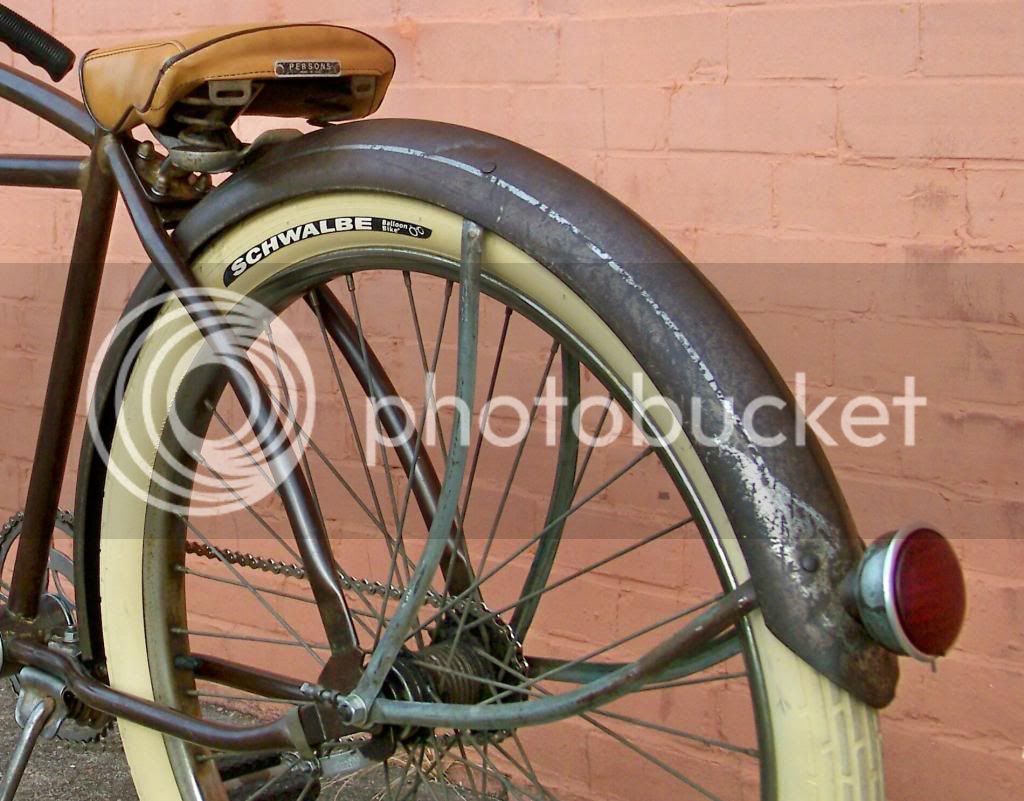
The final finish was something that I hadn't anticipated before I stripped the paint from the 60+ year old fenders and frame. After discovering a warm bronze tinted metal with decaying chrome accents on the fenders that was hiding under years of misguided paint, I knew that the rest of the bike would have to follow suit. In the end, there is no paint at all on this riding machine, just the seasoned metal that only age can provide.
Like a stately southern gent, this is the Southern Flyer.
100_5622_zps257dcadd.jpg


100_5605_zpsfb529194.jpg


100_5596_zpsa5a88fac.jpg


100_5628_zpsec2610ba.jpg


100_5629_1_zps953a7bc5.jpg


100_5607_zpsbaac8346.jpg


100_5563_zps1477f9ea.jpg


100_5619_zps8ebfc165.jpg


100_5632_zps5248f11f.jpg


100_5627_zps0c56a1b8.jpg


100_5608_zps55640ff0.jpg


100_5632_1_zps699eda4f.jpg


100_5606_zps6de14962.jpg


100_5566_zps5bb16881.jpg


100_5625_zpsa9749364.jpg


Three days before the third month of the build-off, I cleaned the slate and started Southern Flyer.

Here's the thread. (You will need to scroll half way down the page).


The major parts list:

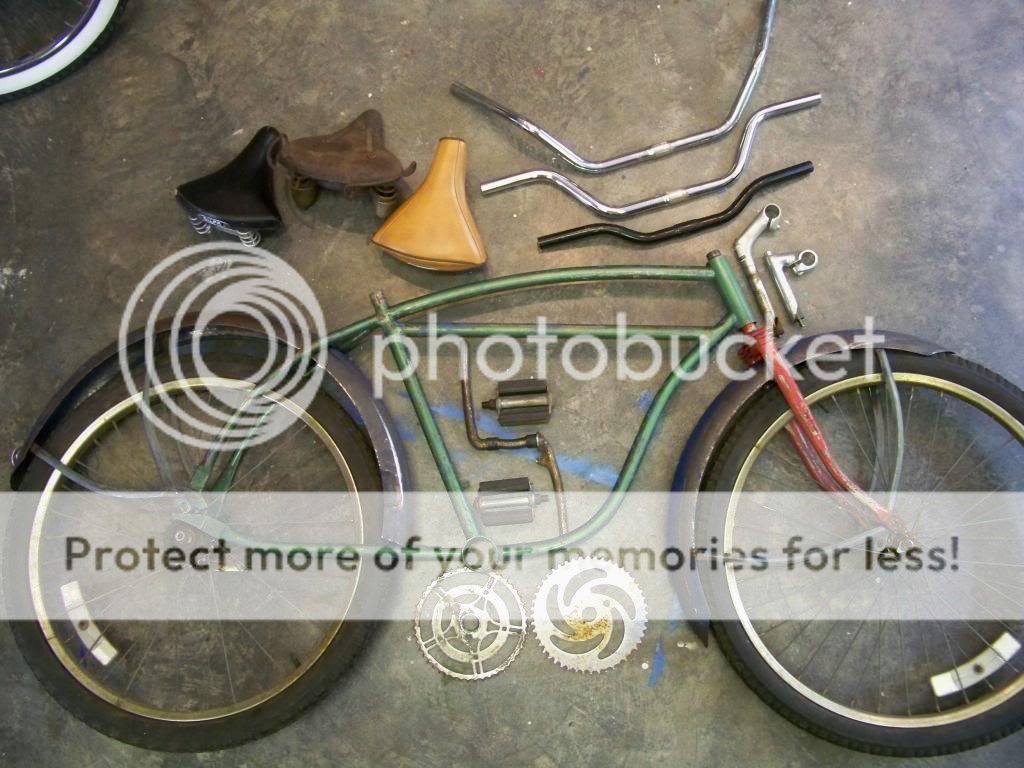
1951 CWC Western Flyer frame
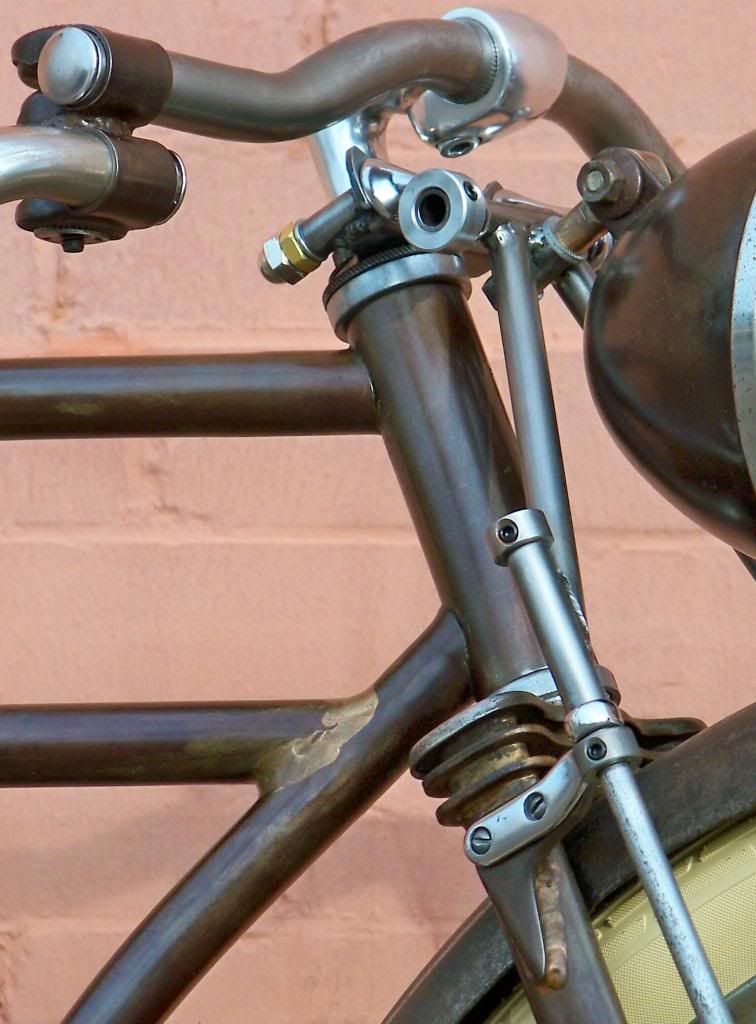
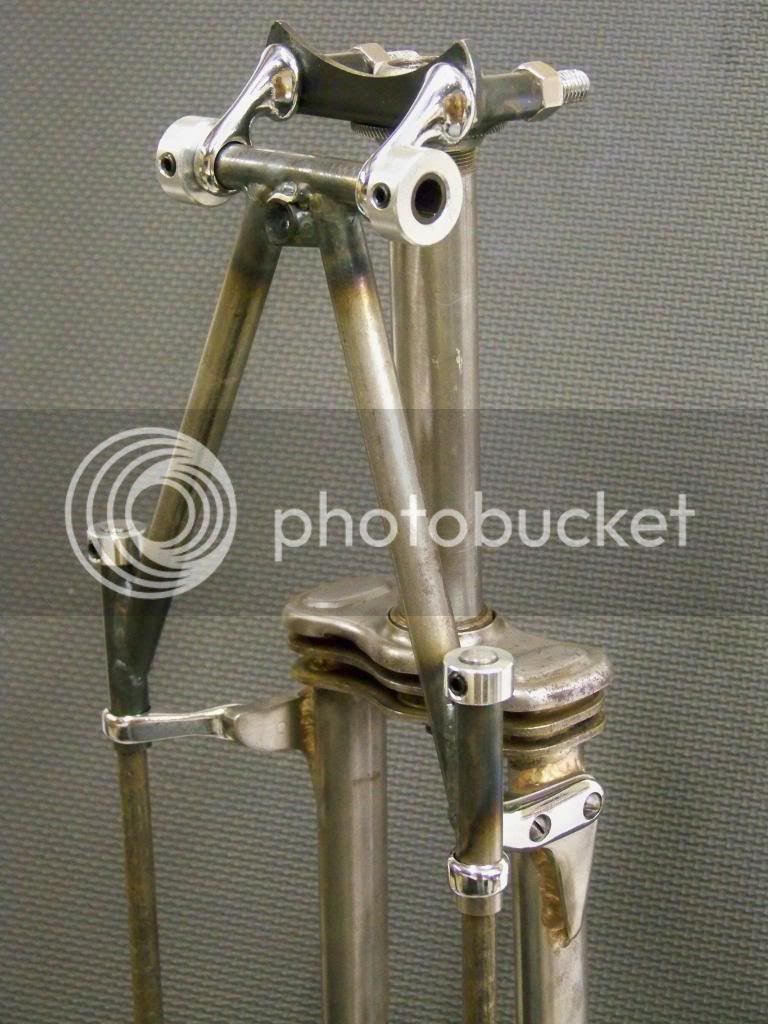
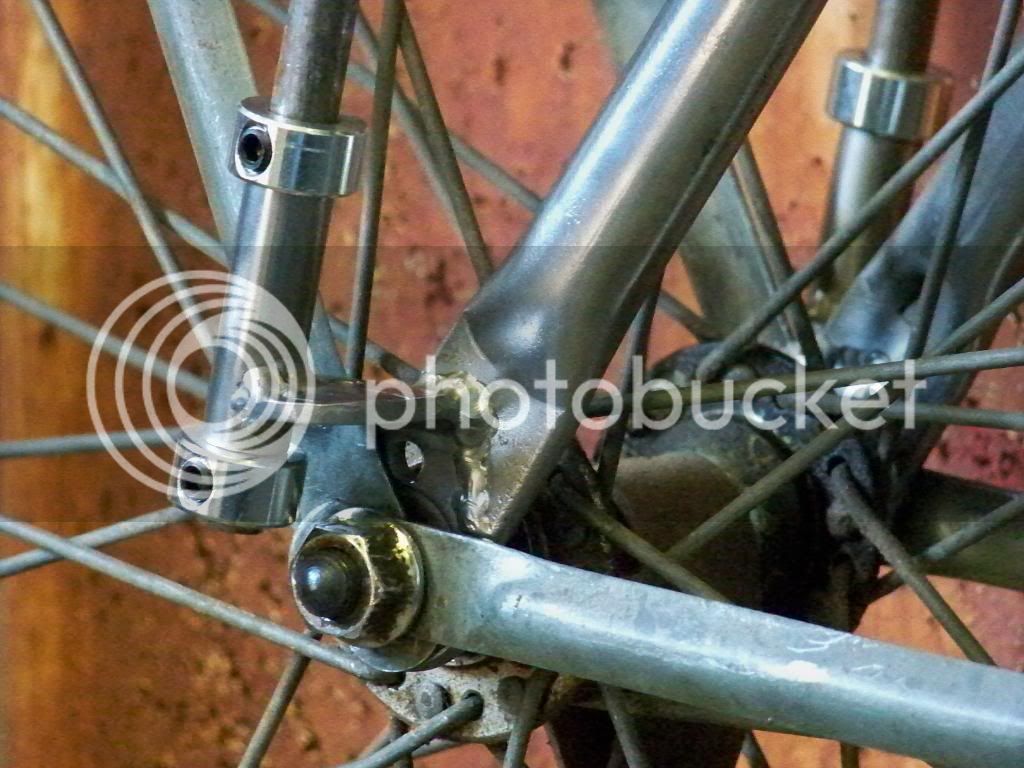
CWC three plate fork (modified)
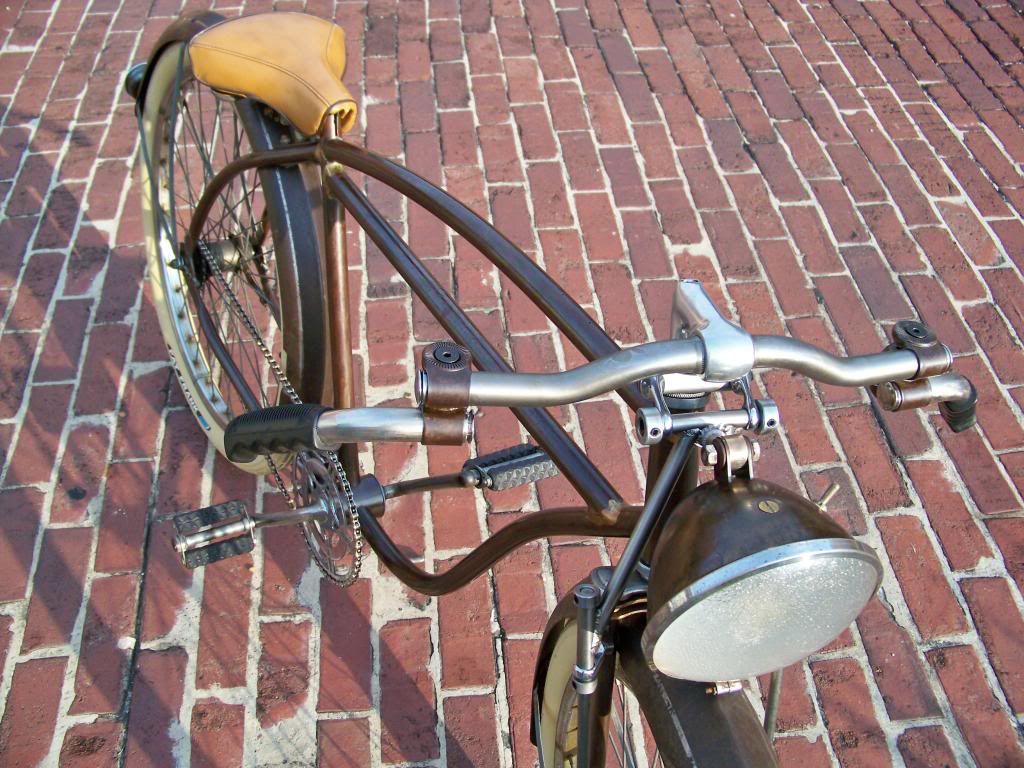
Vintage alloy quill stem
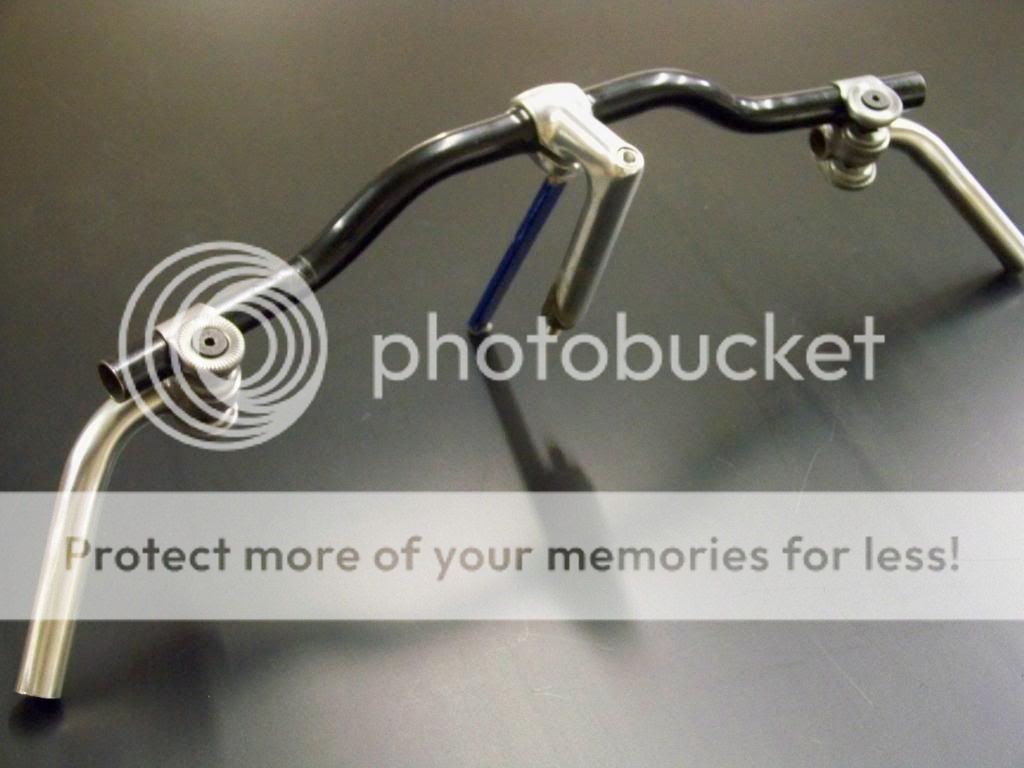
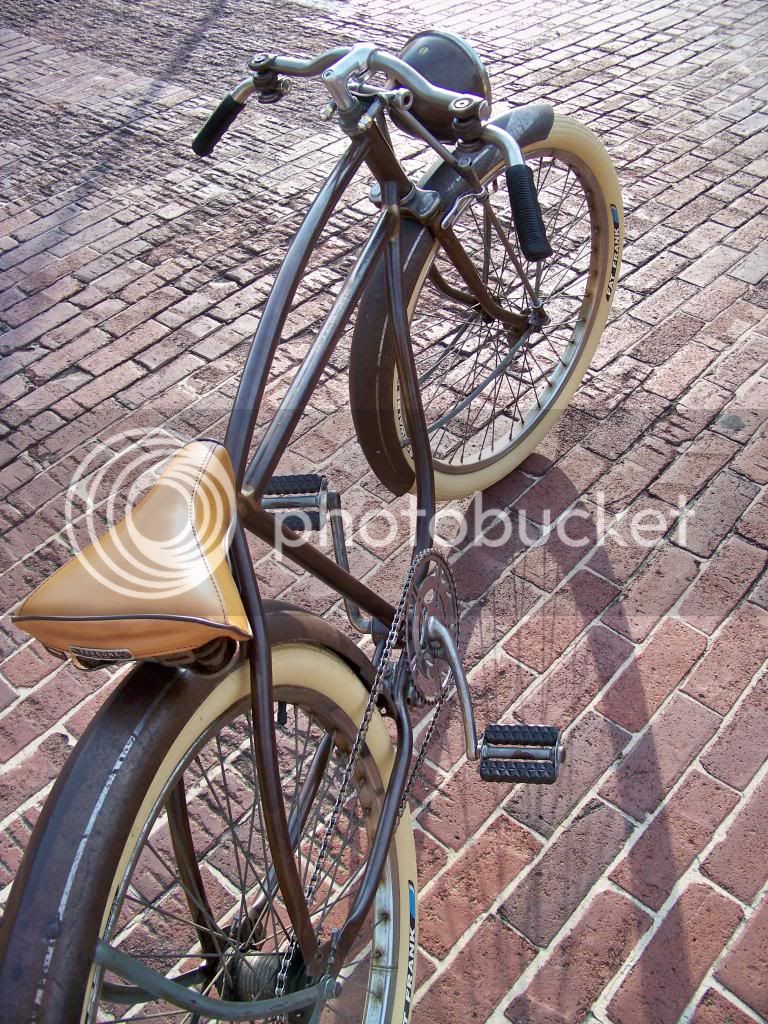
Custom board track style handlebar
Vintage Raliegh grips
Vintage Dayton Huffman chain ring and crank arm
Vintage waffle block pedals
Fichtel & Sachs Torpedo Duomatic internal gear 2 speed hub
Vintage Persons saddle
Prewar Western Flyer peaked fenders
Custom LED headlight and taillight
KMC Z410 nickel chain
Schwalbe Fat Frank 26 x 2.35" creme tires

The starting point:
100_5324_zps57173066.jpg


The Custom parts:

100_5396_zps249b9d82.jpg


100_5481_zps435120bc.jpg


100_5444_zpsac6eb3d5.jpg


100_5474_zpsb604fc8b.jpg


100_5358_zps5e5da574.jpg


Thank you all for your support, Jim (aka The Renaissance Man)
100_5588_zpsdb0bf4bc.jpg
 
Last edited:
Nice bike, nice stance, looks like the real deal.
 
I LOVE your bike...the details on the front end and the Bars I've always wanted to build...5 Stars!!!
 
Great build, so clean, perfect finish on the frame and fenders, there's so much to like about this one. You're easily in the top 5 builds for me.
 
Captured the look perfectly!!!!
 
Jim,
This is truly a masterful build.

One thing (aside from the awesome finish) that jumps out at me is the fit of everything. Just look at how the fender gap is around the tires and how the seat looks like it's integrated into the frame and fender.

That doesn't happen by accident.

Cheers to ya buddy,
Rob
 
The craftmanship on this build is off the chain!!
Great photos as well. You knocked this out of the ball park buddy!
I predict high votes on this one!
 
Love this build- the skins are riding nice and tight under the fenders, well put together- built to cruise at zero to 100.
 
Thanks everyone for the props!

Dr. Tankenstein said:
Jim,
This is truly a masterful build.

One thing (aside from the awesome finish) that jumps out at me is the fit of everything. Just look at how the fender gap is around the tires and how the seat looks like it's integrated into the frame and fender.

That doesn't happen by accident.

Cheers to ya buddy,
Rob

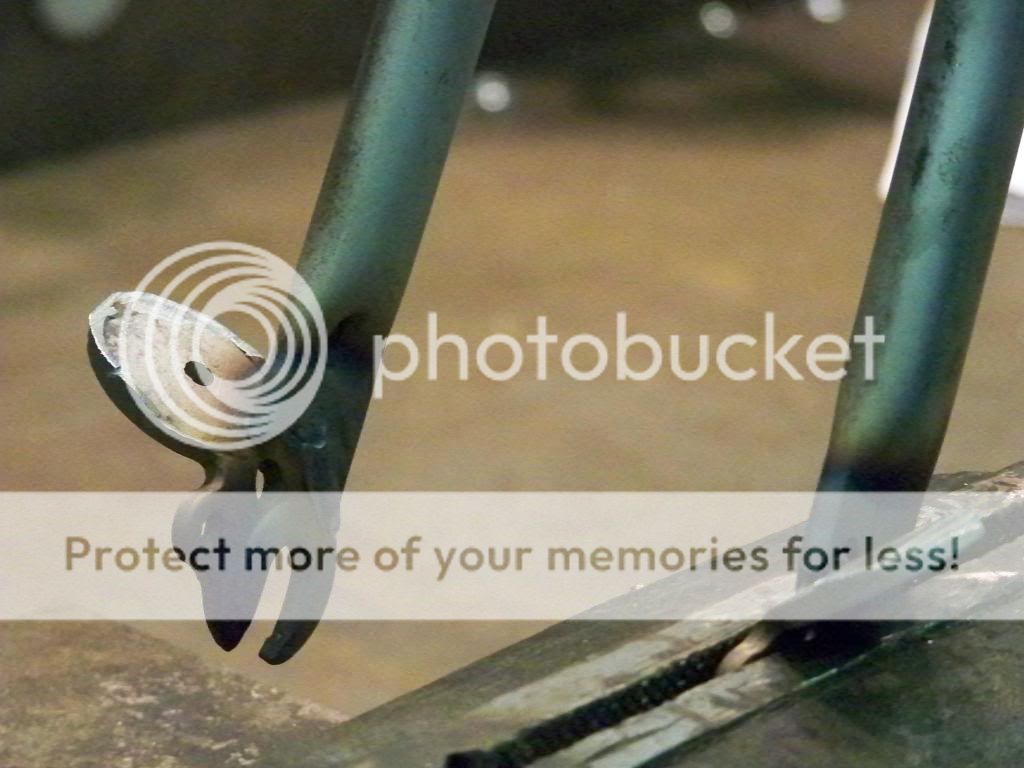
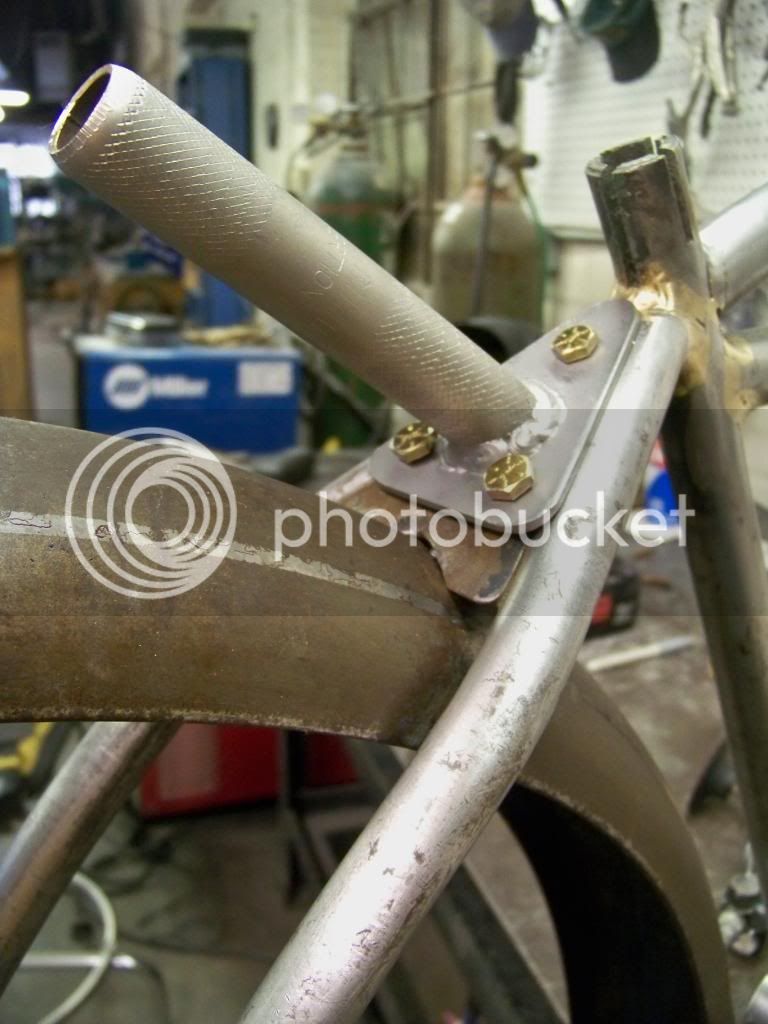
Thanks for noticing that Rob. I spent hours making the fenders fit the way I wanted. That was actually the reason for extending the fork drop outs by 1/2". The mount for the saddle took less time but still required some careful fitting and refitting to get the line right.
 

Latest posts

Back
Top