You are using an out of date browser. It may not display this or other websites correctly.
You should upgrade or use an alternative browser.
You should upgrade or use an alternative browser.
suggestions on my trailer build
- Thread starter RobertHaas
- Start date

Help Support Rat Rod Bikes Bicycle Forum:
This site may earn a commission from merchant affiliate
links, including eBay, Amazon, and others.
You want knobbies?
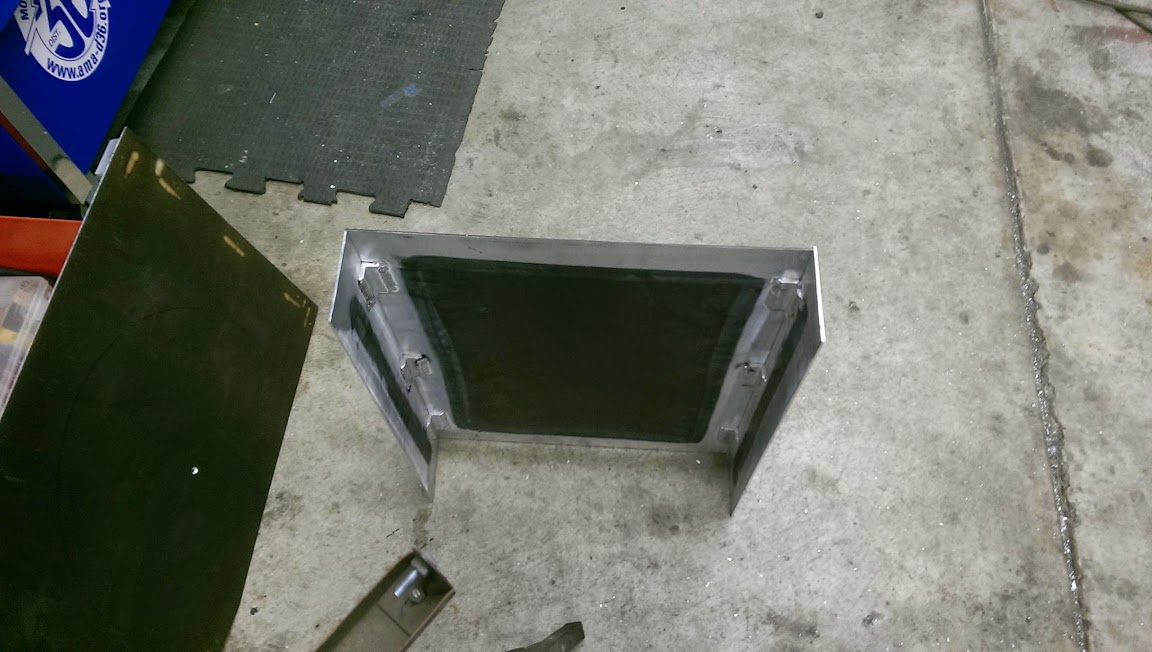
So I will post up a build thread here. This build is mostly .125" sheet aluminum. It is all anodized so I have to grind off all anodizing anywhere I want to weld it. That stuff is dang hard to get off but with enough perseverance I was successful so first pics are the forward wall and the the base. I used small L clips to locate everything and welded them in place first. Then panel to panel like this
Then I attached the front and the sides together
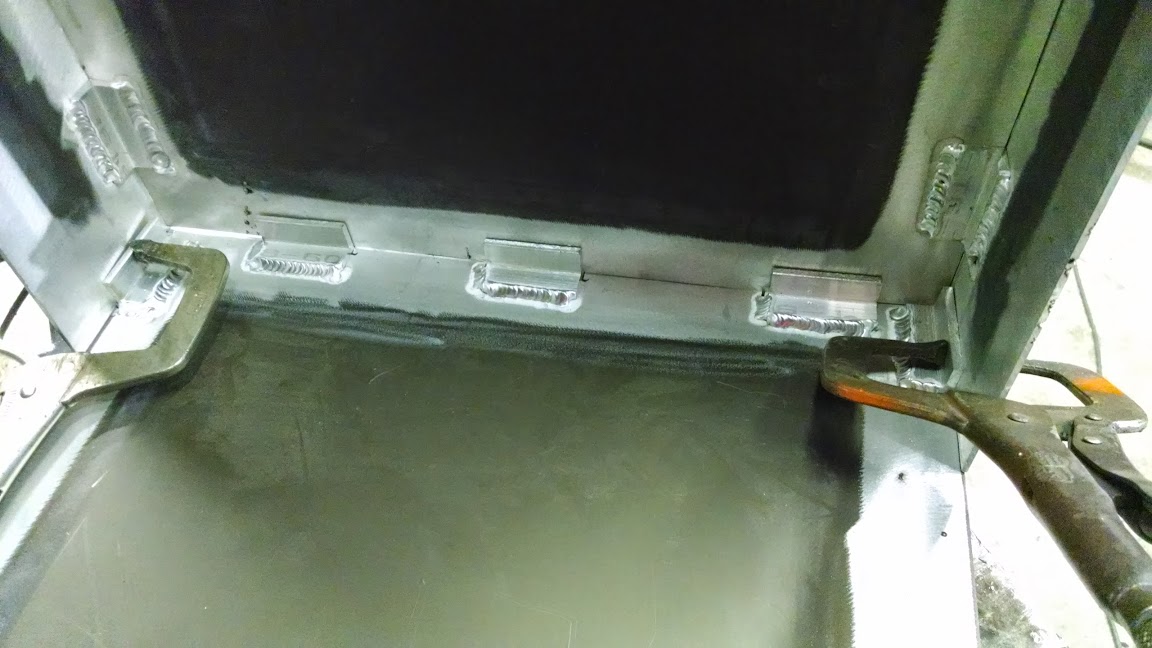
just welding everything at the L clips for now, continue with this ...
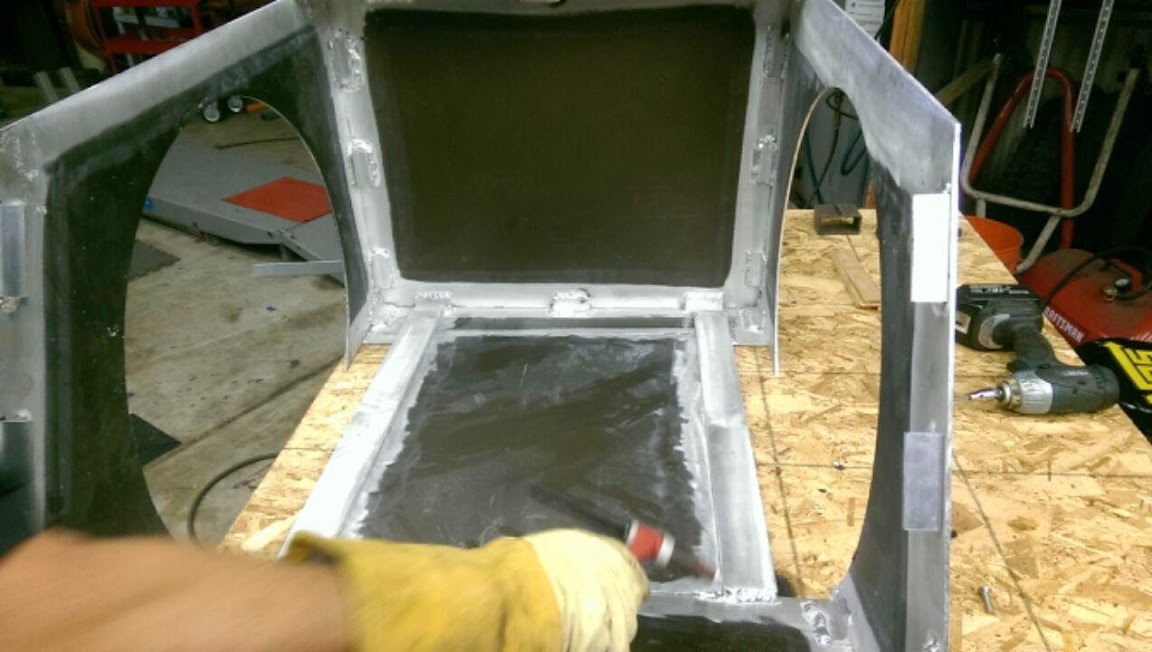
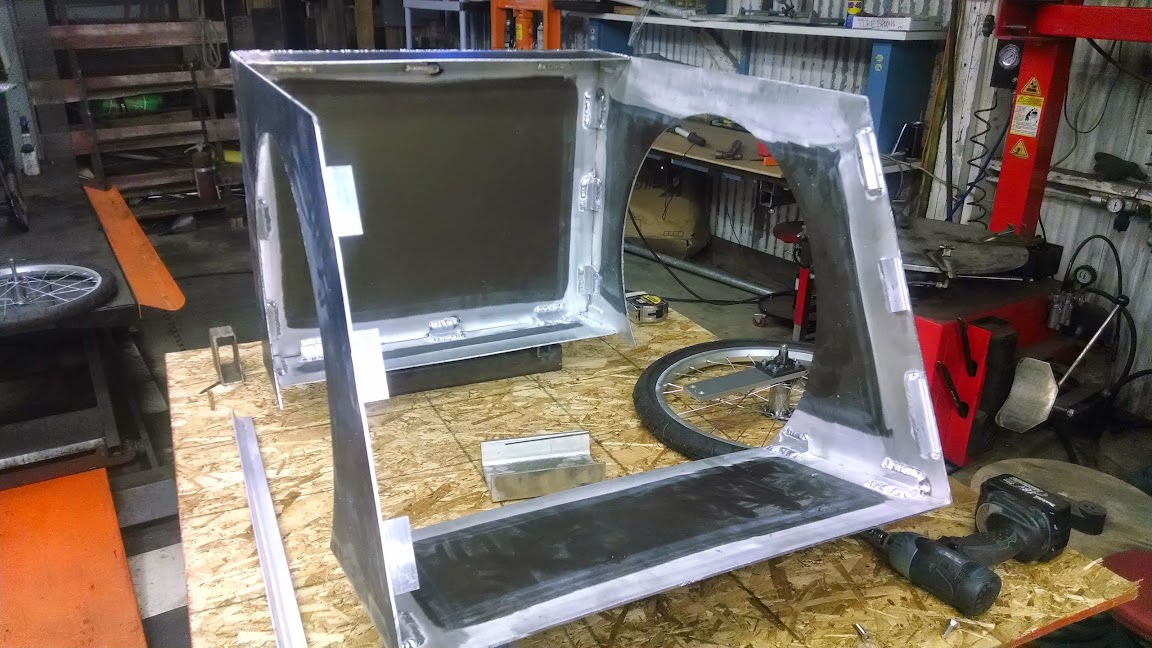
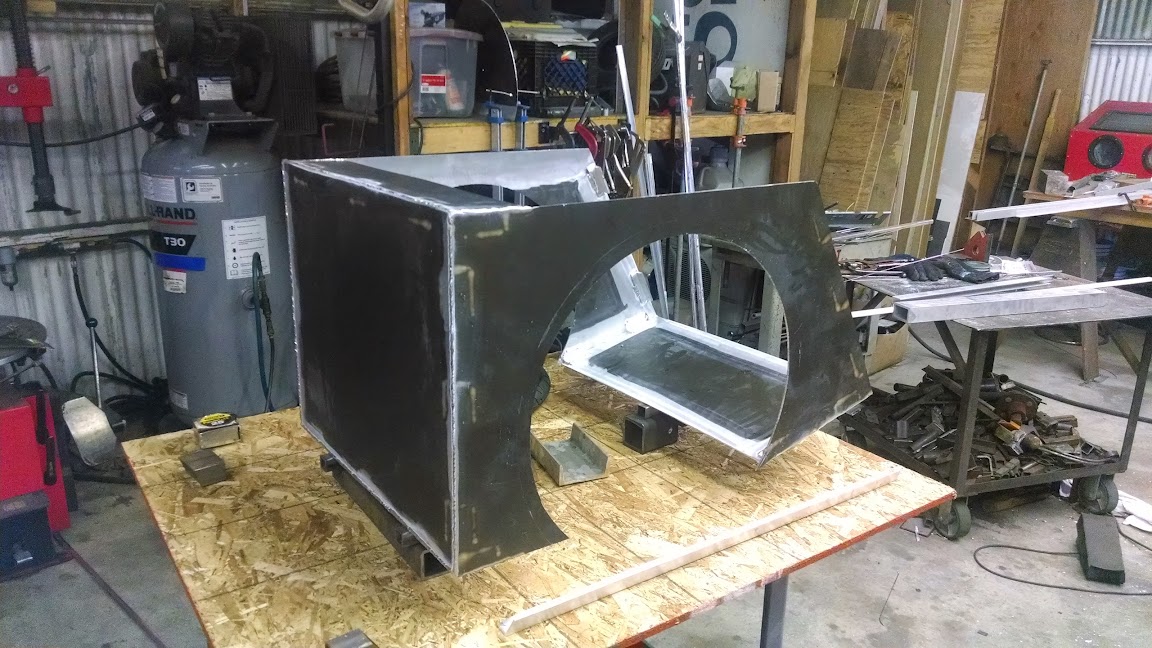

Then I attached the front and the sides together

just welding everything at the L clips for now, continue with this ...


Last edited:
Really starting to get there now. the basic shape is visible. now the actual chassis work
1/2" thick by 3" wide bar stock will be the "frame" that will hold the uprights.
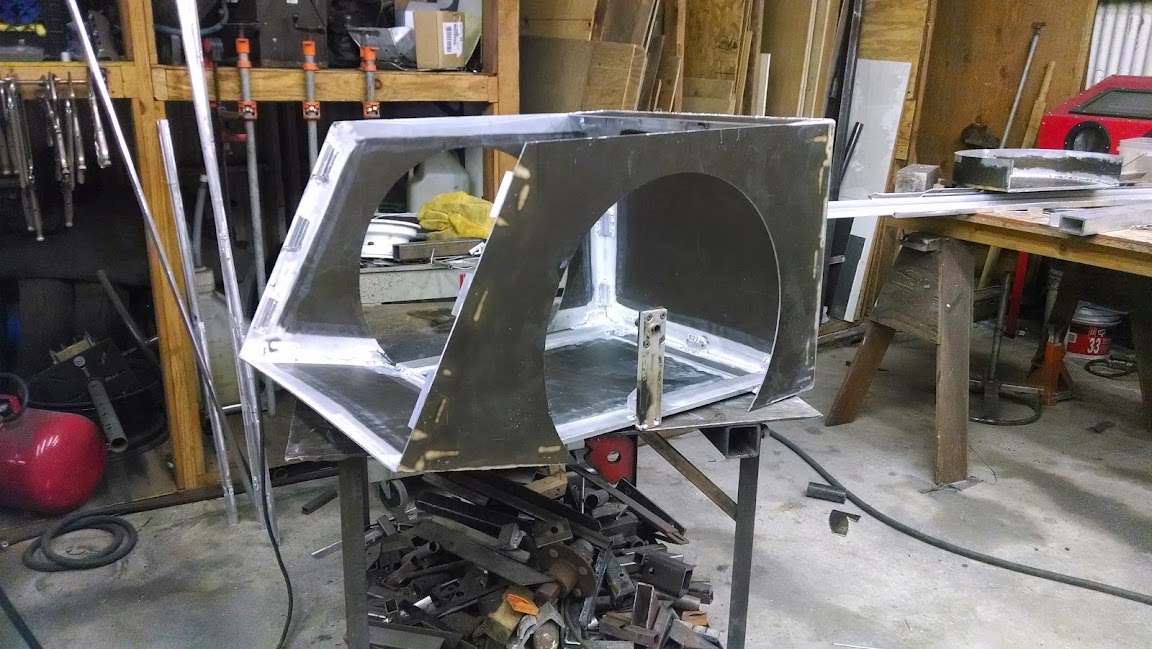
Now one of the hard parts. the wheel wells or tubs. Using what I cut out of the sides as the inner wall I just needed to cut and form the bends. did this by folding the flat strips over the fire extinguisher you see in these shot
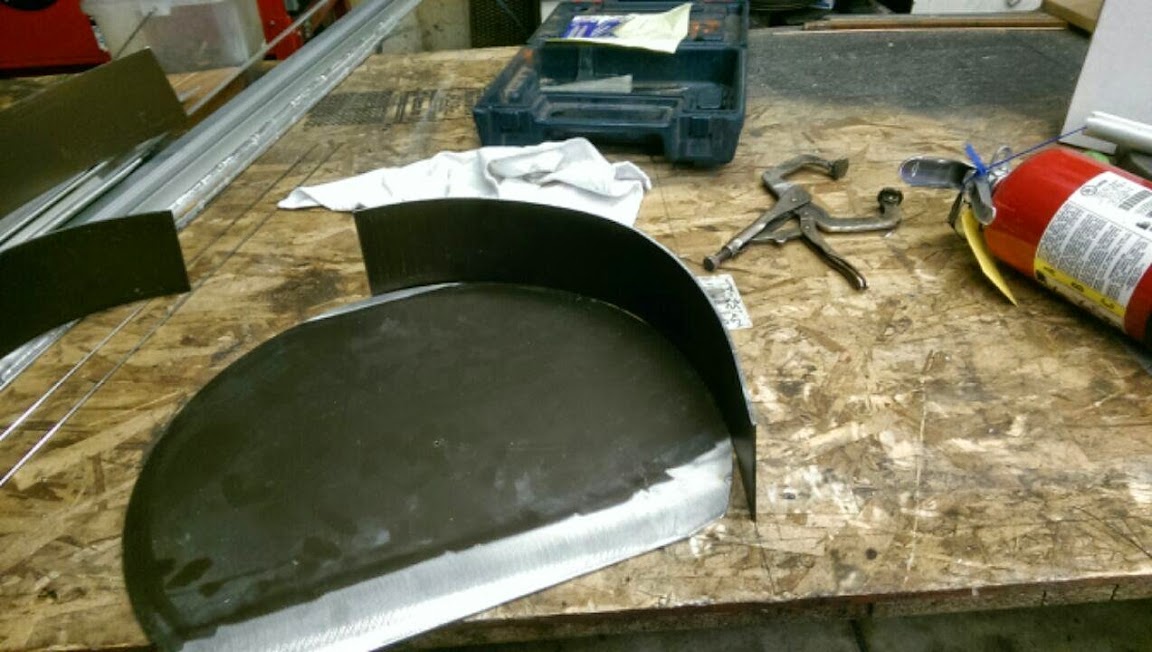
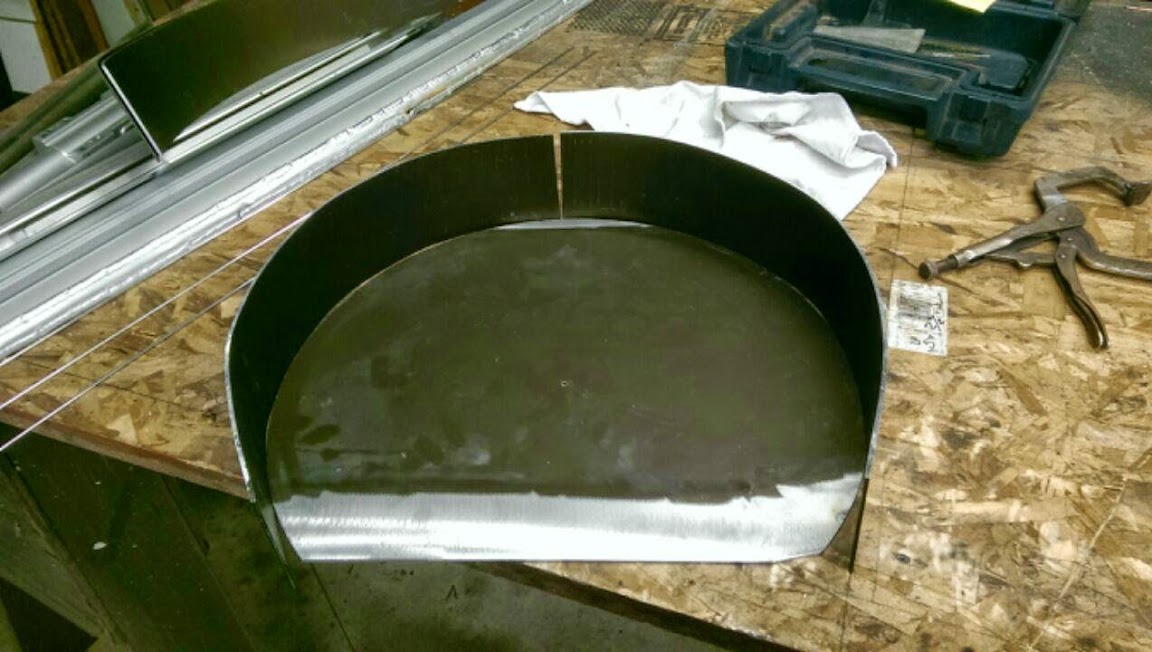
now start welding them up
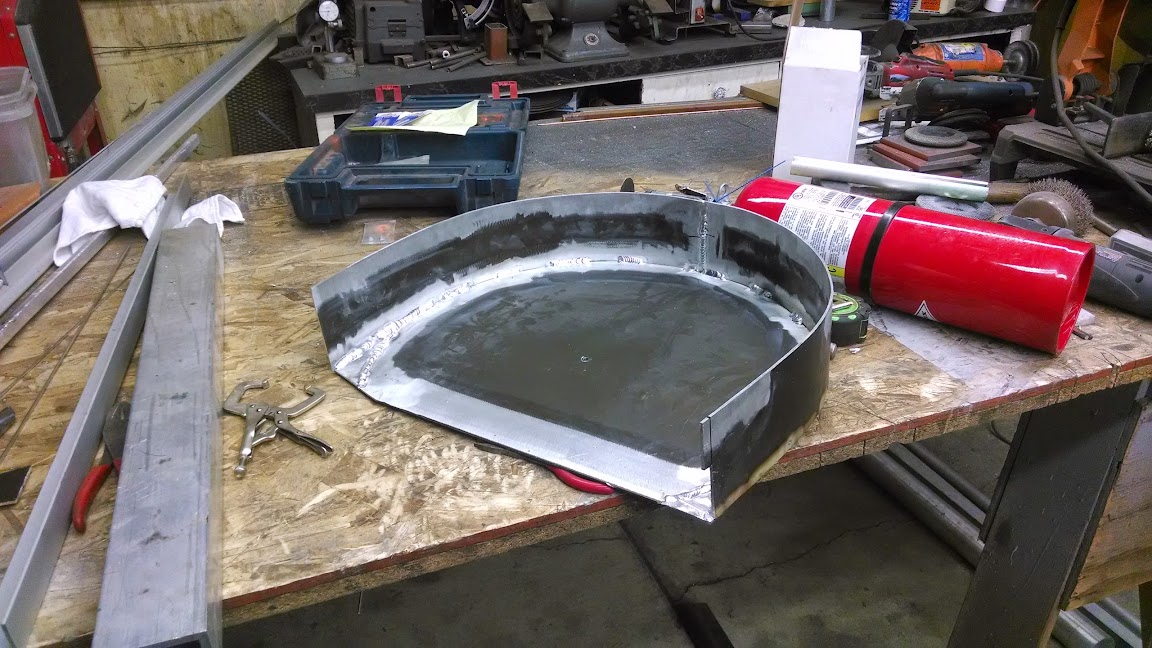
fit them and tack weld them in place
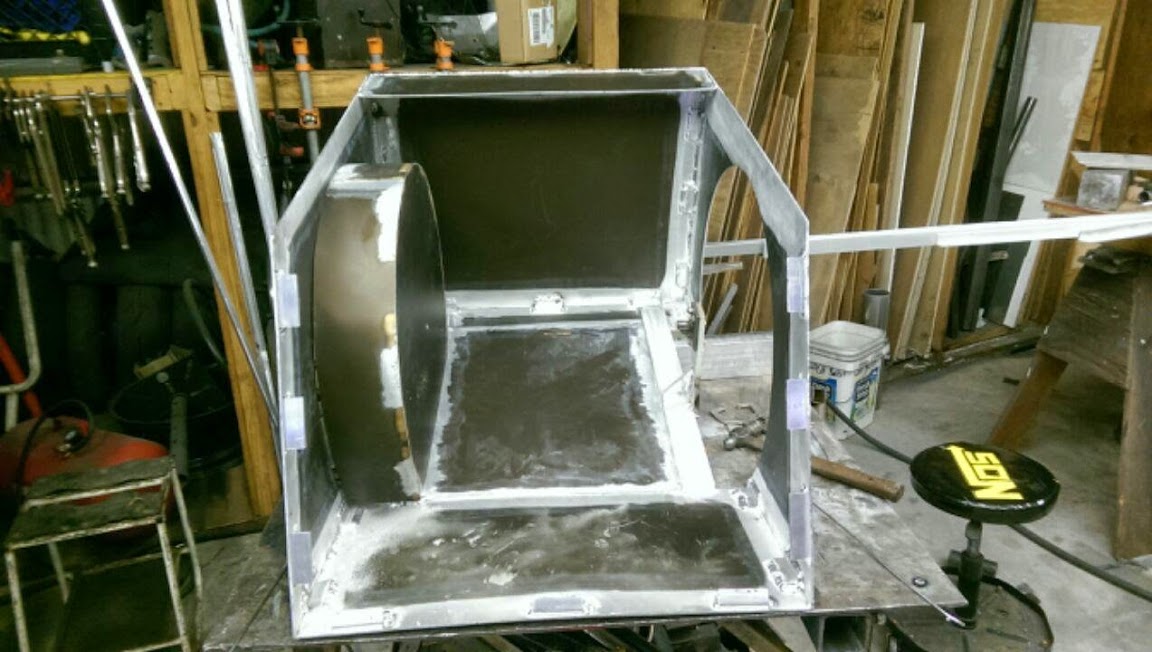
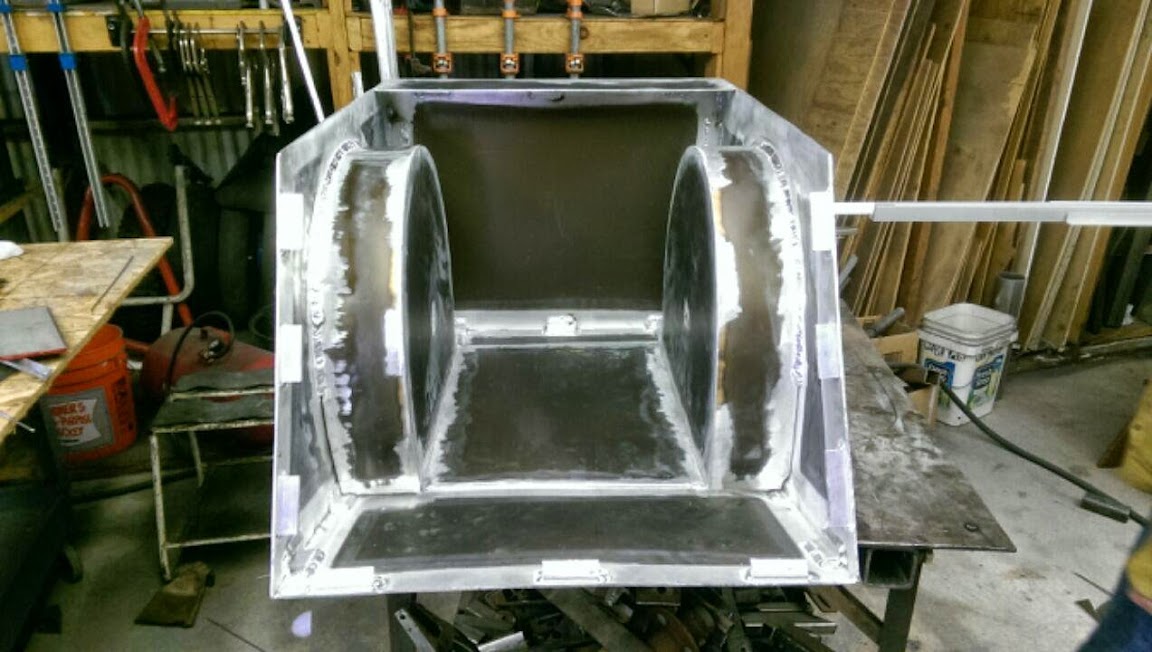
now the welding begins. I burned up a bunch of rod.
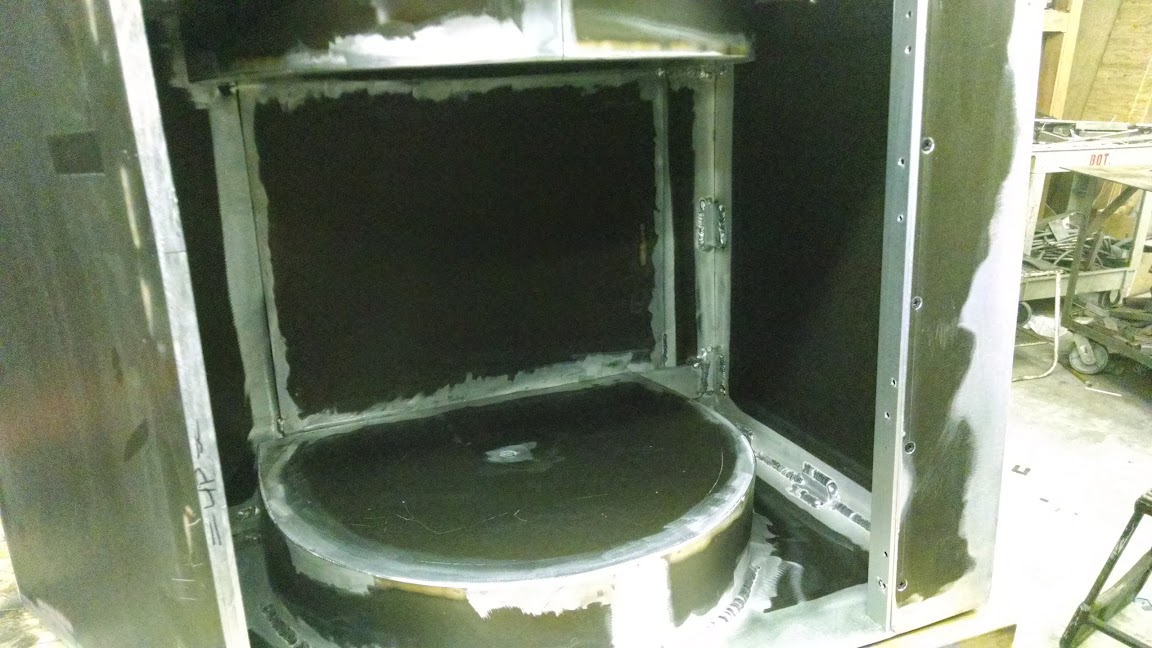
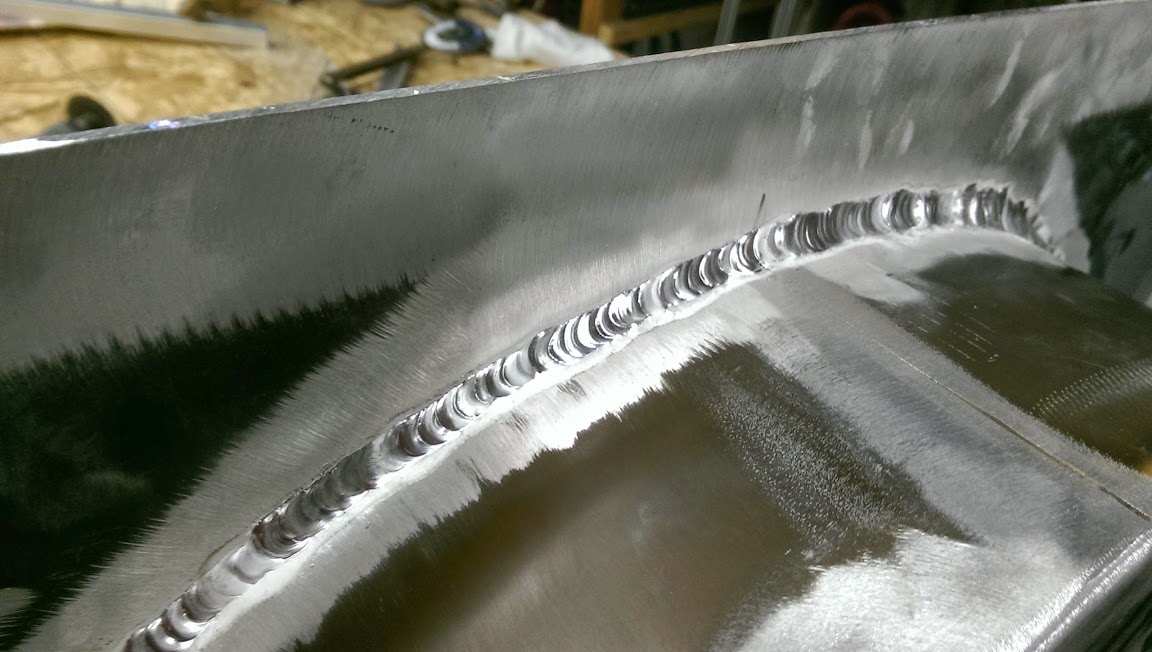
1/2" thick by 3" wide bar stock will be the "frame" that will hold the uprights.

Now one of the hard parts. the wheel wells or tubs. Using what I cut out of the sides as the inner wall I just needed to cut and form the bends. did this by folding the flat strips over the fire extinguisher you see in these shot


now start welding them up

fit them and tack weld them in place


now the welding begins. I burned up a bunch of rod.


Getting pretty close to having a roller now
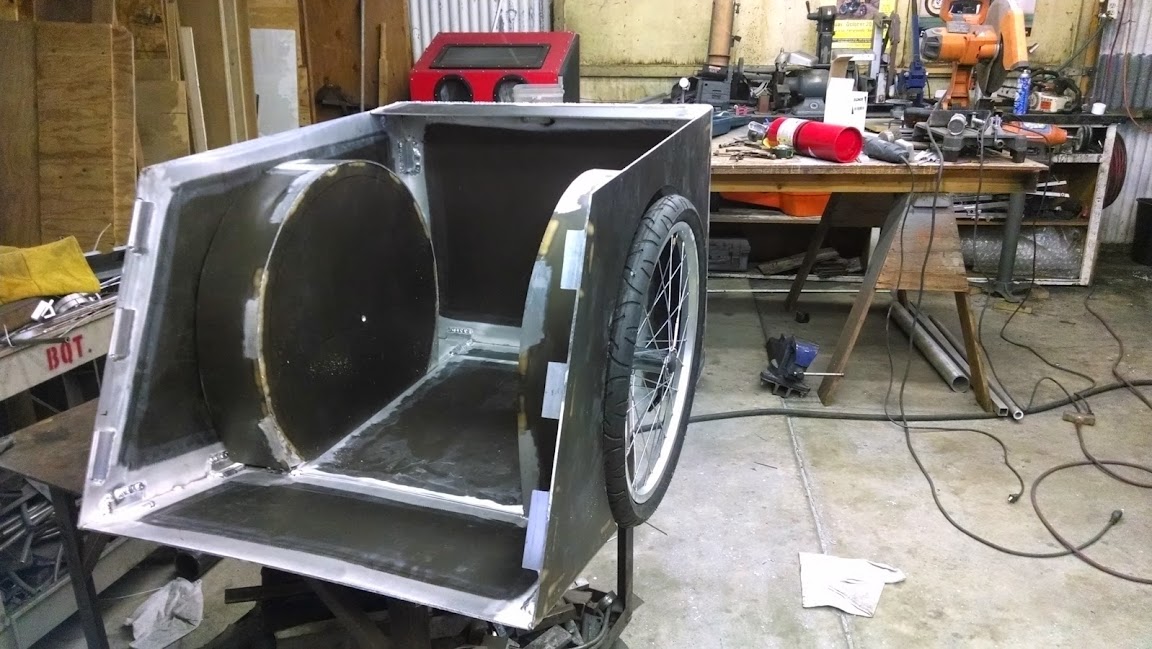
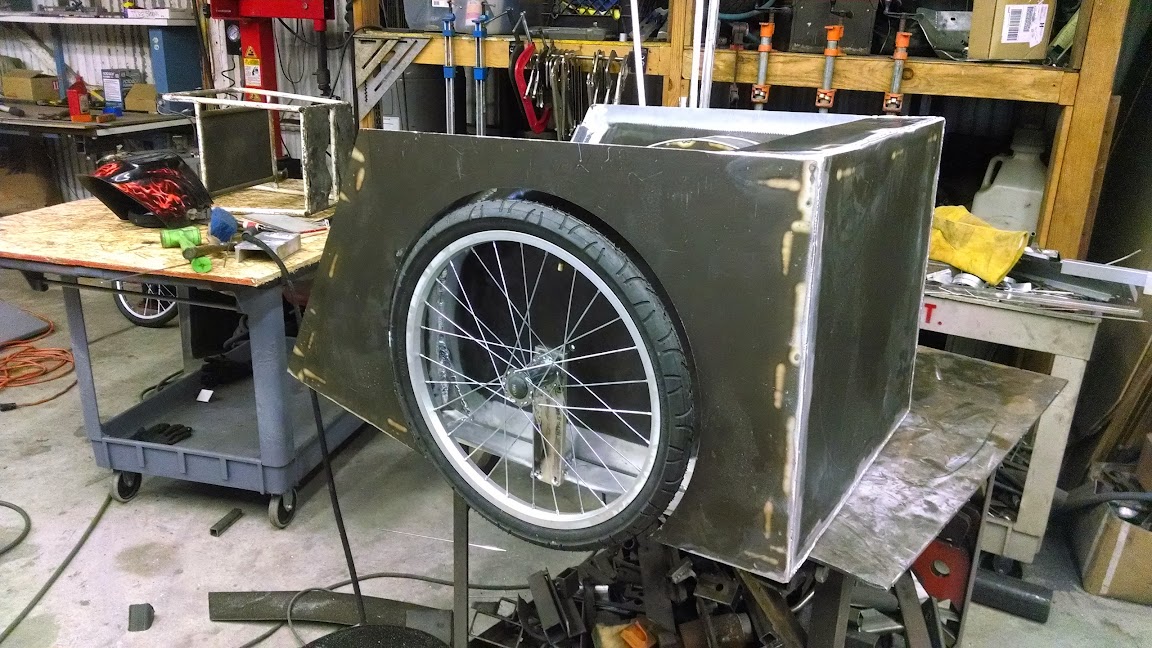
Need to start figuring out the hitch. Mock it up on the tow bike
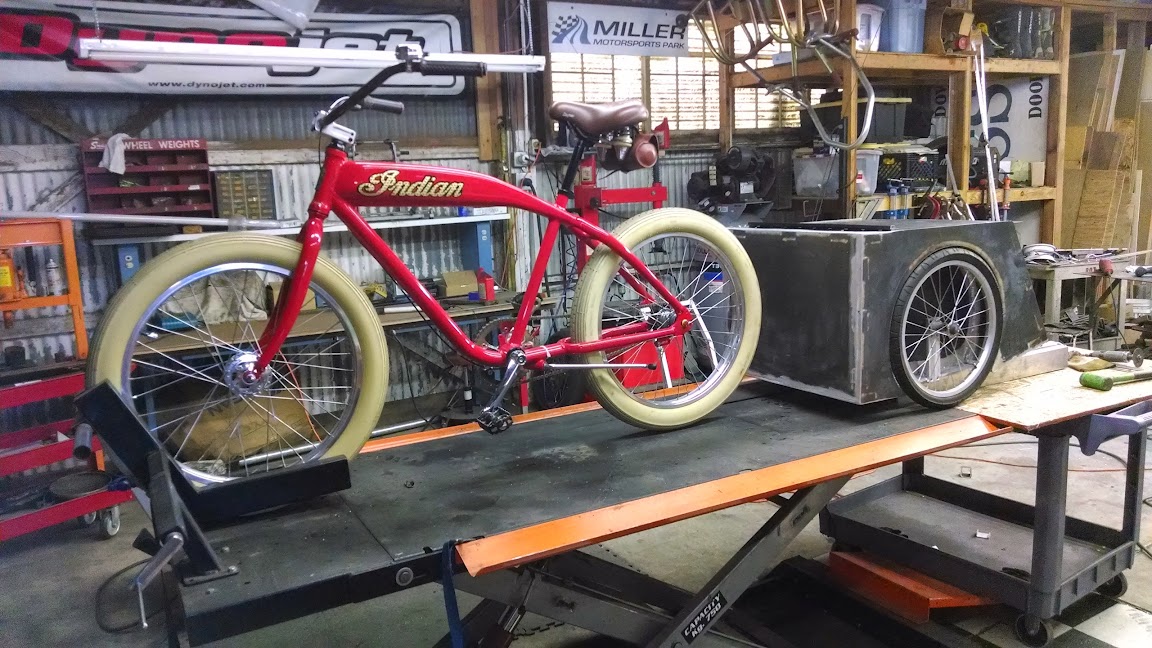
Forgot to take any pictures of the hitch, I will post up a detail on it if any one is interested in it.
so here it is for its first tow,
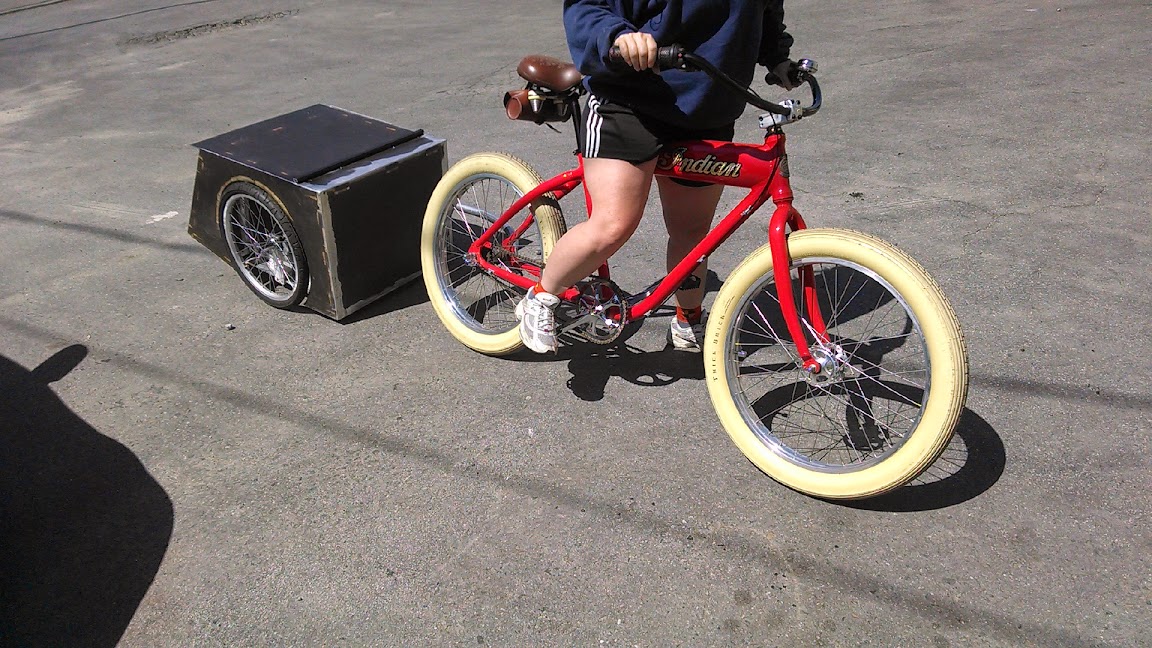
works great. time to get it finished, building the latch, trimming the lid and prepping for paint.
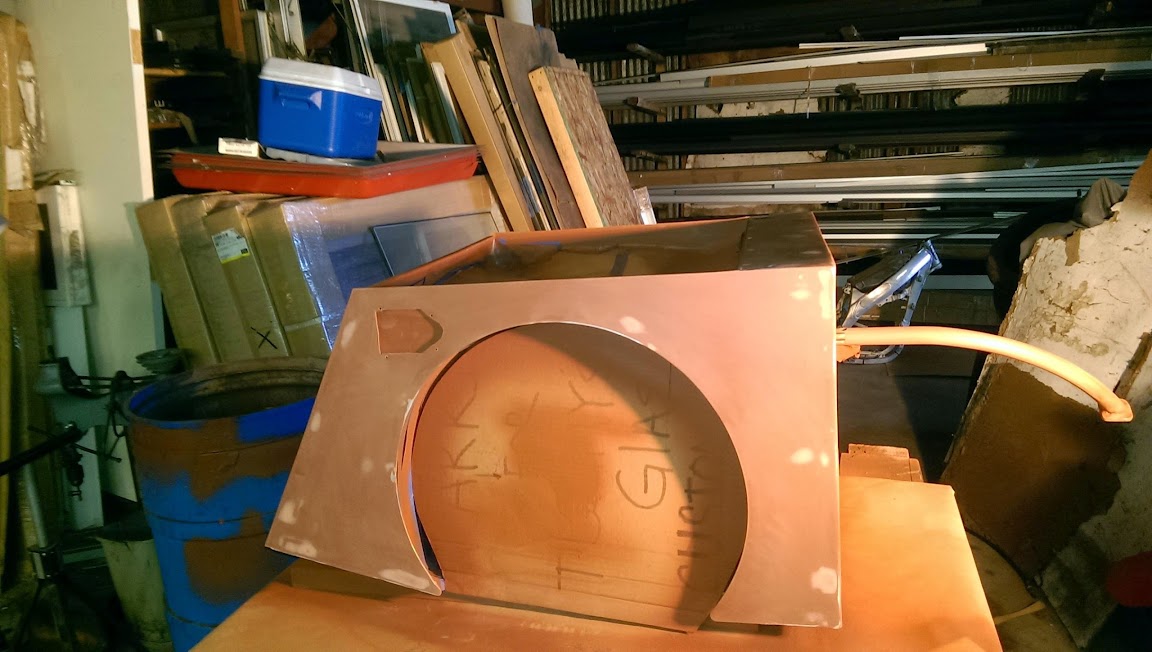


Need to start figuring out the hitch. Mock it up on the tow bike

Forgot to take any pictures of the hitch, I will post up a detail on it if any one is interested in it.
so here it is for its first tow,

works great. time to get it finished, building the latch, trimming the lid and prepping for paint.


$199.99
$229.99
Huffy Stone Mountain Women's Mountain Bike, Gray, 26 Inch Wheels/17 Inch Frame
HuffyDirect

$19.99
Electra Glide Wall Decal 2ft Long Sport Harley Davidson Bike Motorcylce Sticker Man Cave Garage Boys Room Decor
FatCat Wall Graphics

$18.99
Old River Outdoors Bicycle/Motorcycle Chain Picture Frame 4" X 6" Photo - Faux Bike Chain
Old River Outdoors (USA Merchant)

$99.99
$108.99
Schwinn Toggle Quick Build Kids Bike, 12-Inch Wheels, Smart Start Steel Frame, Easy Tool-Free Assembly, Blue
easiness

$152.99
$179.99
cubsala Freestyle BMX Bike, 18 20 Inch Kids Bicycle for 5-13 Years Old Kids and Beginner Level Rider, Multiple Colors
funwheels
primer then paint.
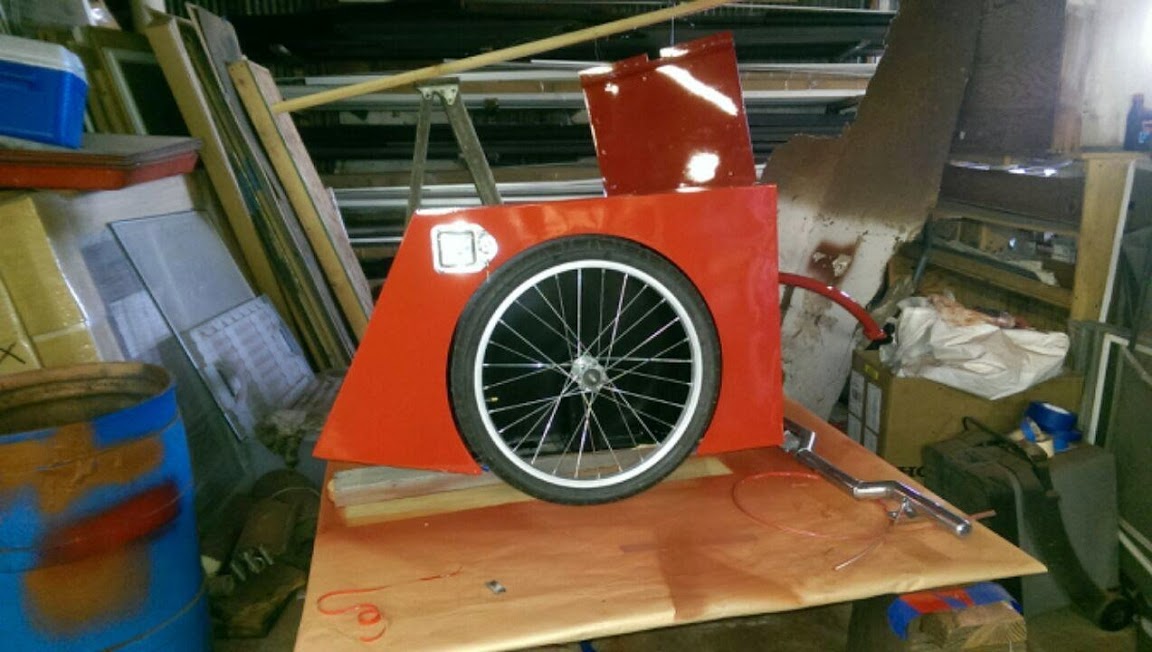
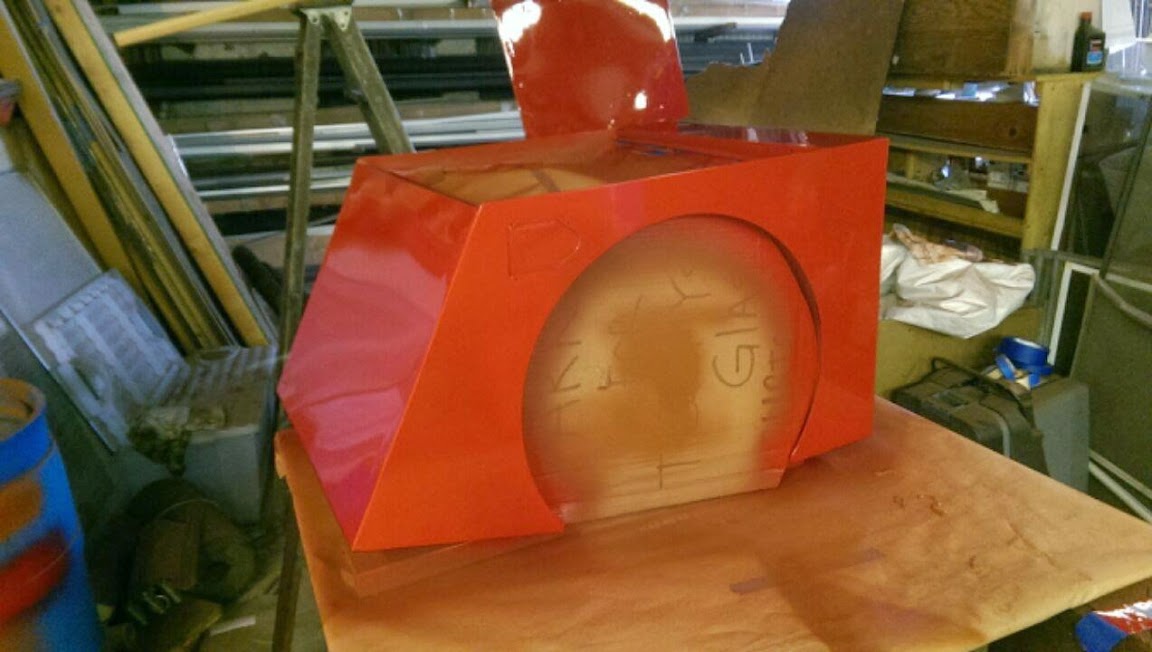
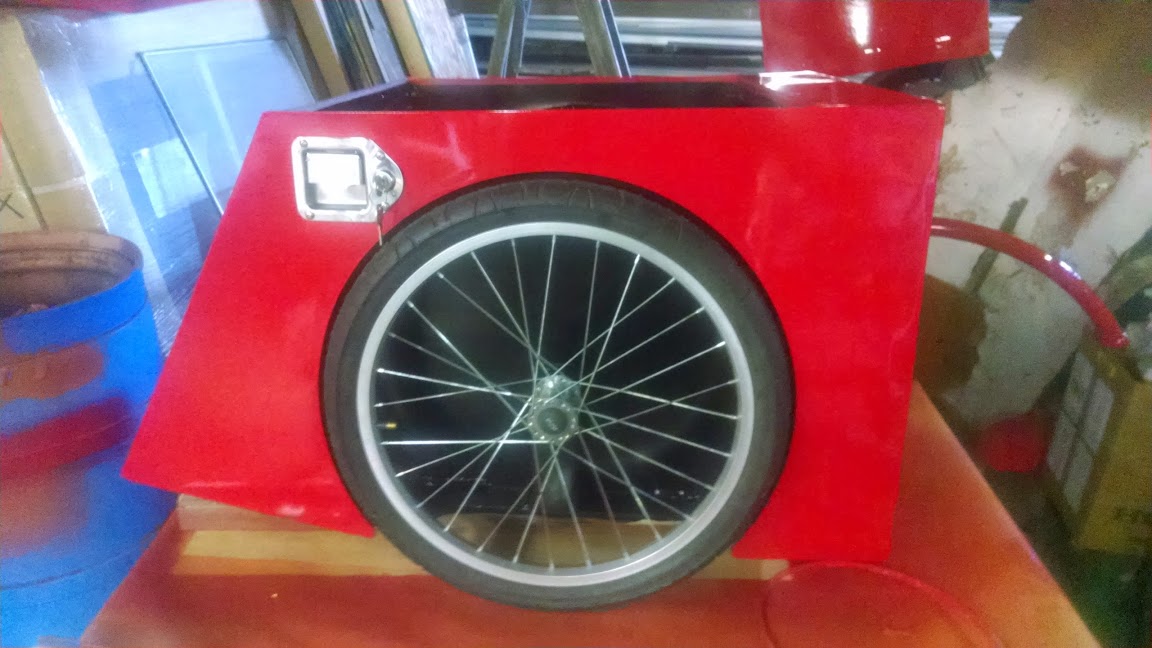
time for color
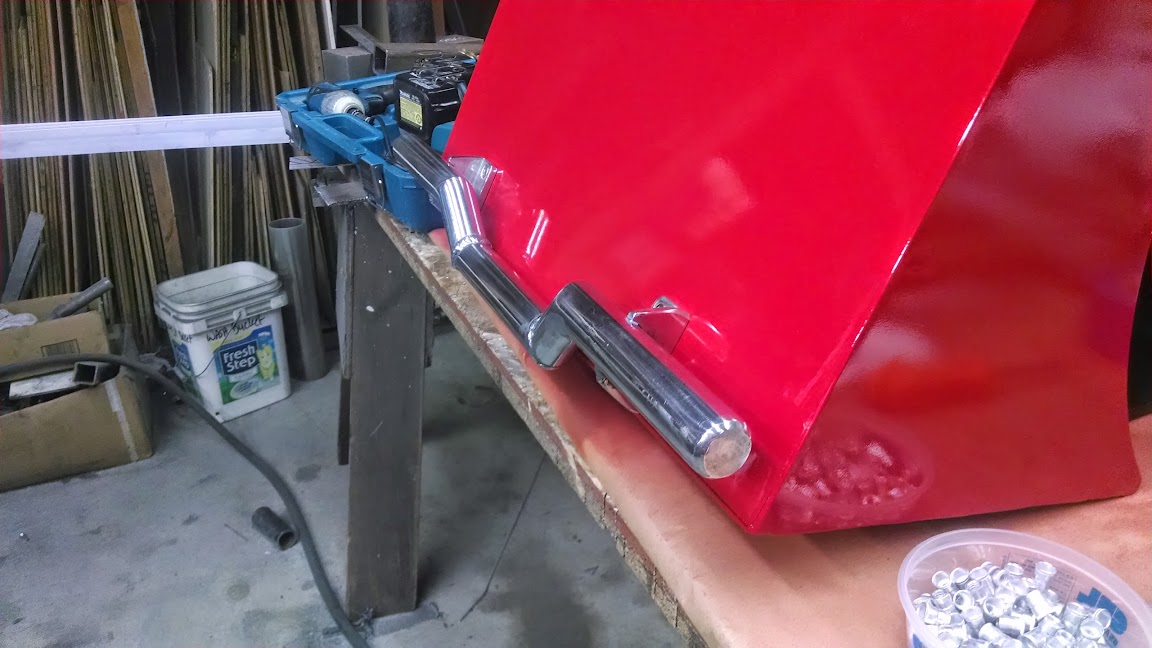
fabbed a nice little push bar out of aluminum tube. I want it to look like a handlebar. I welded and ground the ends to make it look solid but it is actually thin wall tube so it is very light.
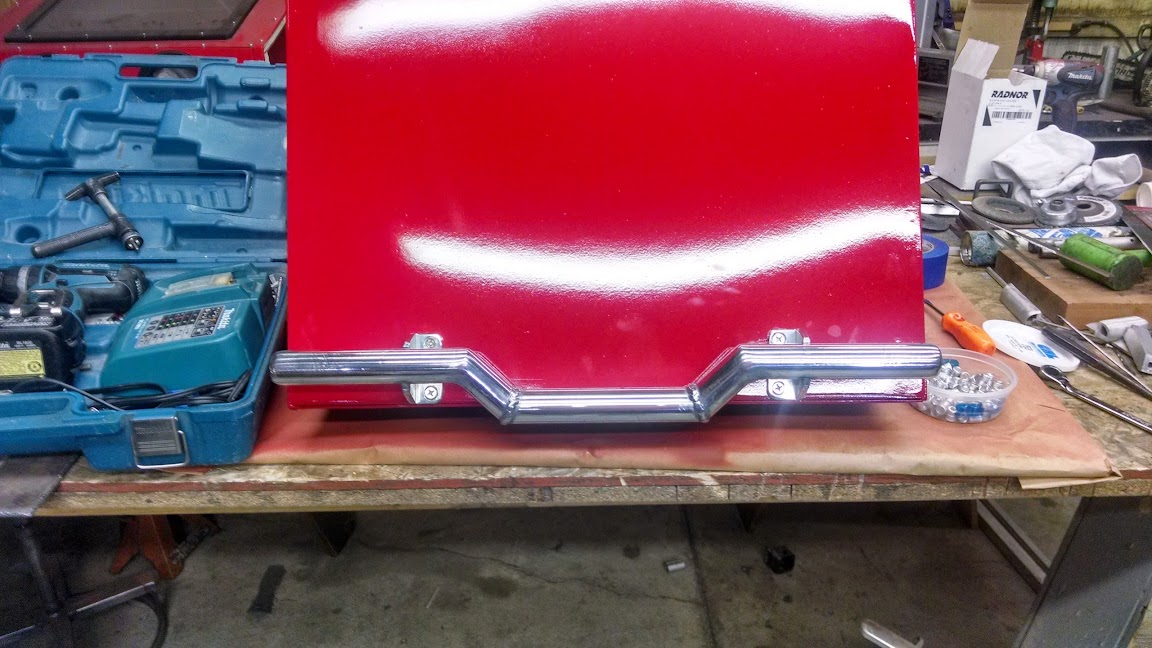
couple finish shots here.
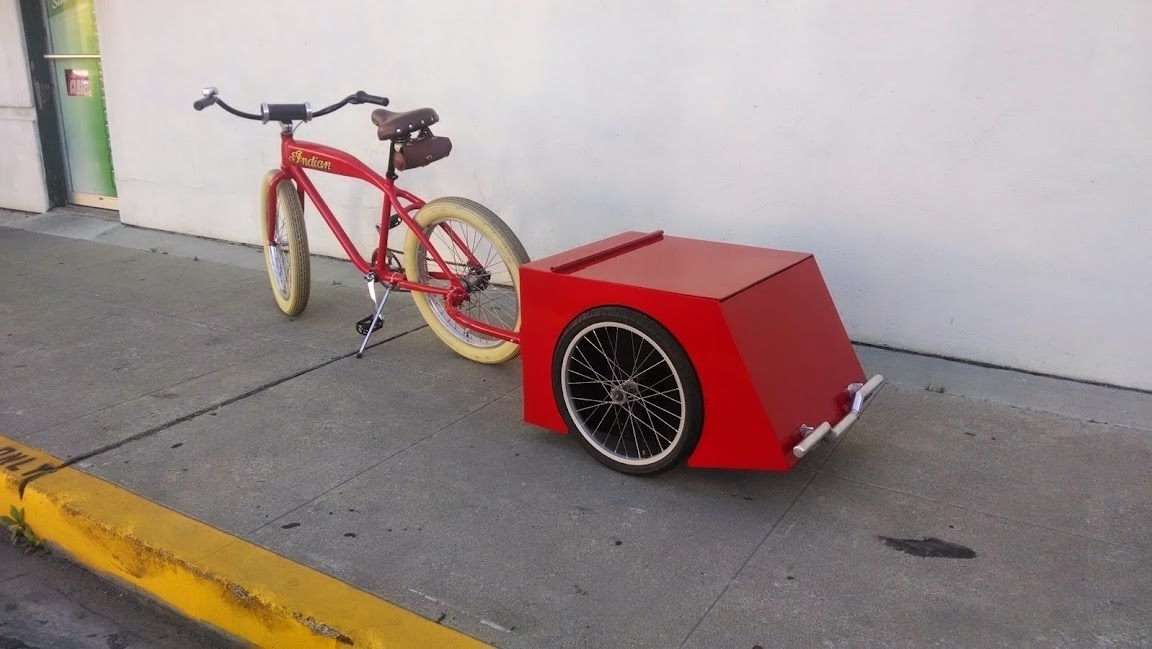
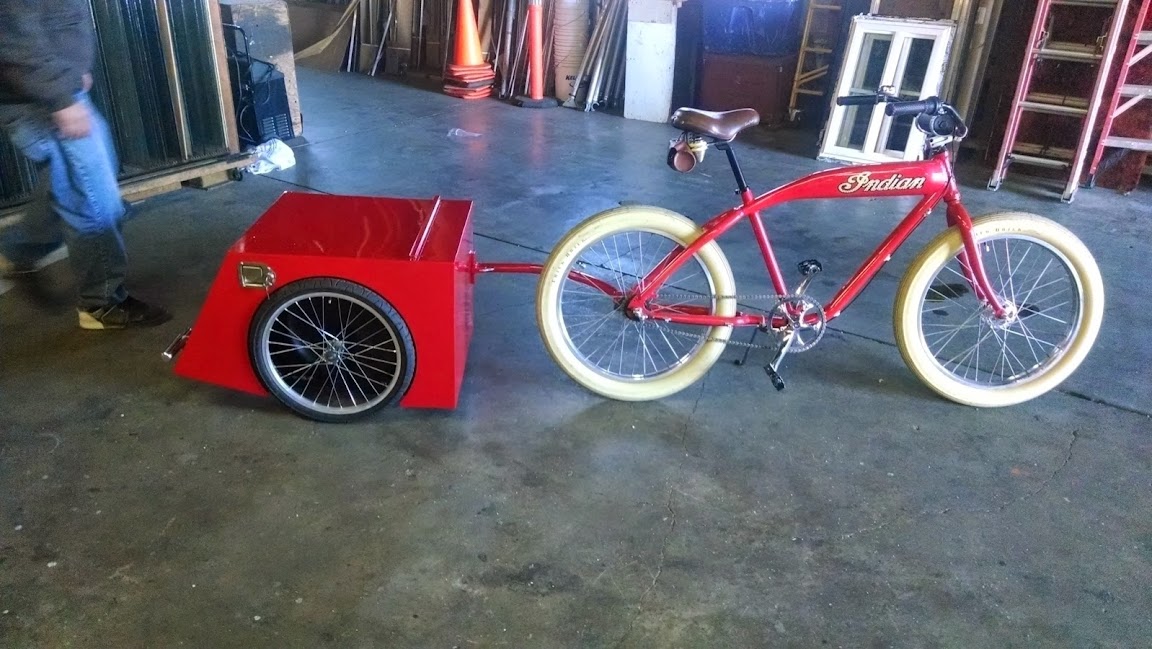

time for color

fabbed a nice little push bar out of aluminum tube. I want it to look like a handlebar. I welded and ground the ends to make it look solid but it is actually thin wall tube so it is very light.


couple finish shots here.


That is first class! You plan on selling them?
That is first class! You plan on selling them?
No, Nobody in their right mind would pay the kind of money this type of build costs. I probably have 40 hours in it. I am sure if I just went at it hard and built a few of them at the same time I could cut the time down but materials cost a pretty penny.
Nice of you to call it first class. Thank you.
There ain't nobody here in their right mind!
How much!!!!
I am about to drop coin for a t.I.g. rig. To much metal wanting me to weld it...
How much!!!!
I am about to drop coin for a t.I.g. rig. To much metal wanting me to weld it...
Very nice work!
Luke.
Luke.
Coo-oool. I love that you built fender wells to house the tire, rather than just stick the tires on the outside. Just because you could. 

Very nice...How well does it work holding the wheels by only one end of the axle?? Can you put any weight in it without the wheels going all decambered?
That is a ton of tig welding. and no discernible warpage on the outside...I am impressed!
That is a ton of tig welding. and no discernible warpage on the outside...I am impressed!
The "uprights" I built are steel bolted to 1/2" thick by 3" wide 6061 Aluminum bar stock, I also built side plates and gussets out of the same material to make the uprights very rigid. The wheels are an off the shelf part from a runners baby stroller. They are quick release (push the black rubber center and they pop right off) They do deflect but it seems to be the wheels themselves and not the axle or mount. I sat on the thing as a chair at the Sea Otter Classic yesterday for a couple hours. I weigh 220 Lbs and the wheels are still sitting in their original position.Very nice...How well does it work holding the wheels by only one end of the axle?? Can you put any weight in it without the wheels going all decambered?
That is a ton of tig welding. and no discernible warpage on the outside...I am impressed!
As far as the panels staying flat, an old body man trick is the stitch welding technique where you only weld small localized beads moving around on the material. keep doing it and eventually you "stitch" all the beads into a continuous bead. The only down side is my lack of consistency means you can look closely and see where I started and stopped.
I finished it this morning.
This is the final touch. A polished aluminum bracket I fabbed and solid maple stringers for my luggage rack.
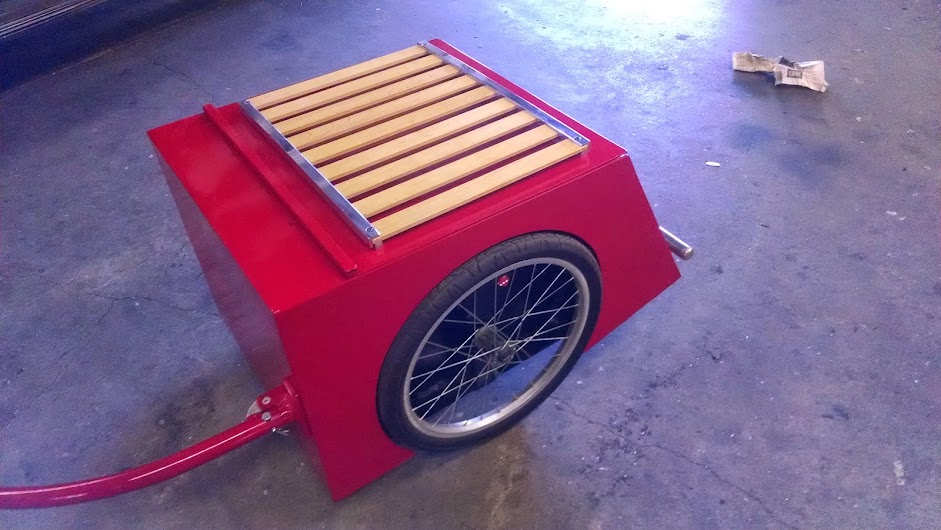
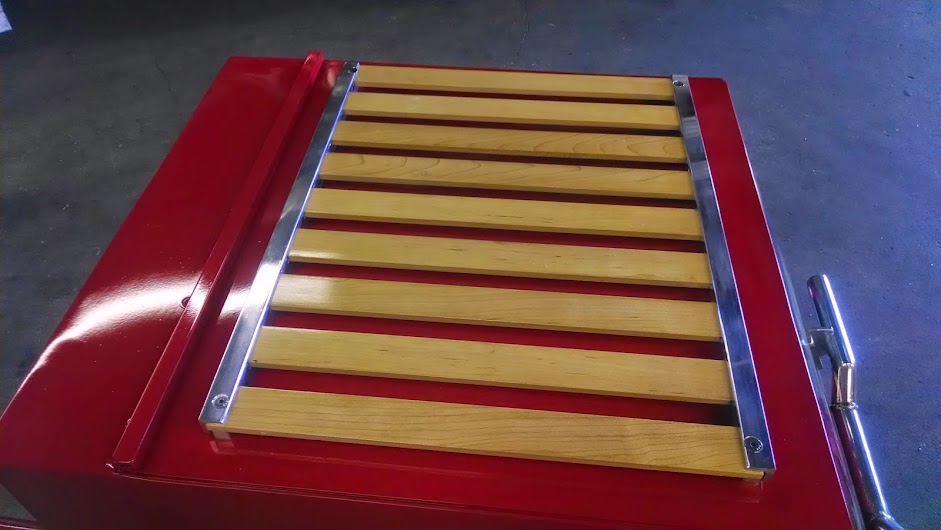
In the next picture you can see the logo for my side business and one of the reasons I built this trailer.
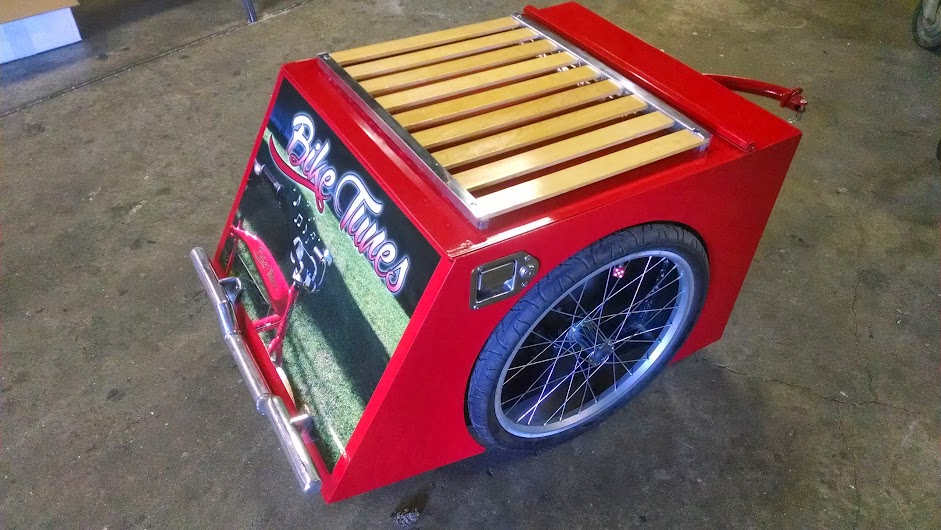
This is the final touch. A polished aluminum bracket I fabbed and solid maple stringers for my luggage rack.


In the next picture you can see the logo for my side business and one of the reasons I built this trailer.

crazy good fabrication skills!
Really nice!
Luke.
Luke.
Very cool! I especialy like the wood on top!
Epic trailer !!! so classy and well built ..the nicest i ever seen for sure


