Tanklight buildoff!

Rat Rod Bikes Bicycle Forum

Help Support Rat Rod Bikes Bicycle Forum:

This site may earn a commission from merchant affiliate links, including eBay, Amazon, and others.
1959firearrow said:
Sadly I've got to pull out of this build, I just can't make the time,money, and parts come together to do this bike the way I want to. I will go back to doing a stock resto on it again. Gotta find few really hard to come by parts first though.
:cry: as said before time is no worry , but i understand switching idea in mid course , if i had more than juste the frame and crank , i would of certainly tried to restore it original me too .. i kind of invade and transformed this thread into my personal build thread anyways :? i guess we can call this recycling :wink:


still waiting for the chain i ordered to make a test run before taring it apart for sanding and painting...
 
i have a week off , so i decided to dismantle it and start prepping parts
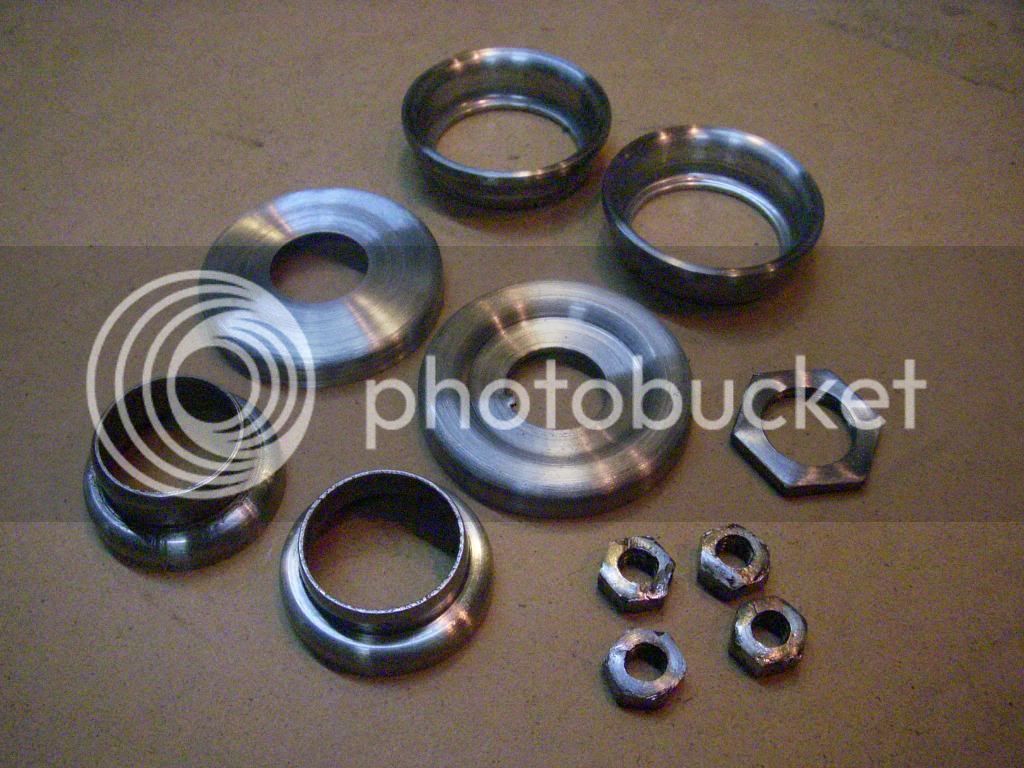
here is what a wood lathe , sand paper and varnish does to old rust pitted parts
DSCN5091_zps5a6e8b08.jpg

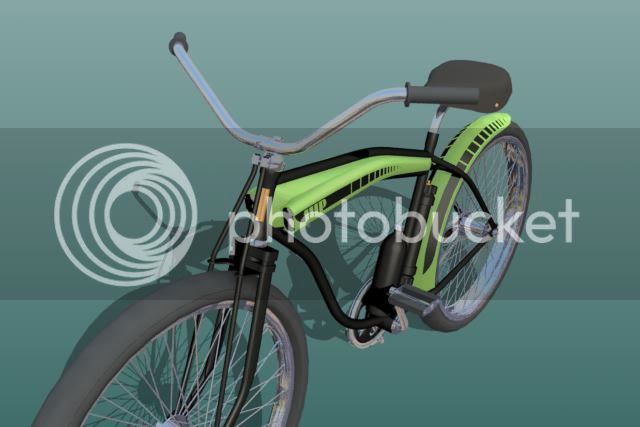
real_time_SIMSCYCLE3Dbaracudapaint1_zps49bfce25.jpg
 
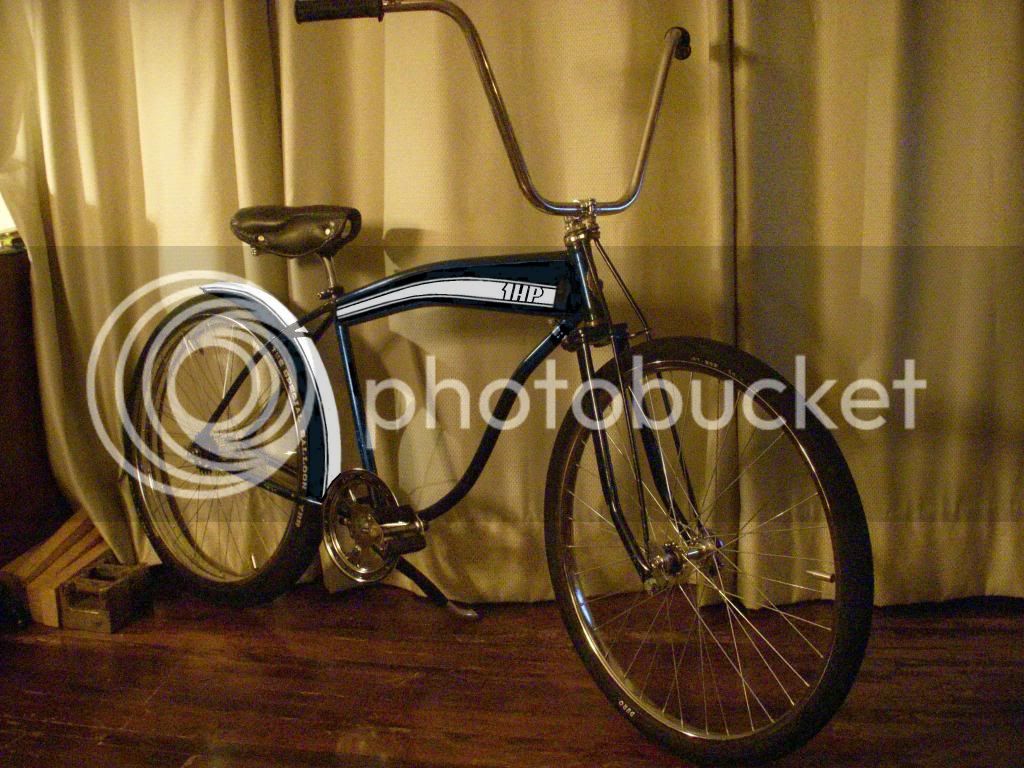
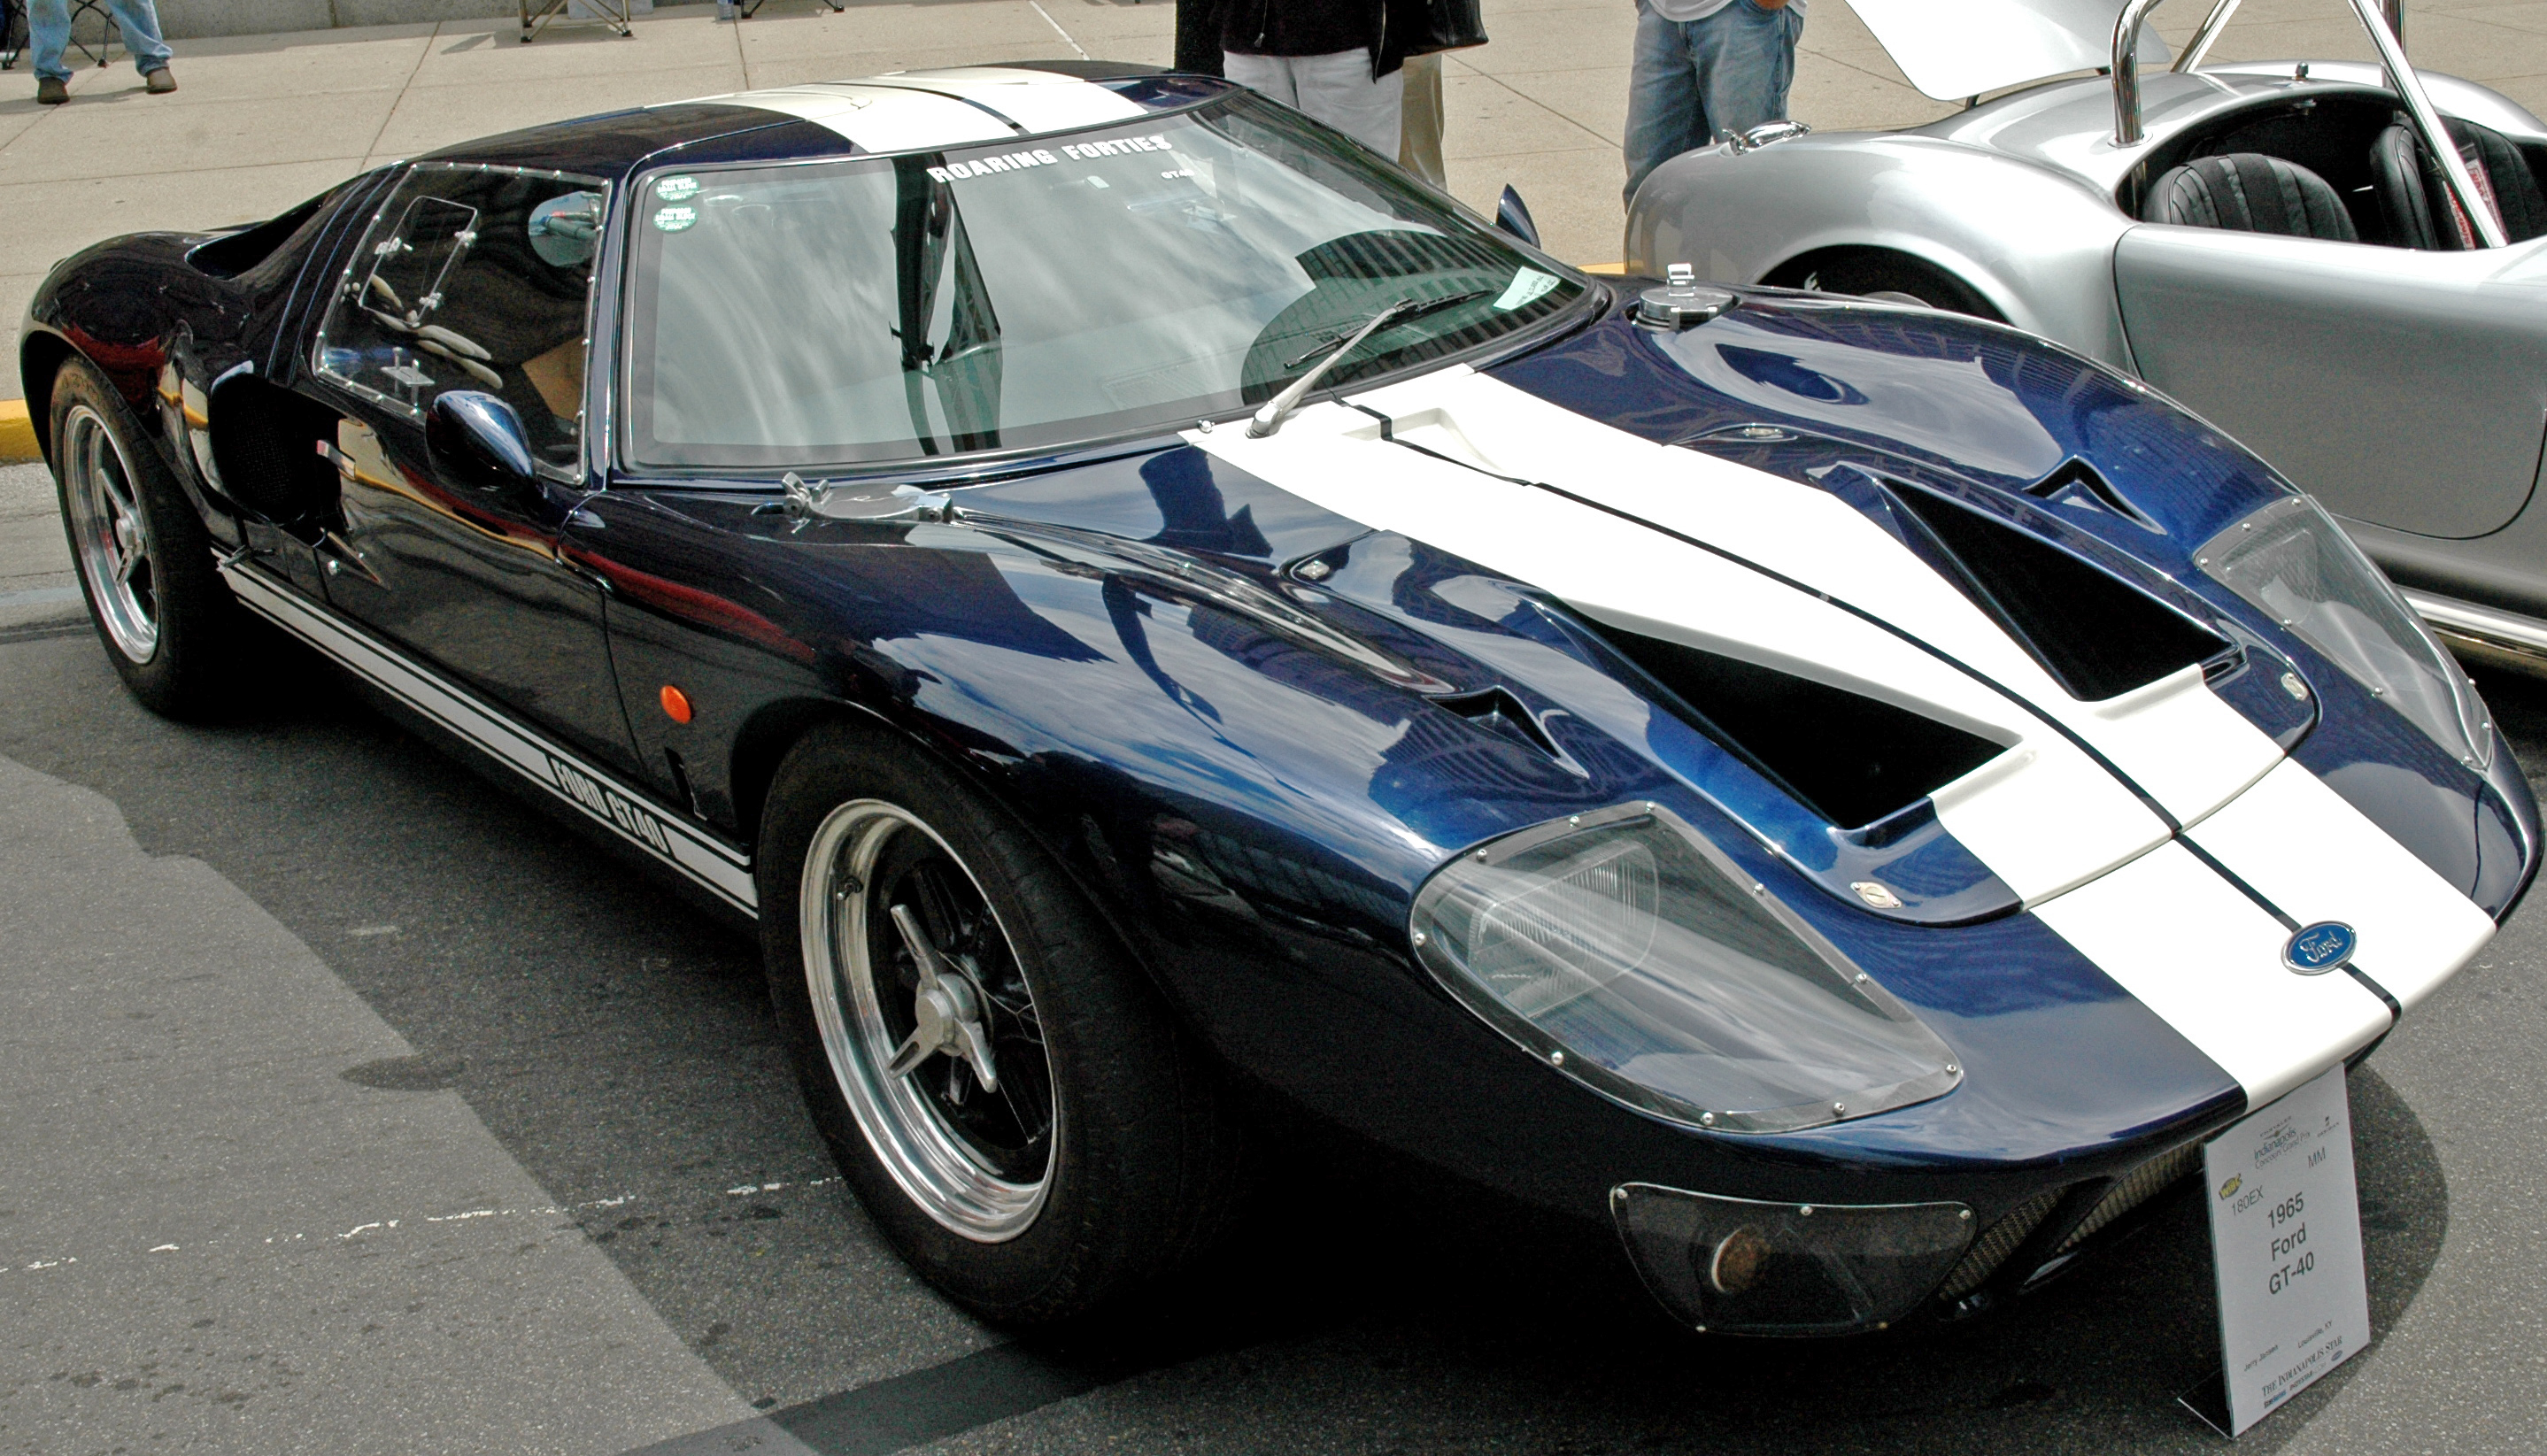
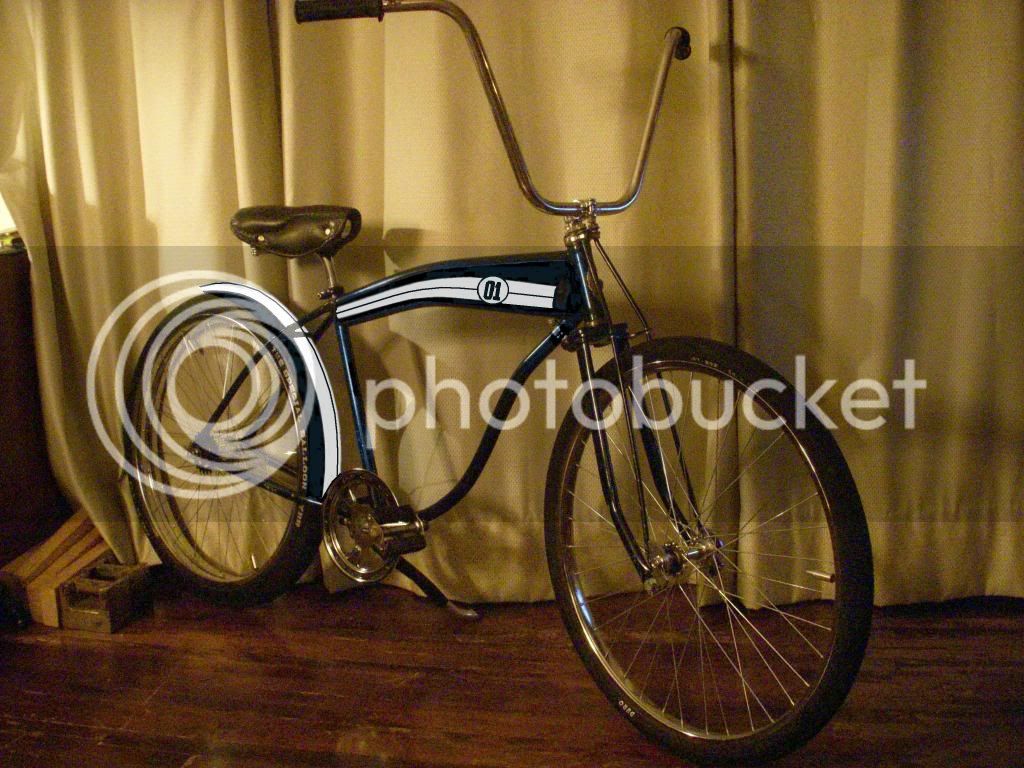
still messing with paint ideas :wink: what you guys think of this "GT40" style paintjob ? (drak blue/white)
gt40paint_zpscb8b9d8e.jpg
1965_Ford_GT40.jpg
 
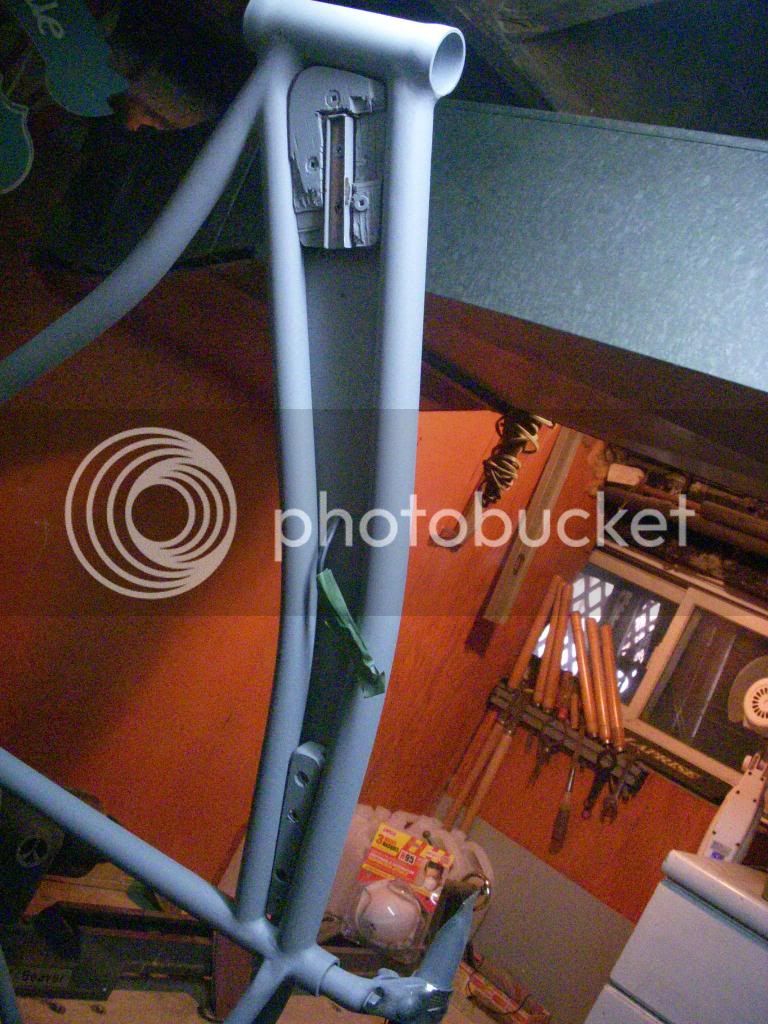
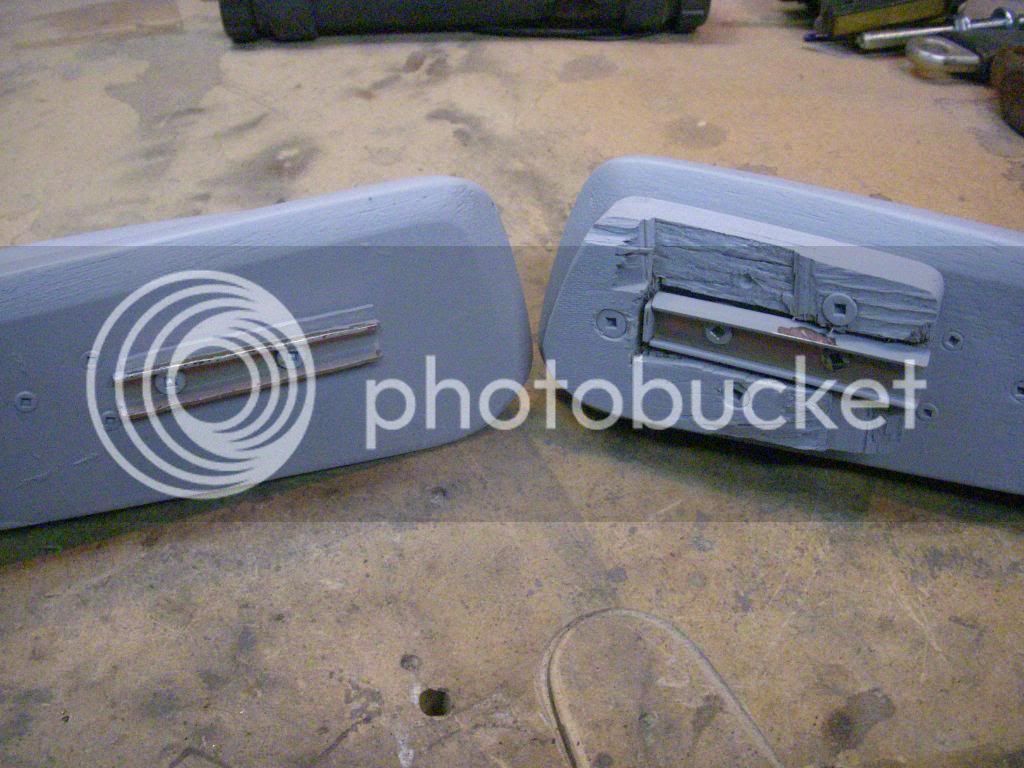
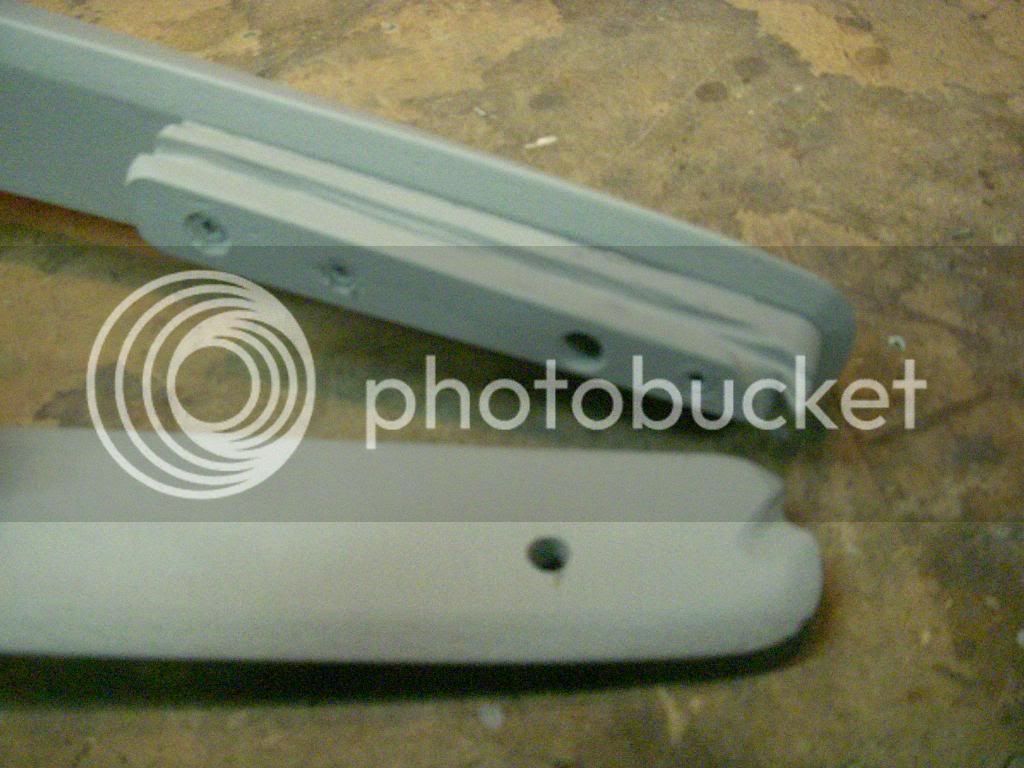
I forgot to post how the tank hang on the frame, here it is:
DSCN5098_zpse74752cf.jpg

DSCN5099_zps916a69fc.jpg

DSCN5100_zpsa58943af.jpg

DSCN5101_zps997c20be.jpg

-i made wood blocks that fit perfectly inside the frame at both extremity of the tank,

-then cut a notch in the front block to insert a (bed frame support bracket)"interlocking rails" ..
i inserted the other rail inside with double sided tape on the back so when i fit the other side of the tank , the rail stick to it ,
then carefully remove the other side of the tank with the rail stick to it and screw it in place , then adjusted it perfectly by closing or opening the rails slightly.

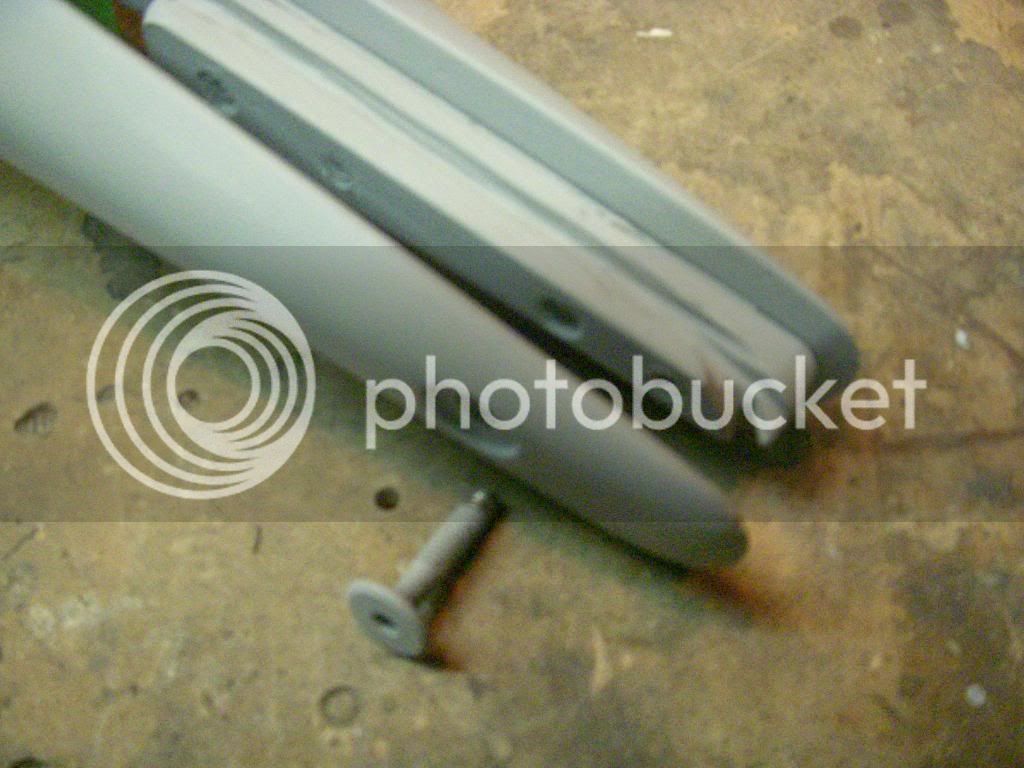
-for the back , i placed both tanks in the right alignment ,then drilled a pilot hole that goes through the tank into the wood block, then removed the wood block ,
made a bigger hole and inserted a (adjustable leg threaded insert) in the back on the block , then re-instal the block on the tank ,
and drilled the other side of the tank with the appropriated size for the screw and made a recessed wider hole for the screw head to site flush with the tank.

-for the wire , i cut a path with a grinder in the rear block and also a little in the down corner of the tank

sounds like allot ,its only half a day work , its not pretty ,but you don't see it and it work very well :wink:
i just insert the right side ,slide the left side in place ,and screw it in place
gt40paint3_zps405bbbb8.jpg
:mrgreen:
 
getting the paint this afternoon :) i changed the paint job again as you can imagine :? but this time its a surprise :lol:
iam painting in a tight space , so i have to do it just few parts at the time .. could take a week or so .."a little every afternoon"
 
##$#&$?%?)&$#%$? Duplicolor or canadian tire :x i bought a color , came back home to paint ... its freaking white :x some one some were exchanged the caps .grrr no color untill next weekend
 
Frame / fork / battery pack are freshly painted :D
i tried a new technique to try to prevent scratch and chips from being to apparent ...
primer
paint
paint
clear <<-----
paint
paint
clear coat
clear coat
clear coat
i basicaly done 2 paint jobs one on the other ..so if it chip or scratch , the theory is it will still have a other layer of paint and clear under it, instead of reaching the primer or bare metal
 
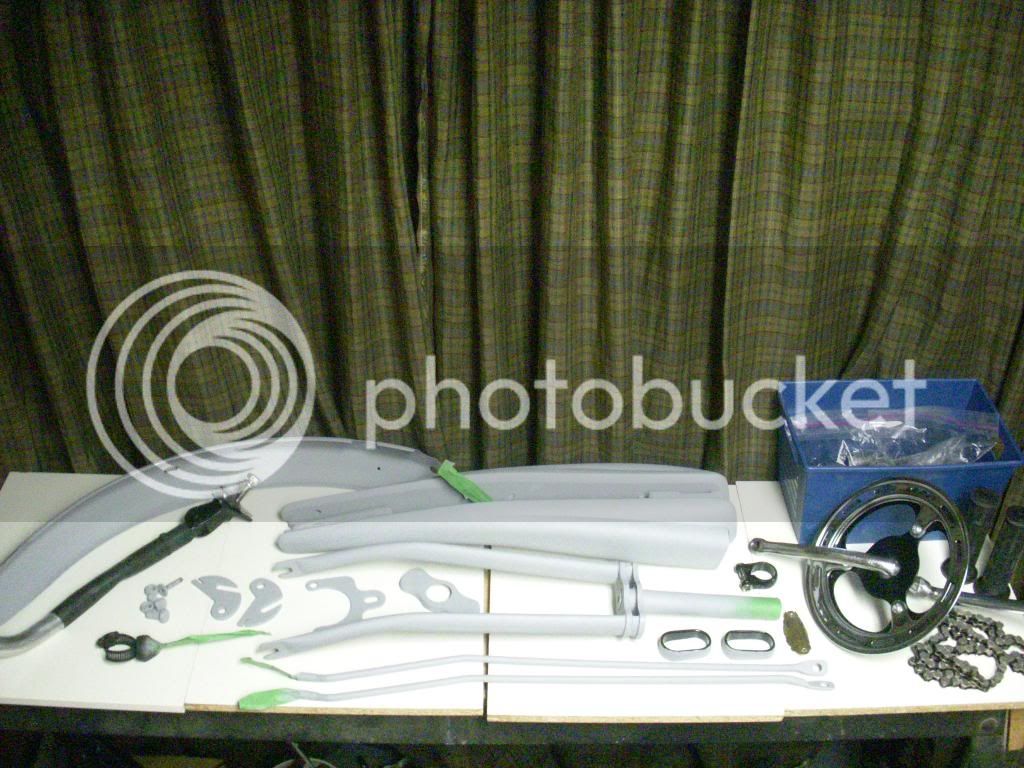
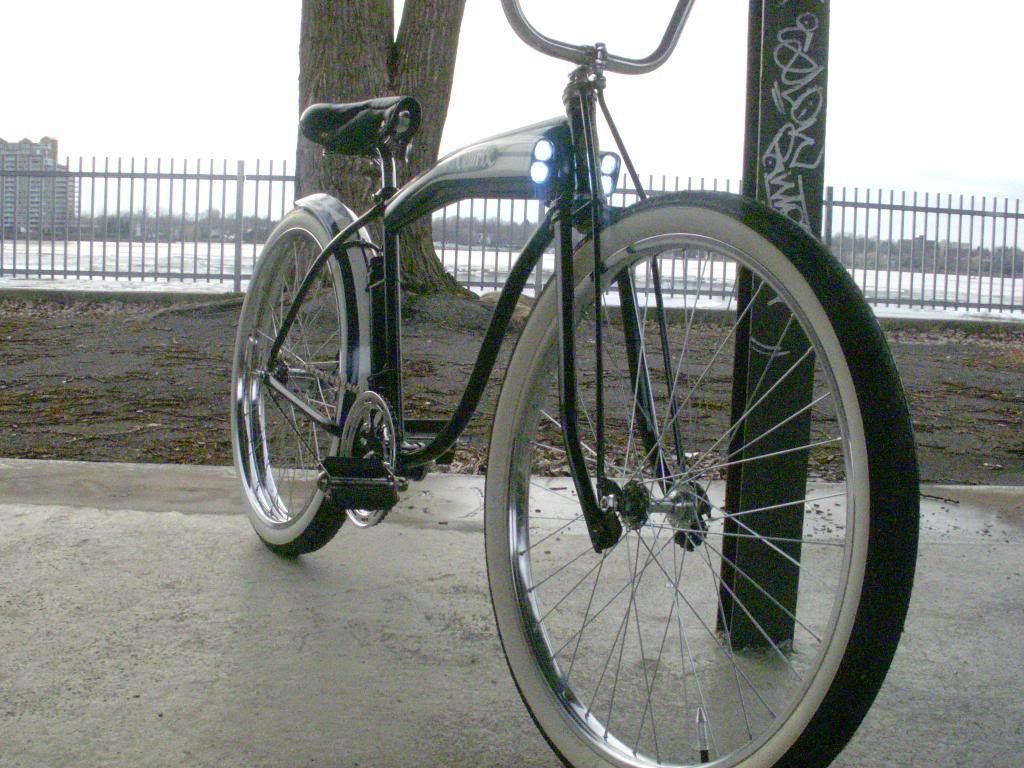
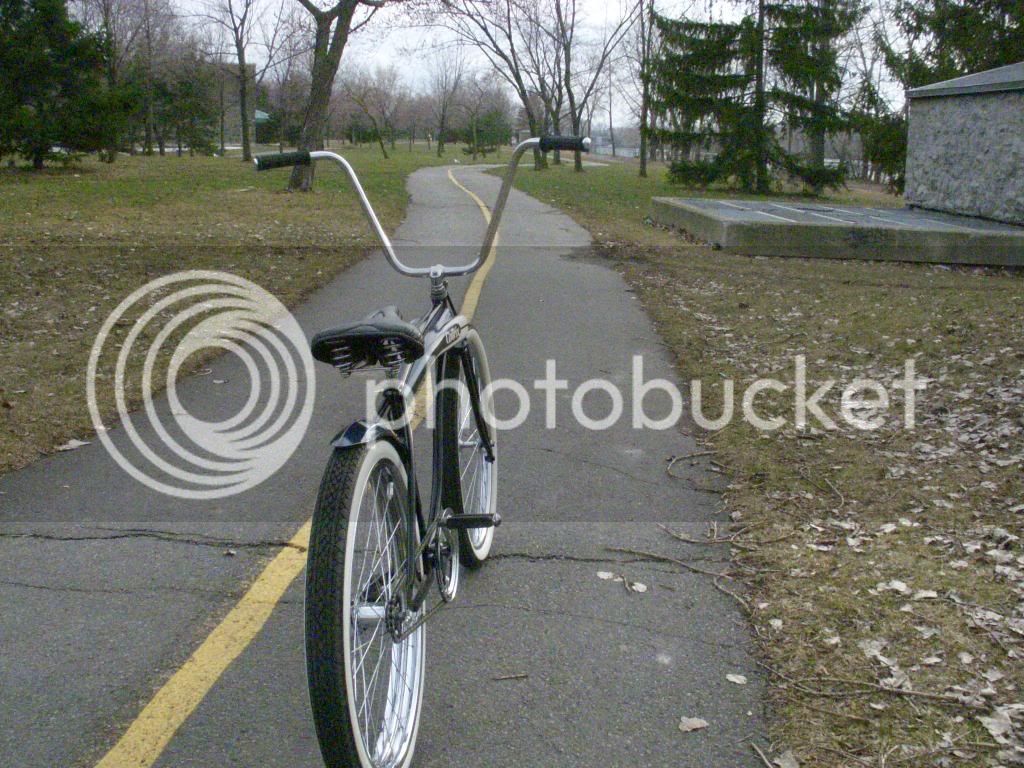
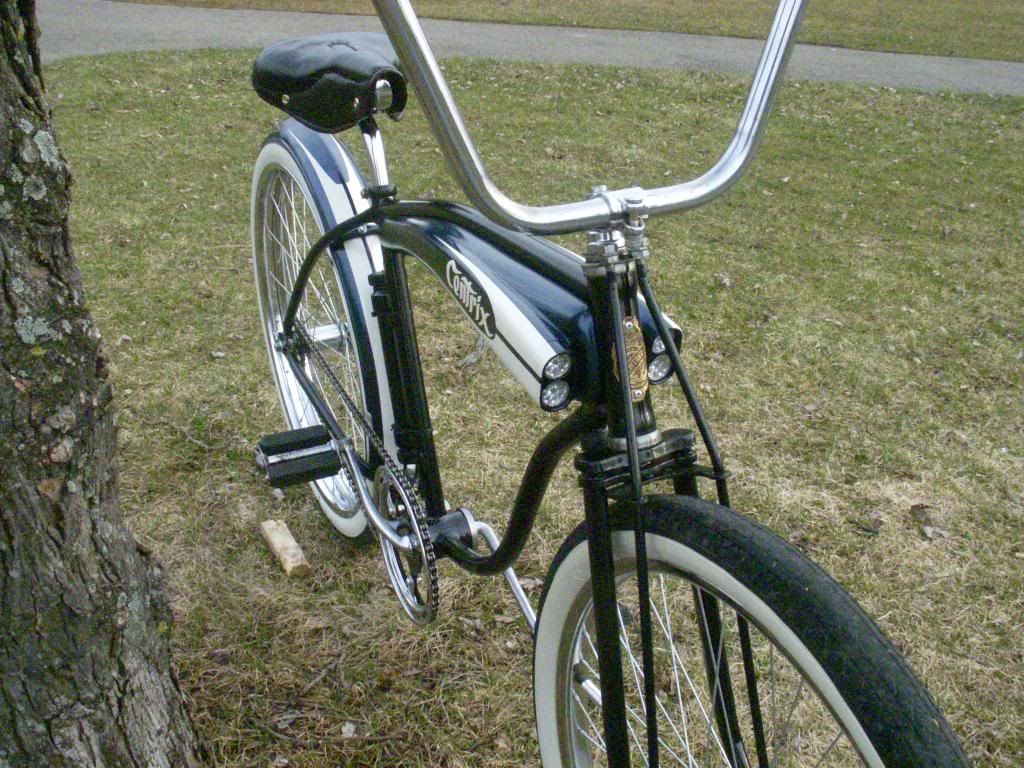
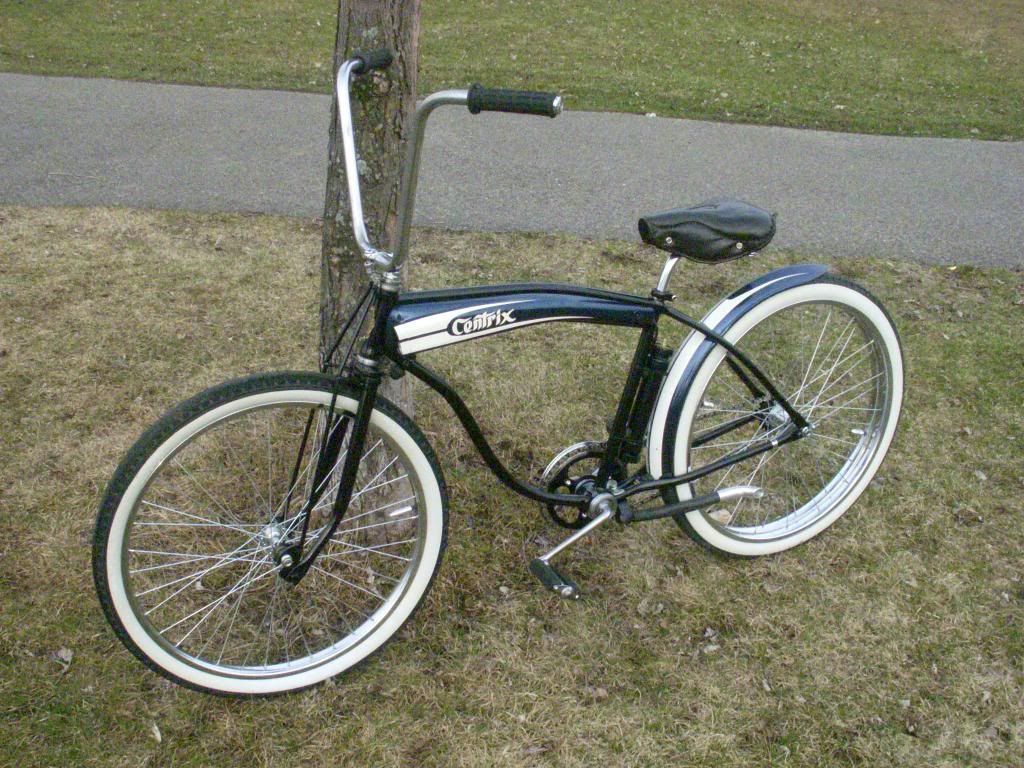
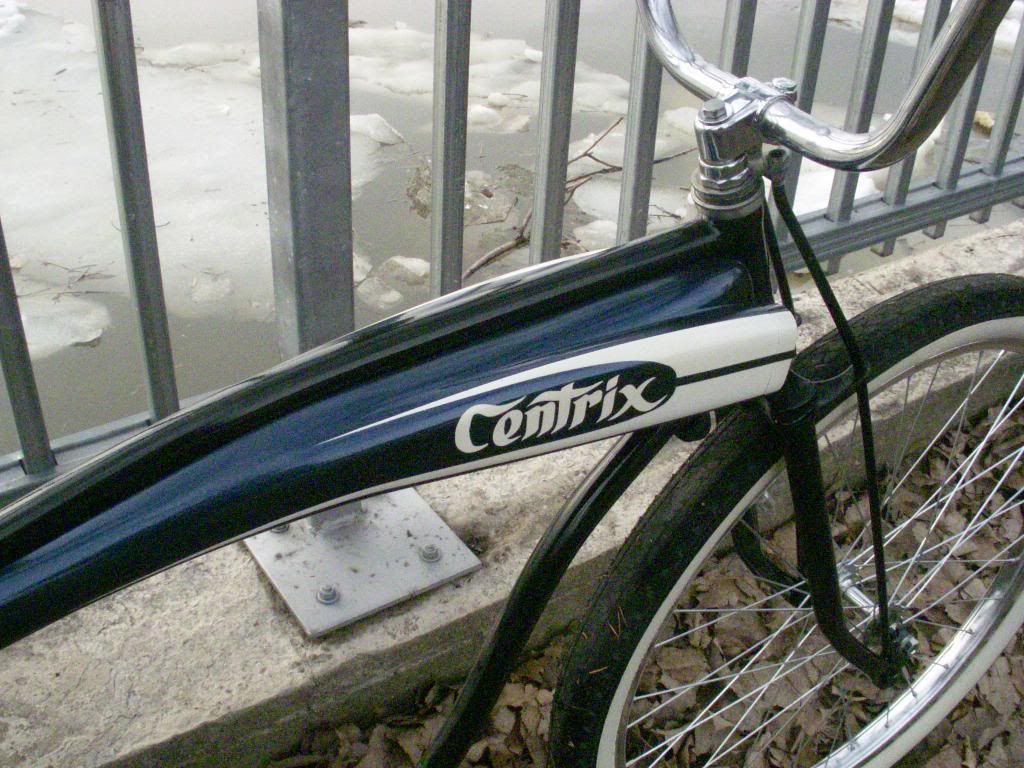
every thing is painted :D that took way more time then i imagined due to the quantity of parts and all the decals ..
got a little mishap when removing the decal tape tho,
some of the color pealed off with the tape at one place and had to carefully repaint part of the color and decal back with a brush.. fortunately its barely noticeable unless you look close..
ill post pictures soon this week when its all assembled ..
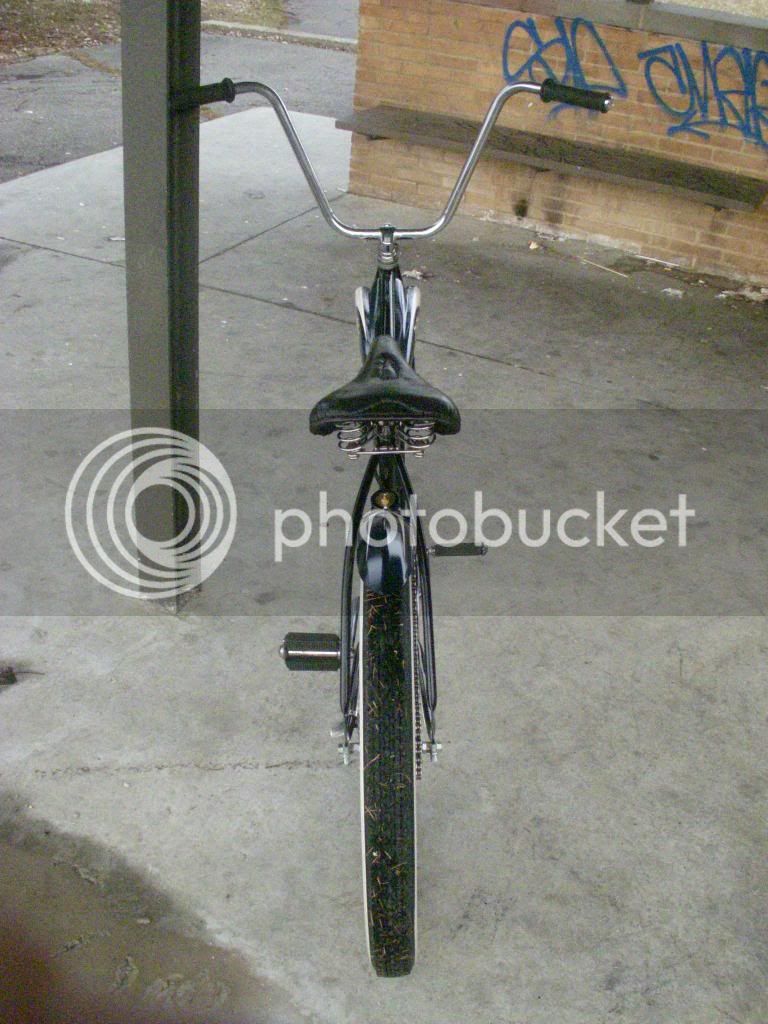
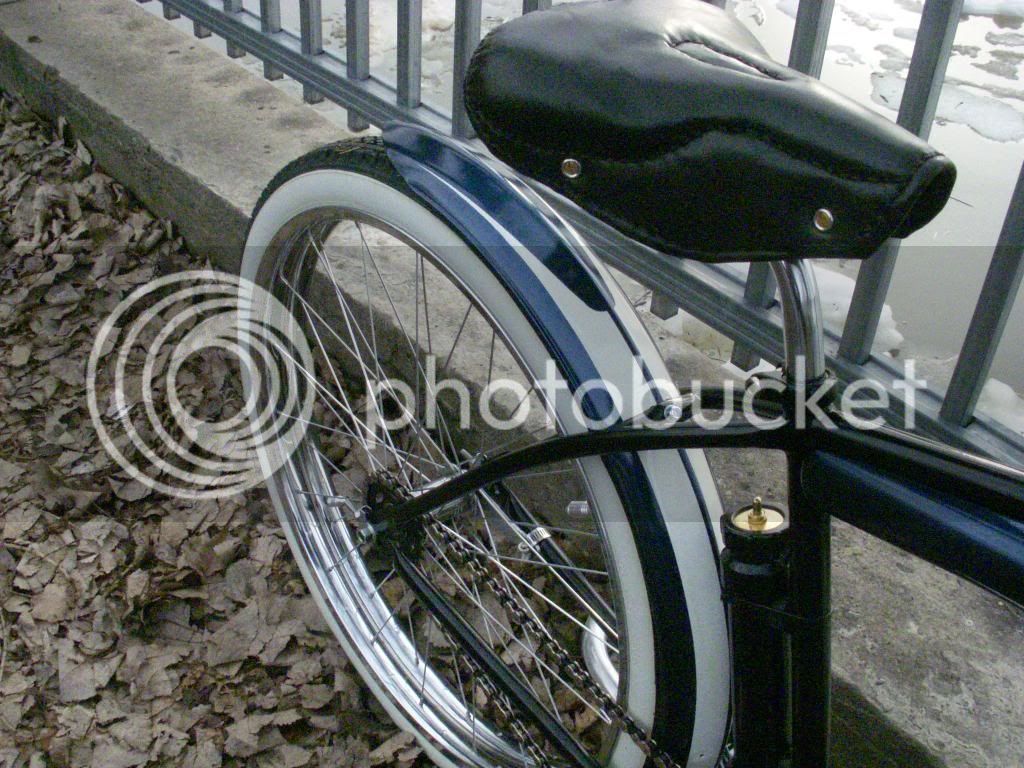
now i just wonder if i put back the white wall tires or i use the black ones :?: :roll:
 
mastronaut said:
S-freekin-weet!!!! Love it, the rear wheel looks fantastic..wait the while thing is wicked. Nice work....
Thank's allot , it means allot, i put so much effort/time into this, i am very proud of this one
 
Sweet bank and stupendous tanklight!
Bravo.
 
Back
Top