HEy, regarding the crank issue, I've cut several of those down by jugrinding off the back of the rivets. I can't tell from your pictures which chainring is actually made with the crank. But sometimes you can luck out and it's the one you want. If it's the bigger one you can always get a bigger freewheel to change your gearing. Hope this helps.
You are using an out of date browser. It may not display this or other websites correctly.
You should upgrade or use an alternative browser.
You should upgrade or use an alternative browser.
The Amsterback
- Thread starter Dr. Tankenstein
- Start date


Help Support Rat Rod Bikes Bicycle Forum:
This site may earn a commission from merchant affiliate
links, including eBay, Amazon, and others.
Fastfix,
Thanks! I'll take a look at which sprocket is actually attached to the crank. If I could drill out the rivets and lose the other two I could go with a traditional chainguard, which would lend itself to the overall look I want for this bike.
Cheers!
Thanks! I'll take a look at which sprocket is actually attached to the crank. If I could drill out the rivets and lose the other two I could go with a traditional chainguard, which would lend itself to the overall look I want for this bike.
Cheers!
Well, FINALLY got the Fat Franks in, they are definitely a quality tire. Funny thing though, the sidewall graphics are different from any pics I've seen online. Usually, the word 'Schwalbe is directly opposite 'Fat Frank'.
Mine look like this, all grouped together. Not that it matters, was just wondering, are these 'old style' or 'new style', they're definitely NOT used.
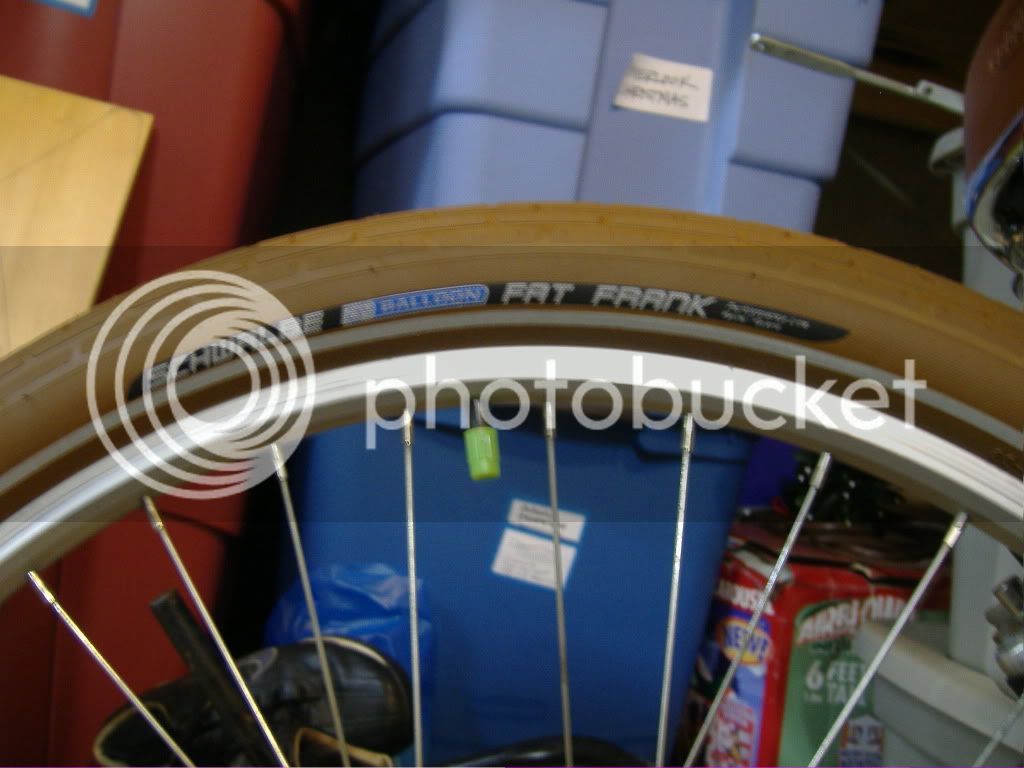
Can't wait to put everything together, just waiting on new pedals and the nerve to run derailleur and brake cables and learn to adjust everything (I'm a TOTAL newbie to that stuff)
Cheers!
Dr. T
Mine look like this, all grouped together. Not that it matters, was just wondering, are these 'old style' or 'new style', they're definitely NOT used.
Can't wait to put everything together, just waiting on new pedals and the nerve to run derailleur and brake cables and learn to adjust everything (I'm a TOTAL newbie to that stuff)
Cheers!
Dr. T
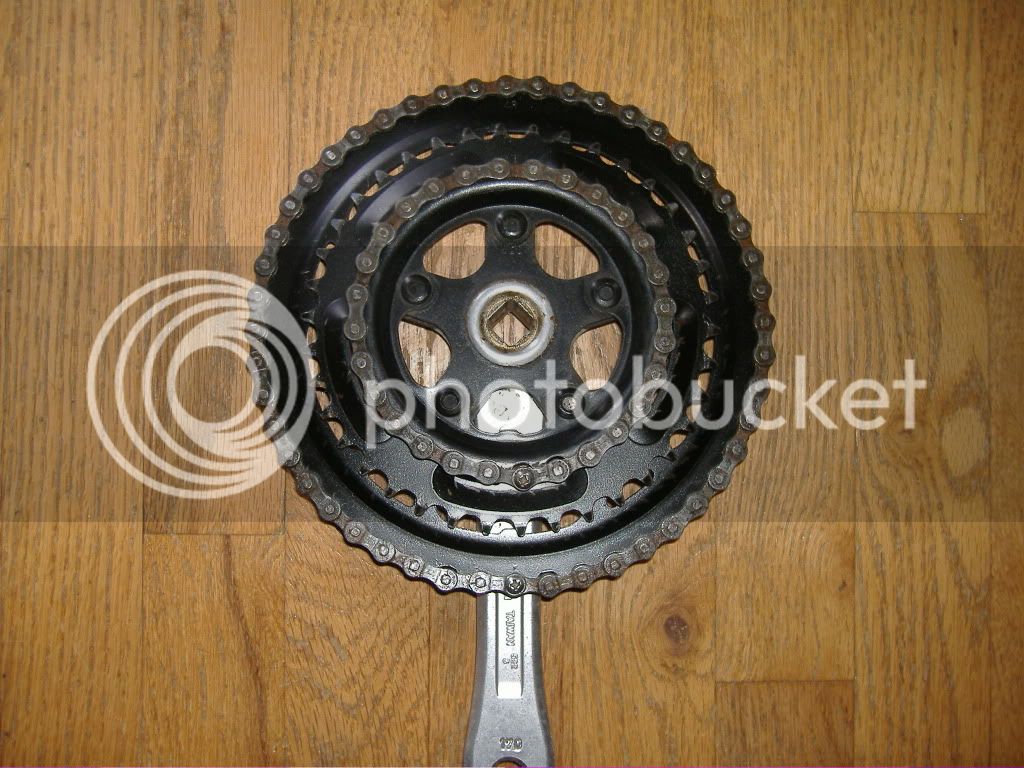
About cutting that chainring apart...
Those riveted chainrings are often designed to get their strength from the stacked sprockets. When you take them apart, the one sprocket left may not be strong enough.
Having said that, you don't have anything to lose by trying it; if the sprocket assumes a taco-like shape* under stress you'll just have to step up to a different setup.
*which is what happened to mine!


$19.99
Old River Outdoors Bicycle/Motorcycle Chain Picture Frame 4" X 6" Photo - Faux Bike Chain
Old River Outdoors (USA Merchant)


$19.99
Electra Glide Wall Decal 2ft Long Sport Harley Davidson Bike Motorcylce Sticker Man Cave Garage Boys Room Decor
FatCat Wall Graphics


$24.99
Top Brass Bicycle/Motorcycle Chain Picture Frame 5" X 7" Photo - Faux Bike Chain
Old River Outdoors (USA Merchant)


$34.99
Bicycle/Motorcycle Chain Picture Frame 8" X 10" Photo - Faux Bike Chain Vertical or Horizontal Table Top Display
Old River Outdoors (USA Merchant)


Re: The Amsterback -update 8/20
this is interesting.
i have one question.
can this be done to a rear wheel cassette if you are doing a conversion kind of so it will only be one speed.
add chain to the sprockets you dont need and leave the one you are going to use...because i dont have the tools to remove the cassette or the money to buy a new wheel with a 1 speed hub.
twistedmentality said:i like thtaneck in the post with your feet. what kind is that ?
It's a BMX stem I picked up from eBay. It's not gonna make it on this build, saving it for a future chopper.
Here's one just like it!
http://cgi.ebay.com/OLD-SCHOOL-BMX-...Cycling_Parts_Accessories&hash=item4aa510118f
I'm not going to attempt to drill out any rivets, it is what it is. If the chain rubs I'll pull it off, grind the teeth off and run with it. Thrn I'll start looking for a 3-piece BMX crankset and chainring AGAIN.
what size is that ? i didnt see where it said any size info.Dr. Tankenstein said:twistedmentality said:i like thtaneck in the post with your feet. what kind is that ?
It's a BMX stem I picked up from eBay. It's not gonna make it on this build, saving it for a future chopper.
Here's one just like it!
http://cgi.ebay.com/OLD-SCHOOL-BMX-...Cycling_Parts_Accessories&hash=item4aa510118f
I'm not going to attempt to drill out any rivets, it is what it is. If the chain rubs I'll pull it off, grind the teeth off and run with it. Thrn I'll start looking for a 3-piece BMX crankset and chainring AGAIN.
- Joined
- Sep 10, 2010
- Messages
- 339
- Reaction score
- 10
nice work on the build this is going to look sweet when it's done. You used my favorite color too! As far as removing a freewheel goes^ As long as we're not talking about a casset here is what to do.
1. buy the specific socket for your type of freewheel (less than 10 bucks)
2. put it on the free wheel and hold it on by putting the axle nut back on
3. clamp the socket in a vise or get a really big wrench
4. If it's in a vise then now grab the wheel and turn it counter clockwise
5. Now that the freewheel is off place it on a board and use screws between teeth of the largest cog to screw it down (don't worry about bending it because you won't use the largest one)
6. Use a chain-whip (or fab one up with an old chain it's easy!) and unscrew the smallest cog. This step is easiest if you clamp the board to a table in the vise or get some friends to stand on it.
7. lastly choose the cog size you want and using either pvc bits or the spacers that were on the freewheel get it in the center and use the smallest cog to hold it all on there.
BAM you now have a single speed bike with no whee dishing or buying a single speed cog. Also if you do it correctly you can change the gearing if you don't like it.
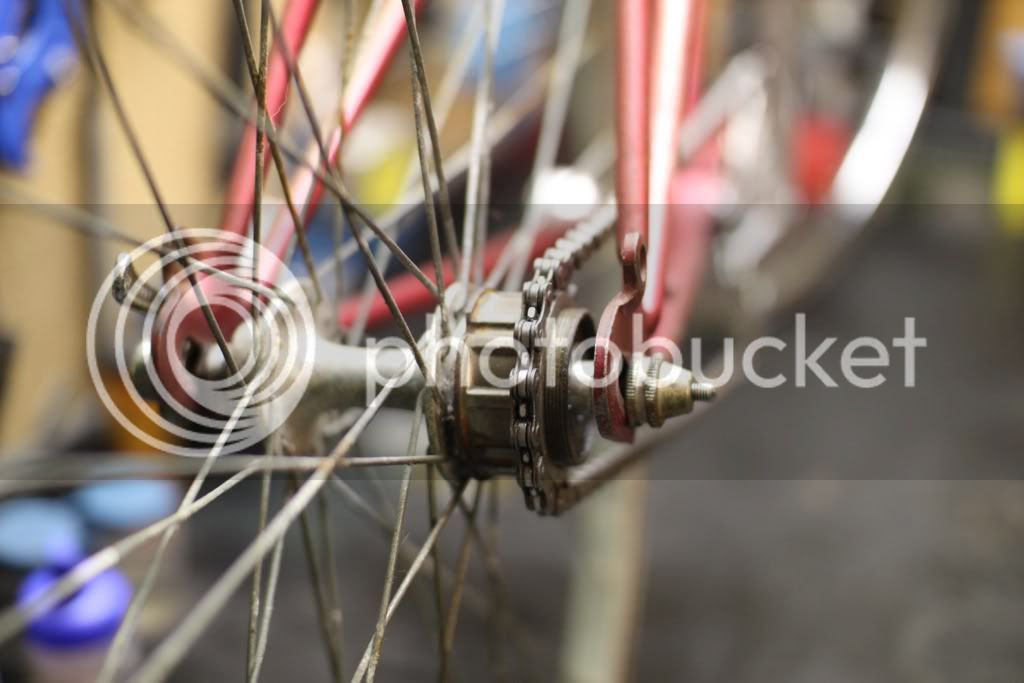
this is a single speed I built this way except no spacers or lock ring/cog because it's an old 2 step suntour freewheel with more threaded cogs.
1. buy the specific socket for your type of freewheel (less than 10 bucks)
2. put it on the free wheel and hold it on by putting the axle nut back on
3. clamp the socket in a vise or get a really big wrench
4. If it's in a vise then now grab the wheel and turn it counter clockwise
5. Now that the freewheel is off place it on a board and use screws between teeth of the largest cog to screw it down (don't worry about bending it because you won't use the largest one)
6. Use a chain-whip (or fab one up with an old chain it's easy!) and unscrew the smallest cog. This step is easiest if you clamp the board to a table in the vise or get some friends to stand on it.
7. lastly choose the cog size you want and using either pvc bits or the spacers that were on the freewheel get it in the center and use the smallest cog to hold it all on there.
BAM you now have a single speed bike with no whee dishing or buying a single speed cog. Also if you do it correctly you can change the gearing if you don't like it.
this is a single speed I built this way except no spacers or lock ring/cog because it's an old 2 step suntour freewheel with more threaded cogs.
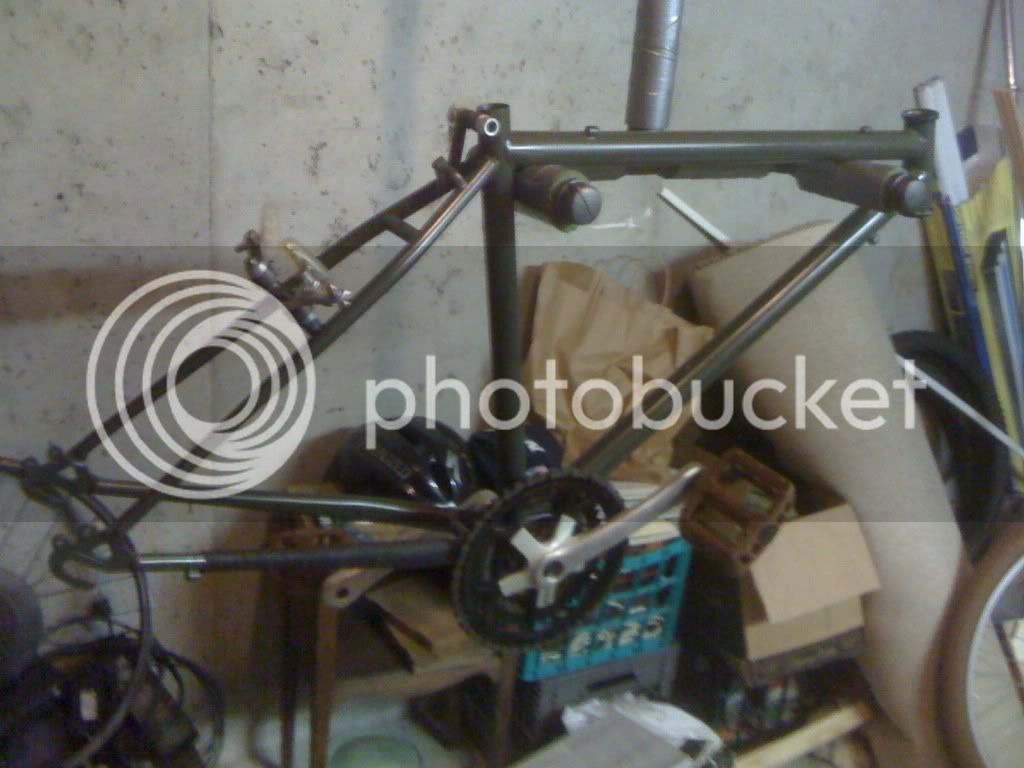
The Amsterback - got more parts!
Getting close to mock up time! Got these in:
'Trials' Brake pads, they're actually more of a clear 'white', if that makes any sense:
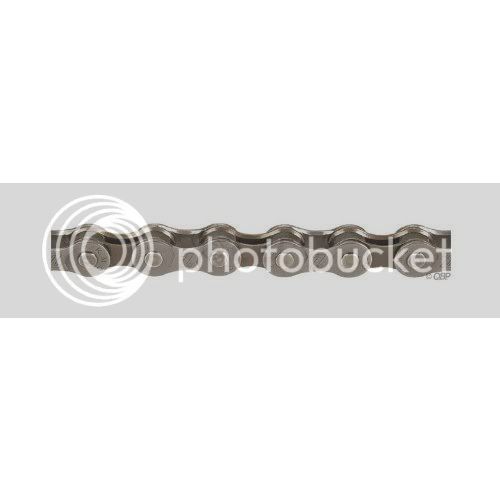
New KMC 'Z-Chain':
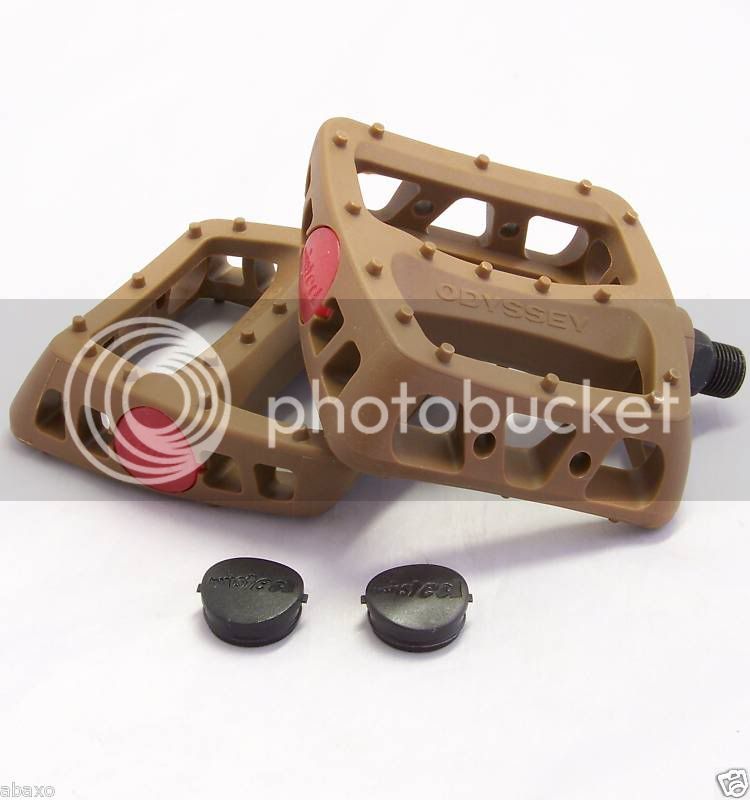
And last but not least, these cool Odyssey 'Twisted' pedals in brown (close match to the Fat Franks):
Since I usually stick to one piece cranks, I'll take it to my LBS to get the cranks pressed back on (they'll roll their eyes and give me grief about my DIY 'bashguard', they're nice guys, but ZERO imagination :mrgreen: )
While they're doing that, I'll tap my handlebars to run the cables through them ( I think, I hope)
This build gonna have a little BMX, a little ATB, a little Roadie (very little :roll: )a little classic cruiser and a little 'ratification', man I can't wait!
See ya soon,
Dr. T
Getting close to mock up time! Got these in:
'Trials' Brake pads, they're actually more of a clear 'white', if that makes any sense:
New KMC 'Z-Chain':
And last but not least, these cool Odyssey 'Twisted' pedals in brown (close match to the Fat Franks):
Since I usually stick to one piece cranks, I'll take it to my LBS to get the cranks pressed back on (they'll roll their eyes and give me grief about my DIY 'bashguard', they're nice guys, but ZERO imagination :mrgreen: )
While they're doing that, I'll tap my handlebars to run the cables through them ( I think, I hope)
This build gonna have a little BMX, a little ATB, a little Roadie (very little :roll: )a little classic cruiser and a little 'ratification', man I can't wait!
See ya soon,
Dr. T
")
twistedmentality said:what size is that ? i didnt see where it said any size info.
Sorry twisted, missed this question. It doesn't have a size stamped on it, but I'm pretty sure it's 22.2 mm, that's why it's still not on my bobber (that fork is a 21.1mm).
Well,
I messed around with the canti brakes last night and got them back on (for now). I still need to tweak the pad placement, but that's later.
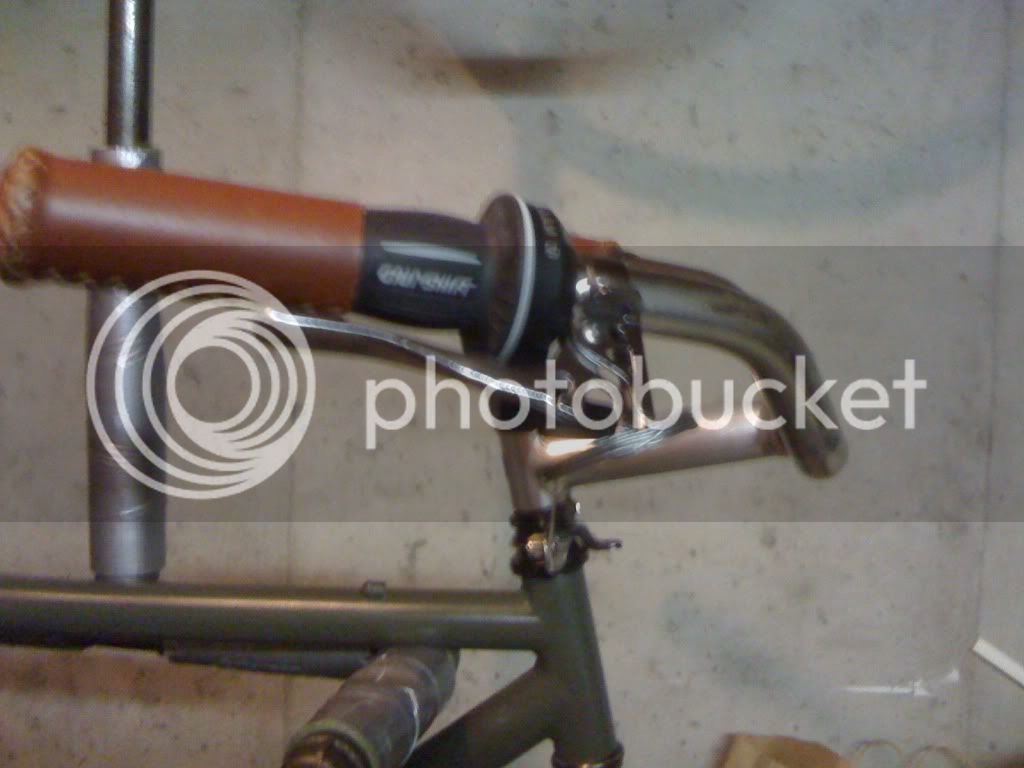
Next I'll look at running the brake/shifter cables through the handlebars. When i eyeballed it, there aren't any drastic turns (or too many of them). The bars are 'traditional' cruiser bars, with a longer reach (to accomodate the GripShifter). If I do route them through they will only go through the 'straight' part of the bars, I just have to leave enough slack for turning.
Sorry, I guess I'm just 'thinking' out loud (actually typing out loud). I'm just not a big fan of cables, I think they detract from the looks.
Does anyone have pics of a bike with this done?
Wish me luck,
Dr. T
I messed around with the canti brakes last night and got them back on (for now). I still need to tweak the pad placement, but that's later.
Next I'll look at running the brake/shifter cables through the handlebars. When i eyeballed it, there aren't any drastic turns (or too many of them). The bars are 'traditional' cruiser bars, with a longer reach (to accomodate the GripShifter). If I do route them through they will only go through the 'straight' part of the bars, I just have to leave enough slack for turning.
Sorry, I guess I'm just 'thinking' out loud (actually typing out loud). I'm just not a big fan of cables, I think they detract from the looks.
Does anyone have pics of a bike with this done?
Wish me luck,
Dr. T
The Amsterback - first mock ups
Well,
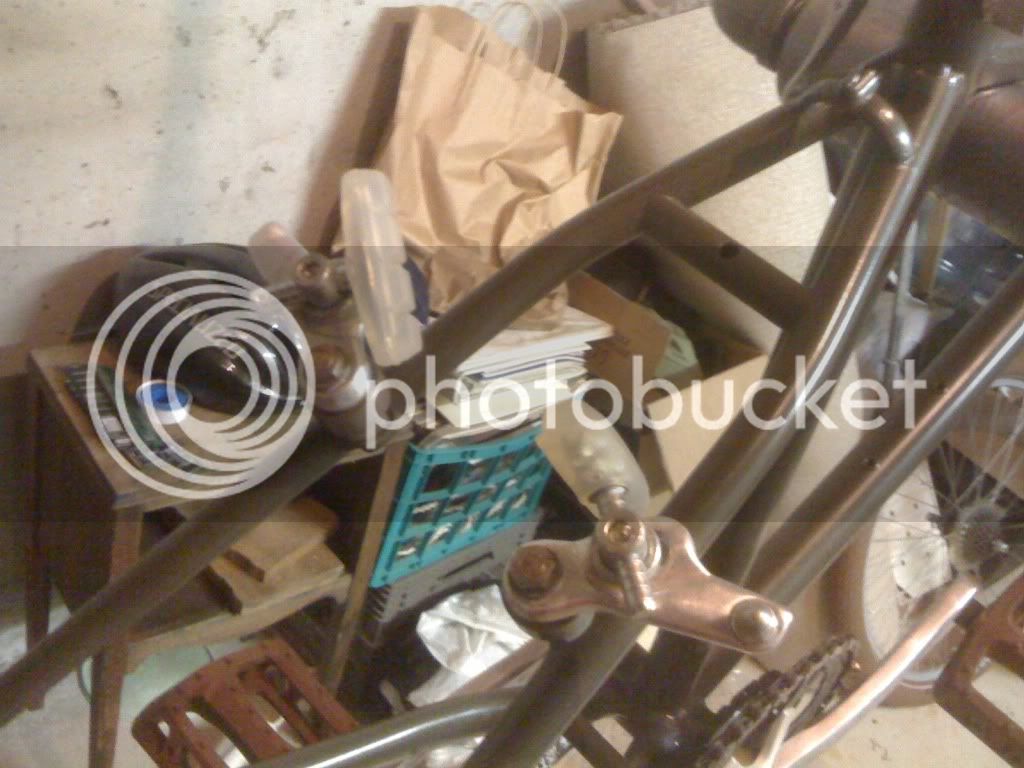
Been gathering parts and ideas, so here's the first mock up. Sorry about the bad cell pics. :roll:
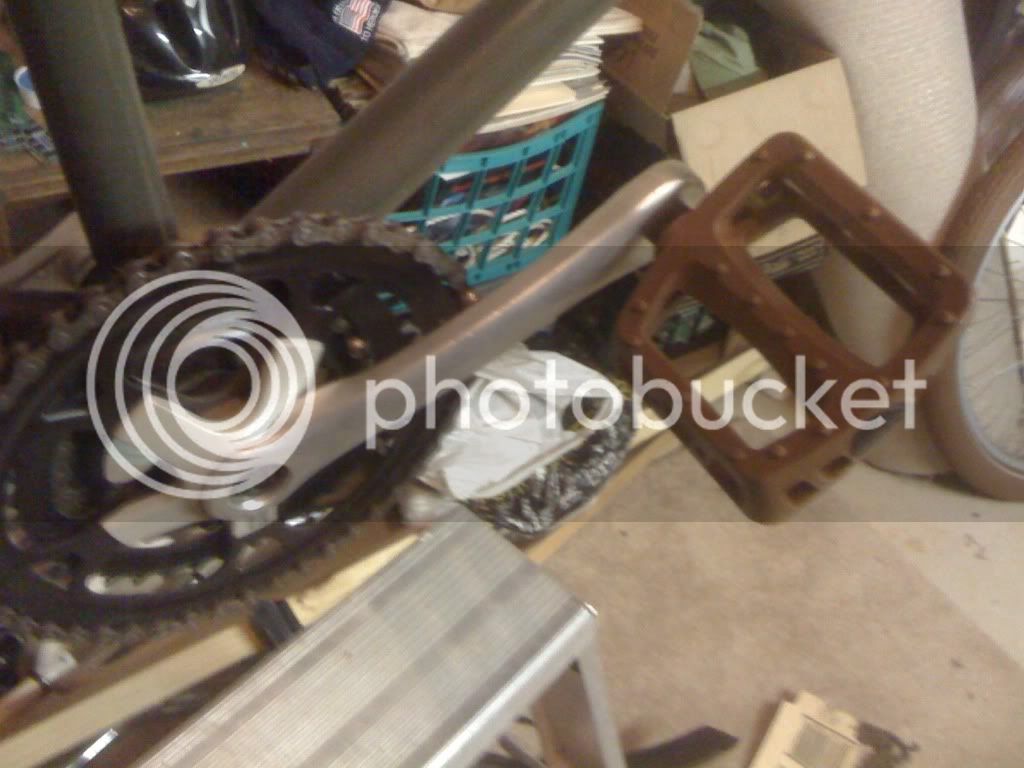
With the cranks back on:
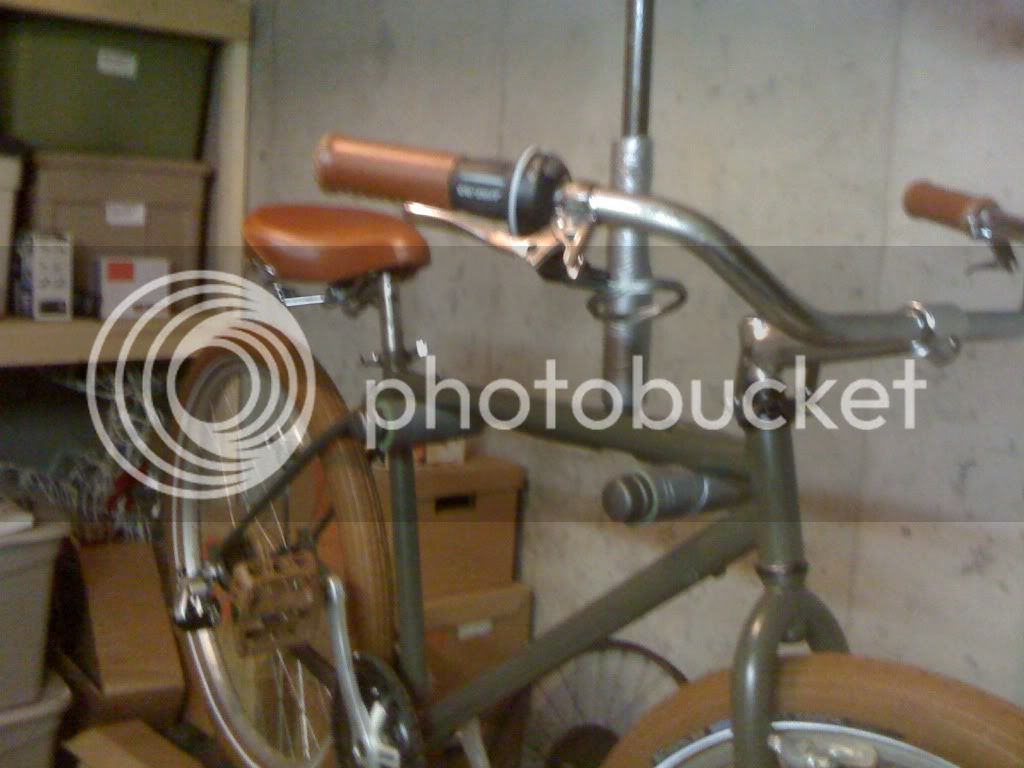
Odyssey brown 'Twisted' pedals installed:
Clear 'trials' brake pads:
'New' handlebars from forum member harquahalas (great guy):
With the brown Schwalbe Fat Franks installed:
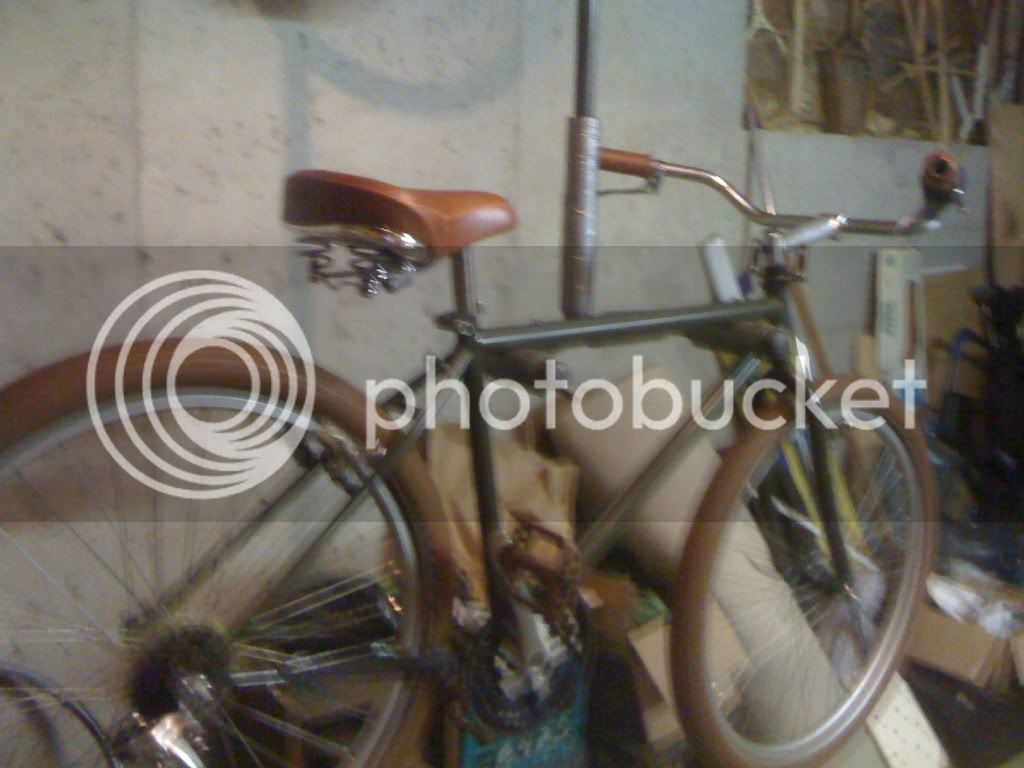
may install these truss rods I got from Double Nickle, not sure yet:

There ya go, more here: http://s680.photobucket.com/albums/vv167/DrTankenstein/my bikes/Amsterback/build/
Cheers!
Dr. T
Well,
Been gathering parts and ideas, so here's the first mock up. Sorry about the bad cell pics. :roll:
With the cranks back on:
Odyssey brown 'Twisted' pedals installed:
Clear 'trials' brake pads:
'New' handlebars from forum member harquahalas (great guy):
With the brown Schwalbe Fat Franks installed:
may install these truss rods I got from Double Nickle, not sure yet:
There ya go, more here: http://s680.photobucket.com/albums/vv167/DrTankenstein/my bikes/Amsterback/build/
Cheers!
Dr. T